
GPFab product installs/reviews
 10-12-2011, 03:12 PM
#1
Registered User
Thread Starter

Join Date: May 2010
Location: Columbia, South Carolina
Posts: 1,408
Likes: 0
Received 1 Like
on
1 Post
More pictures at bottom & post 2 is the Diffuser Side Pieces.
Ok, so i told Jordan i would make a little review and DIY for the items i purchase from him, so i just got a package yesterday and so here is the first diy!
Master Cylinder Cover:
THINGS YOU NEED:
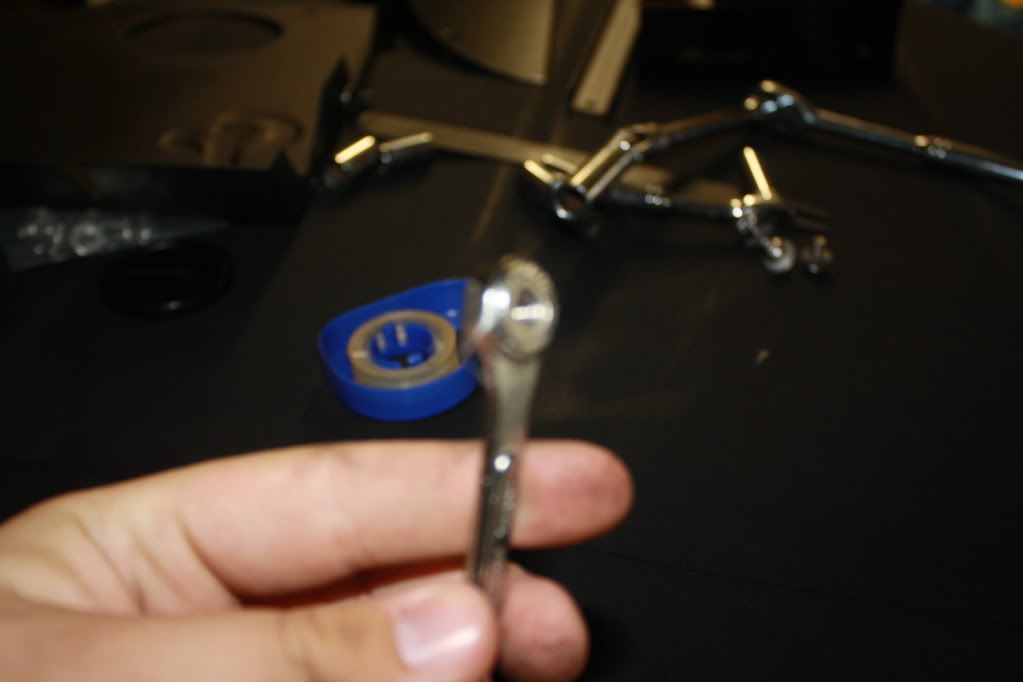
10mm, 12mm Sockets
Allen Wrenches
Various extensions...
time and a longer fuse than me...
Contents:
Reading material! thanks Jordan!
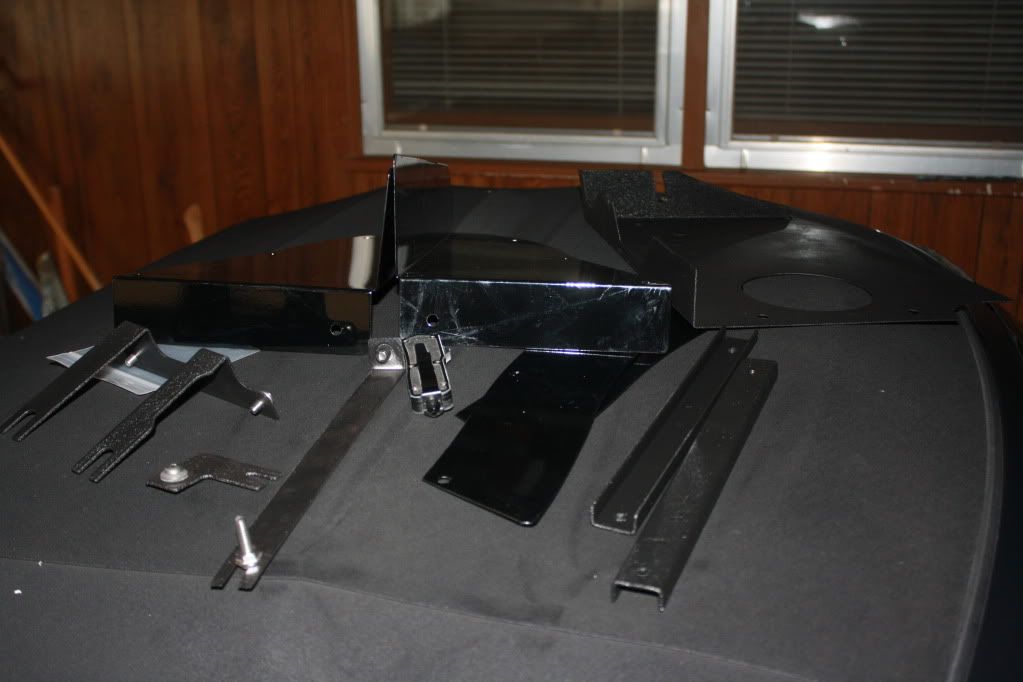
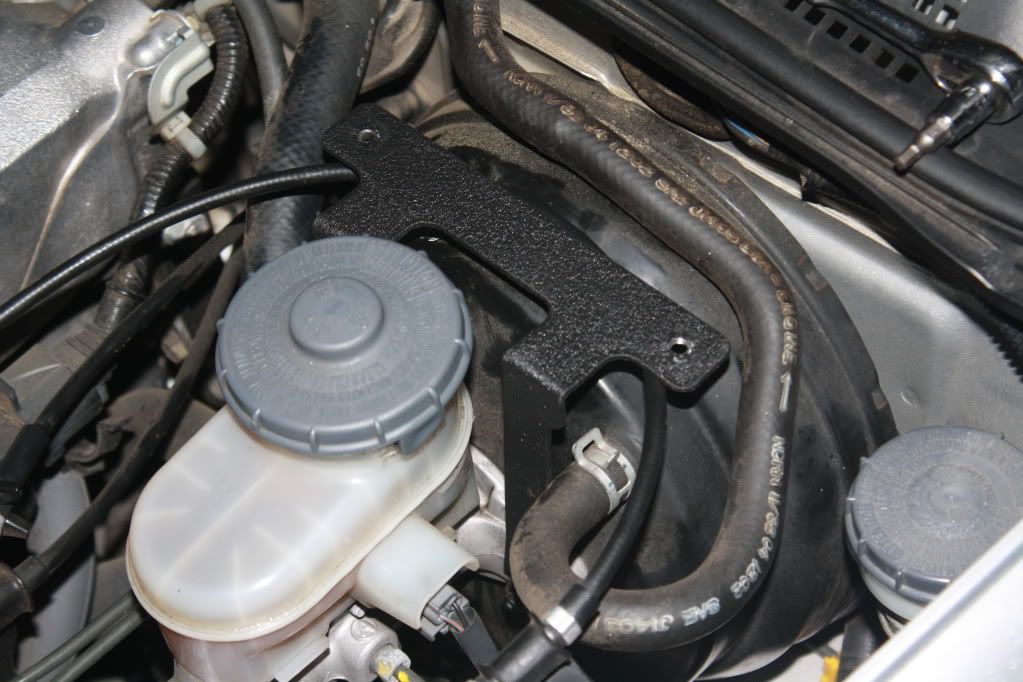
Side diffuser pieces, and the Master Cylinder cover!
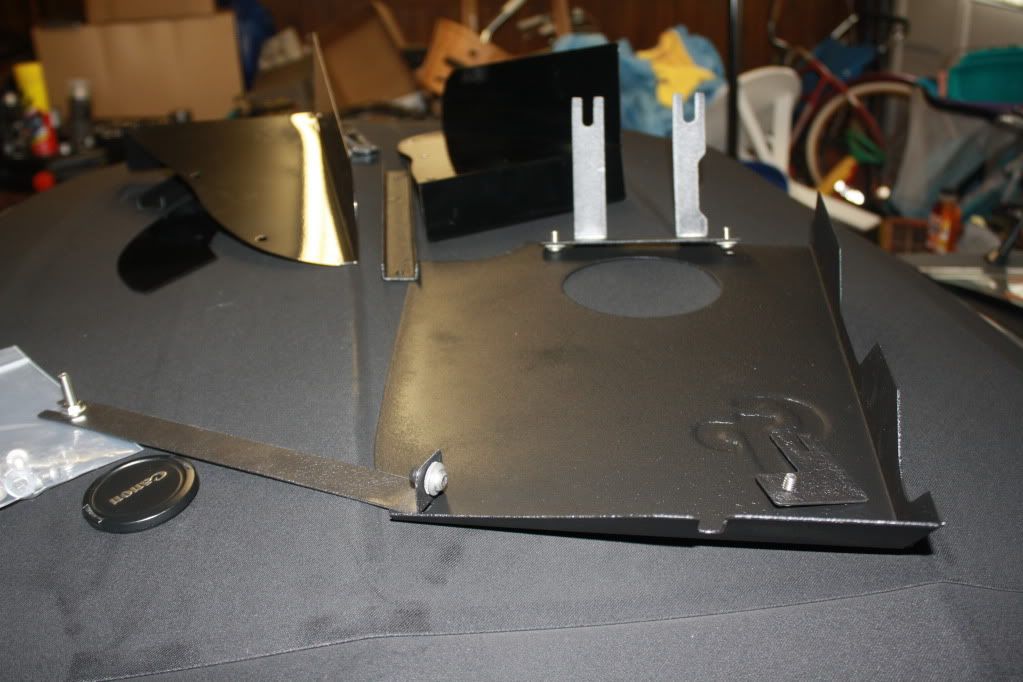
how the mounting pieces sit:
OK, so now for how to get her to sit in there!
DO NOT tighten anything till you test fit a few times and are satisfied!
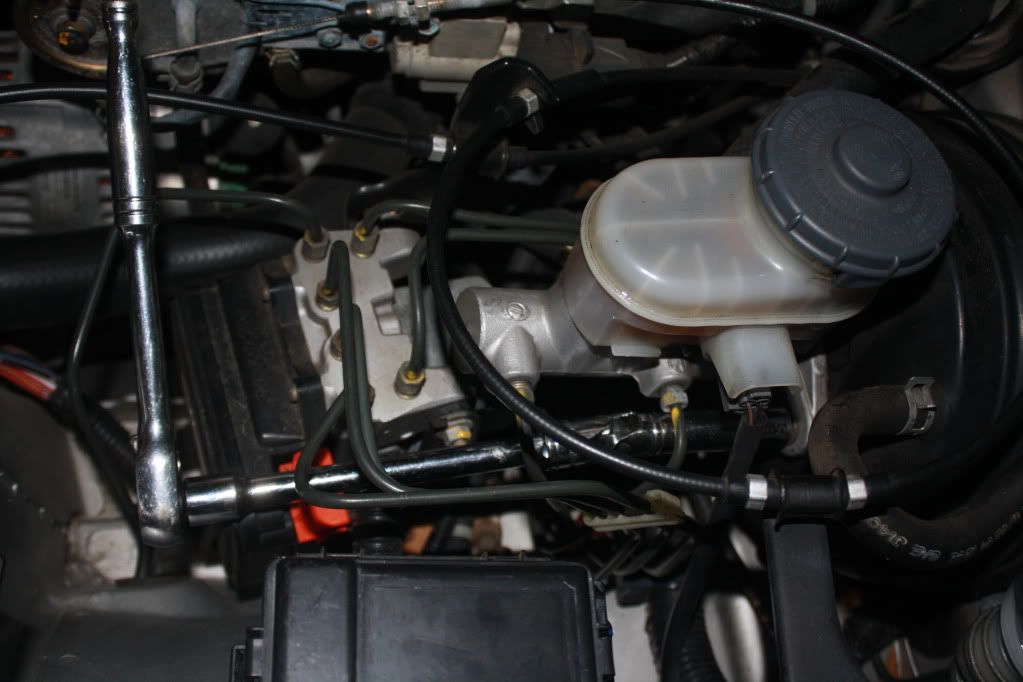
First mounting point is on your brake master cylinder:
Loosen the two bolts, do not remove! Its quite the PITA and i think they may have stolen a prop from SAW when they designed out ABS system, because i got my hand all cut up trying to get to the bolts...
^this worked for me...
X> BE SURE that you put the piece UNDER the lock washer of the bolt, between the lock washer and the master cylinder itself:
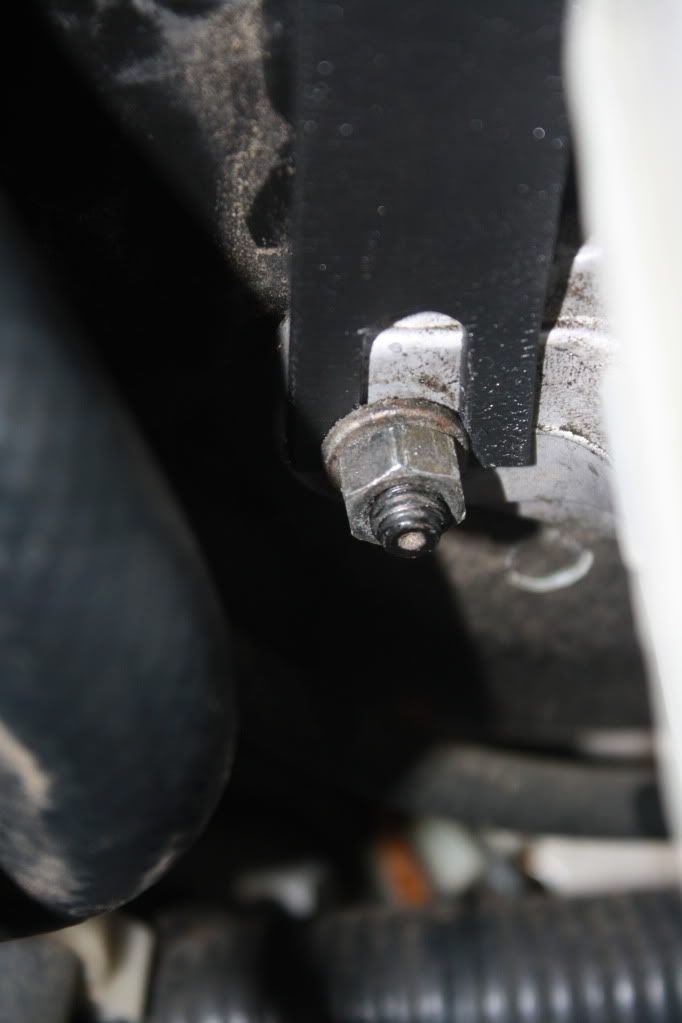
^see its under it (-.-)
Then the one near your strut tower... very easy:
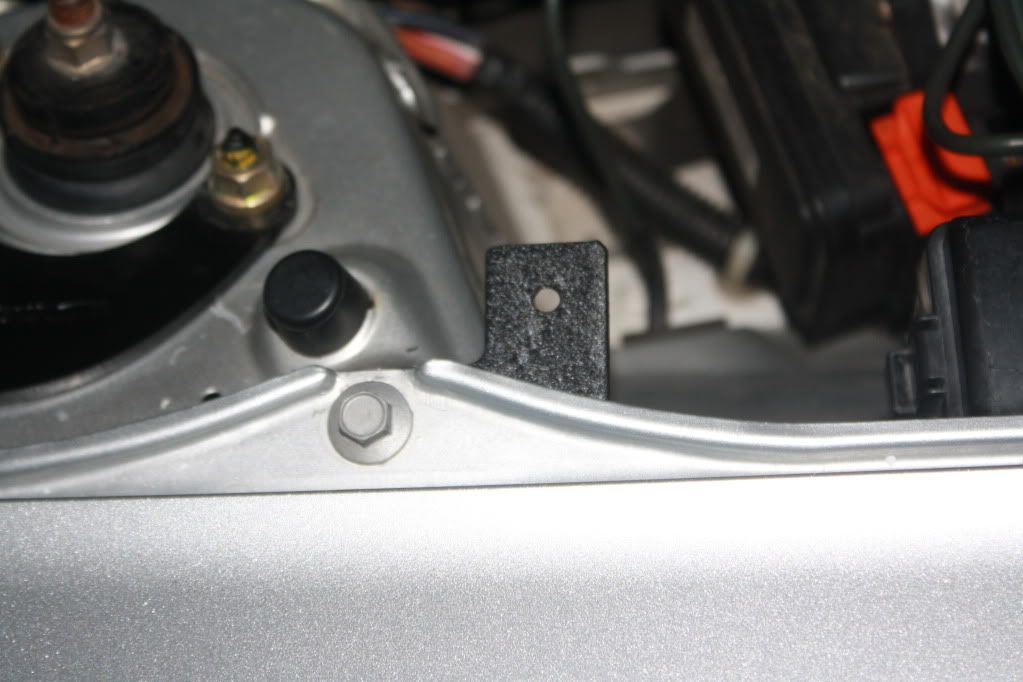
The last mounting point is right beside your alternator, pretty easy to get to, but i have big hands... this helped:
taped the bolt to it. then i tightened it down and left it alone... i couldnt get a decent picture because of the flash reflecting off everything
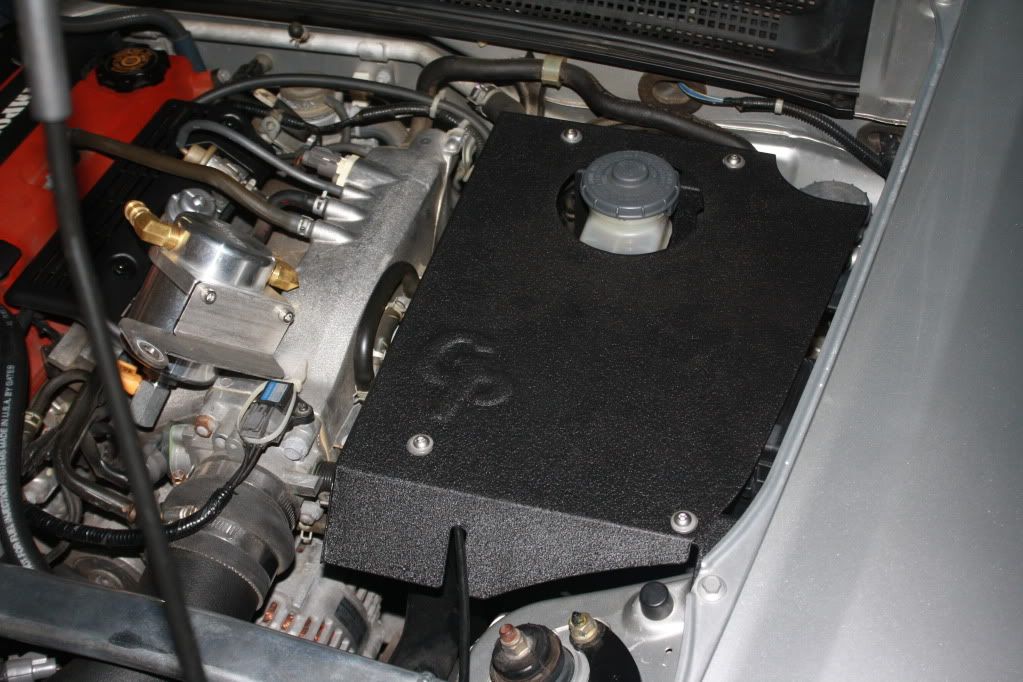
Now set the plate on and see how it fits... it will be off, i promise you.
You need to play around and adjust till its close, then tighten all the mounts down EXCEPT the fender mounted one.
Once its all tightened, place the plate on the rear mount first (the one on your BMC with two holes) and tighten it down
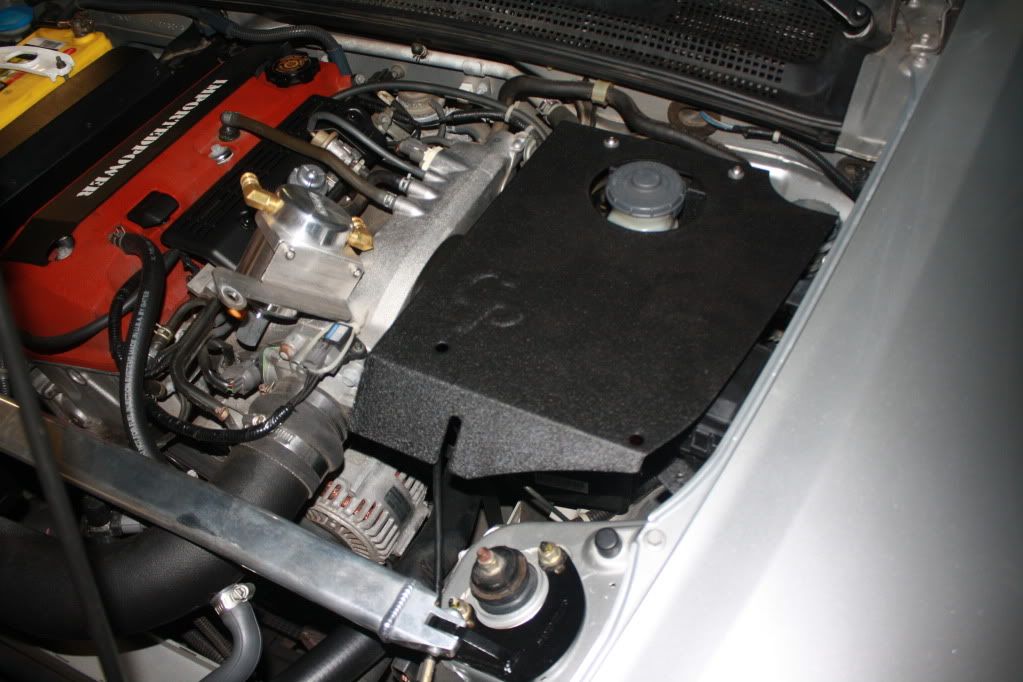
Then push it down a bit and align the fender side mount, then tighten the bolt into the mount, and then tighten the fender bolt itself down
the last mount, the long one, is pretty easy to move around and get it to sit where you need it, get it in place and it may take some effort, the good thing is everything keeps it tight and pulling it so it doesn't move =D
Weight test!
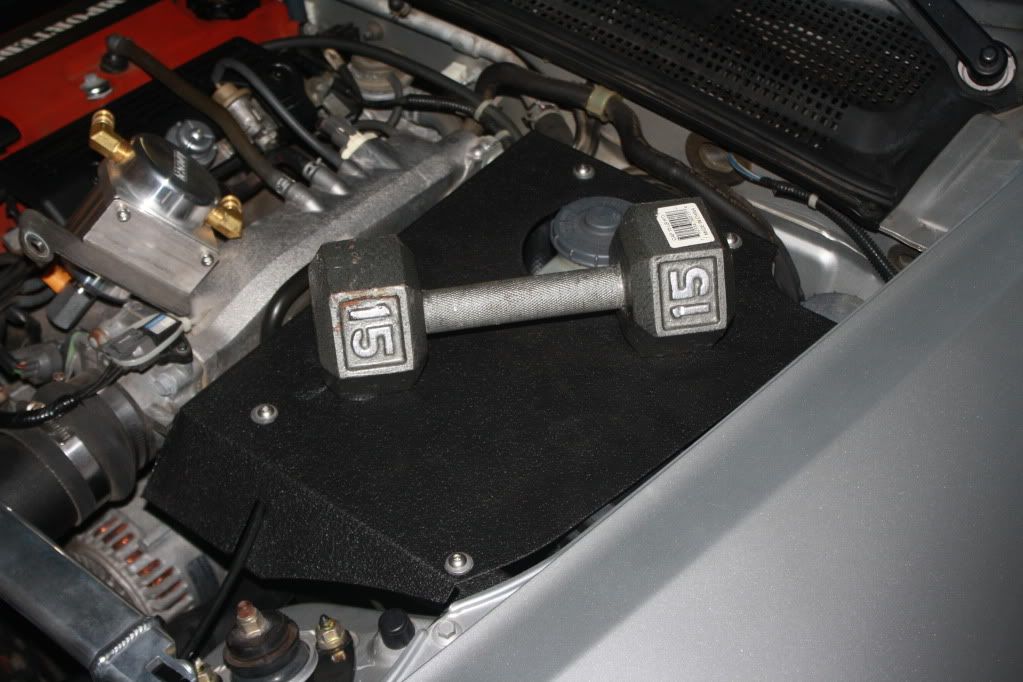
it held two of these, but i couldnt stack them without risking my car... so take my word for it lol.
OVERALL: I APPROVE =D
Cleans up the bay, although its a little tedious, took me all of 30 minutes to do it.
Next up: side pieces
Ok, so i told Jordan i would make a little review and DIY for the items i purchase from him, so i just got a package yesterday and so here is the first diy!
Master Cylinder Cover:
THINGS YOU NEED:
10mm, 12mm Sockets
Allen Wrenches
Various extensions...
time and a longer fuse than me...
Contents:
Reading material! thanks Jordan!
Side diffuser pieces, and the Master Cylinder cover!
how the mounting pieces sit:
OK, so now for how to get her to sit in there!
DO NOT tighten anything till you test fit a few times and are satisfied!
First mounting point is on your brake master cylinder:
Loosen the two bolts, do not remove! Its quite the PITA and i think they may have stolen a prop from SAW when they designed out ABS system, because i got my hand all cut up trying to get to the bolts...
^this worked for me...
X> BE SURE that you put the piece UNDER the lock washer of the bolt, between the lock washer and the master cylinder itself:
^see its under it (-.-)
Then the one near your strut tower... very easy:
The last mounting point is right beside your alternator, pretty easy to get to, but i have big hands... this helped:
taped the bolt to it. then i tightened it down and left it alone... i couldnt get a decent picture because of the flash reflecting off everything
Now set the plate on and see how it fits... it will be off, i promise you.
You need to play around and adjust till its close, then tighten all the mounts down EXCEPT the fender mounted one.
Once its all tightened, place the plate on the rear mount first (the one on your BMC with two holes) and tighten it down
Then push it down a bit and align the fender side mount, then tighten the bolt into the mount, and then tighten the fender bolt itself down
the last mount, the long one, is pretty easy to move around and get it to sit where you need it, get it in place and it may take some effort, the good thing is everything keeps it tight and pulling it so it doesn't move =D
Weight test!
it held two of these, but i couldnt stack them without risking my car... so take my word for it lol.
OVERALL: I APPROVE =D
Cleans up the bay, although its a little tedious, took me all of 30 minutes to do it.
Next up: side pieces
 10-12-2011, 03:14 PM
#2
Registered User
Thread Starter
Join Date: May 2010
Location: Columbia, South Carolina
Posts: 1,408
Likes: 0
Received 1 Like
on
1 Post
SIDE DIFFUSER PIECES!
Tools:
Drill
Marker/sharpie
Drill bits/various sizes
Center punch (keep drill bit from screwing your bumper)
Allen Wrenches
a 10mm wrench
razor
This was VERY simple, but i know people like pictures etc/ before they start slicing or drilling into their car, or even before they order it. so here it is!
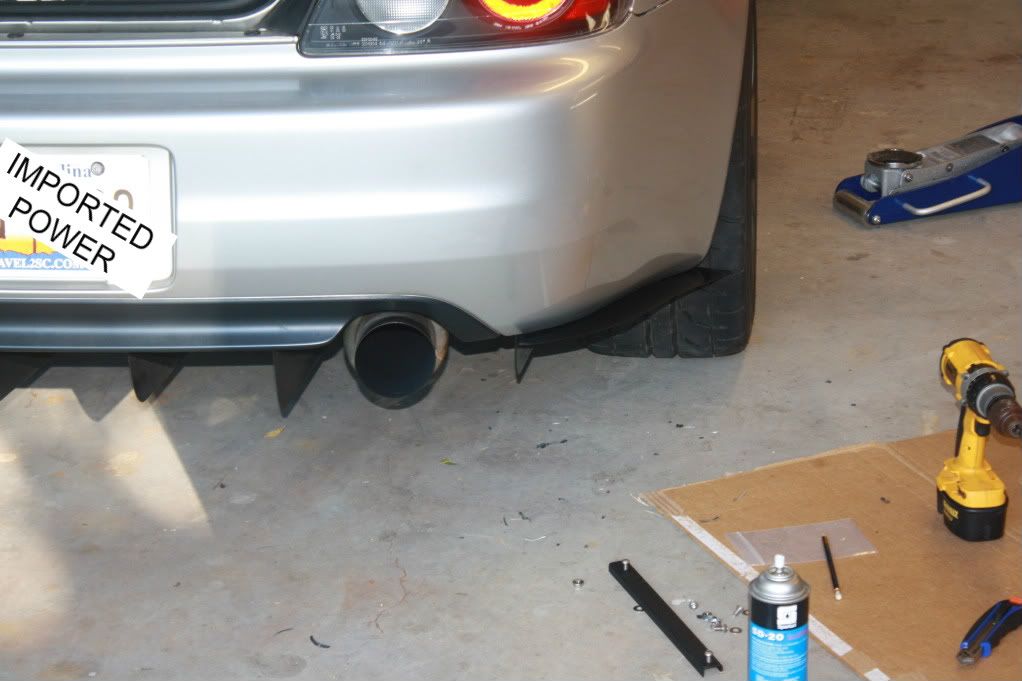
No license plate for you!
Step one: CLEAN YOUR FRIGGIN BUMPER! Ive seen all yall out there posting pics of exhaust etc, its nasty under there... fix it.
Here are your parts:
Step 2: So the first thing you want to do, see where the piece should fit!
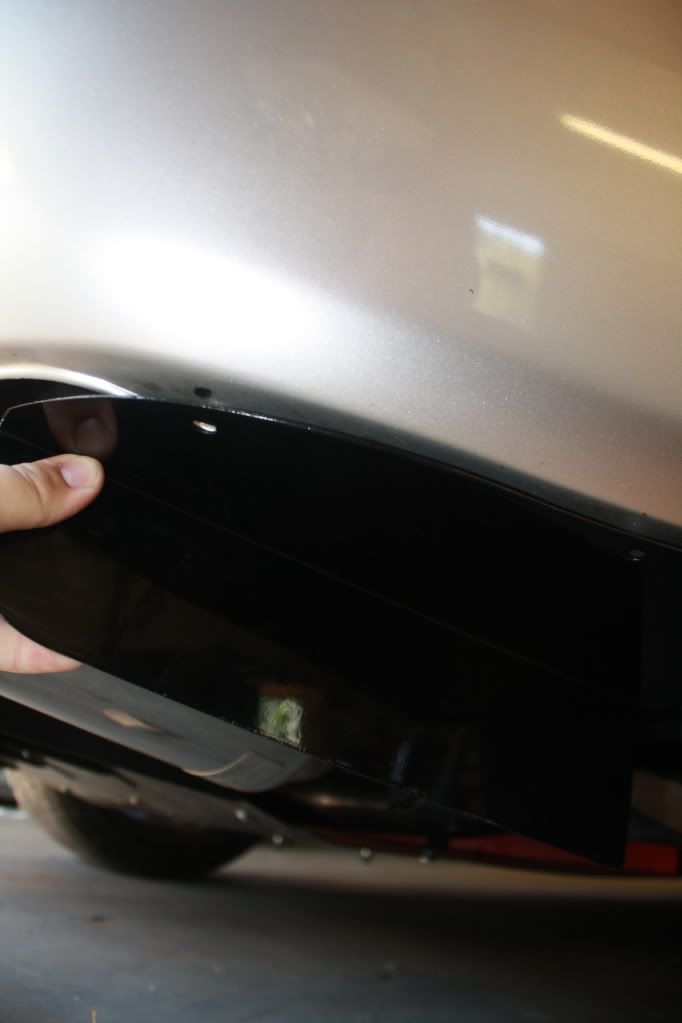
This is entirely up to you, just make sure to have clearance for the bolts. I taped mine in place and looked from behind to see if i liked the positioning, and i did.
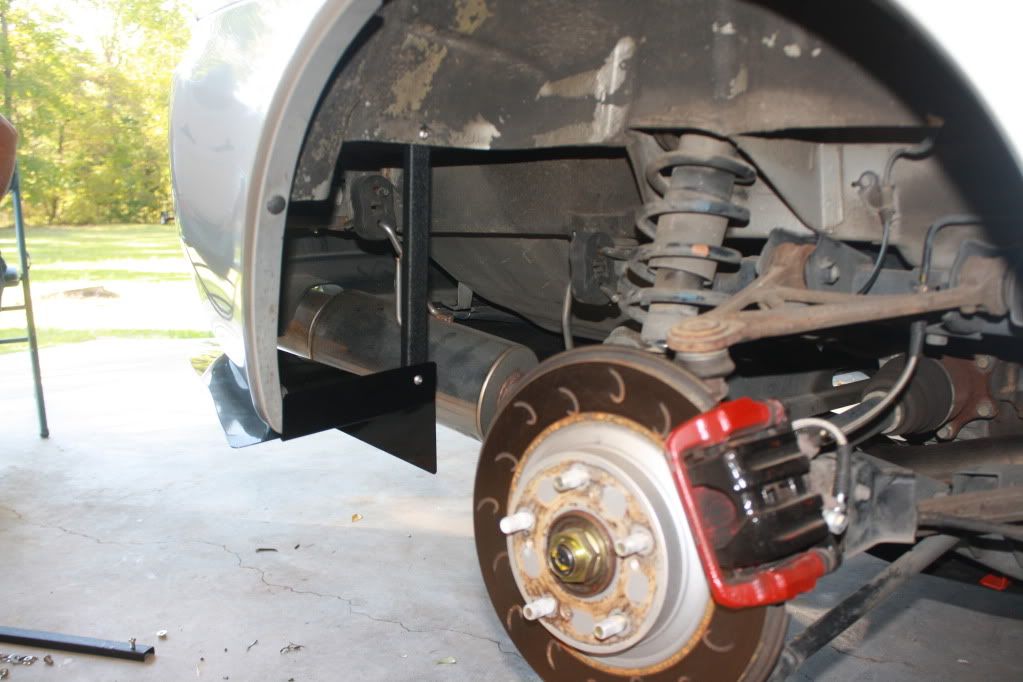
IMPORTANT NOTES: it will sit funny until you add the support in the wheel well, this pulls it up.
also, there is a sort of lip/ridge under the bumper, you can see it bellow in the marker picture, i used a razor and cut it off one side, and did the other without, both ways worked.
step 3: MARKER TIME!
Now that you see where you want it, put some dots on the bumper with the marker so you know where to drill.
I then did the same to the other side so they were even, and i used the punch to make a small dent in the middle of each dot.
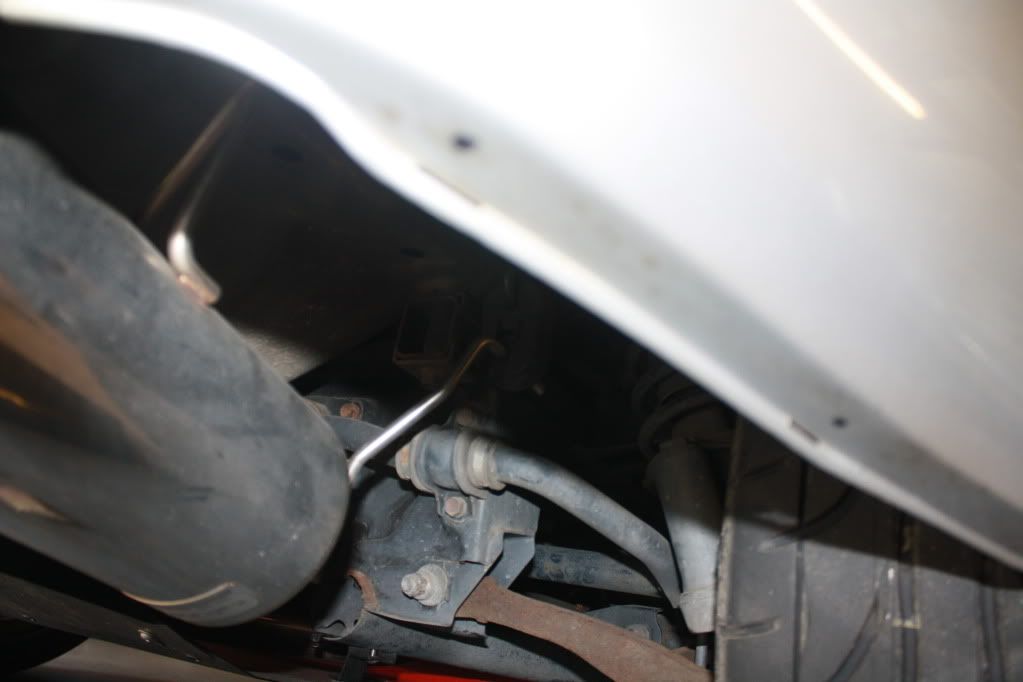
Step 4: Drill it out slowly, and then test fit to make sure all bolts will clear it. (i would advise taking the wheel off at this point as i did, and having that side jacked up)
Then fit it on:
Step 5: I have a friend move the piece around a bit with the support bar you see hanging out in there ^
When it looked level i had him put a dot inside the wheel well where the bar made the side piece level with the rest of the diffuser.

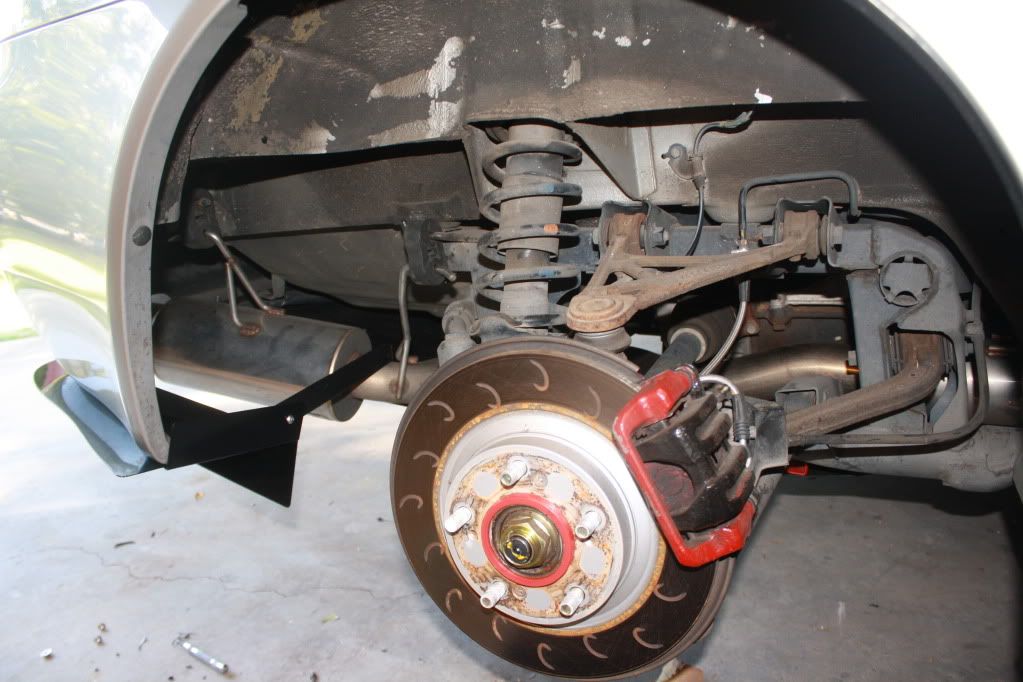
Step 6: NEARLY THERE!
Use the punch again, and then drill this spot out, takes a bit longer than the bumper, but a decent bit will work fine.
Then bolt up the support bar and tighten everything down good!
Step 7: Repeat for the opposite side, and always make sure to use stands/wheel stops and dont injure yourself.
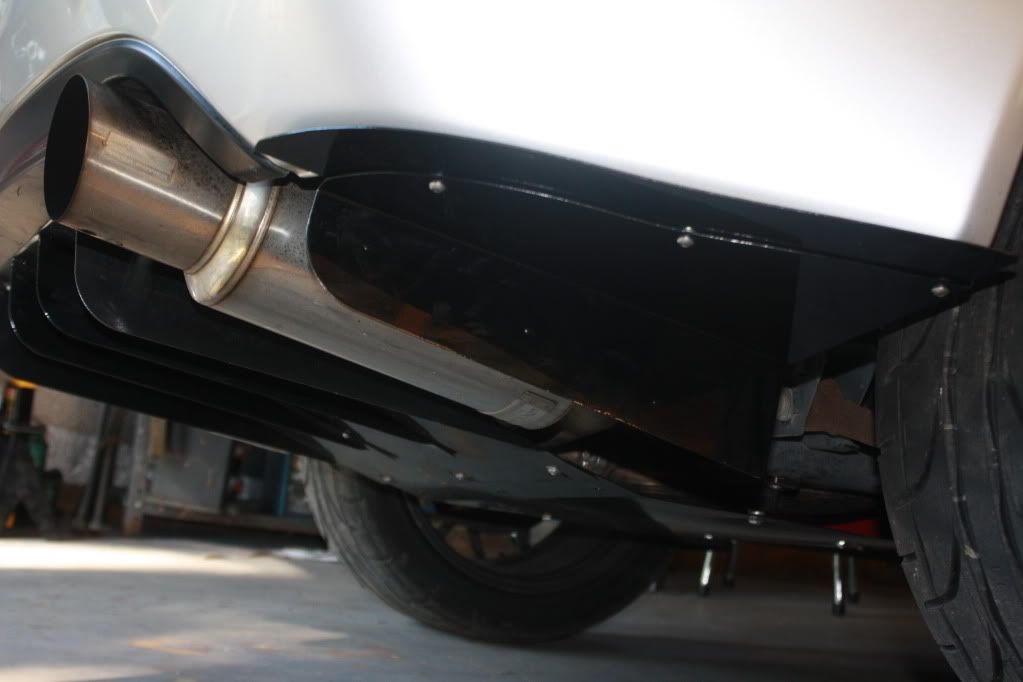
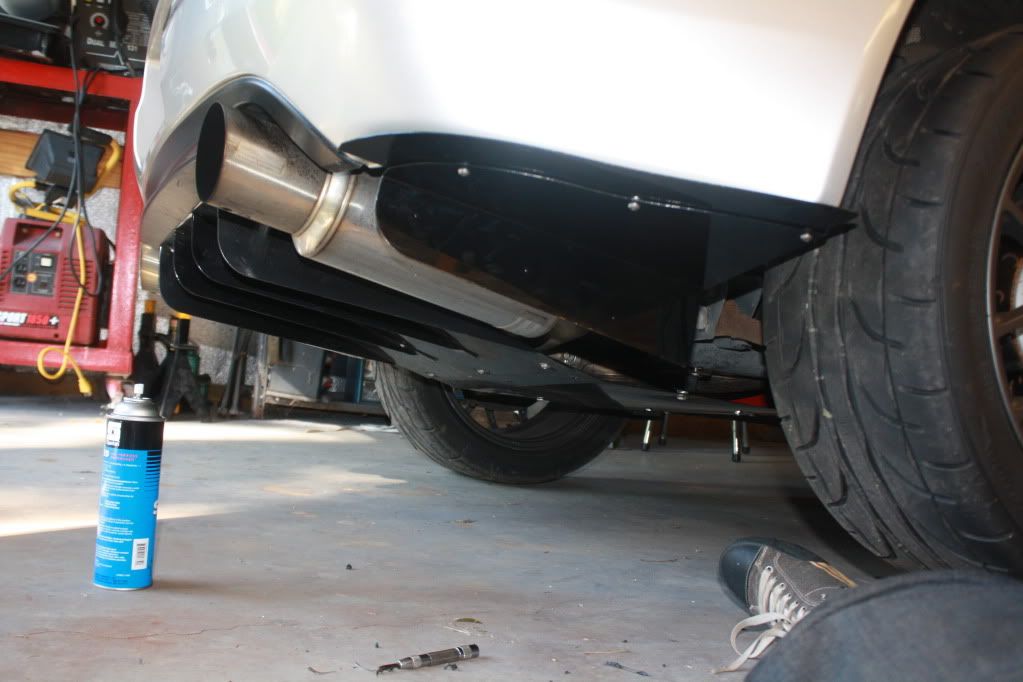
Finished Product!
Tools:
Drill
Marker/sharpie
Drill bits/various sizes
Center punch (keep drill bit from screwing your bumper)
Allen Wrenches
a 10mm wrench
razor
This was VERY simple, but i know people like pictures etc/ before they start slicing or drilling into their car, or even before they order it. so here it is!
No license plate for you!
Step one: CLEAN YOUR FRIGGIN BUMPER! Ive seen all yall out there posting pics of exhaust etc, its nasty under there... fix it.
Here are your parts:
Step 2: So the first thing you want to do, see where the piece should fit!
This is entirely up to you, just make sure to have clearance for the bolts. I taped mine in place and looked from behind to see if i liked the positioning, and i did.
IMPORTANT NOTES: it will sit funny until you add the support in the wheel well, this pulls it up.
also, there is a sort of lip/ridge under the bumper, you can see it bellow in the marker picture, i used a razor and cut it off one side, and did the other without, both ways worked.
step 3: MARKER TIME!
Now that you see where you want it, put some dots on the bumper with the marker so you know where to drill.
I then did the same to the other side so they were even, and i used the punch to make a small dent in the middle of each dot.
Step 4: Drill it out slowly, and then test fit to make sure all bolts will clear it. (i would advise taking the wheel off at this point as i did, and having that side jacked up)
Then fit it on:
Step 5: I have a friend move the piece around a bit with the support bar you see hanging out in there ^
When it looked level i had him put a dot inside the wheel well where the bar made the side piece level with the rest of the diffuser.
Step 6: NEARLY THERE!
Use the punch again, and then drill this spot out, takes a bit longer than the bumper, but a decent bit will work fine.
Then bolt up the support bar and tighten everything down good!
Step 7: Repeat for the opposite side, and always make sure to use stands/wheel stops and dont injure yourself.
Finished Product!


Trending Topics
10-17-2011, 06:12 AM
#8
Registered User
Thread Starter
Join Date: May 2010
Location: Columbia, South Carolina
Posts: 1,408
Likes: 0
Received 1 Like
on
1 Post
Some one asked for more pics, well here is my pic whoring!
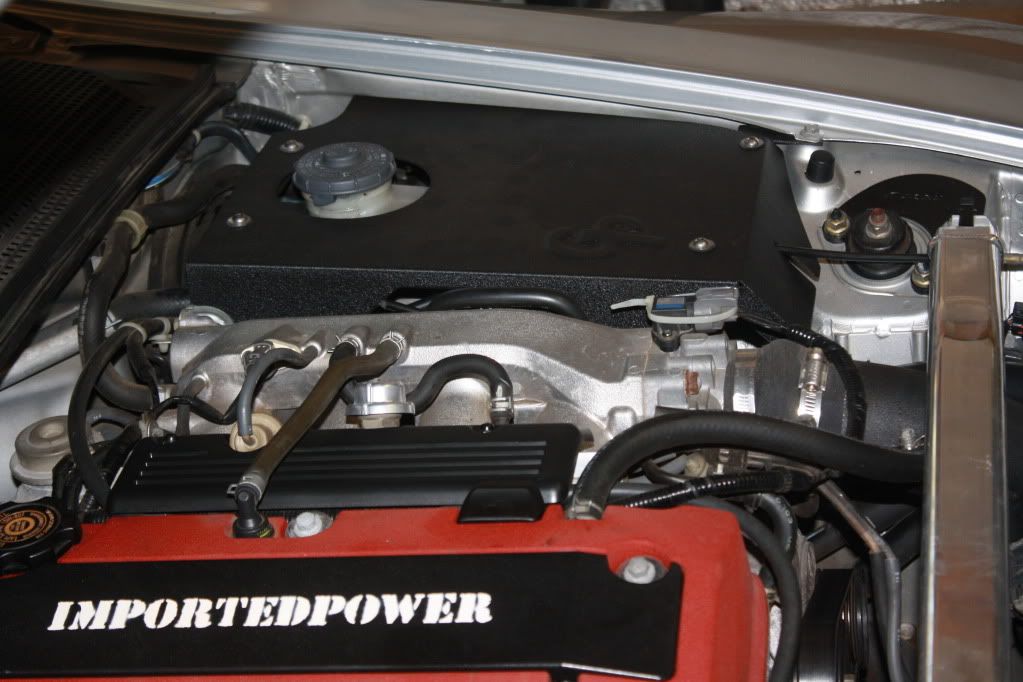
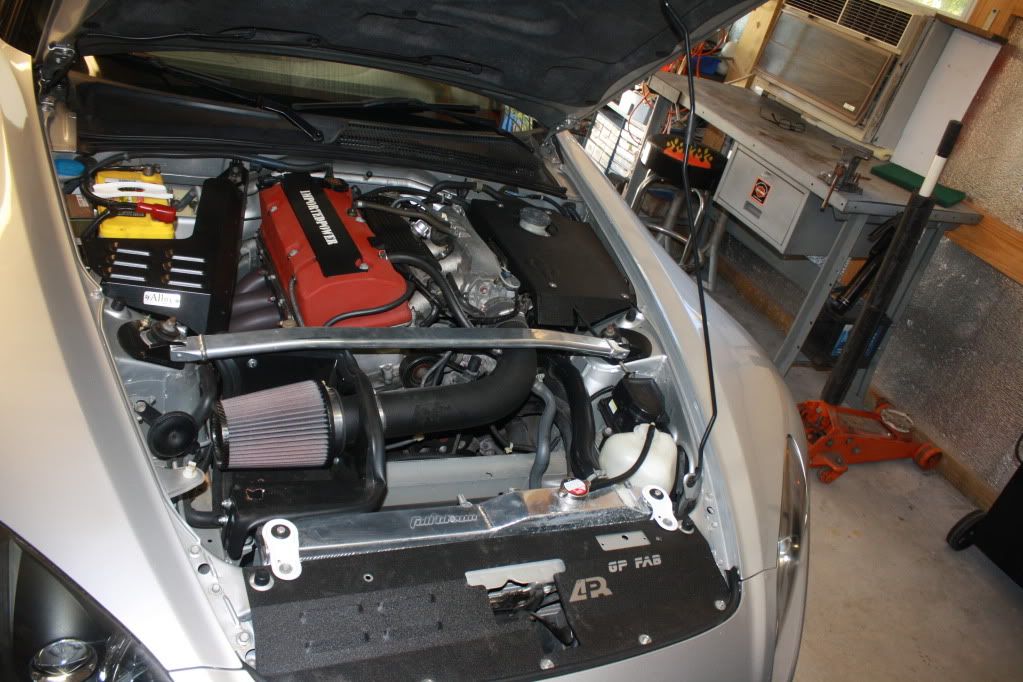
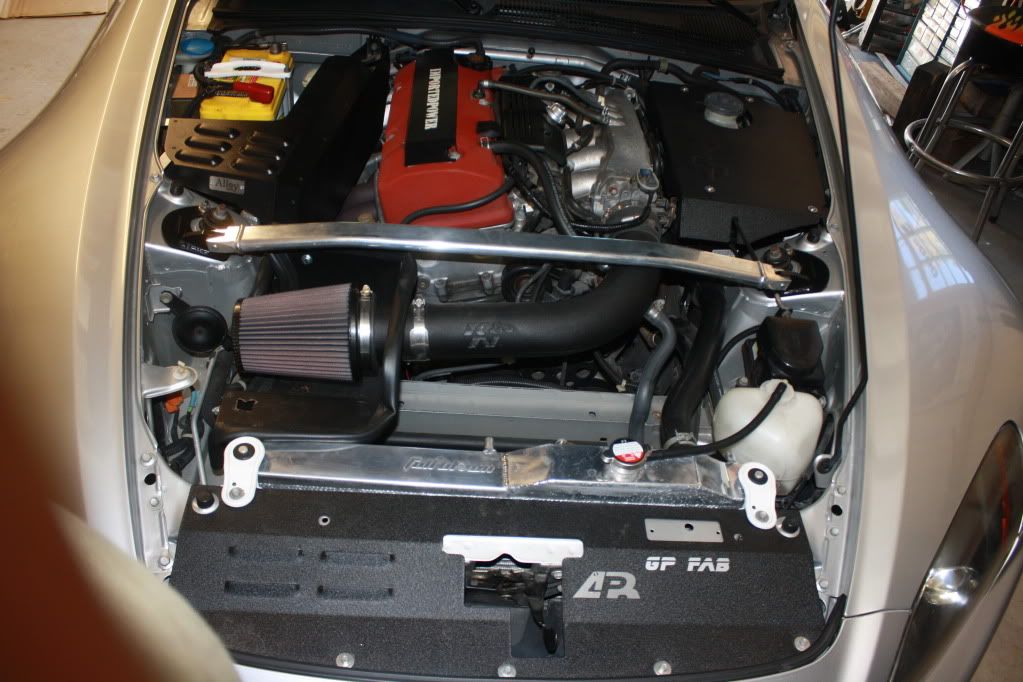
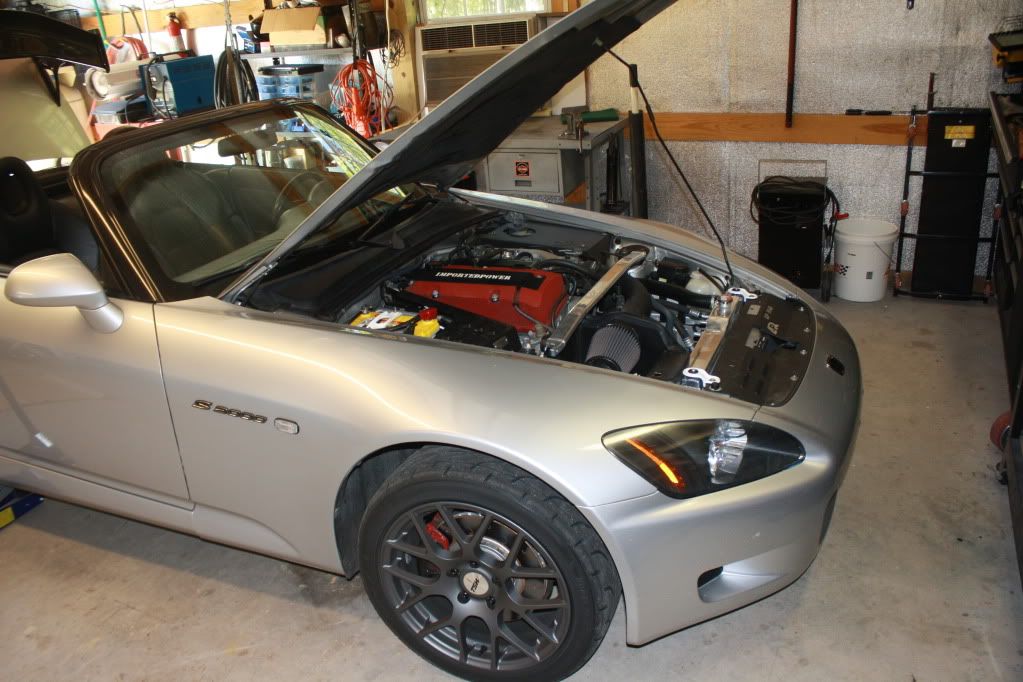
Hope this helps, also writing the side diffuser part now, and some pics, for those who are interested
Hope this helps, also writing the side diffuser part now, and some pics, for those who are interested
10-17-2011, 09:40 PM
#9
Registered User


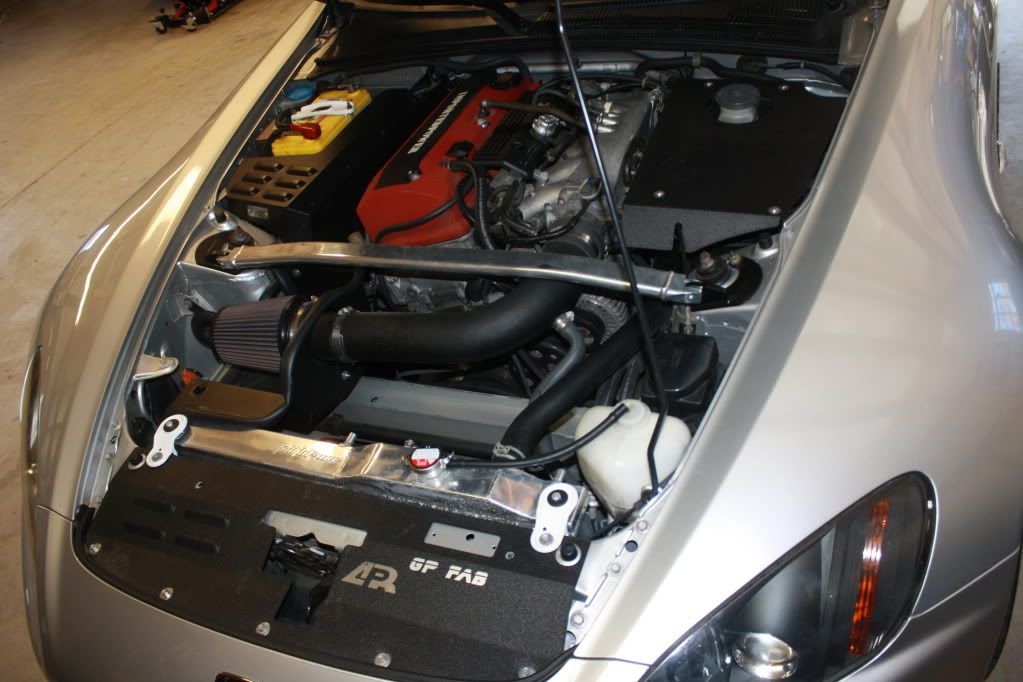
Nice. I don't like the engine bay "covers". One big thing I like about the s2k, is that the engine bay isn't covered up in plastic like most cars.
A little OT. I'm rocking the same rims and tires. You have any rubbing in the front? What's your suspension set-up?
A little OT. I'm rocking the same rims and tires. You have any rubbing in the front? What's your suspension set-up?
10-18-2011, 04:14 PM
#10
Registered User
Thread Starter
Join Date: May 2010
Location: Columbia, South Carolina
Posts: 1,408
Likes: 0
Received 1 Like
on
1 Post
Stock suspension, no rubbing, even under harddddd turns/bumps/etc
Front: 17x7.5 Off Set: 45 Tire: 215/45
Rear: 17x9 Offset: 63 Tire: 255/40
and they show off my SOS brakes =D
Front: 17x7.5 Off Set: 45 Tire: 215/45
Rear: 17x9 Offset: 63 Tire: 255/40
and they show off my SOS brakes =D