CR wing removal project...
 12-21-2009 | 06:09 PM
#1
Thread Starter
Joined: Sep 2004
Posts: 6,224
Likes: 4
From: Orange County, CA
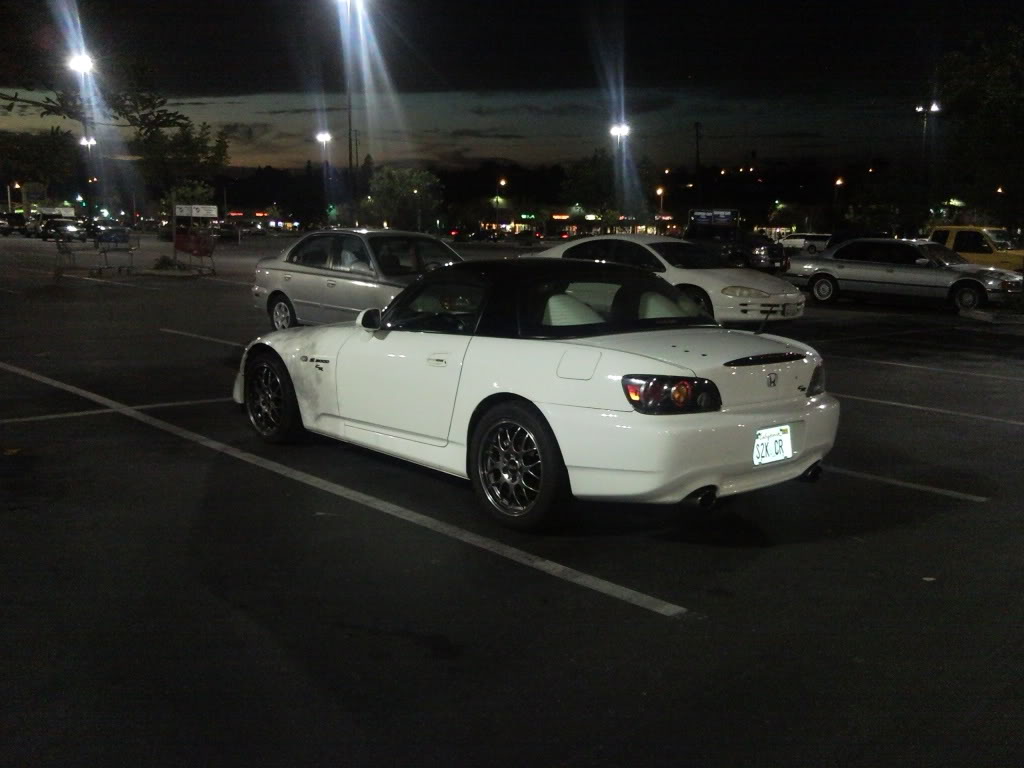
So, I've been thinking about taking the wing off as an experiment, and for some reason, I felt extra motivated today.
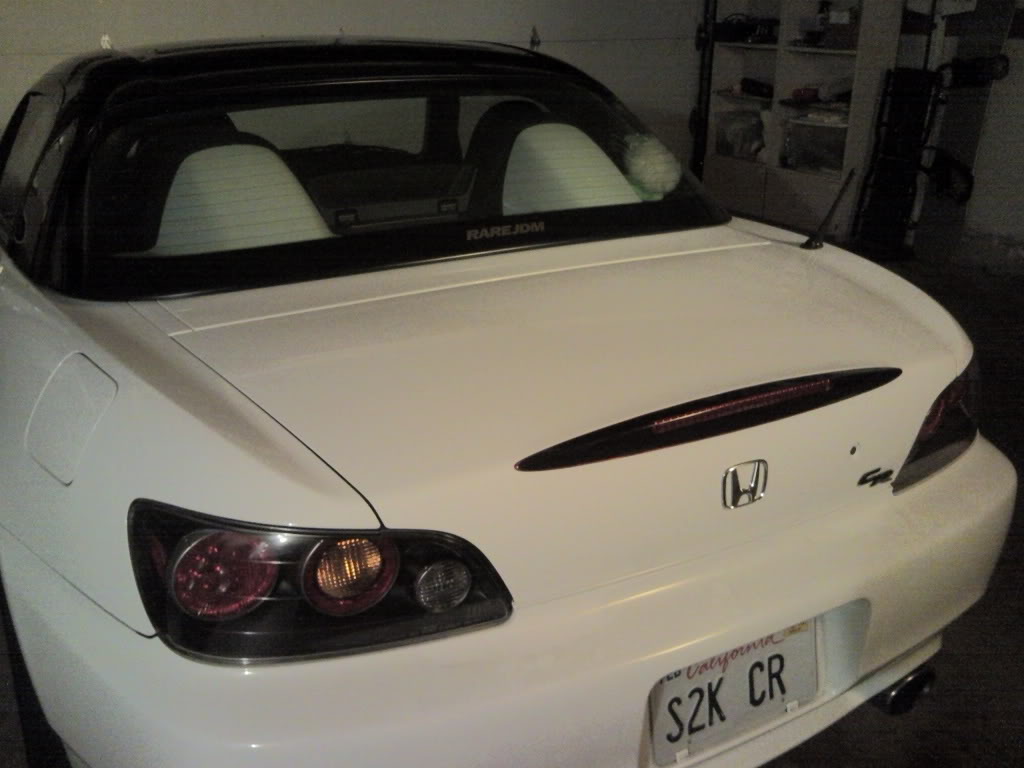
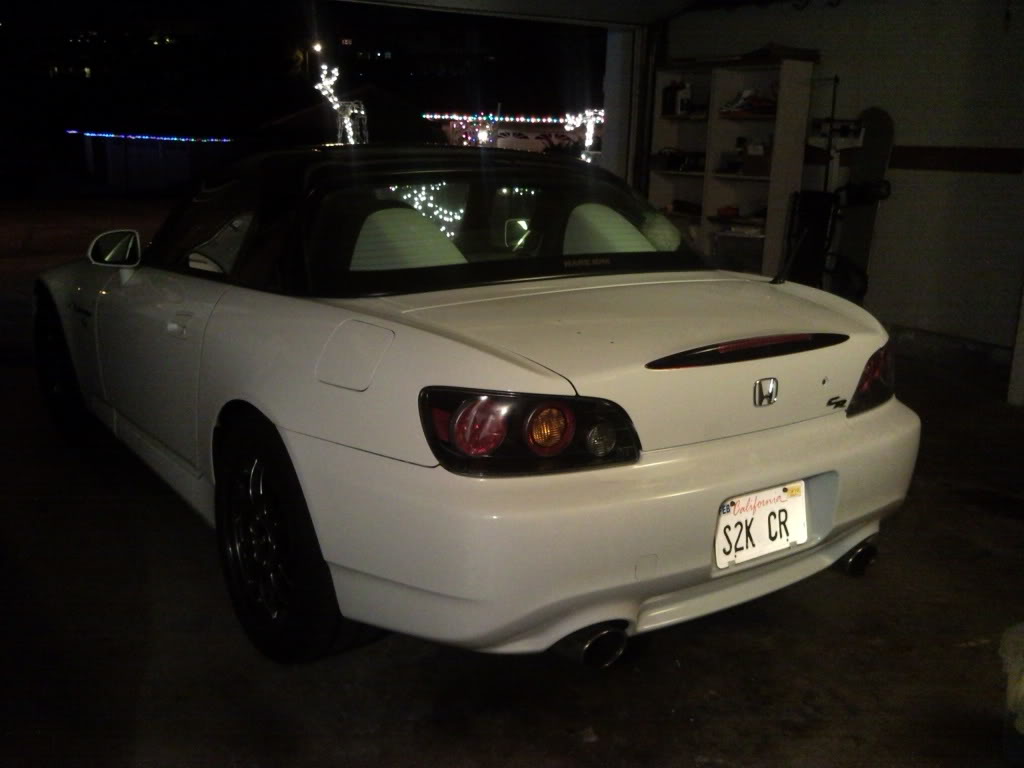
Taking the actual wing off is easy. It is held on by four bolts and two nuts, all 10mm, easily accessible by opening your trunk. My recommended procedure would be to take off the four bolts first, and then take the two nuts off with the trunk "almost closed" to prevent excessive movement of the wing. The two bolts sticking out of the wing will prevent it from sliding off. In my case, the mounts were "etched" into my trunk, and didn't move at all until I lifted it off.
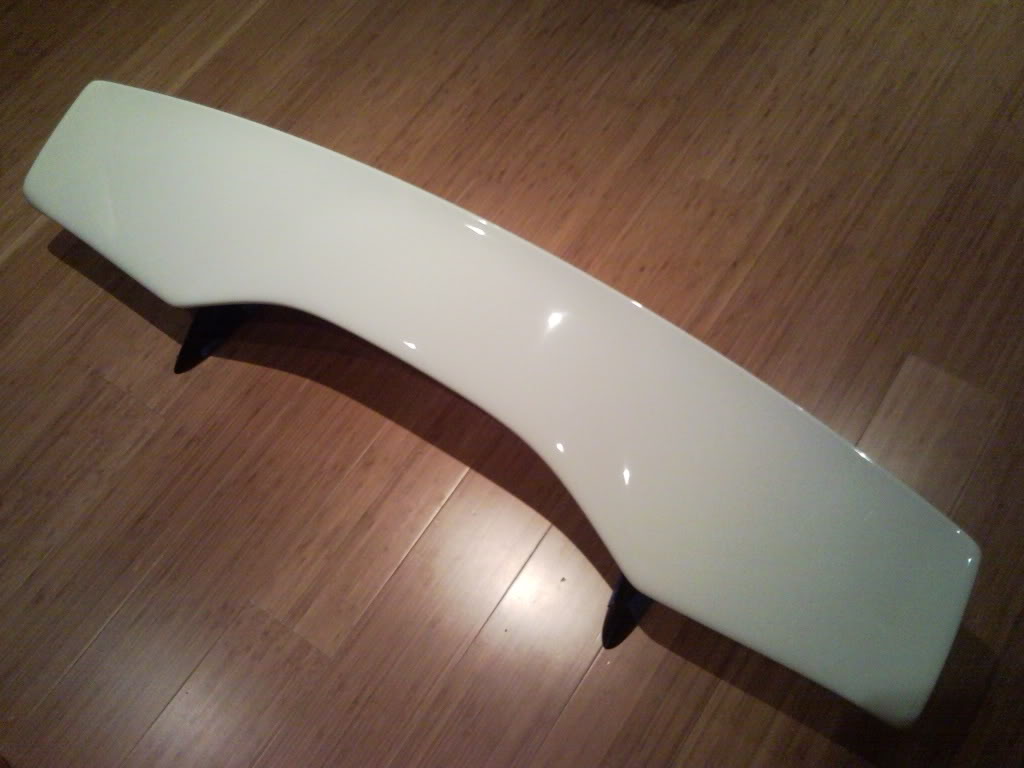
Initial pictures
Shot at Lowes, while I was picking up paint-friendly residue remover, white electrical tape, and some other goodies. Black electrical tape was used in the meantime.
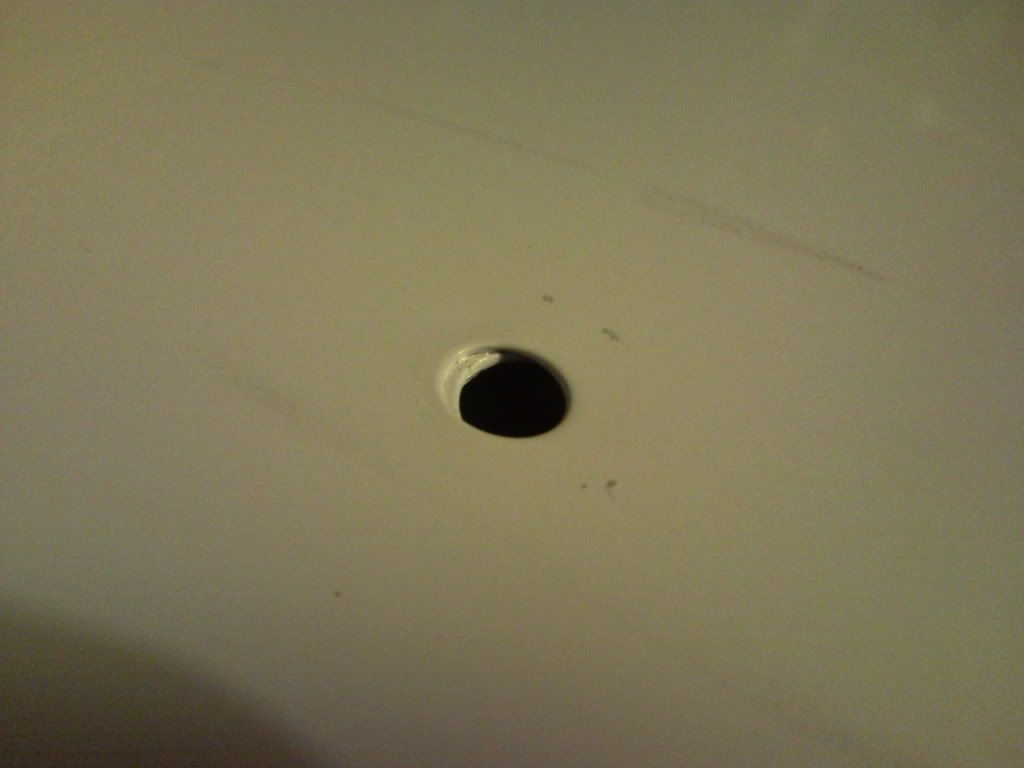
Here is a shot of the holes on the truck.
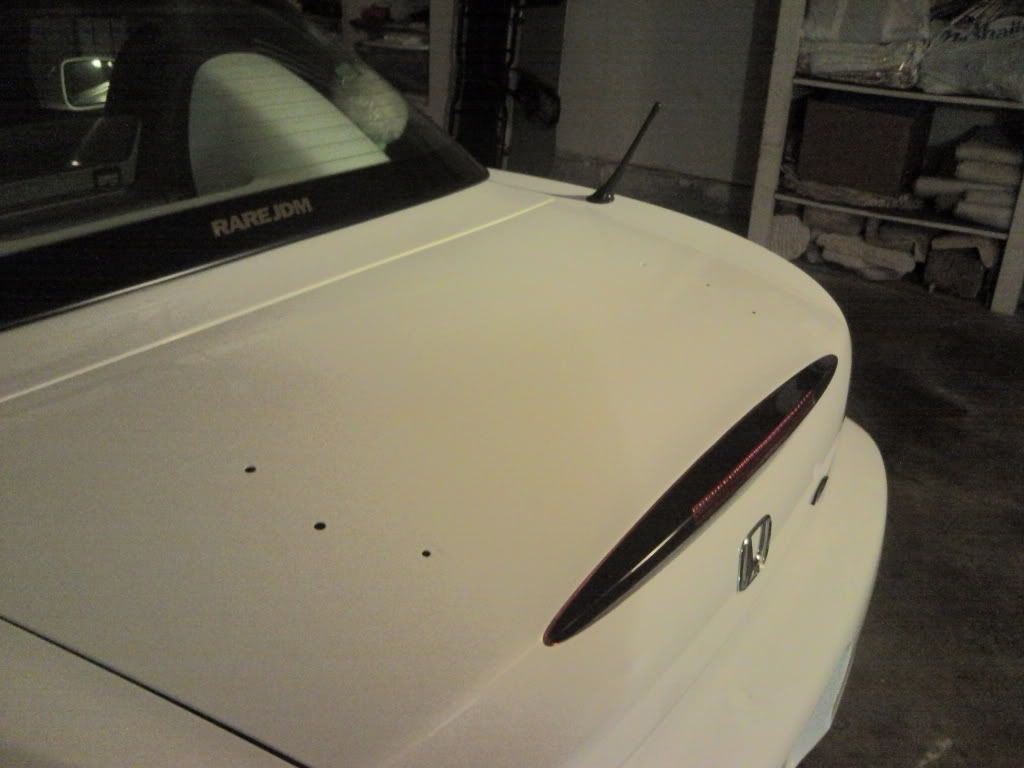
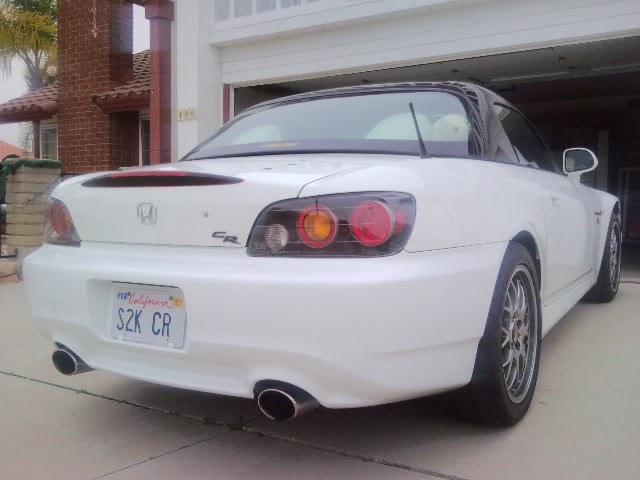
You can see the "Etching" from the wing mounts. It is actually completely through the clearcoat from the force exerted. The damage is similar on either side, and will provide a guide to where to put the wing on when it goes back on. There is a bit of "play" in where the wing can be mounted, so I may push it back as far as I can for that extra tidbit of downforce.
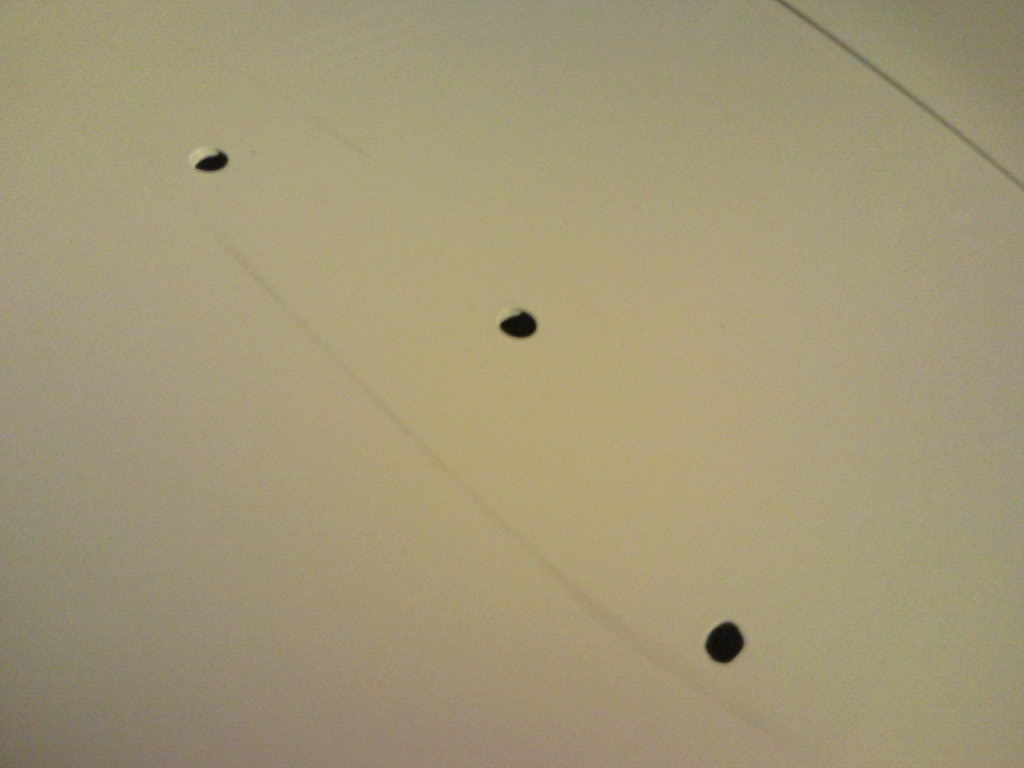
The holes are drilled at the factory BEFORE the trunk is even painted! The reinforcements under the trunk are drilled beforehand as well; you can see that it is slightly offset.
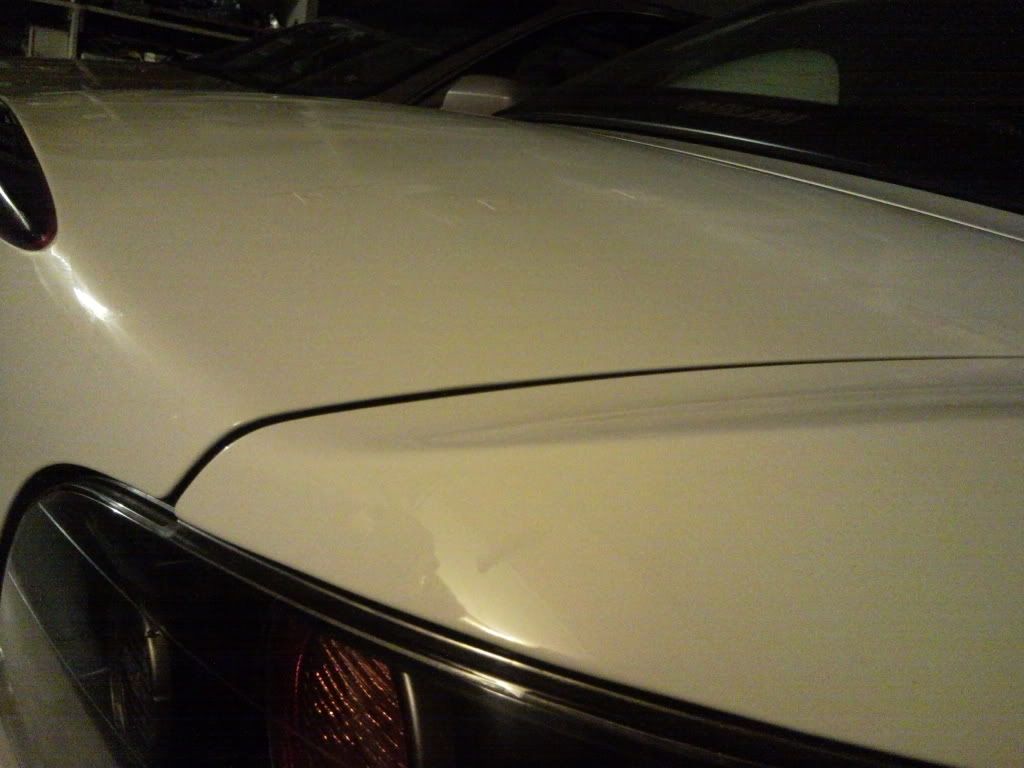
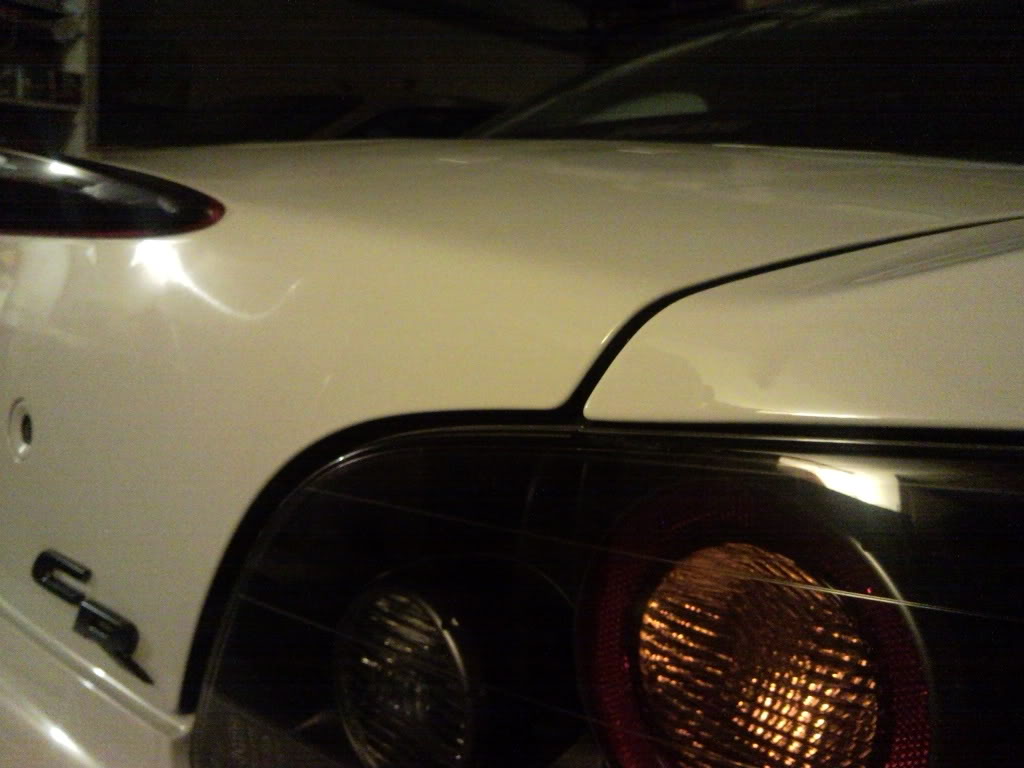
Also, another thing to note, is that without the spoiler, the trunk opens rather violently. Don't use the trunk release without having your hand on the trunk! The torsion bars are so strong that without the weight of the spoiler, the trunk's fitment is affected!
Some pictures to illustrate:
Taking the actual wing off is easy. It is held on by four bolts and two nuts, all 10mm, easily accessible by opening your trunk. My recommended procedure would be to take off the four bolts first, and then take the two nuts off with the trunk "almost closed" to prevent excessive movement of the wing. The two bolts sticking out of the wing will prevent it from sliding off. In my case, the mounts were "etched" into my trunk, and didn't move at all until I lifted it off.
Initial pictures
Shot at Lowes, while I was picking up paint-friendly residue remover, white electrical tape, and some other goodies. Black electrical tape was used in the meantime.
Here is a shot of the holes on the truck.
You can see the "Etching" from the wing mounts. It is actually completely through the clearcoat from the force exerted. The damage is similar on either side, and will provide a guide to where to put the wing on when it goes back on. There is a bit of "play" in where the wing can be mounted, so I may push it back as far as I can for that extra tidbit of downforce.
The holes are drilled at the factory BEFORE the trunk is even painted! The reinforcements under the trunk are drilled beforehand as well; you can see that it is slightly offset.
Also, another thing to note, is that without the spoiler, the trunk opens rather violently. Don't use the trunk release without having your hand on the trunk! The torsion bars are so strong that without the weight of the spoiler, the trunk's fitment is affected!
Some pictures to illustrate: