
Windscreen washer pump replacement DIY guide
 07-21-2013, 01:44 PM
#1
Registered User
Thread Starter
Join Date: Aug 2008
Location: Stamford
Posts: 2,520
Likes: 0
Received 0 Likes
on
0 Posts
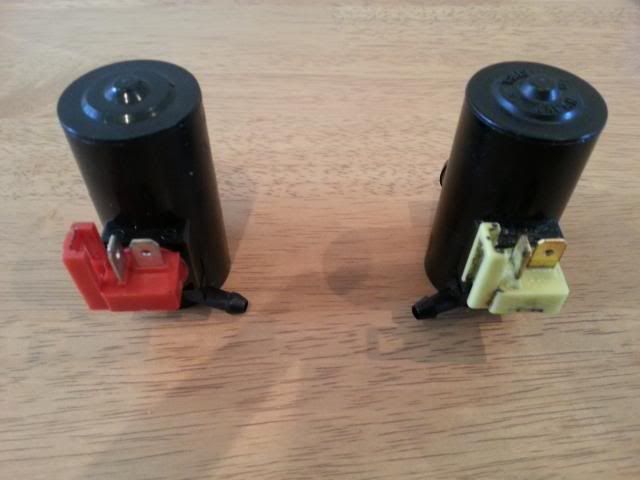
My washer pump packed in a little while ago, and with the MOT due it was time to fix it. I purchased a replacement pump for the grand sum of £4.91 from Amazon UK LINK (if the link doesn't work just search for "S2000 washer pump" on Amazon). There is a slight difference with the new pump in that the outlet nozzle is on the opposite side, but as you'll see later, this doesn't really matter. In this picture you can see the new pump on the left and the original pump on the right, note the different location of the outlet nozzle, but more importantly the matching electrical connectors.
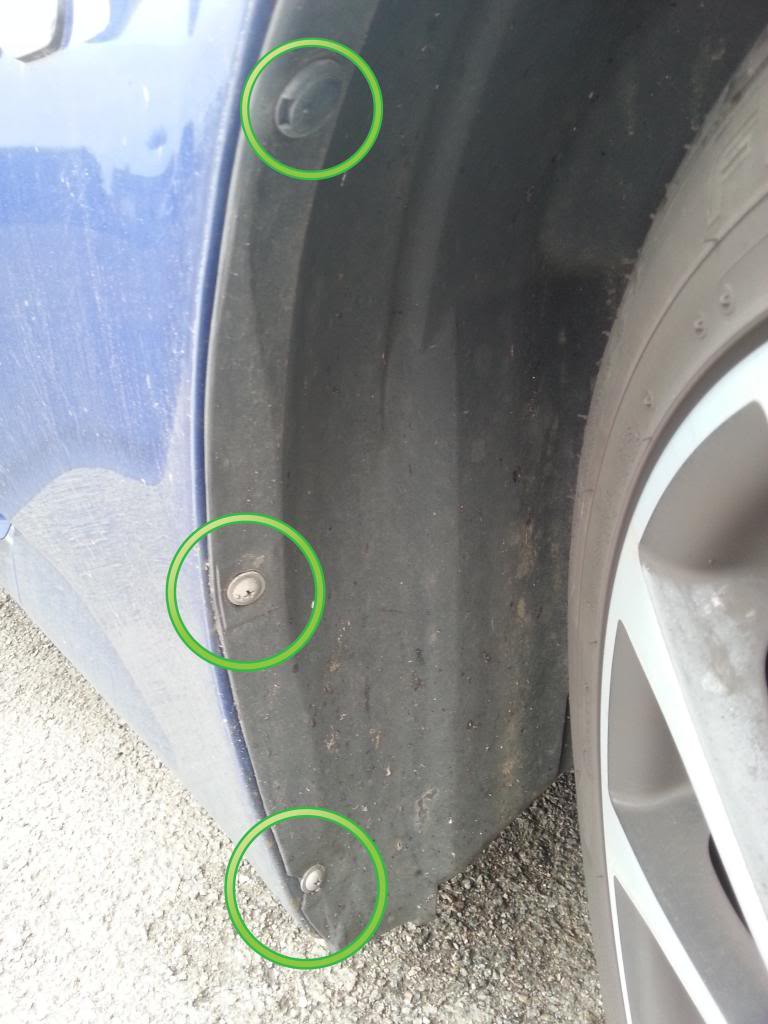
To gain access to the washer pump (located in the drivers side front wheel well), turn the steering wheel all the way to the right and undo the 2 philips screws at the bottom and middle of this pic and unpop the fastener at the top.
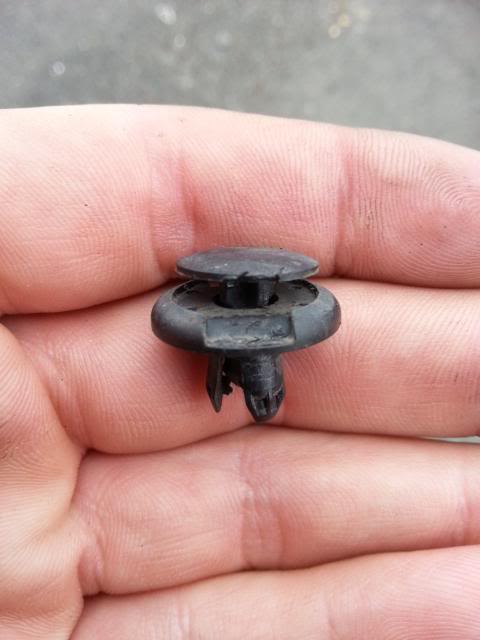
If you've never seen these fasteners before, here's a close up of one. To remove them, just pop out the centre part using a small flat head screwdriver and pull them out.
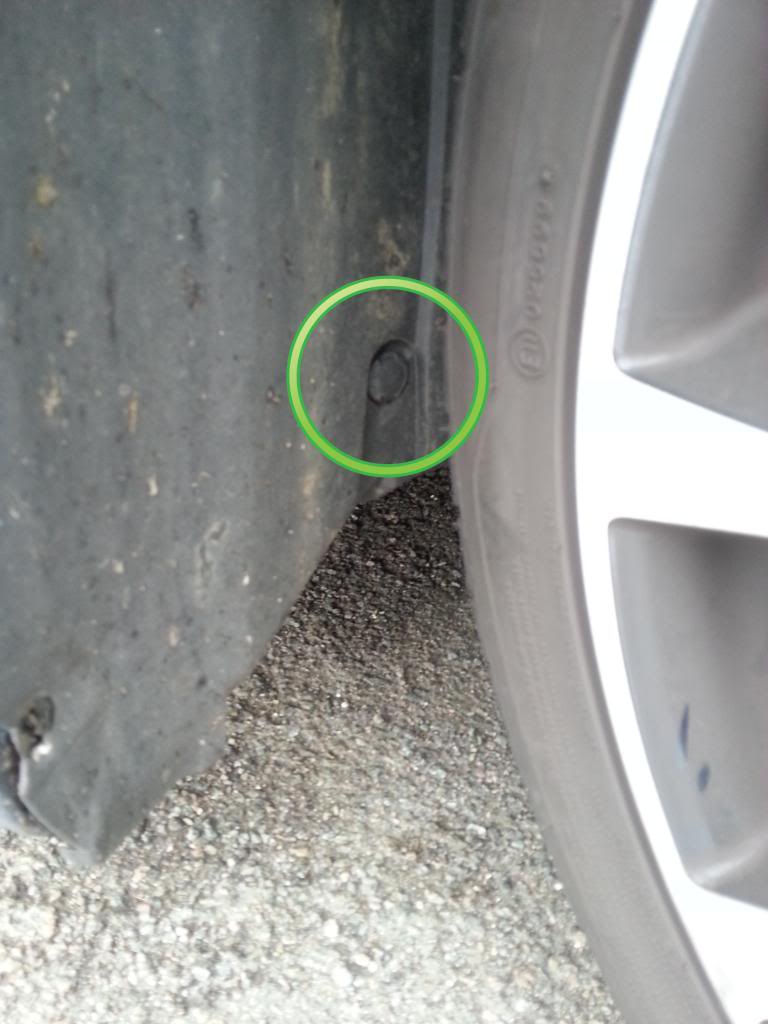
There is another fastener located further inside the well as you can see in this pic, remove this one too.
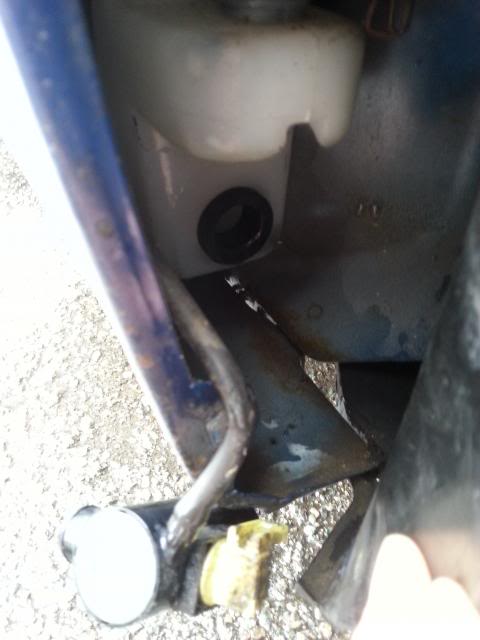
You can now bend back the inner trim slightly to reveal the bottom of the washer pump reservoir and the all important washer pump. It was a little grubby in there and you can probably see some minor rust spots appearing on the wheel arches probably caused by stone chips. Note how the outlet hose is routed as we'll be making a slight change to this later.

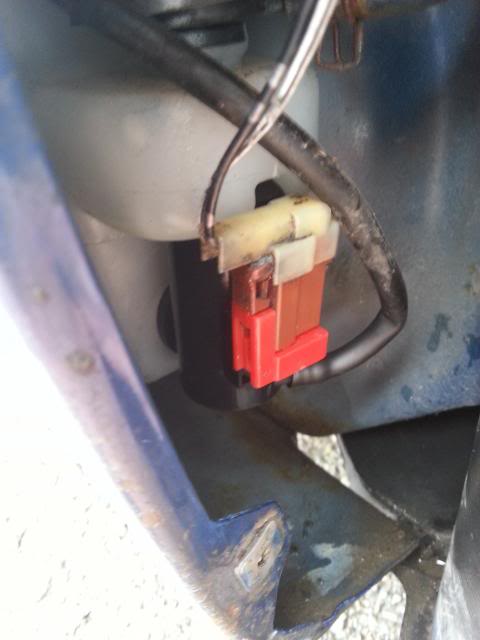
Disconnect the electrical connector, and at this point it's probably a good idea to check if your new pump works. Just plug it in, turn the ignition on and flick the windscreen washer stalk and you should hear the pump buzz into life. To remove the pump it's a small case of brute force, access is fairly good and it didn't take too much force to pull the pump free. Be aware that any washer fluid in the reservoir will start to pour out once the pump starts to free, I used a bucket to catch the worst of it. Here's a pic of the pump removed but still connected via the outlet hose, note the black grommet left behind in the tank, yours may come away with the pump. The outlet hose will simply pull off the pump outlet nozzle.
To fit the new pump, I first smeared a little washing up liquid around the pump inlet nozzle to help it slide into the tank grommet. Once again, it will take a little bit of force to fit the new pump, but it isn't difficult. Here's a pic of the new pump fitted.
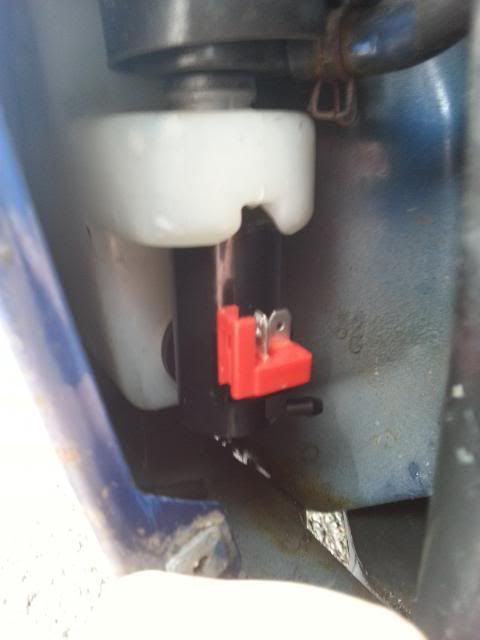
Re-connect the electrical connector and the outlet hose, note the slightly different routing of the hose to accommodate the different position of the outlet nozzle.
Fill up the washer reservoir and check for leaks, mine did leak initially but a little bit of jiggling to position the pump better soon fixed that. And finally, before re-attaching the trim, check the new washer pump is working. All in all, a very simple job that took about 20 minutes, I hope this helps.

To gain access to the washer pump (located in the drivers side front wheel well), turn the steering wheel all the way to the right and undo the 2 philips screws at the bottom and middle of this pic and unpop the fastener at the top.

If you've never seen these fasteners before, here's a close up of one. To remove them, just pop out the centre part using a small flat head screwdriver and pull them out.

There is another fastener located further inside the well as you can see in this pic, remove this one too.

You can now bend back the inner trim slightly to reveal the bottom of the washer pump reservoir and the all important washer pump. It was a little grubby in there and you can probably see some minor rust spots appearing on the wheel arches probably caused by stone chips. Note how the outlet hose is routed as we'll be making a slight change to this later.

Disconnect the electrical connector, and at this point it's probably a good idea to check if your new pump works. Just plug it in, turn the ignition on and flick the windscreen washer stalk and you should hear the pump buzz into life. To remove the pump it's a small case of brute force, access is fairly good and it didn't take too much force to pull the pump free. Be aware that any washer fluid in the reservoir will start to pour out once the pump starts to free, I used a bucket to catch the worst of it. Here's a pic of the pump removed but still connected via the outlet hose, note the black grommet left behind in the tank, yours may come away with the pump. The outlet hose will simply pull off the pump outlet nozzle.

To fit the new pump, I first smeared a little washing up liquid around the pump inlet nozzle to help it slide into the tank grommet. Once again, it will take a little bit of force to fit the new pump, but it isn't difficult. Here's a pic of the new pump fitted.

Re-connect the electrical connector and the outlet hose, note the slightly different routing of the hose to accommodate the different position of the outlet nozzle.

Fill up the washer reservoir and check for leaks, mine did leak initially but a little bit of jiggling to position the pump better soon fixed that. And finally, before re-attaching the trim, check the new washer pump is working. All in all, a very simple job that took about 20 minutes, I hope this helps.

 07-21-2013, 11:35 PM
#3

Looks good, thanks for the guide. Did you look/find any uprated pumps? The jets are a little pathetic as standard.


 07-24-2013, 02:54 AM
#7
This is about the windscreen pump, the headlamp one can be seen plugging into the same water reservoir in the top half of some of the pics - it has a much bigger diameter output pipe. I'm also not sure, but you might need to loosen the wing to get access to the securing bracket for the headlamp pump.
Trending Topics
10-15-2014, 12:08 PM
#10
Registered User


Join Date: Jul 2005
Posts: 674
Likes: 0
Received 0 Likes
on
0 Posts
Thanks for your detailed post! My pump seems to be working fine based on the noise I hear and the little squirts I get out of the nozzles.
My problem is that fluid isn't getting into the pump from what I can tell. All the lines from where I can access under the hood to the nozzles seem clear.
I put regular water in for a few weeks until I had a chance to get some windshield fluid. The problem started after that. Coincidence?
Has anyone else had a clog right at the top of the pump?