When you click on links to various merchants on this site and make a purchase, this can result in this site earning a commission. Affiliate programs and affiliations include, but are not limited to, the eBay Partner Network.
UK & Ireland S2000 CommunityDiscussions related to the S2000, its ownership and enthusiasm for it in the UK and Ireland. Including FAQs, and technical questions.
I hope this step by step guide helps those who are having troubling finding some where to install a PDA for sat nav.
Detailed below is a step by step guide for installing an HP2210 PDA sat nav using a Carcomm PDA cradle and vent mount.
Introduction
============
The reason for choosing a vent mount was that I found that the windscreen suction mount would virbrate too much and when I rested it on the dash board it would rub and leave a mark. I didn't want to stick anything to the dashboard as generally I found that after a period of time removing such items would also leave a mark.
The position of the windscreen mounts meant that they were more visible from the outside and would obstruct your line of sight, albeit very small and therefore opted for a different mount. Another option would be the centre console mount, but for me this was already taken by the mobile phone. The ideal position would have been just above the HU vents in the centre of the dashboard, but how the hell
do you mount anything there without fabricating you bracket etc. I looked into this, but the main problem was were to secure the bracket to.
This led me back to vent mounts using the left hand drivers vent. I had looked at these before, but found that they were always too close to the indicator stalk and would cover the heating controls....or so I thought!
With a bit of modification and some cunning thought I have managed to intsall a PDA cradle mount using a vent clip in the left-hand drivers vent. The vibrations are minimal, and no holes or sticky pads are required.
Parts Used
==========
PDA mount
---------
Manufacturer: Carcomm (www.carcomm.nl)
Type: HP2210 IPAQ
Part #: CMPC-04
Availablity: Total PDA (www.totalpda.com)
Comments:-
I decided on this mount firstly because the power supply was built into the mount. Secondly, all the connections to the PDA are bought out on a single cable with the appropriate connectors. This makes for a neater intsall and all the connectors can be dicretely hidden under the dash. Also, all the connectros have 5V power to enable powering of sat nav receivers.
Vent Clip
---------
Manufacturer: Clip Company (www.theclip.com)
Type: Vent Mount
Part #: 16152
Availablity: Global Positioning (www.globalpositioningsystems.co.uk)
Comments:-
Not the ideal clip as it doesn't have the "standard" mount bracket, but this meant that the cradle would be more flush with the dash and not interfer with the control stalks. Personaly the Siedo vent mount is a better option as the clips that go into the vent have locking tabs, which stops the vent clip being pushed further into the vent.
Fuse Holder
-----------
This holder was the 30mm glass type variety and since the cigarette plug that was attached to the Carcomm cable also had a 30mm fuse it saved me a few pennies. Also, the fuse holder had the correct Faston or female spade connector already fittted. The other end had a ale spade connector, which was removed. Obtain from my local Motorist Centre.
Other
-----
PVC tape - required for insulating and tieing up cables out of the way.
Inline Butt Connector(Red) - used to connect the fuse holder to the Carcomm power cable.
Open Ring Connector(Blue) - used to connect the Carcomm ground to the chassis point.
Installation
============
1) The PDA mount/cradle showing connectors
------------------------------------------
For my install the cigarette plug was cut off and the fuse inside was put aside for fitting into the new fuse holder. I was thinking of just wiring an additional cigarette lighter socket under the dash, but I didn't see the point and I could always wire the old plug back on if I wanted to.
Carcomm PDA cradle/mount
2) Drilling mounting holes in Vent Clip for cradle
--------------------------------------------------
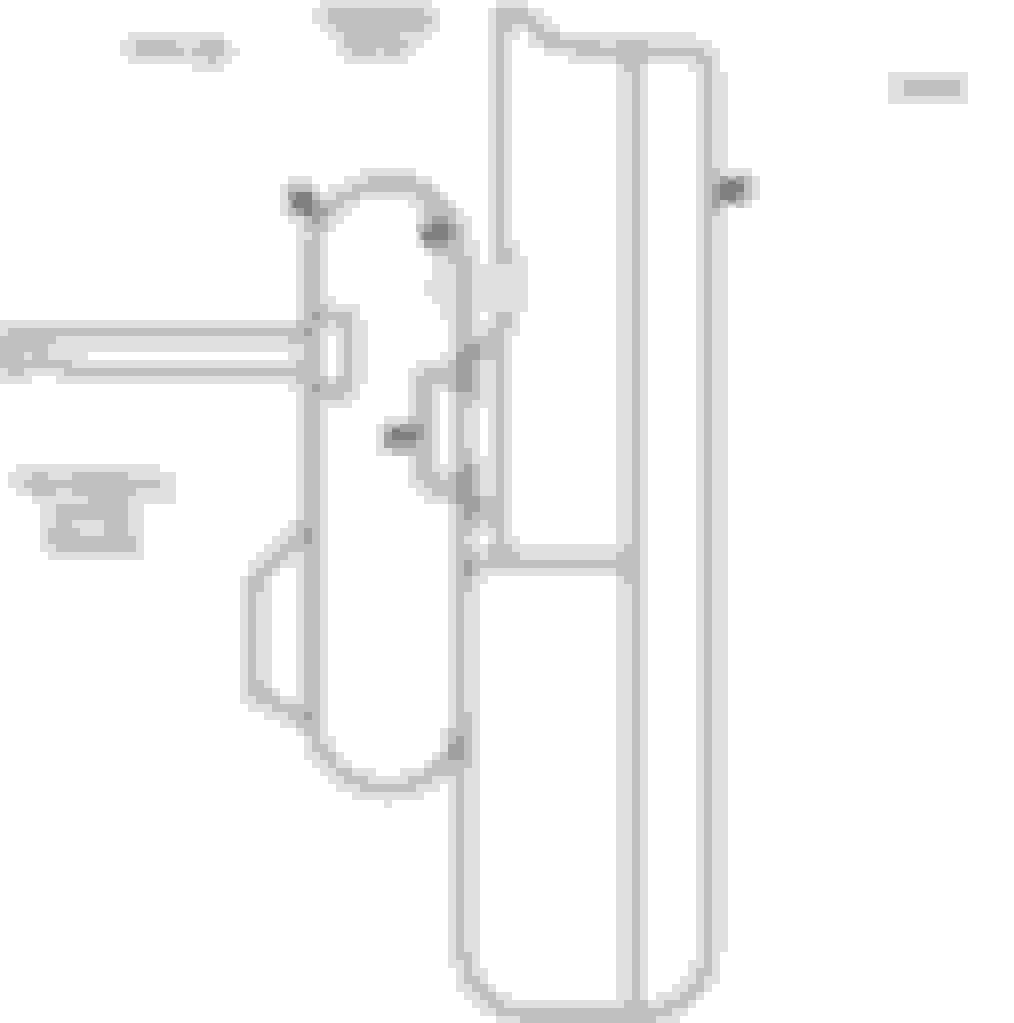
A trial fitment on the drivers left hand vent found that only the lower two holes of the cradle could be utilised as the cradle would sit to low and interfere with the indicator stalk and cover the heating controls. The vent clip was drilled as shown in the picture below. Note: holes drilled are towards the top of the vent clip.
Vent Clip Drilled Holes
3) Mounting the cradle to the Vent Clip
---------------------------------------
Initially I screwed the cradle directly to the Vent clip, but I found that due to the way I had positioned the Vent clip it would distort the cradle such that when the PDA was inserted it would mis-align with the connector. The solution was to "pack-out" between the vent clip and the cradle. Although, partially effective I found that if you tightened the screws too tight, distortion would still occur. So, by trial and error of fitting the PDA and changing the tightness of the screws a happy medium was found. Hopefully, they don't come loose, but if they do I would change the nuts that have nylock.
Section of Vent Clip to Cradle Mounting
Photo of Vent Clip to Cradle Mounting
4) Mounting in the Left-hand Drivers Vent
-----------------------------------------
The top two clips, of the vent clip, are attached to the drivers vent as shown in the photo. Make sure that the cradle and clip are slid to the left to give the most clearance between the cradle and the indicator stalk.
The adjustable bottom support of the vent clip is tucked into the bottom slot of the drivers vent. This will bend the last horizontal bar of the drivers vent, but does give it that extra rigidness. I also found the looping the cable from the cradle around a over the top of the bottom support positioned it neatly out of the way.
Excellent write-up. If I was going to do this I'd probably mount it on the right rather than the left though where my b2 currently is - wire would then be hidden better plus I'm right handed.
Originally Posted by bigfecker' date='Feb 15 2005, 10:19 AM
excellent write-up. If I was going to do this I'd probably mount it on the right rather than the left though where my b2 currently is - wire would then be hidden better plus I'm right handed
I had considered this, but my reasoning for not mounting it on the right are:-
1) Potential of being knocked while getting in the car
2) I preferd the centre position, it just felt natural to look towards the centre
3) I wanted to keep it out of easy reach of the roadside, potential for theft
4) Mounting in the centre meant that the left hand brake could input the destination easier while driving.
5) For left handers it was easier to operate, hey but I am right...
The main one was 1) and 2), the others I have just made up and are unproven especially 4).....this has never worked so far
Mine is mounted exactly where yours is Andy, albeit in a different car. It's by far the safest position - still in your field of view with your eyes on the road, and very easy to check the screen when you need to.
Bigfecker,
I like the look of your b2 mount..
Im looking for a similar kind of mount suitable for my Navman ICN510
(similar size to your b2), as I find the suction cup mount on the window slightly annoying in terms of obstruction of vision.
What kind of mount are you using for your b2 ?
Is it a generic mount ?
Very good write up, I have been thinking about new gadgetry for a while but still haven't decided what route to go. I'll ignore the unintentional punn there. May go shopping soon

 02-14-2005, 02:50 PM