
Geo bush replacement weekend
 02-26-2012, 06:48 AM
#1
Registered User
Thread Starter
Join Date: May 2009
Location: Liverpool
Posts: 2,383
Likes: 0
Received 0 Likes
on
0 Posts
Afternoon all,
As several of you will know, I decided to undertake the challenge of replacing the siezed bushes on my MY03 before the summer starts. This was helped out by the fact that Ange and Ray (F3 ANG) had said that I could use their ramp and Ray would help me out. (Thanks again guys!!)
So, ordered the bolts etc and the bushes from Powerflex (Front arm lower front bush, Rear lower arm front and rear bushes and rear toe arm) and the complaince bushes from Si
Ordered front ARB links from Fleabay.
I decided not to do the upper bushes as all have been checked for movement and are fine - that and I'm not made of money!!
So, £130 for bolts, £220 for bushes and £25 for front ARB links. (The parts that I used up)
Saturday:
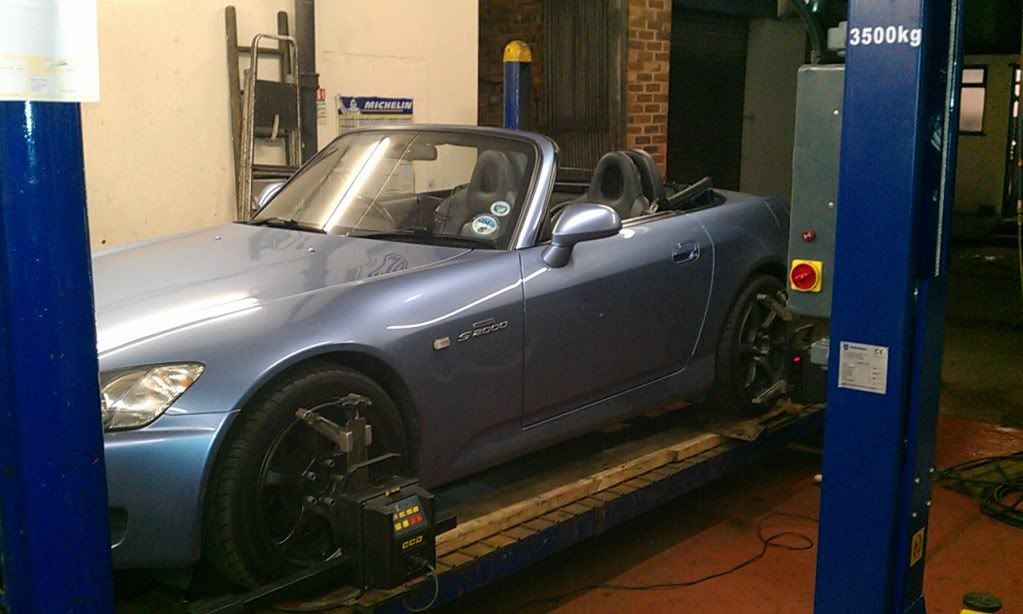
Arrived at the garage at 9am and after a bit of a chinwag, we decided to give the car a geo check on Ray's BEAR 300 system (the forefather of the Hunter system). This had been calibrate only a week or so earlier, so was in top form.
Printout...
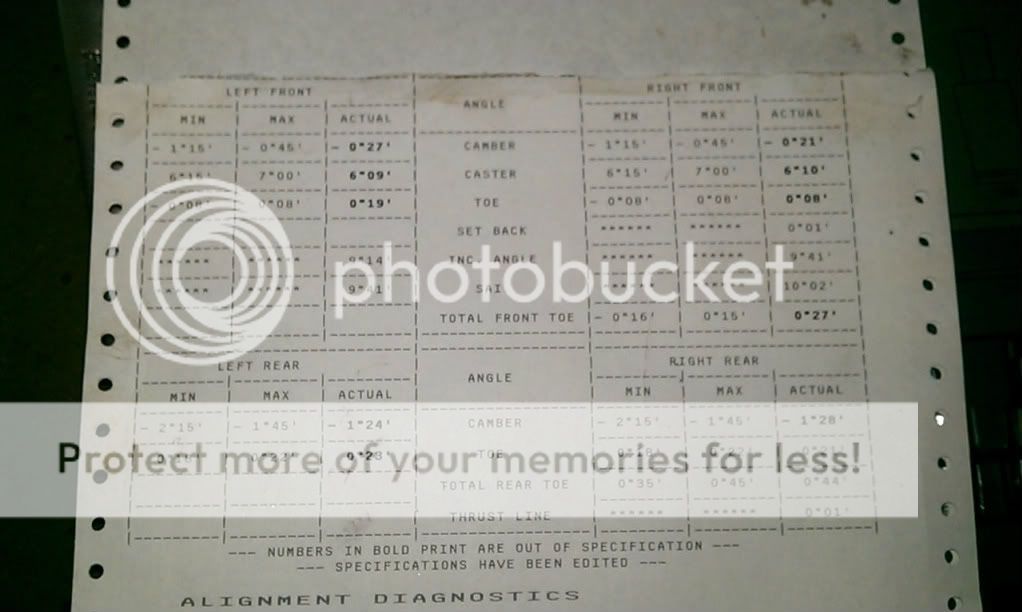
As you can see, most readings were similar on either side but most surprisingly, they were set closest to the MY00 settings.
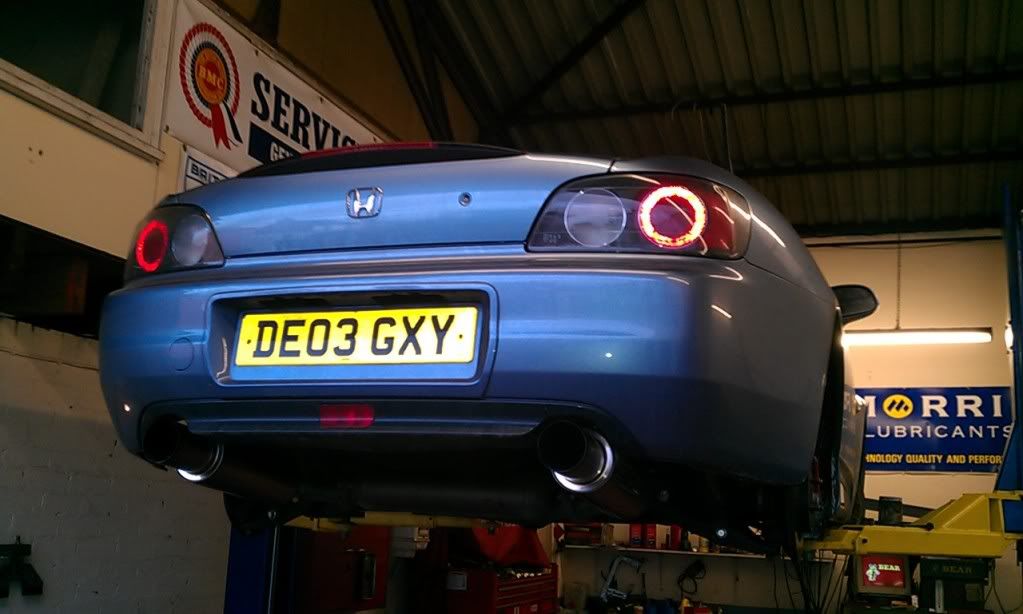
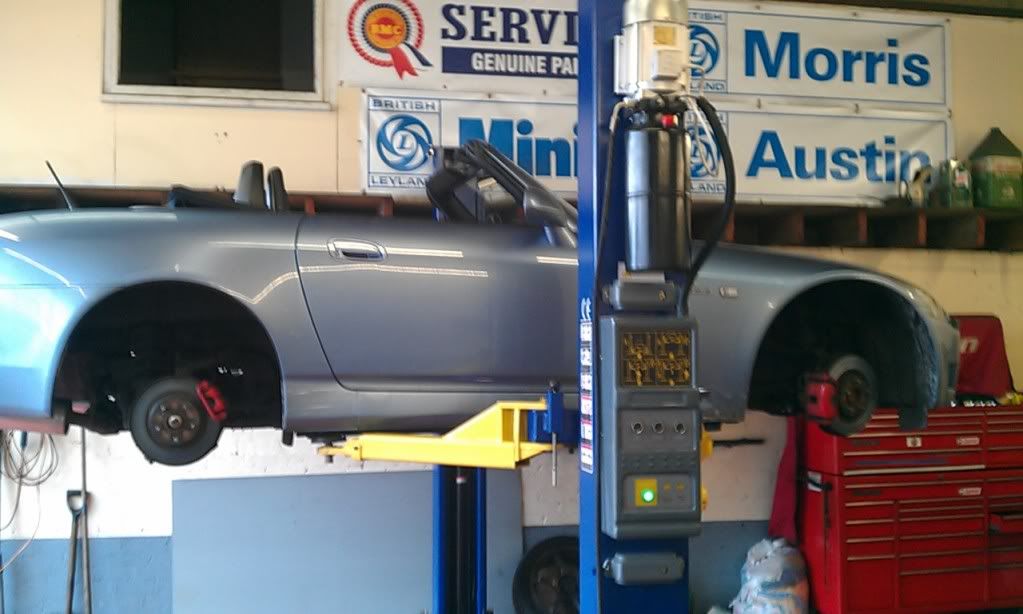
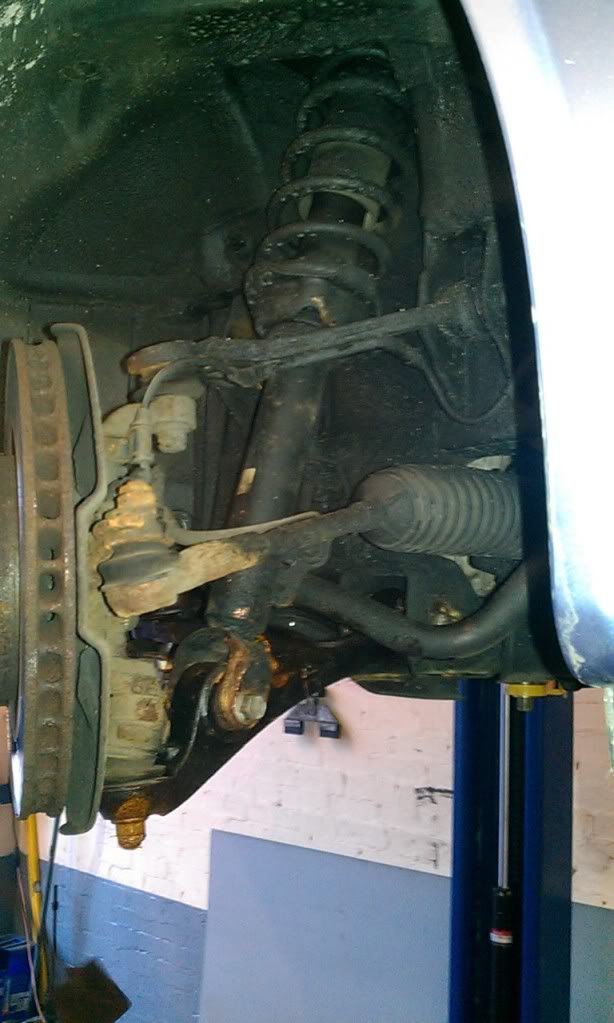
So, we then got the car on the ramp and the wheels came off...
So, with hammer, aluminium bar, reciprocating saw, chisel, countless spanners, angle grinder pry bar and breaker bar, we went to it.
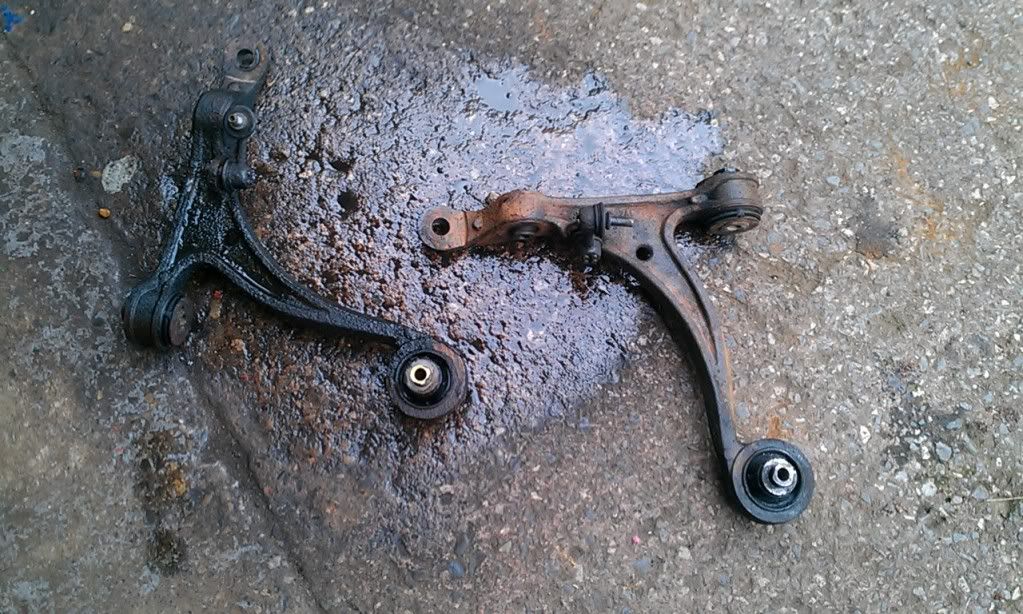
First to be attacked, the front...
ARB links were a bugger, so the these were cut out.
As it was, the bolts for the F/N/S camber adjustment bolt came out fine after unbolting the nut
Next came the caster. This was a different story and after much shocking, prying and breaking, the bu66er wouldn't move, so out came the saw.
So we set to it thinking this was going to take ages. 10 mins later bush and bolt cut cleanly through and with a bit of co-ercing, out came the entire wishbone.
I set to it cleaning it up and five mins later, the next one arrived in my bucket
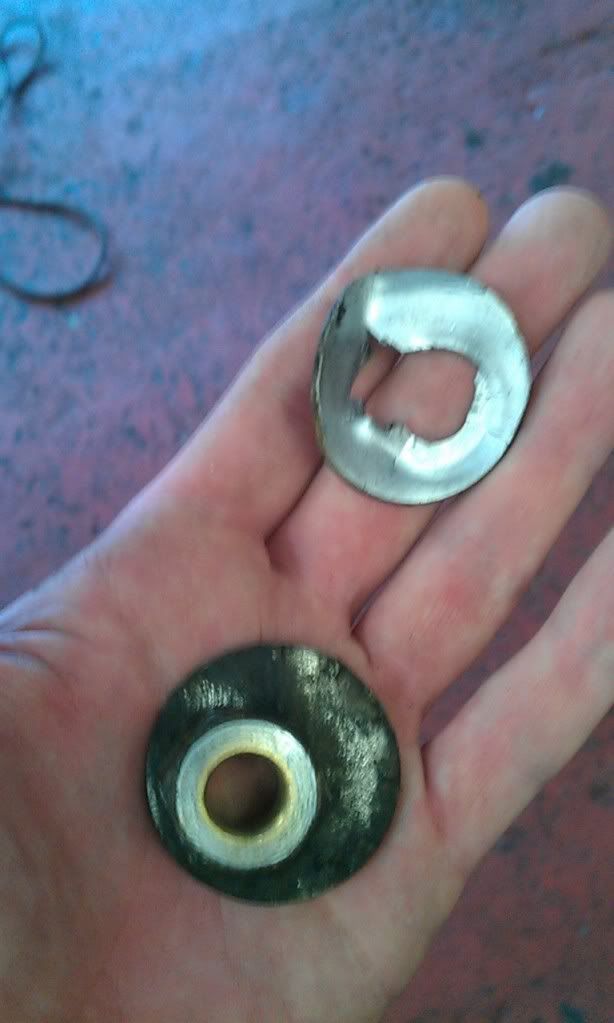
Turns out that the camber bolt came undone again (WIN!) and as Ray shocked the caster bush, the bolt head sheared in two, meaning it simply popped out.
Bolthead...
Arms to be cleaned...
After I had cleaned the waxoyl off them (sorry Ray!! ) we popped them in to the sandblaster for a light cleanup.
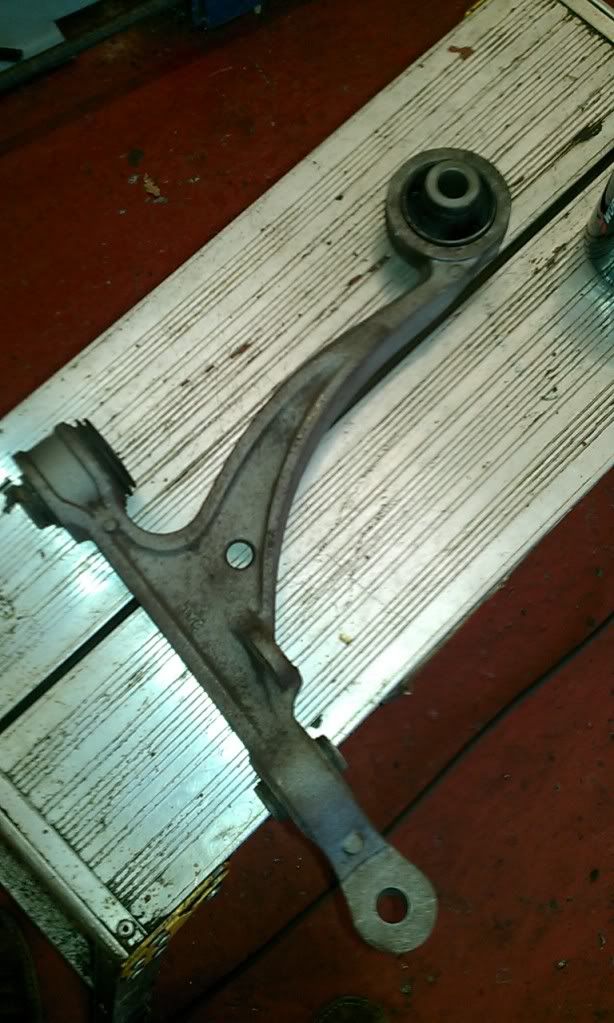
Like new...
So then, I started painting them - I applied rust proof spray (red) and then once dry coated them (poorly!) in black underbody paint.
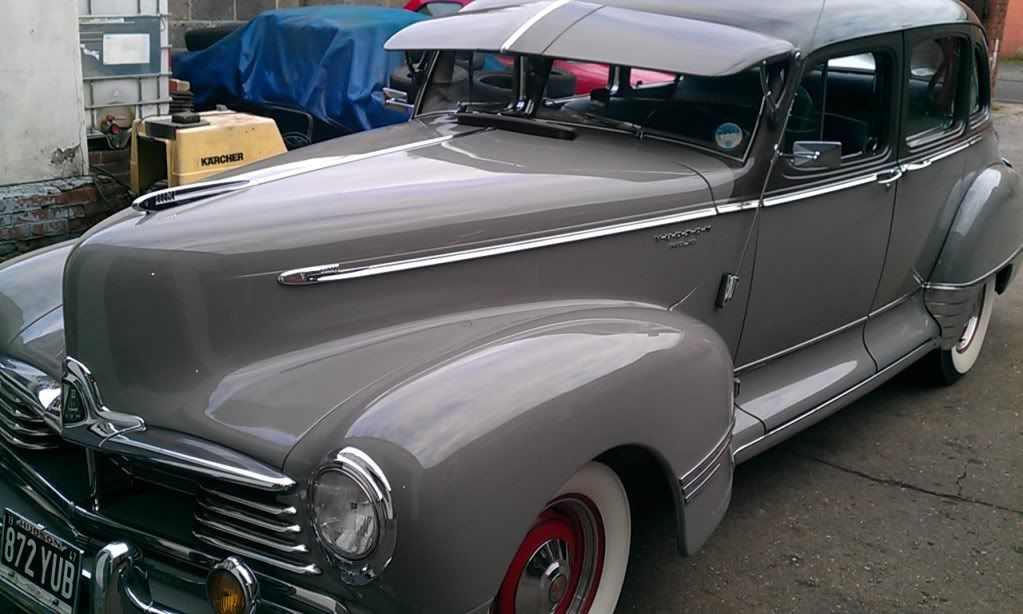
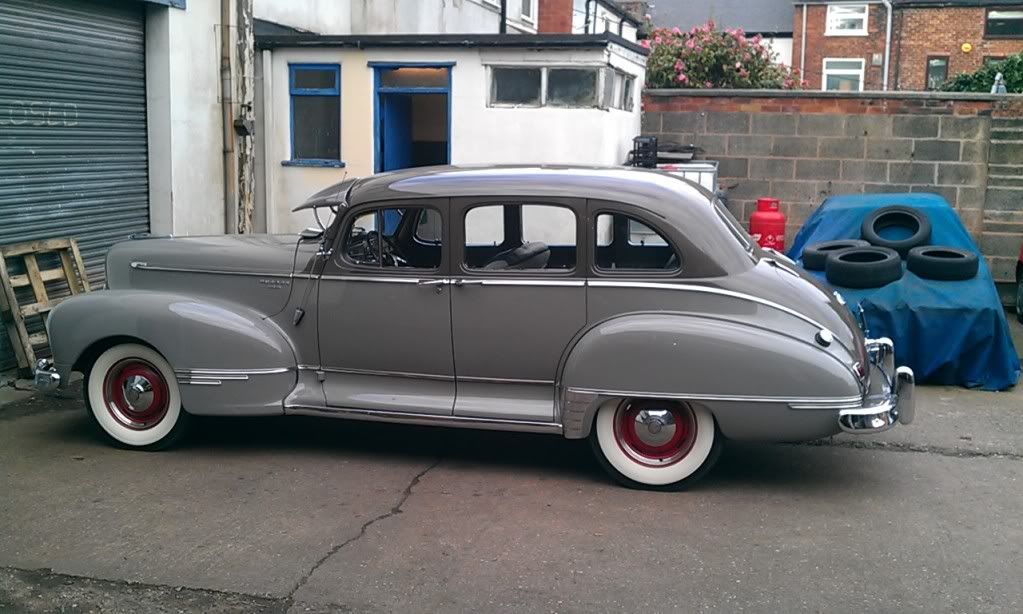
After that, this stopped by for some work to be done on Monday, so we had a look around it.
Old...
Shortly before lunch Ange arrived , so we had a drink and then Ange went to get lunch.
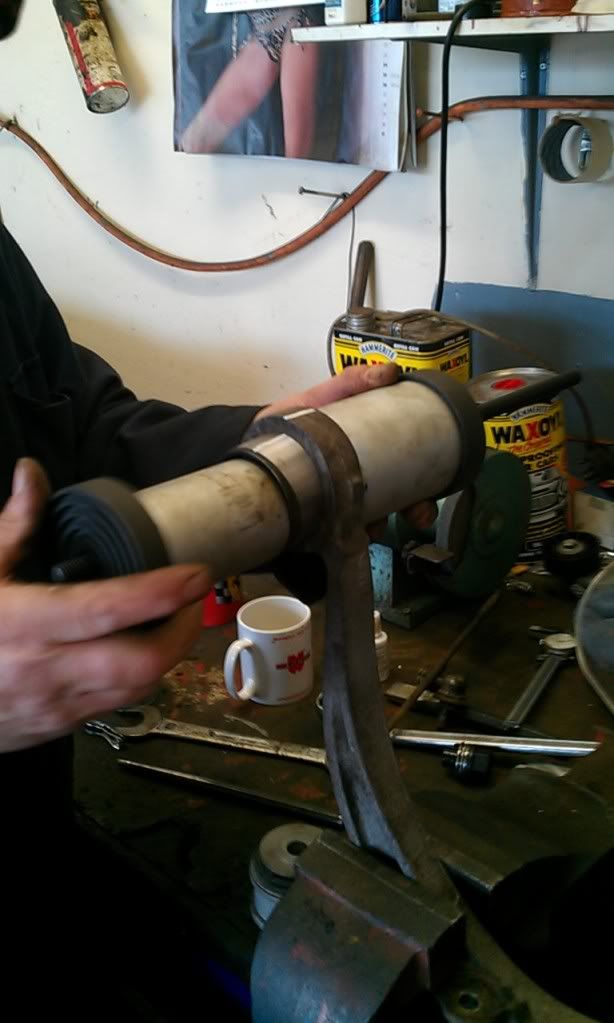
After lunch, Ray and I got back to getting the bushes out of the front wishbones. Seeing as the front bushes were still in really good condition, we got a rat tail file and smoothed the inside down. Next we went at the caster bushes. Ray does bush replacements on loads of old cars, so rather than using the ten tonne press, he had a go at it with his hand bush removers. The bushes came out no problem!
Bush remover...
After looking at the caster bush bolts, we took them for a sandblast to get the rust off and decided to re-use them - they'll be fine now the are absolutely smothered in grease!
The rear...
N/S/R first.
Removed the rear ARB's and the headlight levelling sensors, then tackled the bushes.
All nuts came undone (phew!) but the bolts were sticking a bit - this was where the aluminium bar came in.
Bar + bolt + hammer + whack = bolts popped out!
Toe arm. More of the same!
At this point, I said "We're on to a winner here!"
...I should have kept my mouth shut...
O/S/R.
As above - removed the rear ARB's and the headlight levelling sensors, then tackled the bushes.
Nuts came off, but the bolts were jammed tight - no amount of force was geting those feckers out, so out came the reciprocating saw again.
5 mins per bolt. Done.
More of the same for the toe arm, the little bu66er.
After that, I cleaned them down and we proceeded to get the bushes out.
We decided to try and cut the bush out, but this proved to be a bit of a sod, so after taking the top off it, trying with the hand press and then the ten tonner, we decided to burn it out.
Grinder...

Flames...
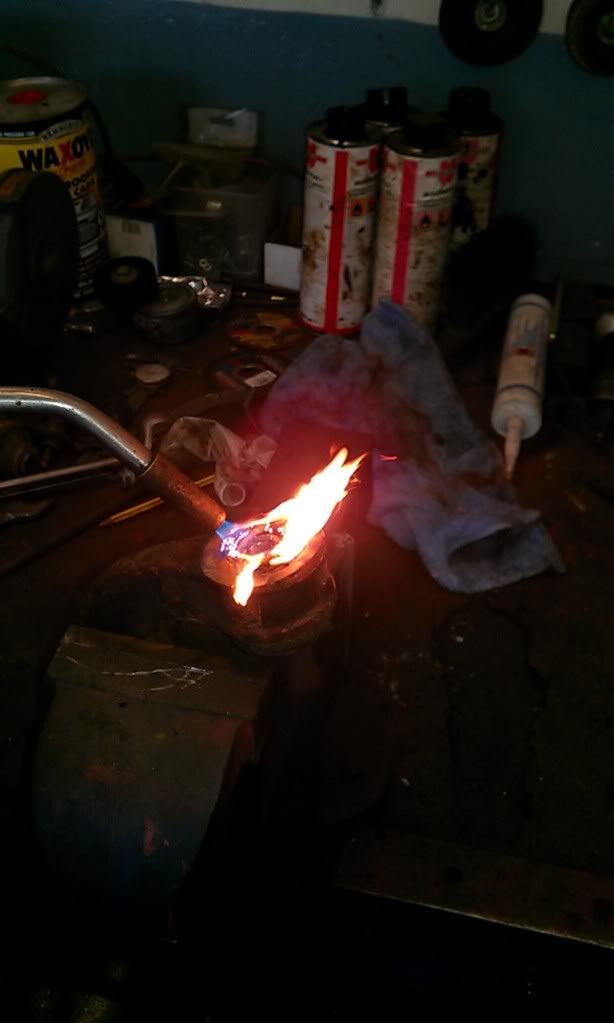
Bush popped out after that, and a little bit of hacksawing on the final collar put paid to that bush.
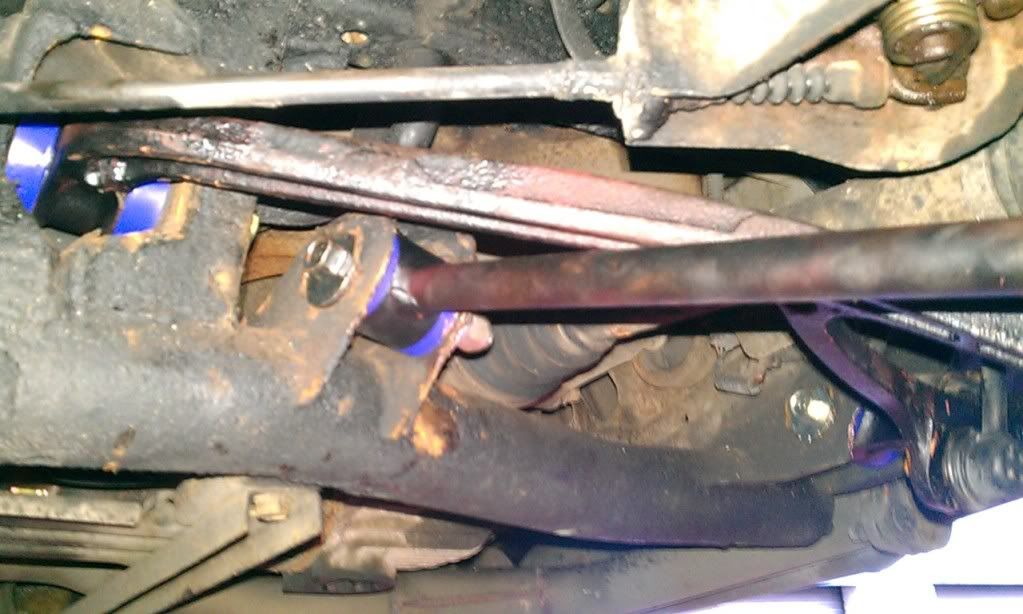
Repeat the above for the other wishbone, but without the grinding, pressing and swearing. Heat is our friend.
Back to the sandblaster with the arms, followed by another (bad) paintjob and we set to putting the front back together while they were drying.
Front pt II.
As the compliance bush came out with the hand press, we pushed the Mugen ones back in using the same hand press. Job done.
Next we put the arms back together using the cleaned up bolts and the replacement bolts and collars that I had ordered from CFL.
Plently of copper grease was used to ensure we wouldn't have a problem again.
New ARB's put in, again with grease.
Castle nuts replaced, ball joints re-set and grease applied. Front all done. (It was about 2pm at this point)
Rear part II
We then set to putting the Powerflex bushes together and set them in to the arms and toe arms using shoulder power and copper grease.
Next we used new bolts, nuts and cams to put the rear arms back together and then re-fitted the ARB's and headlight levellers. (Again, all bolts, buts, cams and bushes duly greased up during and after.)
Bushes and grease...

We also had a look at my squeky clutch. The needed the cylinder pin smooting off and re-greasing. Now, no more squeaky clutch.
So, at 5.30 we put the wheels back on and got it back on the BEAR for a preliminary geo.
BEAR...
After much debating and fiddling, we ended up with:
All in degrees minutes
Front:
-0.57' Camber -1.04'
6.28' Caster 6.29'
0.00' Toe 0.00'
Rear:
-2.00' Camber -2.02'
0.20' Toe 0.20'
Then at 7.30, we went home.
Home...

Day 2
back to the garage at 9am to get the car back up on to the ramp for a second geo check (pressures etc done before I set off).
After a bit of a chat about how it drove, we got it back on the BEAR for another go (steering felt too heavy)
Results:
Front:
-1.06' Camber -1.02'
6.05' Caster 6.03'
0.00' Toe 0.00'
10.11' SAI 10.12'
Rear:
-2.03' Camber -1.57'
0.20' Toe 0.20'
0.00 Thrust Line 0.00
After this, Ray had a go at my squeaky brakes and after a bit of fiddling, greasing and filing, we got them back to decent working order. (We had noticed they were dragging slightly the day before)
The rear tyres on the car only have about 4.5mm of tread left, so once I have new boots at the end of the month, it'll hopefully go back to Ray for another Geo and then on to N Wales for the mini meet!


I'd just like to say thanks so much again to both Ray and Ange. I really appreciate the amount of time and effort that is needed to get the car back to top performance and you guys are without doubt stars in your own right and are a real credit to this forum. Thank you so much for making my car feel as it should have always been and for making me fall in love with it all over again!

Andy
As several of you will know, I decided to undertake the challenge of replacing the siezed bushes on my MY03 before the summer starts. This was helped out by the fact that Ange and Ray (F3 ANG) had said that I could use their ramp and Ray would help me out. (Thanks again guys!!)
So, ordered the bolts etc and the bushes from Powerflex (Front arm lower front bush, Rear lower arm front and rear bushes and rear toe arm) and the complaince bushes from Si
Ordered front ARB links from Fleabay.
I decided not to do the upper bushes as all have been checked for movement and are fine - that and I'm not made of money!!
So, £130 for bolts, £220 for bushes and £25 for front ARB links. (The parts that I used up)
Saturday:
Arrived at the garage at 9am and after a bit of a chinwag, we decided to give the car a geo check on Ray's BEAR 300 system (the forefather of the Hunter system). This had been calibrate only a week or so earlier, so was in top form.
Printout...
As you can see, most readings were similar on either side but most surprisingly, they were set closest to the MY00 settings.
So, we then got the car on the ramp and the wheels came off...
So, with hammer, aluminium bar, reciprocating saw, chisel, countless spanners, angle grinder pry bar and breaker bar, we went to it.
First to be attacked, the front...
ARB links were a bugger, so the these were cut out.
As it was, the bolts for the F/N/S camber adjustment bolt came out fine after unbolting the nut
Next came the caster. This was a different story and after much shocking, prying and breaking, the bu66er wouldn't move, so out came the saw.
So we set to it thinking this was going to take ages. 10 mins later bush and bolt cut cleanly through and with a bit of co-ercing, out came the entire wishbone.
I set to it cleaning it up and five mins later, the next one arrived in my bucket
Turns out that the camber bolt came undone again (WIN!) and as Ray shocked the caster bush, the bolt head sheared in two, meaning it simply popped out.
Bolthead...
Arms to be cleaned...
After I had cleaned the waxoyl off them (sorry Ray!!
) we popped them in to the sandblaster for a light cleanup.Like new...
So then, I started painting them - I applied rust proof spray (red) and then once dry coated them (poorly!) in black underbody paint.
After that, this stopped by for some work to be done on Monday, so we had a look around it.
Old...
Shortly before lunch Ange arrived
, so we had a drink and then Ange went to get lunch.After lunch, Ray and I got back to getting the bushes out of the front wishbones. Seeing as the front bushes were still in really good condition, we got a rat tail file and smoothed the inside down. Next we went at the caster bushes. Ray does bush replacements on loads of old cars, so rather than using the ten tonne press, he had a go at it with his hand bush removers. The bushes came out no problem!
Bush remover...
After looking at the caster bush bolts, we took them for a sandblast to get the rust off and decided to re-use them - they'll be fine now the are absolutely smothered in grease!
The rear...
N/S/R first.
Removed the rear ARB's and the headlight levelling sensors, then tackled the bushes.
All nuts came undone (phew!) but the bolts were sticking a bit - this was where the aluminium bar came in.
Bar + bolt + hammer + whack = bolts popped out!
Toe arm. More of the same!
At this point, I said "We're on to a winner here!"
...I should have kept my mouth shut...
O/S/R.
As above - removed the rear ARB's and the headlight levelling sensors, then tackled the bushes.
Nuts came off, but the bolts were jammed tight - no amount of force was geting those feckers out, so out came the reciprocating saw again.
5 mins per bolt. Done.
More of the same for the toe arm, the little bu66er.
After that, I cleaned them down and we proceeded to get the bushes out.
We decided to try and cut the bush out, but this proved to be a bit of a sod, so after taking the top off it, trying with the hand press and then the ten tonner, we decided to burn it out.
Grinder...
Flames...
Bush popped out after that, and a little bit of hacksawing on the final collar put paid to that bush.
Repeat the above for the other wishbone, but without the grinding, pressing and swearing. Heat is our friend.
Back to the sandblaster with the arms, followed by another (bad) paintjob and we set to putting the front back together while they were drying.
Front pt II.
As the compliance bush came out with the hand press, we pushed the Mugen ones back in using the same hand press. Job done.
Next we put the arms back together using the cleaned up bolts and the replacement bolts and collars that I had ordered from CFL.
Plently of copper grease was used to ensure we wouldn't have a problem again.
New ARB's put in, again with grease.
Castle nuts replaced, ball joints re-set and grease applied. Front all done. (It was about 2pm at this point)
Rear part II
We then set to putting the Powerflex bushes together and set them in to the arms and toe arms using shoulder power and copper grease.
Next we used new bolts, nuts and cams to put the rear arms back together and then re-fitted the ARB's and headlight levellers. (Again, all bolts, buts, cams and bushes duly greased up during and after.)
Bushes and grease...
We also had a look at my squeky clutch. The needed the cylinder pin smooting off and re-greasing. Now, no more squeaky clutch.
So, at 5.30 we put the wheels back on and got it back on the BEAR for a preliminary geo.
BEAR...
After much debating and fiddling, we ended up with:
All in degrees minutes
Front:
-0.57' Camber -1.04'
6.28' Caster 6.29'
0.00' Toe 0.00'
Rear:
-2.00' Camber -2.02'
0.20' Toe 0.20'
Then at 7.30, we went home.
Home...
Day 2
back to the garage at 9am to get the car back up on to the ramp for a second geo check (pressures etc done before I set off).
After a bit of a chat about how it drove, we got it back on the BEAR for another go (steering felt too heavy)
Results:
Front:
-1.06' Camber -1.02'
6.05' Caster 6.03'
0.00' Toe 0.00'
10.11' SAI 10.12'
Rear:
-2.03' Camber -1.57'
0.20' Toe 0.20'
0.00 Thrust Line 0.00
After this, Ray had a go at my squeaky brakes and after a bit of fiddling, greasing and filing, we got them back to decent working order. (We had noticed they were dragging slightly the day before)
The rear tyres on the car only have about 4.5mm of tread left, so once I have new boots at the end of the month, it'll hopefully go back to Ray for another Geo and then on to N Wales for the mini meet!
I'd just like to say thanks so much again to both Ray and Ange. I really appreciate the amount of time and effort that is needed to get the car back to top performance and you guys are without doubt stars in your own right and are a real credit to this forum. Thank you so much for making my car feel as it should have always been and for making me fall in love with it all over again!
Andy
 02-26-2012, 07:40 AM
#2


Nice write up!!! Hats off to Ray and Ang again though - that hand bush remover looks like a nifty bit of kit!

