When you click on links to various merchants on this site and make a purchase, this can result in this site earning a commission. Affiliate programs and affiliations include, but are not limited to, the eBay Partner Network.
But some background before we dive into the nitty gritty.
I started a build thread on a S2000 which I bought in 2018.
I've been lacking on updating that thread because I've been busy. Though I really should get back to it; there's been some tasty stuff done to the car since I fell off on the thread.
Anyway, one of the things I've been wanting to share since ~2020 was my home brewed paint job.
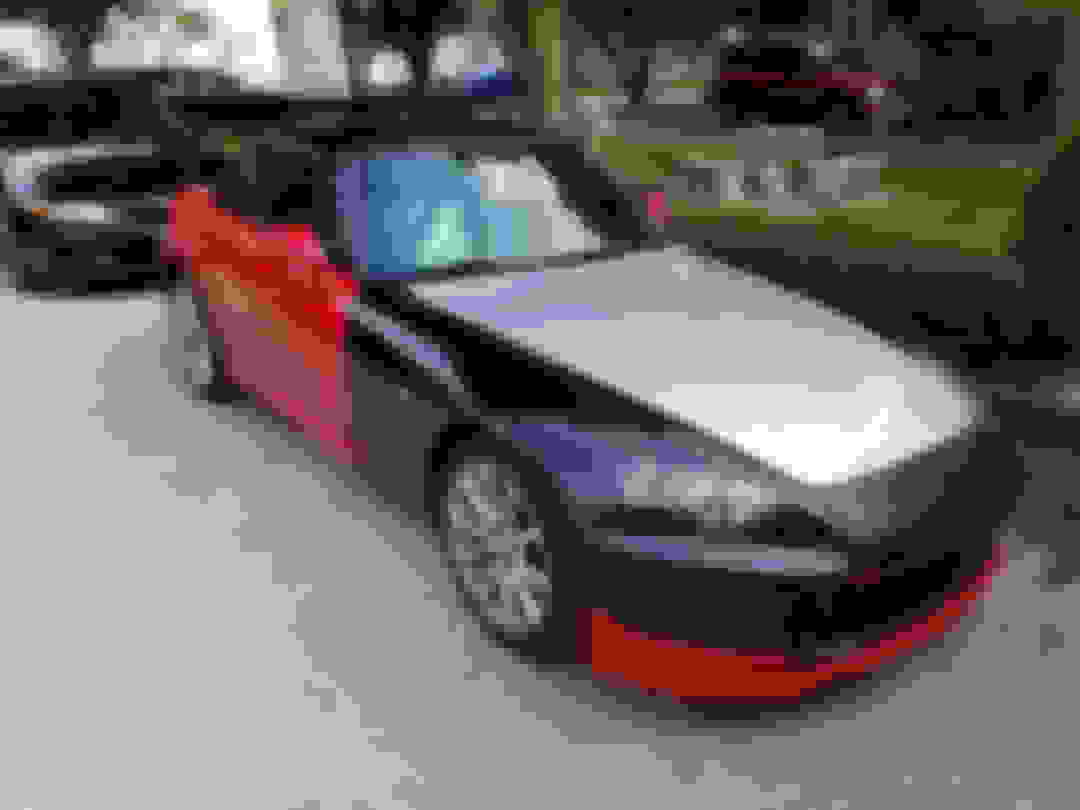
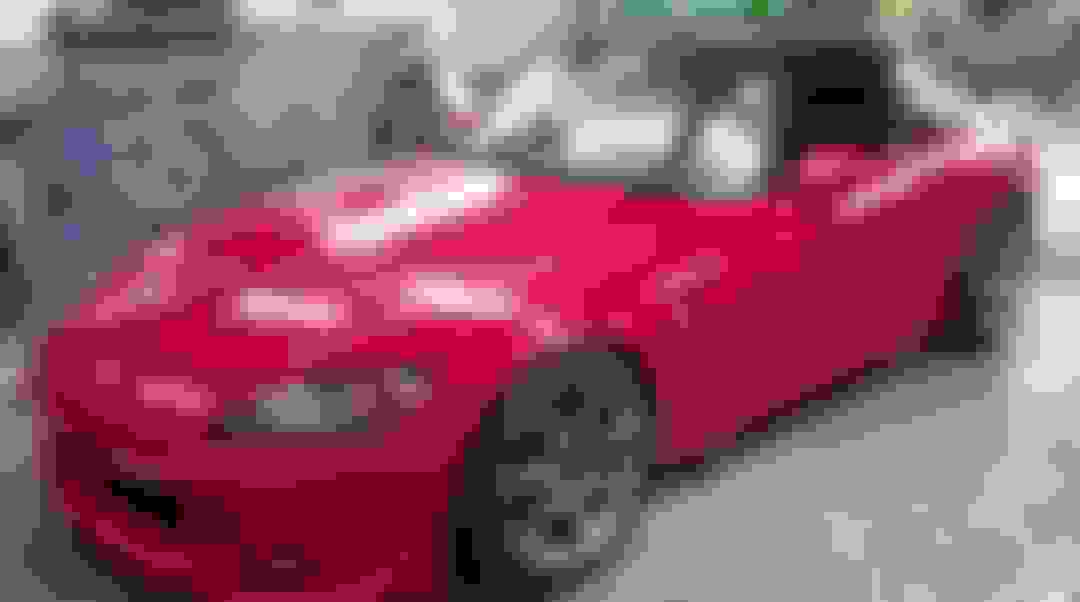
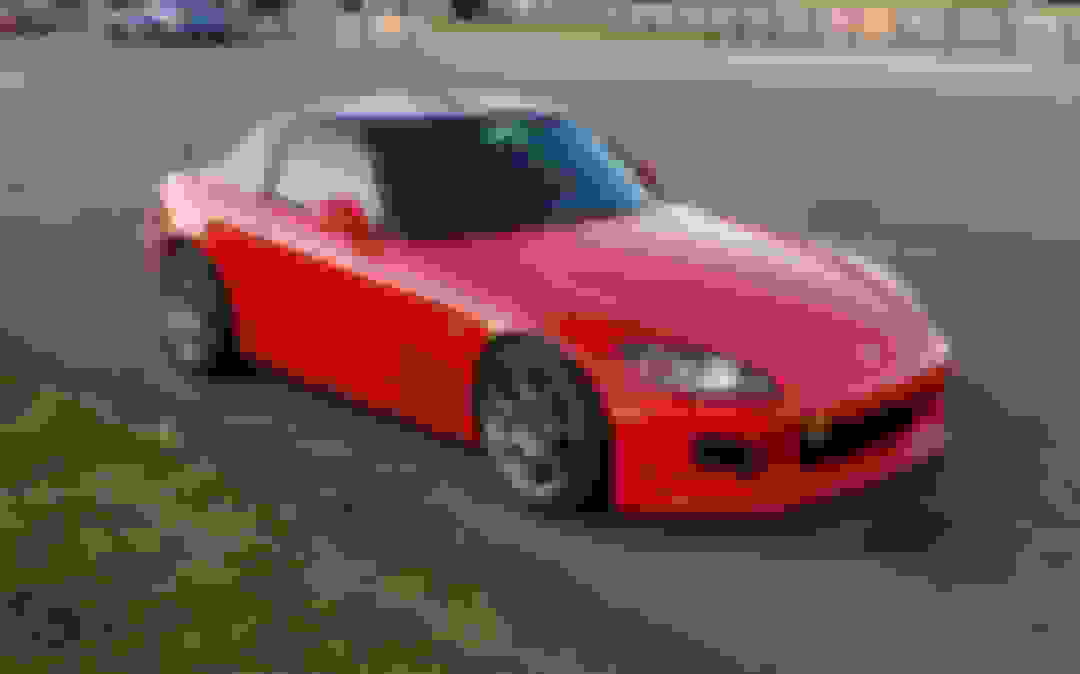
Here's when I first got it. So as you can see, the front of the car was a slightly different shade of red.
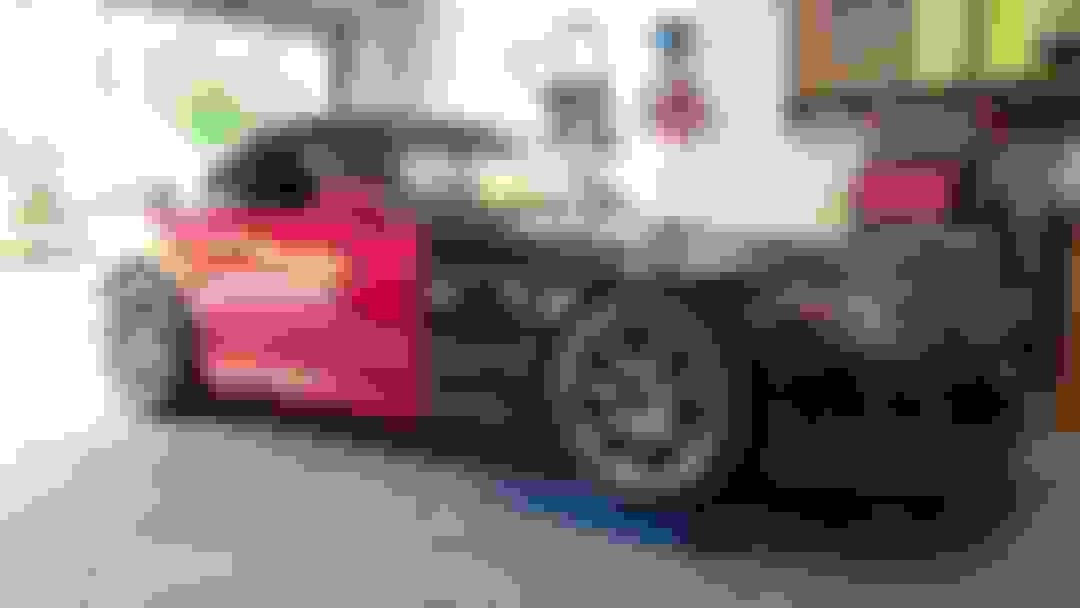
Sometime in 2019, I had lowered the car and bought wheels. I wanted to have the whole car in NFR.
One day, about a year later (in 2020), I was walking through one of those big box grocery stores and saw cans of paint that, to my eye, appeared to match NFR pretty well.
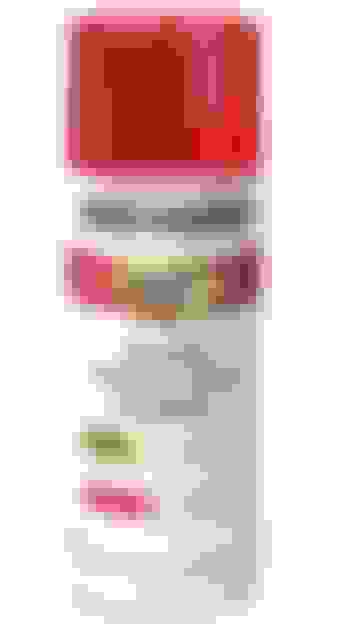
The color I saw was Rustoleum Sunrise Red.
I also saw a "Regal Red" next to it, and second guessed my memory of what NFR looked like.
Now I should say that I'm not a painter. Idk how to paint cars. Most of my teachers said I was not good at most things.
So obviously, I loaded up my shopping cart with both shades of Rustoleum gloss red, thinking "this can't be that hard".
Not like the car was gonna end up looking *worse* than it did at the time. And if I hated it, I was only gonna be out for the cost of a few cans of Rustoleum.
I did go ahead and buy some paint supplies from a parts store. Like...tack cloth and cleaner and what not. I bought some plastic adhesion promoter too - for the raw polyurethane lip.
Most importantly, I picked up some 2K gloss SprayMax "Glamour" clearcoat from REpaint supply.
REpaint will also mix up factory colors and put them into aerosol cans for you. So I bought some actual PPG NFR from them.
I forgot to buy primer bc I'm dumb, so I just grabbed whichever primer I had laying around.
The NFR was like $20 per can. And the whole point was to do this as cheaply as possible.
Because of this, I only bought a few NFR cans, and my cunning plan was to lay down 2 solid coats of Rustoleum, and then only use the NFR to spritz each panel.
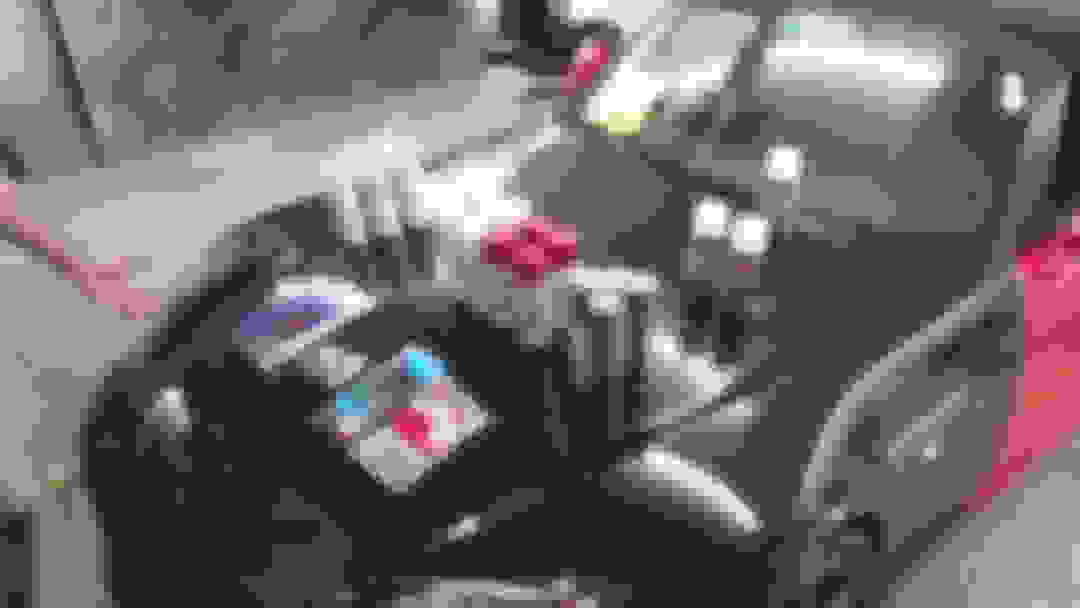
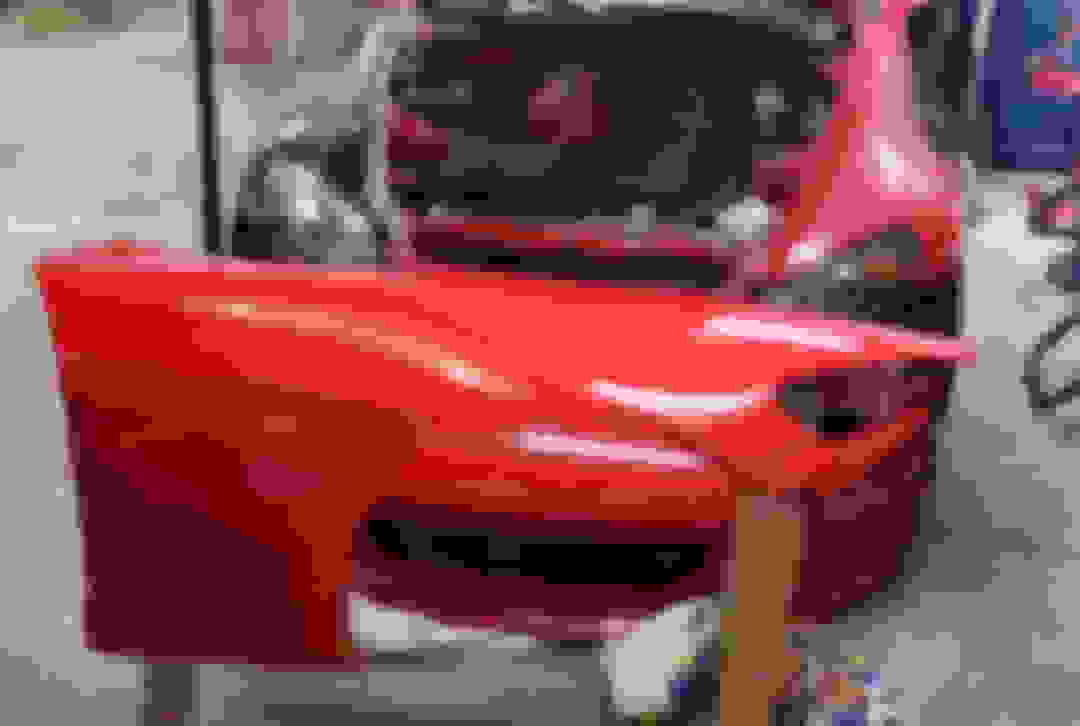
The project started like they all do. With some disassembly
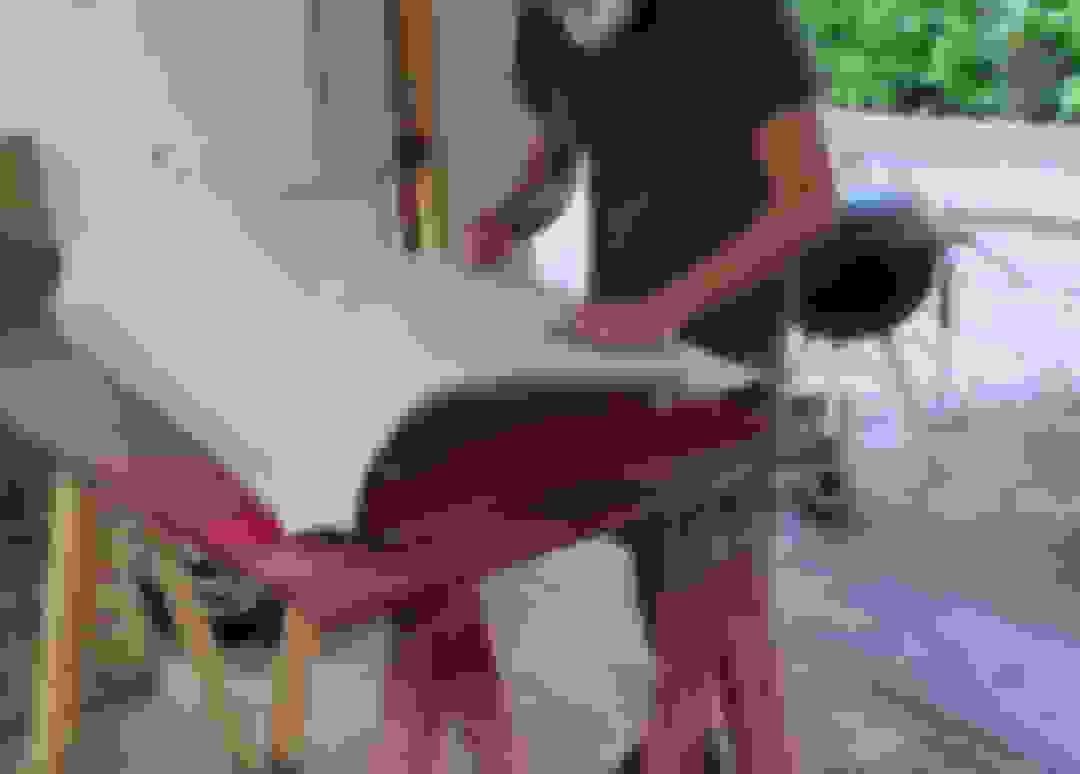
Then some sanding at 320 grit, followed up with 600 grit.
I degreased and washed the parts thoroughly after sanding, and then shot them with primer. I used the red primer when I ran out of gray primer.
BEHOLD...my paint booth.
I sanded in between coats. Idk...are you supposed to do this? I'm using maroon scuffing pads, and then 600 grit.
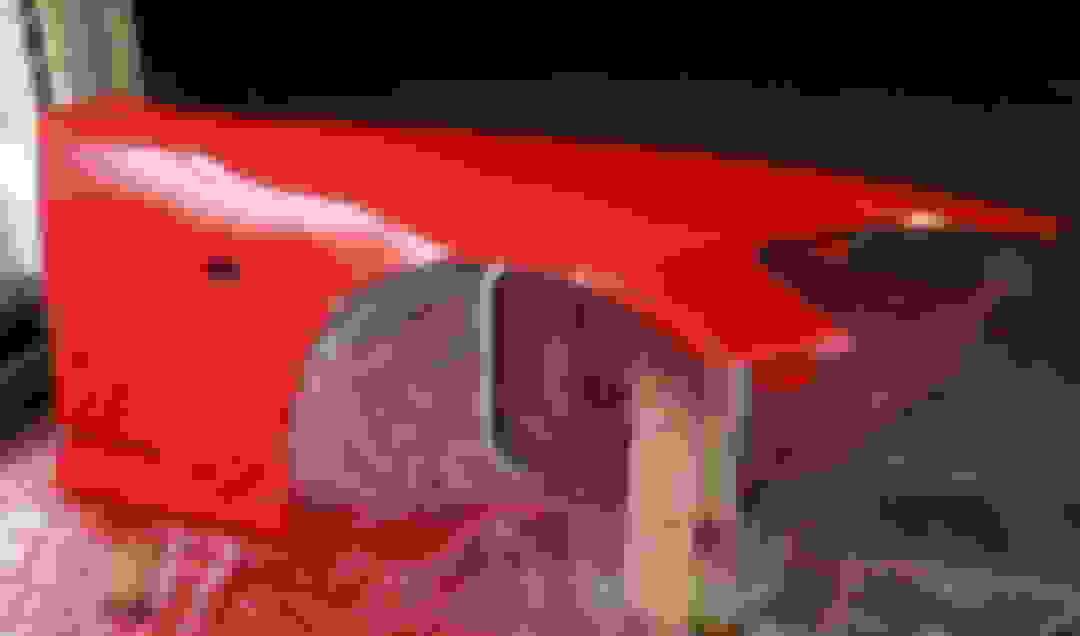
Cleaned, degreased, and tack clothed...and then shot with Rustoleum.
I was pretty sure Sunrise red would match, so I just painted most of the panels with that.
But I painted one fender with Regal Red just in case.
After the Rustoleum was thoroughly coated on the parts, I spritzed everything with a light coat of NFR.
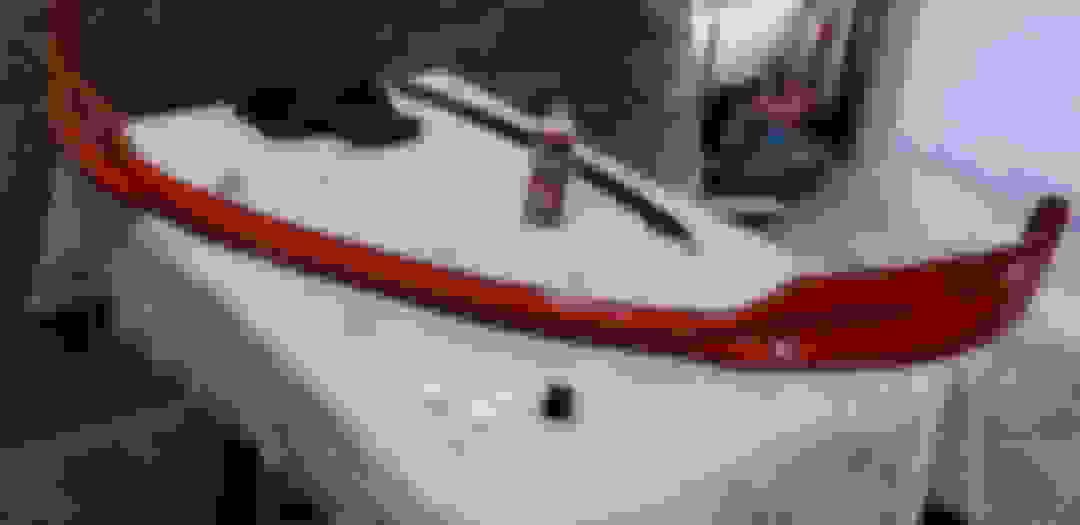
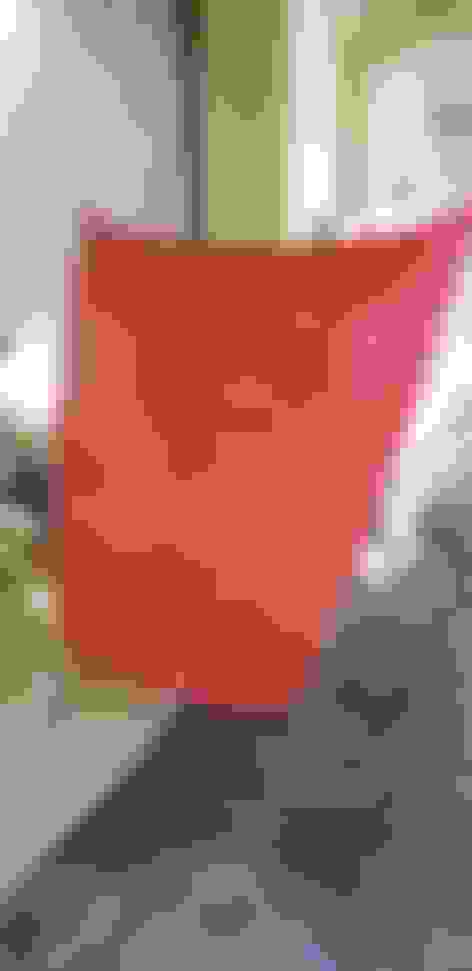
The Lip was a little more tricky. It was a $50 eBay lip made out of polyurethane. So I had to hit it with adhesion promoter and plastic primer and stuff.
But the basecoat was the same as the rest. Sunrise red + some NFR spritz.
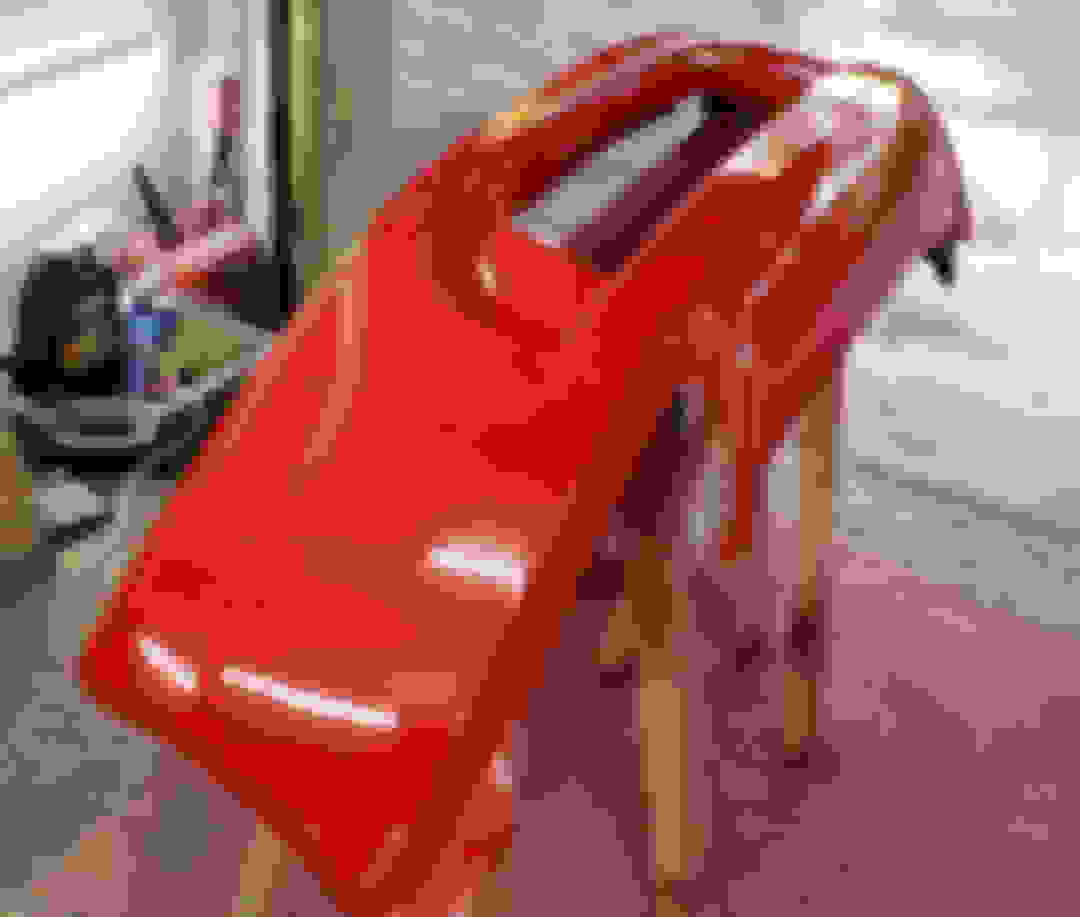
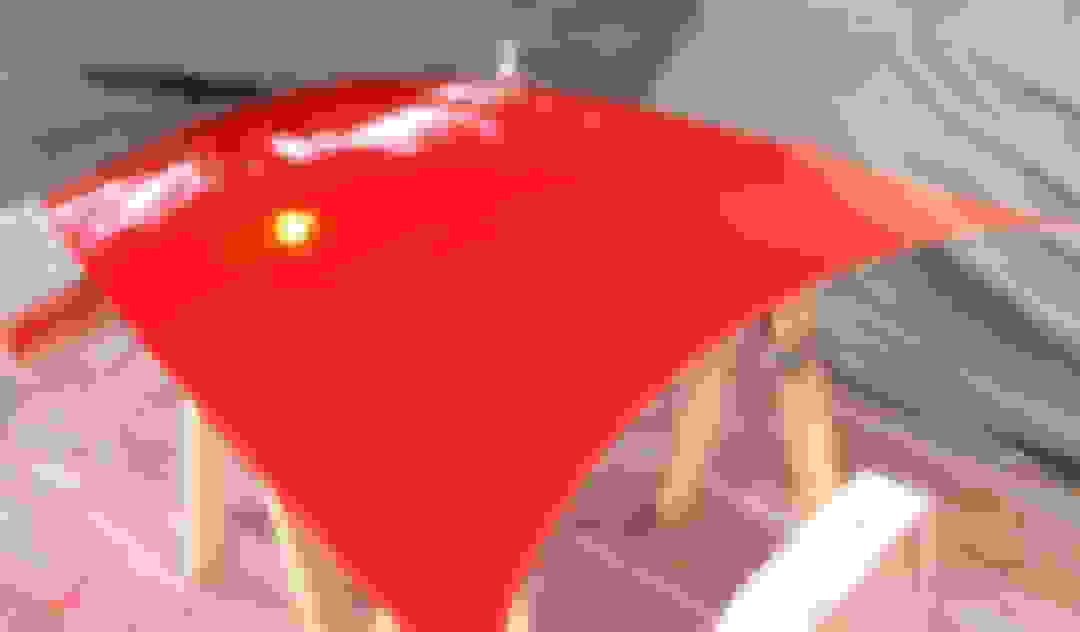
Then came the clearcoat (2K Spraymax).
I put down a lot clear coat because I knew this car would get tracked...and my theory was that more clearcoat = more chip resistance? I
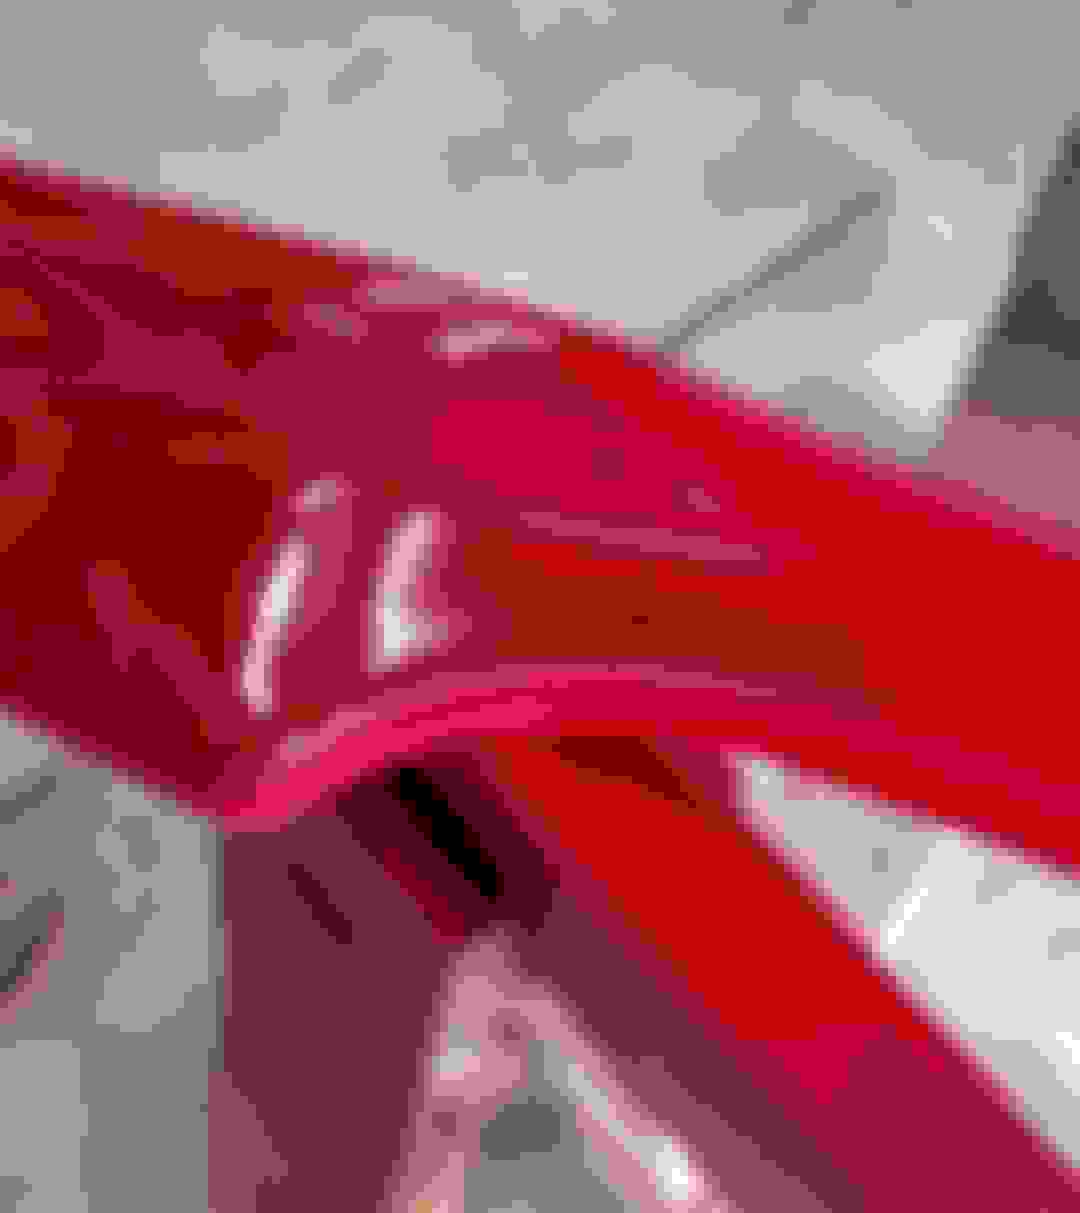
Here is a closeup of the lip.
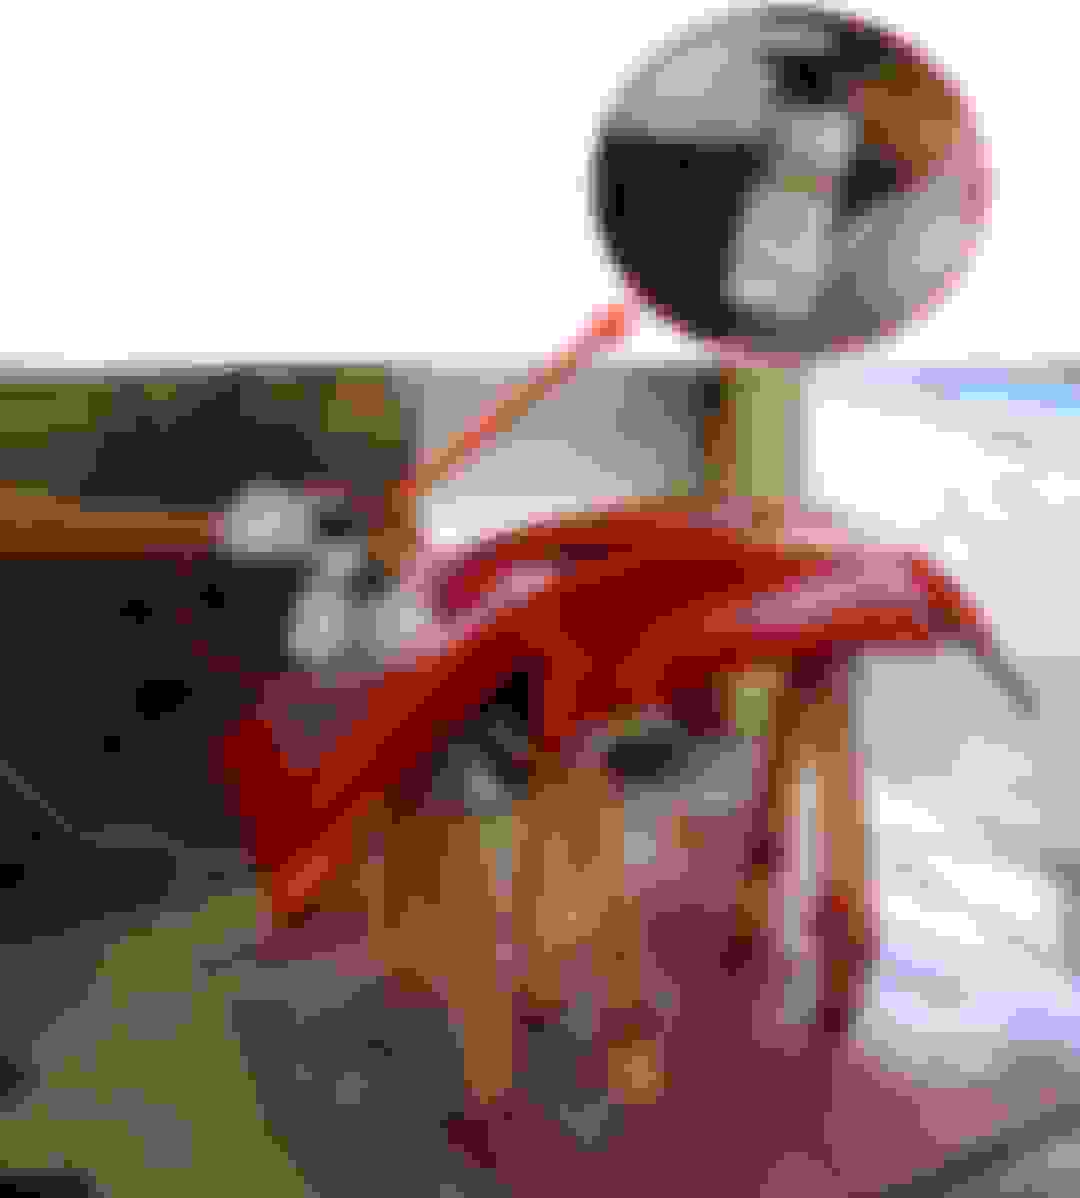
I also 3D printed a cooling duct for my oil cooler setup. We had just adopted this baby bird...so she helped me with the aero aspects.
I re-assembled the grille back onto the bumper.
I used some of the Honda black lip molding stuff for the lip
The hood hasn't been shown this whole time. My buddy said he had a NFR hood that I could buy, so I figured I'd get out of painting that.
Unfortunately, when I picked it up, it was badly sun-faded. So it needed paint.
Same process. Sand, clean, primer, paint, clear. I didn't get any tiger stripes.
I also didn't properly sand off all the old dead clear...so ...the hood isn't looking so great.
No time to fix it...as I was heading to the track the next day.
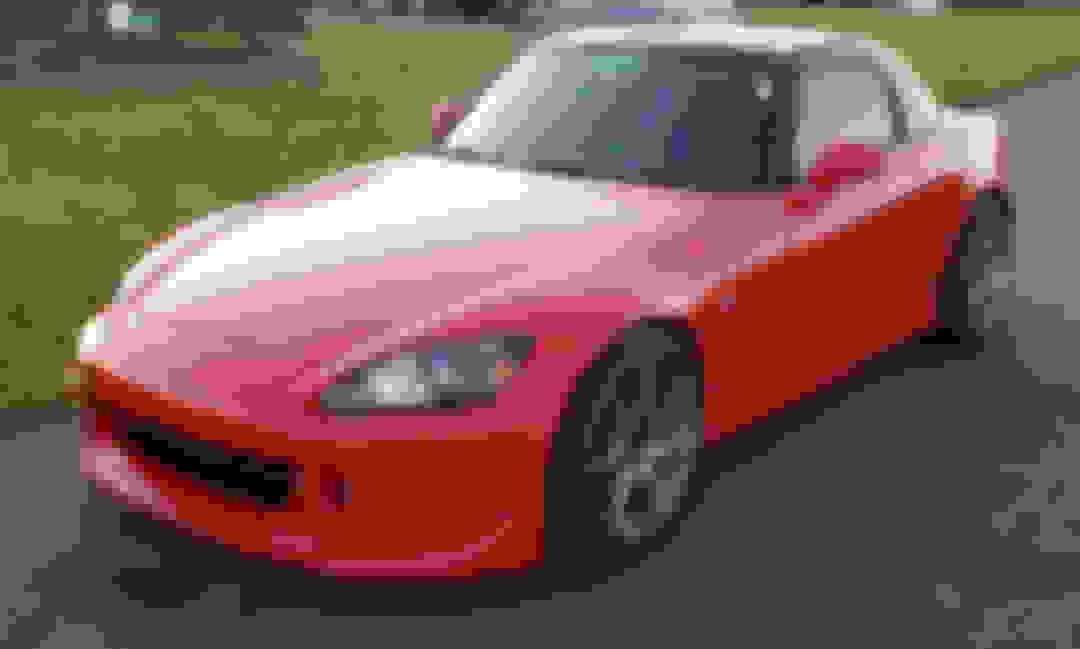
All done!
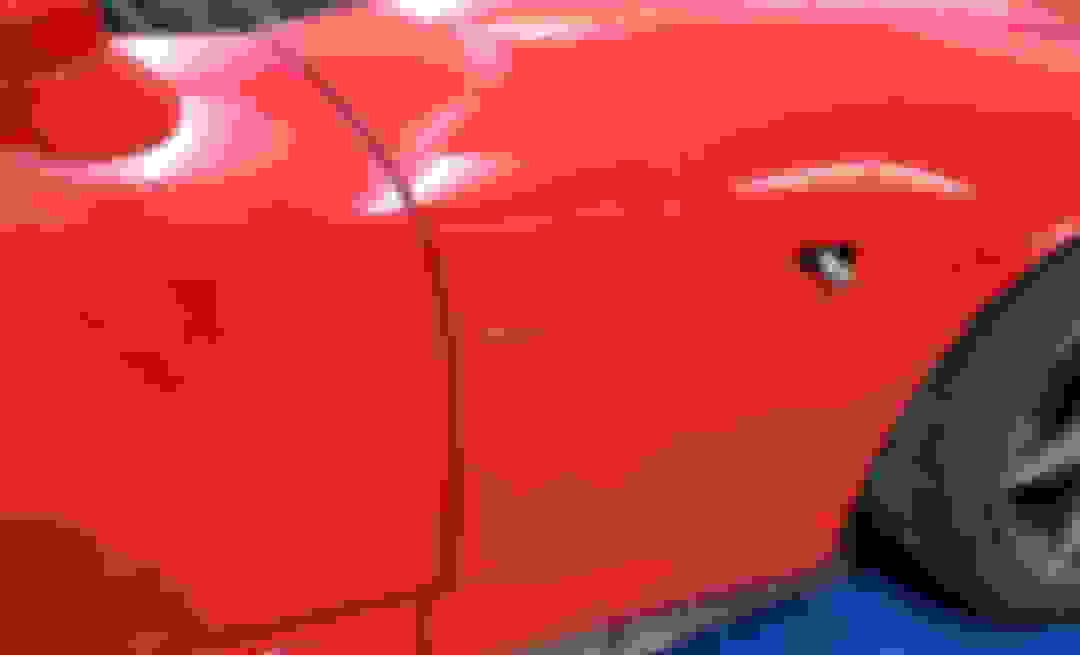
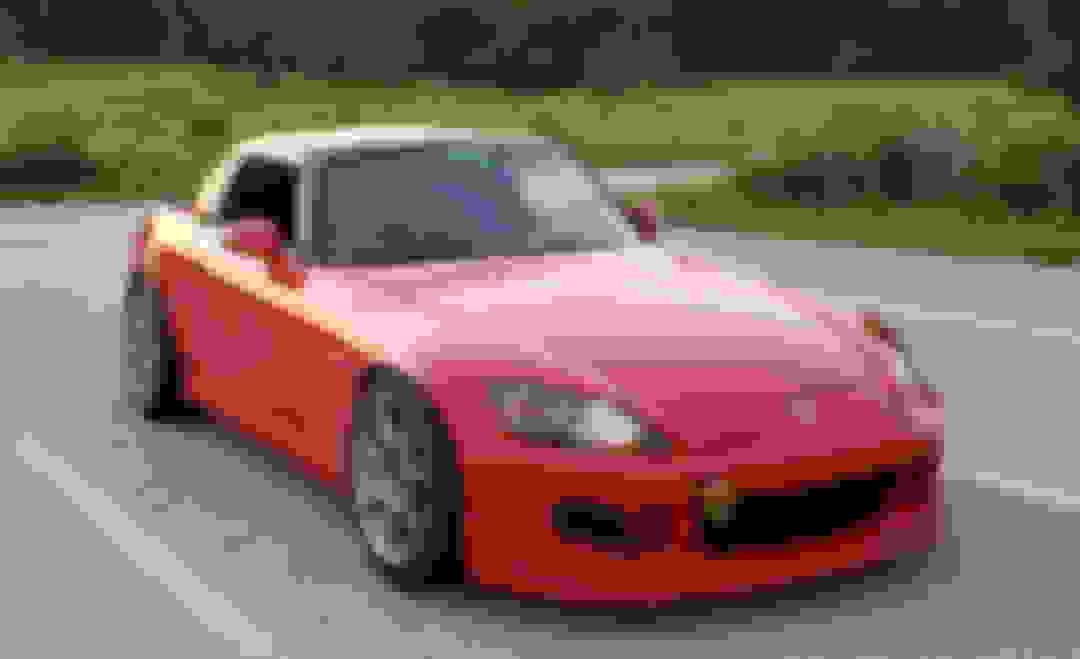
The Sunrise matched the car great!
The Regal? Not so much LOL
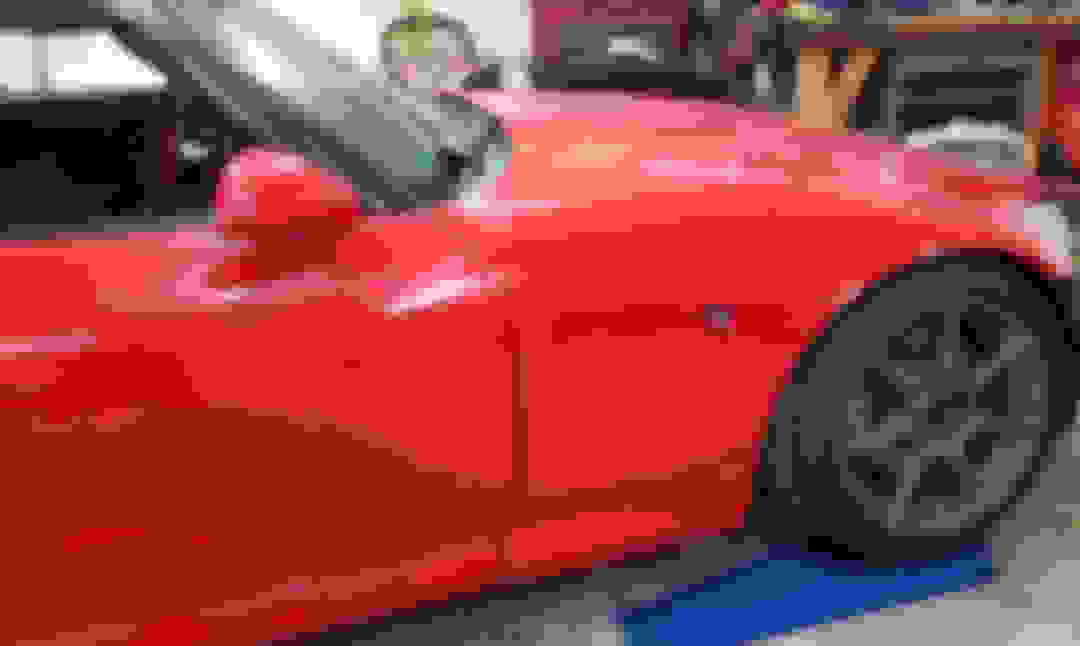
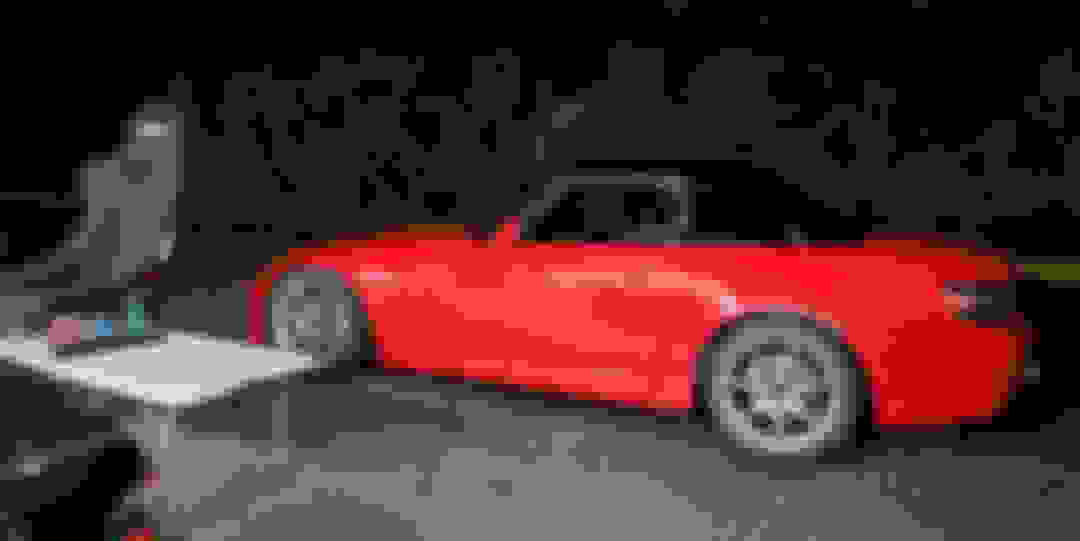
No worries. Got it home and fixed it. But this time I just used ONLY Sunrise Red...because that's all I had left.
Pretty close match against the original NFR. From the doors back, this car is all original NFR from 2007.
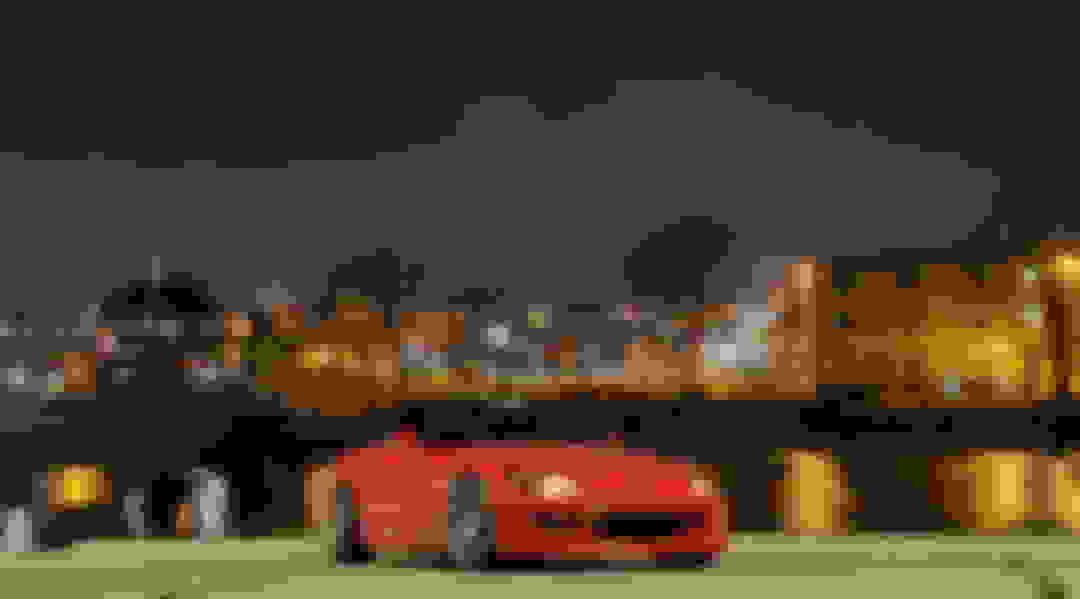
Finished up and went for a drive...diggin the car's new look.
3+ years and countless track events later, the paint is sticking to the car great. No signs of chipping or failing.
The red is still nice and bright; but the car doesn't spend *that* much time in the sun. It's garage parked.
I've since wet sanded it to knock down some of the orange peel.
I guess what I'm trying to say is that Rustoleum Sunrise Red is a super close match to Honda's NFR.
I could have just said that instead of making this whole long winded post.
Not sure on hours. I just did a little bit of work here and there. Maybe 5 to 8 hours total actual work, not including idle time for drying. The clear had to dry like 24-48hrs before I could handle it enough to install the parts.
Cost maybe $150-225ish? But that was in 2020 dollars. Today's cost? Maybe $6 million or so.
I have sprayed a lot of lacquer based finishes back in the day when I was doing custom cabinets at a shop. For a while I was the only person there doing the finishing. Haven not tried a car yet, but will eventually But what I have learned from what I have done, is that as long as you use decent materials and take your time (prep is the key here) you can lay down a pretty damned nice finish with a rattle can.
I guess you'll have to take my word for it, but there are no runs or drips at all.
And yeah, using "the right stuff" is definitely more effective than using "the most expensive stuff". As evidenced by the movie Jurassic Park...where they spared no expense.
Rustoleum was a really close match, which drove the decision. But as a bonus, their gold colored spray tips are the effing best in the business.
I was really worried about tiger striping on big flat parts like the hood, but there's absolutely none at all.
I found the "Paint Society" YouTube channel useful for finer tips. Like wetting the floor down before shooting paint to mat down the dust.
I used a box fan to pull air out of my paint area rather than pushing air into it.
And I followed basic electrician tricks like not spraying the box fan with water while it was plugged in.

 10-03-2023, 08:09 PM


 But what I have learned from what I have done, is that as long as you use decent materials and take your time (prep is the key here) you can lay down a pretty damned nice finish with a rattle can.

