
Oakes - Detailed: 2006 Spyker C8 Spyder
 09-26-2010, 03:05 PM
#1
Registered User
Thread Starter

Join Date: May 2009
Posts: 127
Likes: 0
Received 0 Likes
on
0 Posts
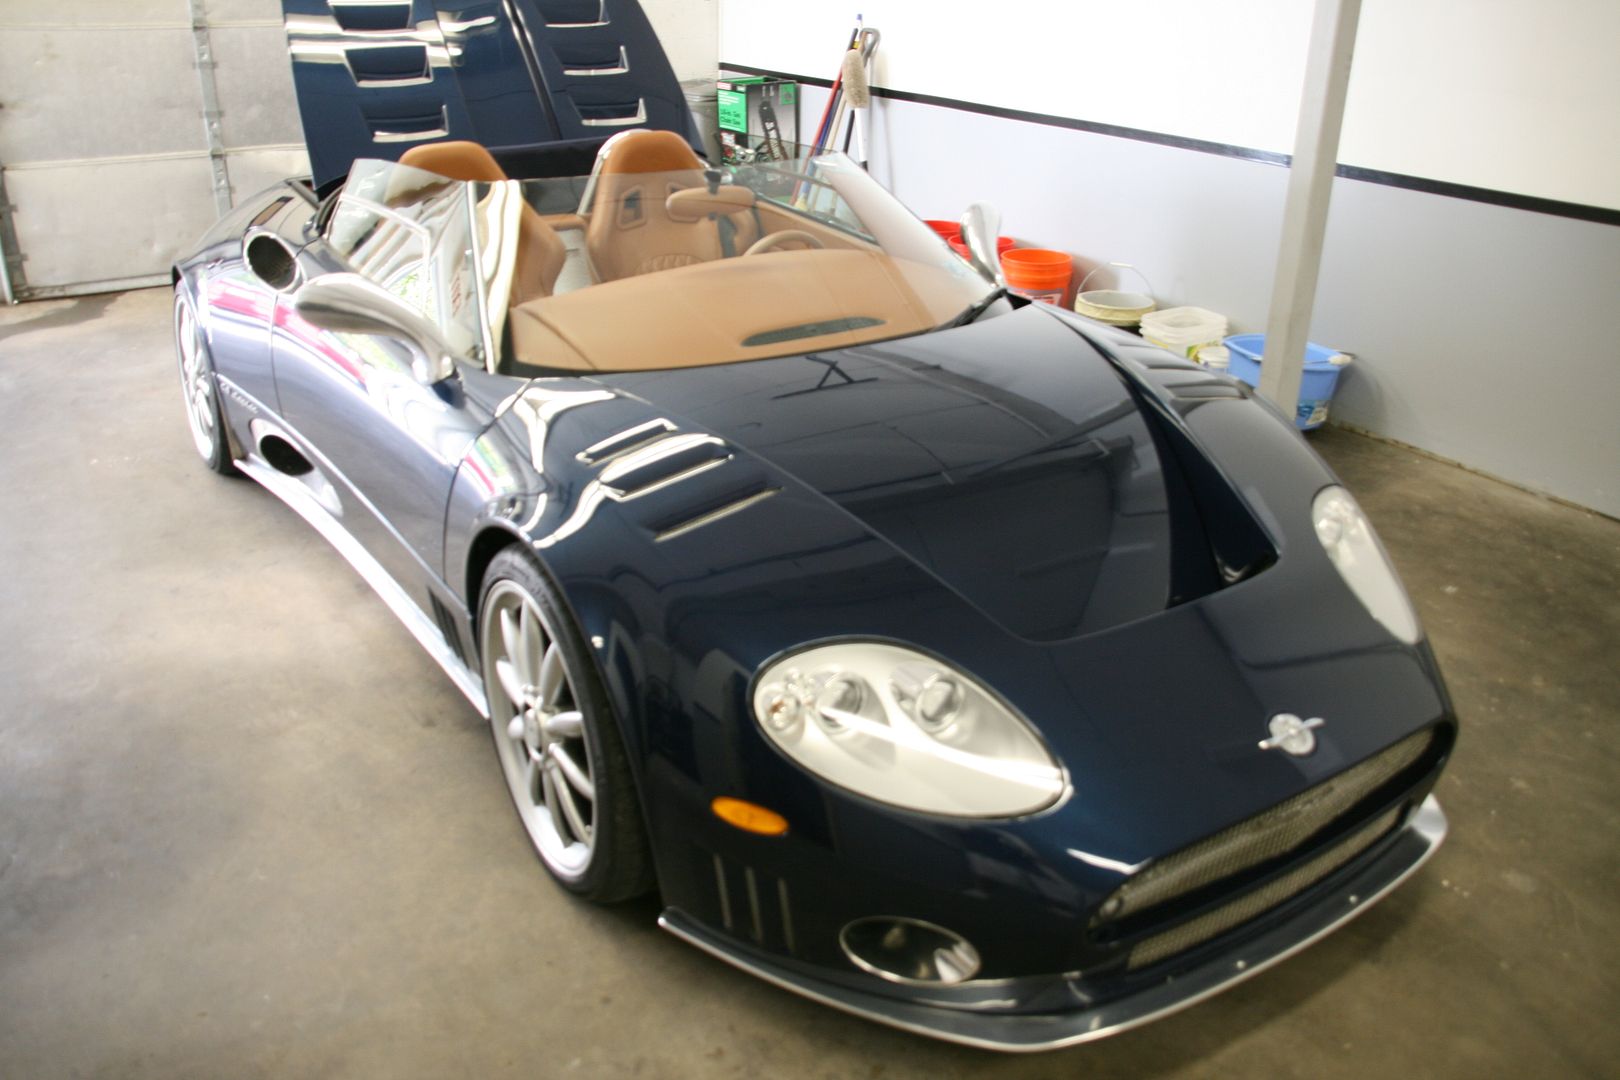
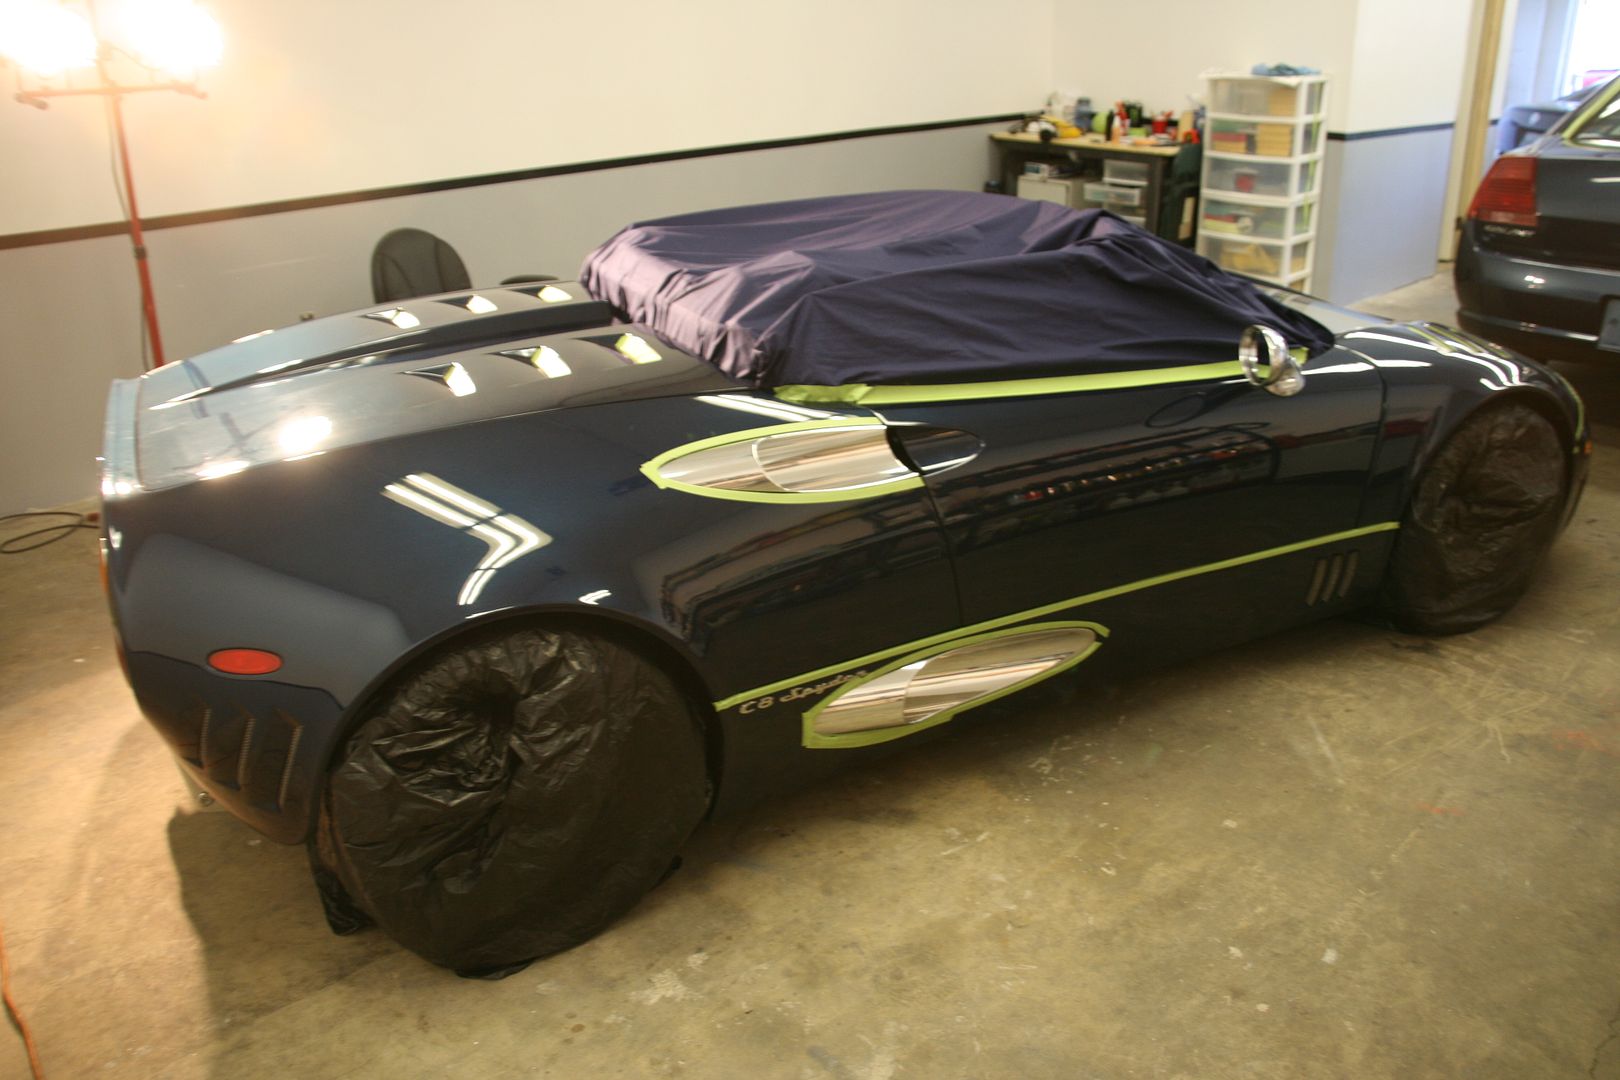
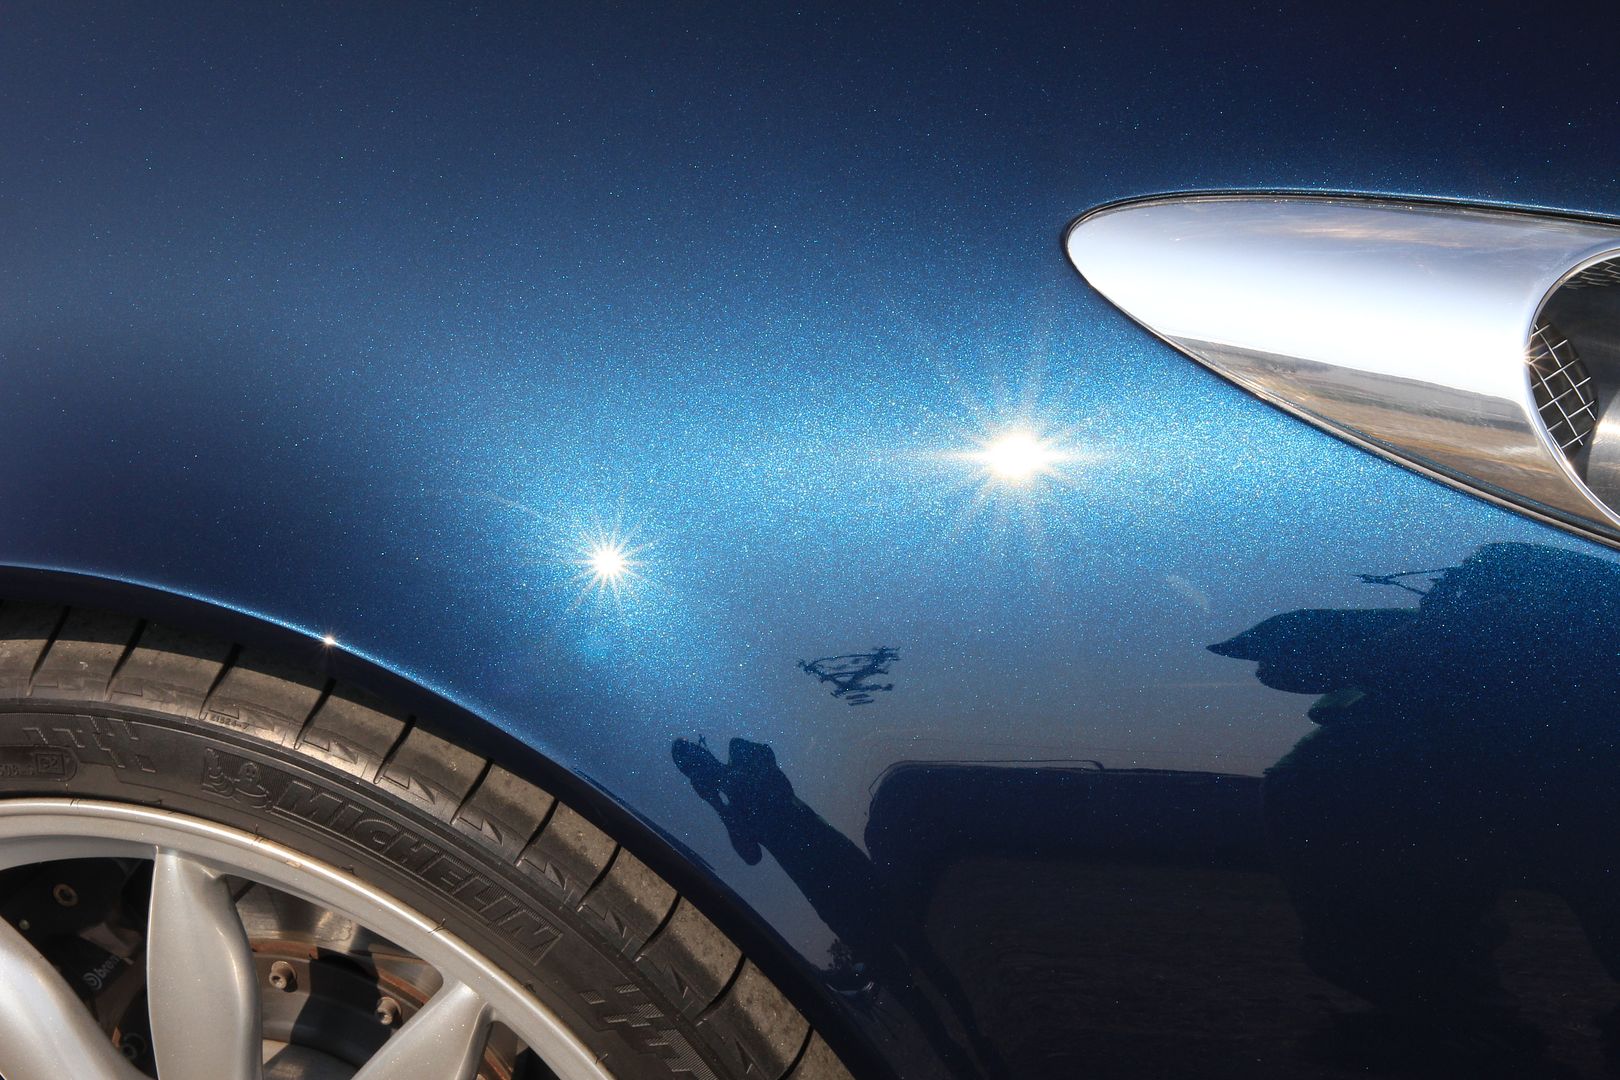
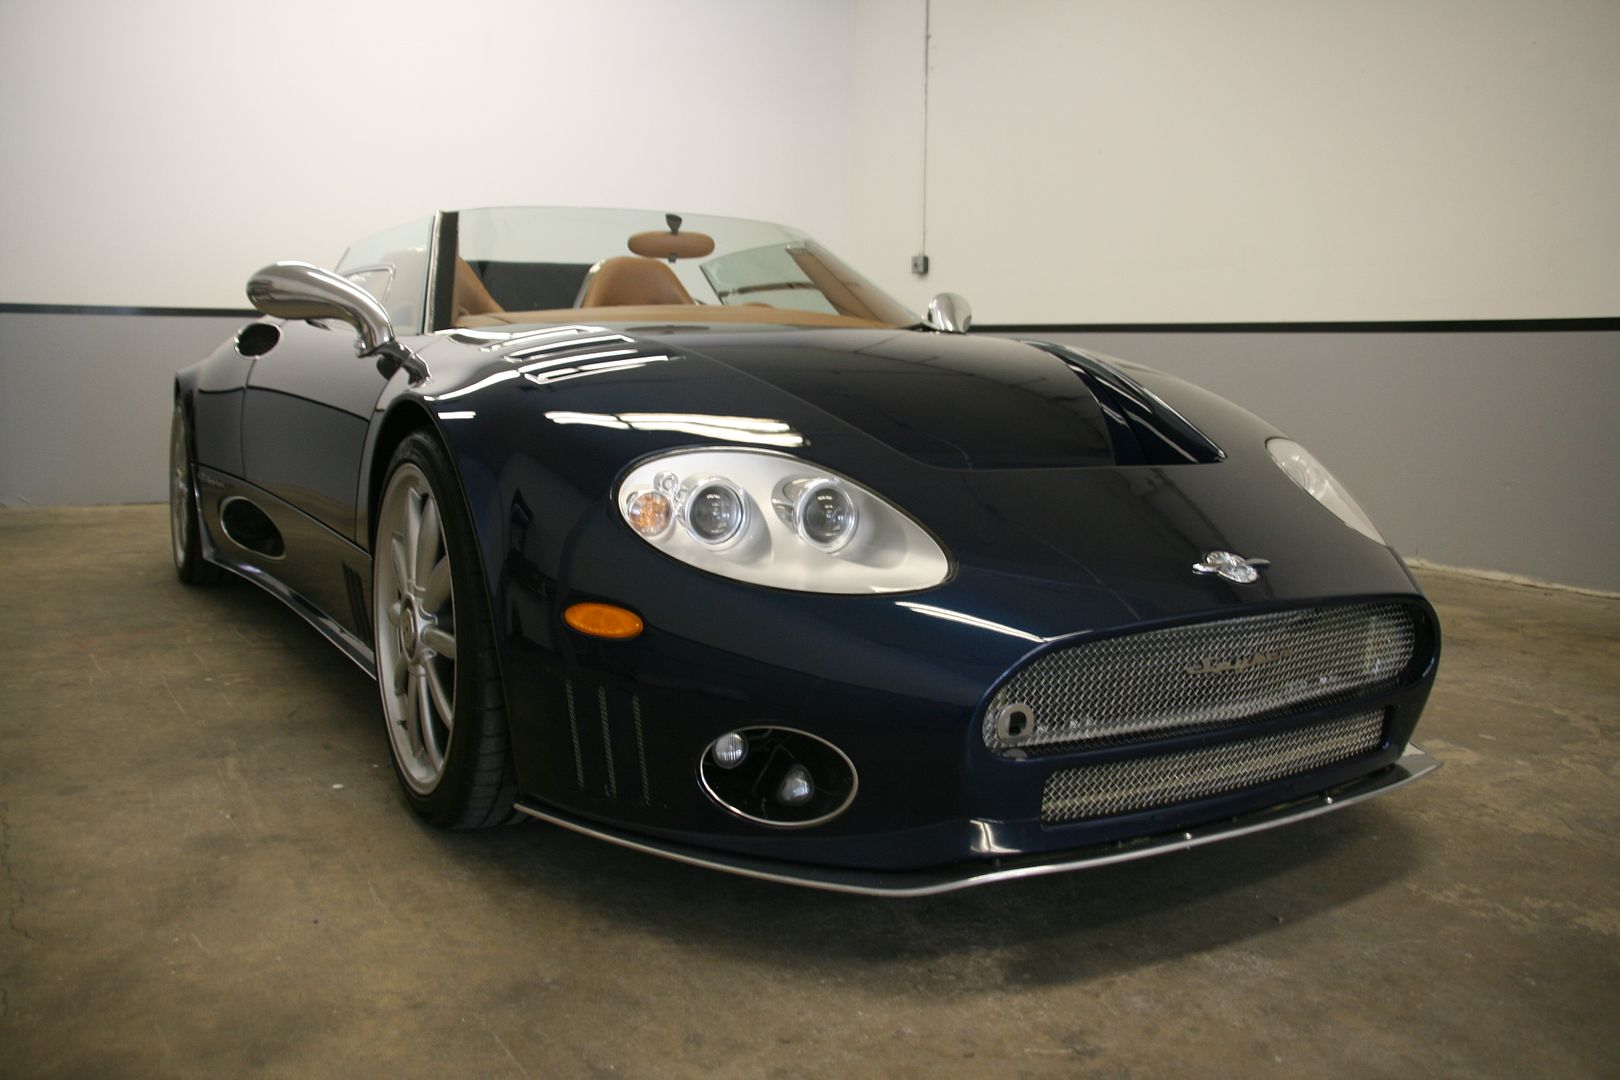
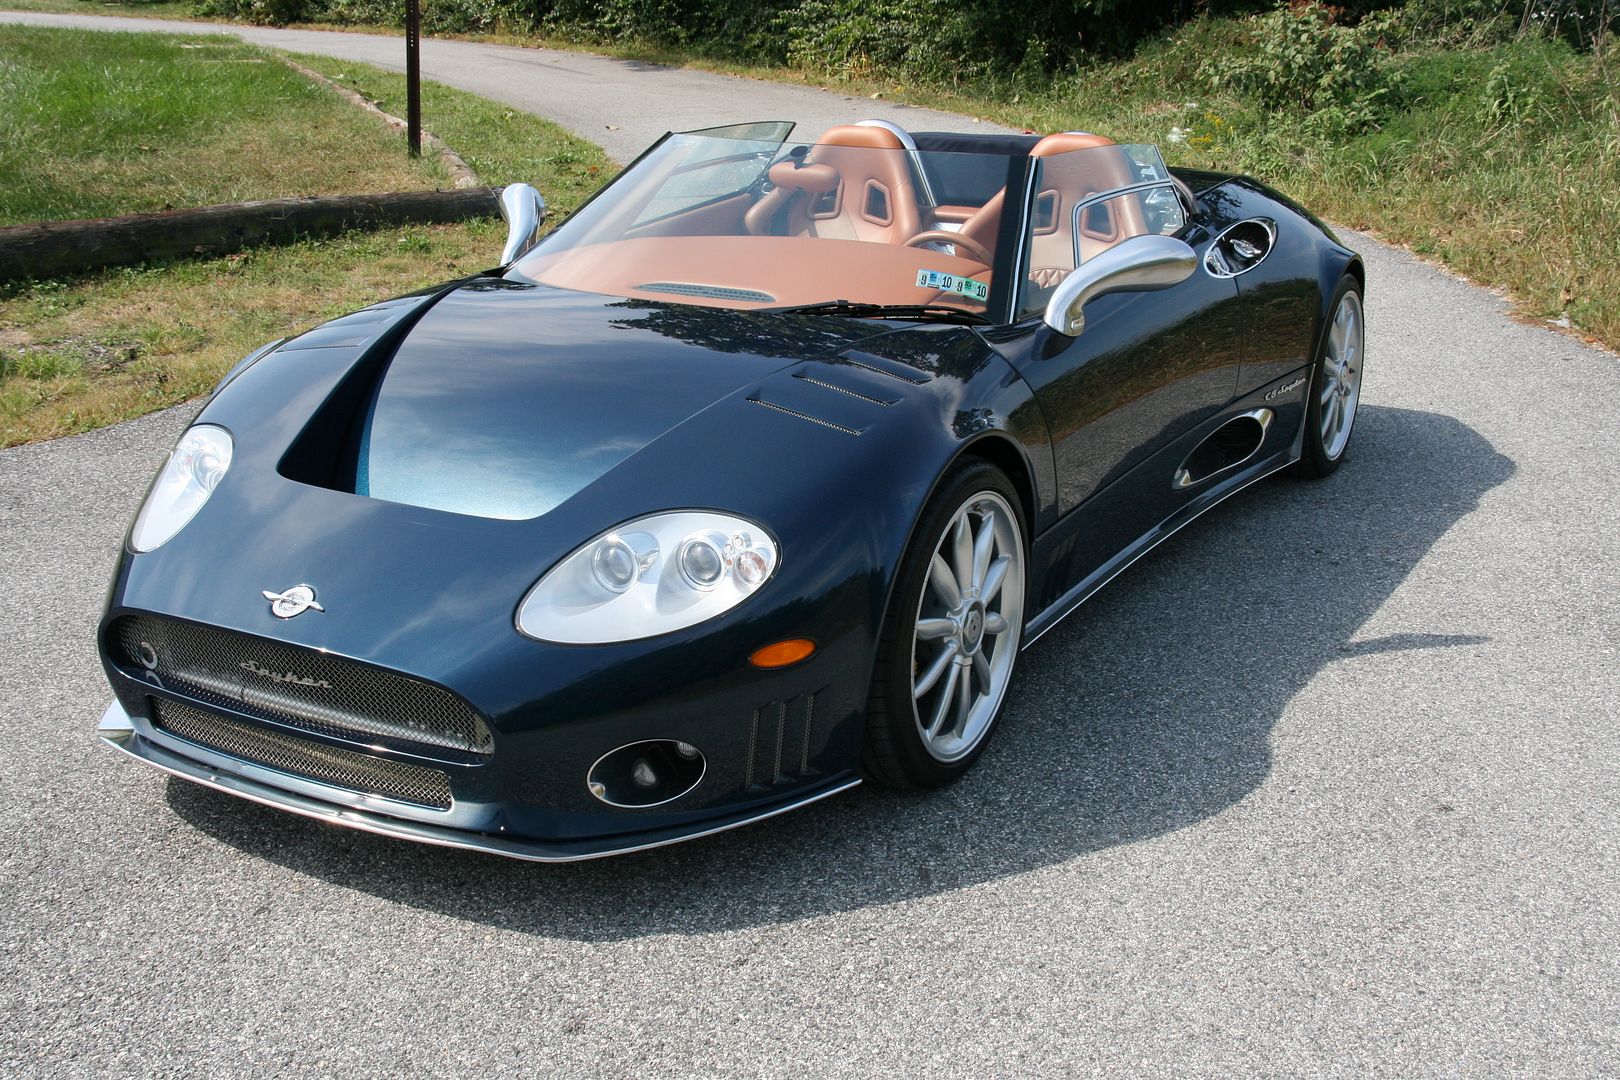
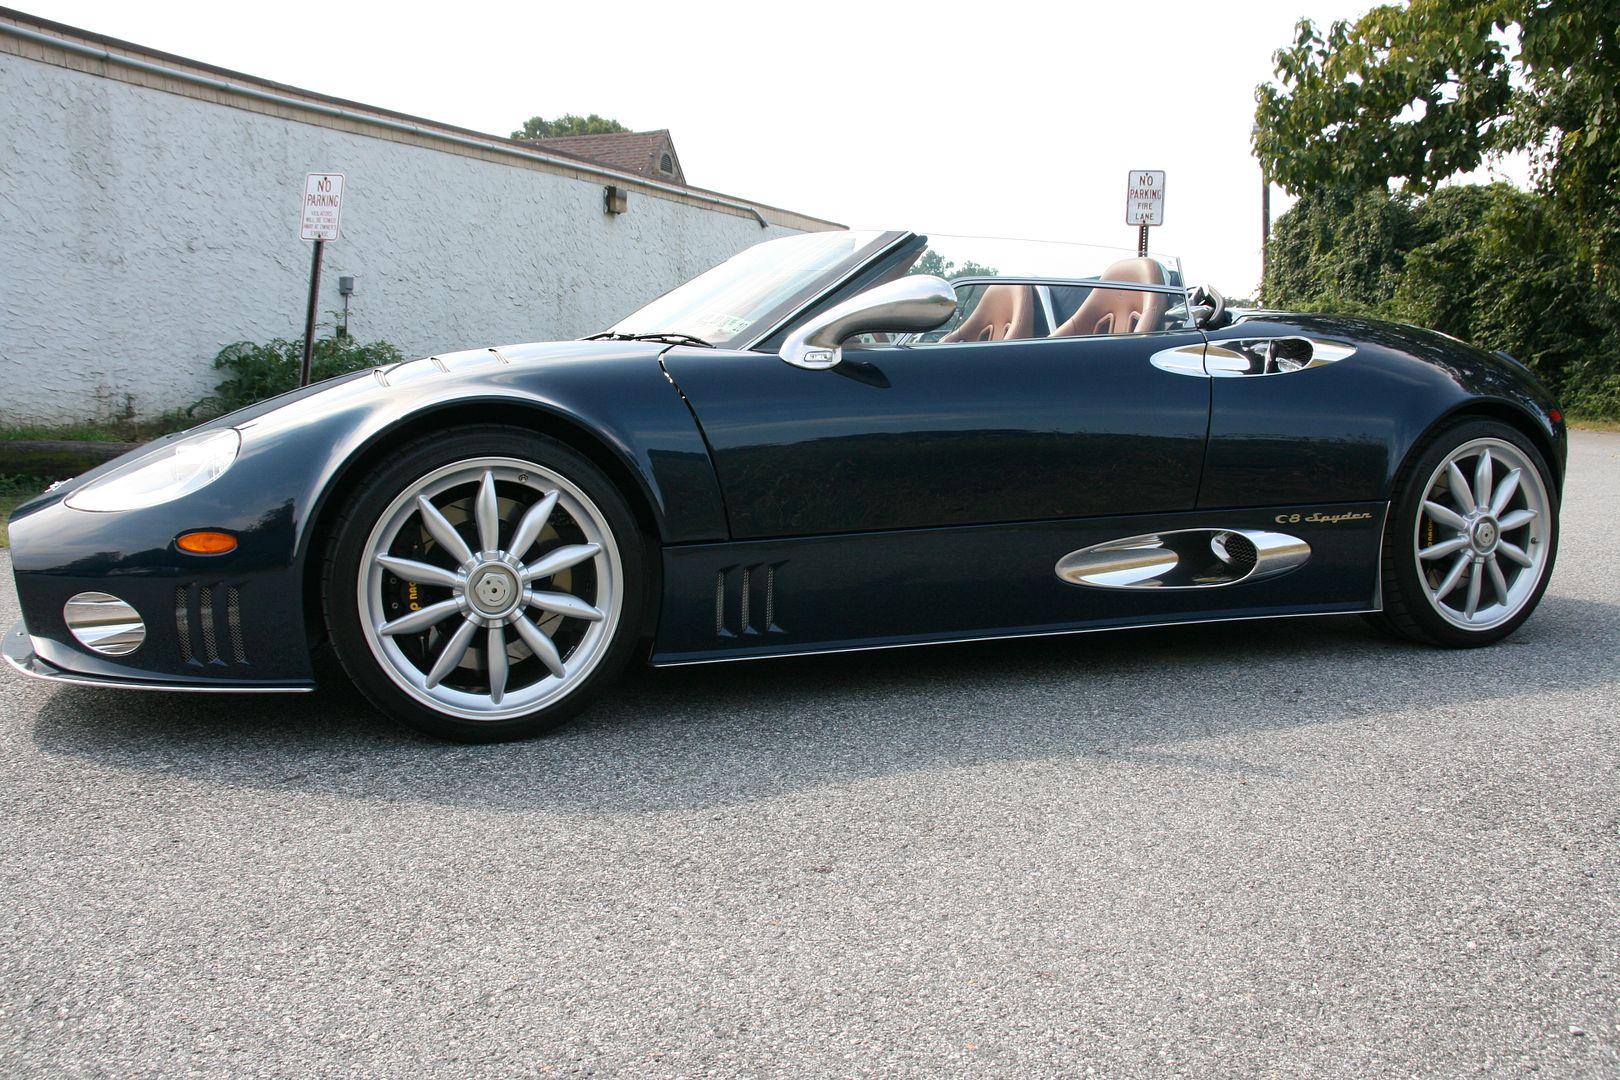
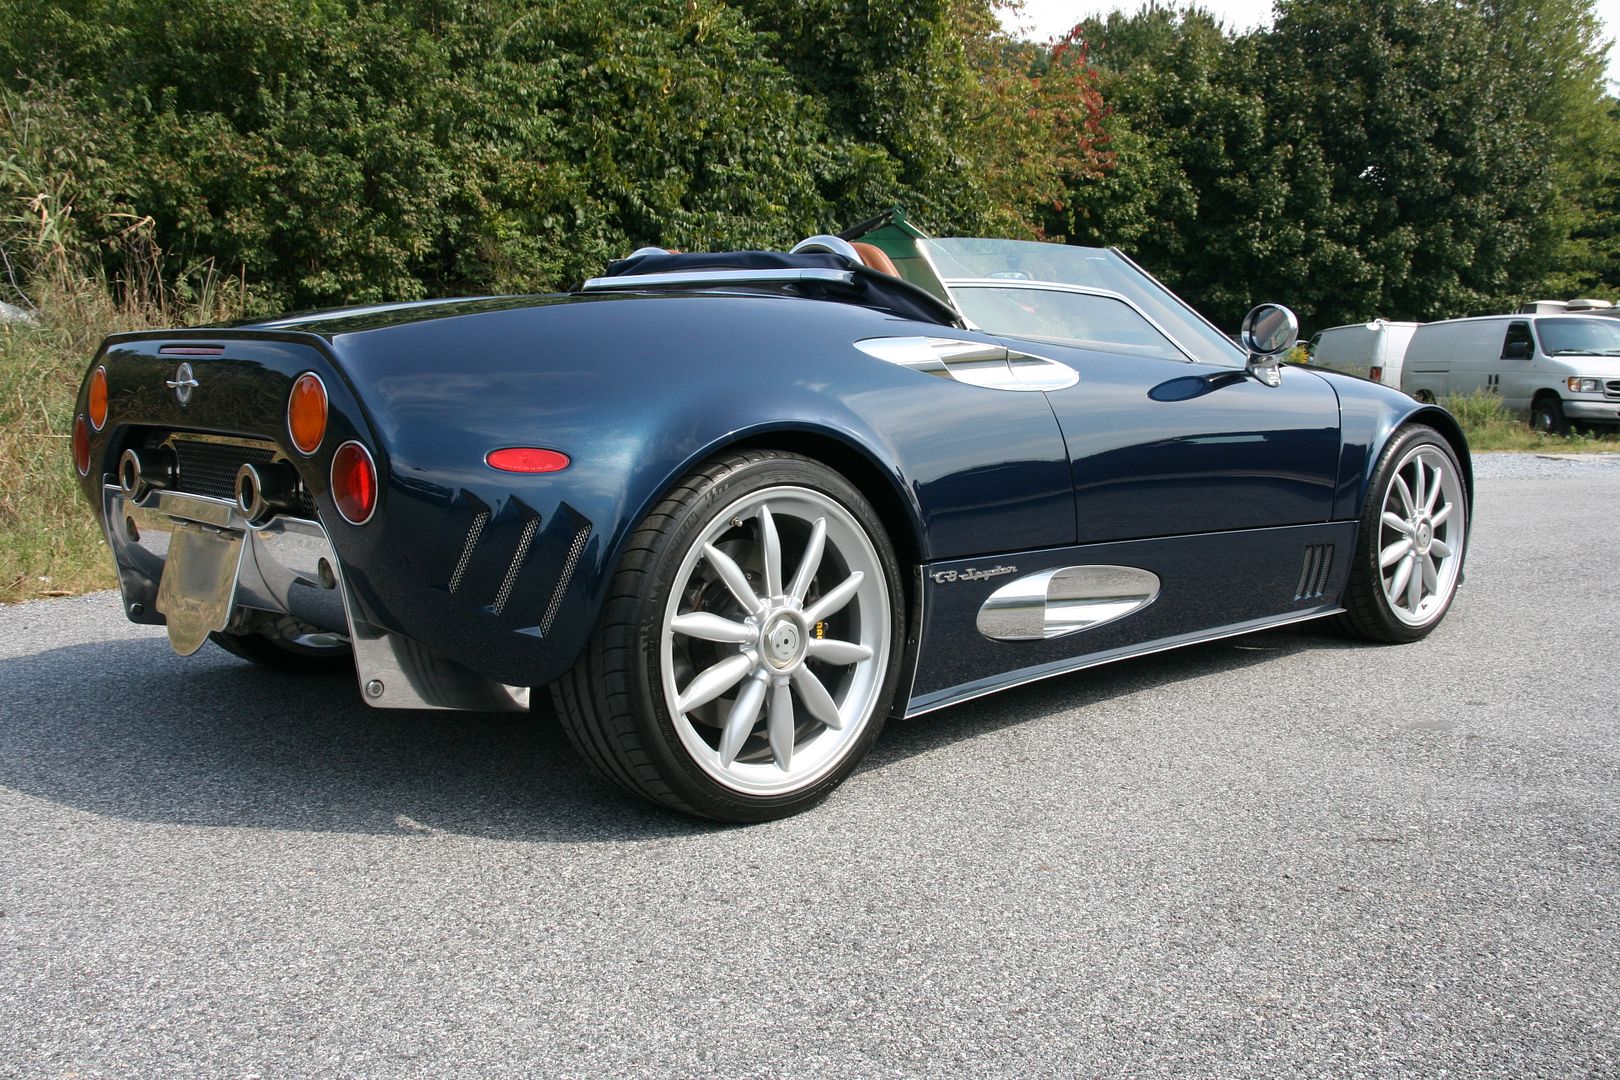
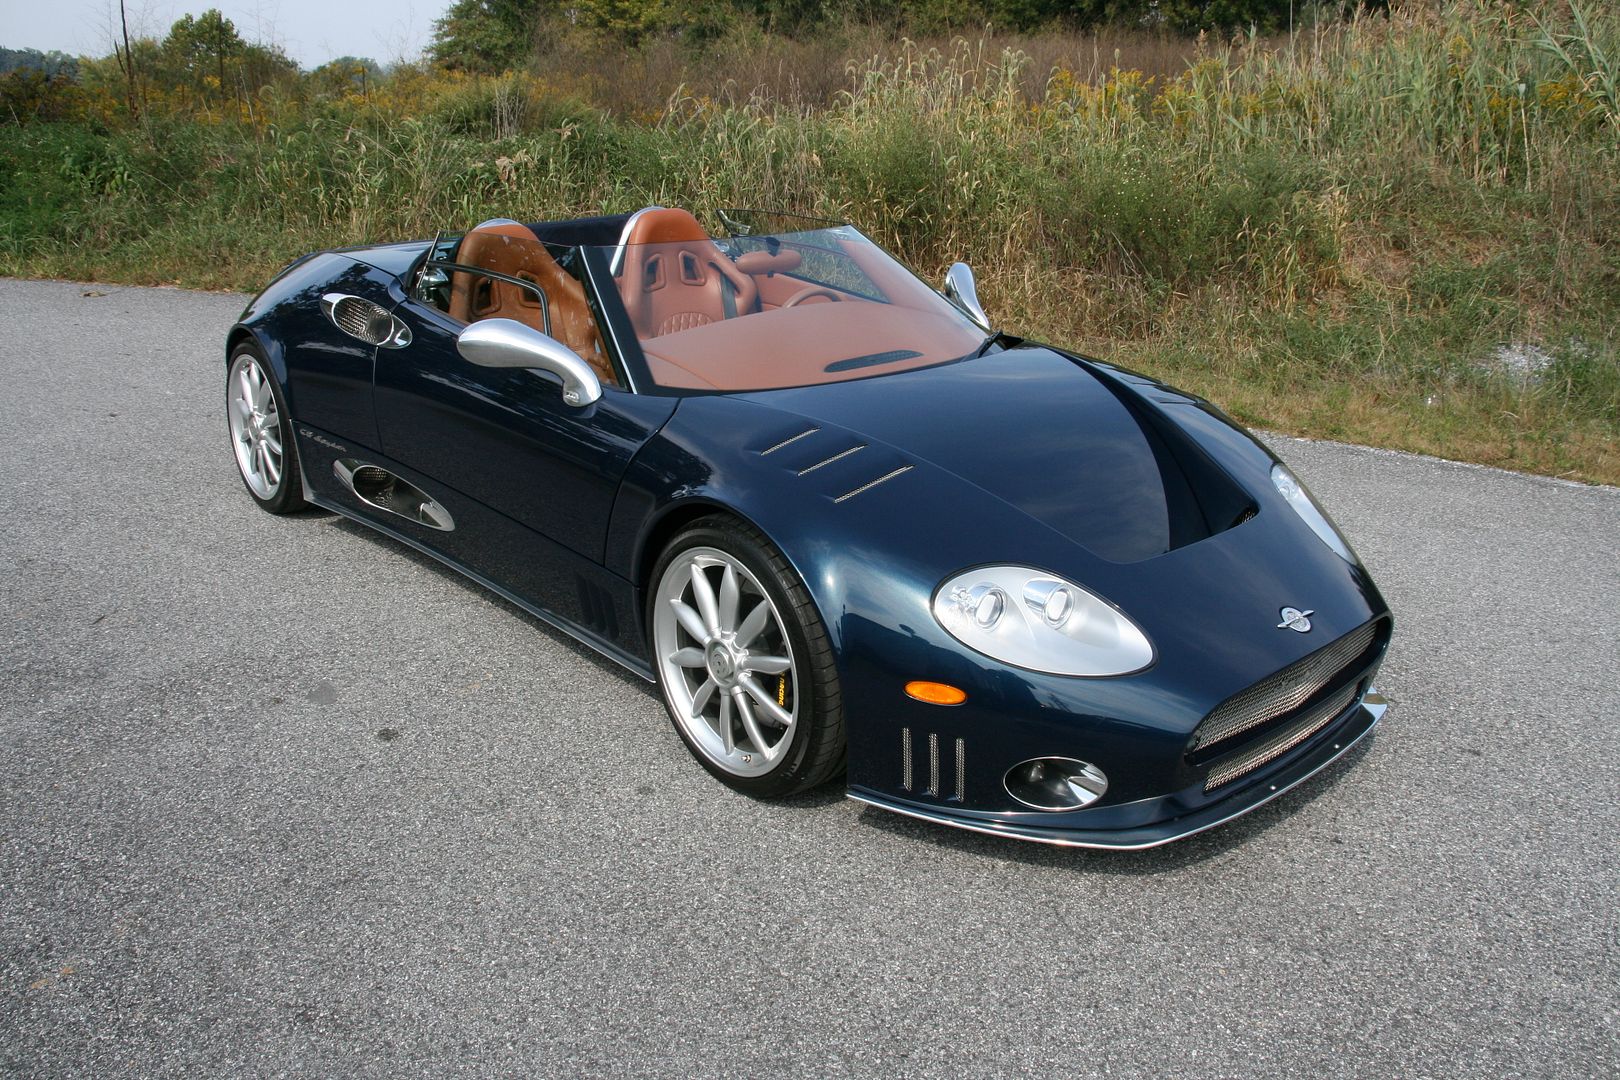
Having worked on many exotics and high end vehicles over the years, it's been a while since I've done something completely new to me. Not surprisingly so as there aren't too many of these very exotic looking vehicles around, being the Spyker C8 Spyder.
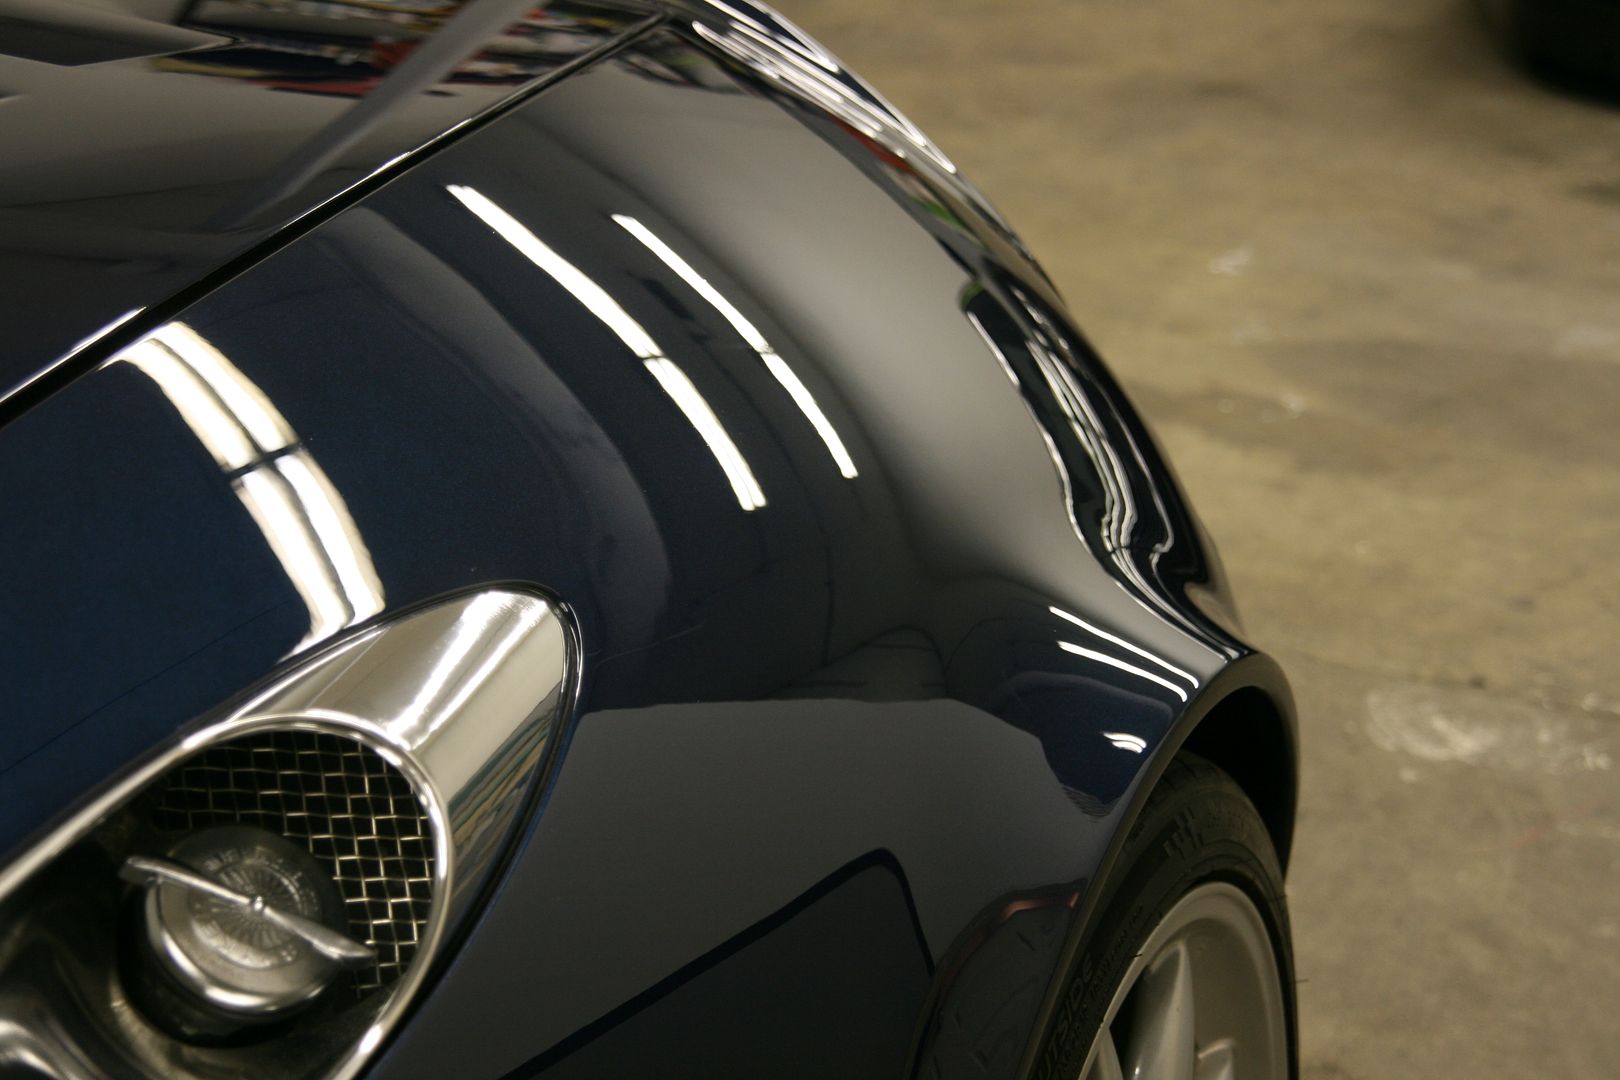
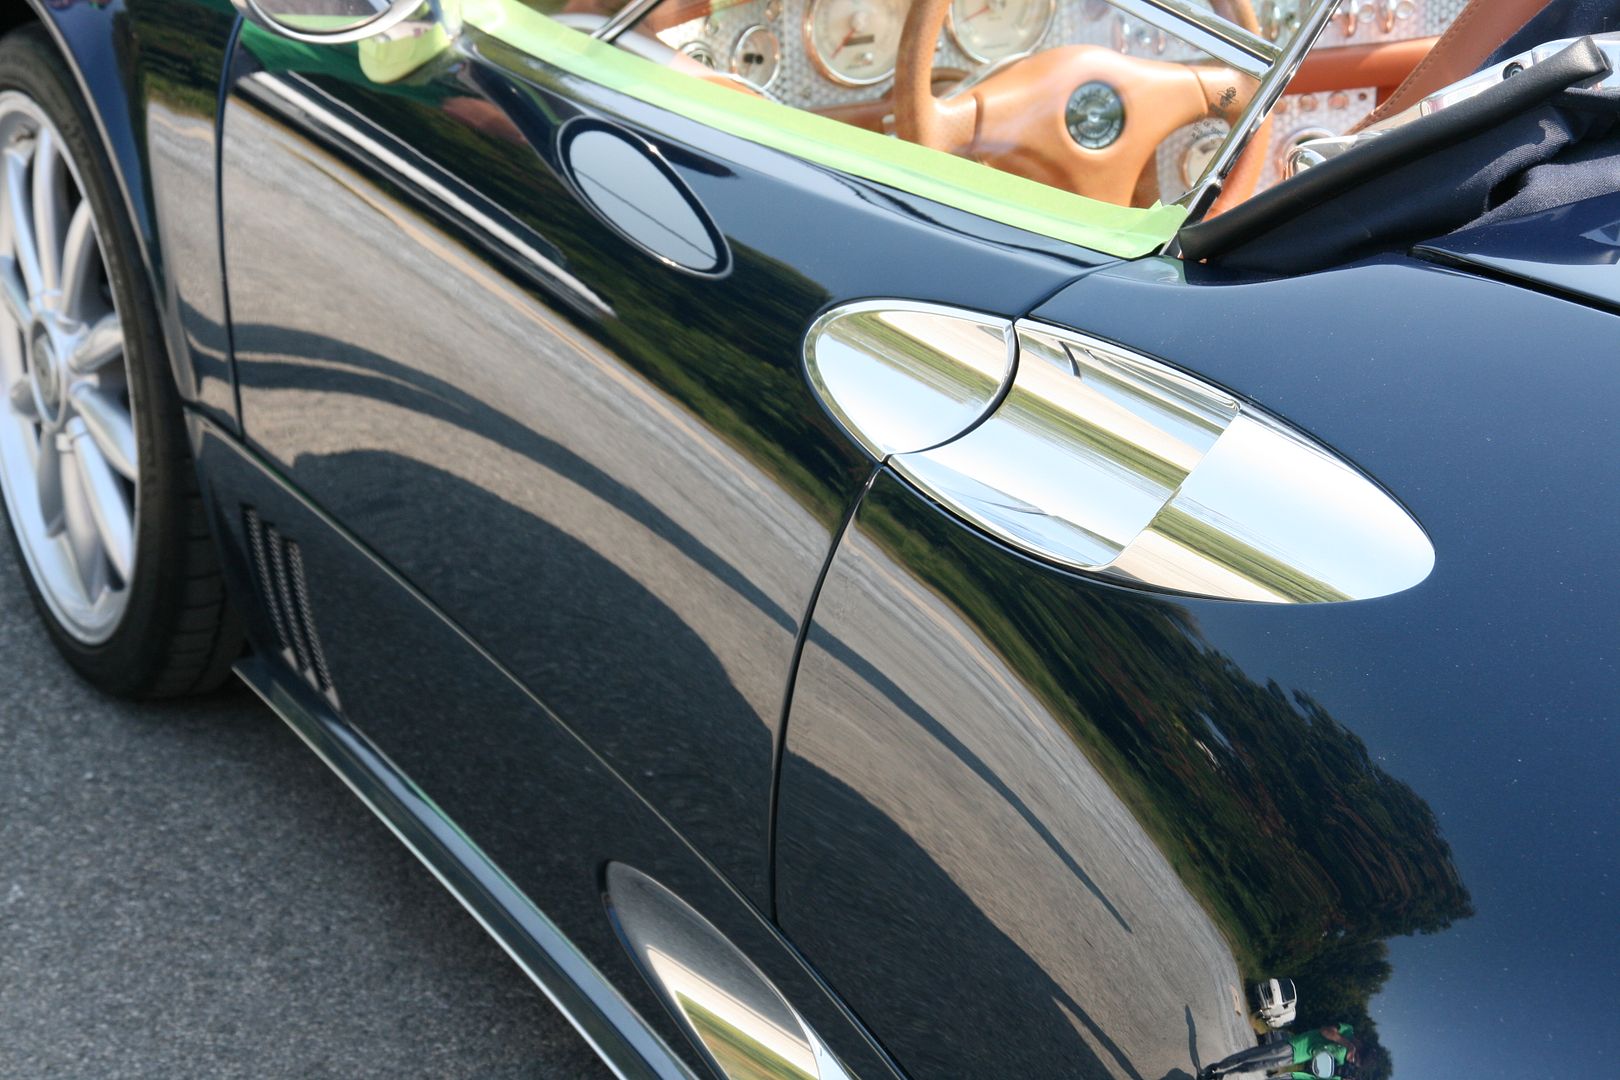
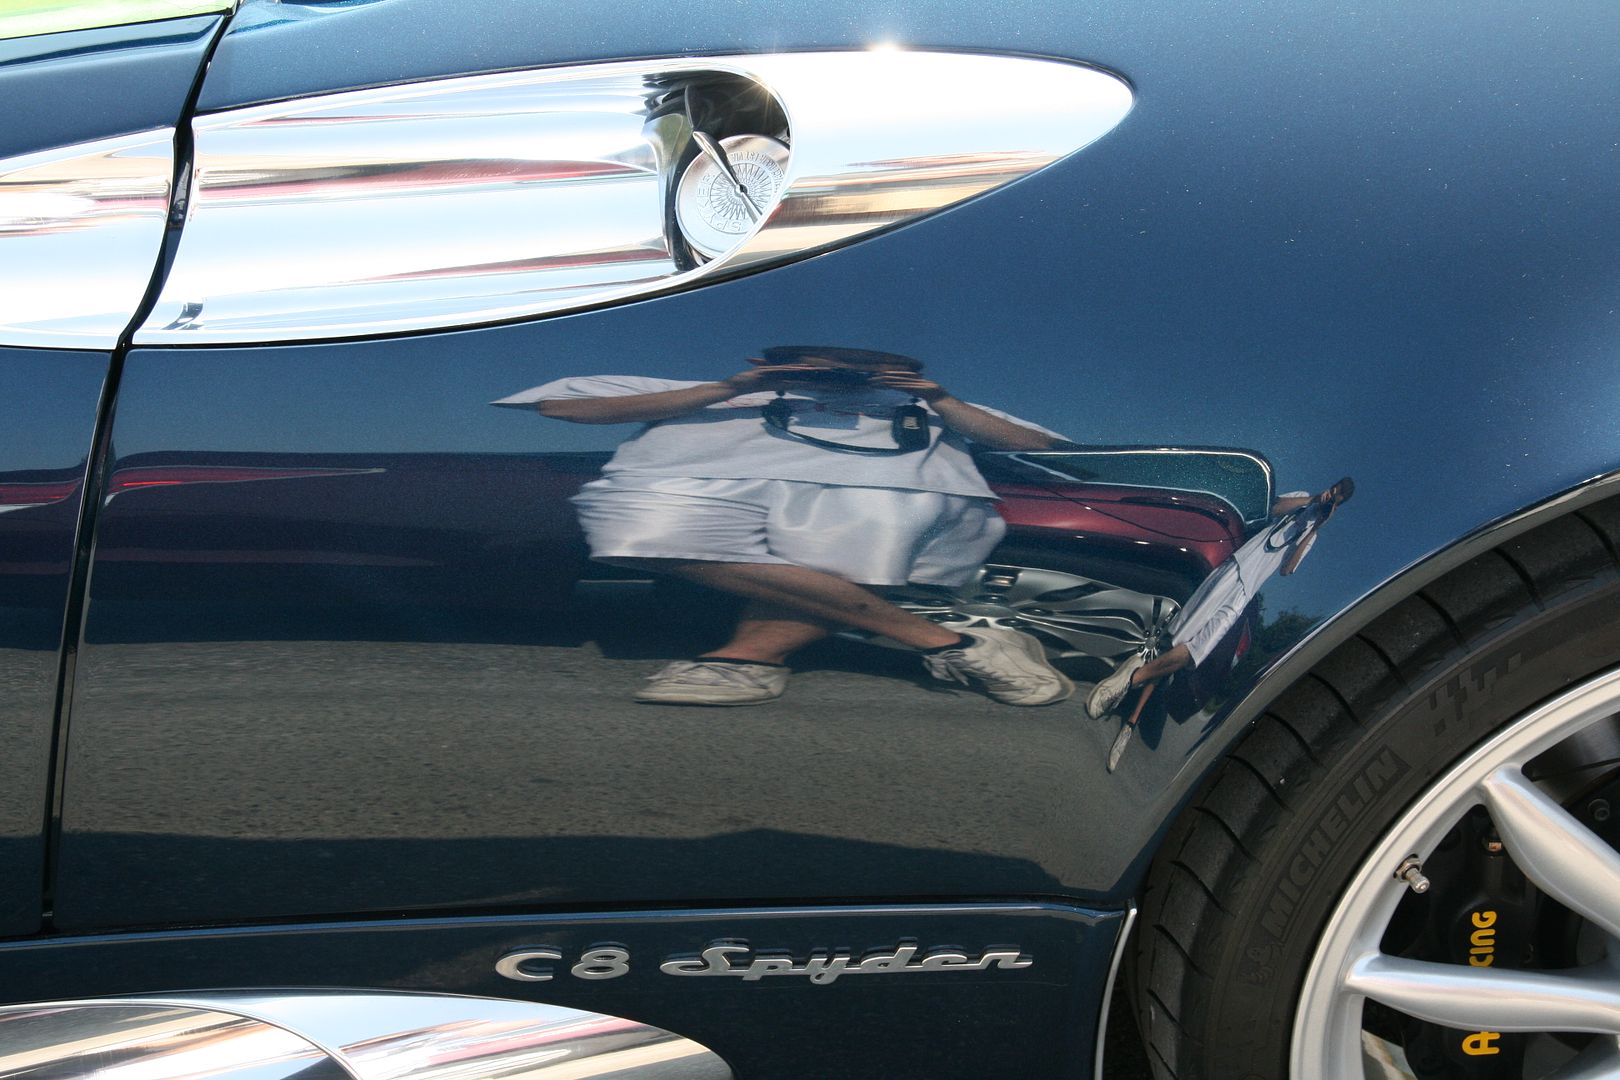
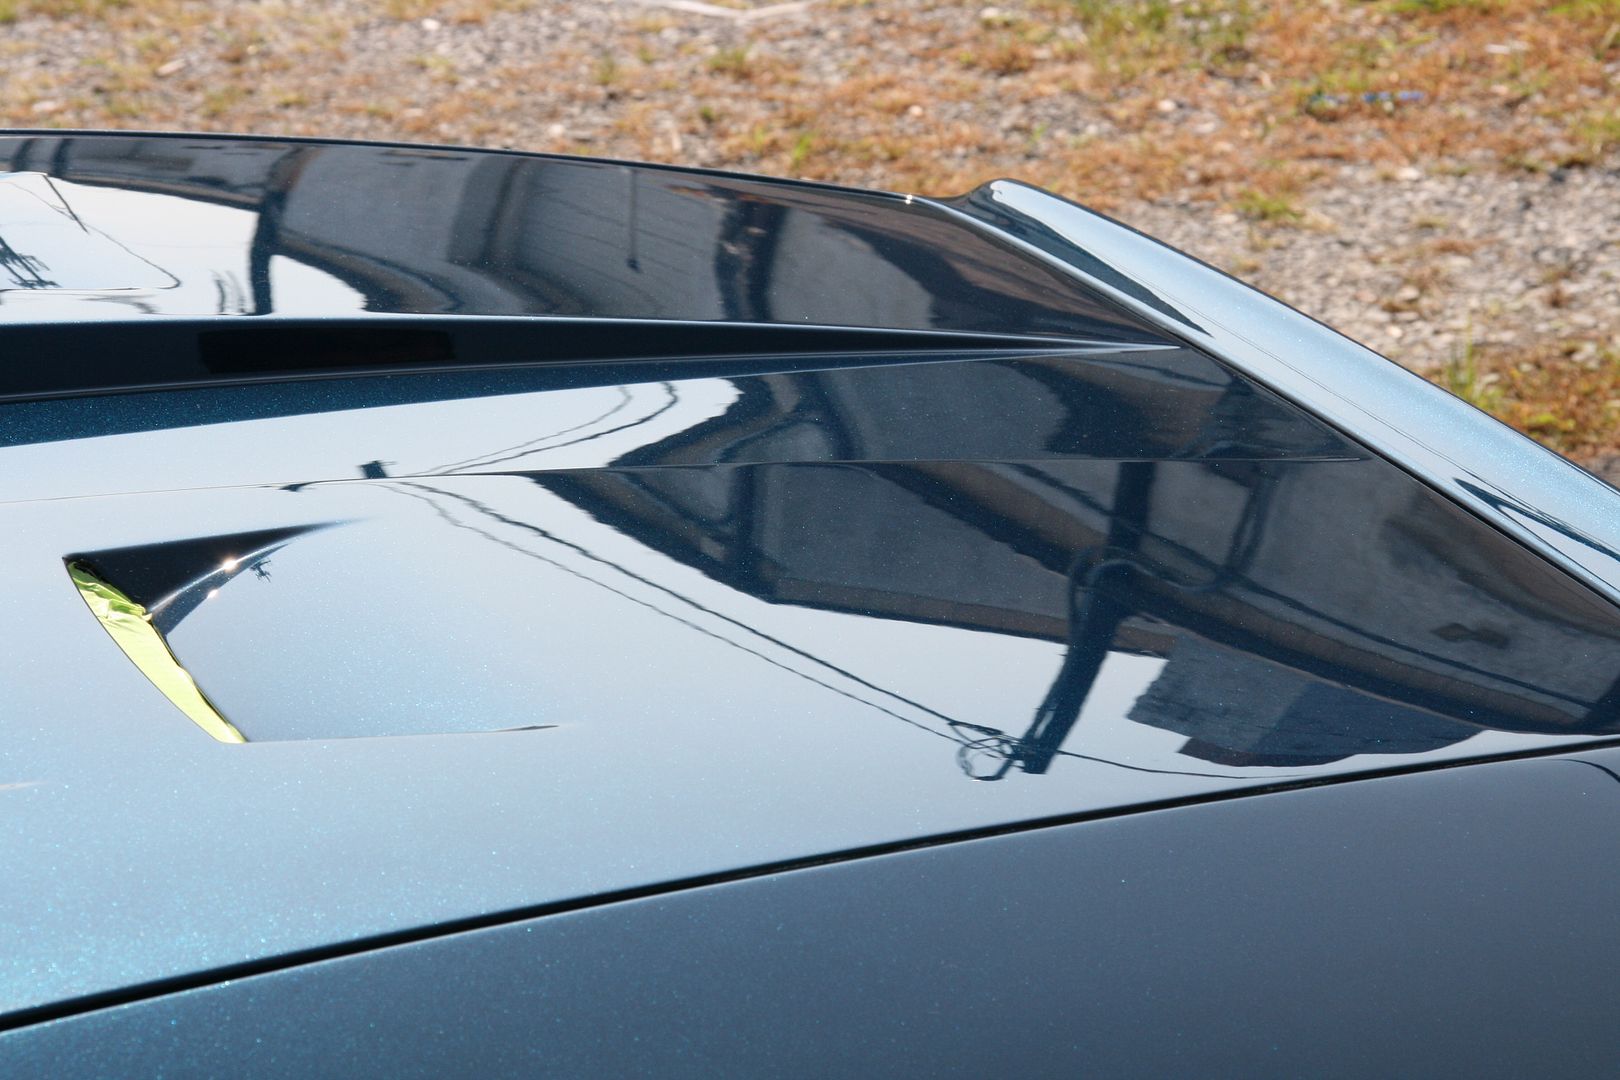
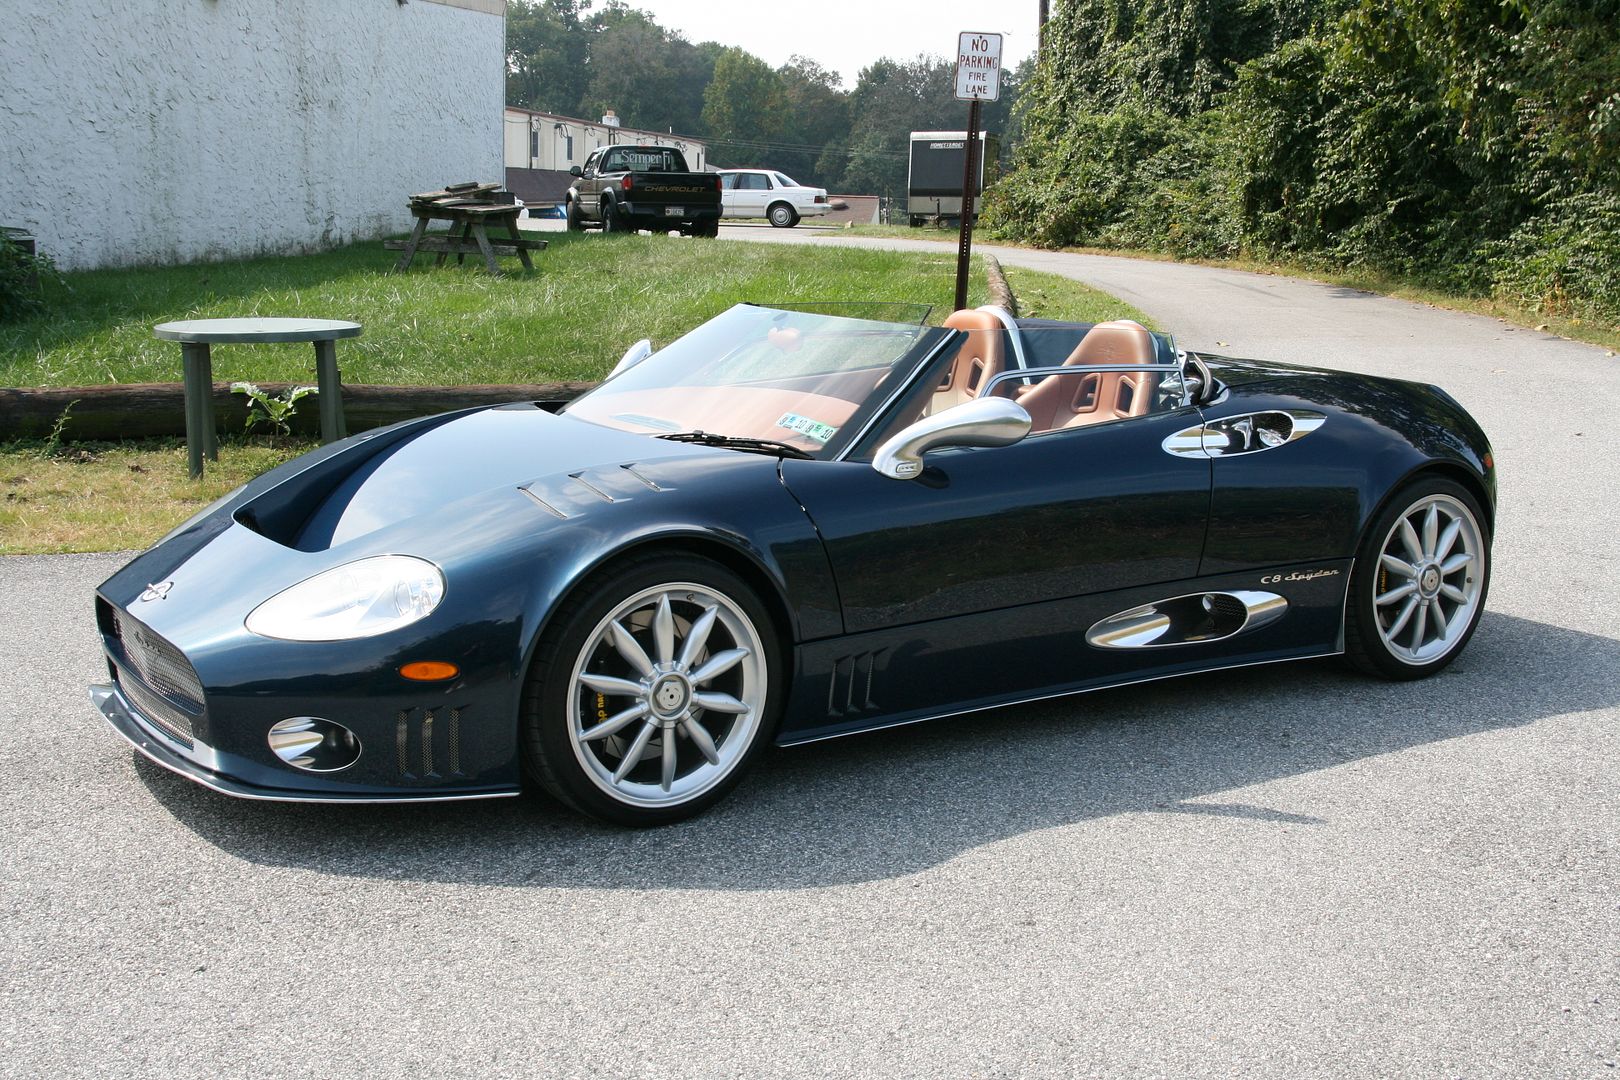
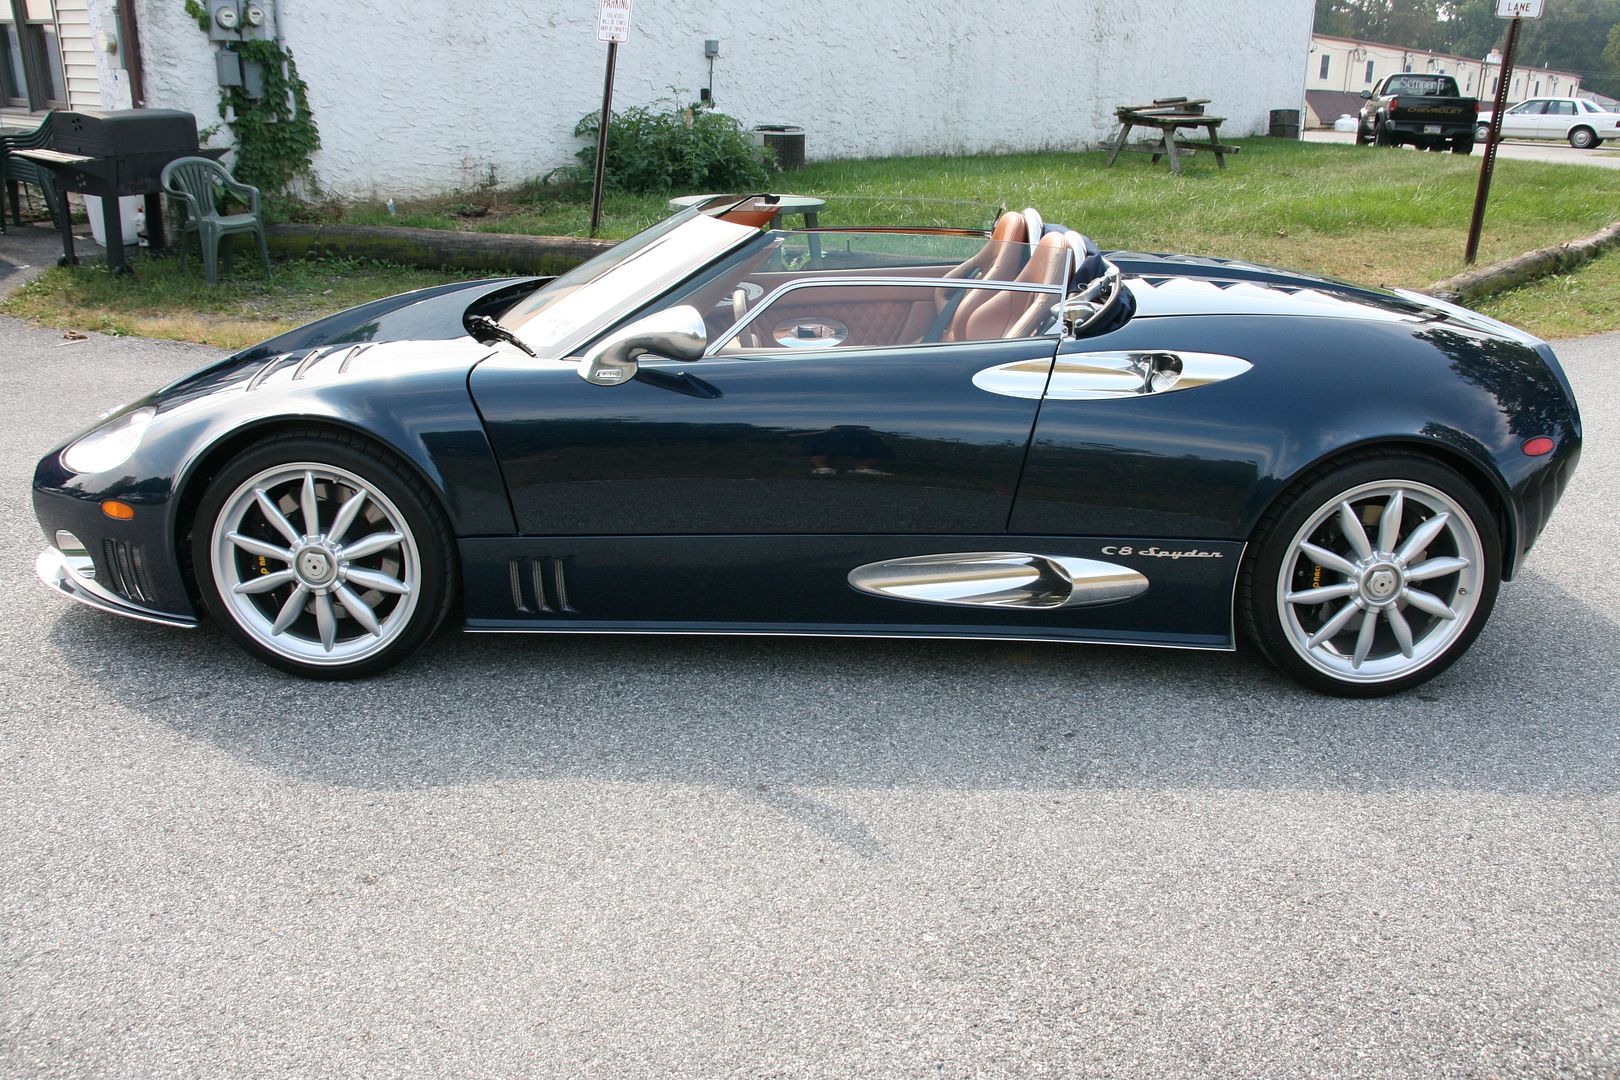
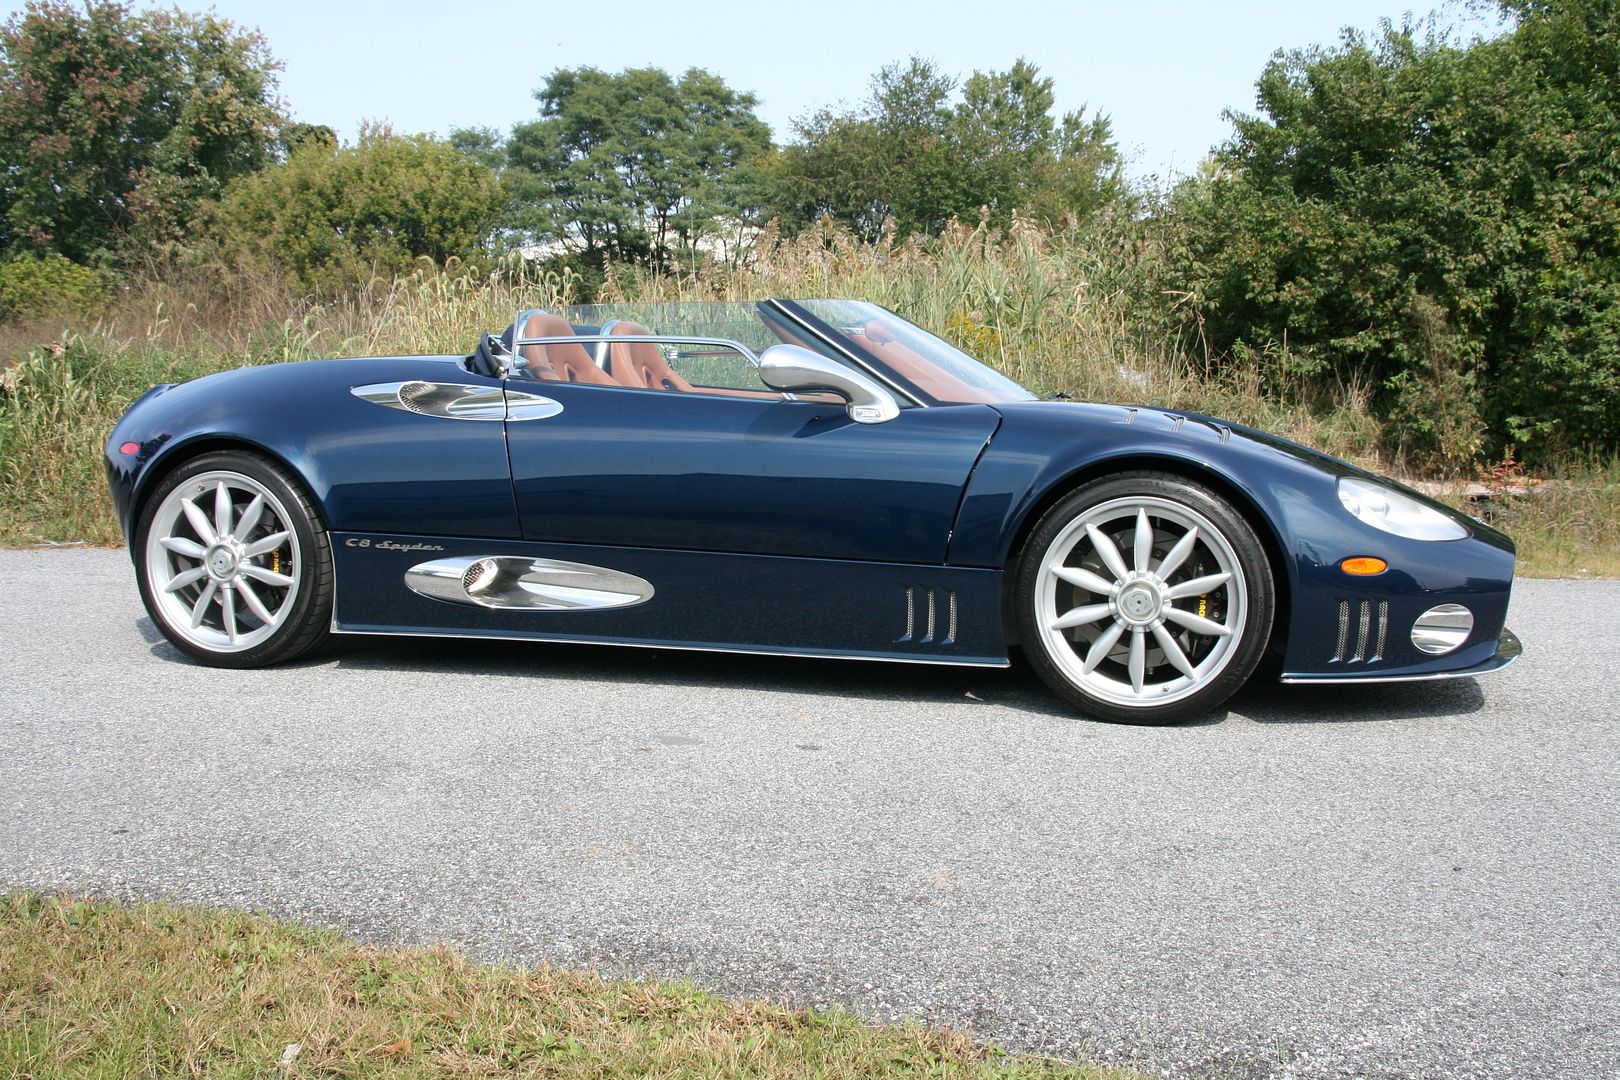
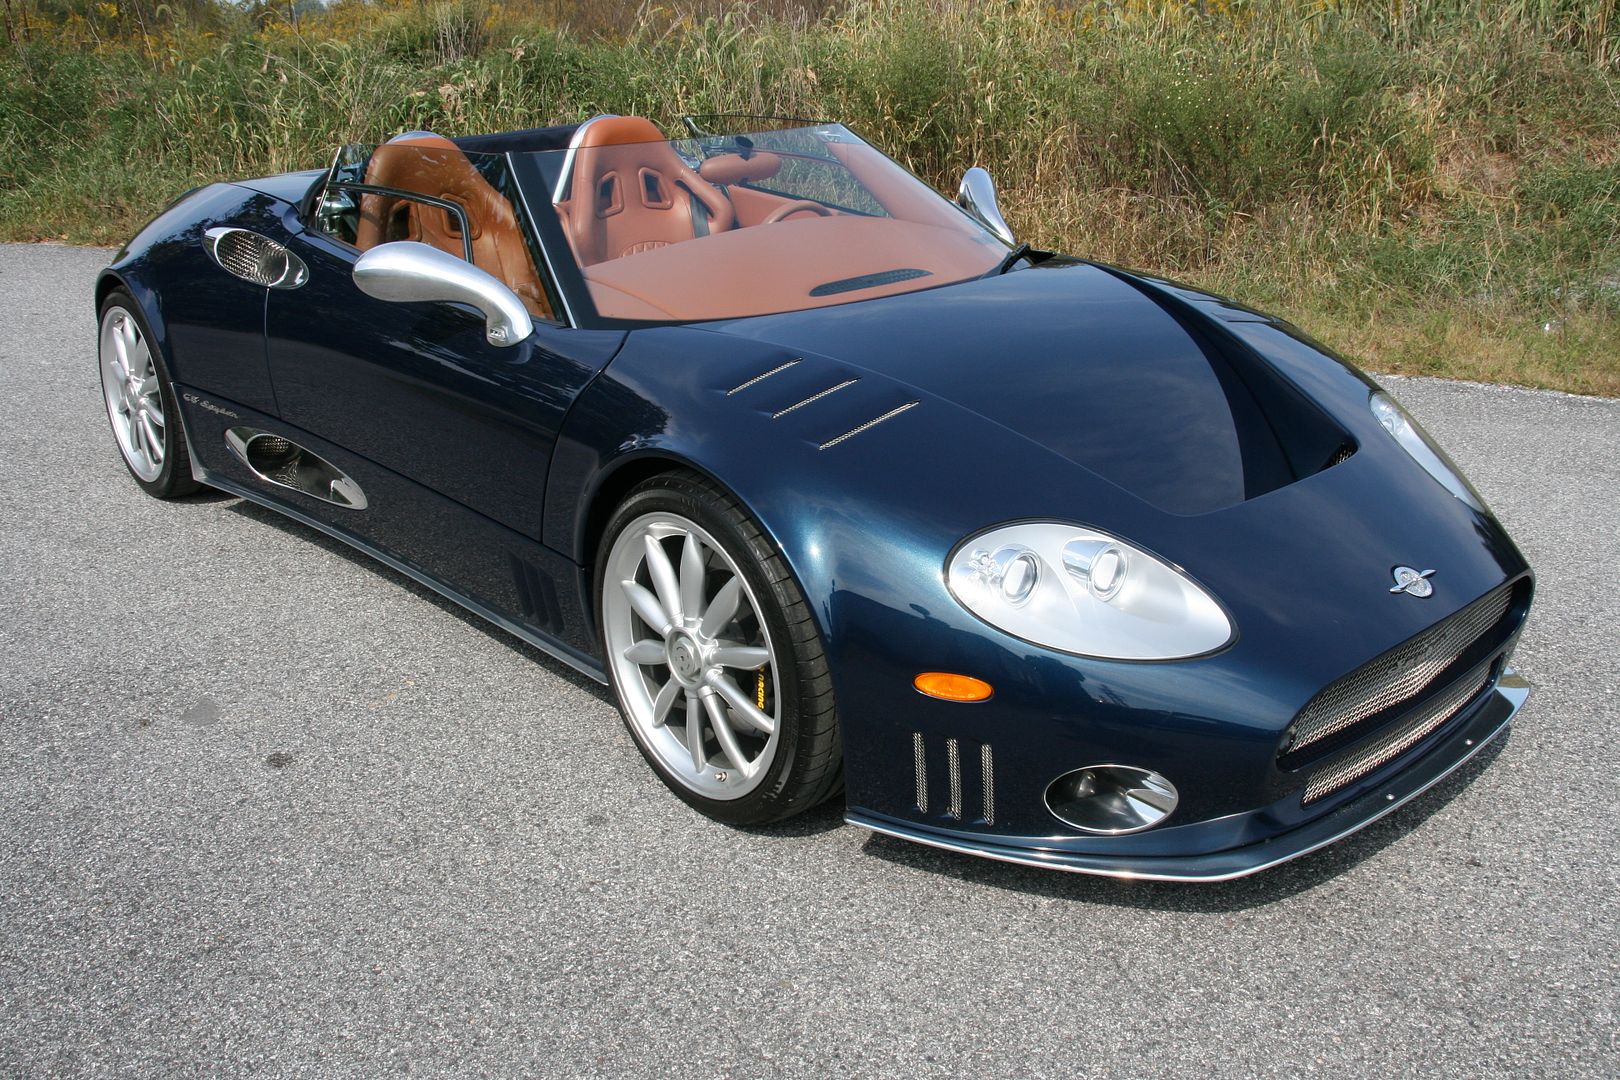
This particular example, came in the very rich Royal Blue color that really showed its depth and shine after the very extensive process put into this vehicle. Spyker definitely did their homework in regards to their paint work, a very smooth, orange peel free finish and a solid, assumably ceramic clear coat. Many different accents make this vehicle, from the aluminum vents and under body panels to the vents and contours throughout. All making for a very attractive body, however a very involved and careful process required, which is all listed below as well as the pics!
Products used:
Meguiars 3000 unigrit sand paper
Meguiars M105 + purple foam wool pad
Menzerna 203 + orange pad
Menzerna 106 + white pad
Menzerna 85 + black pad
IPA 30%
P21S Paint cleanser
Optimum No Rinse Wash (ONR)
Optimum Metal polish
CG Diablo wheel gel
Stoners Tarminator
Turtle wax Bug and Tar remover
BlackFire Wet Diamond sealant
Meguiars Super Degreaser
Meguiars Last Touch
Meguiars APC
3M Adhesive remover
Plexus clear bra cleaner
Sonus green ultra fine clay
CG Maxisuds clay solution
Sprayway ammonia free window cleaner
Poor boys wheel sealant
Poorboys bold n’ bright tire dressing
Collinite 476
Procedures and pictures
As car arrived, it rained night before and roads were not dry when car got to the shop so it was little dirty

5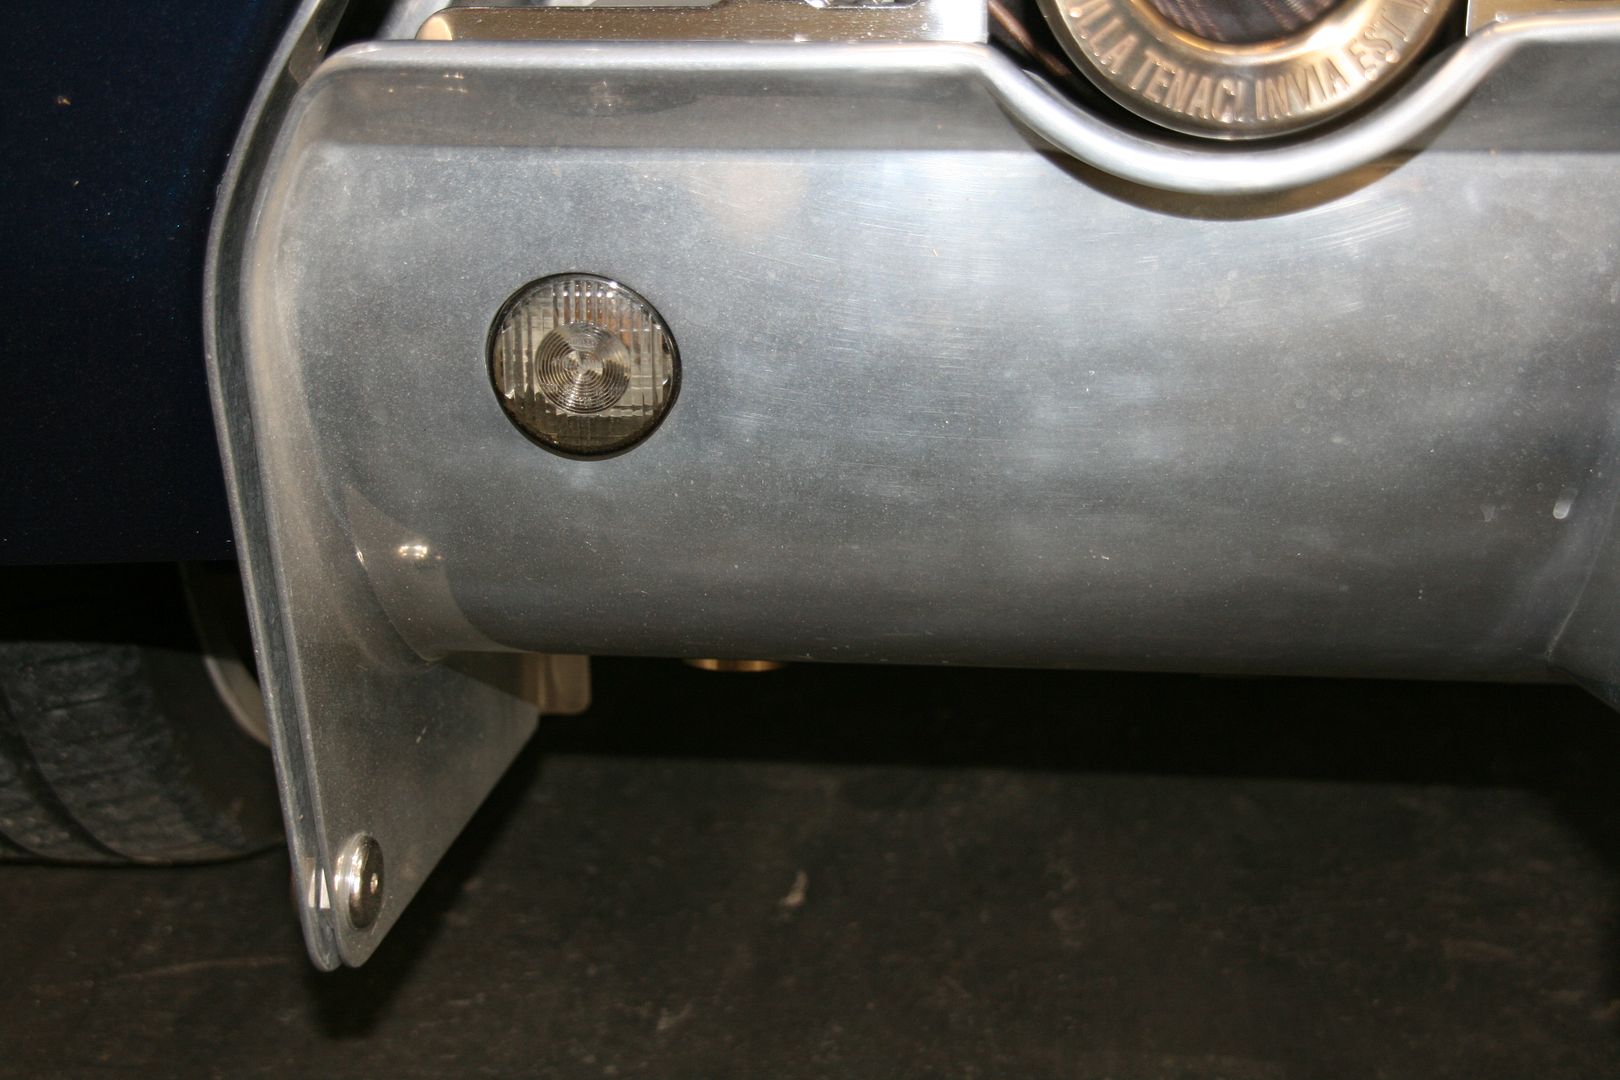
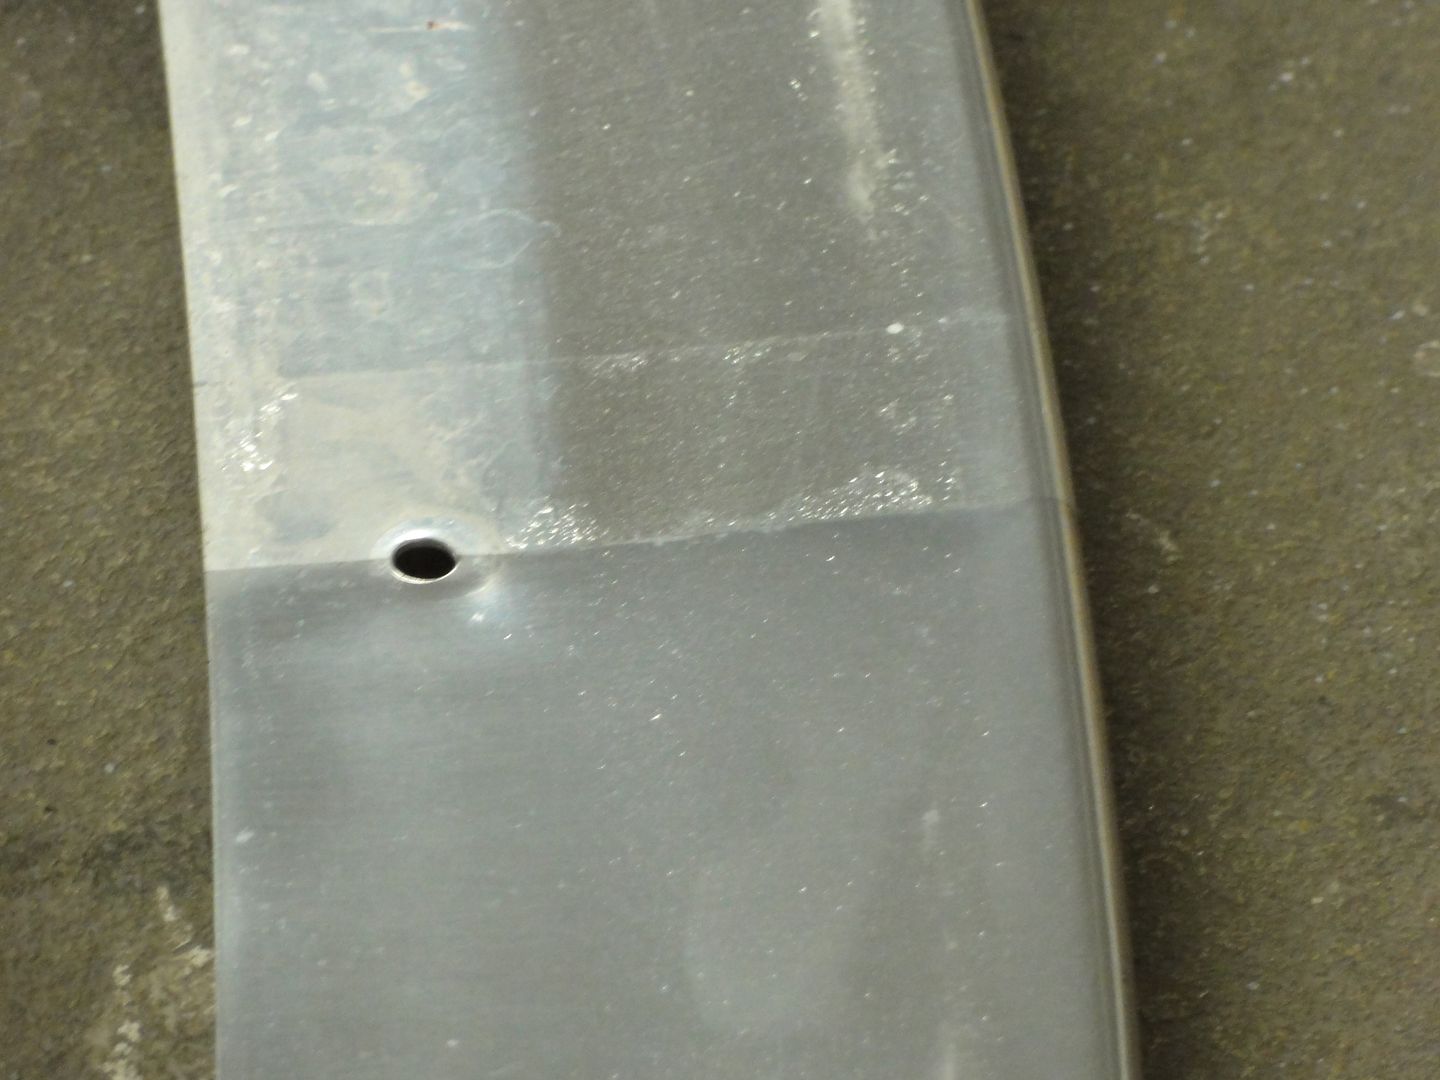
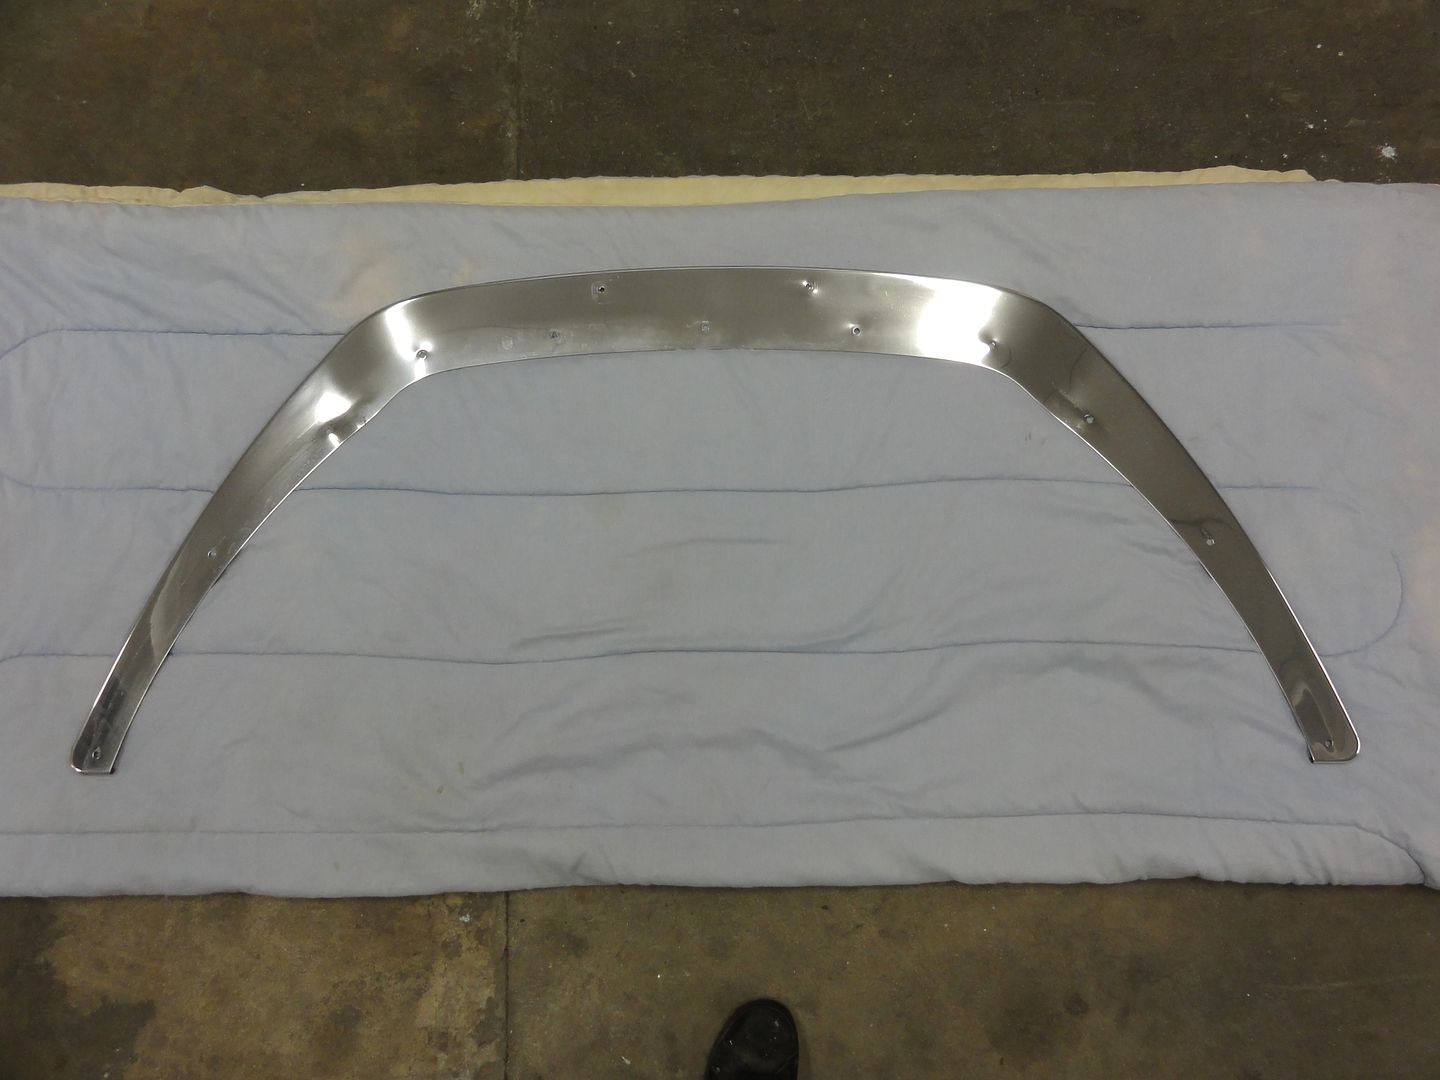
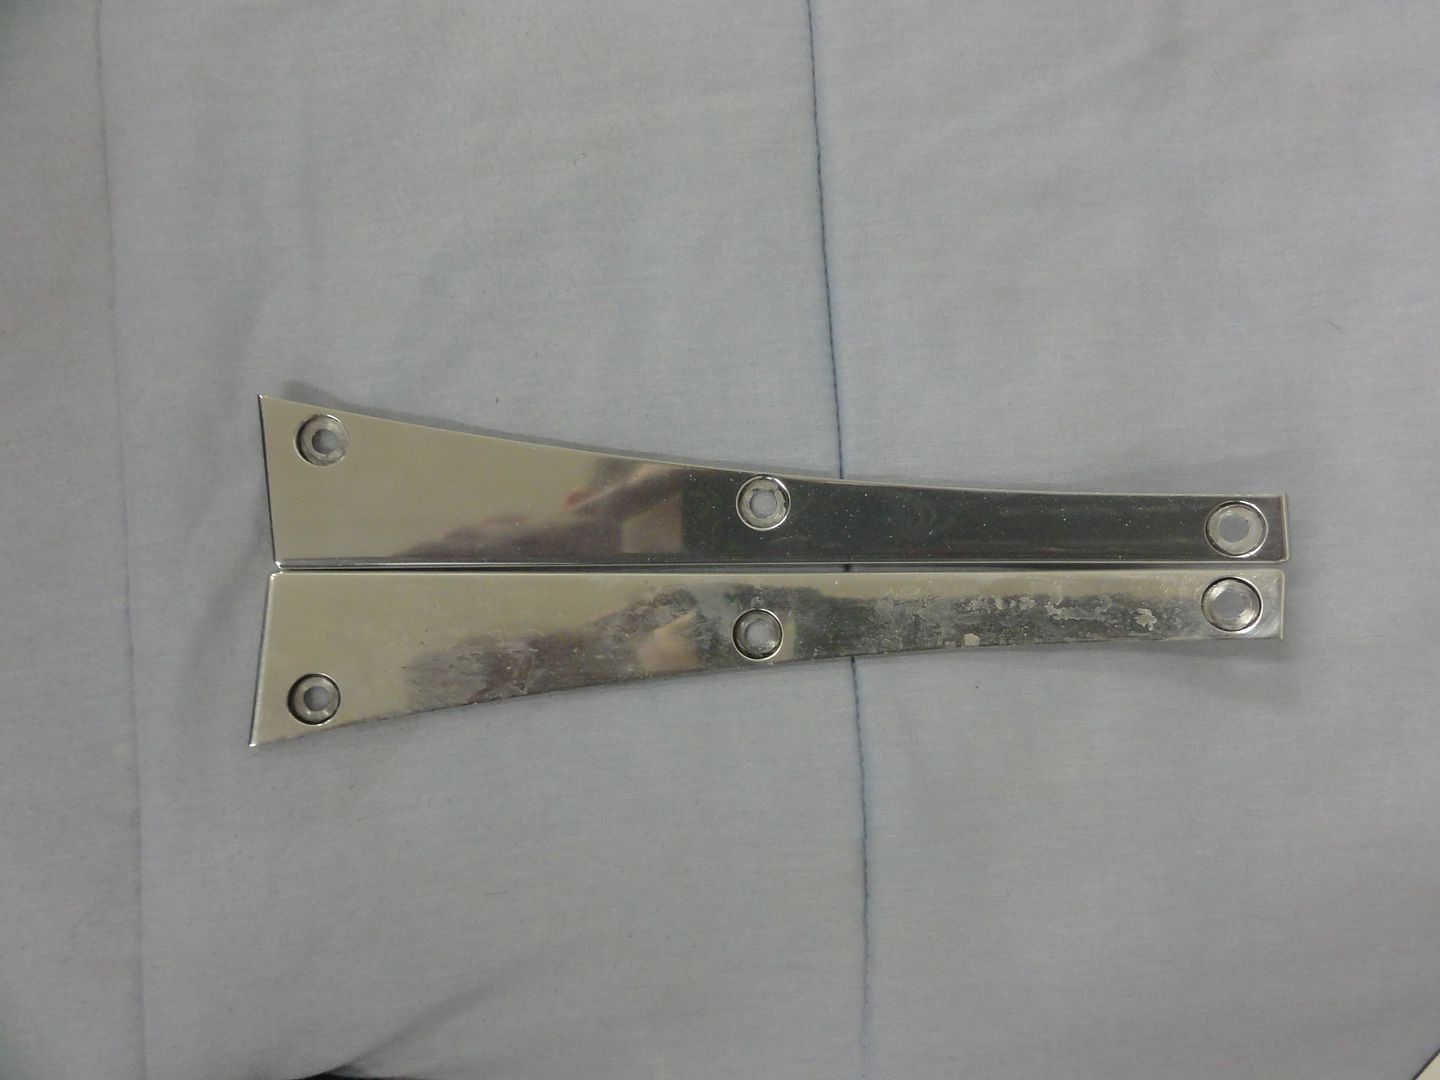
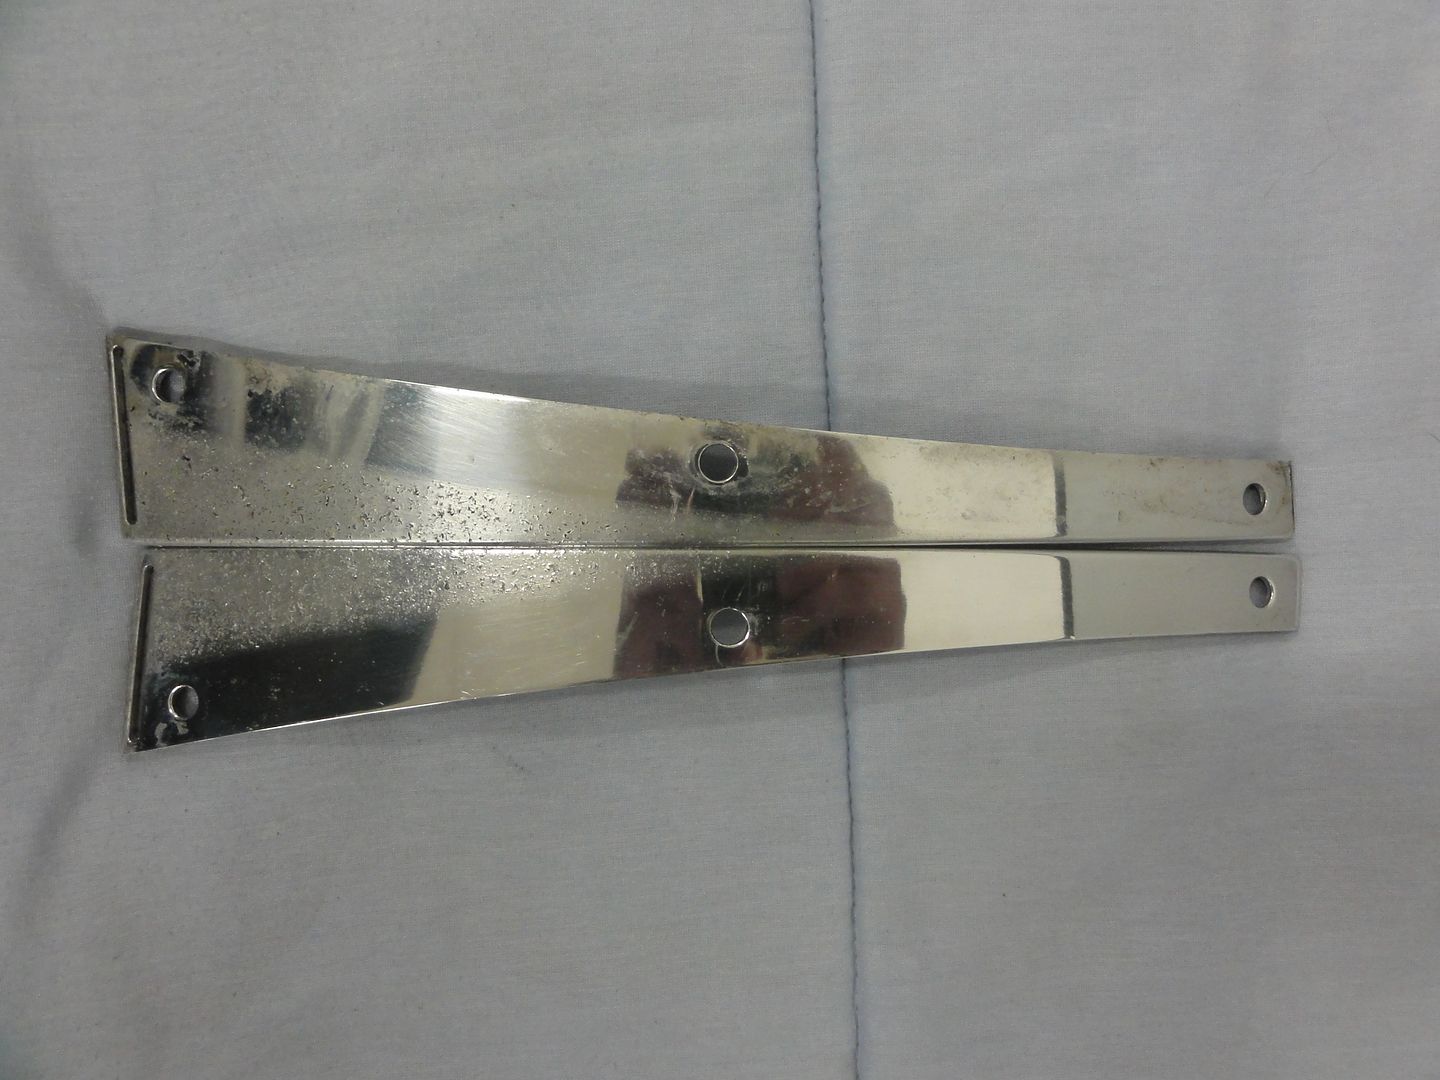
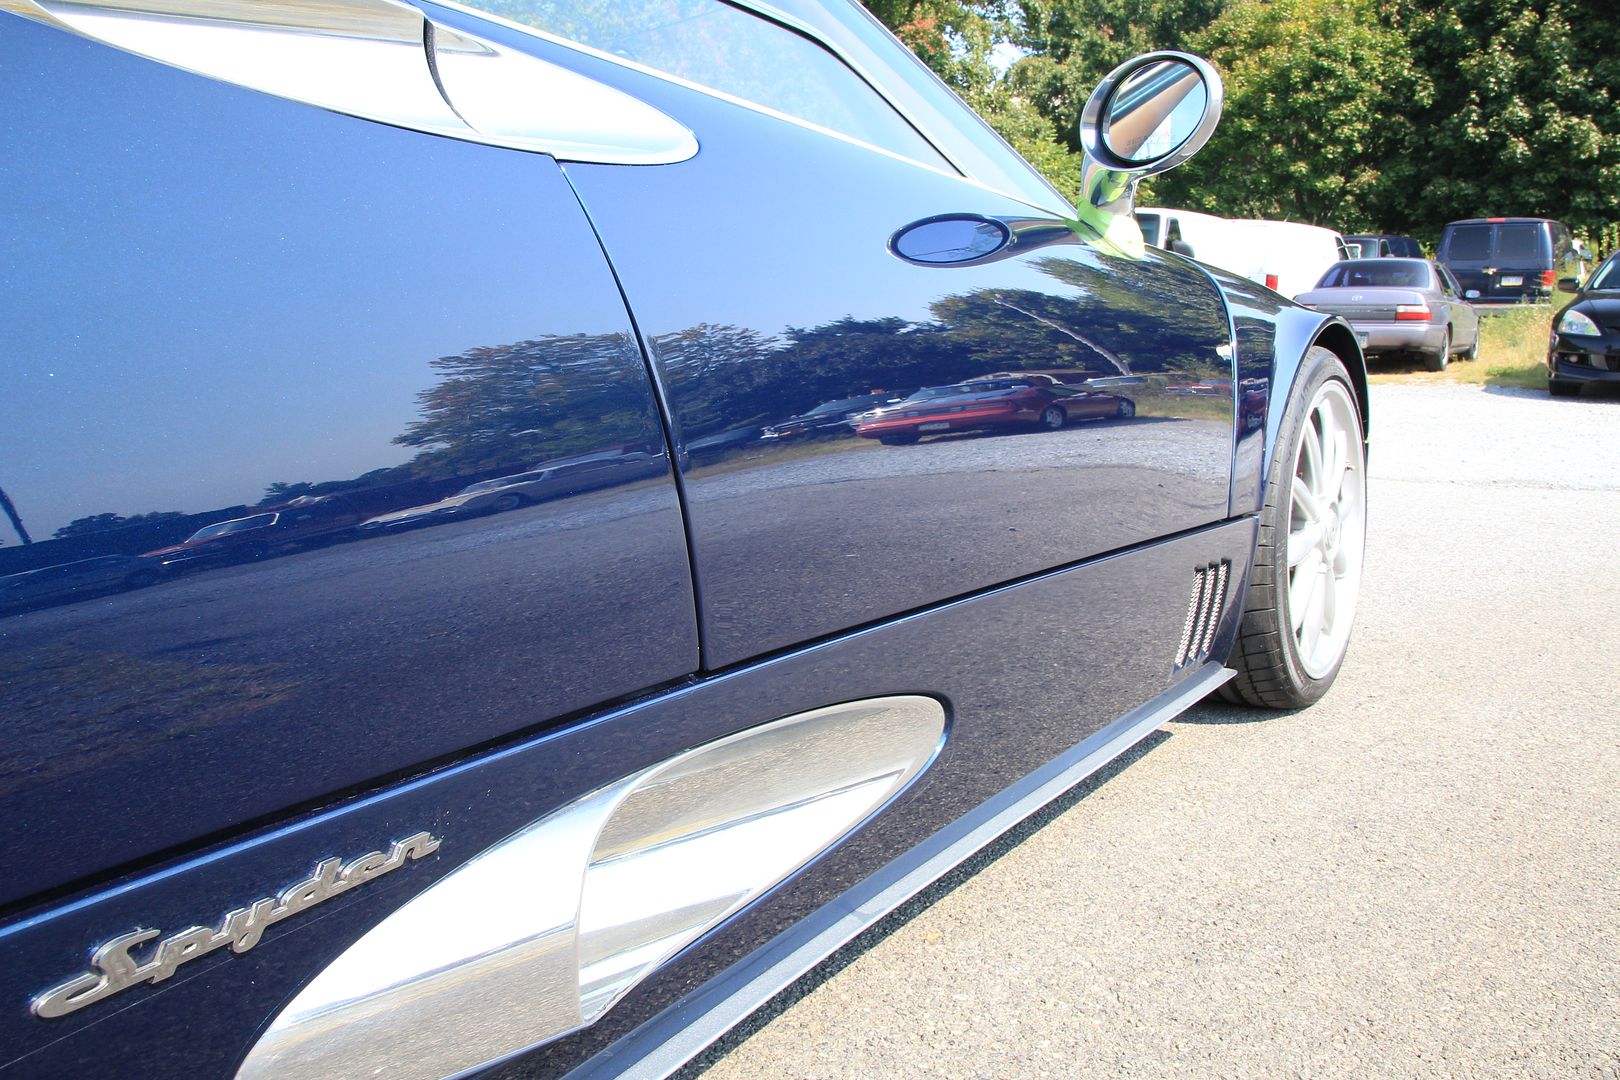
First order was to take removable aluminum pieces off the car. Front splitter and side skirts and rear wheel guards were removed prior to washing the car. They were polished and sealed with poor boys wheel sealant which is great for aluminum
After aluminum trim was off car was washed with ONR and clayed, there wasn’t much contamination on the car but still it was needed.
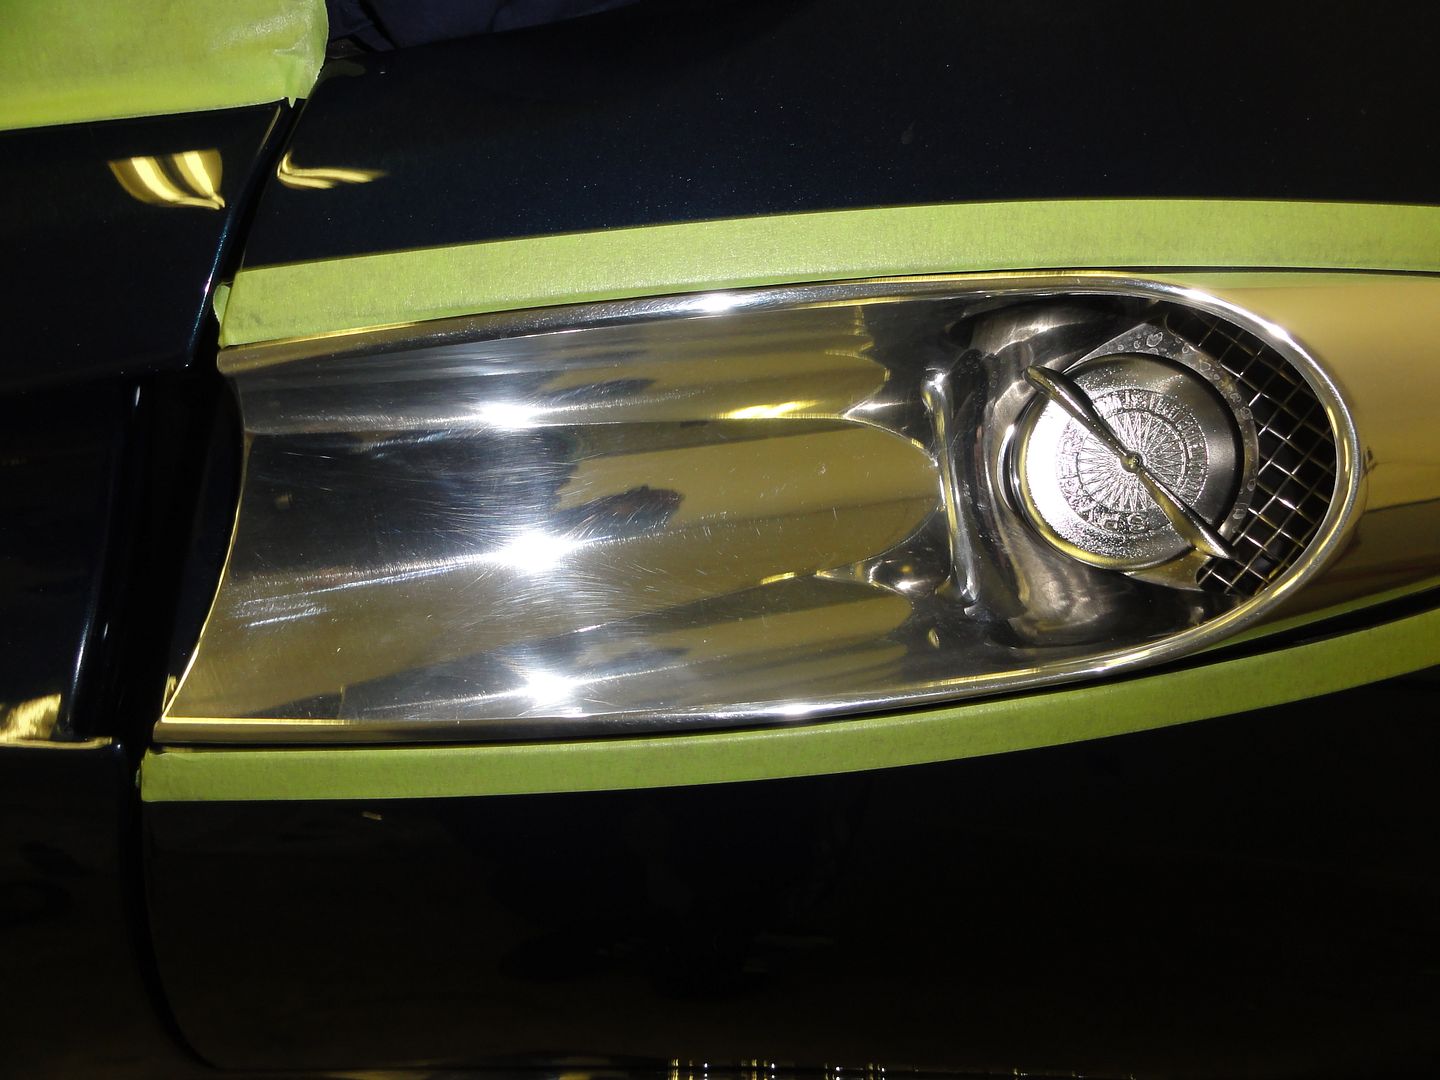
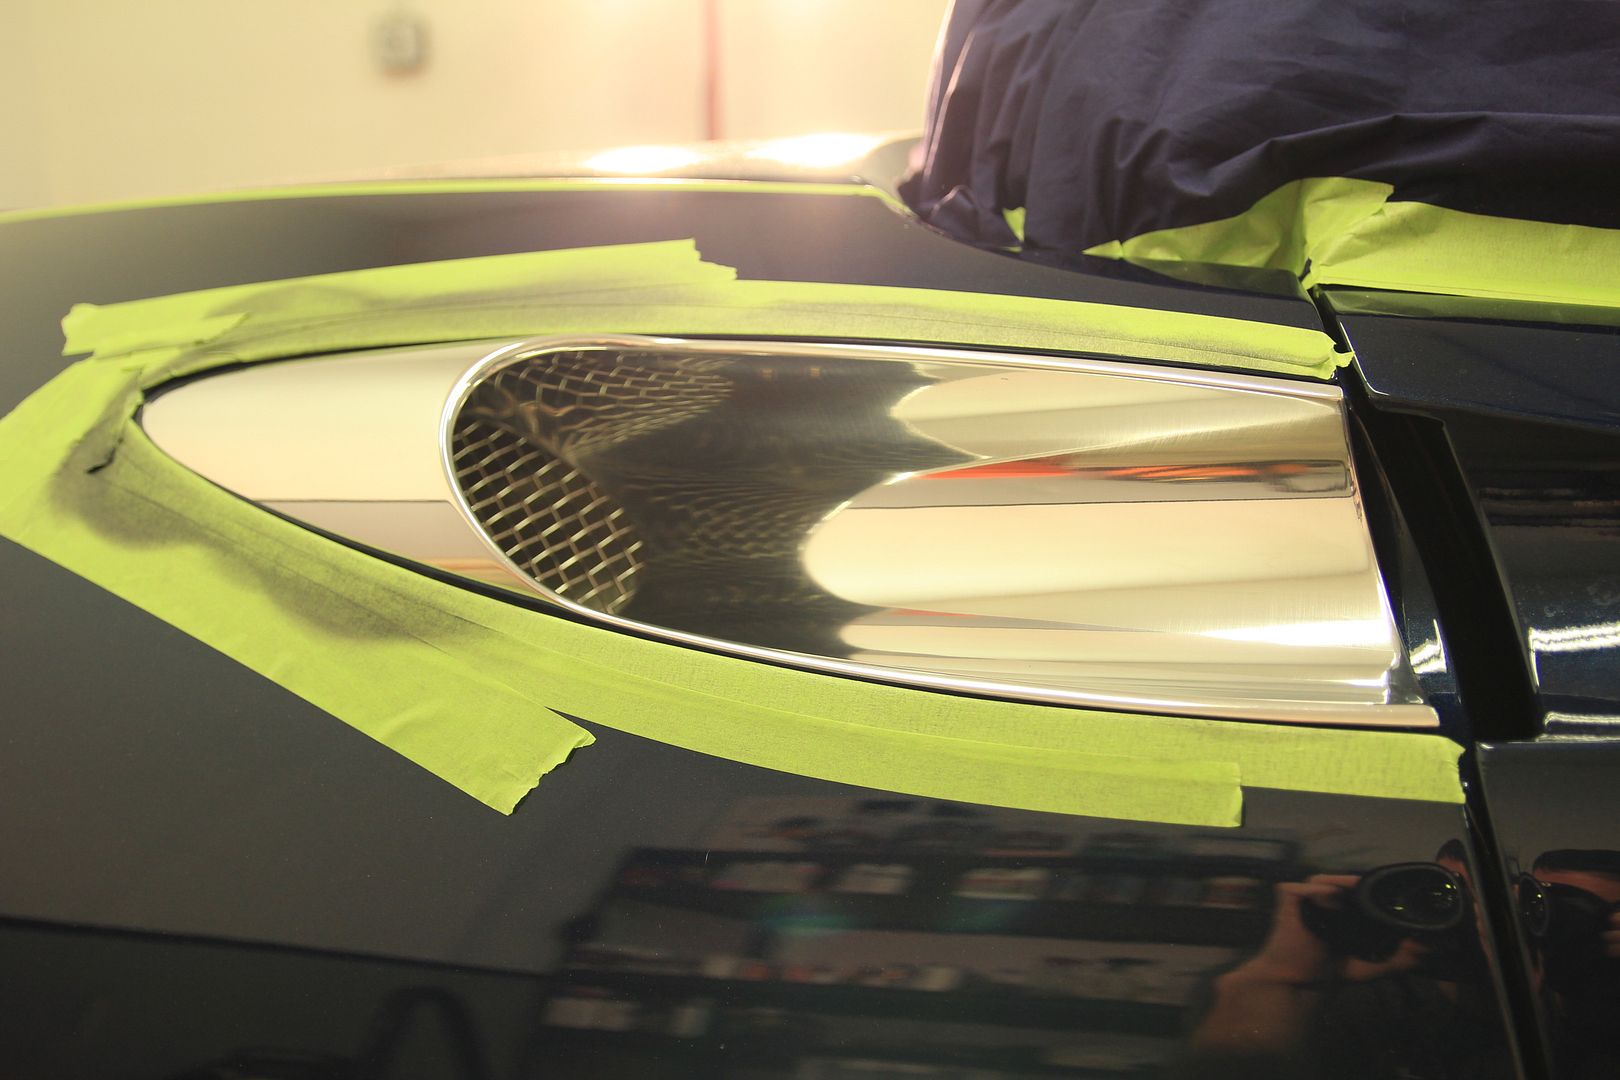
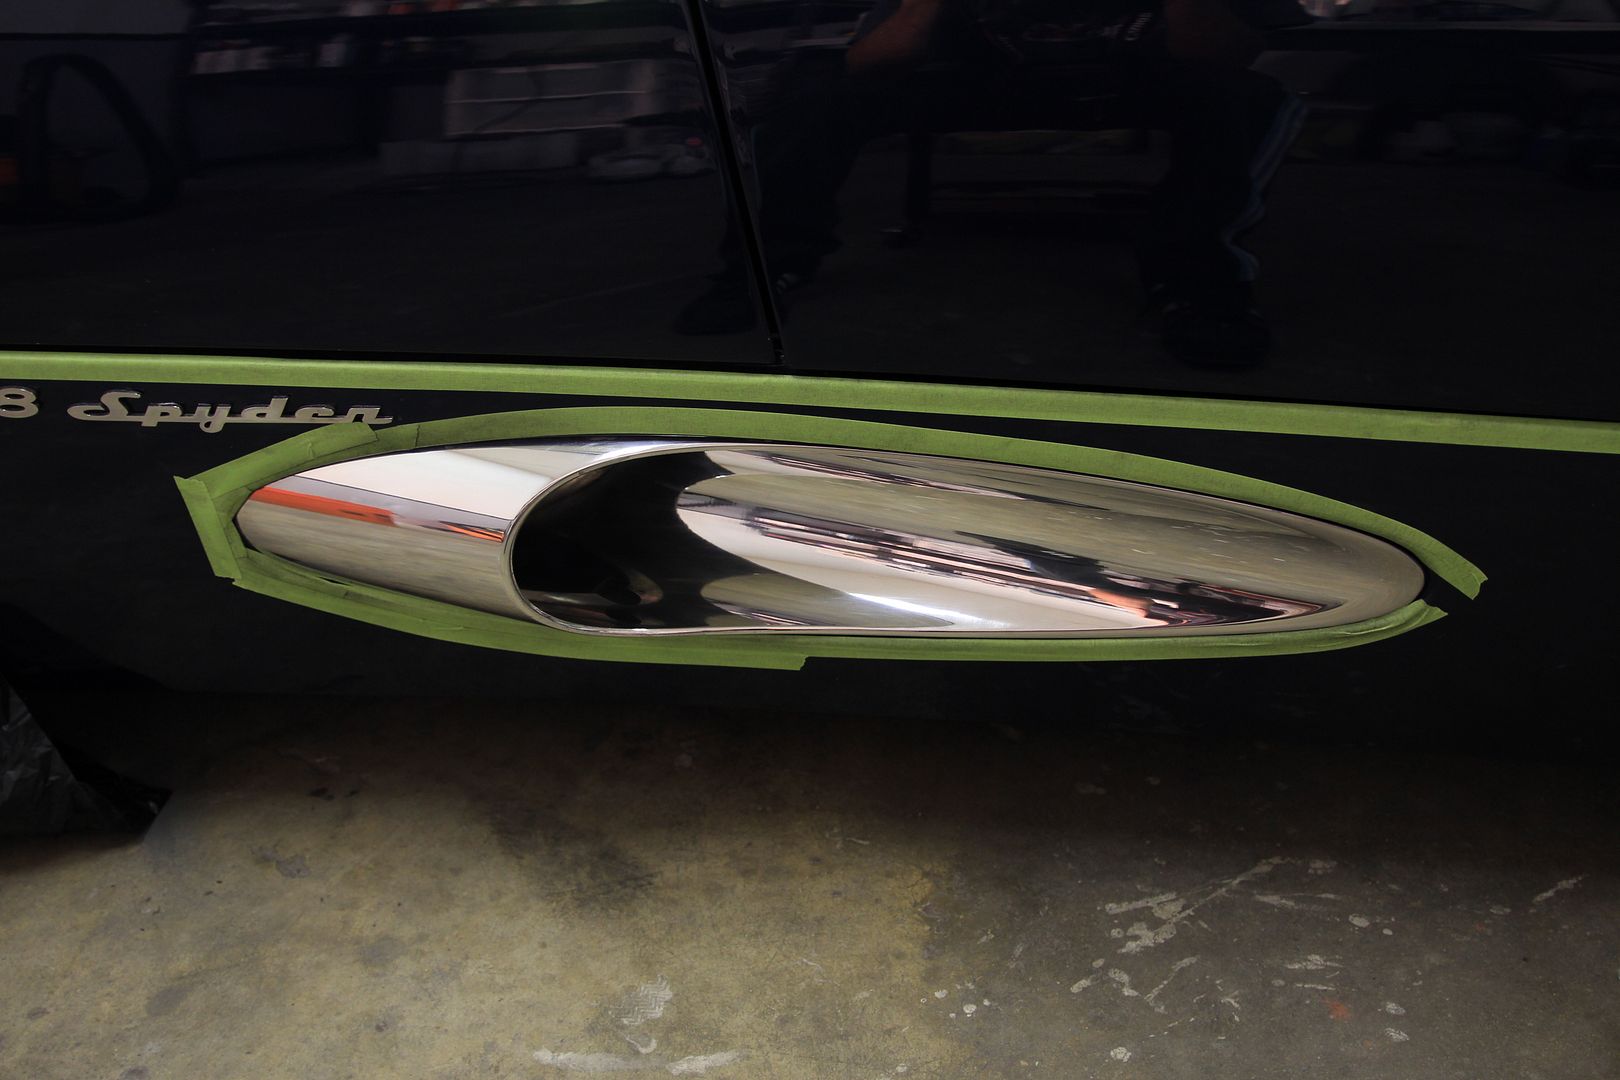
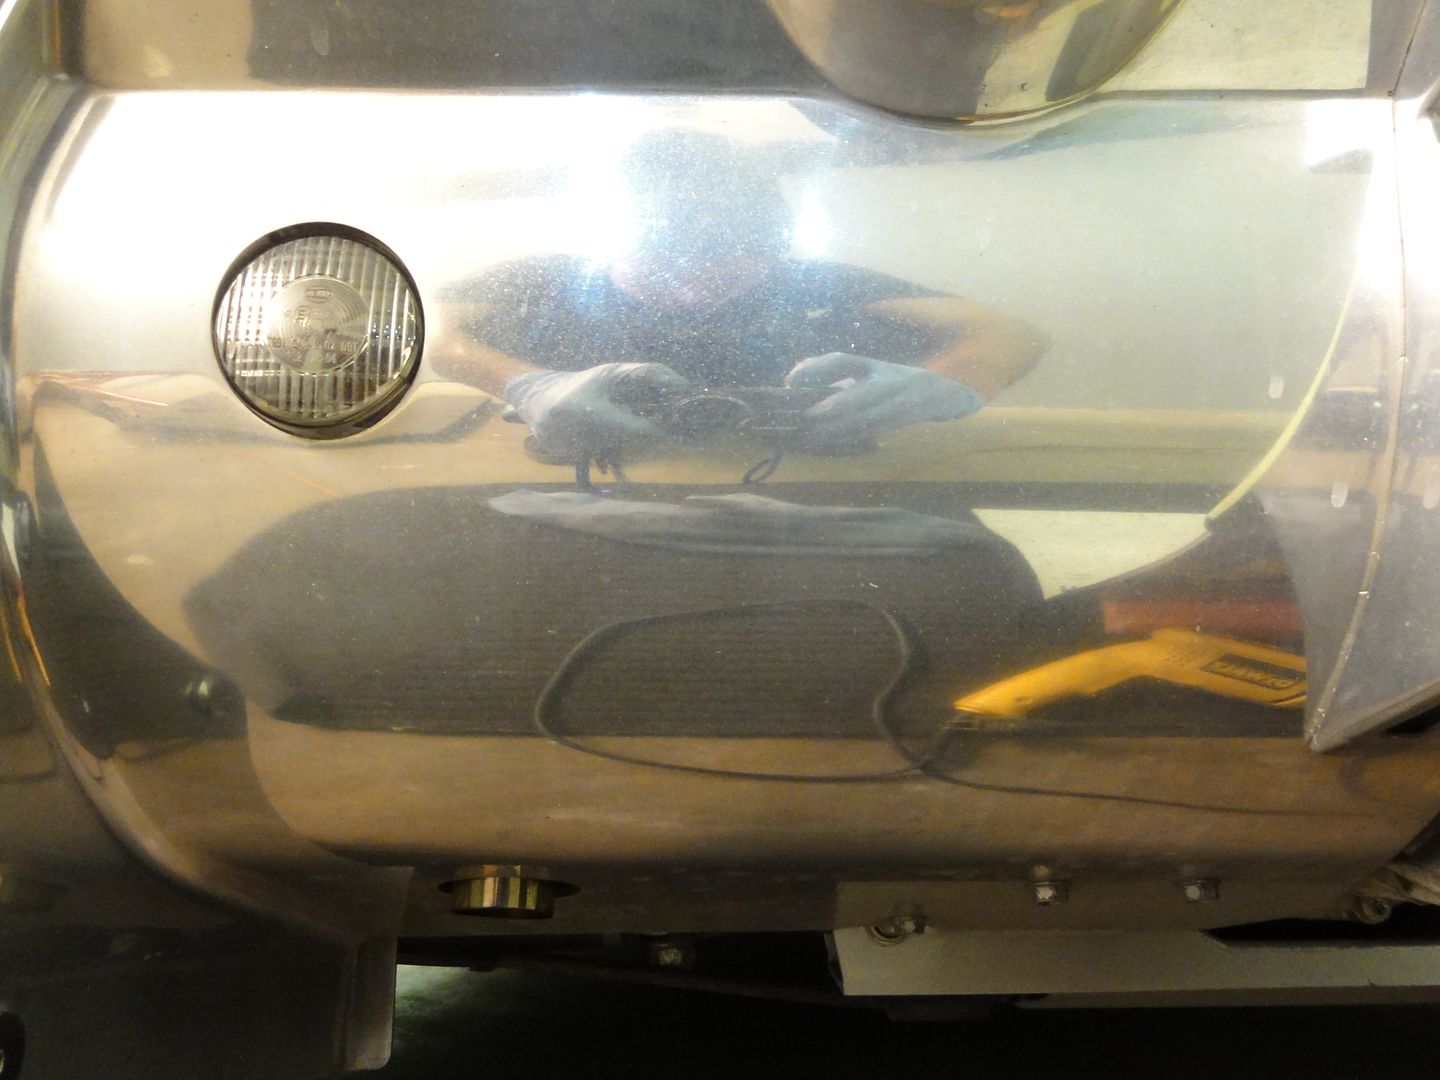
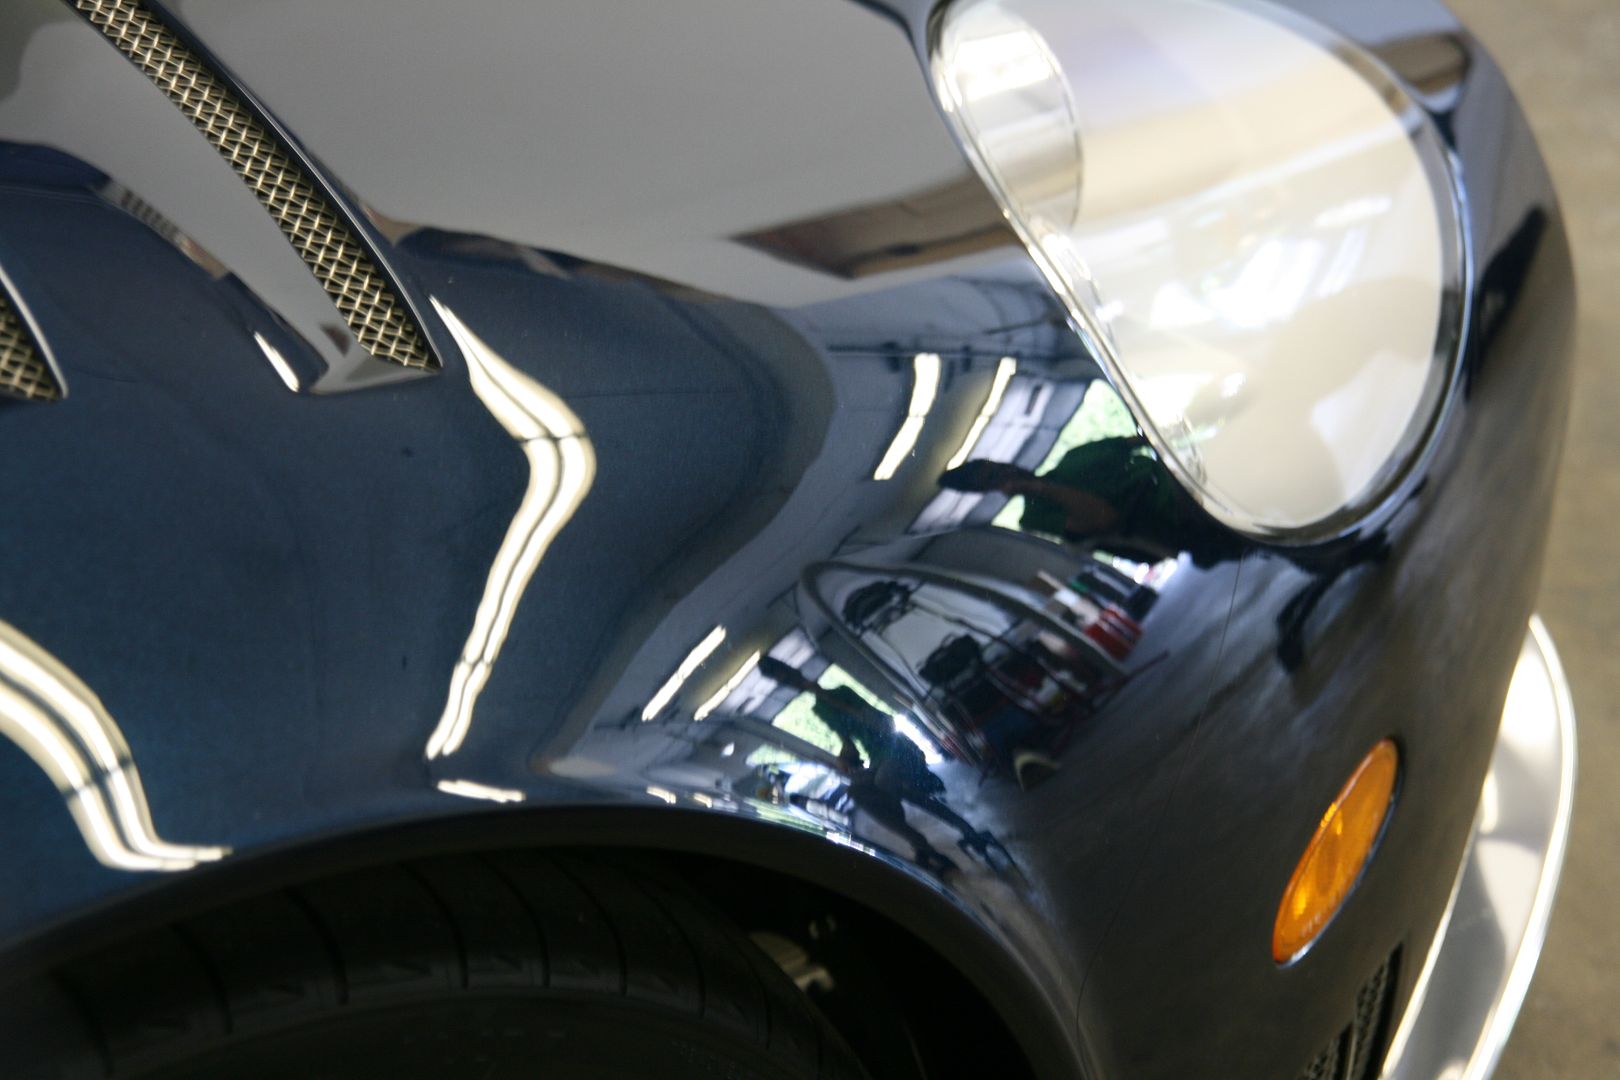
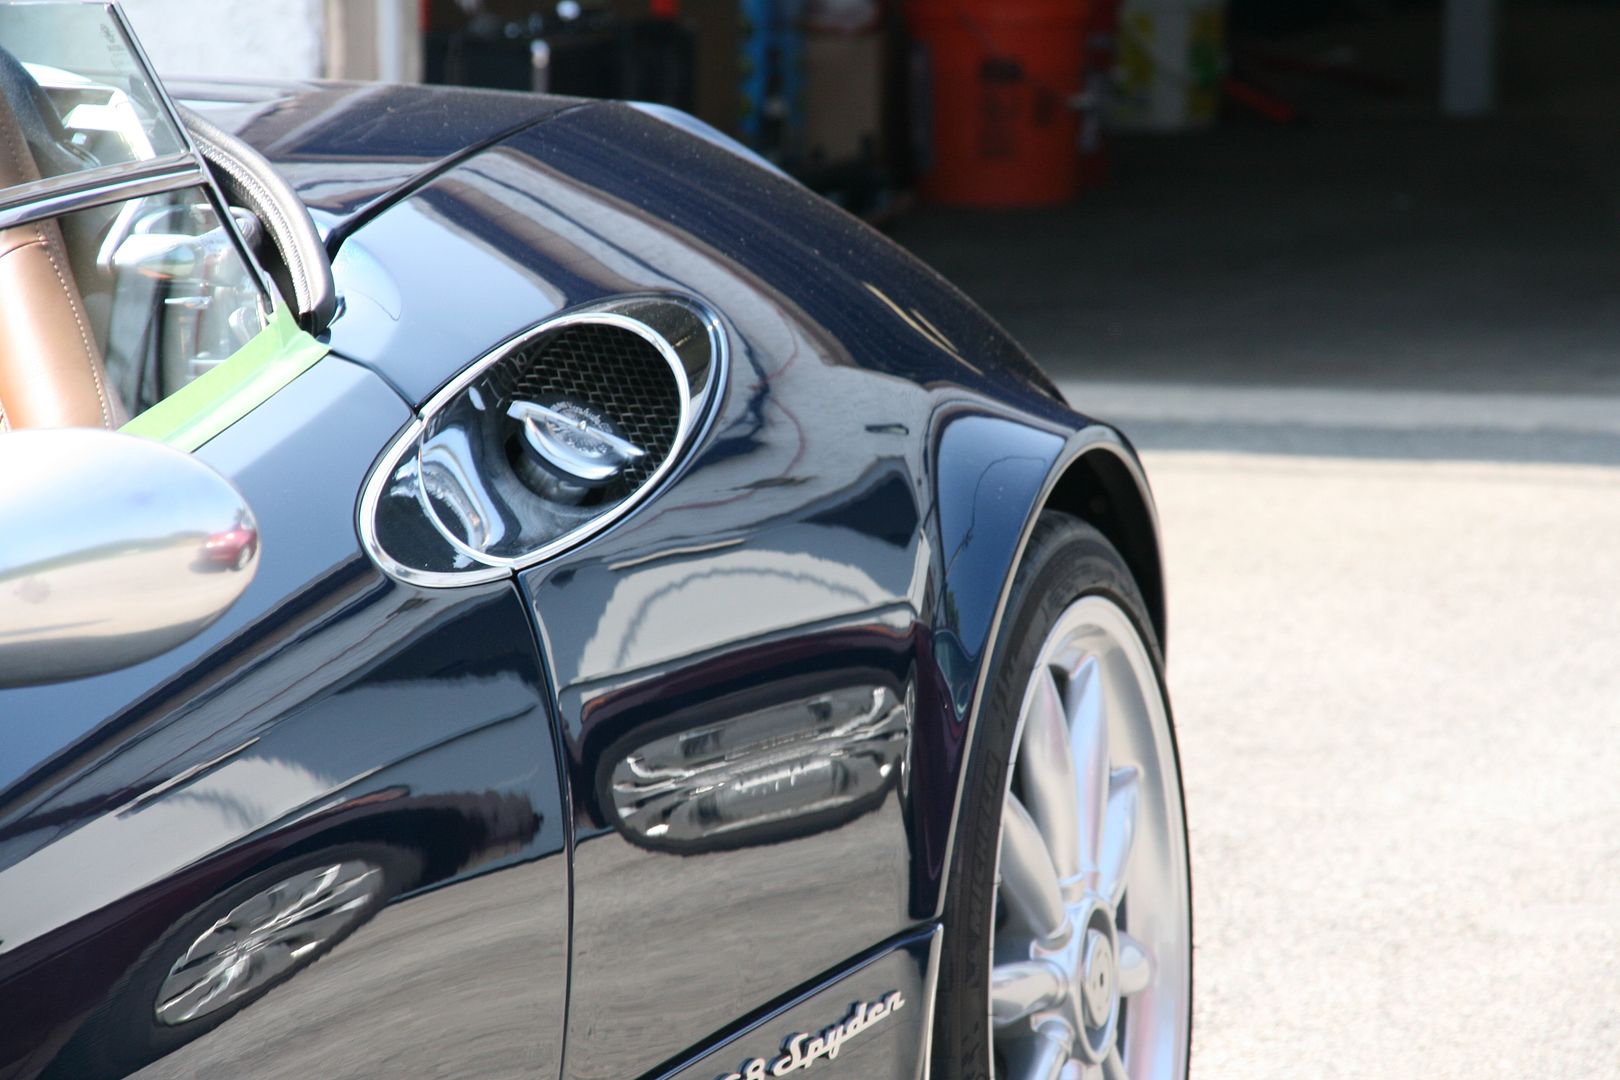
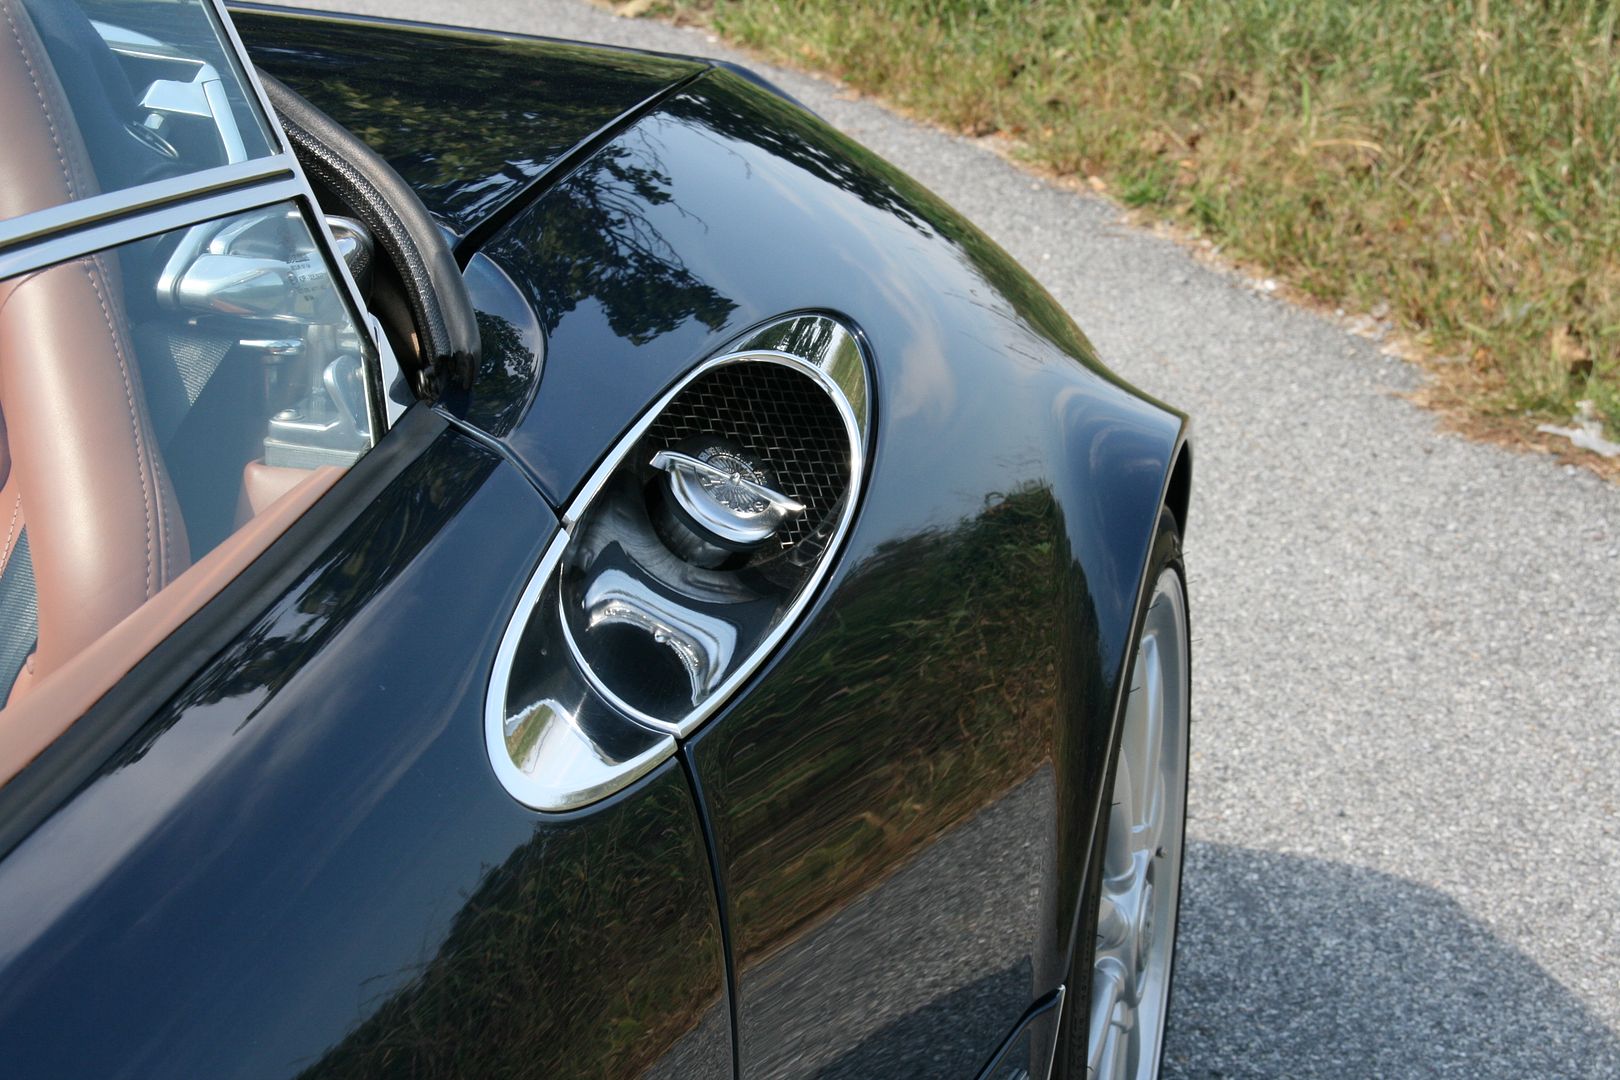
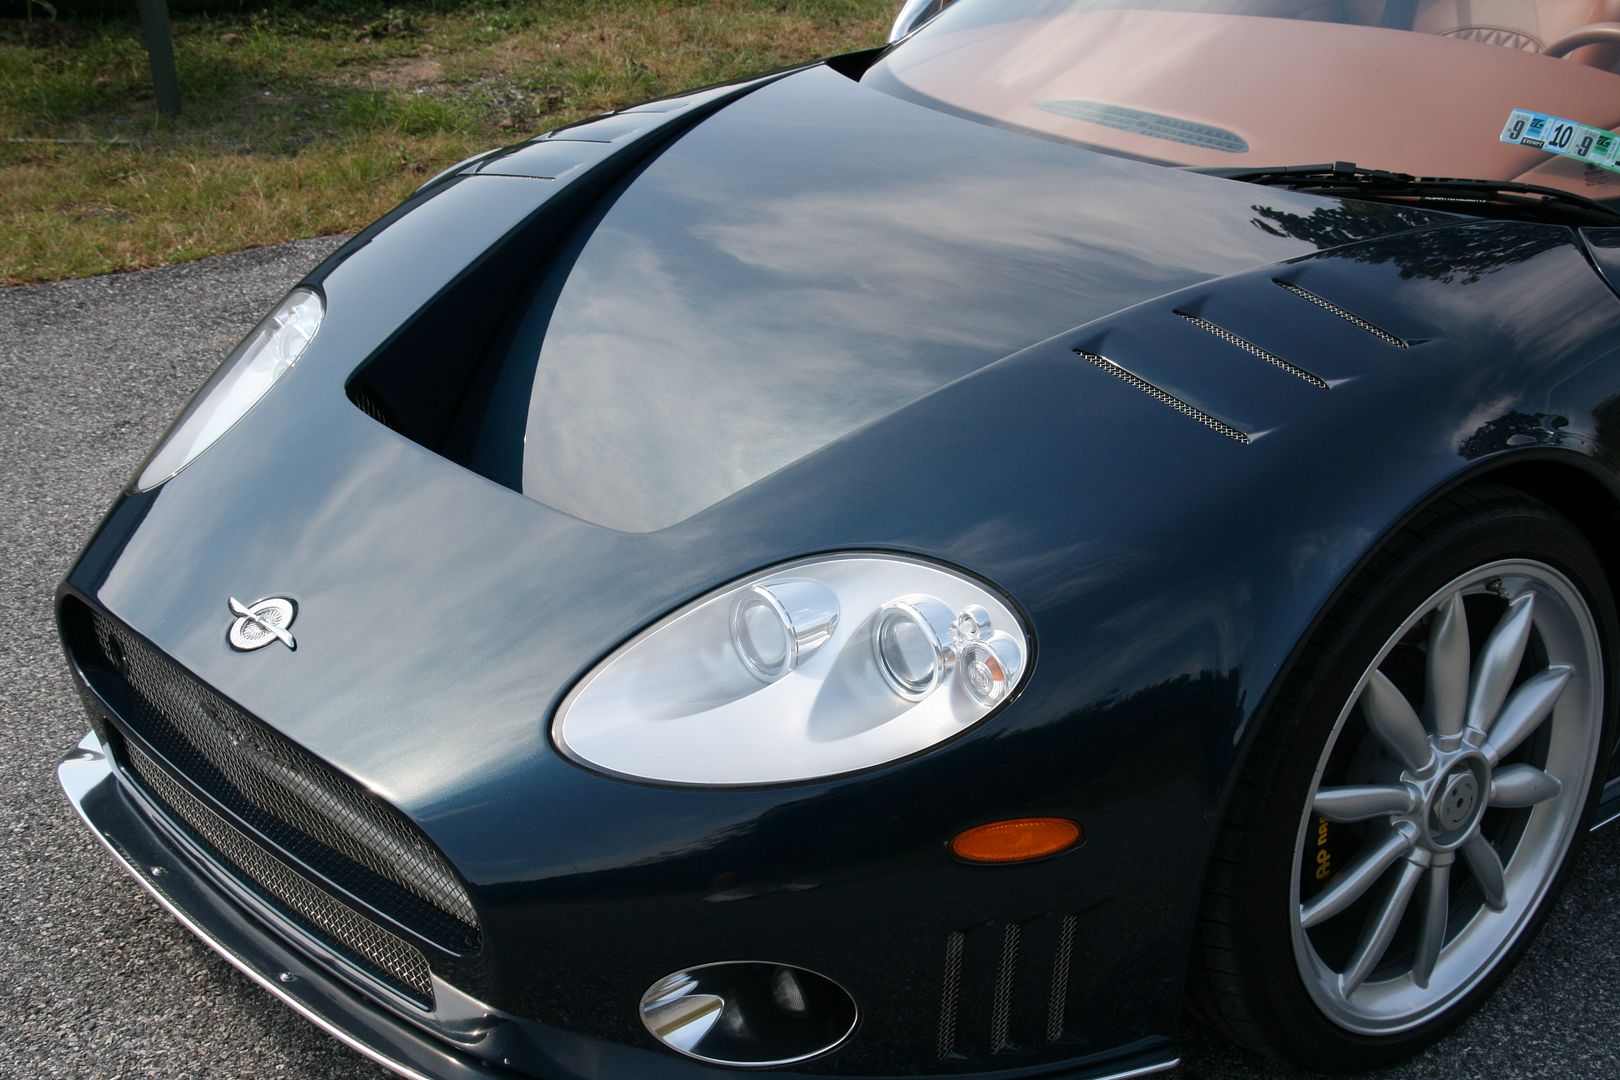
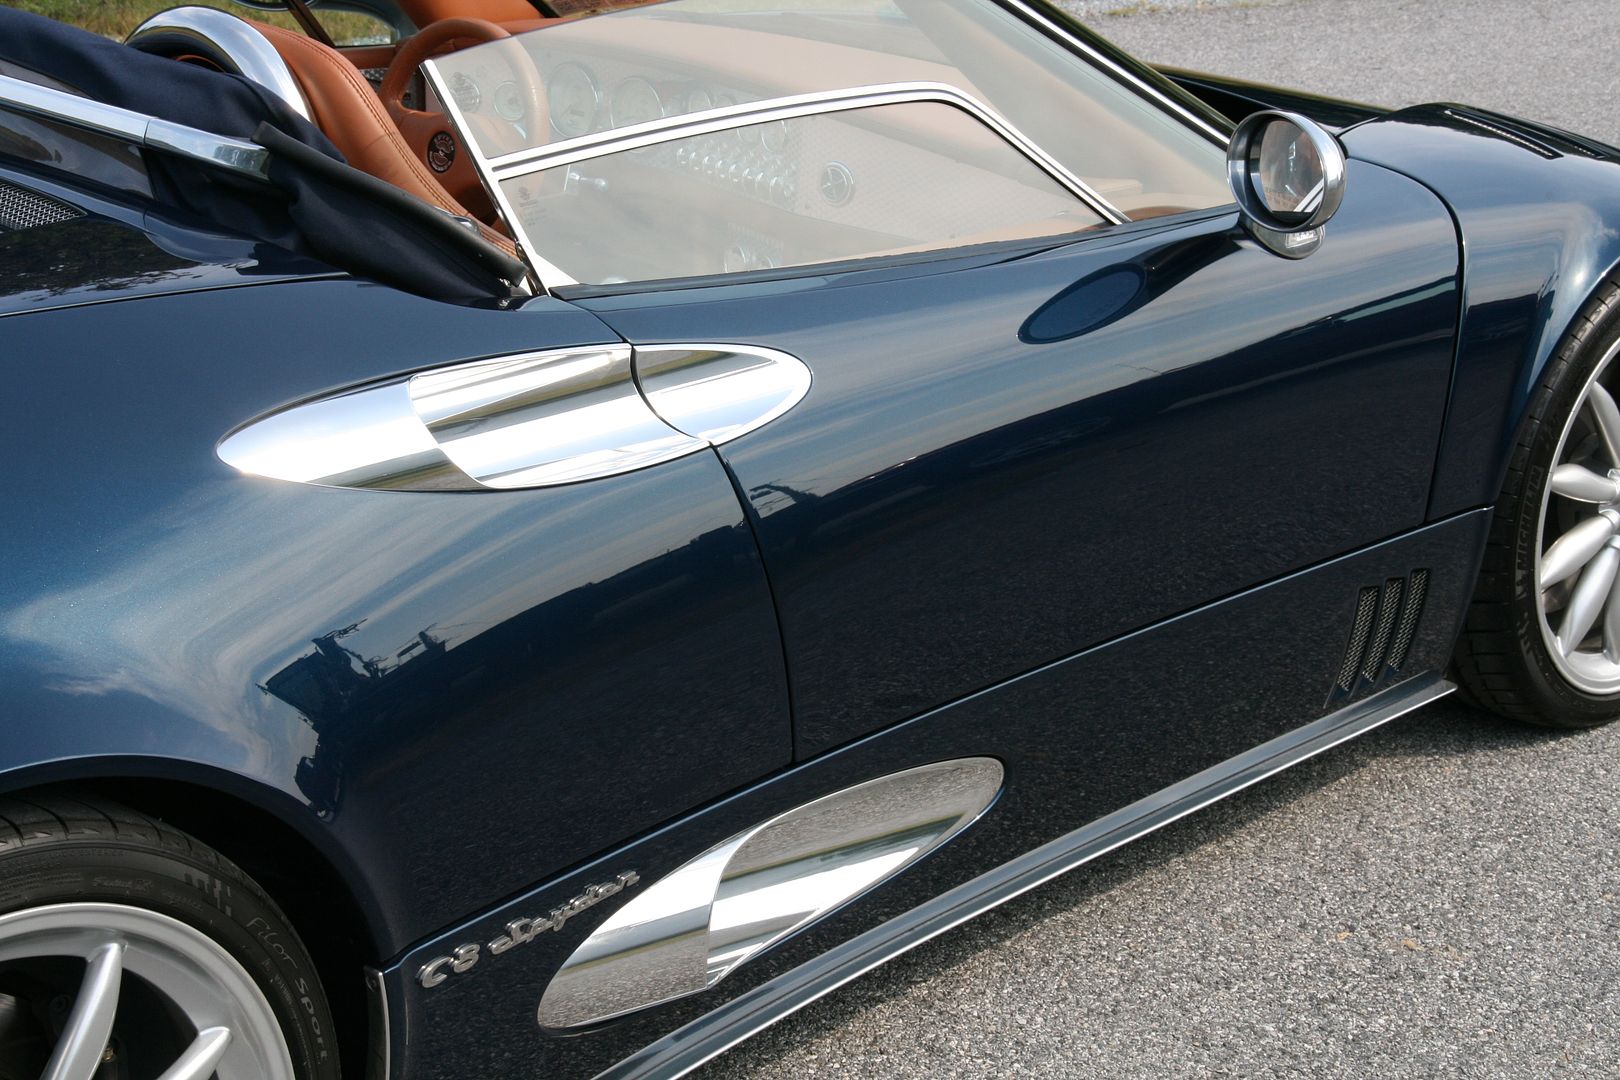
Fog lights surrounds, mirrors, lower air intake grills were polished and sealed
10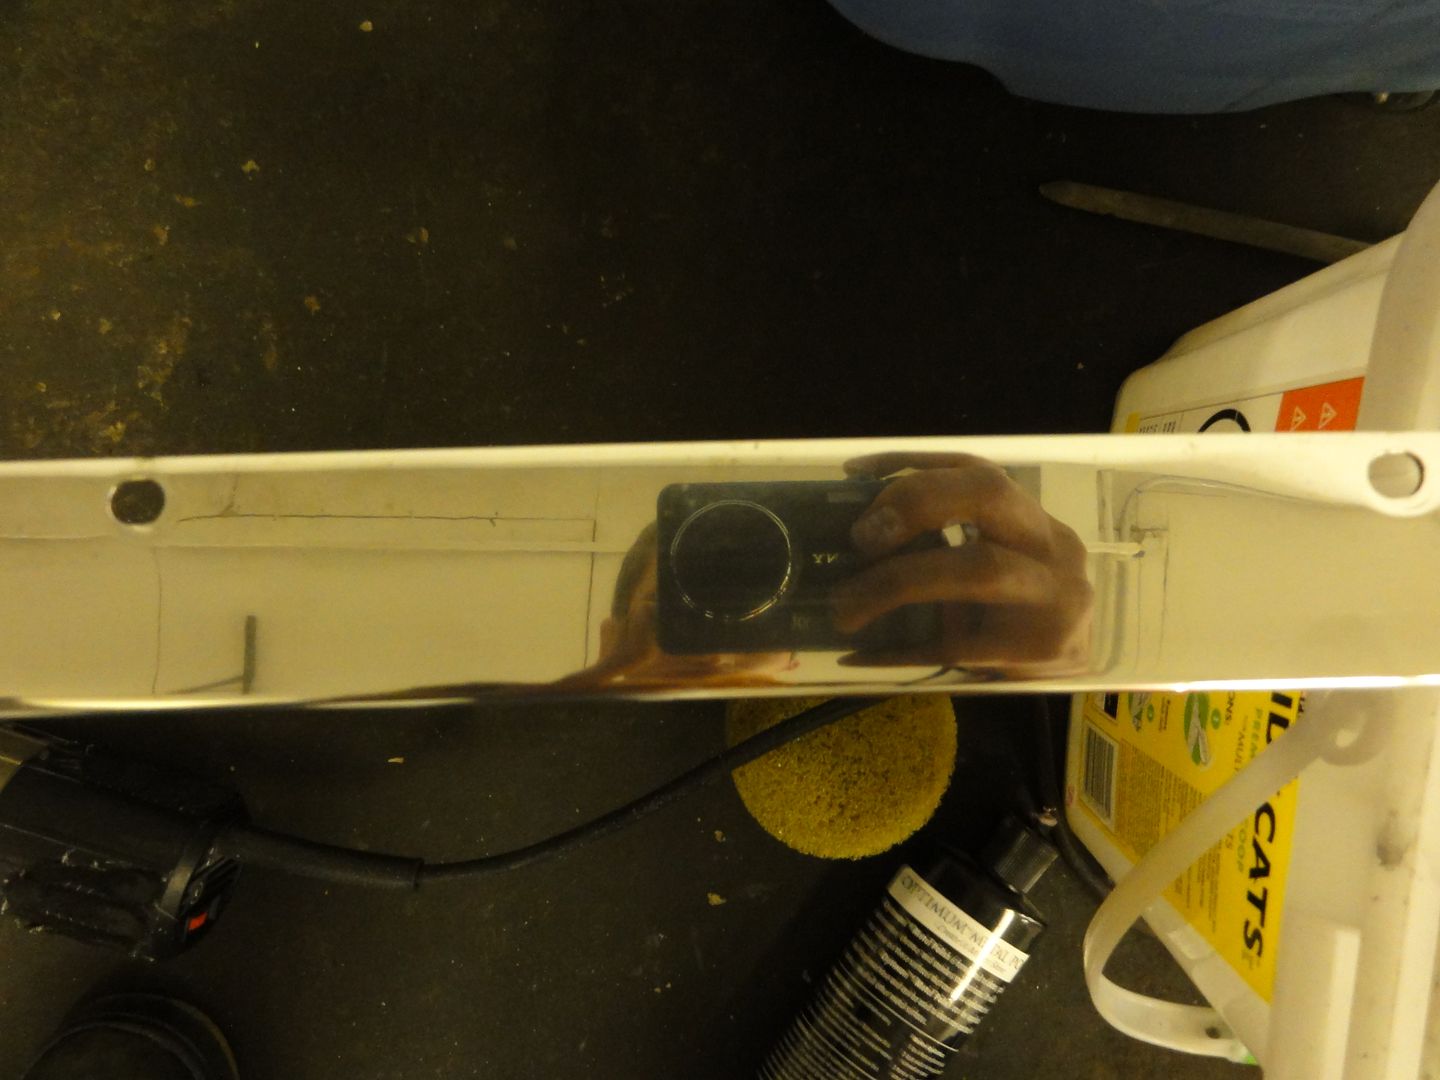
Side skirt before and after video
Front splitter just like other aluminum pieces were polished with blue and black pad on PC with Optimum metal polish
Video
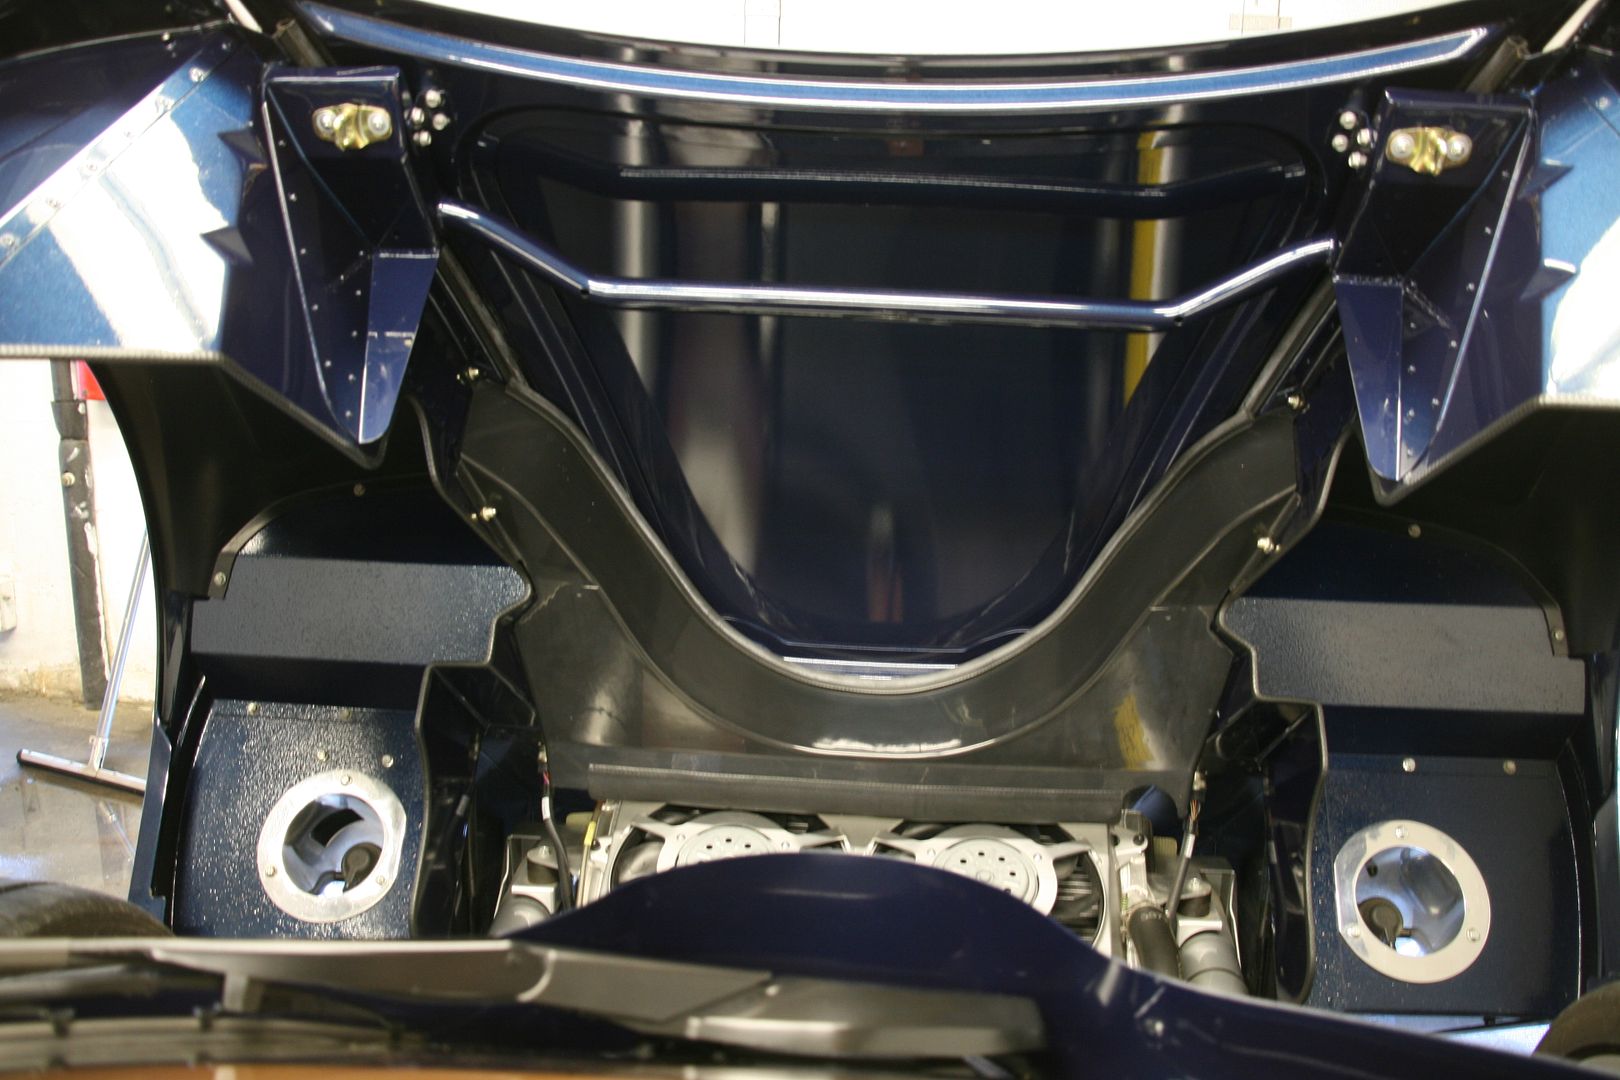
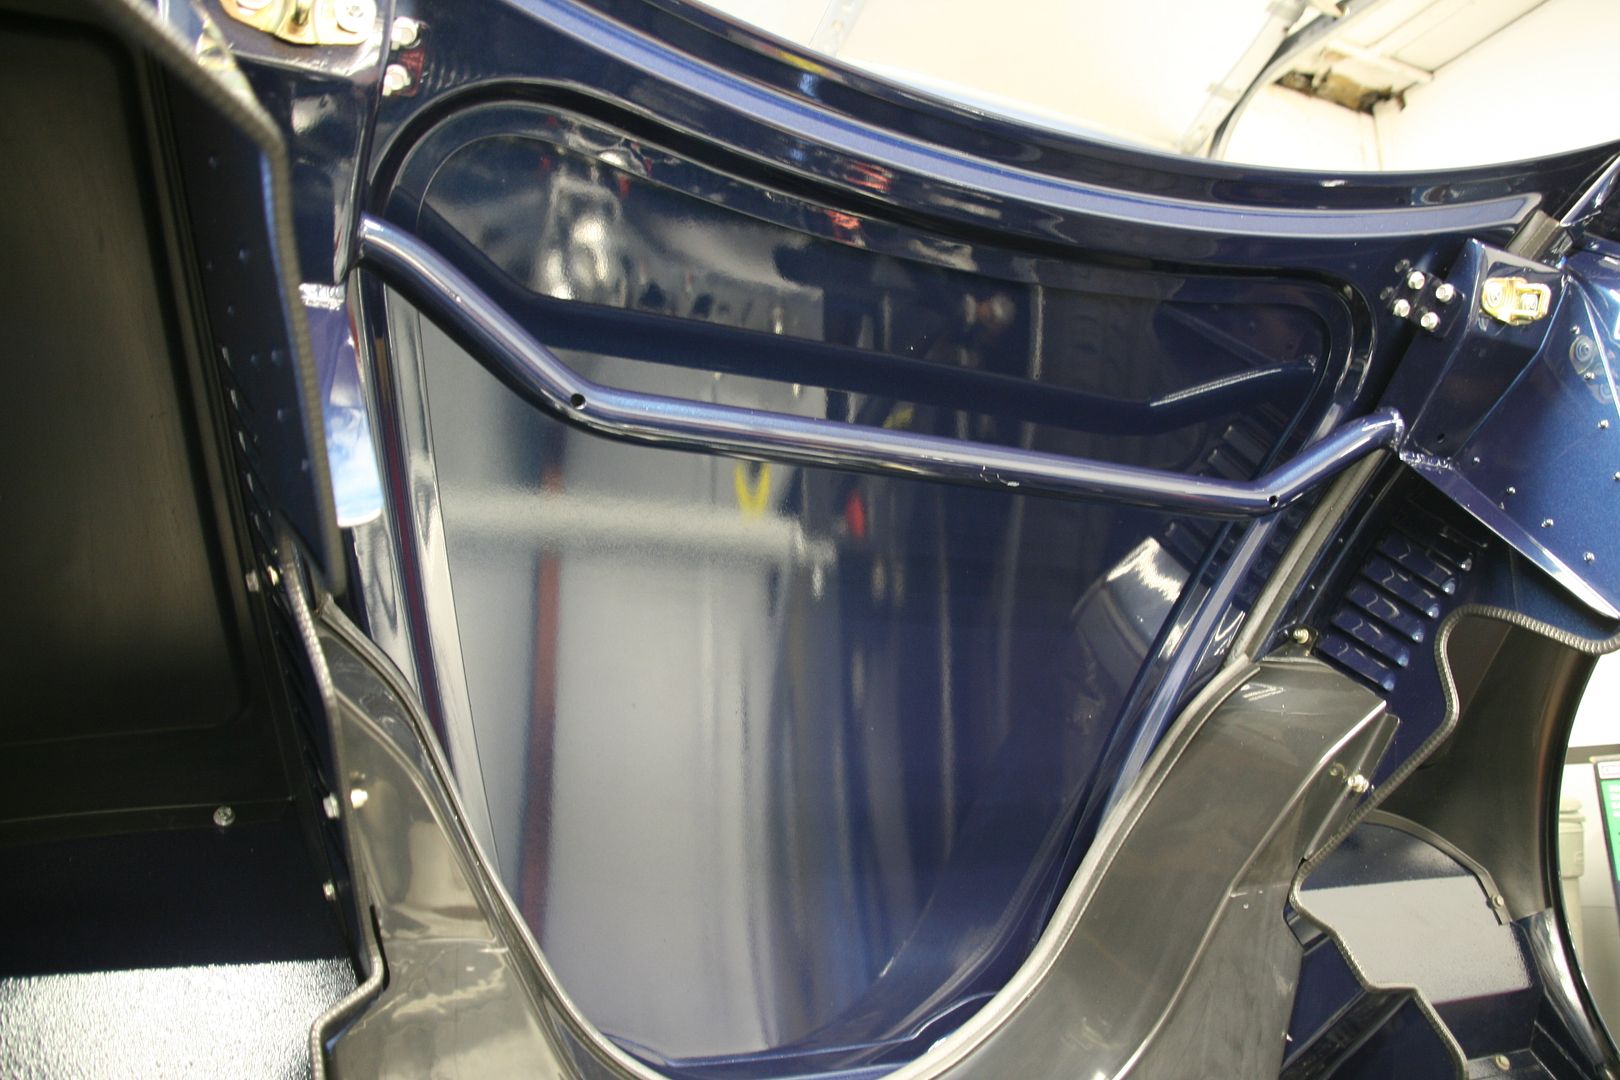
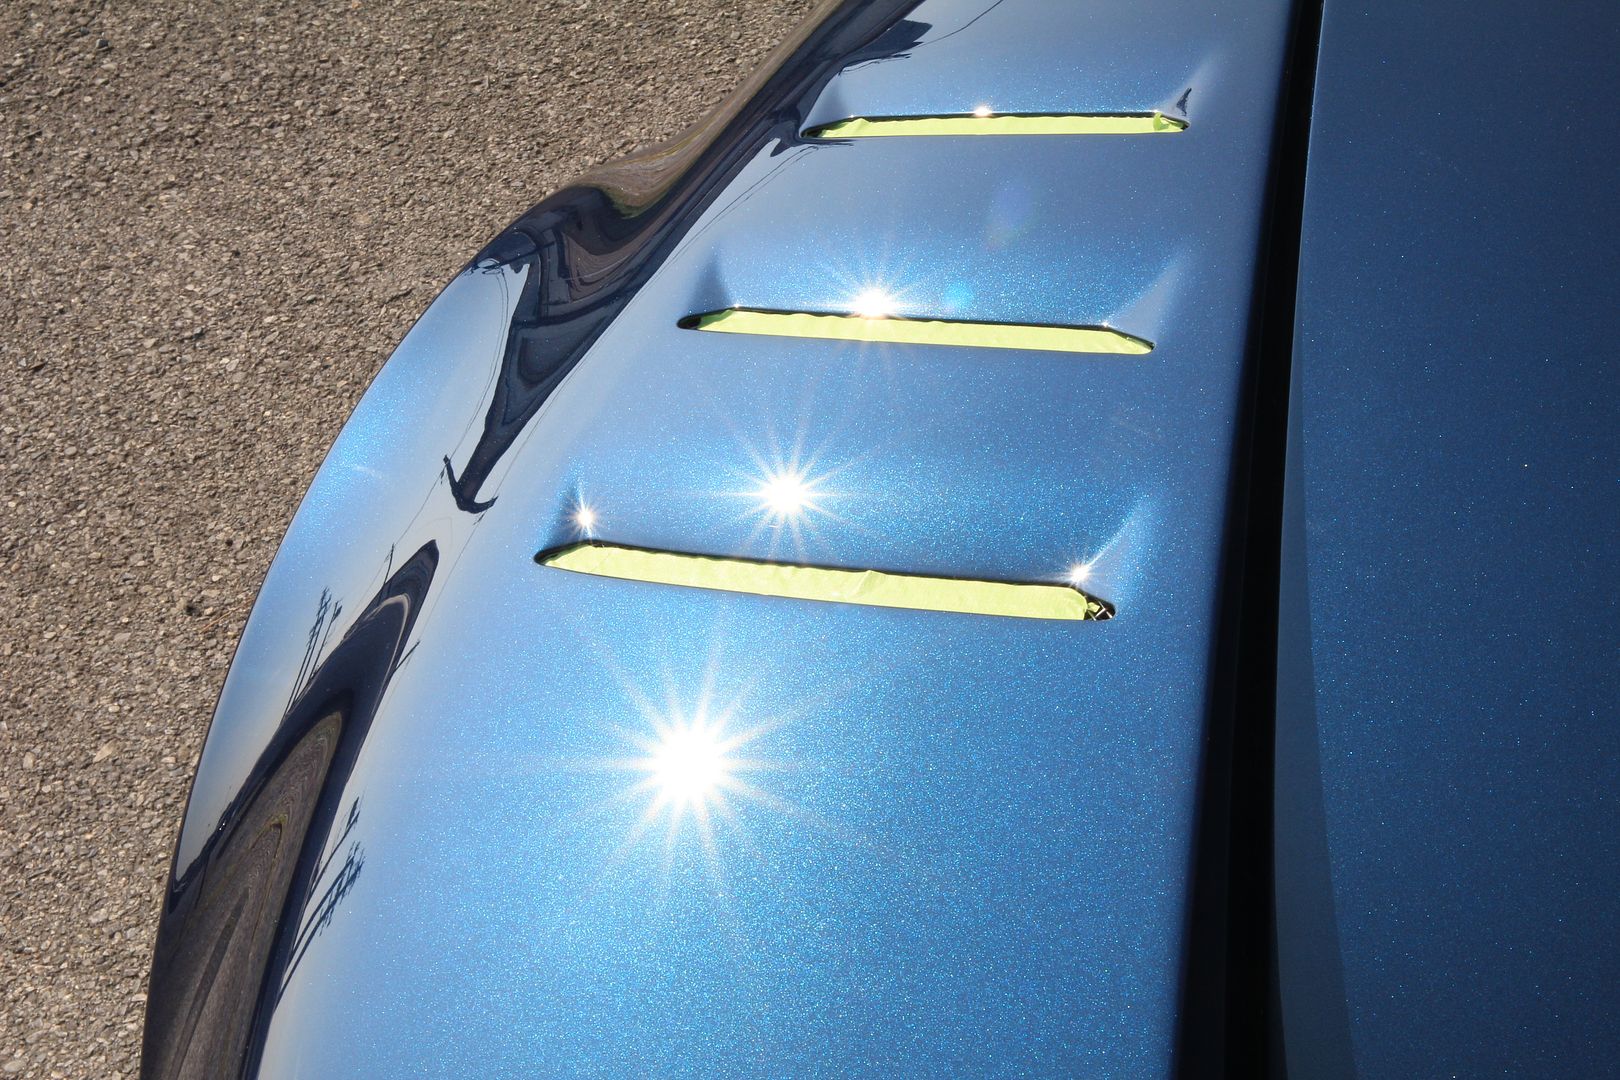
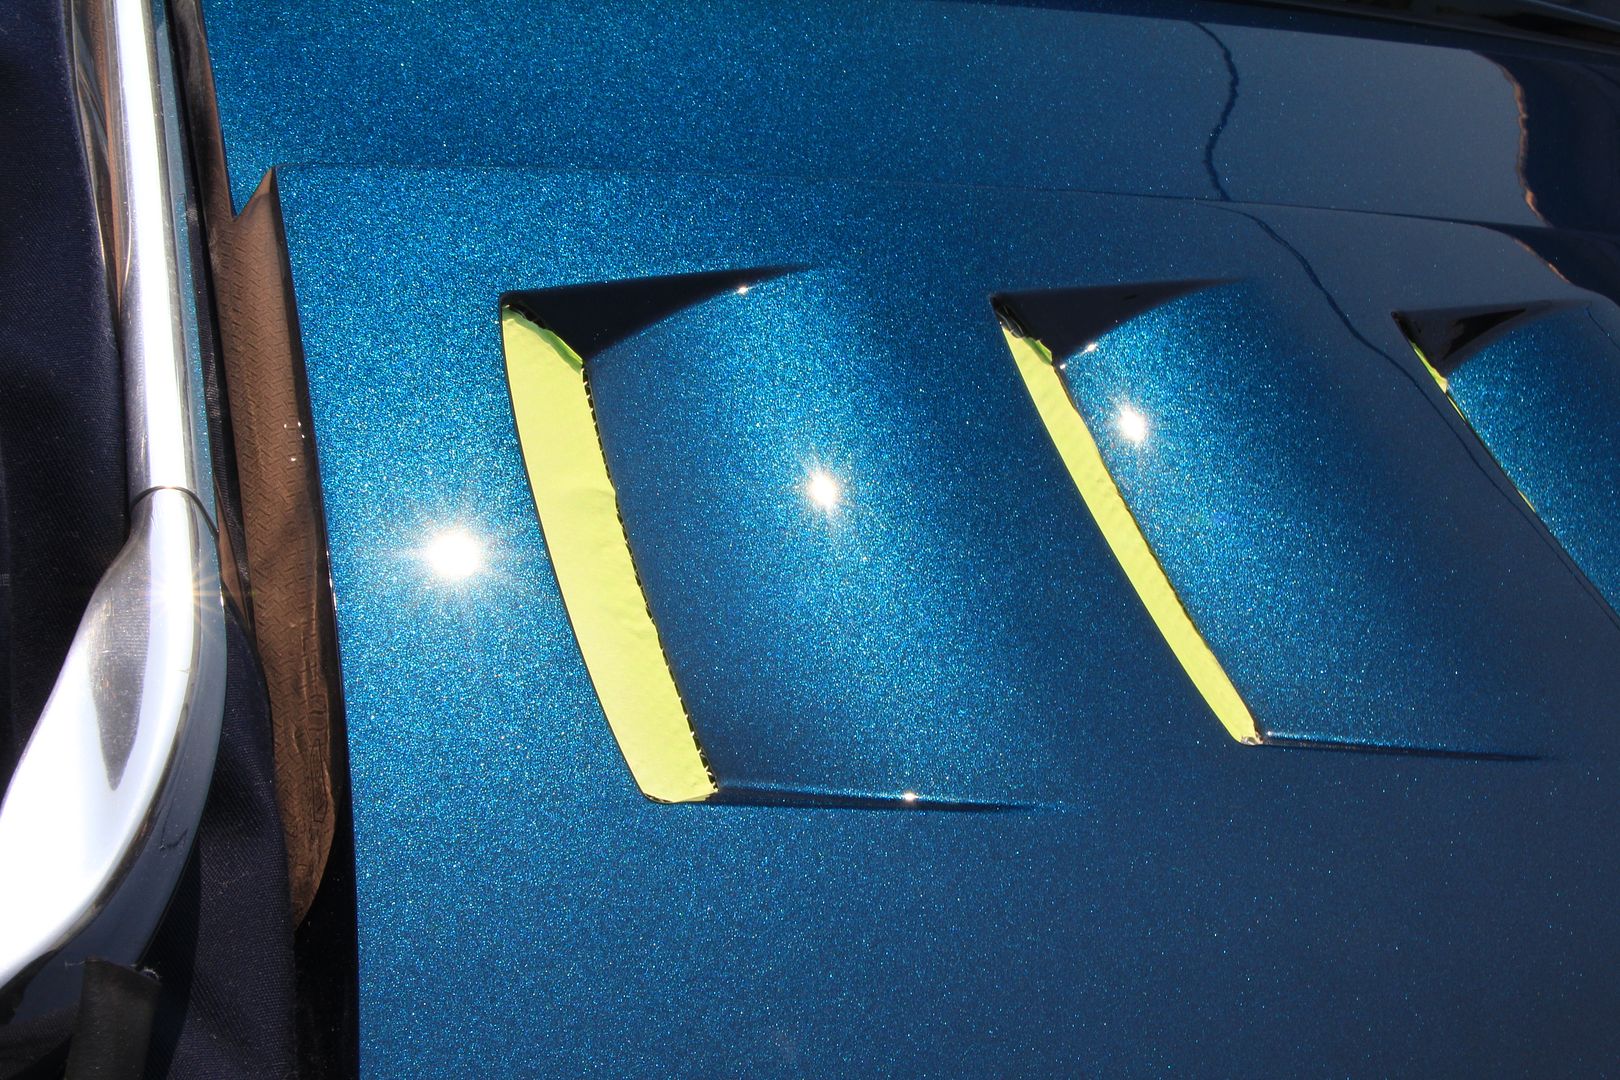
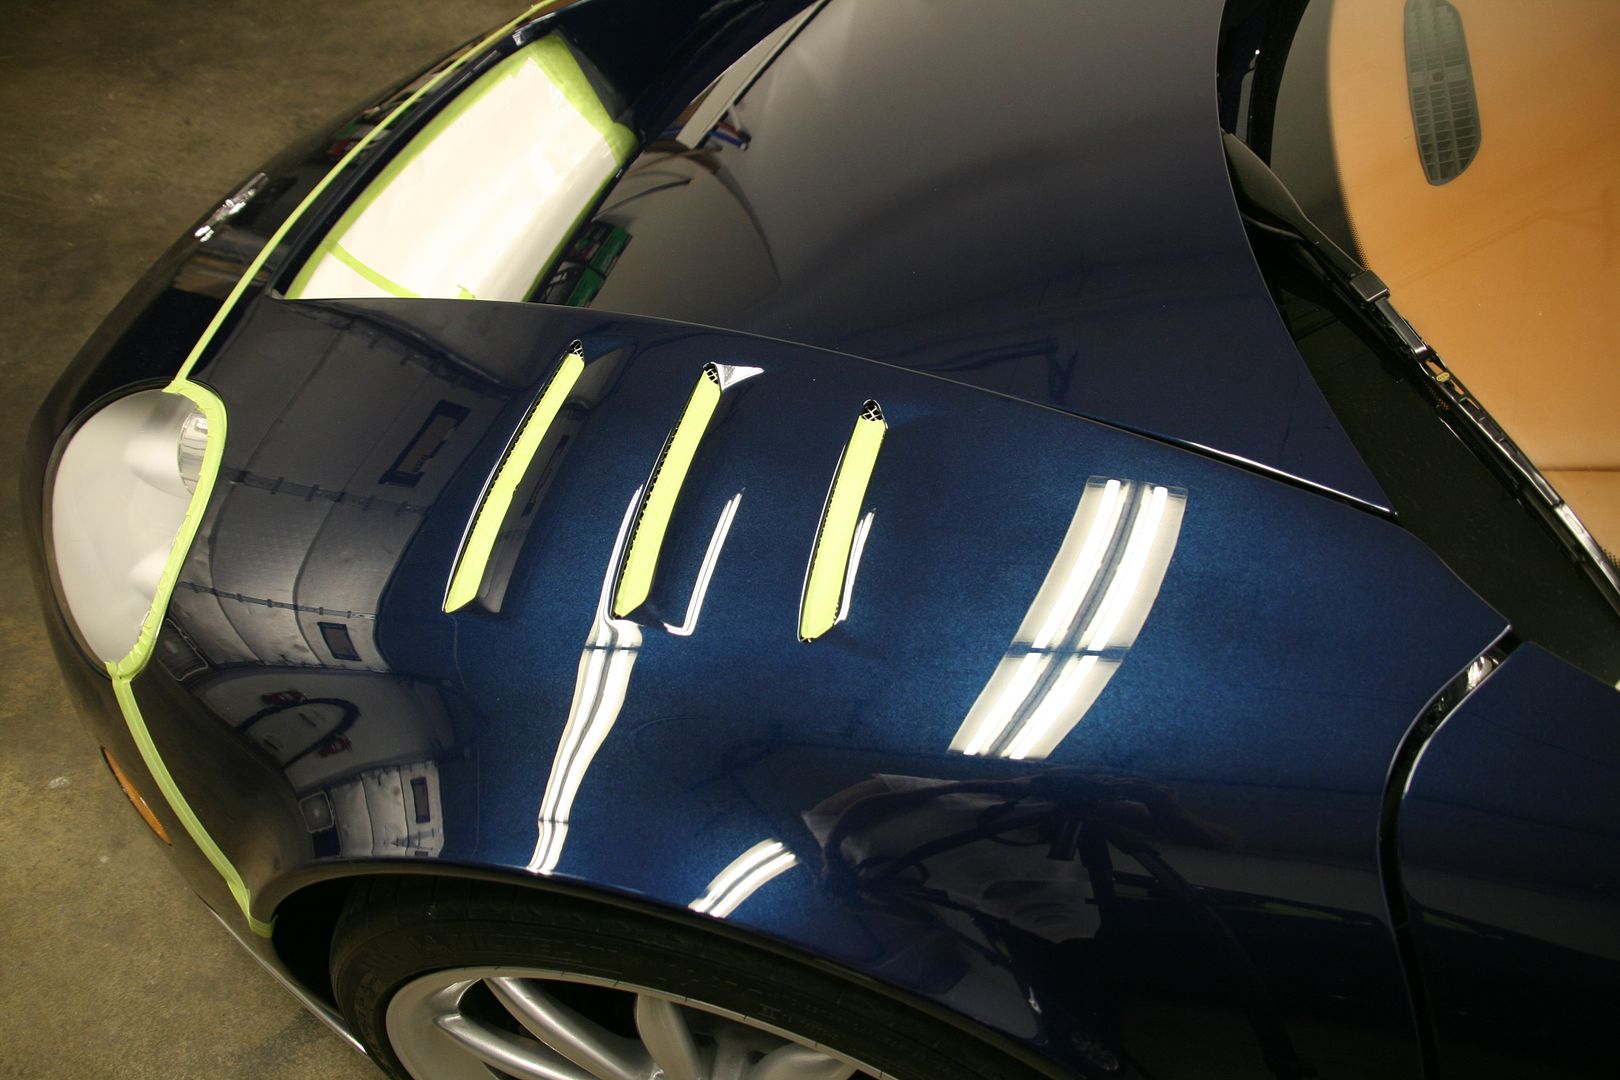
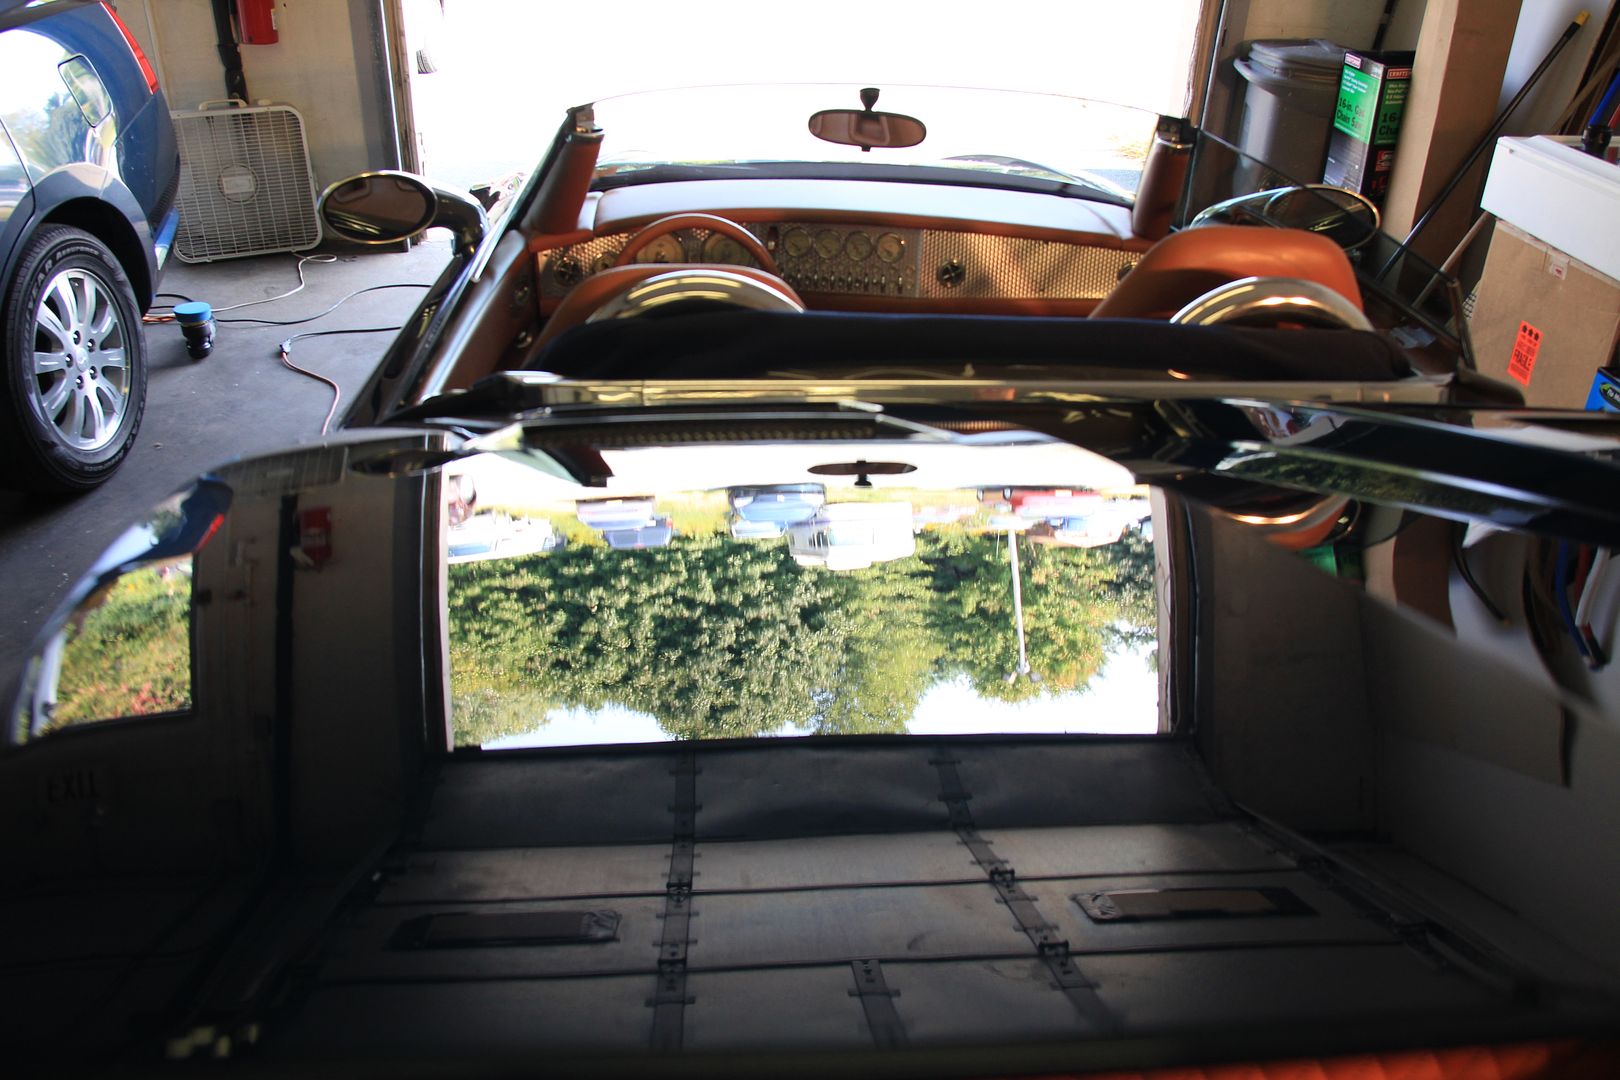
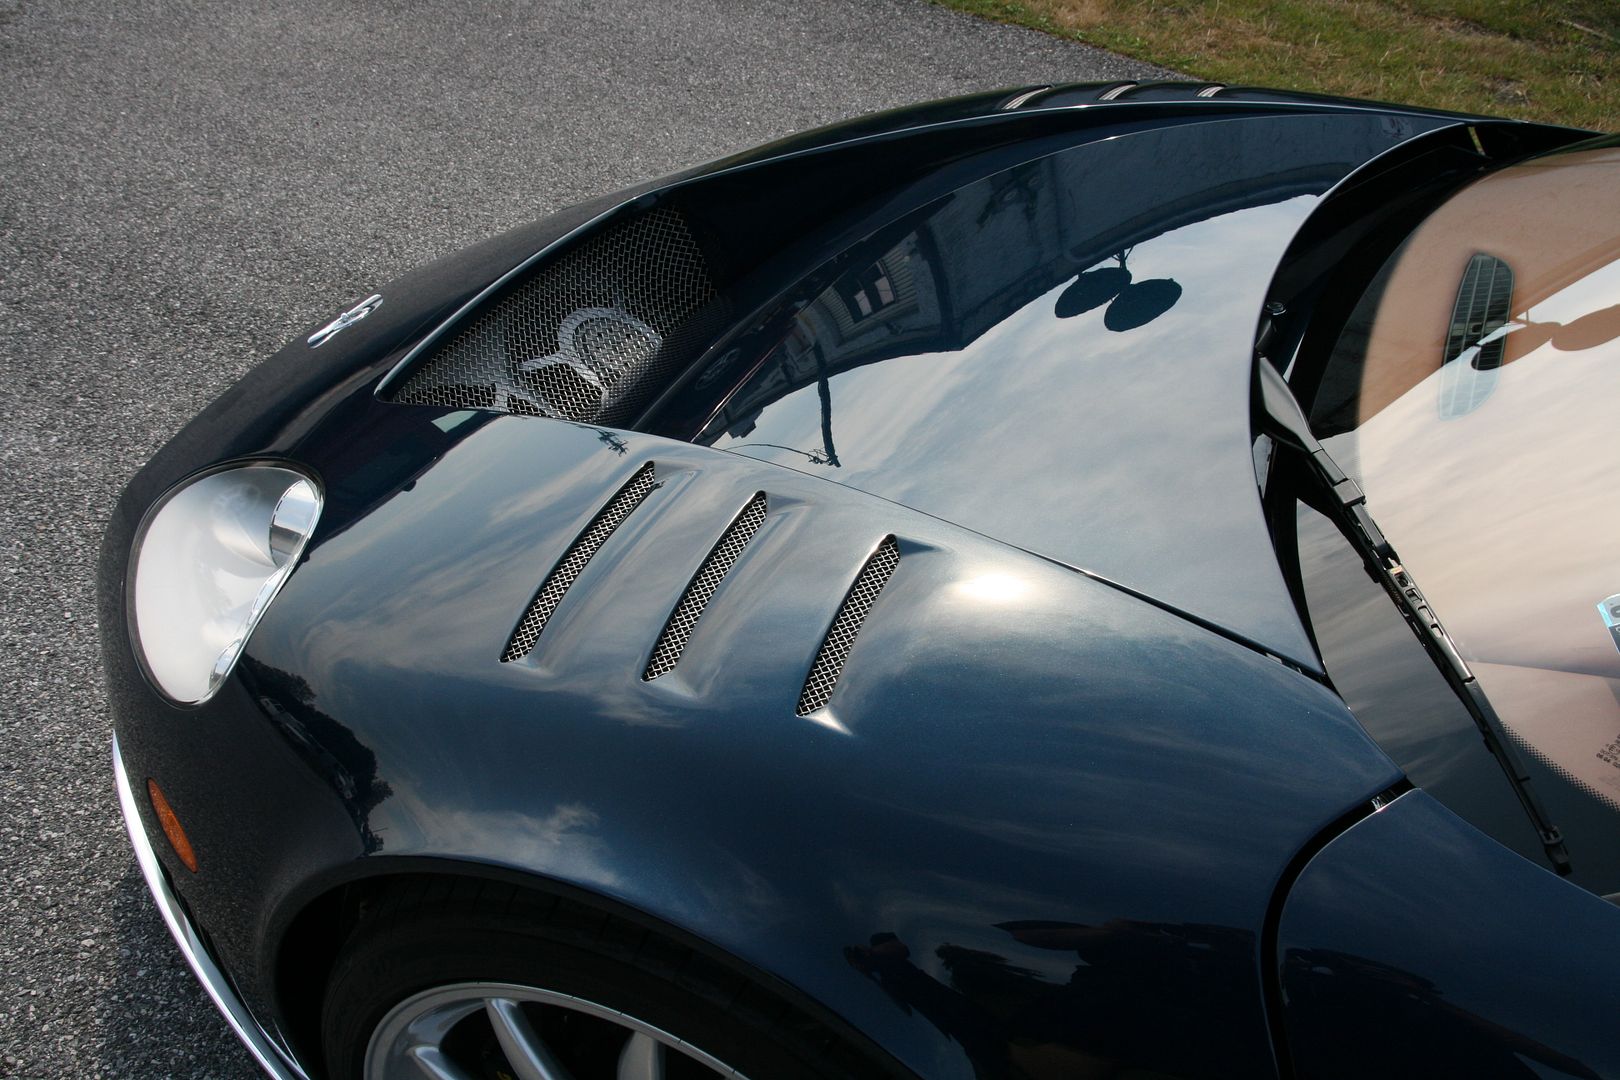
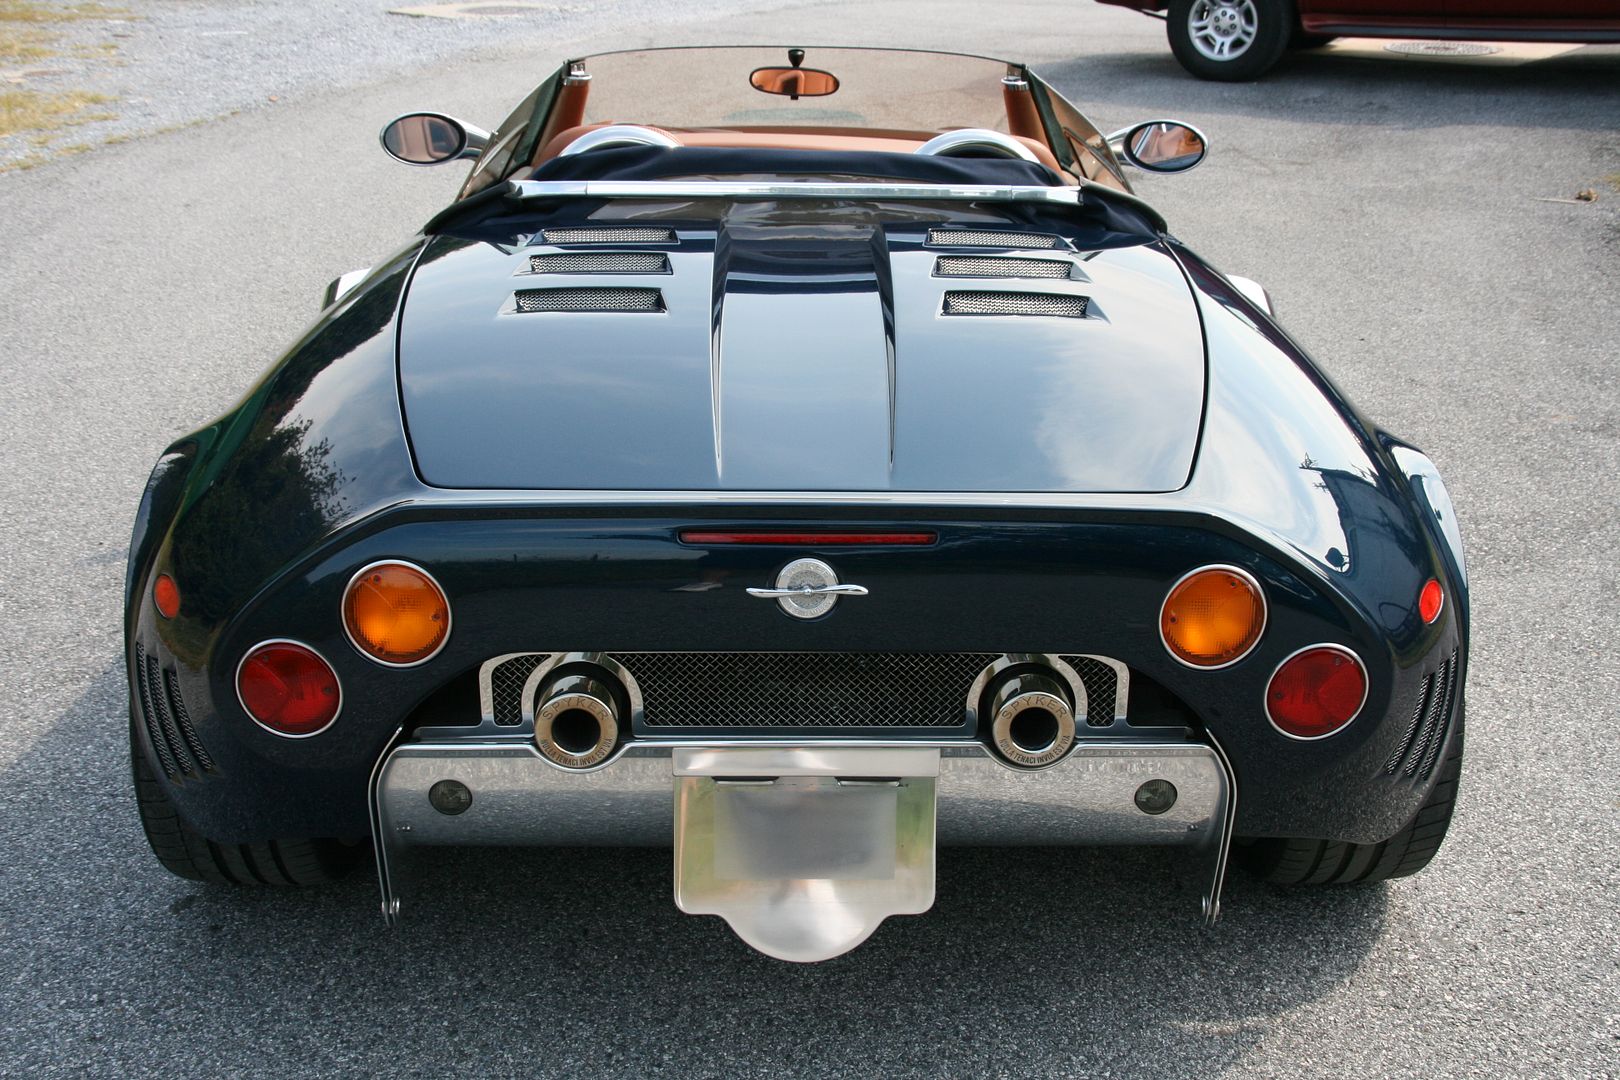
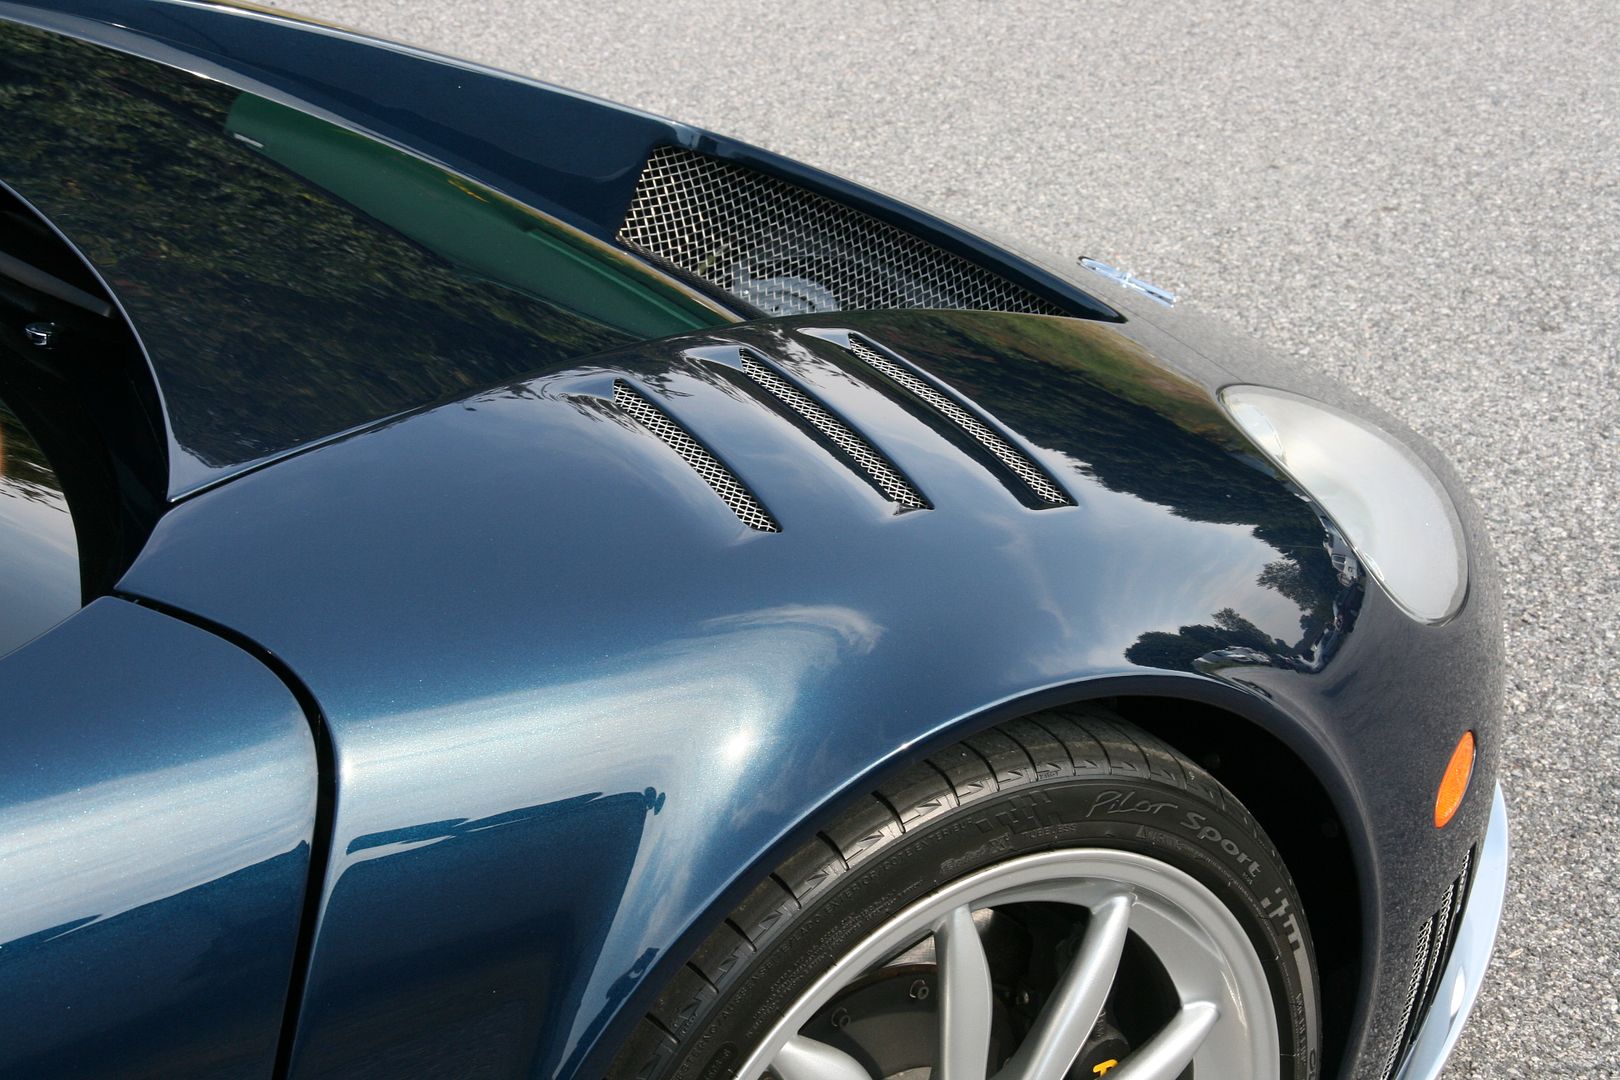
Upper air intake door pieces removed to clean under them and polish them, rear upper and botton intakes were polished by hand, lwer air intake grills were removed and polished as well, cleaned all stones that got stuck there from driving, intakes itself were polished.
15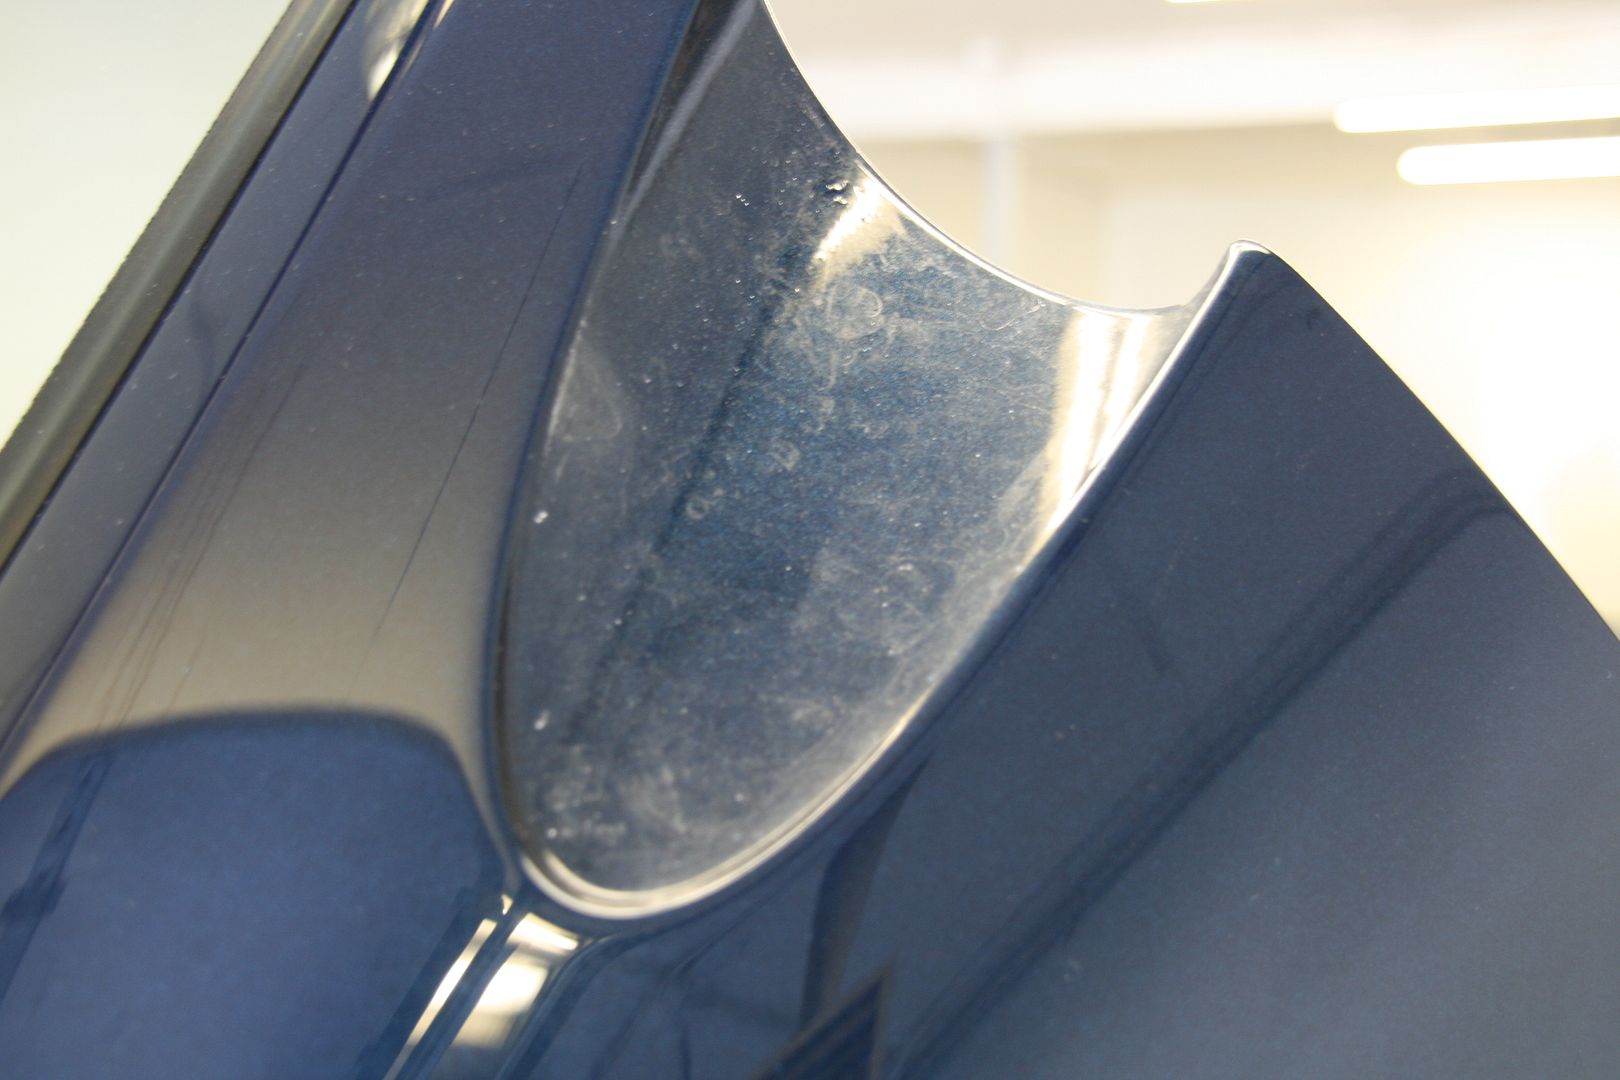
20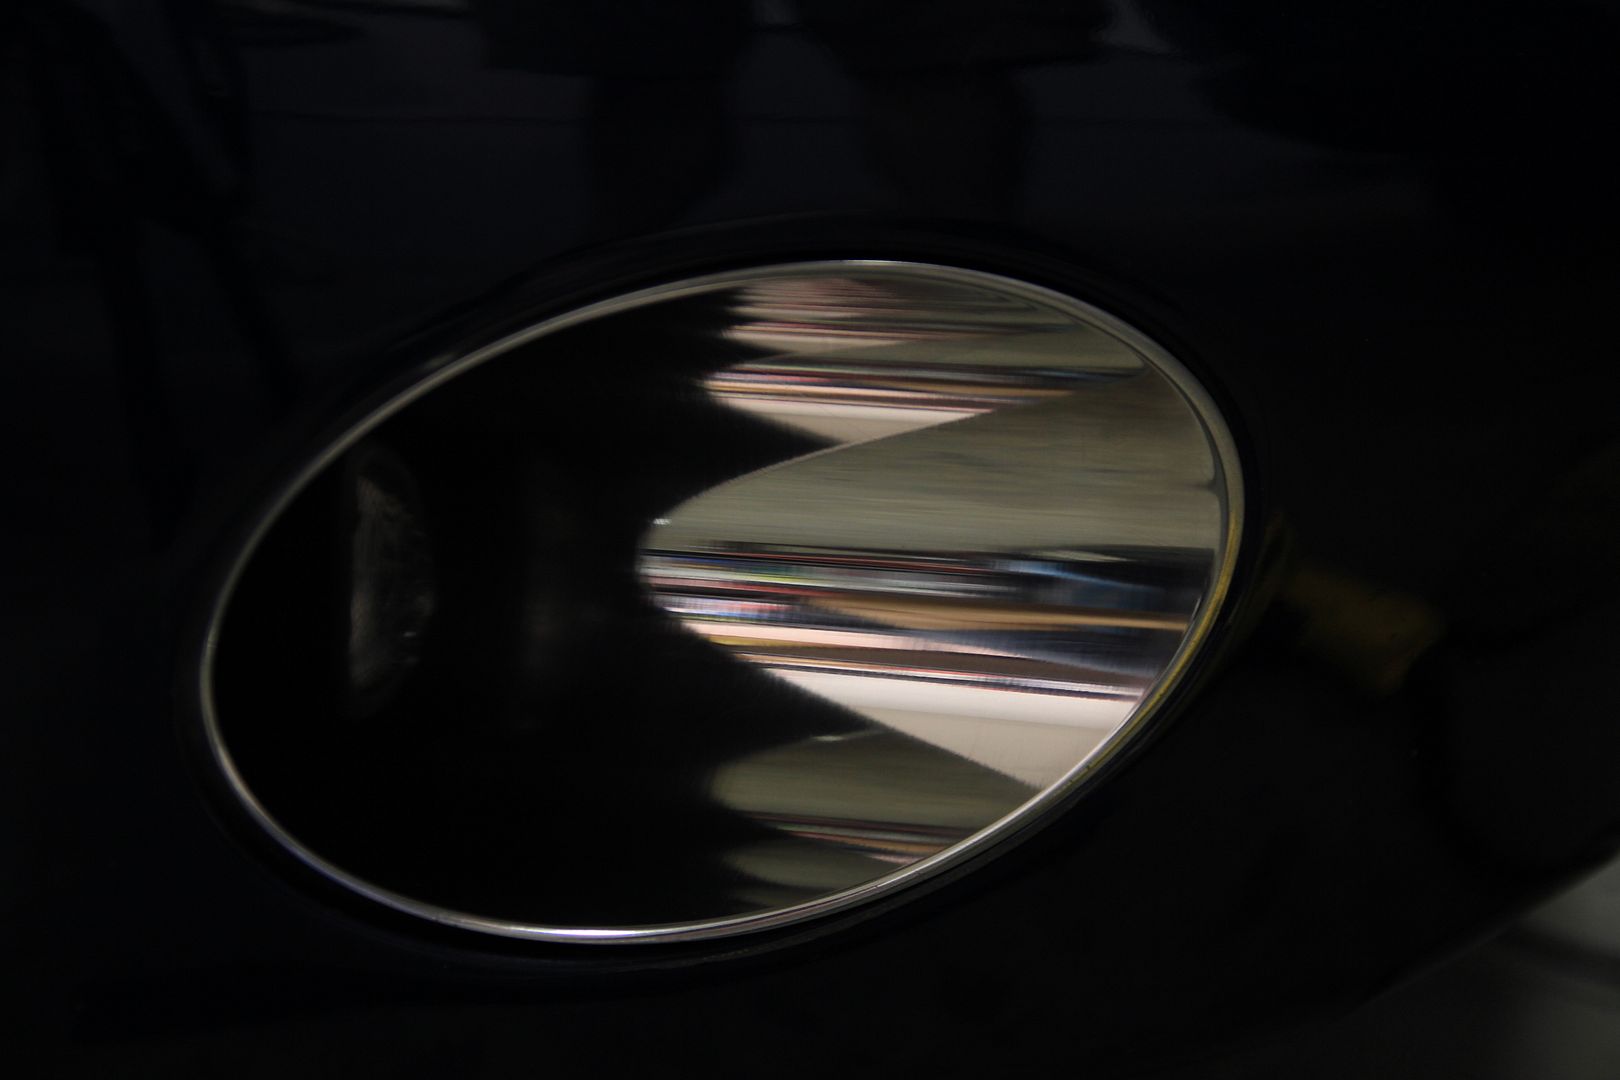
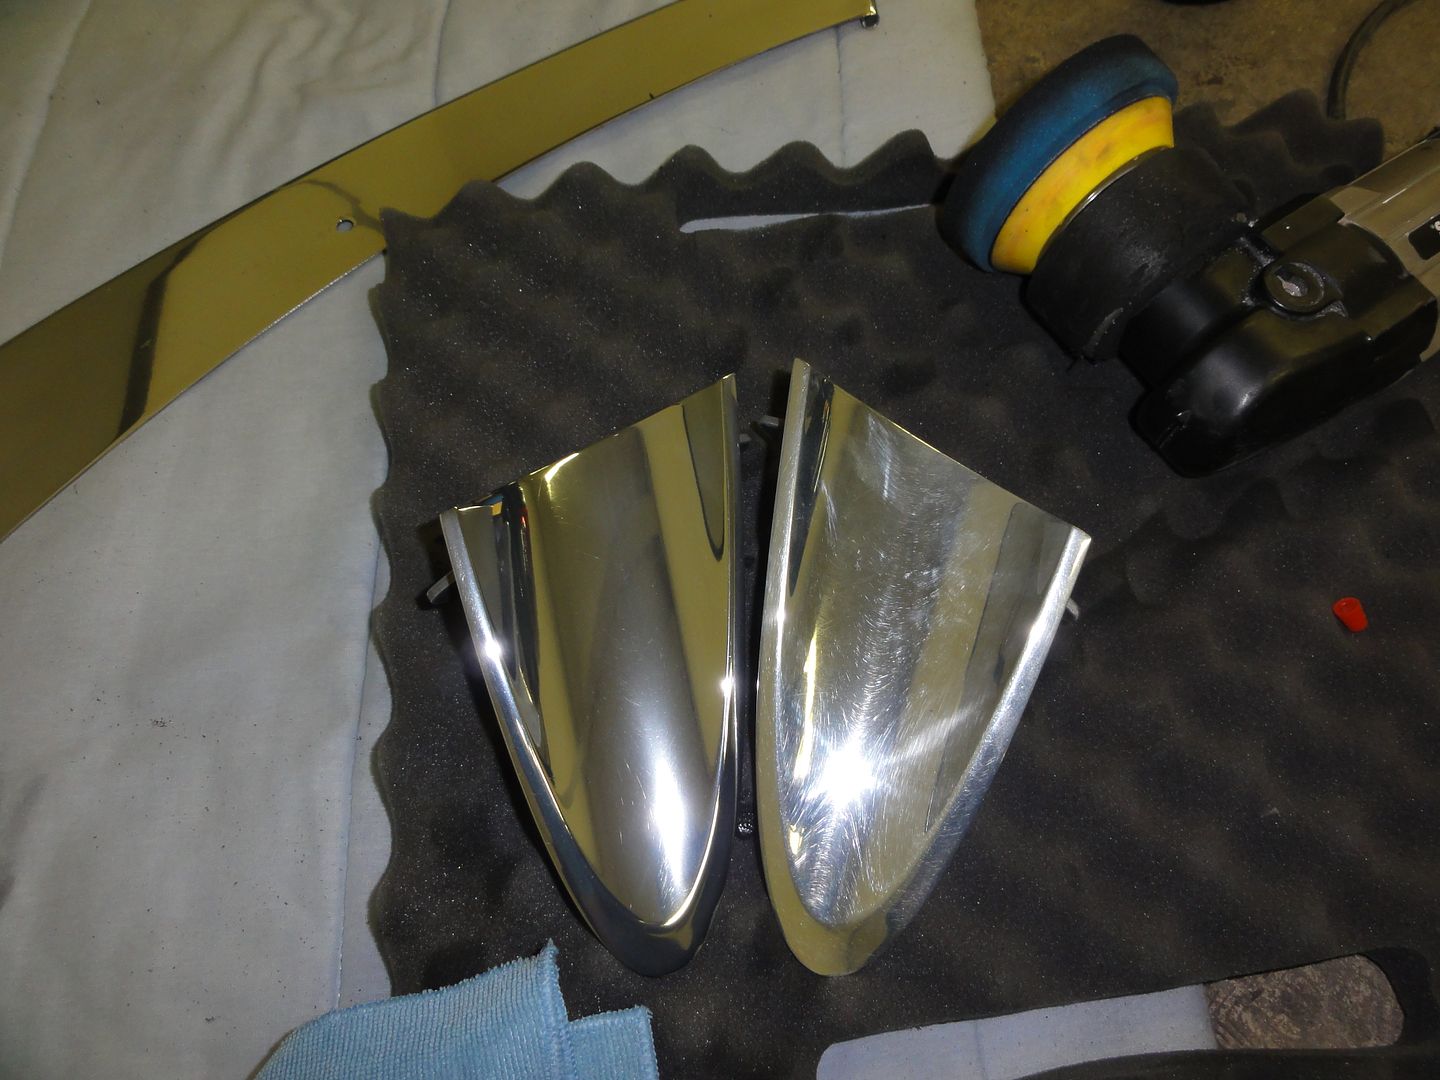
Rear wheel guards before and after
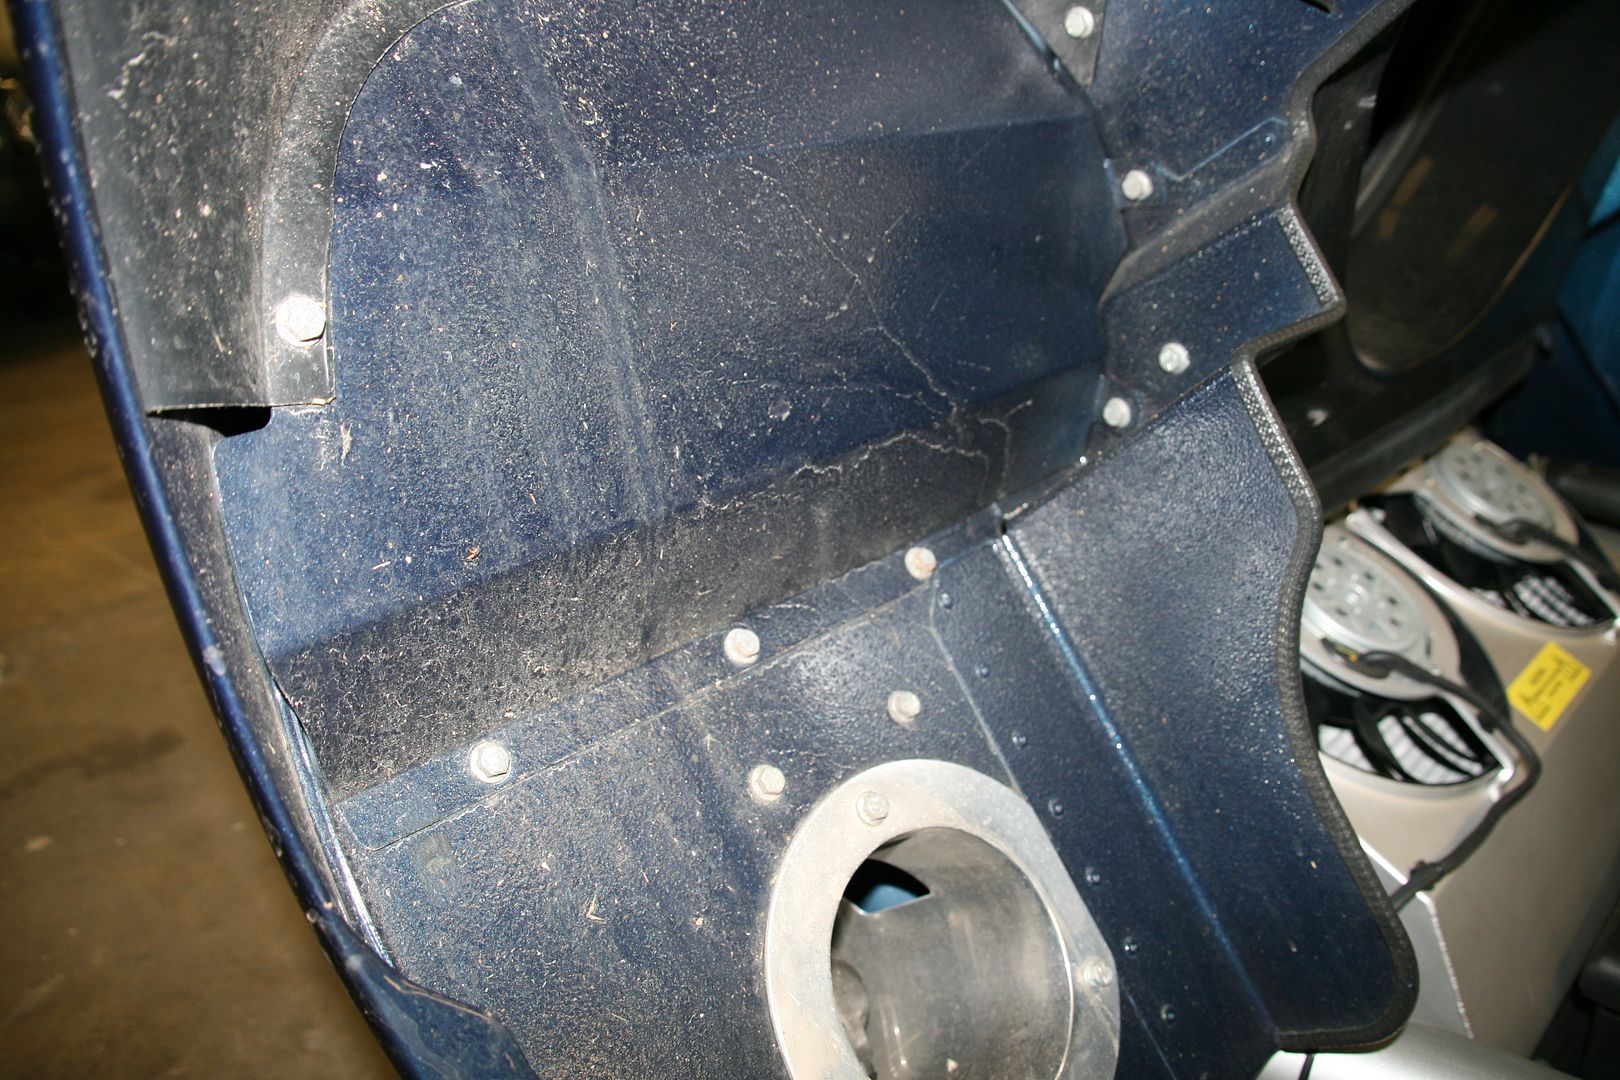
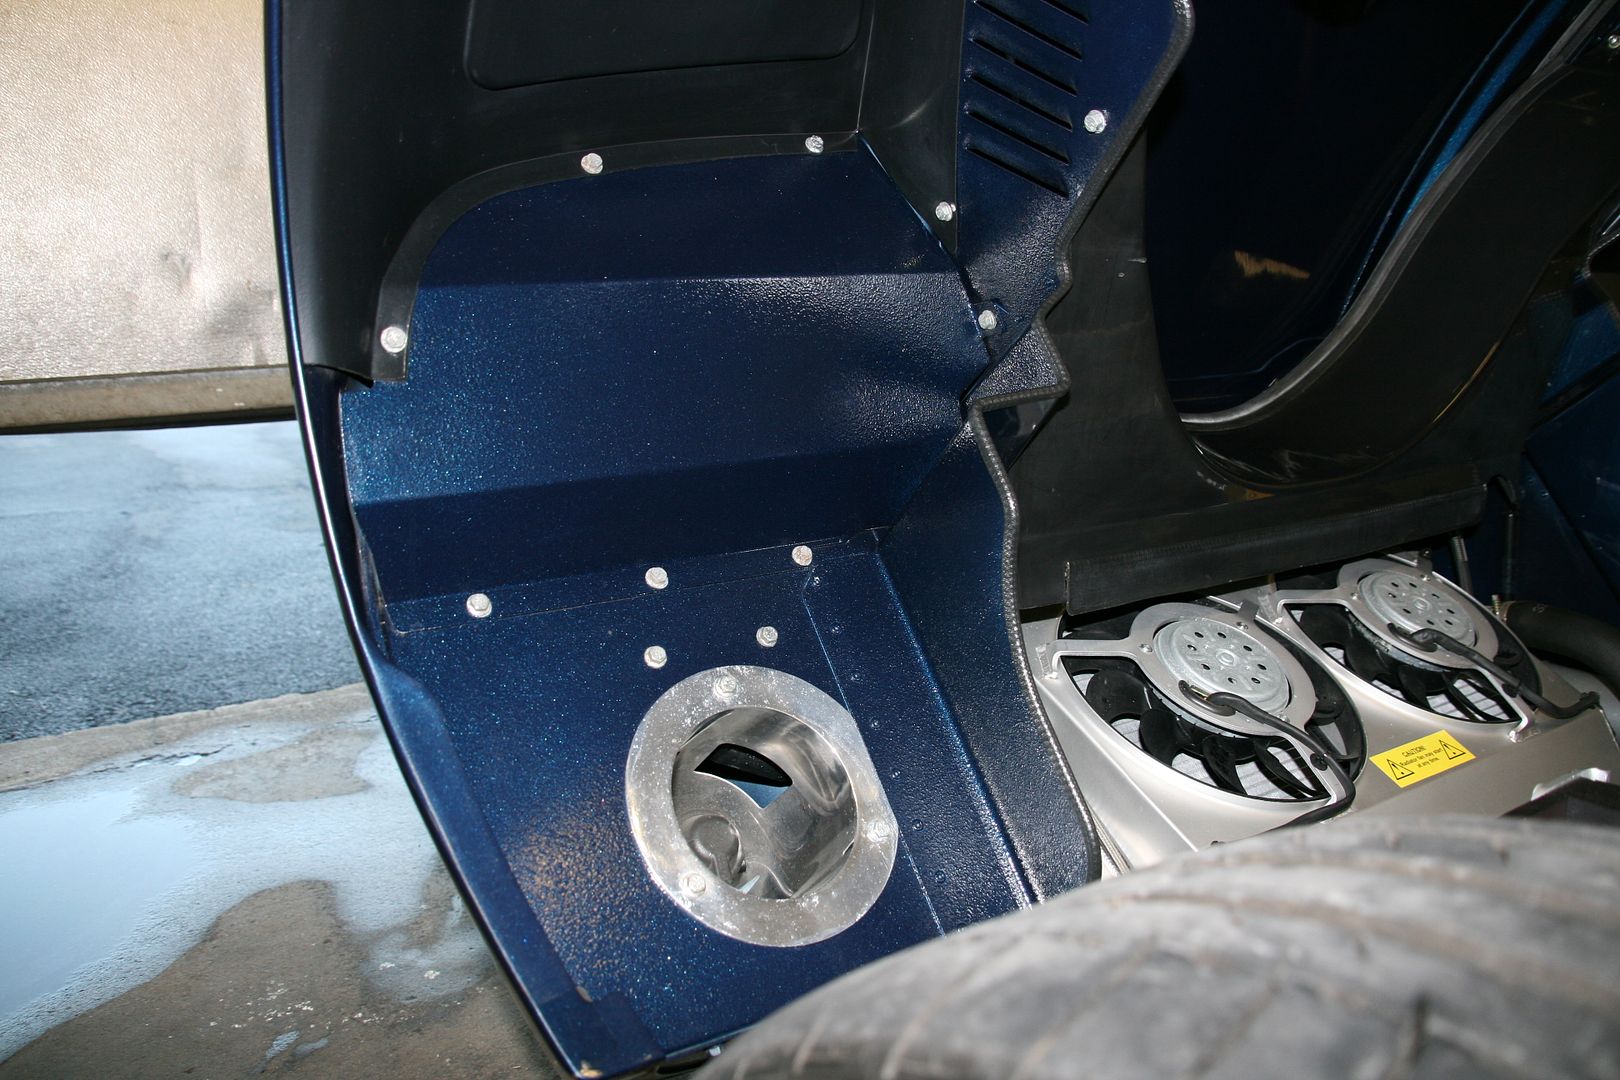
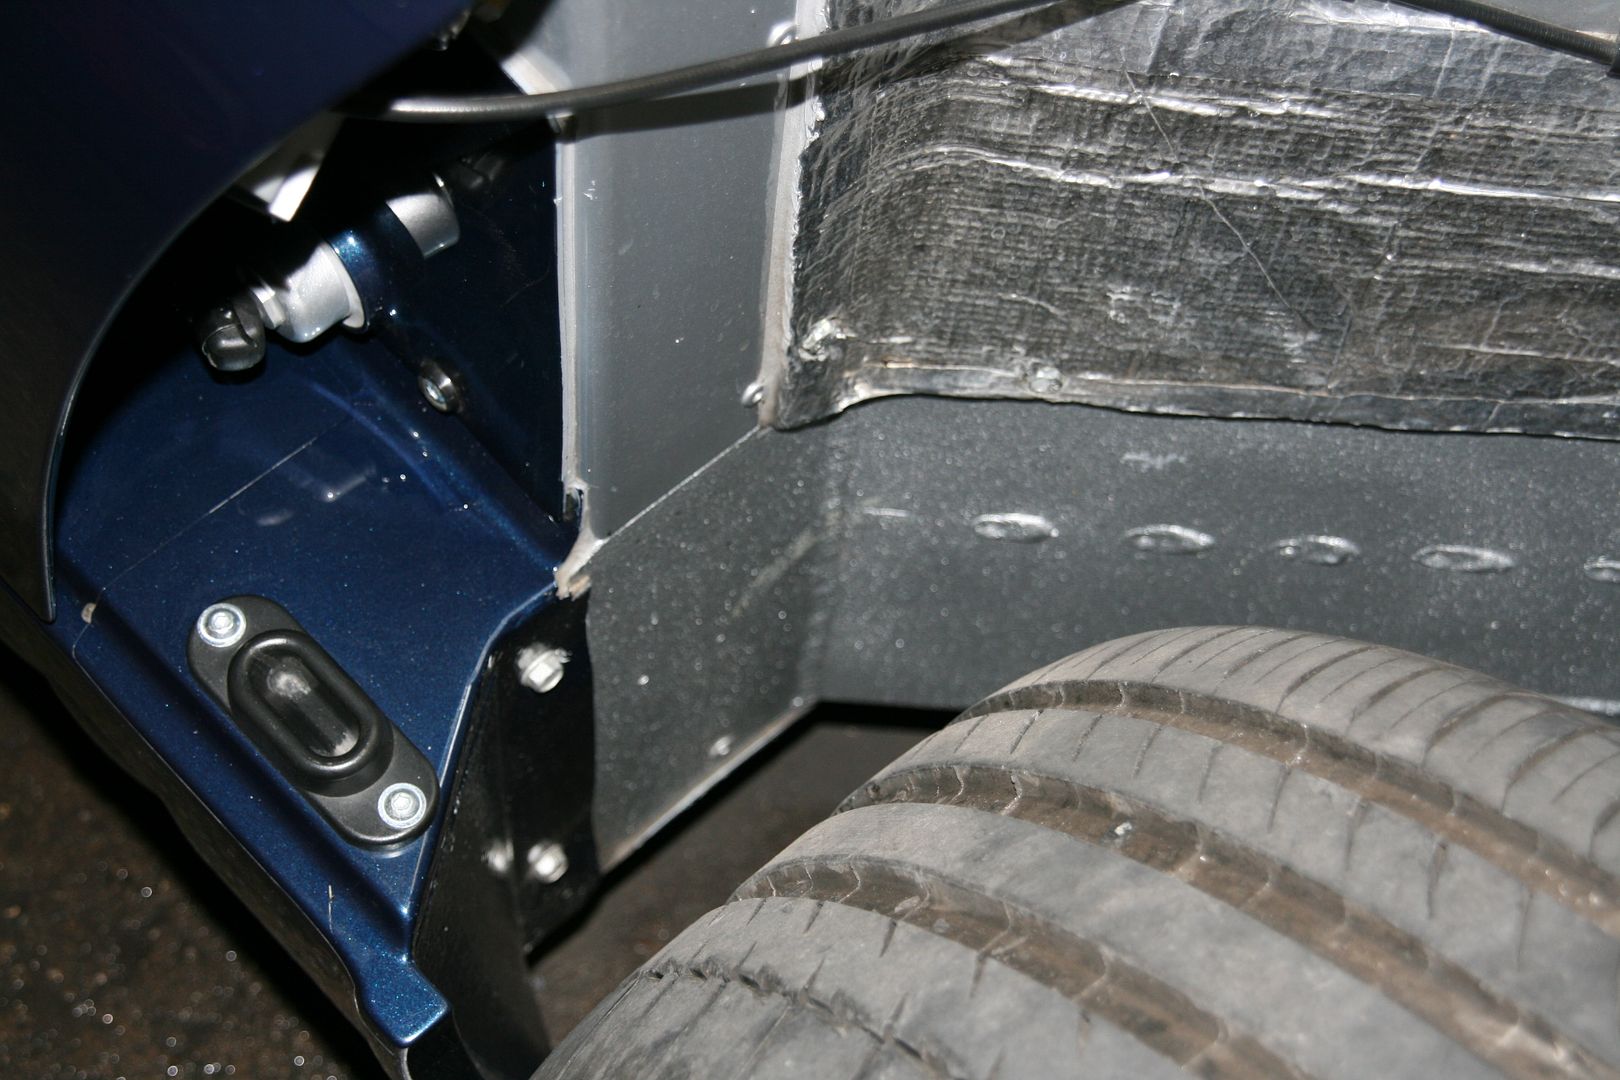
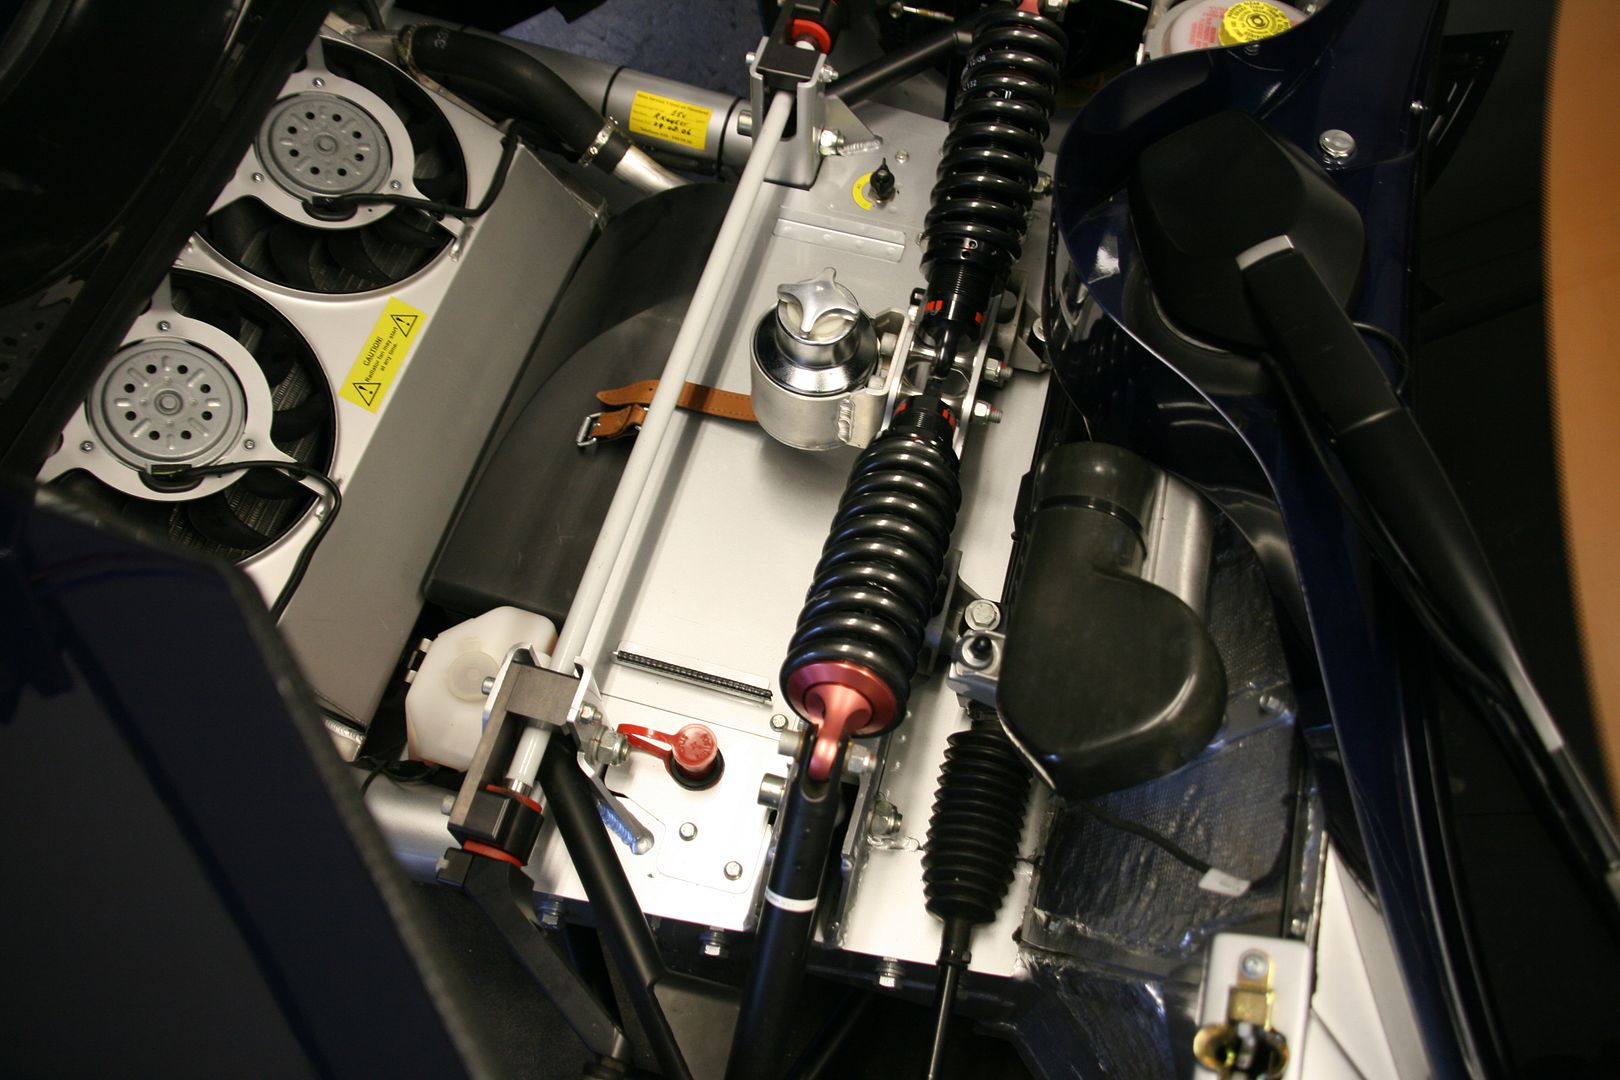
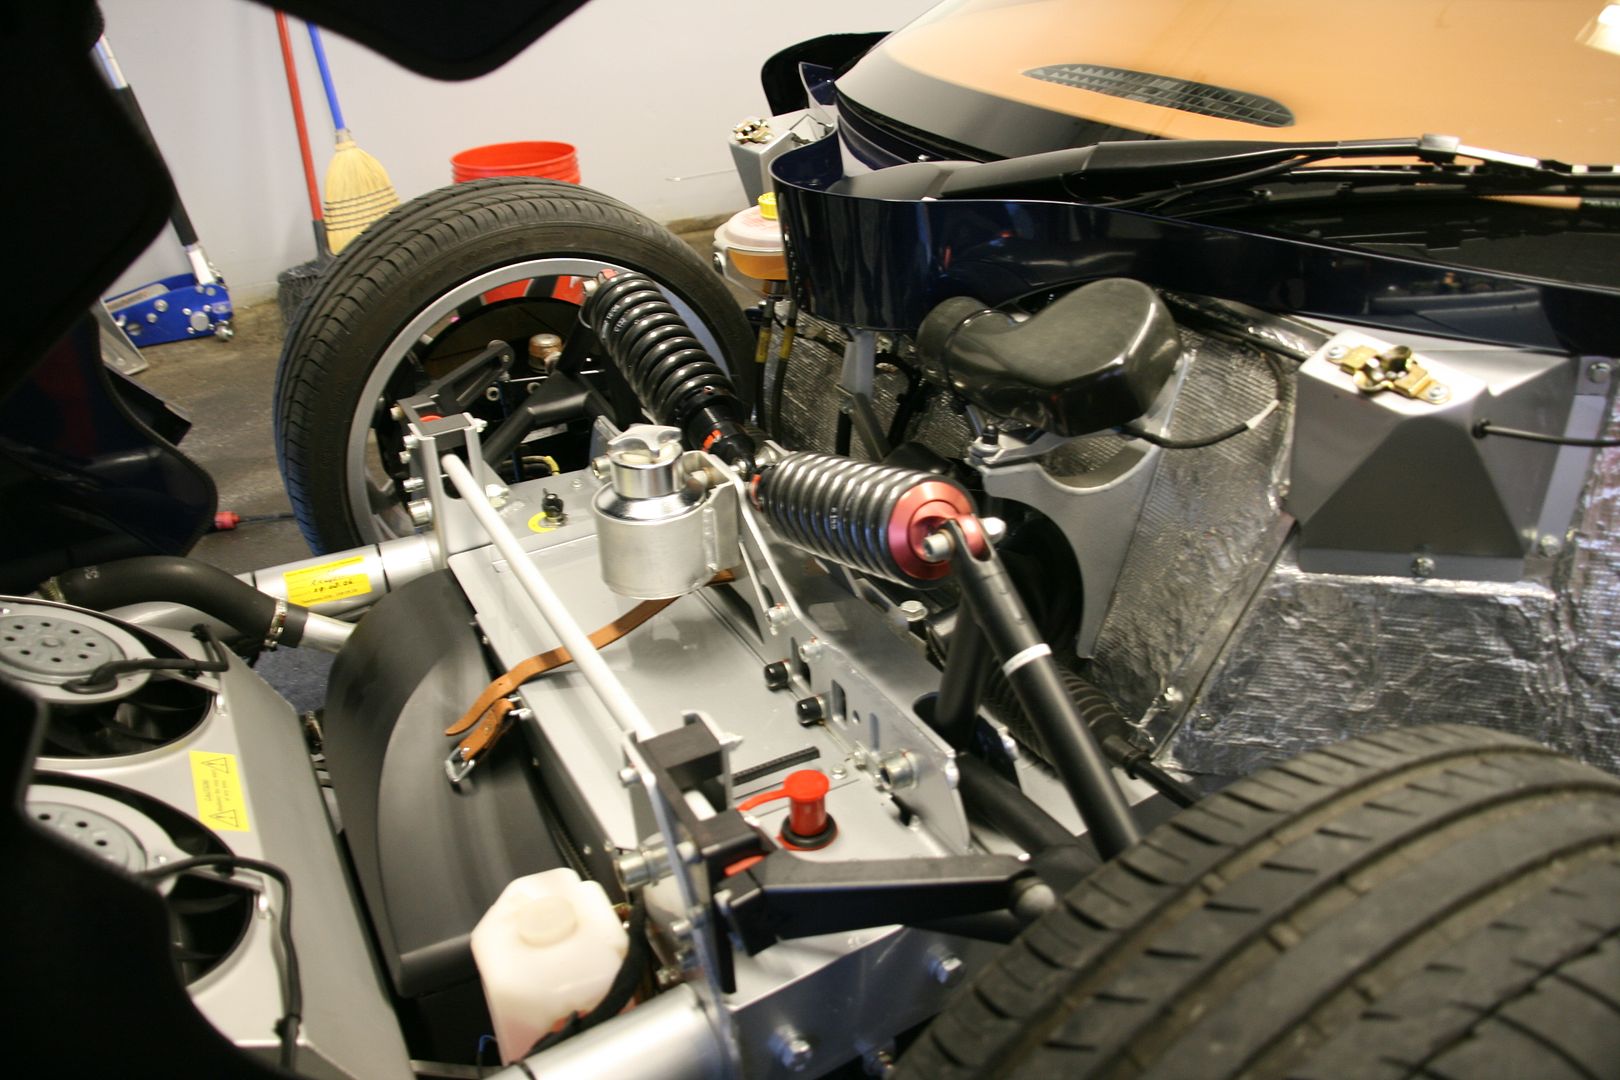
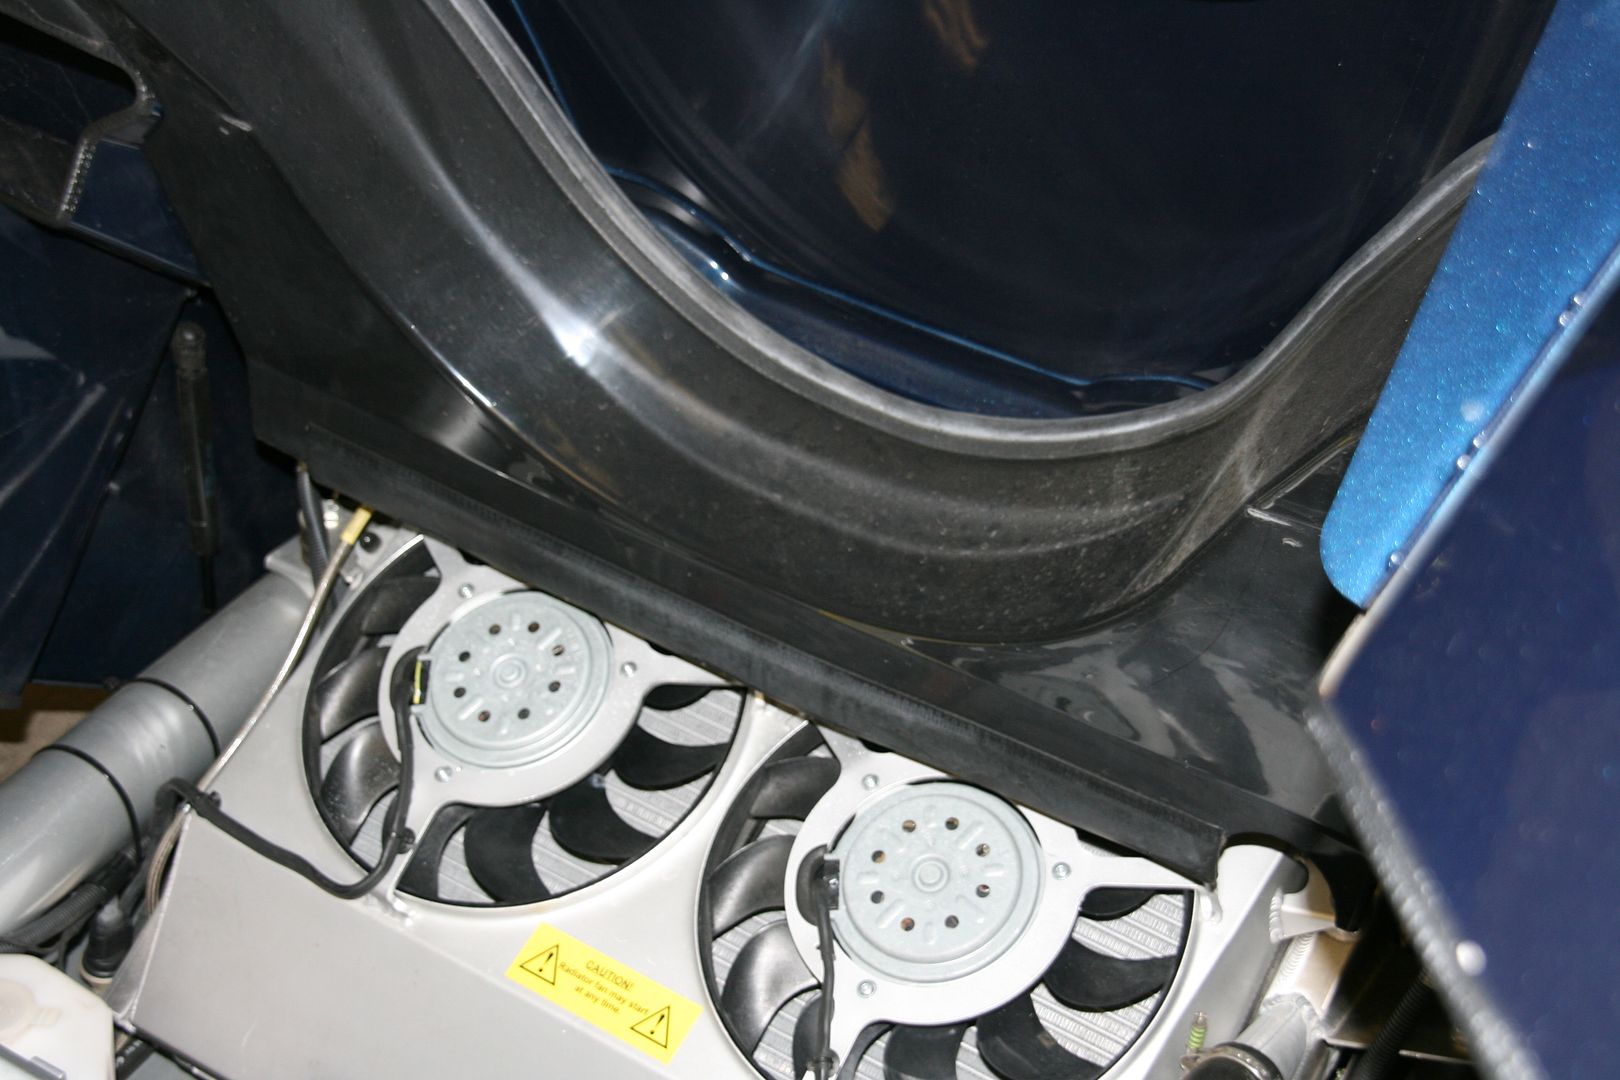
Front clamshell, suspension and front wheel assembly was cleaned inside. Underside of clamshell was waxed with Collinite 476
25

30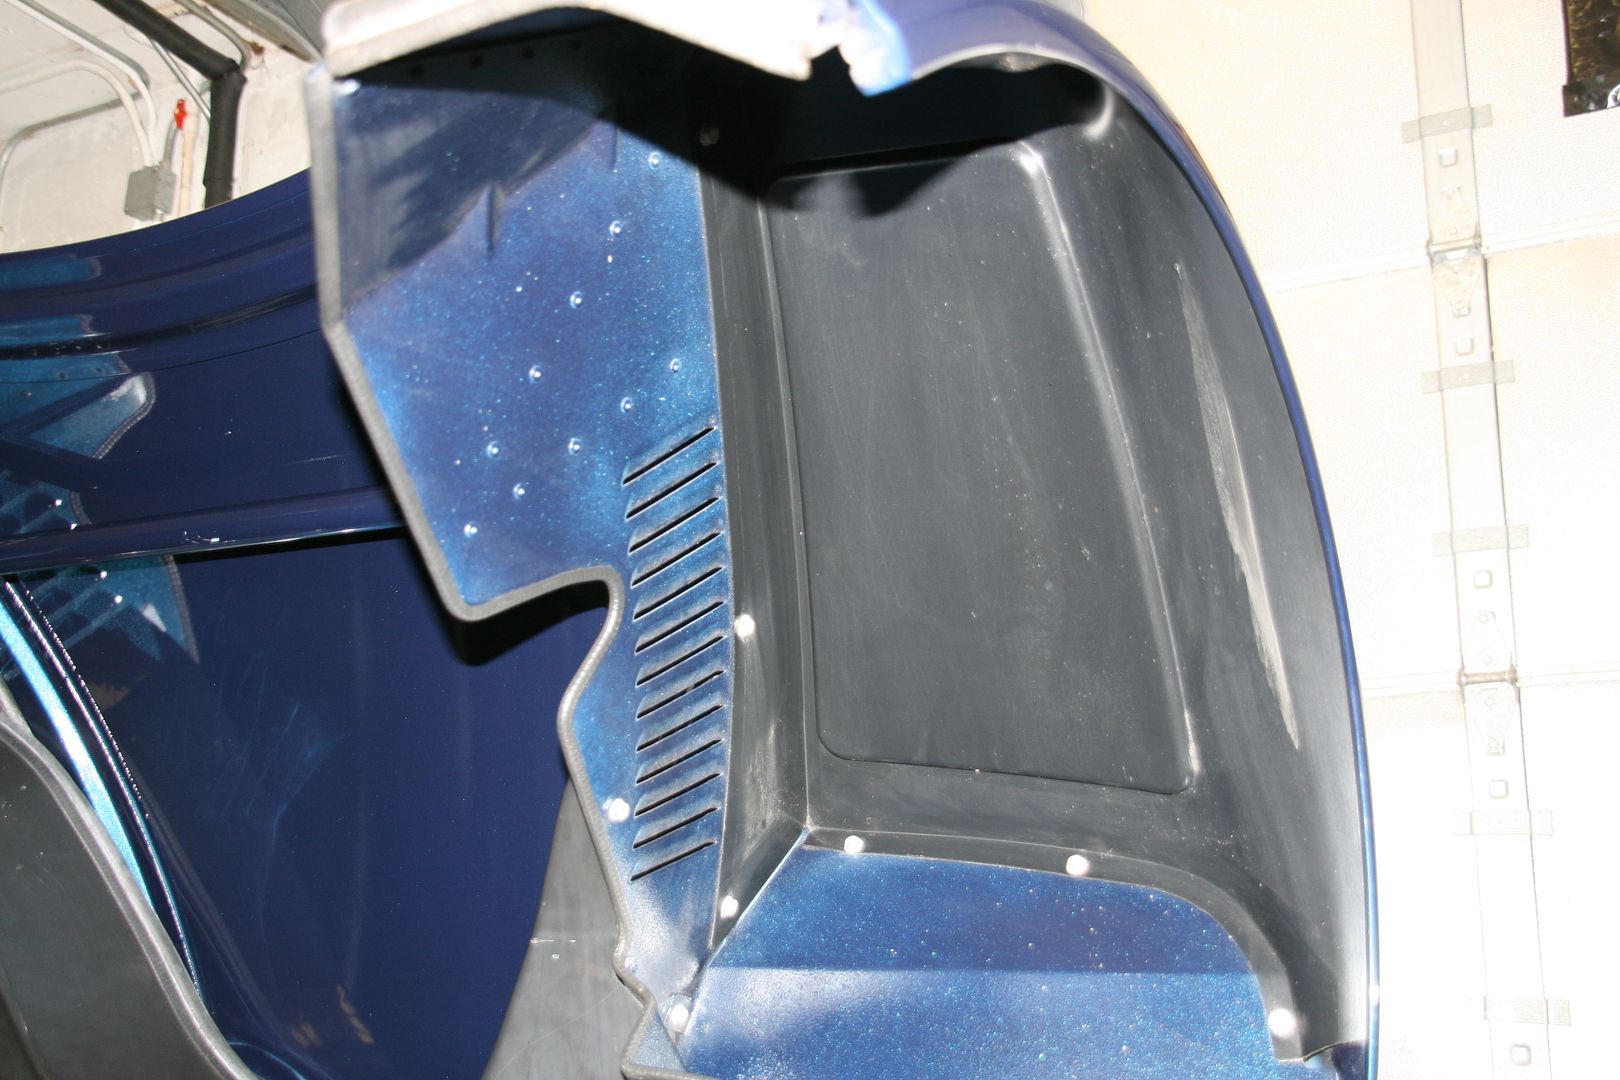
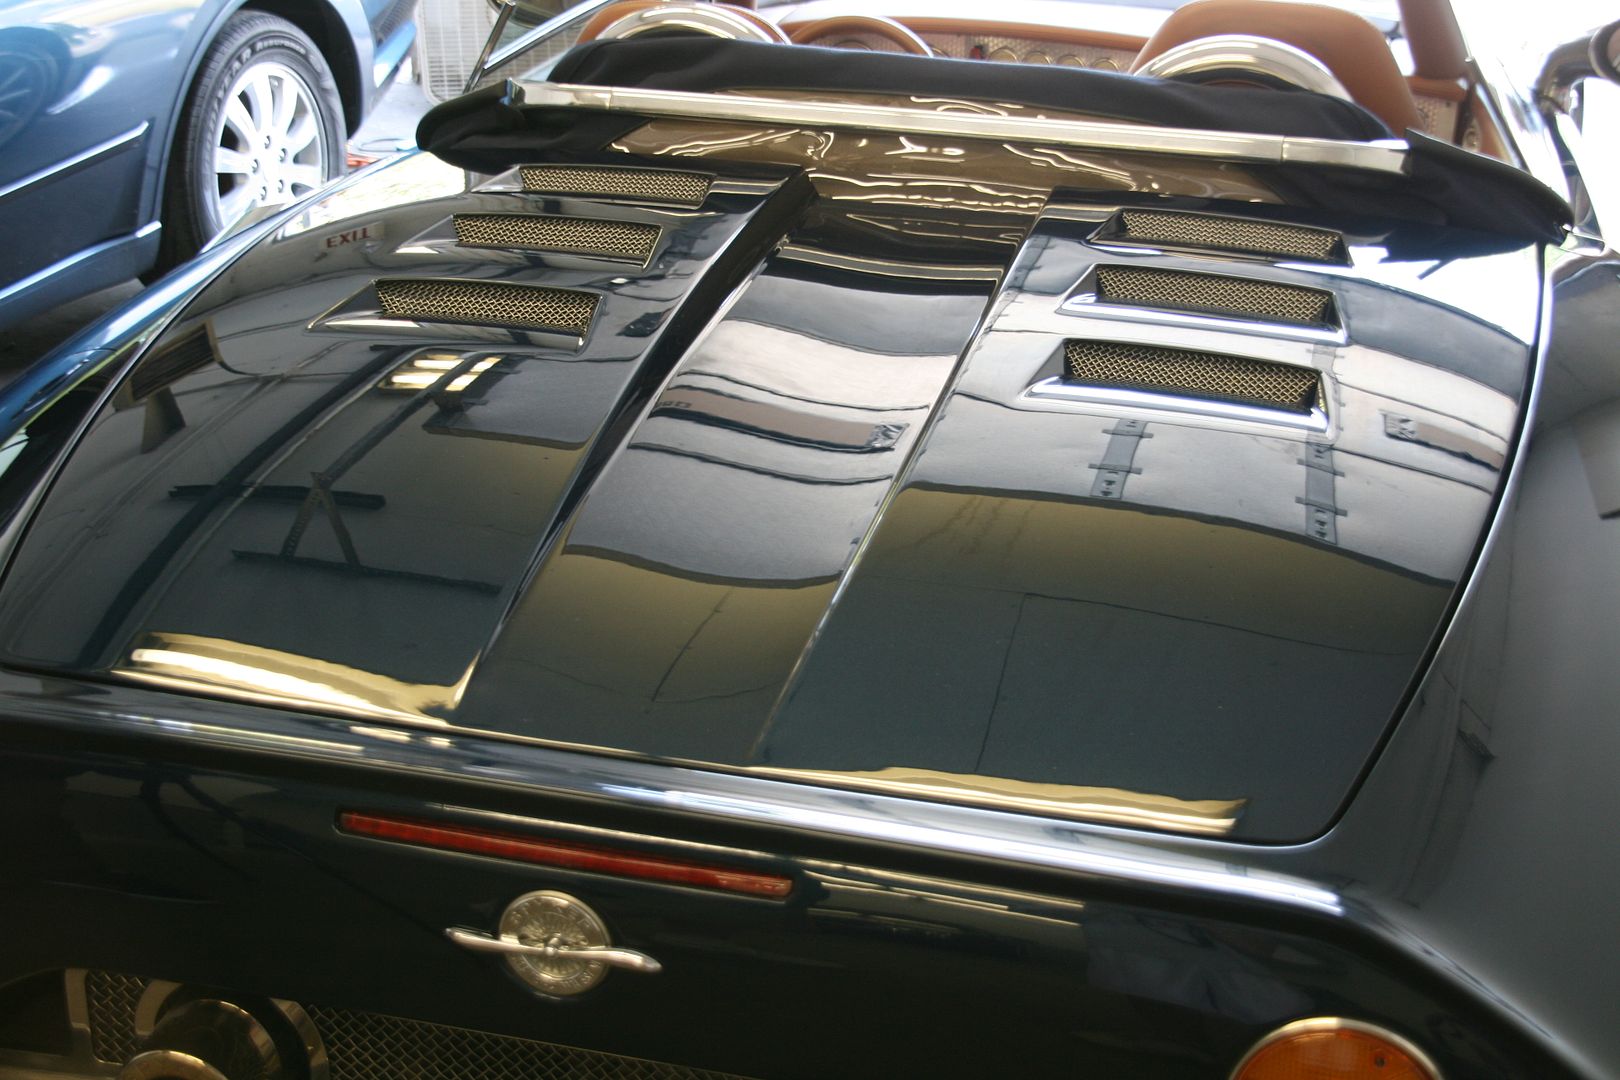
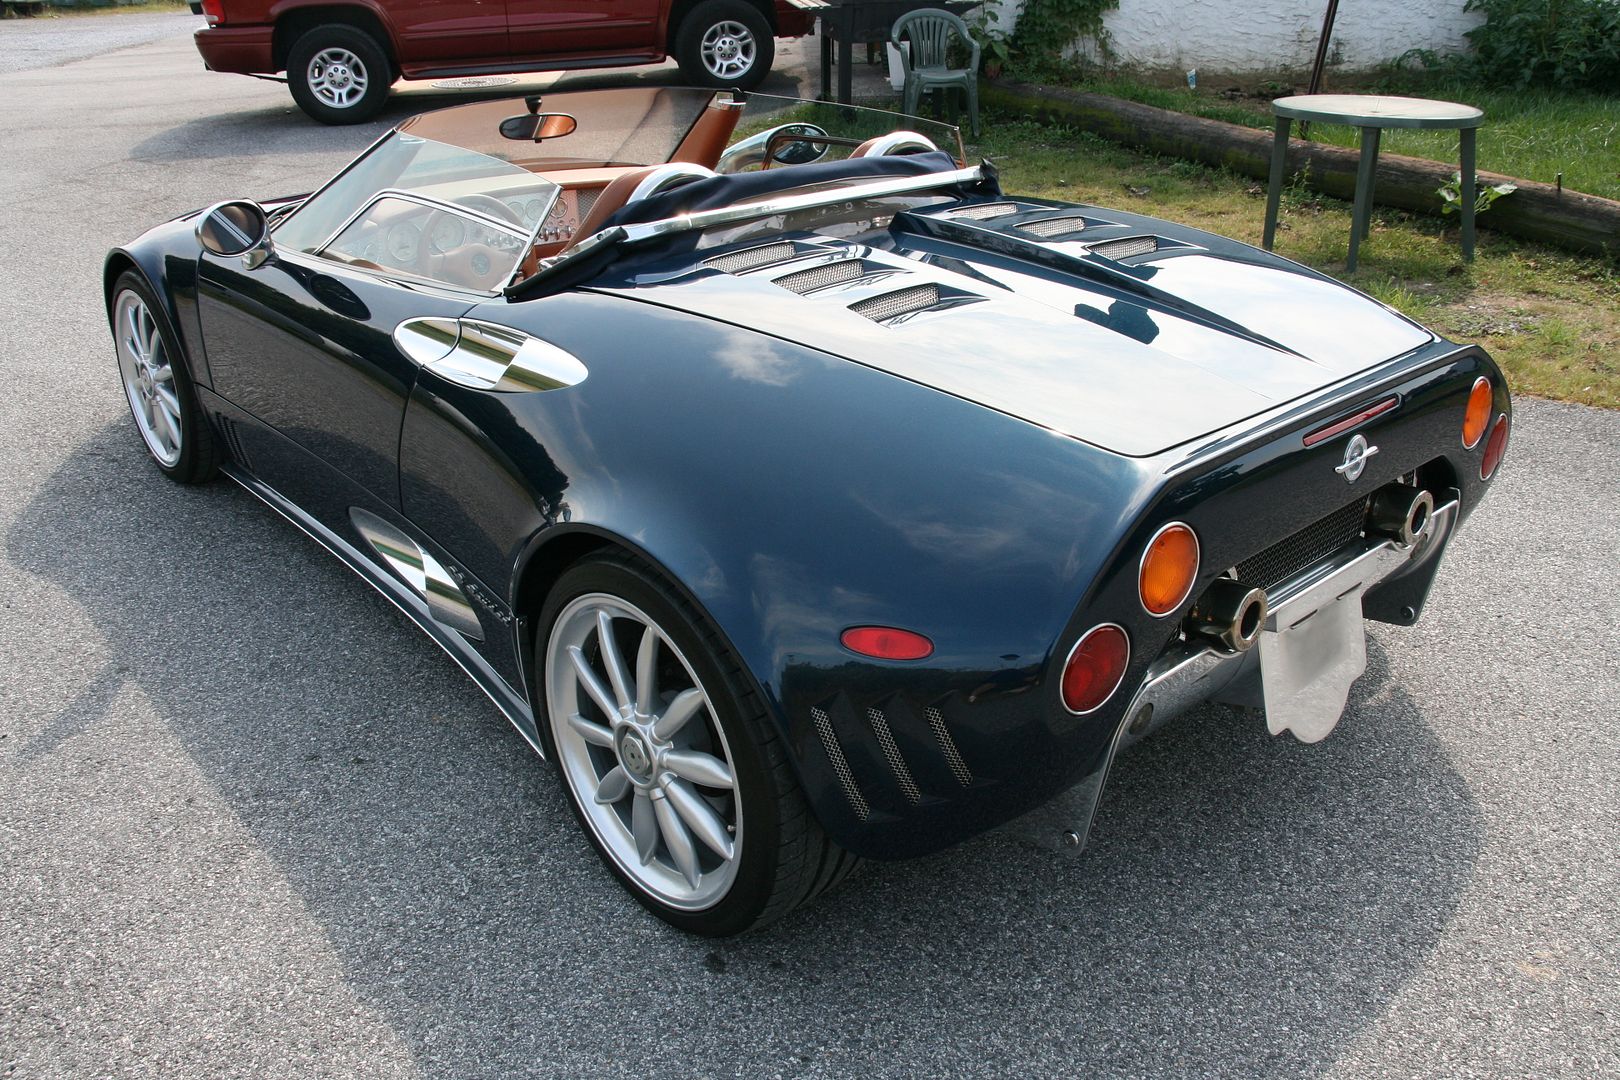
Rear clamshell aluminum engine cover was polished with blue pad on PC and Mothers power ball mini on a drill
Before/After
35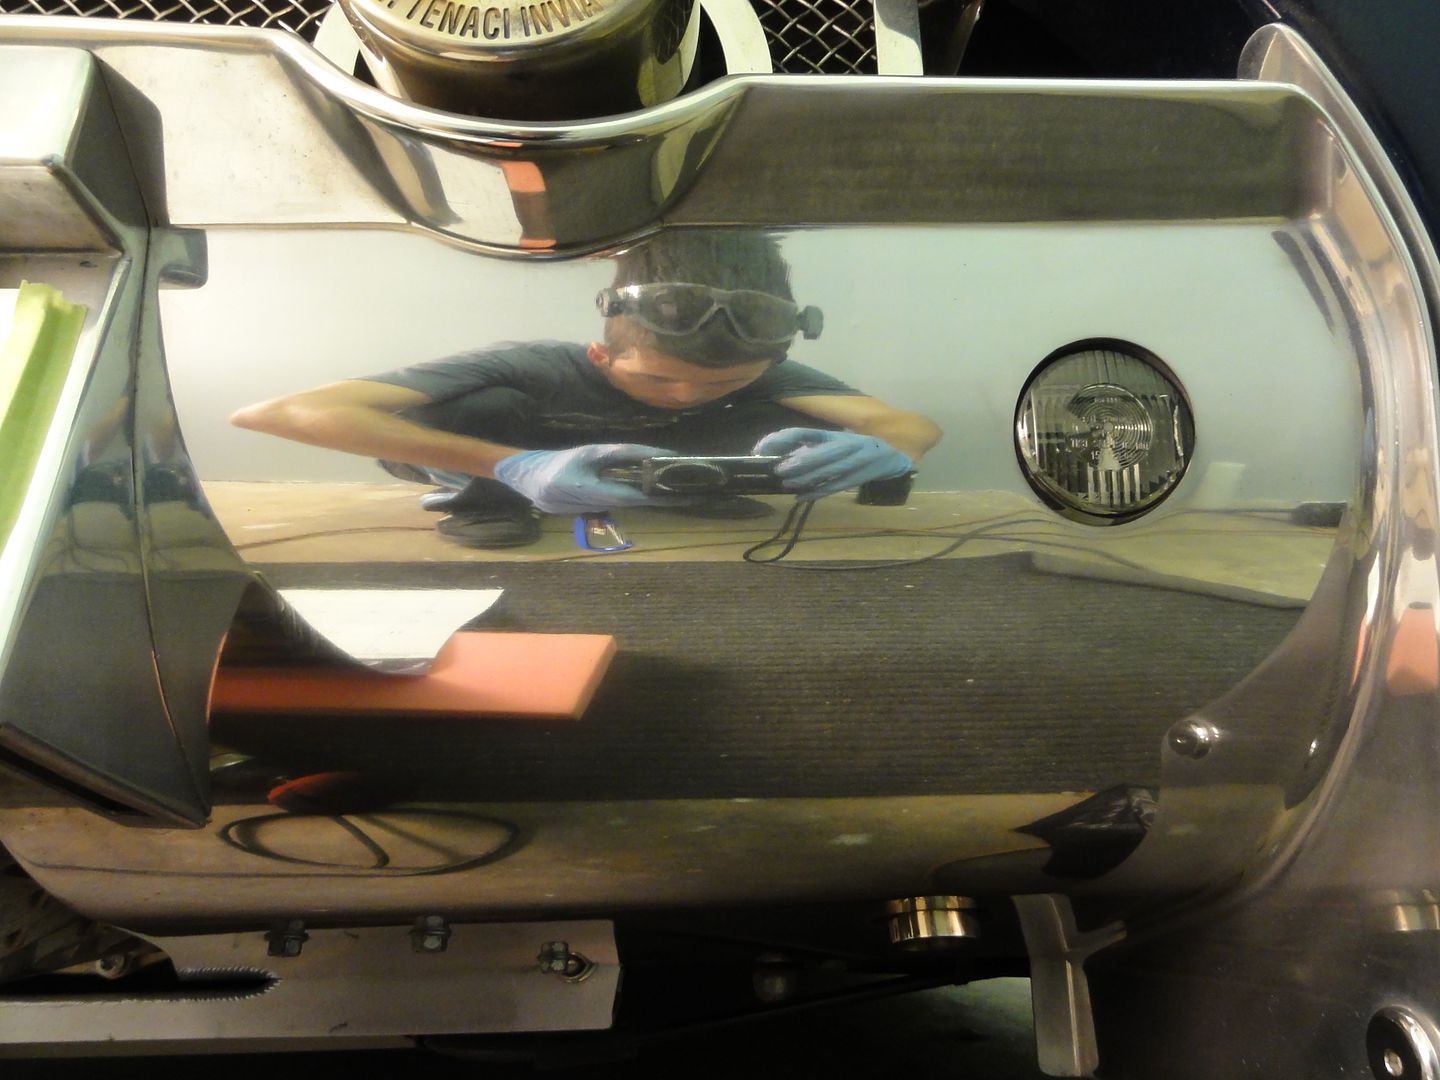
Wheels were cleaned using CG Diablo wheel gel at first, then all stones that got stock to inside of wheels were removed and sprayed several times with Tarminator to take tar off the wheels, then were cleaned with Turtle wax bag and tar remover in hard to reach areas for Tarminator can (Turtle Wax B&TR is gel type product that works very well with terry cloth and stick to wheel surface to dissolve tar before washing it off)
40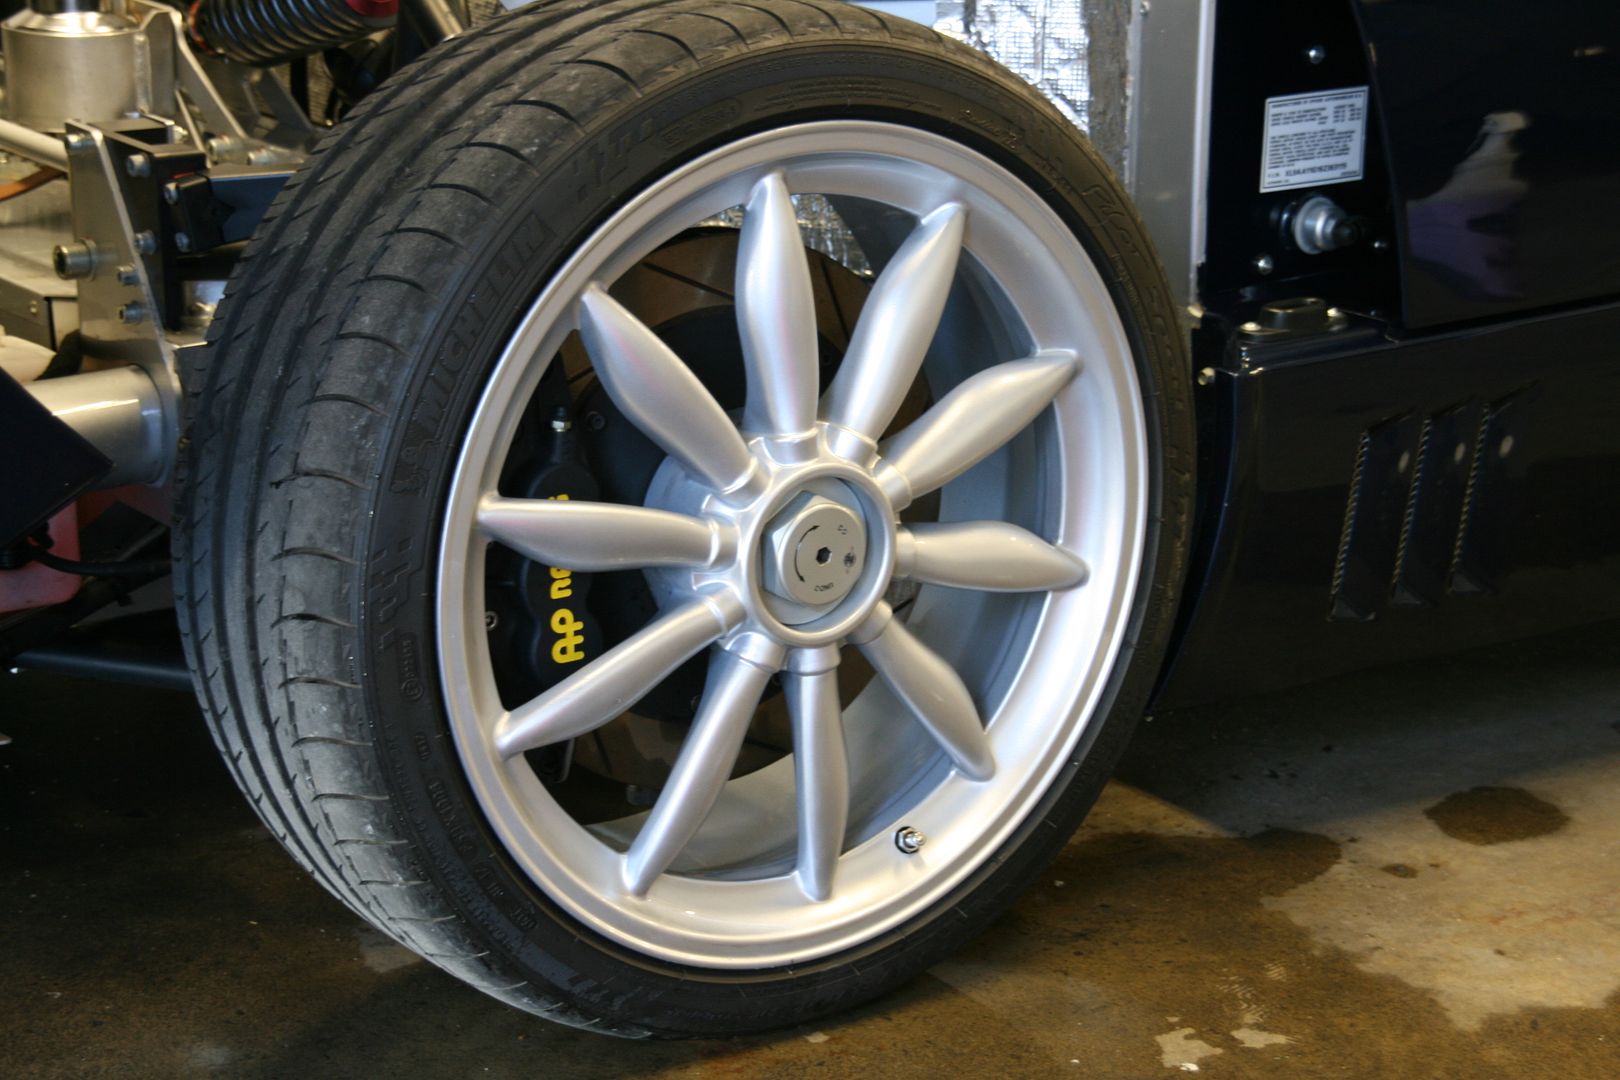
This particular example, came in the very rich Royal Blue color that really showed its depth and shine after the very extensive process put into this vehicle. Spyker definitely did their homework in regards to their paint work, a very smooth, orange peel free finish and a solid, assumably ceramic clear coat. Many different accents make this vehicle, from the aluminum vents and under body panels to the vents and contours throughout. All making for a very attractive body, however a very involved and careful process required, which is all listed below as well as the pics!
Products used:
Meguiars 3000 unigrit sand paper
Meguiars M105 + purple foam wool pad
Menzerna 203 + orange pad
Menzerna 106 + white pad
Menzerna 85 + black pad
IPA 30%
P21S Paint cleanser
Optimum No Rinse Wash (ONR)
Optimum Metal polish
CG Diablo wheel gel
Stoners Tarminator
Turtle wax Bug and Tar remover
BlackFire Wet Diamond sealant
Meguiars Super Degreaser
Meguiars Last Touch
Meguiars APC
3M Adhesive remover
Plexus clear bra cleaner
Sonus green ultra fine clay
CG Maxisuds clay solution
Sprayway ammonia free window cleaner
Poor boys wheel sealant
Poorboys bold n’ bright tire dressing
Collinite 476
Procedures and pictures
As car arrived, it rained night before and roads were not dry when car got to the shop so it was little dirty
5
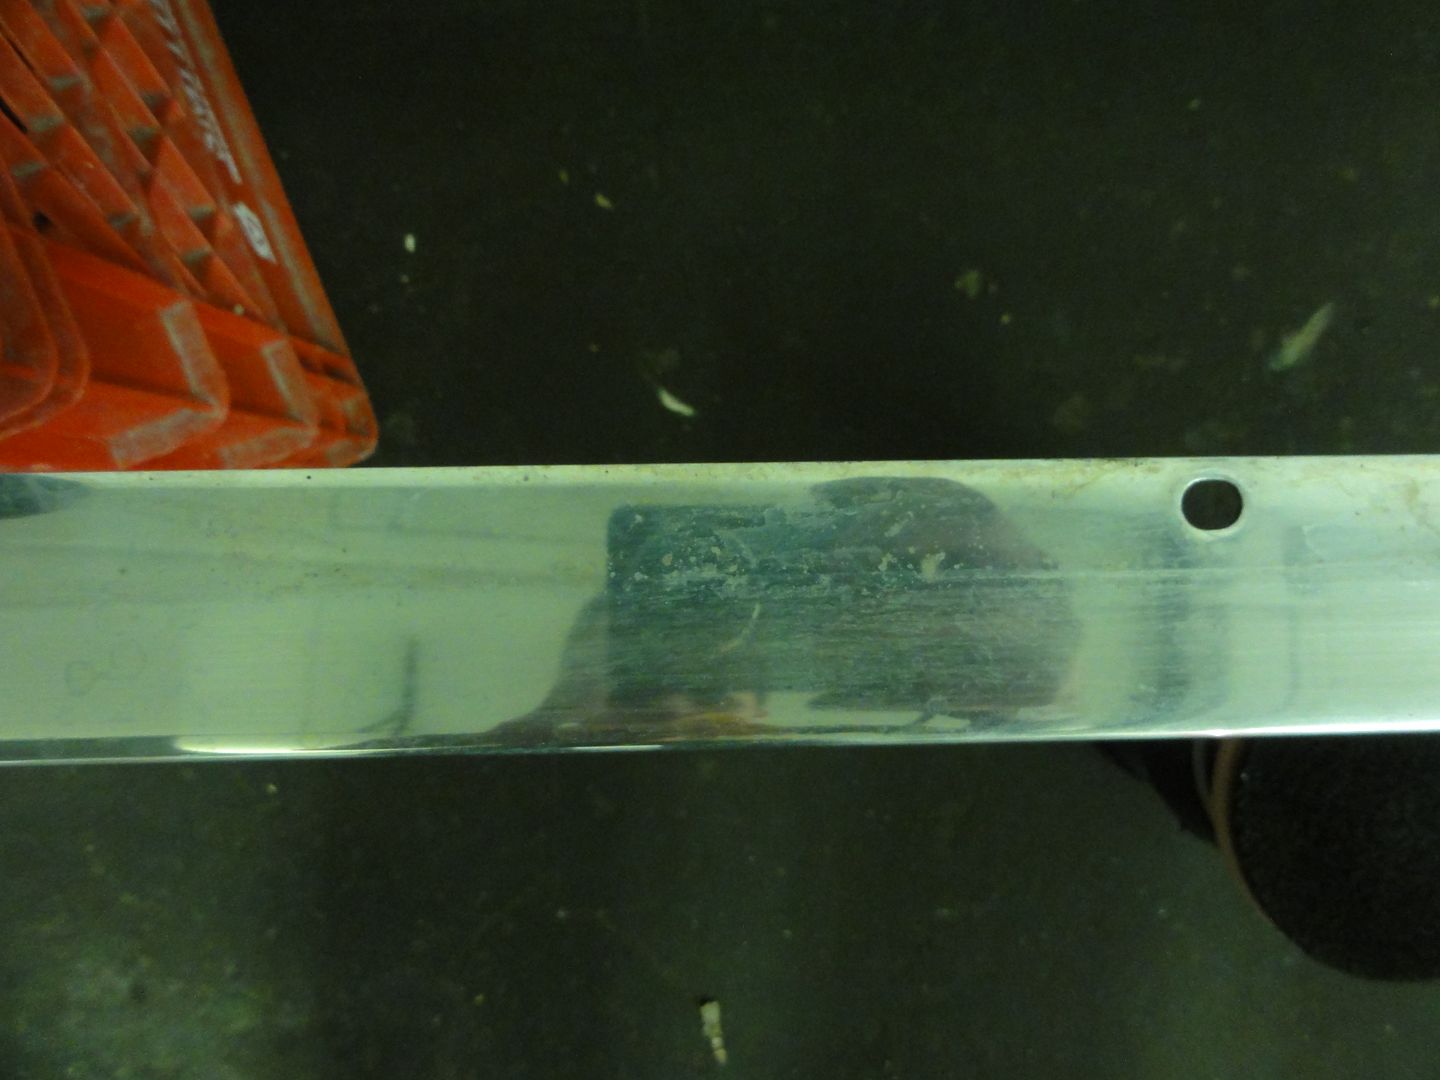
First order was to take removable aluminum pieces off the car. Front splitter and side skirts and rear wheel guards were removed prior to washing the car. They were polished and sealed with poor boys wheel sealant which is great for aluminum
After aluminum trim was off car was washed with ONR and clayed, there wasn’t much contamination on the car but still it was needed.
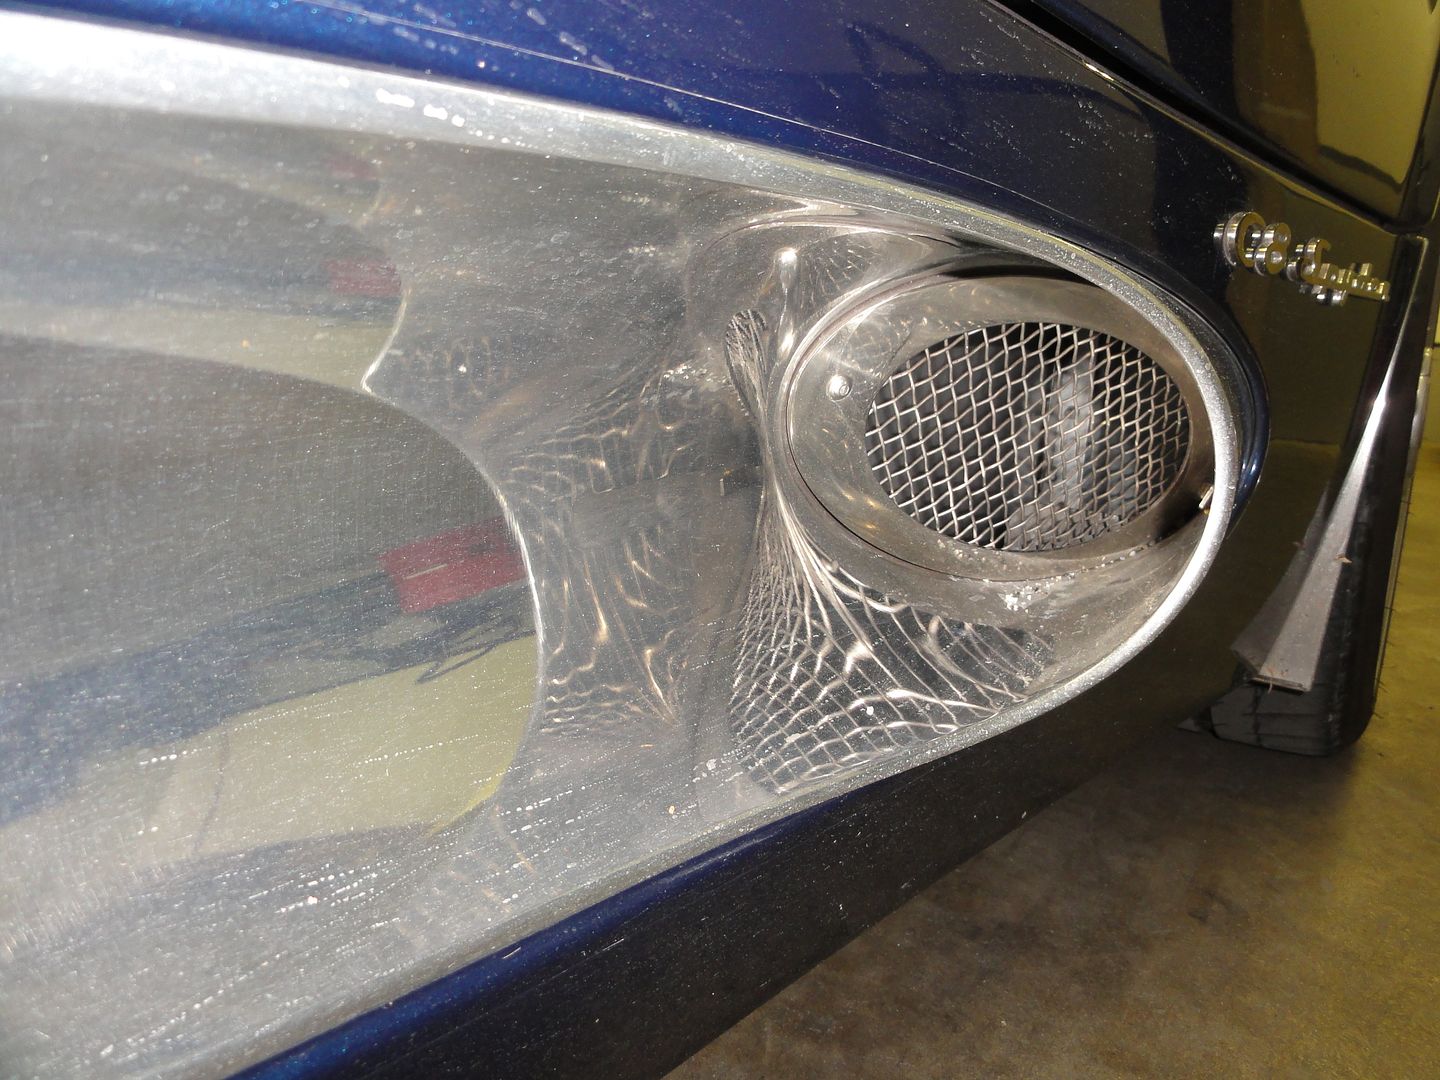
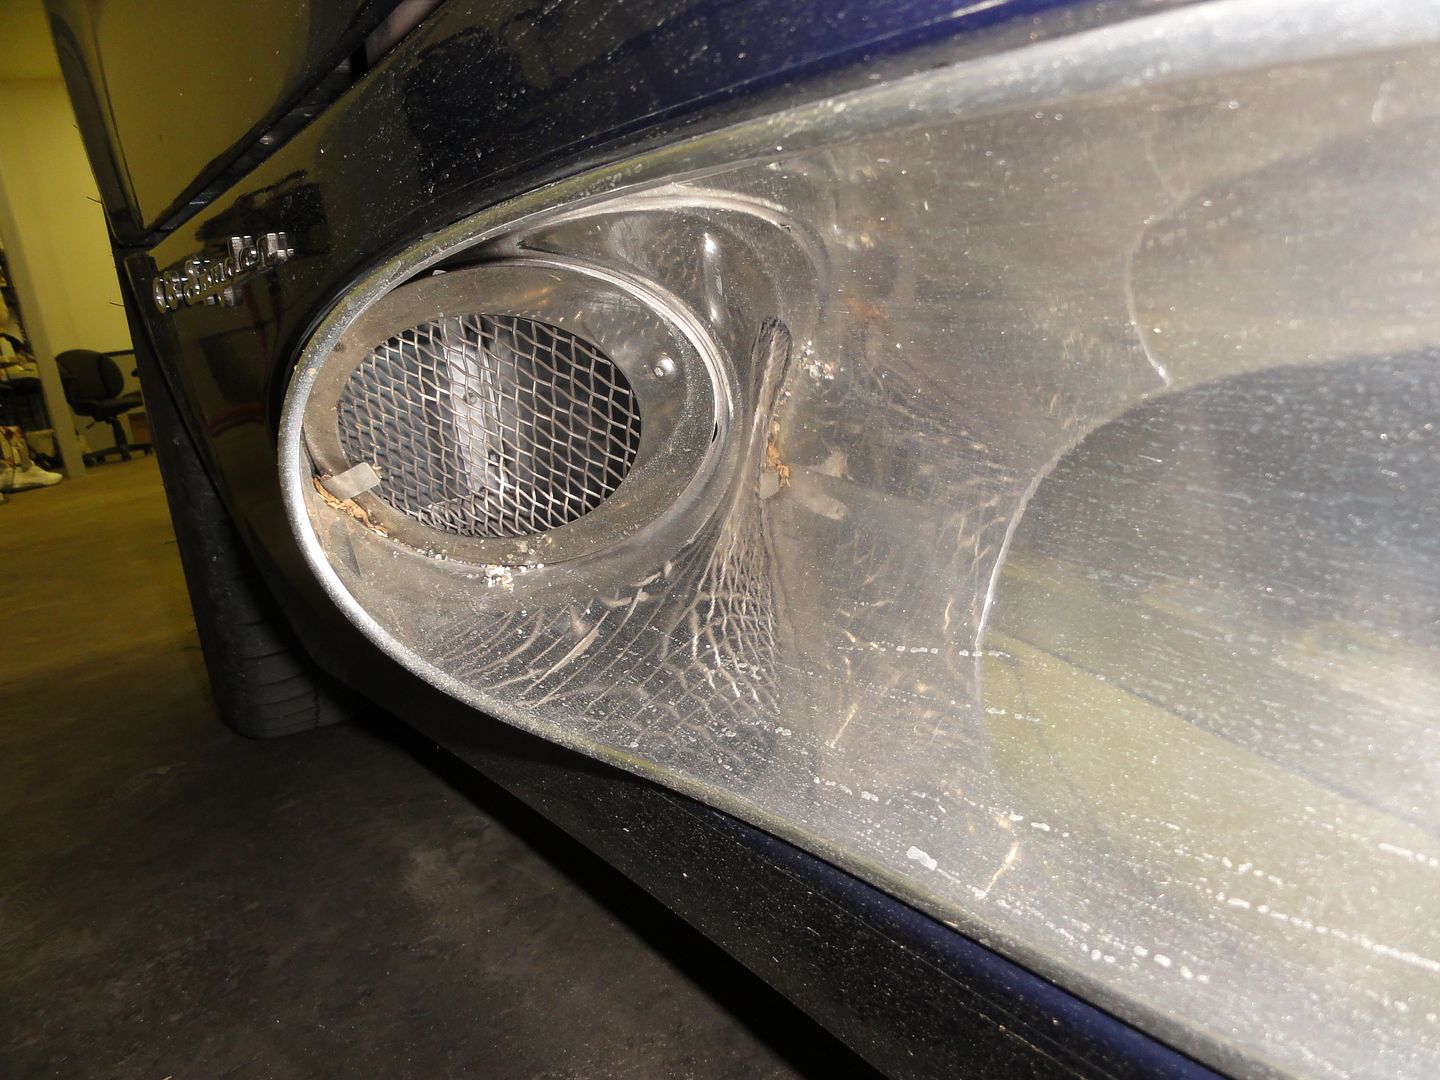
Fog lights surrounds, mirrors, lower air intake grills were polished and sealed
10
Side skirt before and after video
Front splitter just like other aluminum pieces were polished with blue and black pad on PC with Optimum metal polish
Video
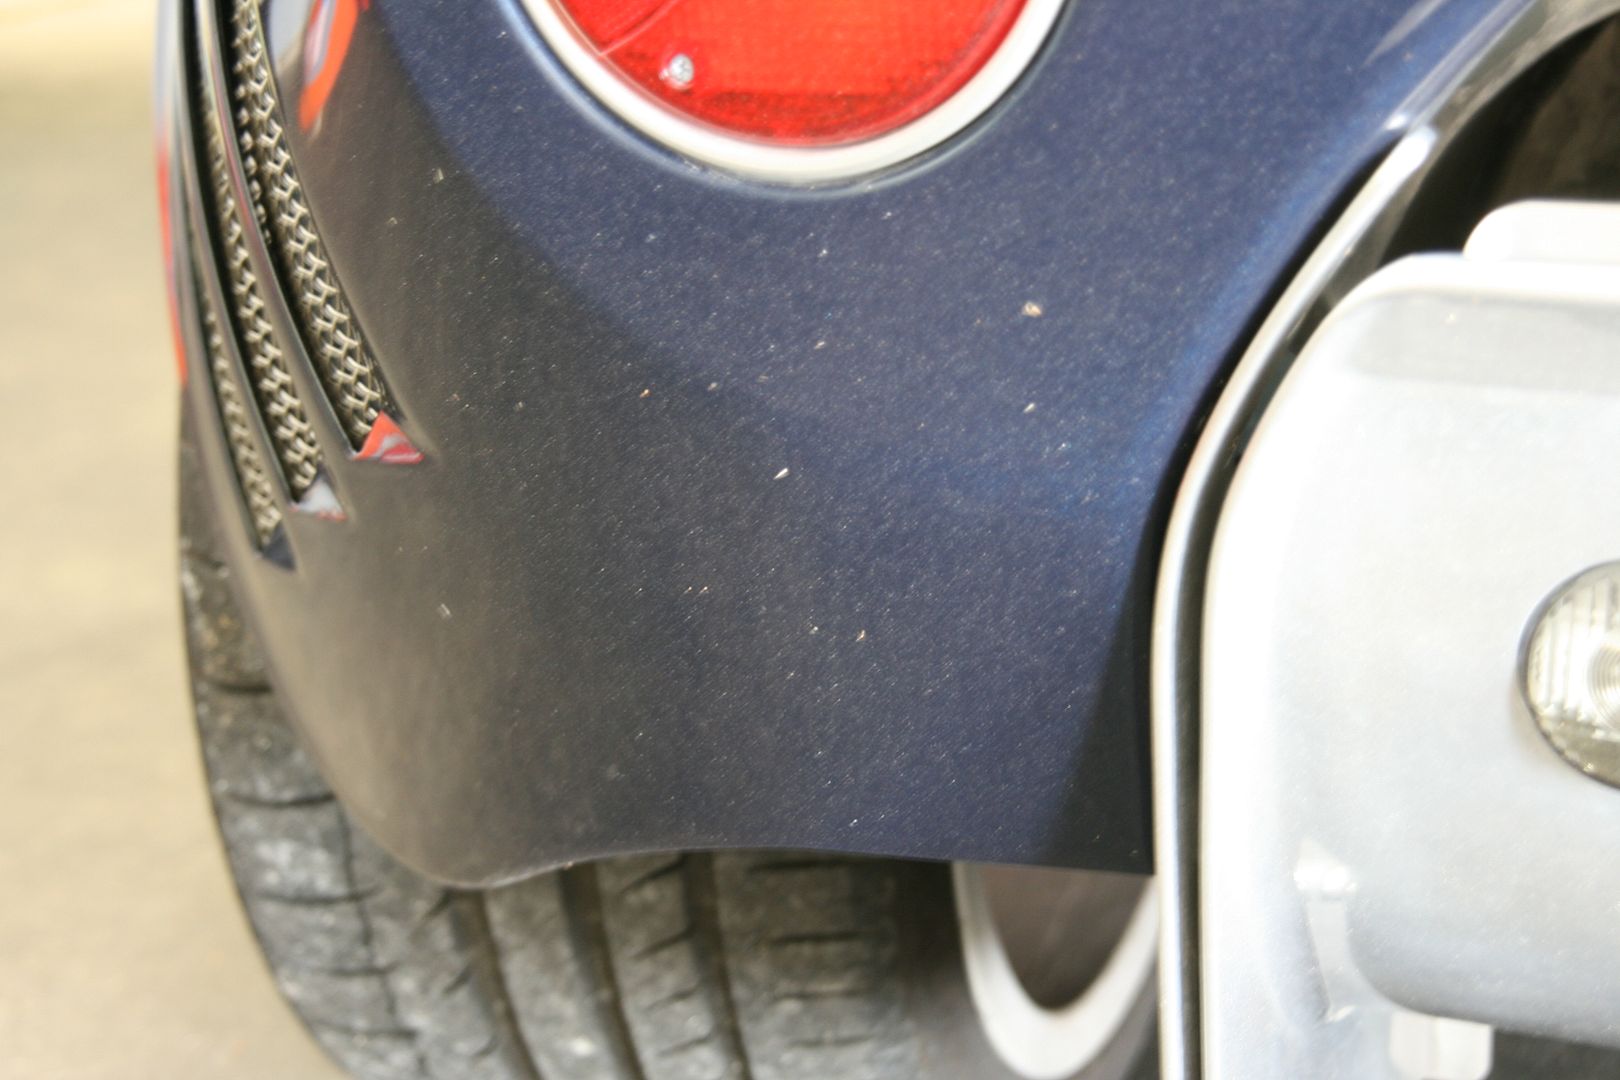
Upper air intake door pieces removed to clean under them and polish them, rear upper and botton intakes were polished by hand, lwer air intake grills were removed and polished as well, cleaned all stones that got stuck there from driving, intakes itself were polished.
15
20
Rear wheel guards before and after
Front clamshell, suspension and front wheel assembly was cleaned inside. Underside of clamshell was waxed with Collinite 476
25
30
Rear clamshell aluminum engine cover was polished with blue pad on PC and Mothers power ball mini on a drill
Before/After
35
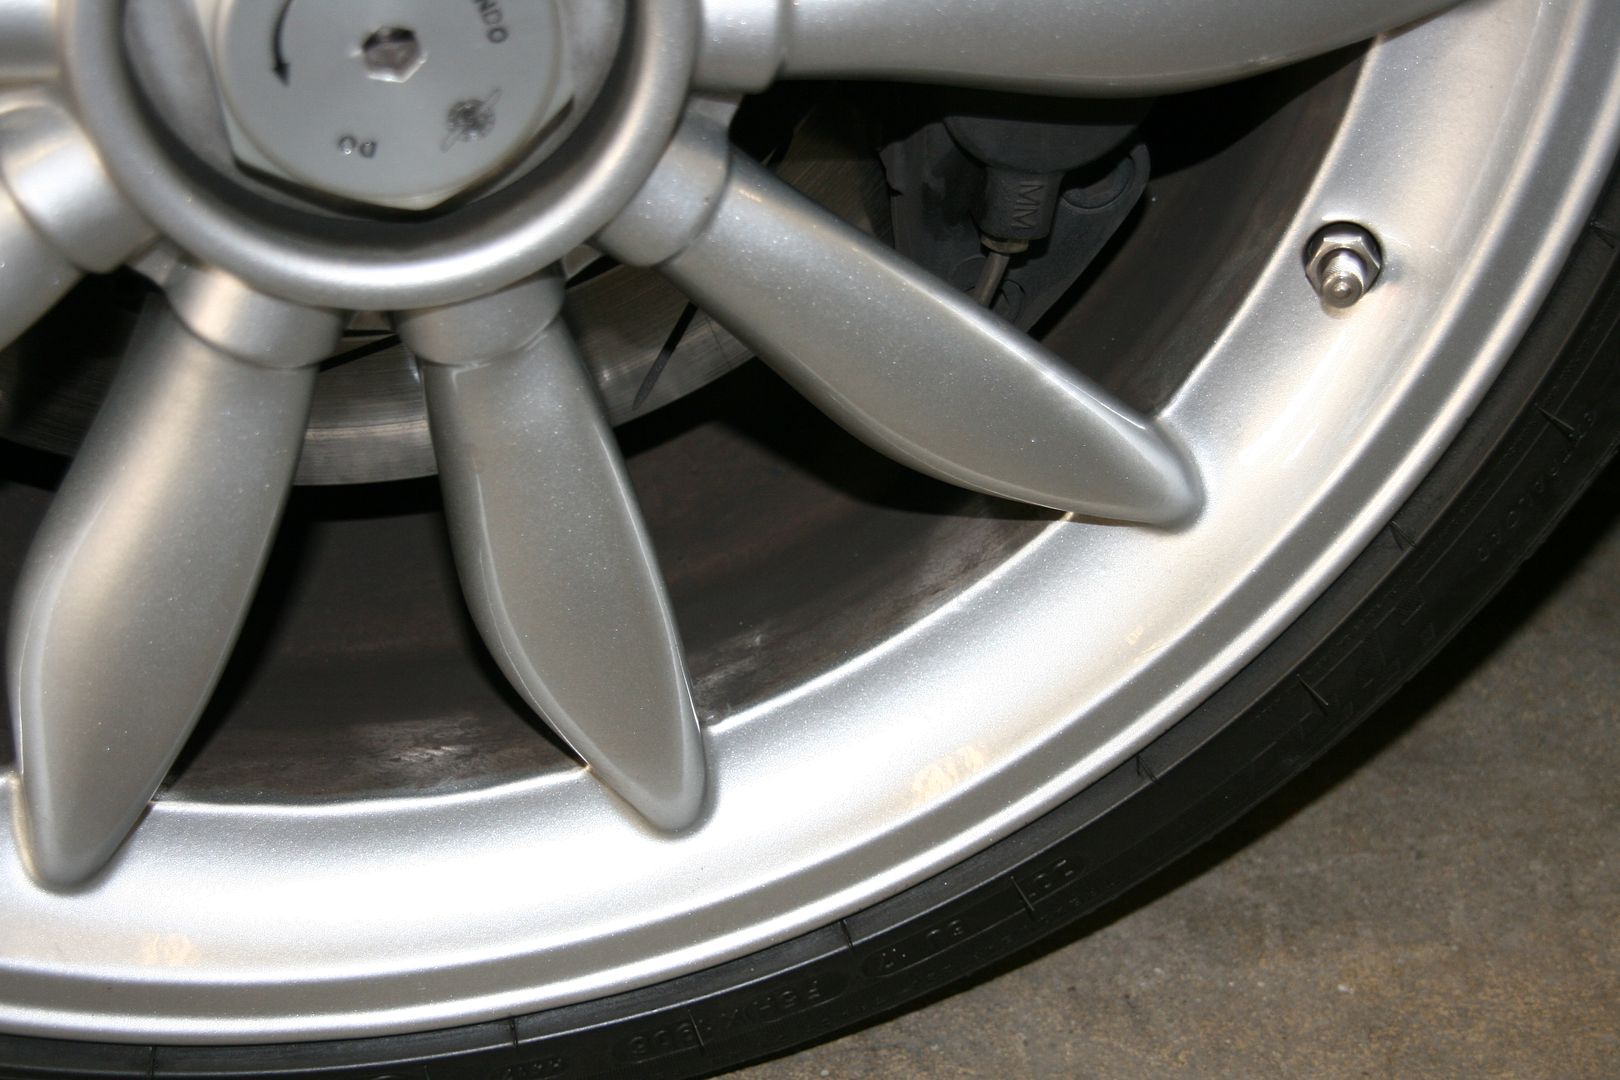
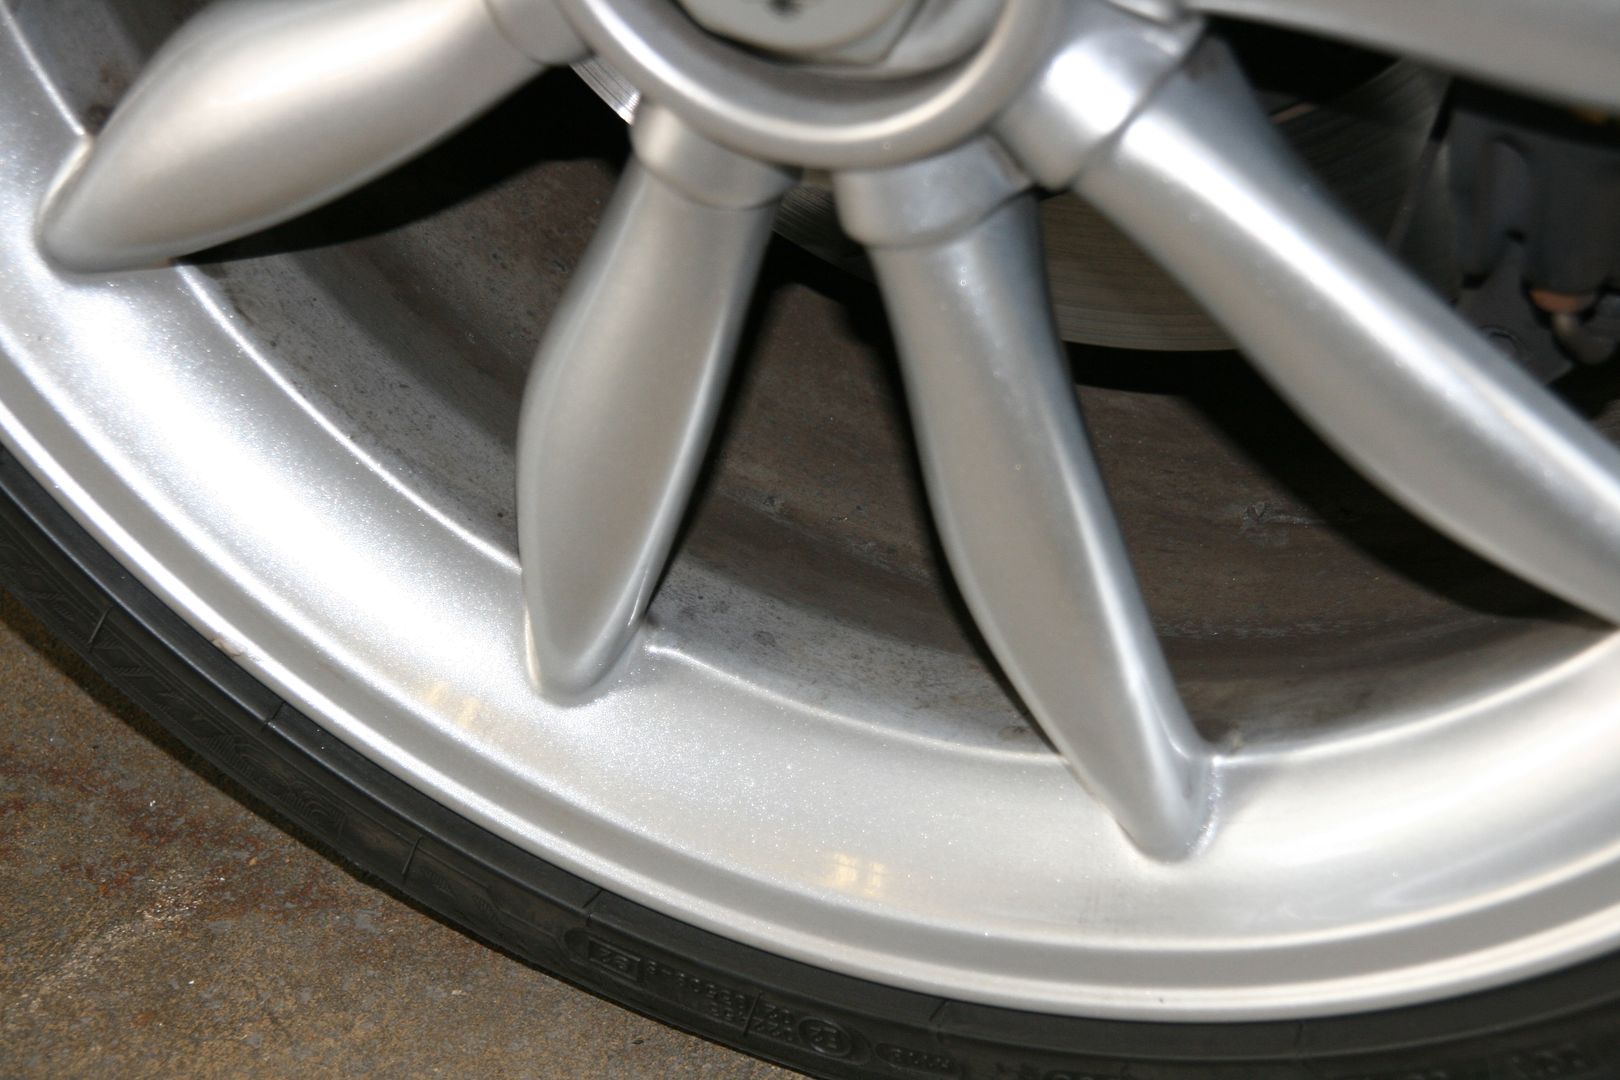
Wheels were cleaned using CG Diablo wheel gel at first, then all stones that got stock to inside of wheels were removed and sprayed several times with Tarminator to take tar off the wheels, then were cleaned with Turtle wax bag and tar remover in hard to reach areas for Tarminator can (Turtle Wax B&TR is gel type product that works very well with terry cloth and stick to wheel surface to dissolve tar before washing it off)
40
 09-26-2010, 03:06 PM
#2
Registered User
Thread Starter
Join Date: May 2009
Posts: 127
Likes: 0
Received 0 Likes
on
0 Posts
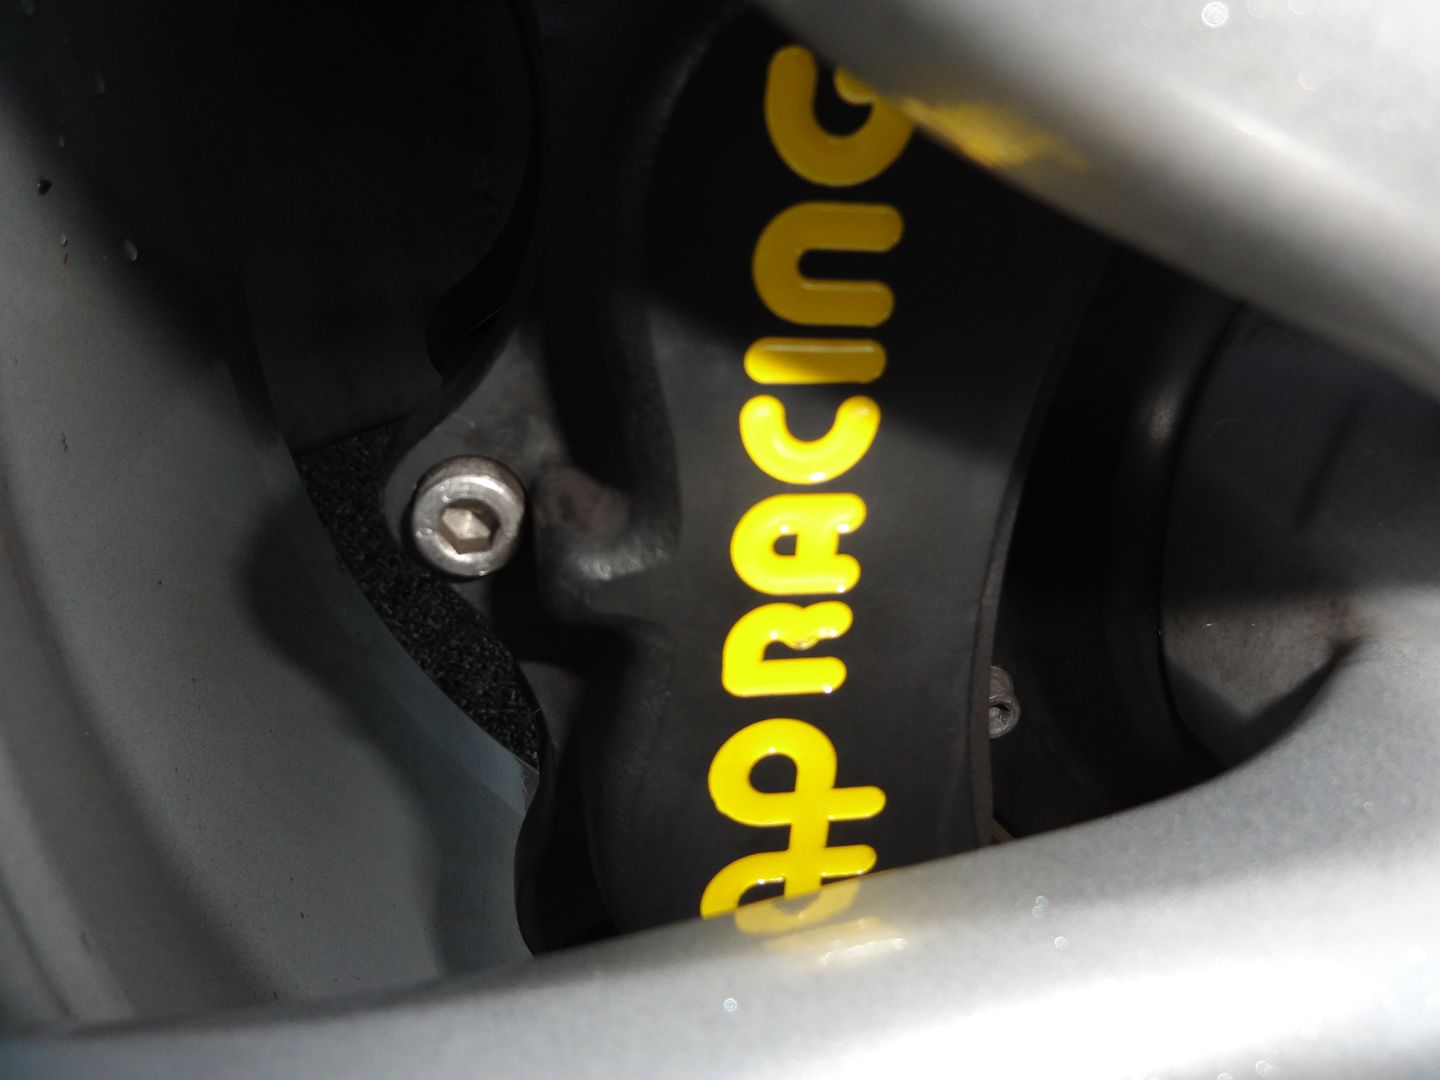
Brake calipers cleaned with CG Diablo and sealed with Poorboys wheel sealant
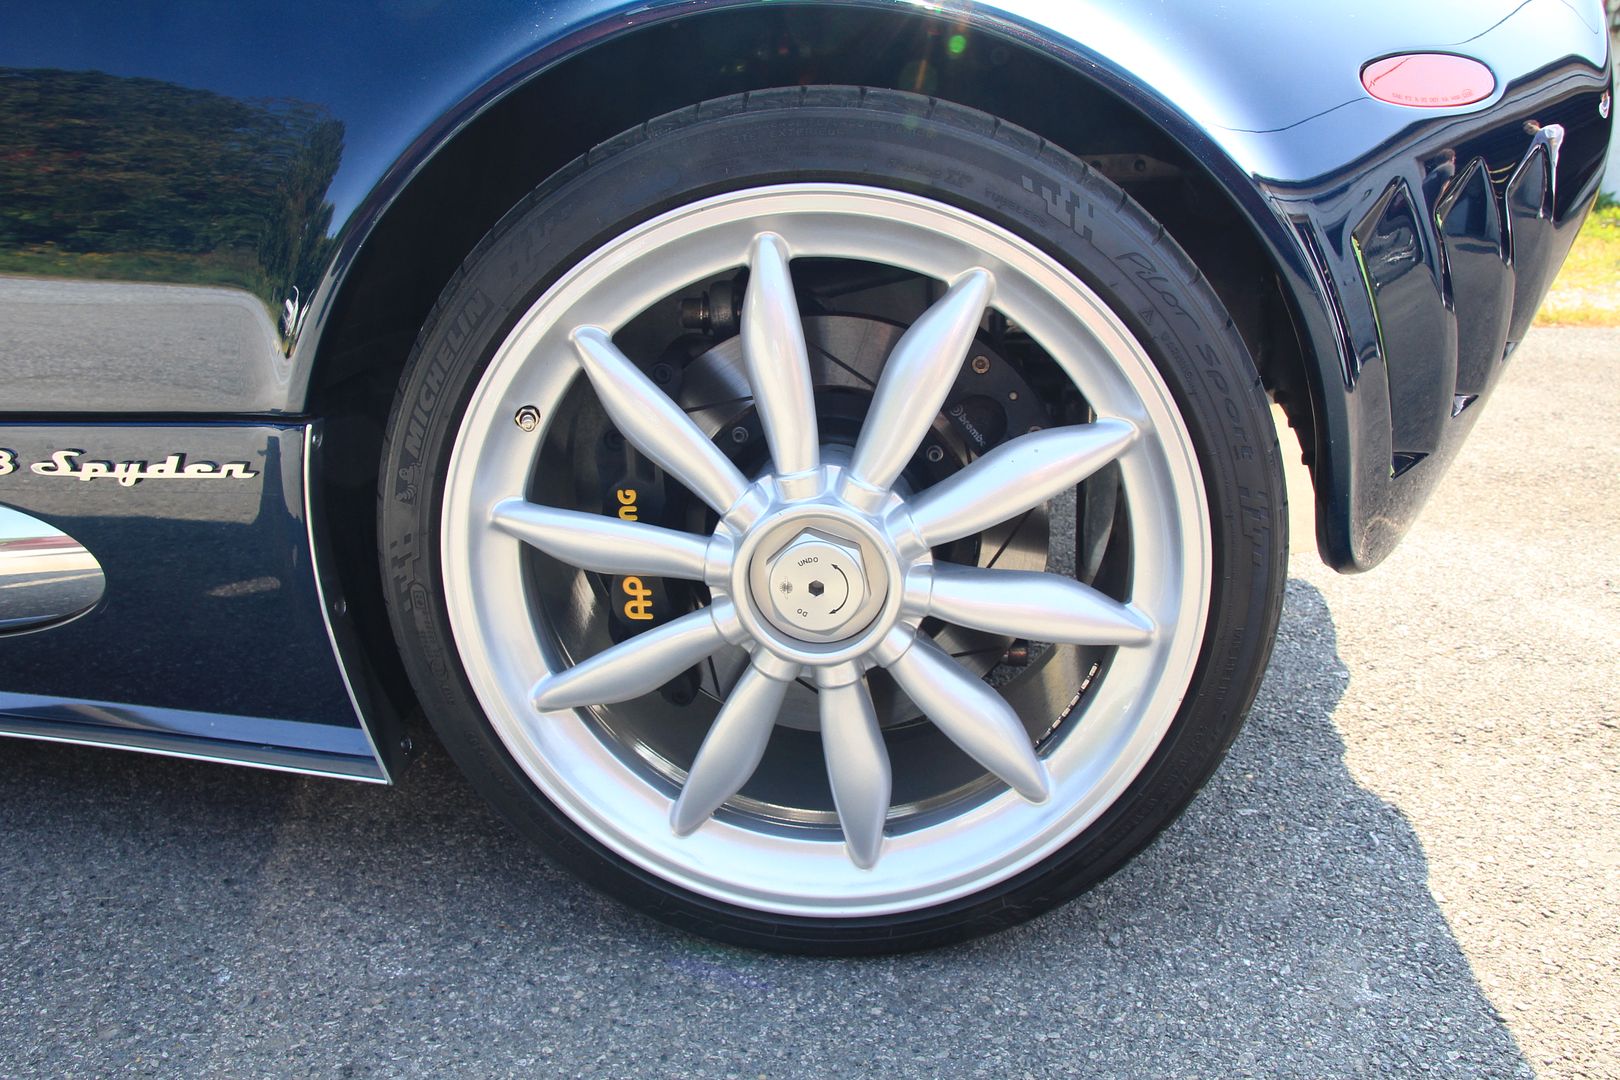
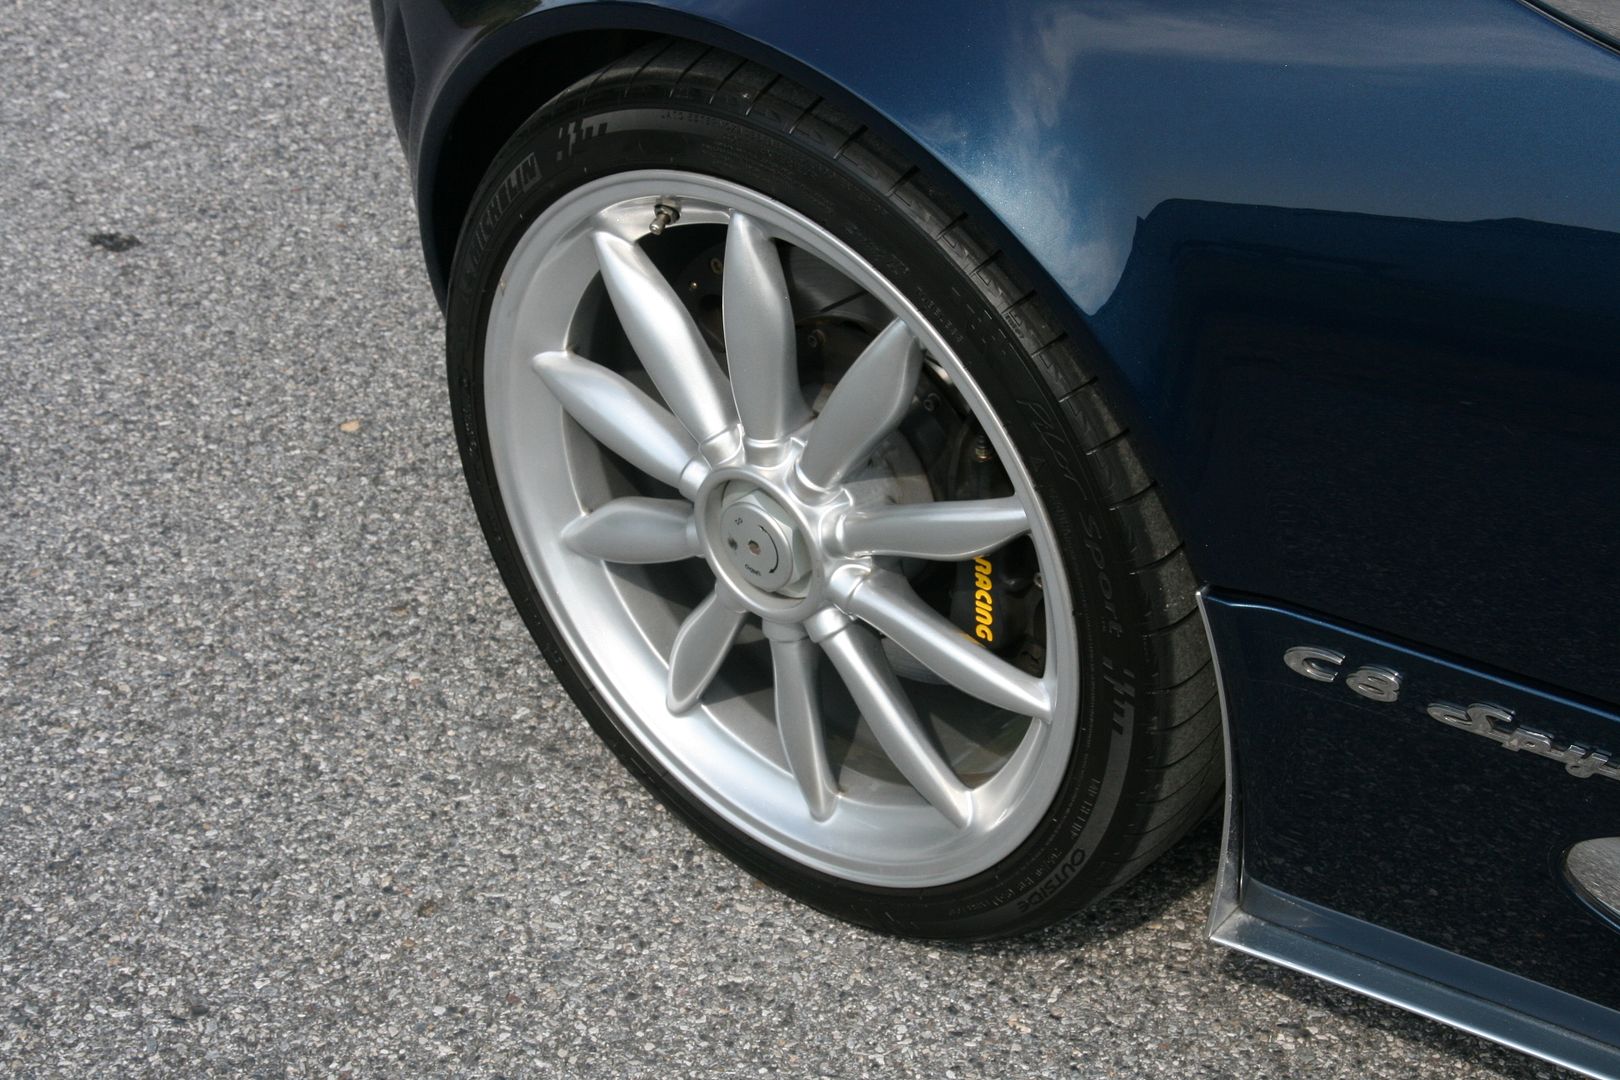
Wheels sealed and tires dressed

Onto the paint
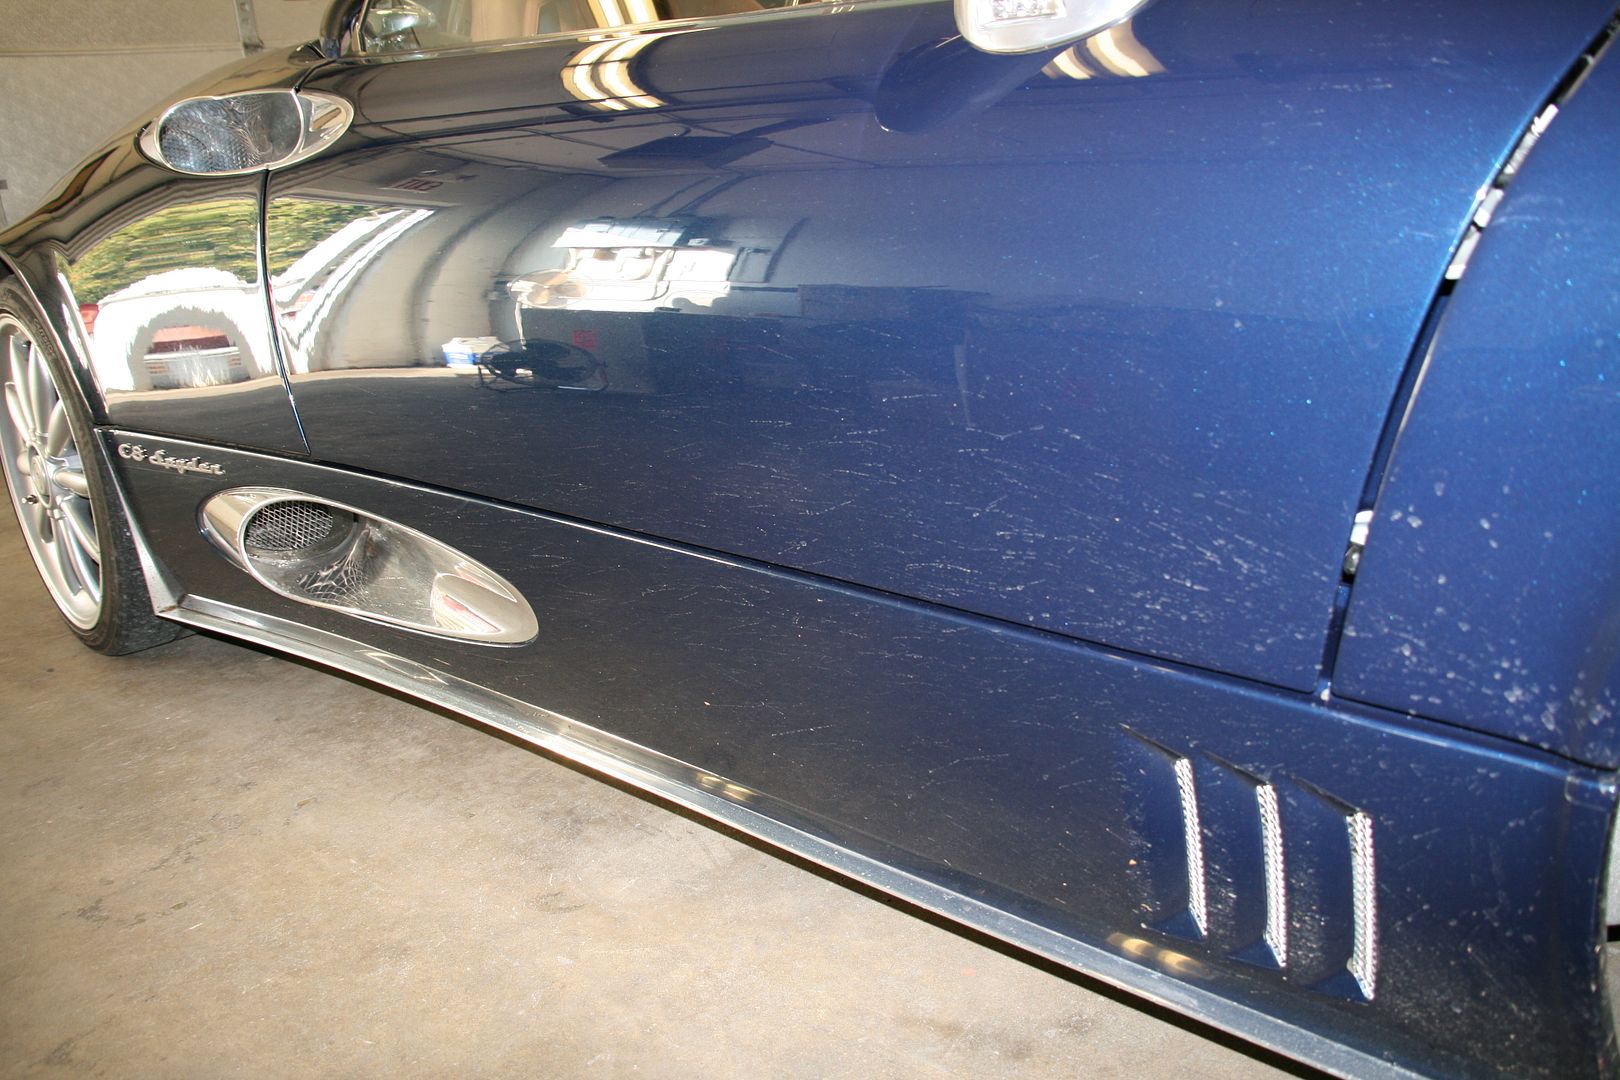
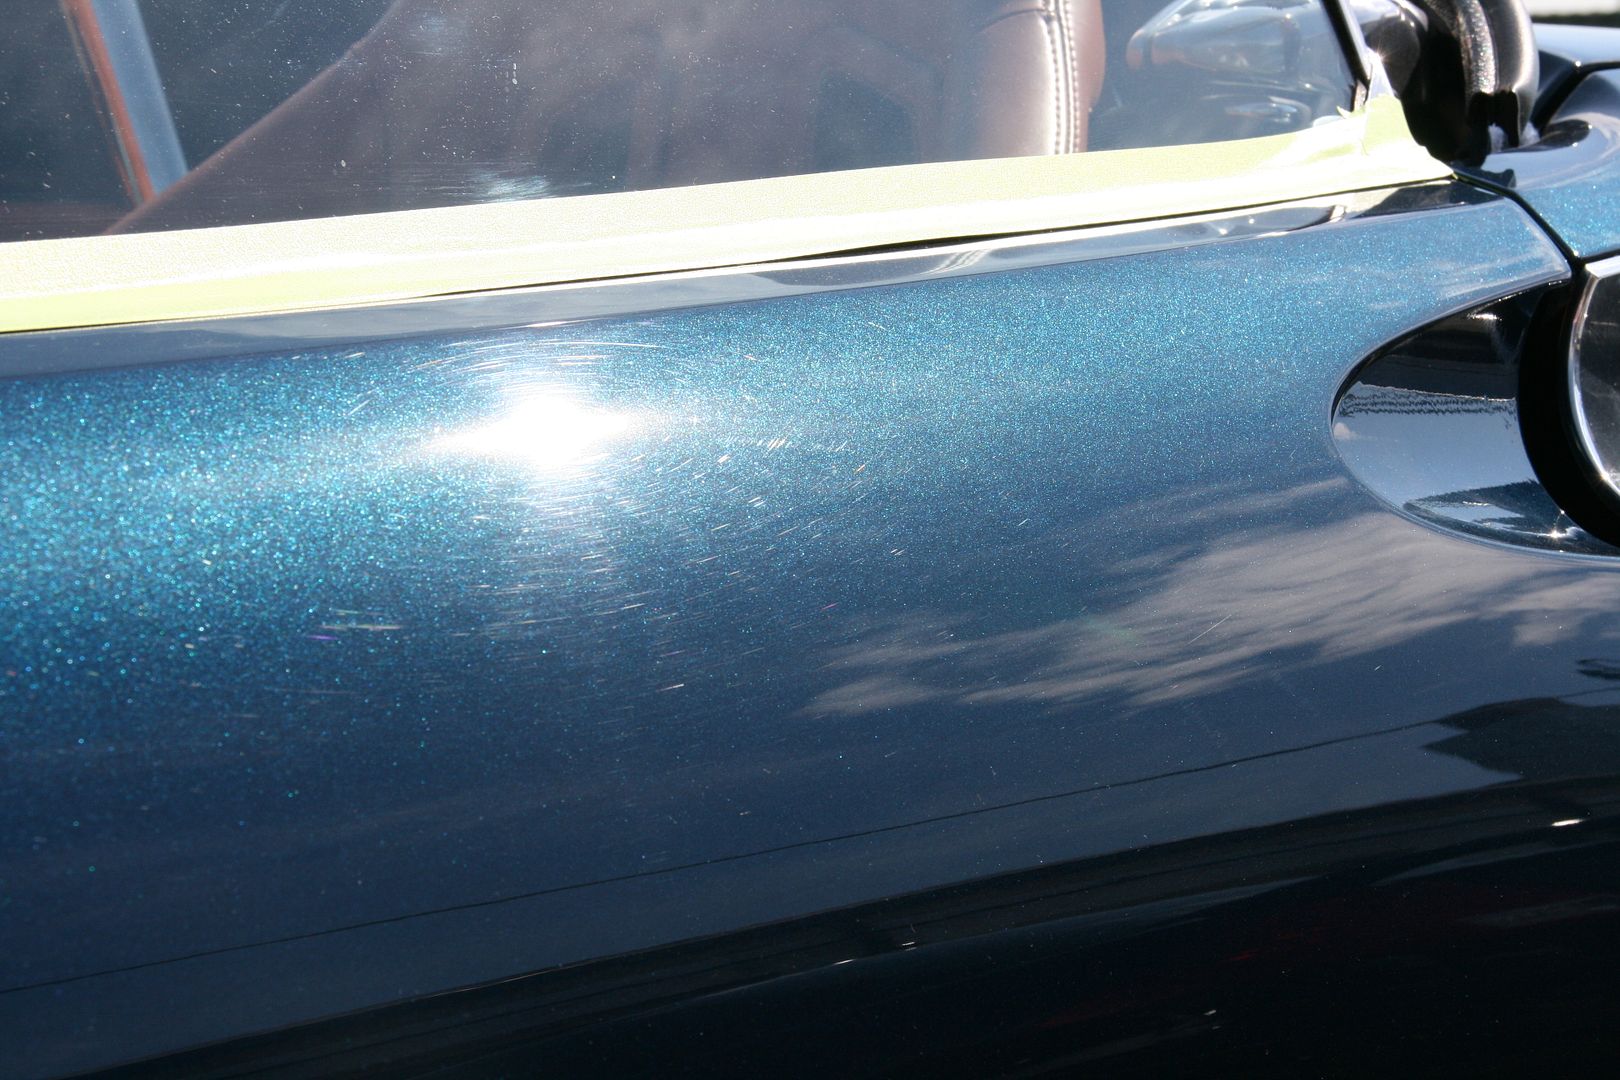
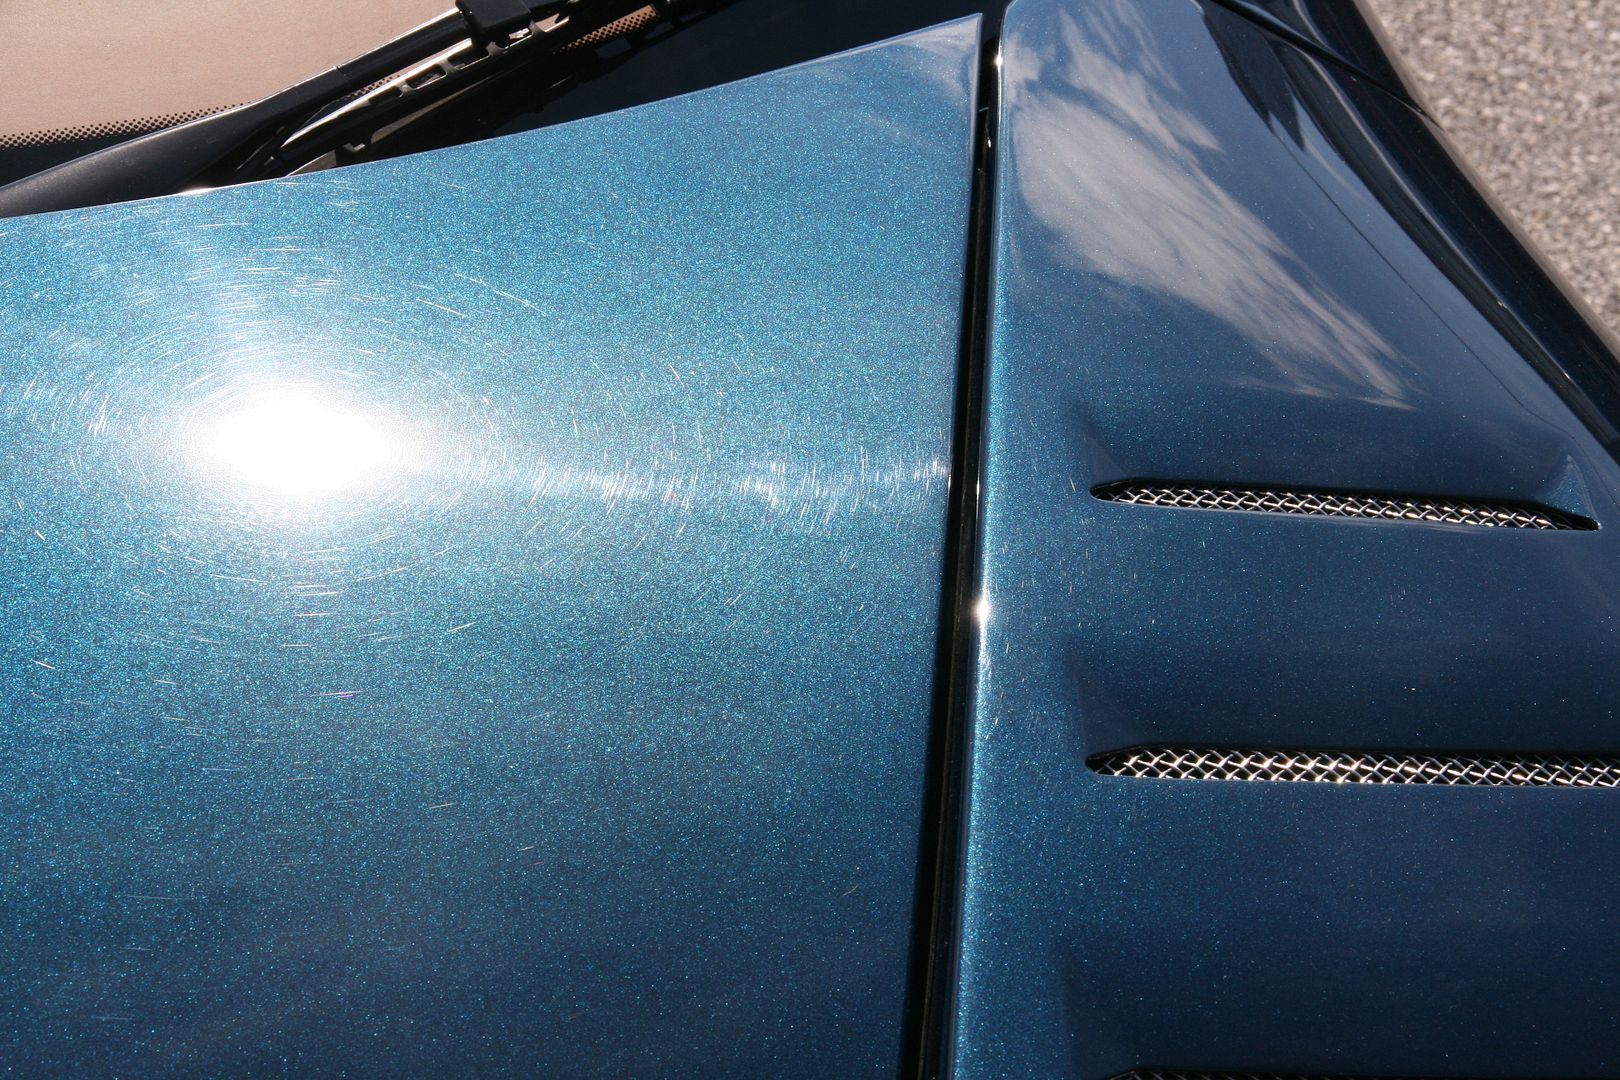
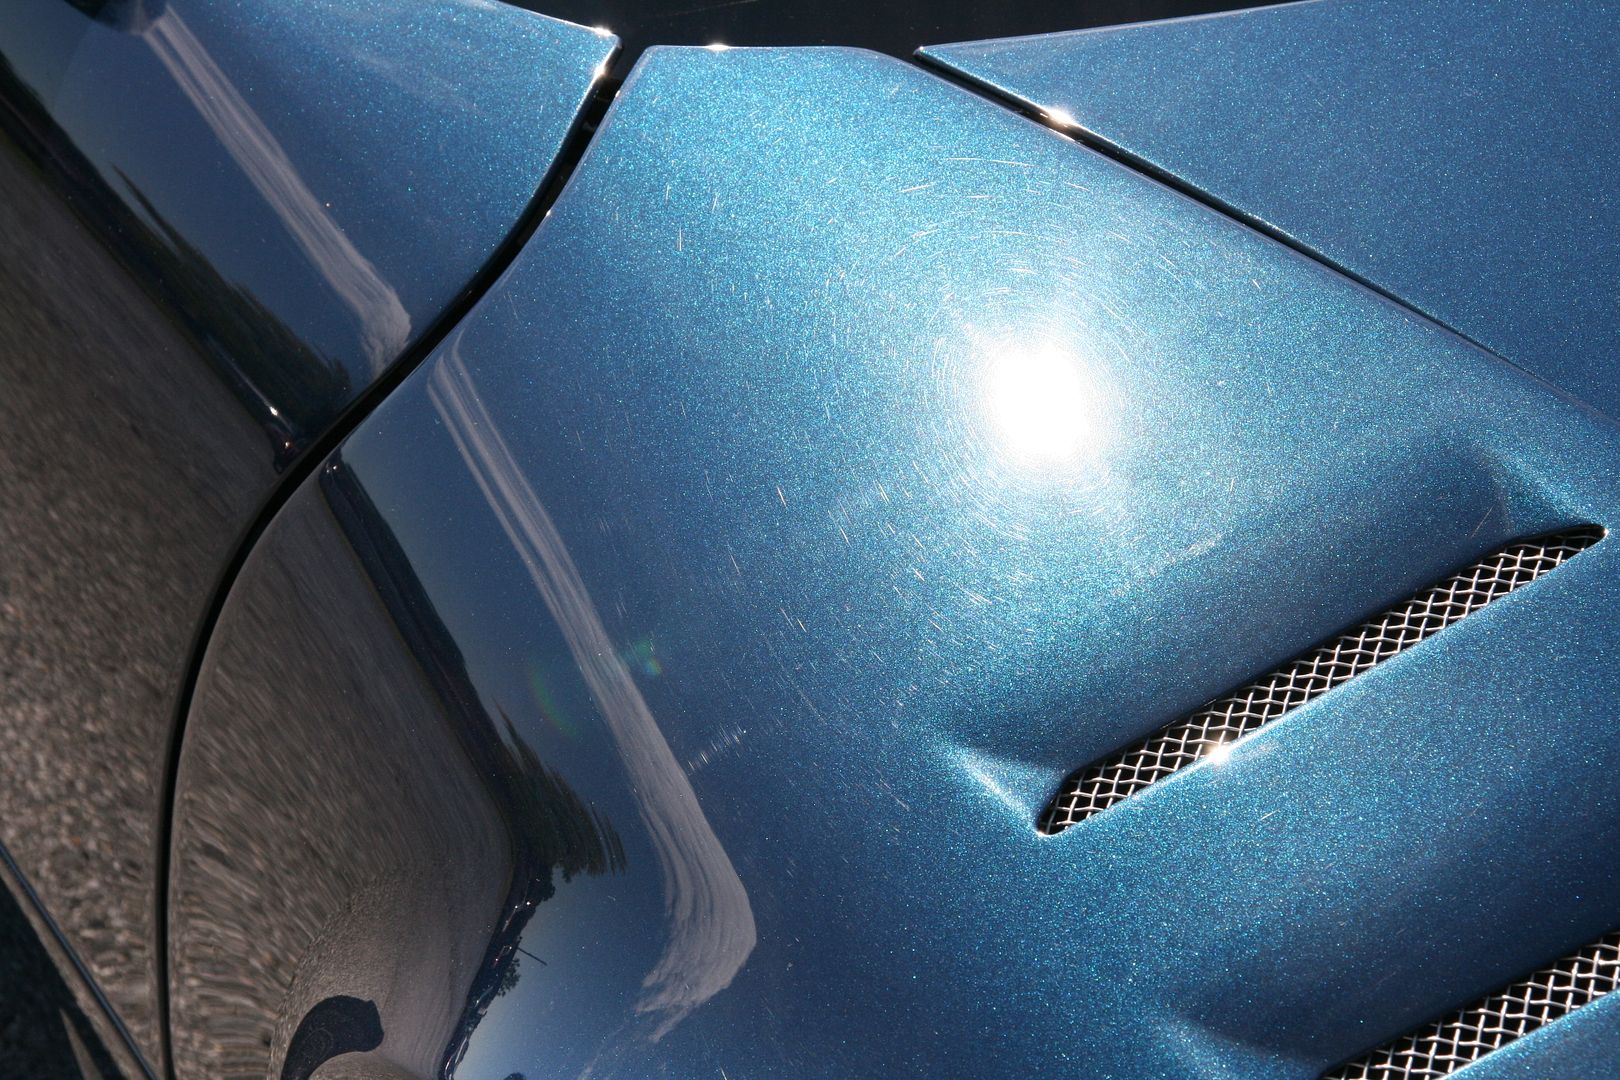
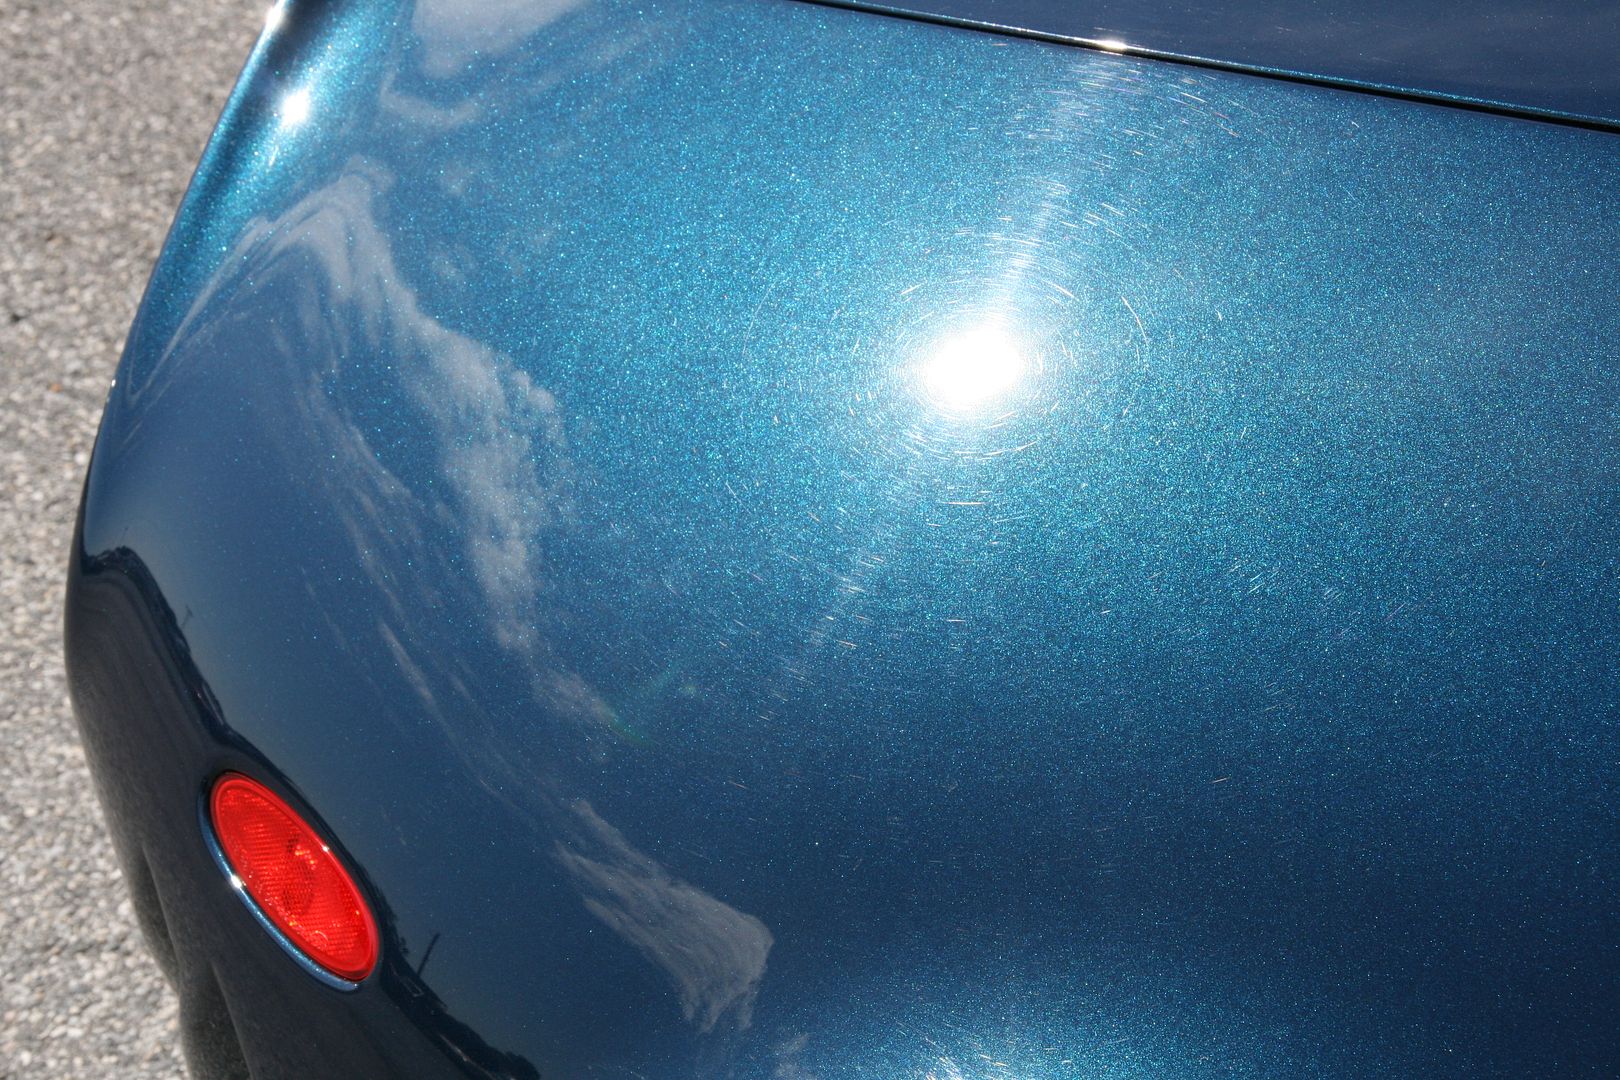
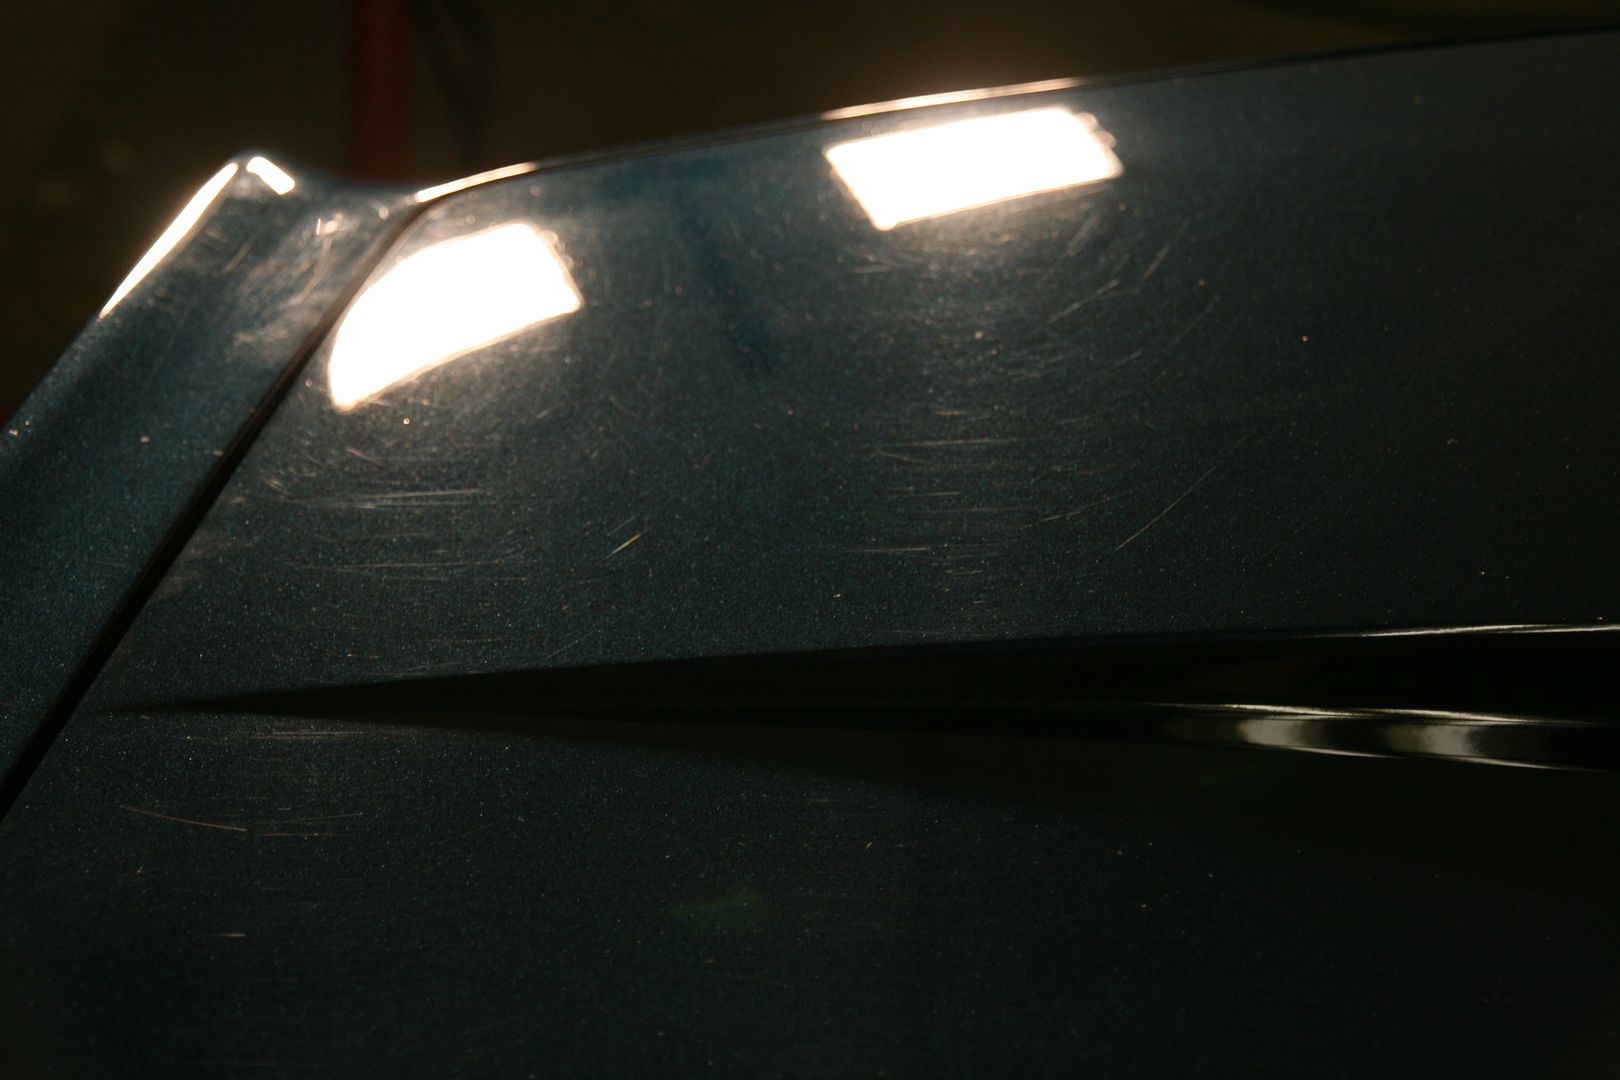
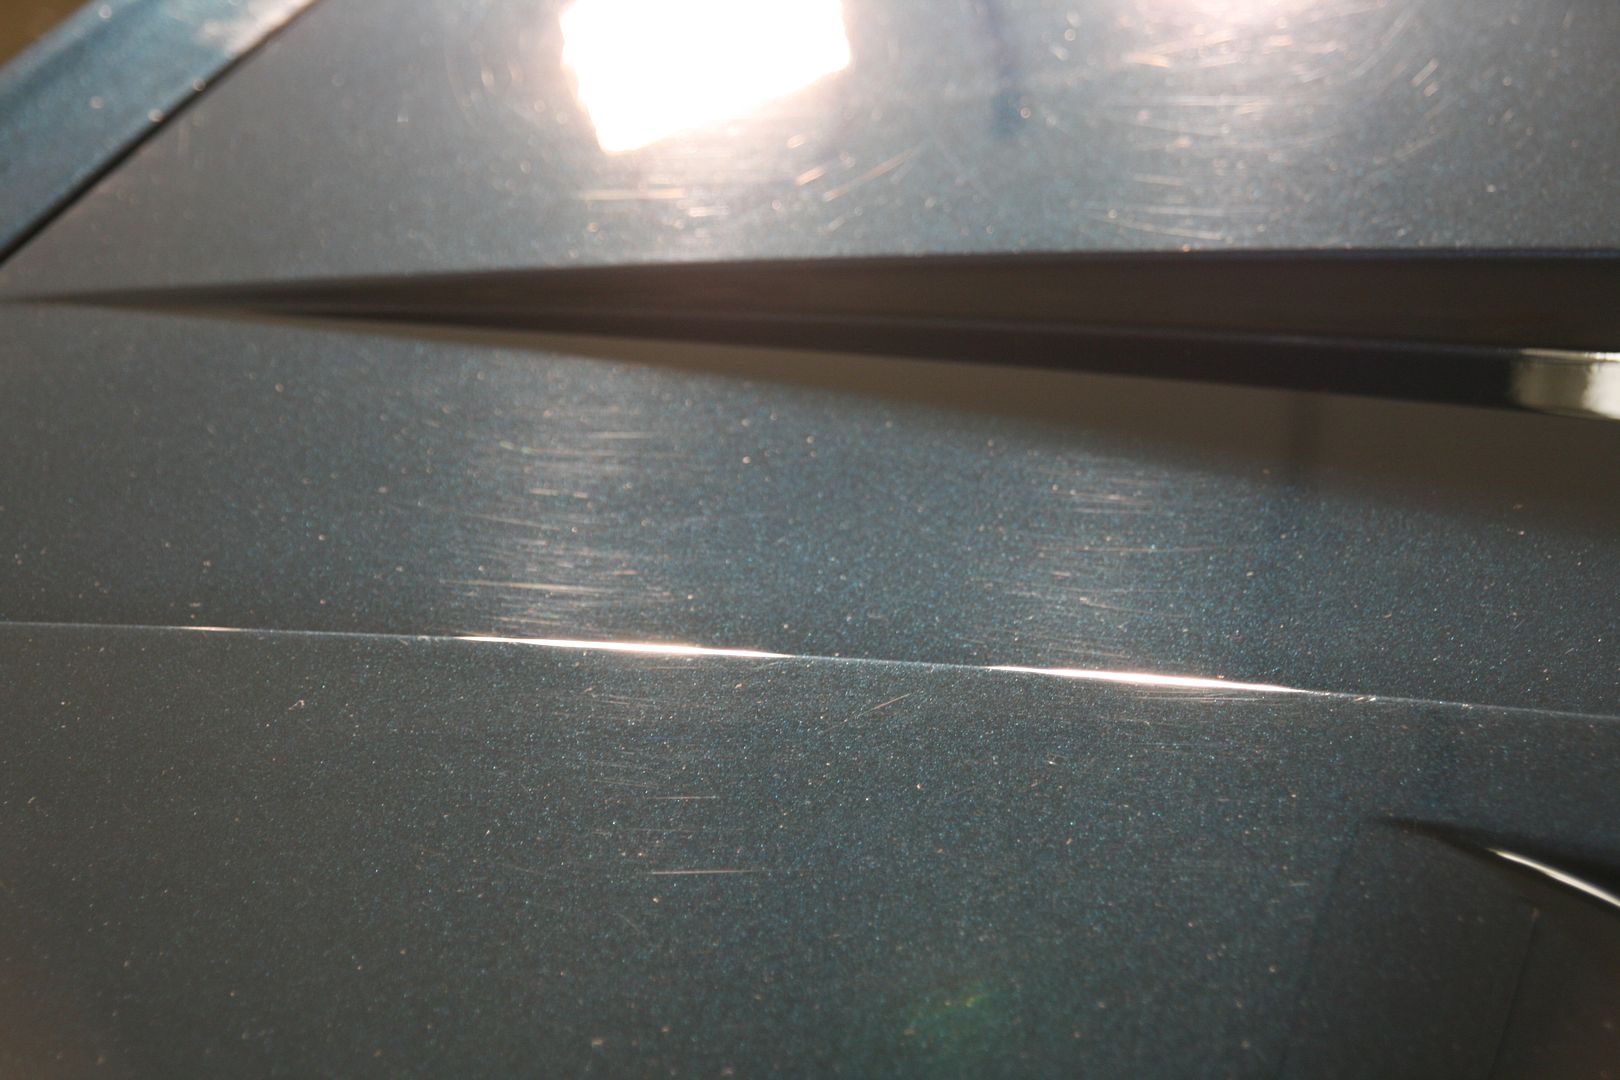
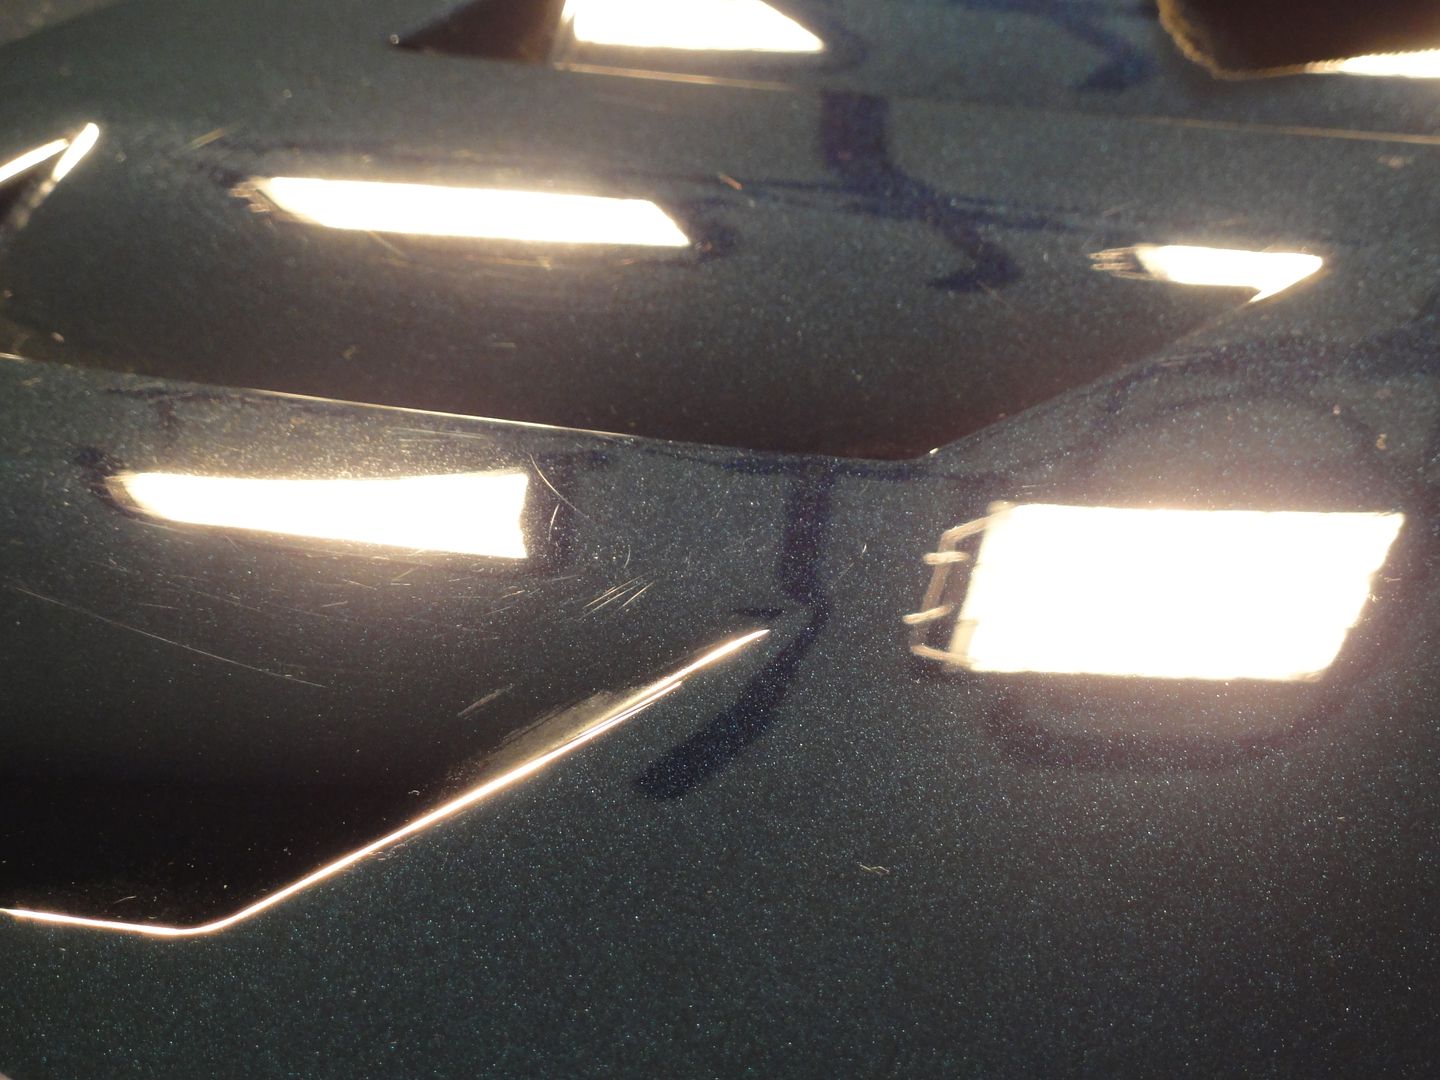
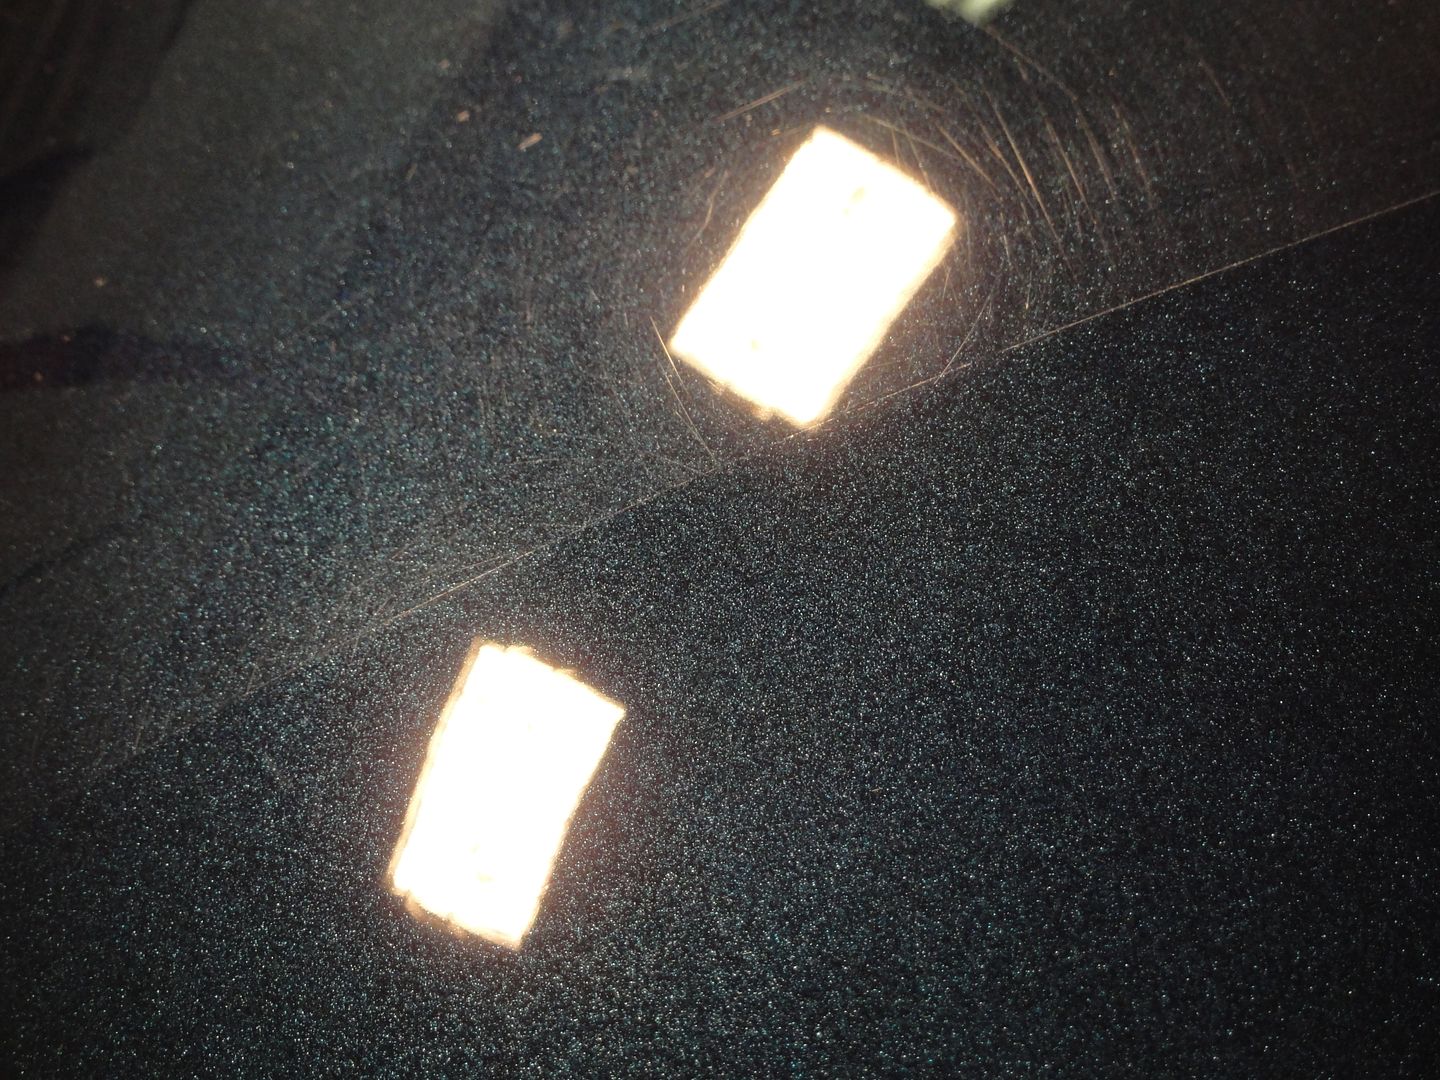
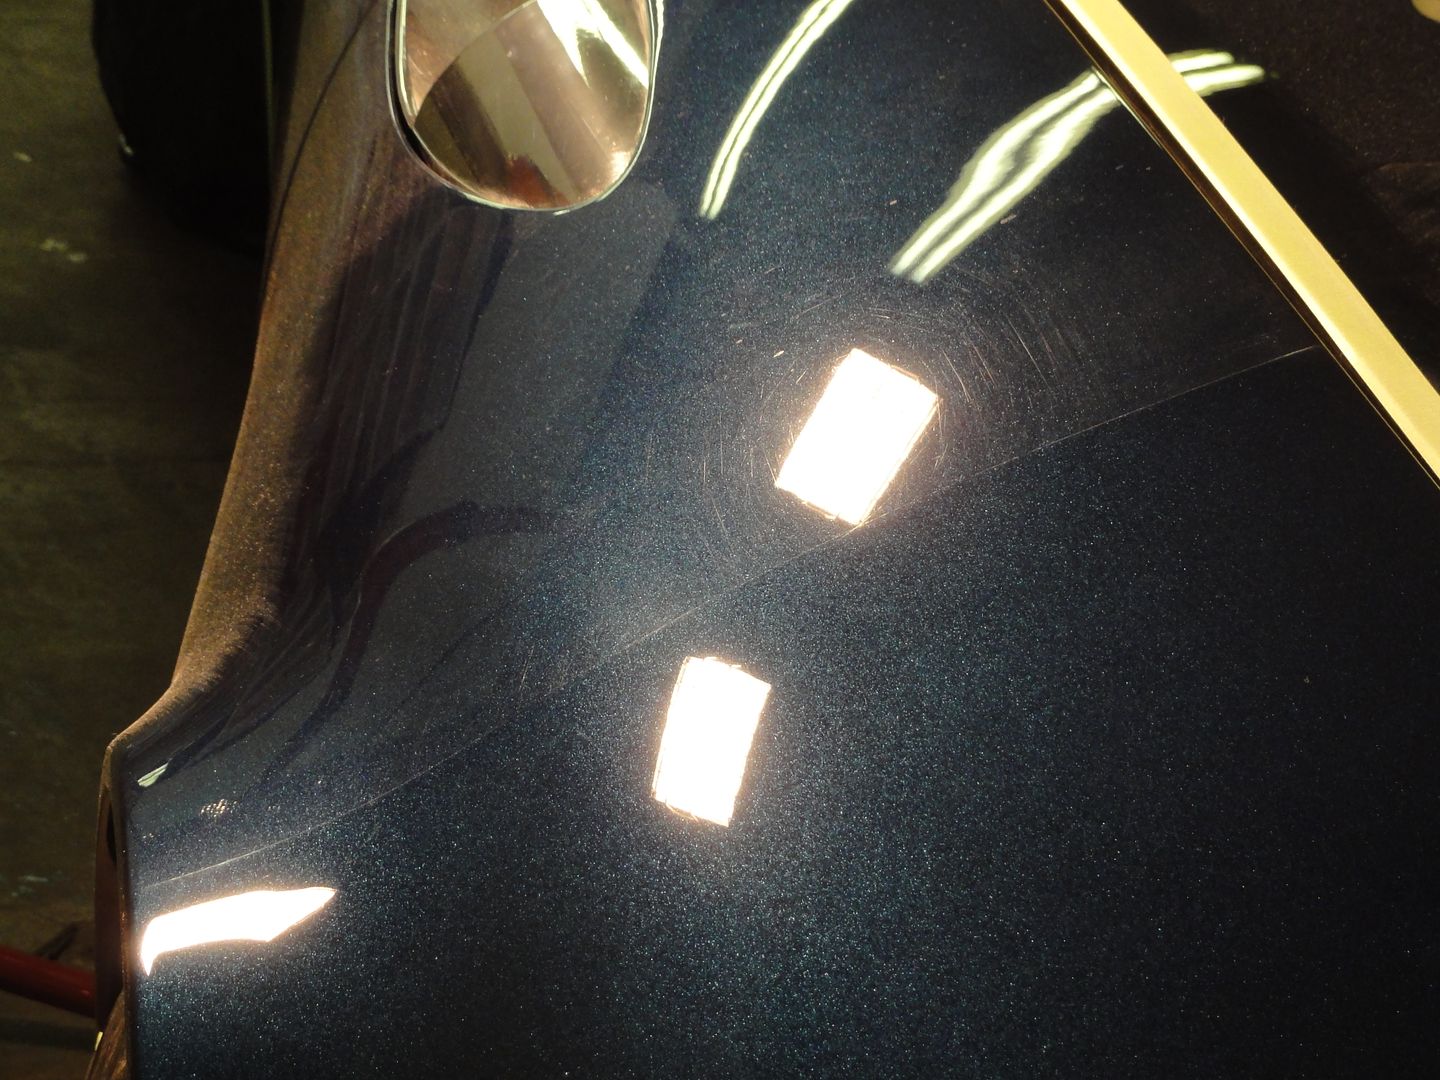
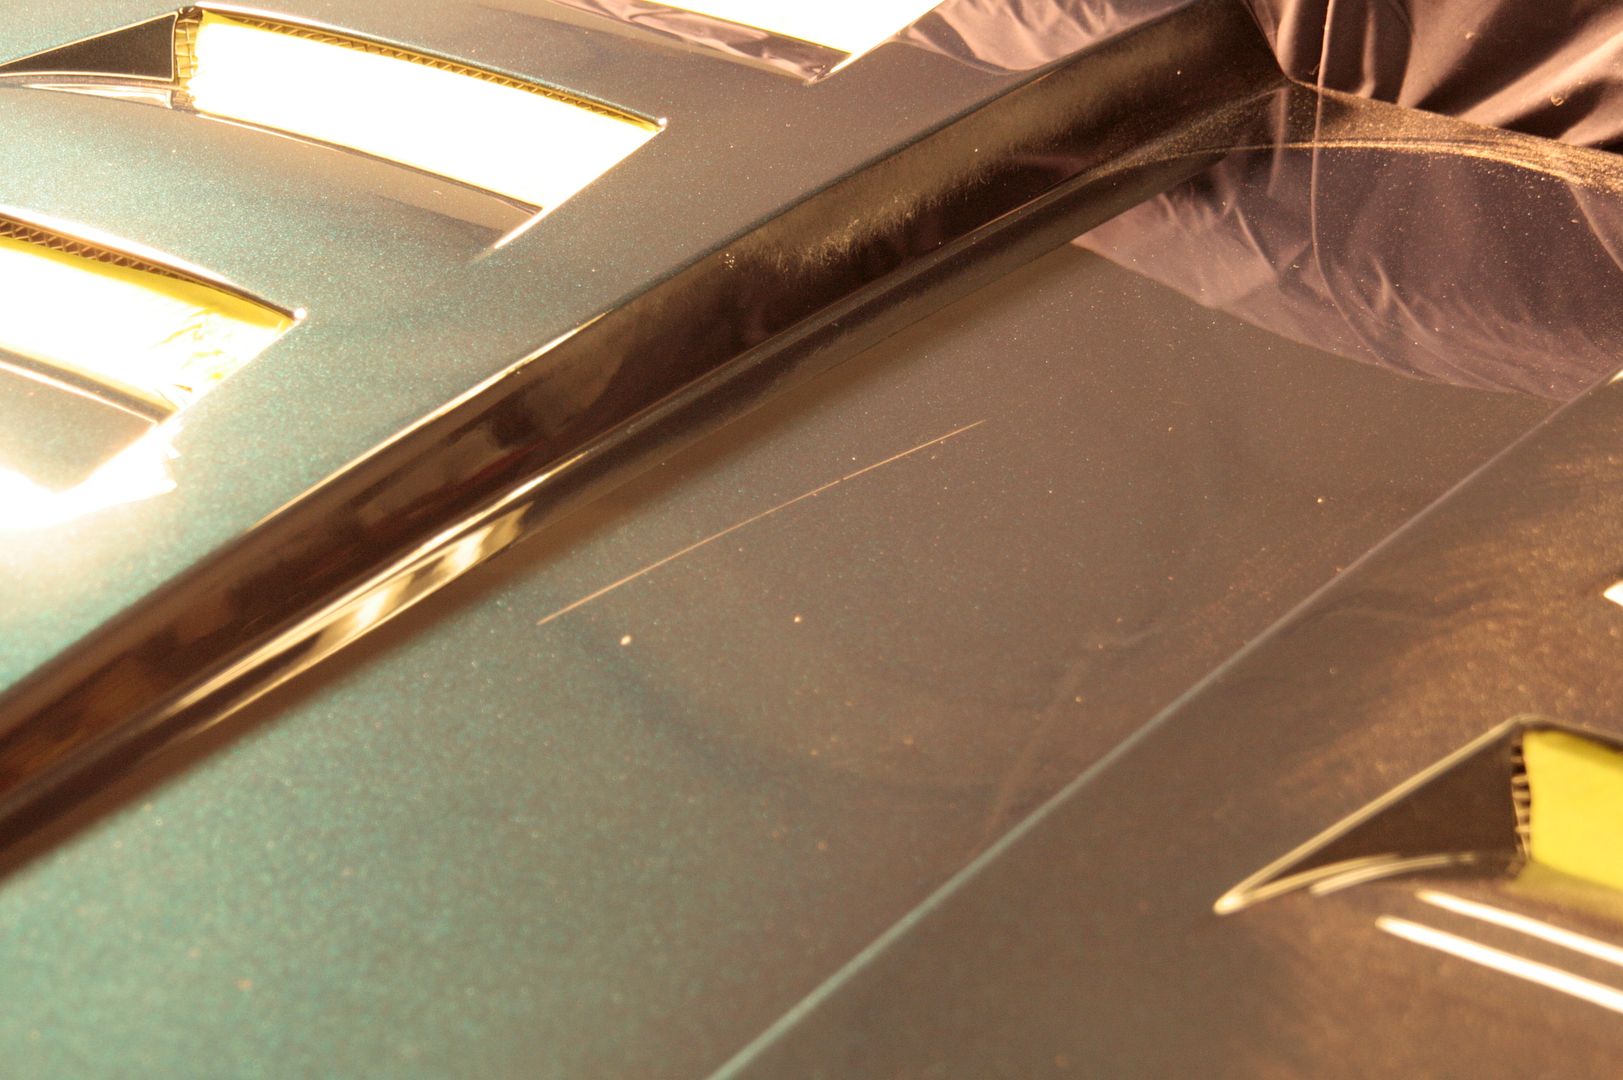
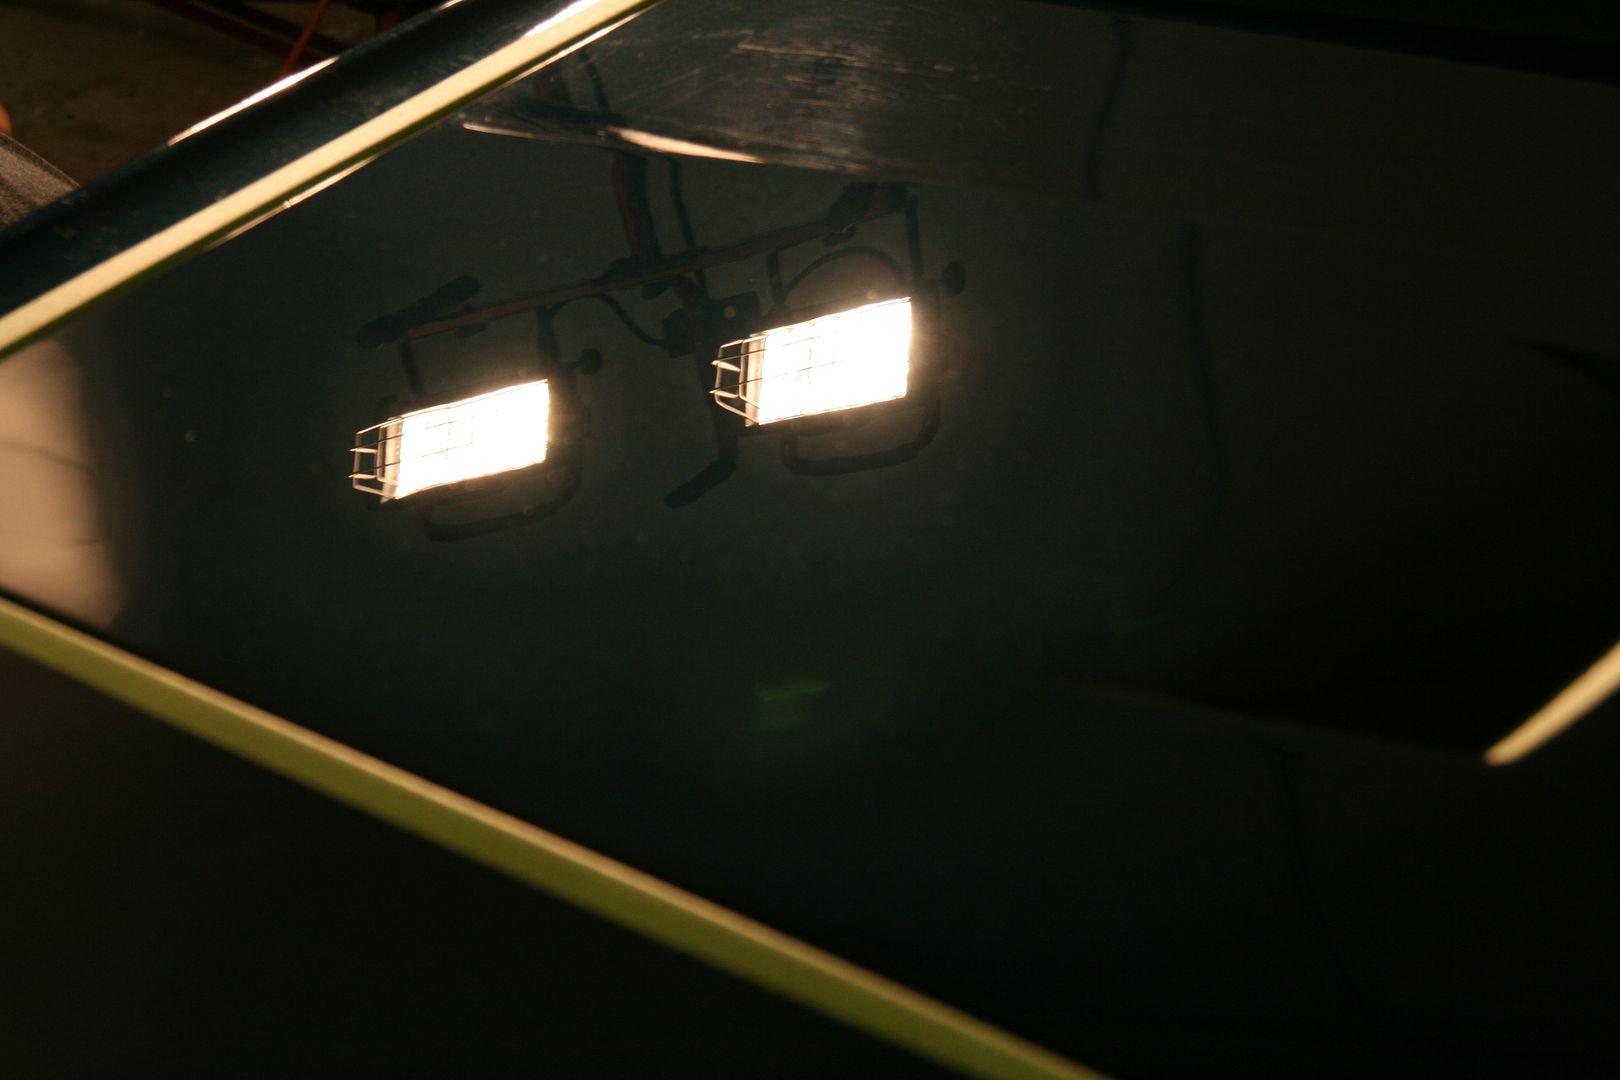
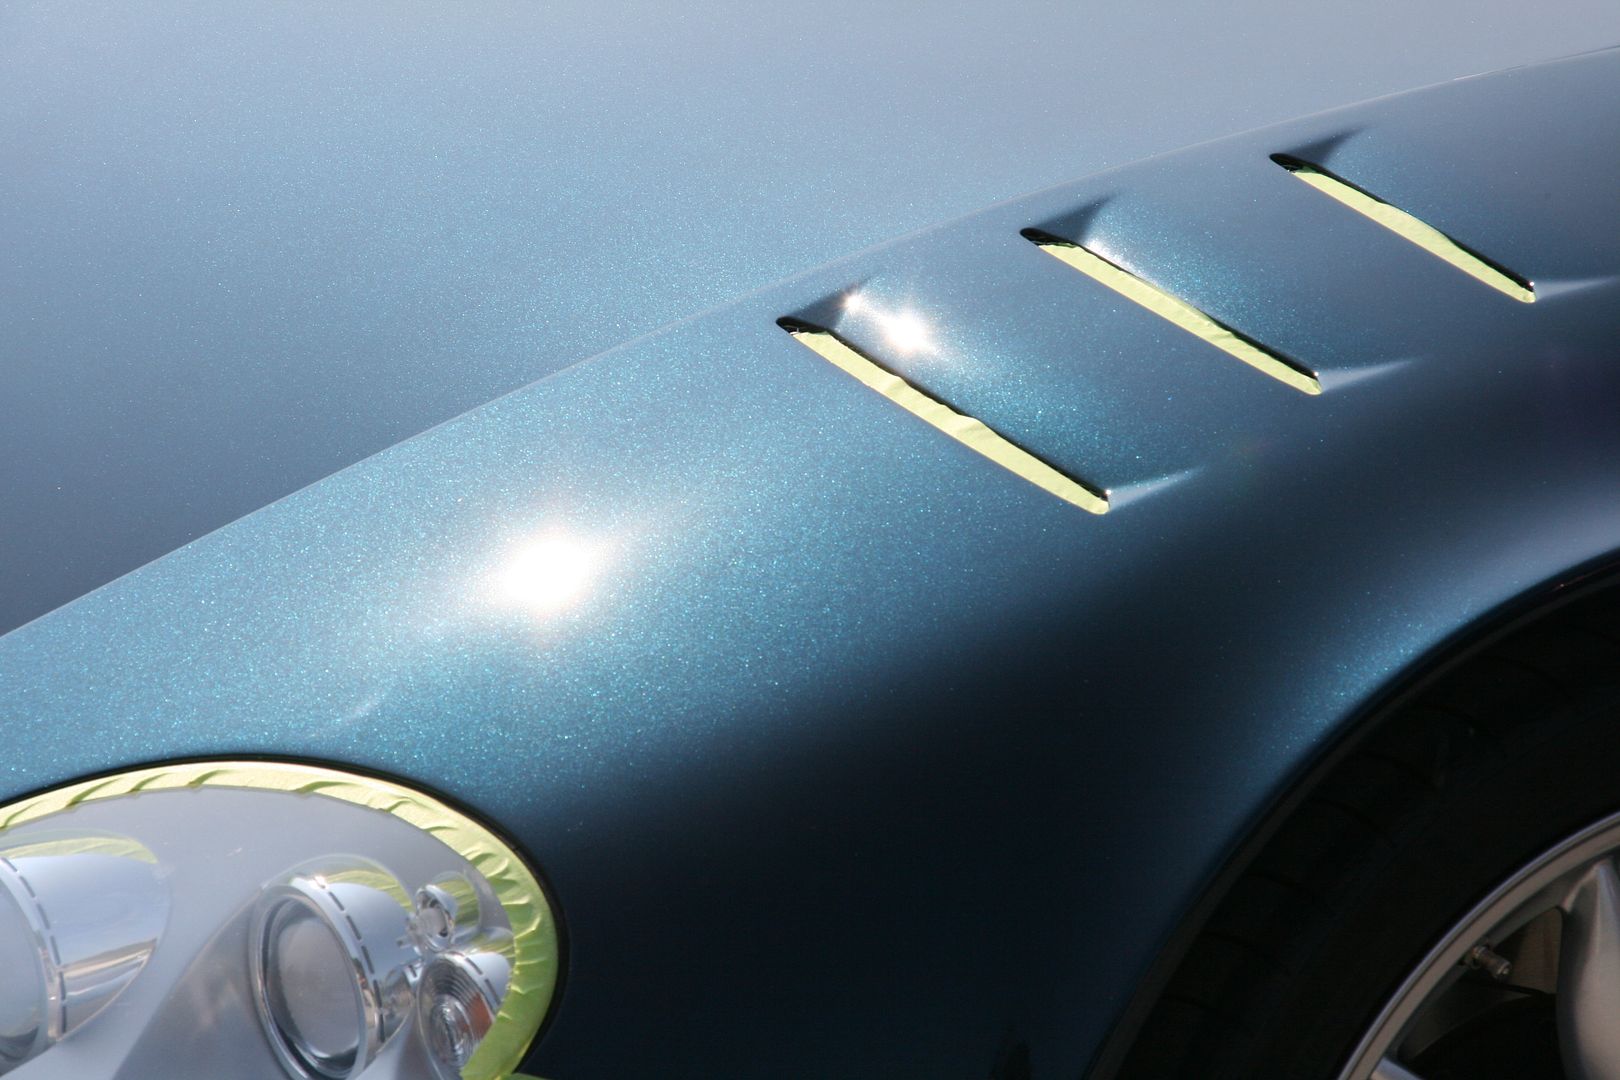
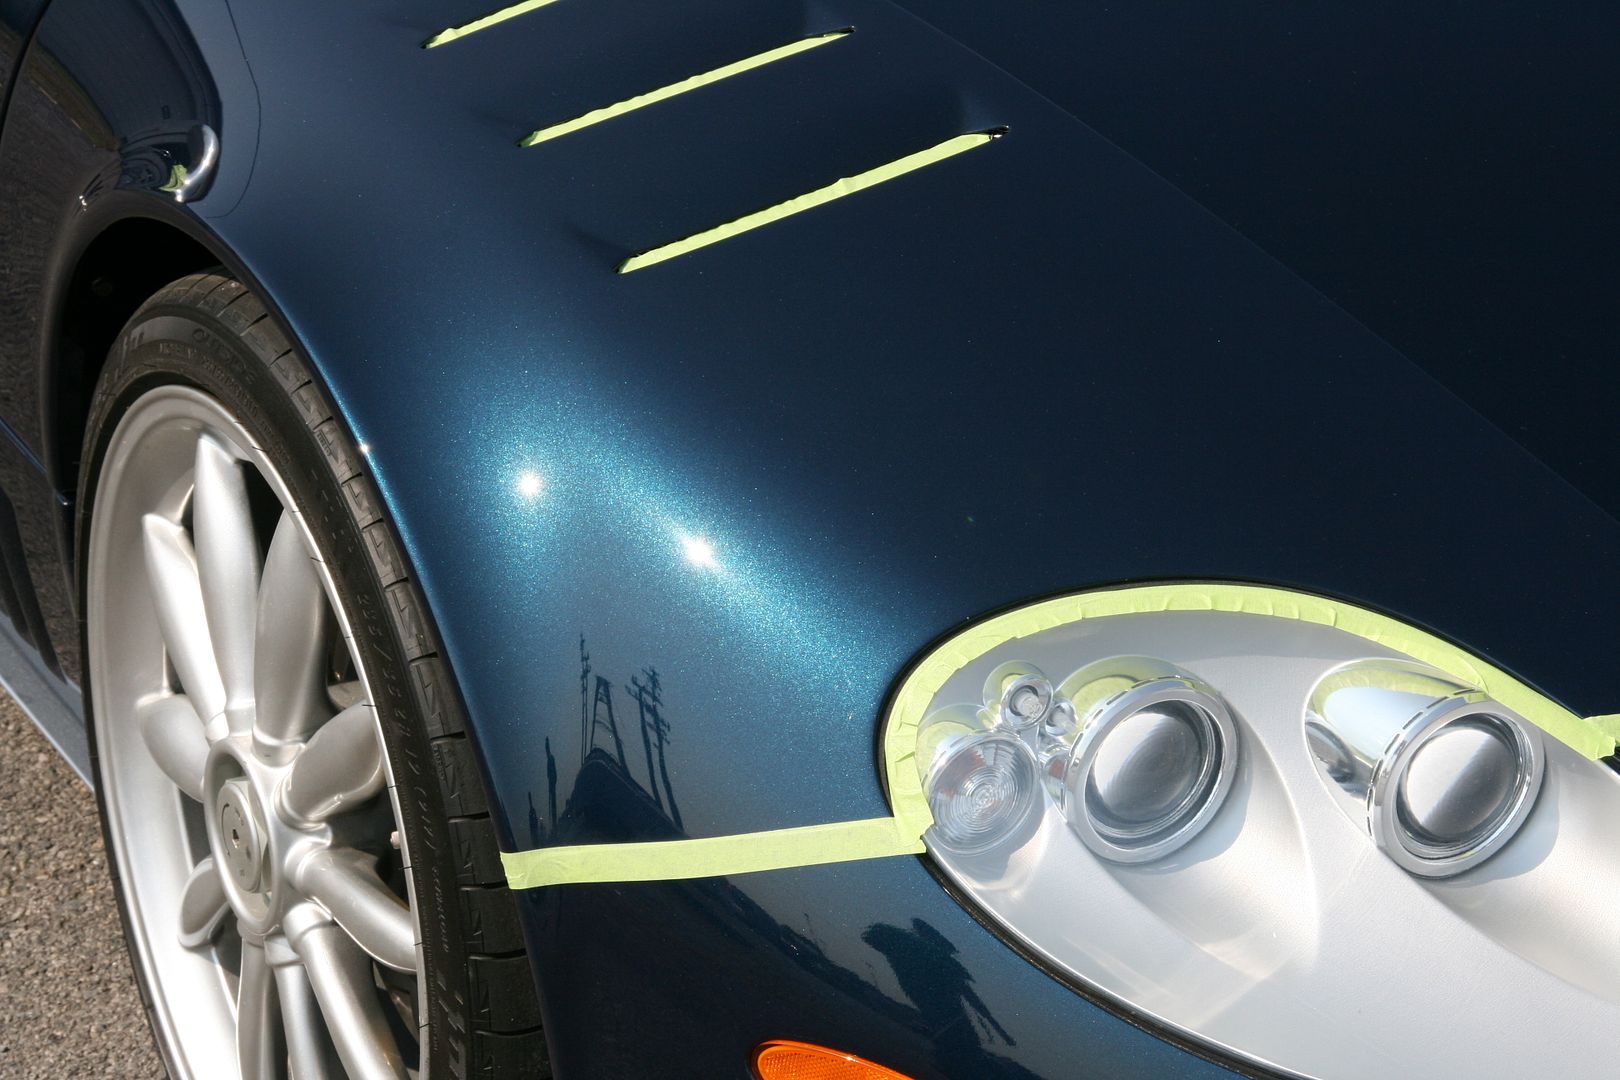
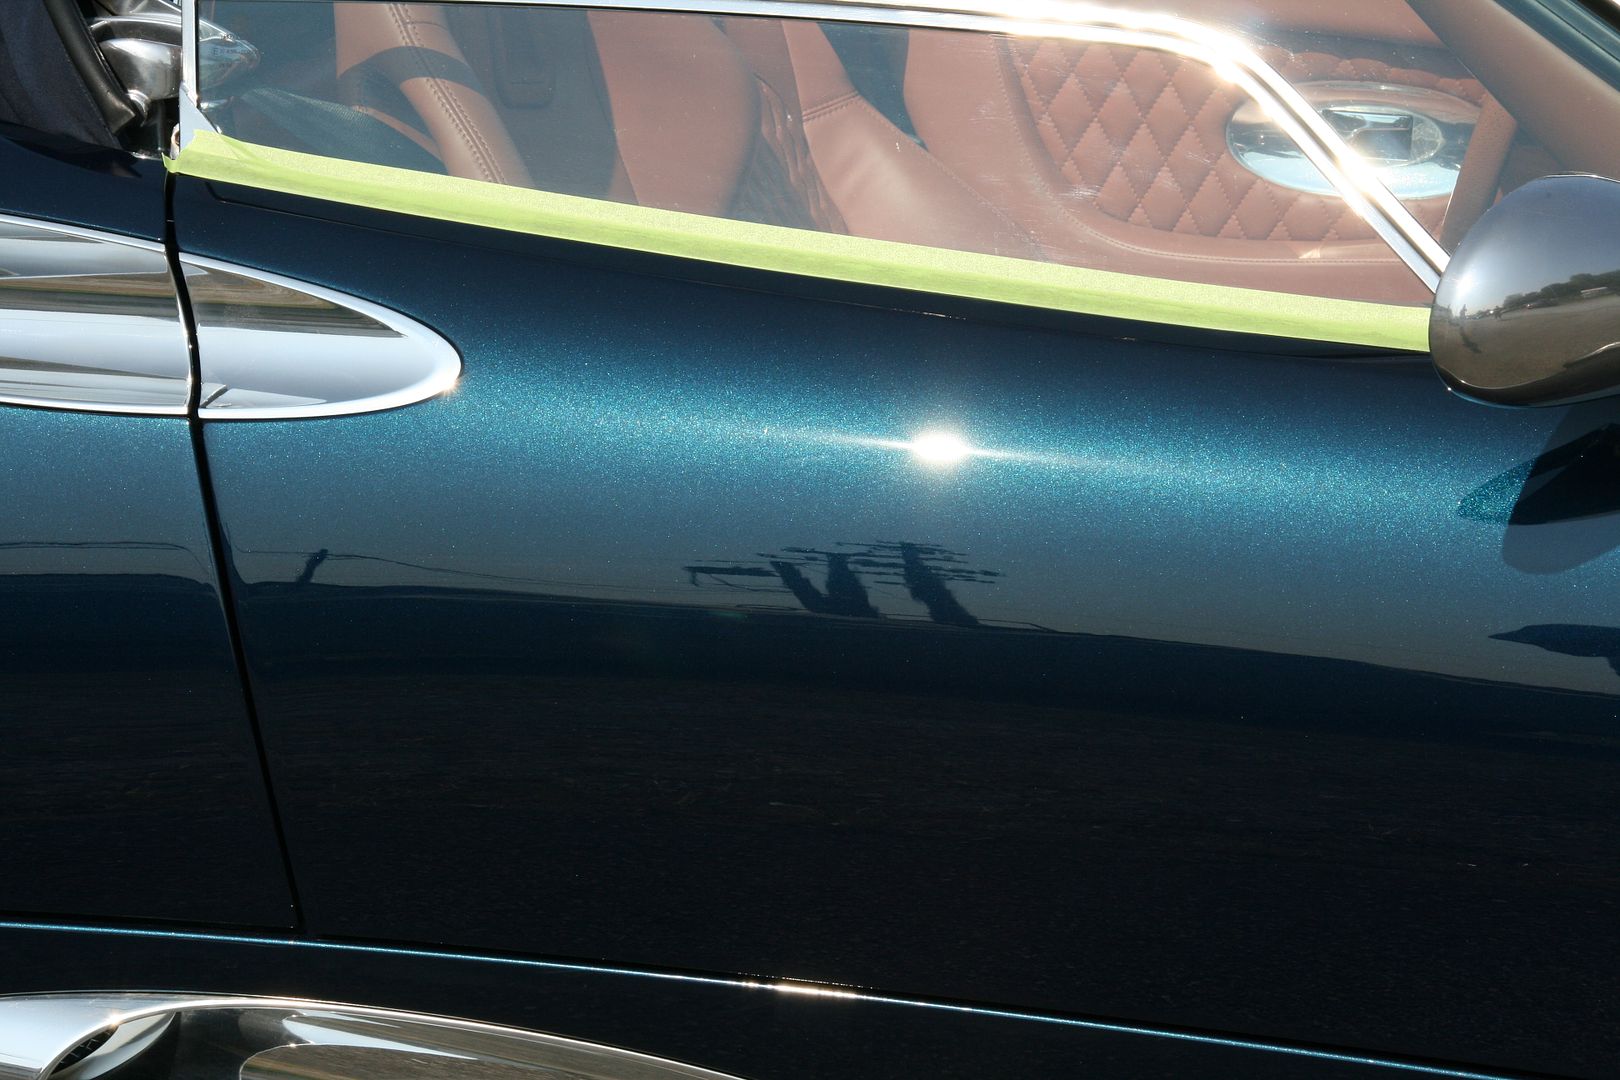
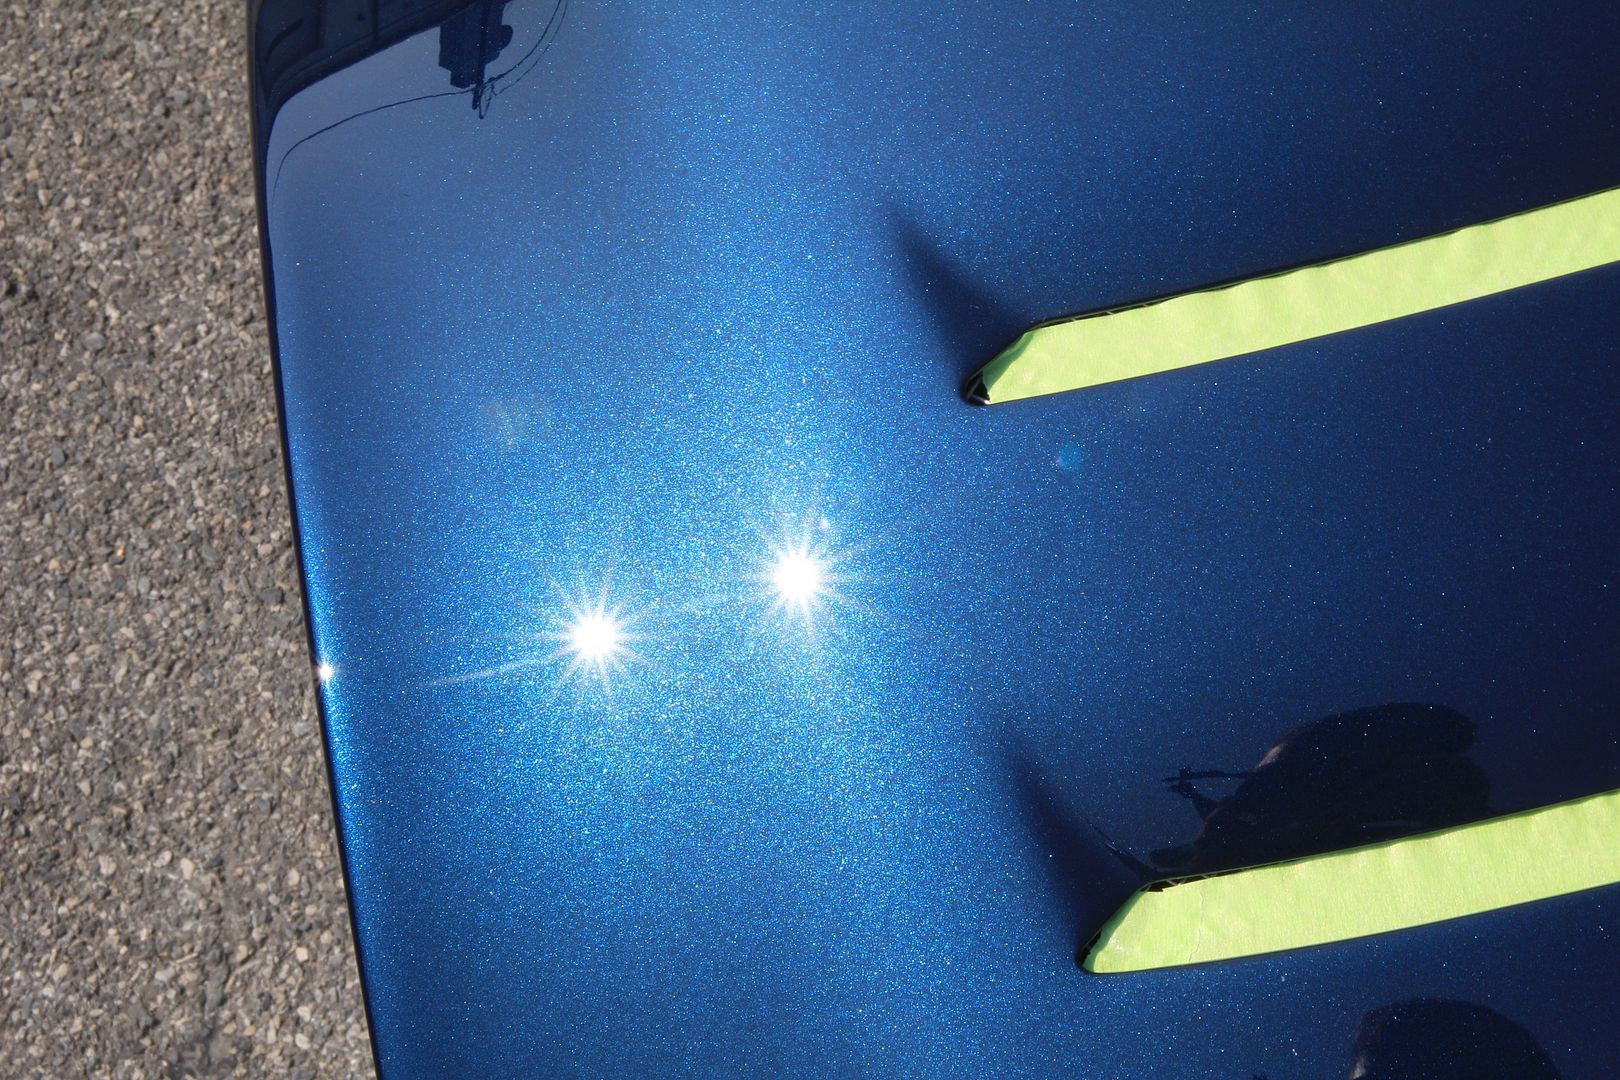
Car was taped off and top covered prior to all work being done (aluminum polishing and paint correction). Some parts of the car were wet sanded because of deep scratches, then polished with Purple wool pad on rotary, then followed with Menzerna 203 + orange pad on PC, and finished with Menzerna 85RD with black pad
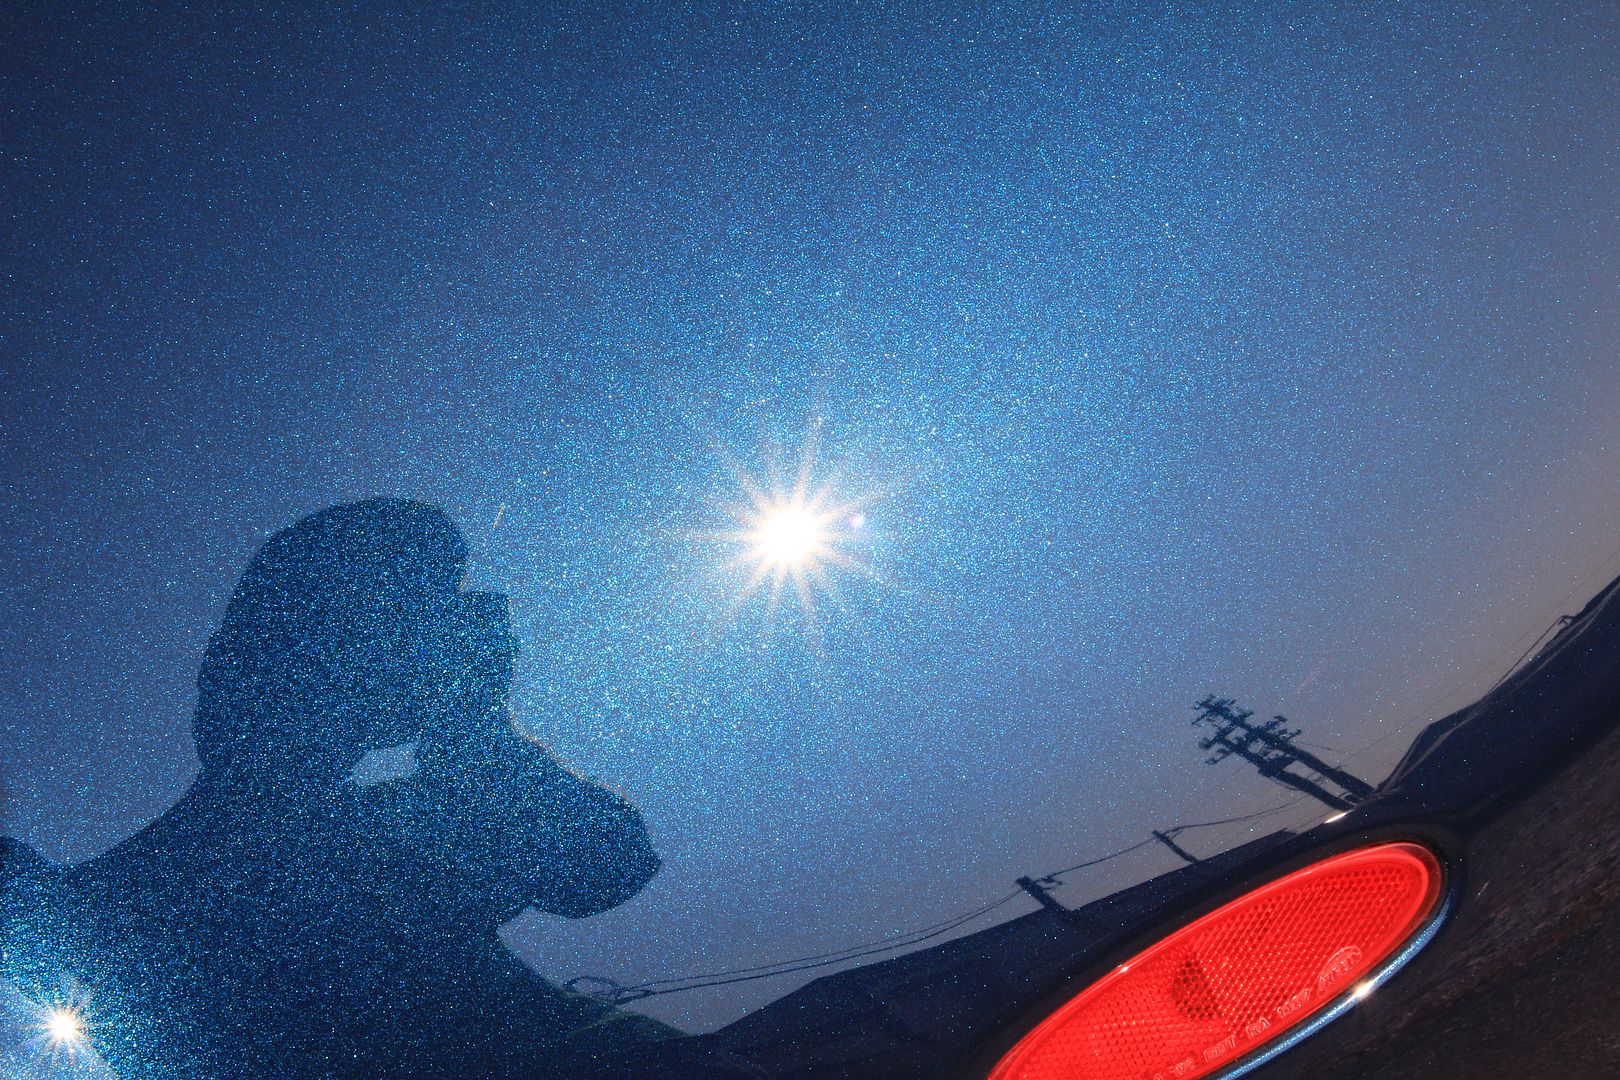
Before pictures under sun
45

50
50/50
55

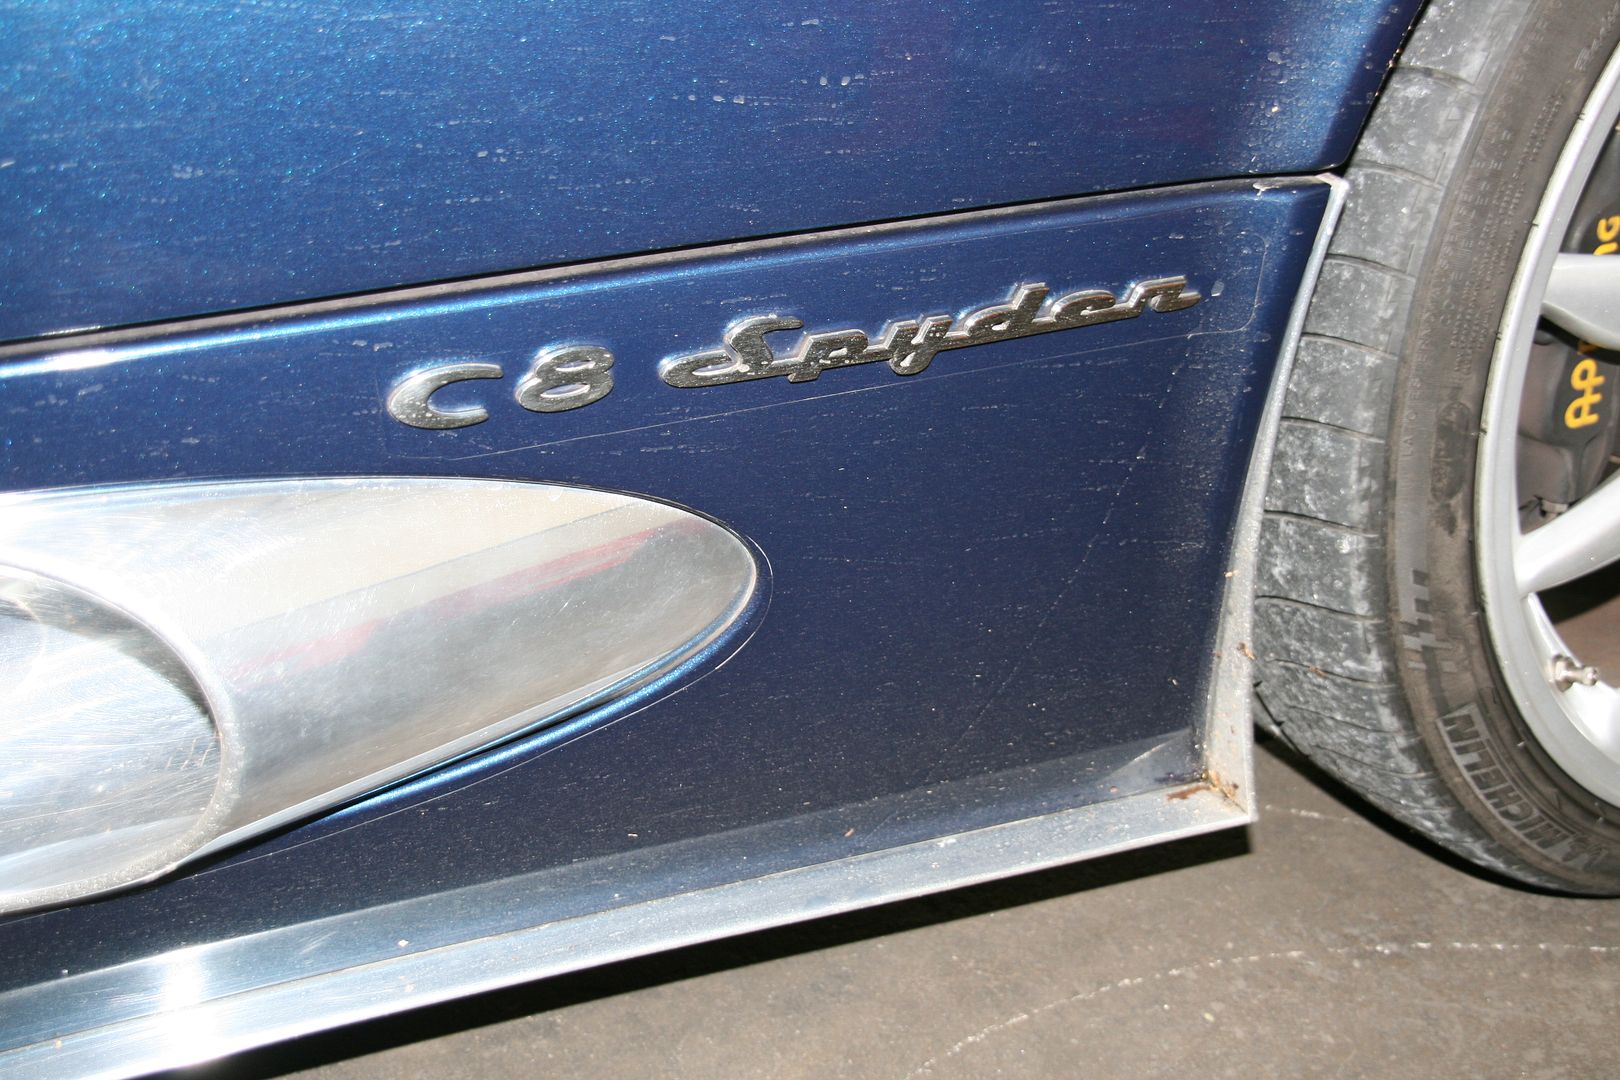
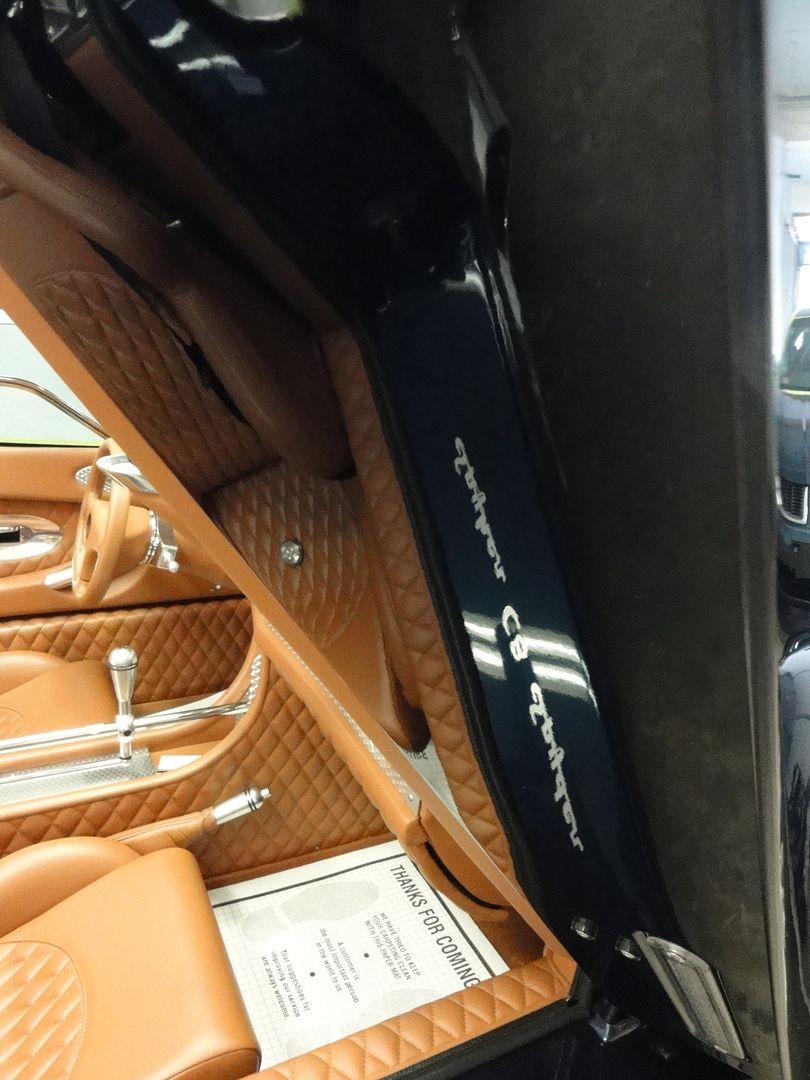
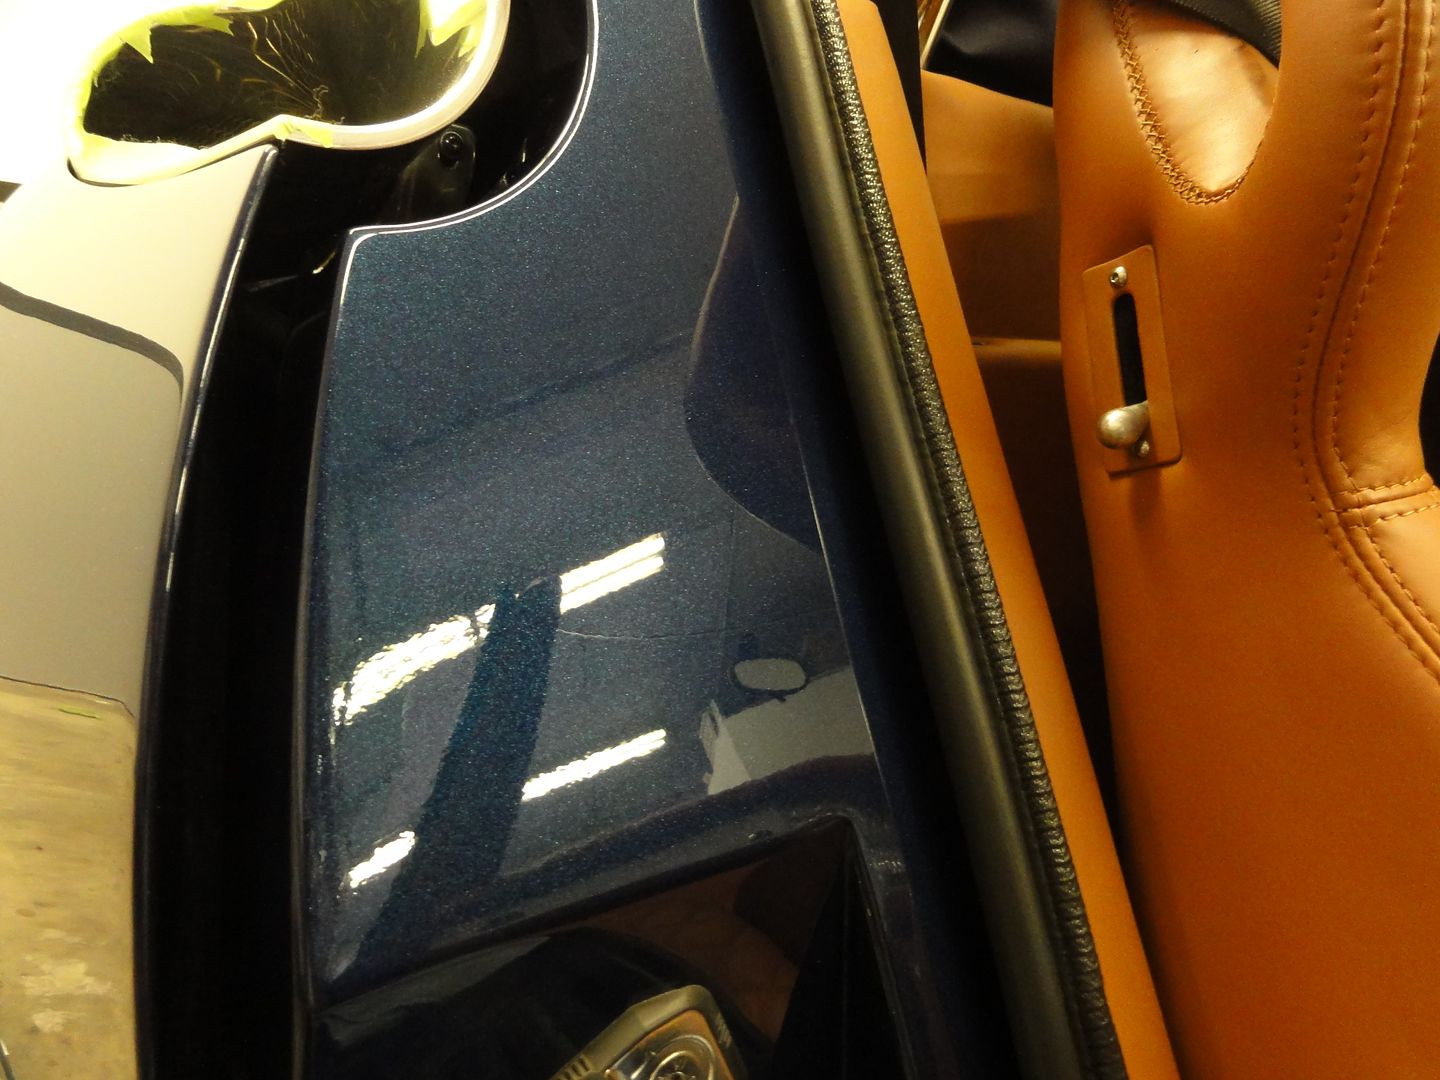
bottom of doors were polished as well

60


65
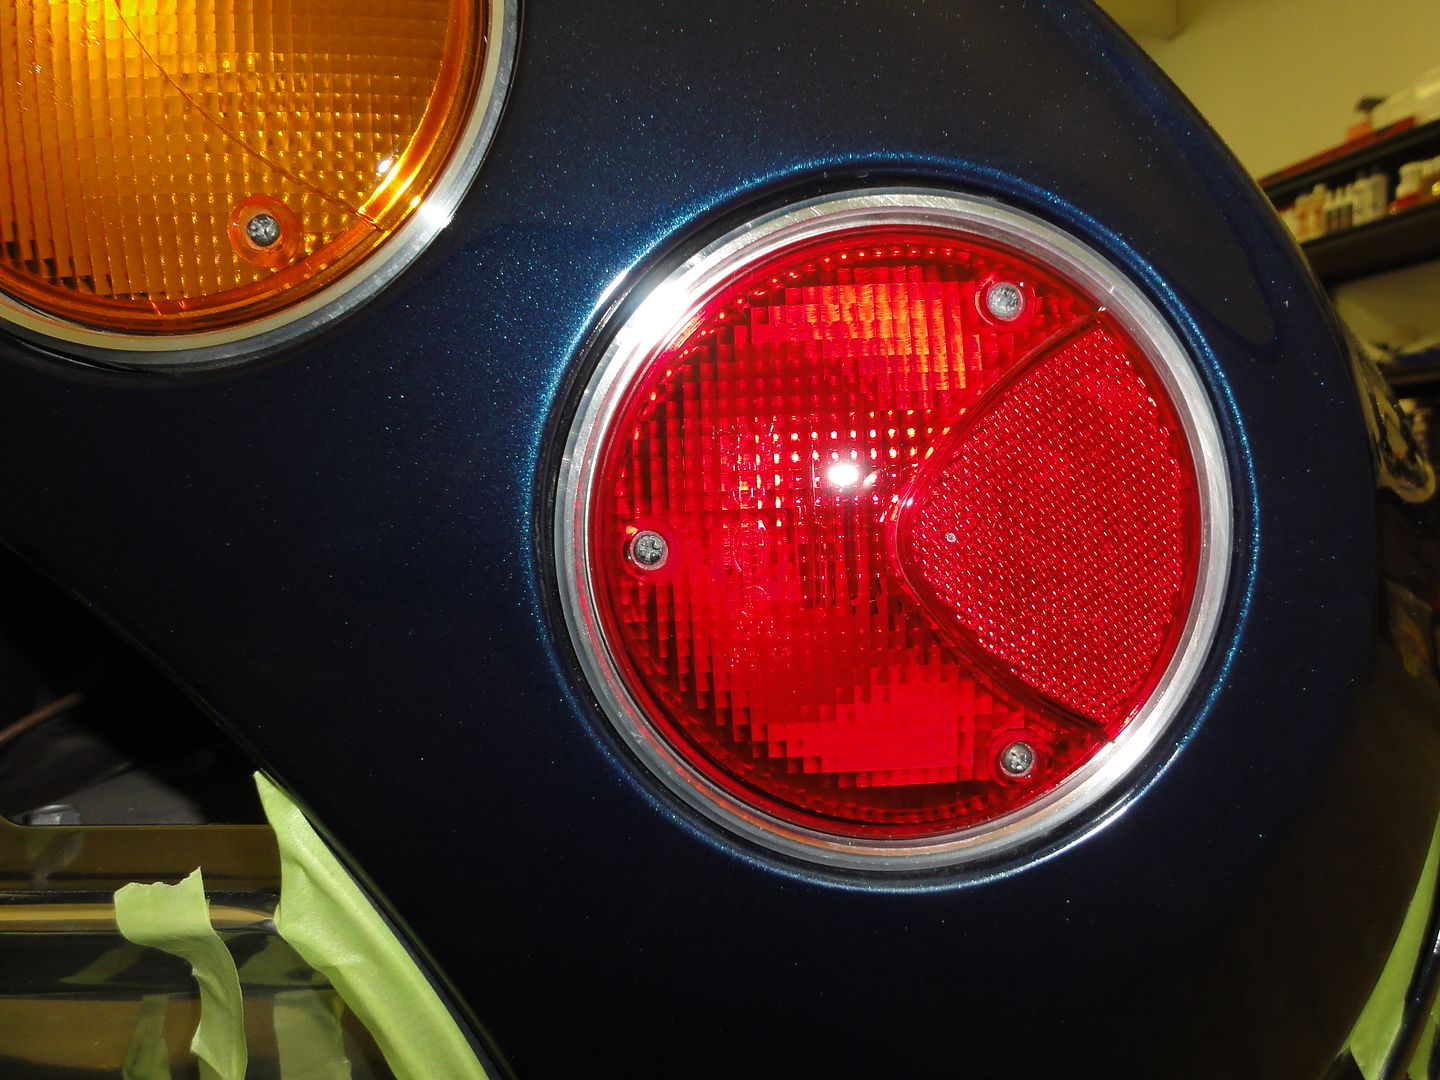
Taillight lenses were taken off and polished off the car, aluminum rings were taped off during paint correction
Before
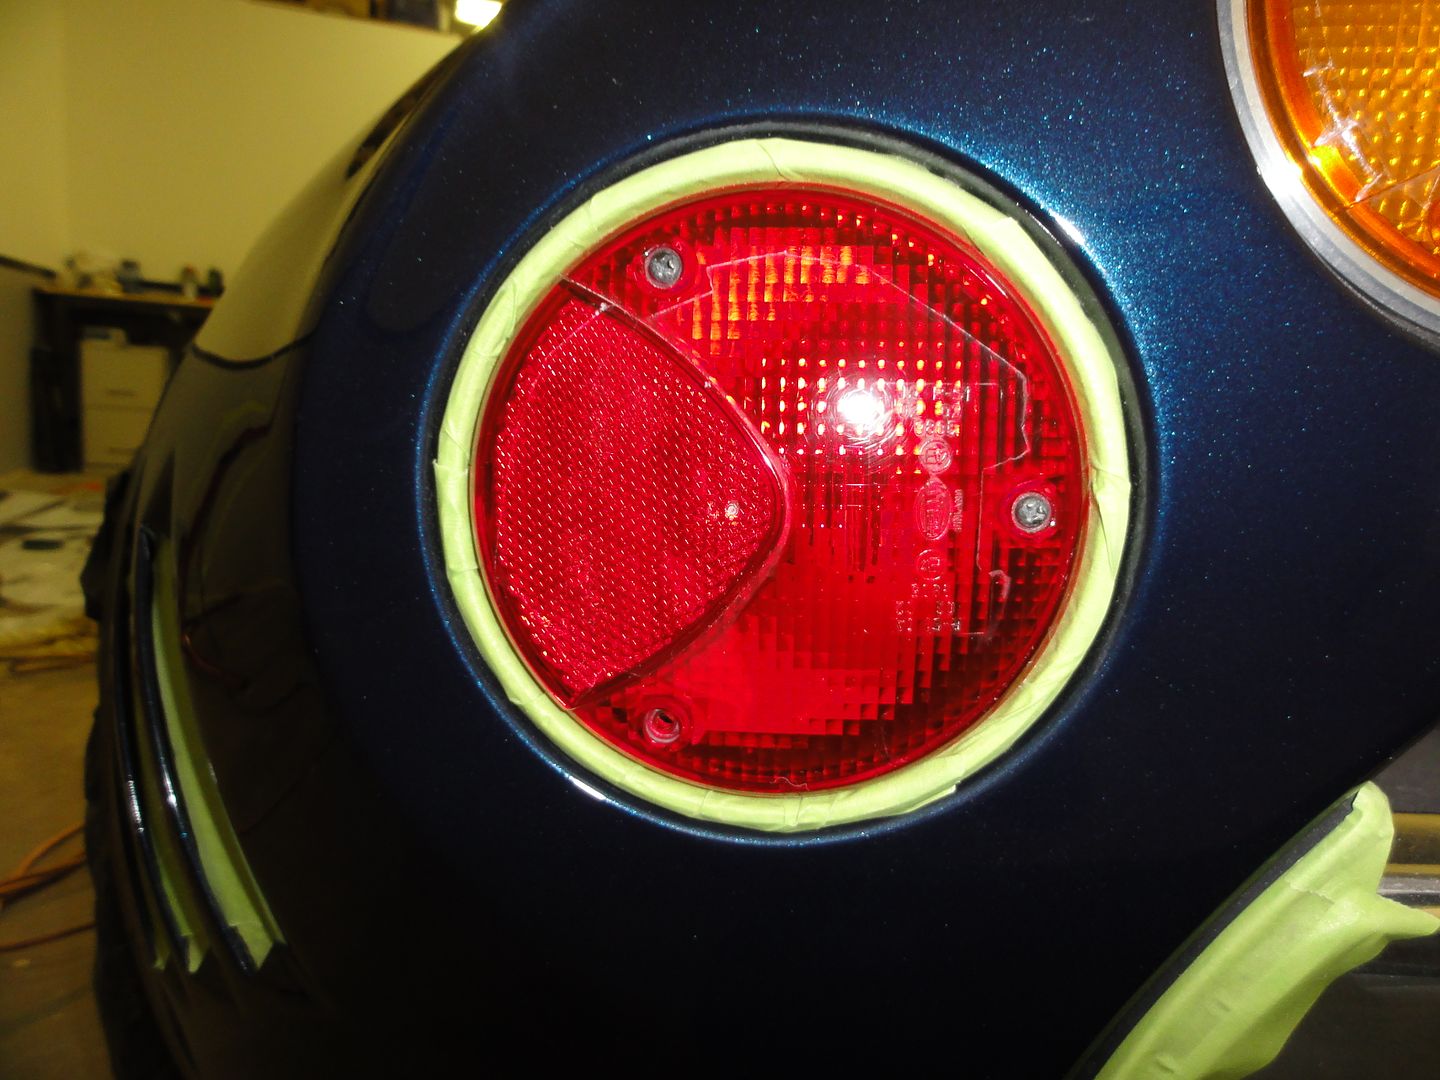
After

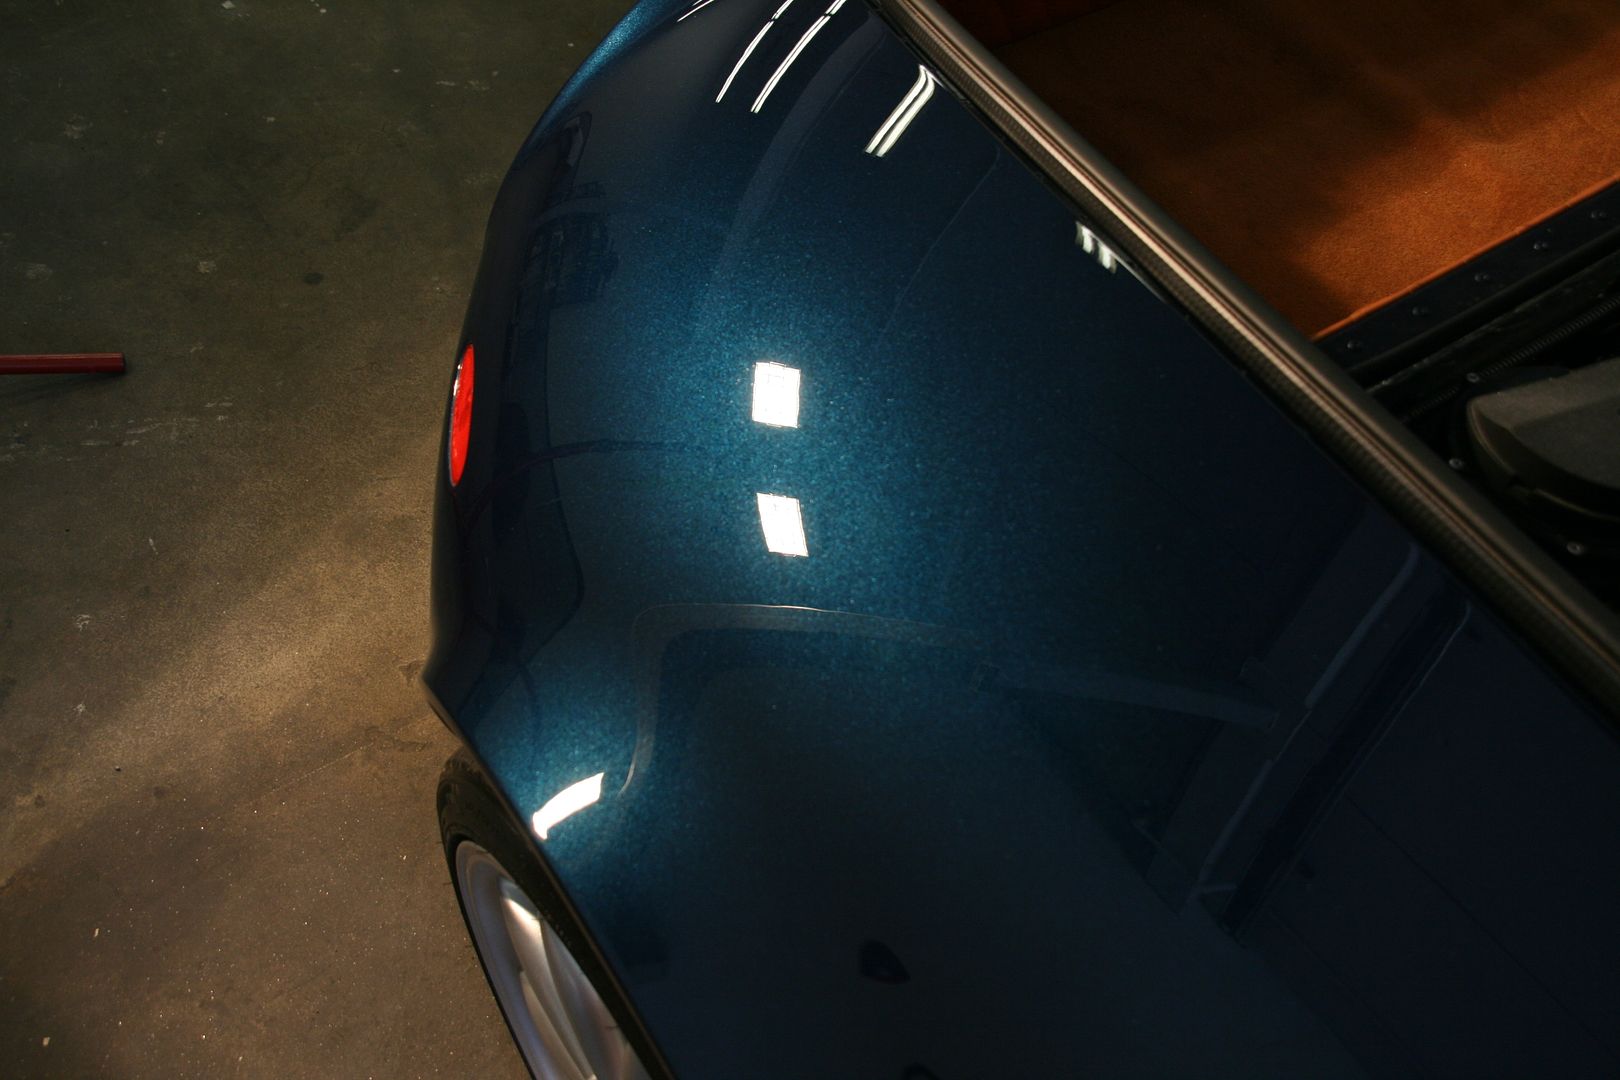
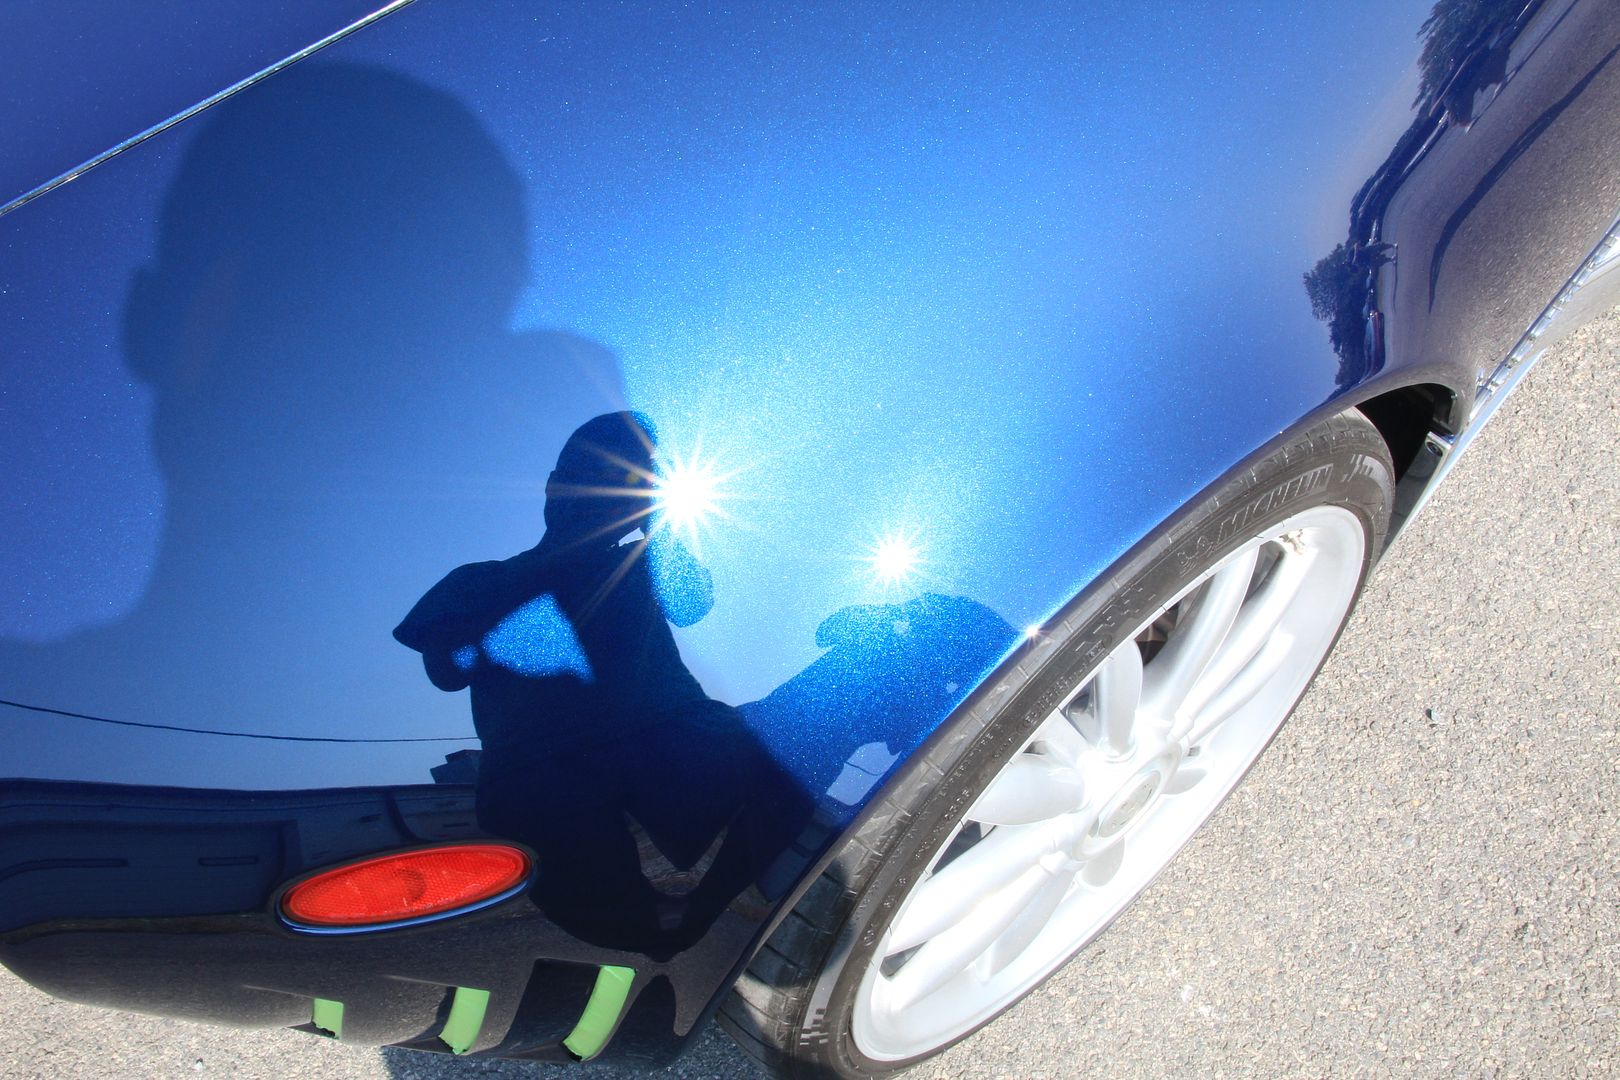
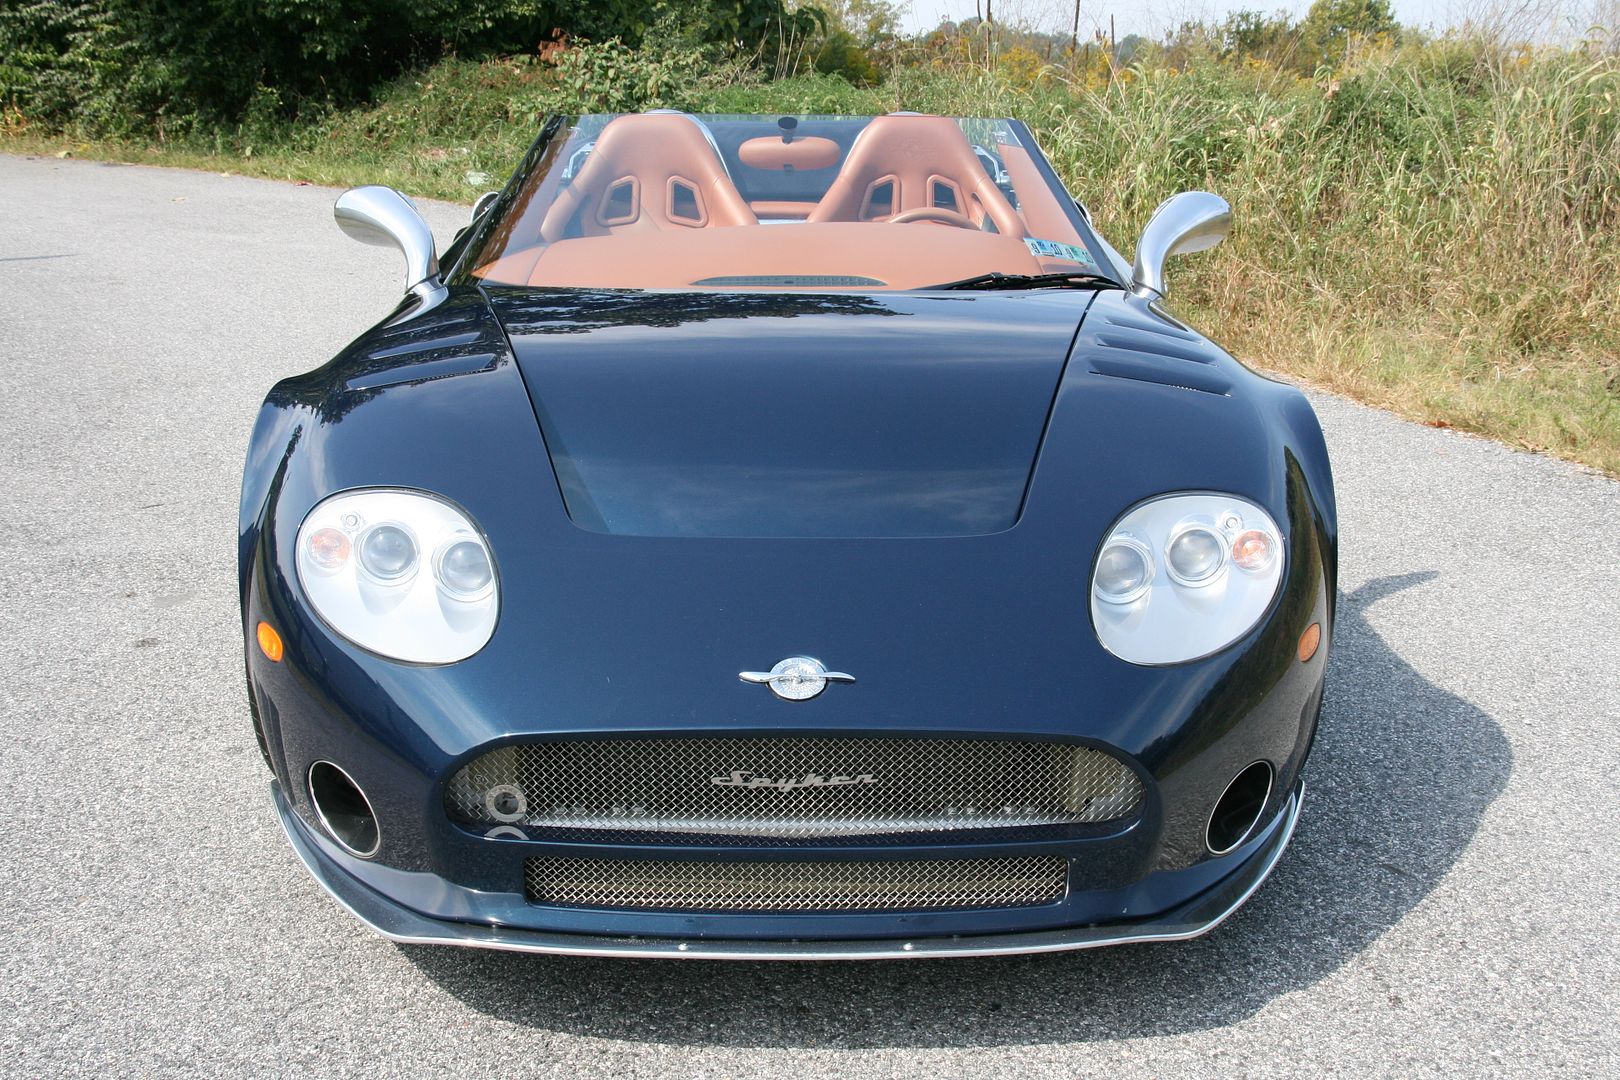
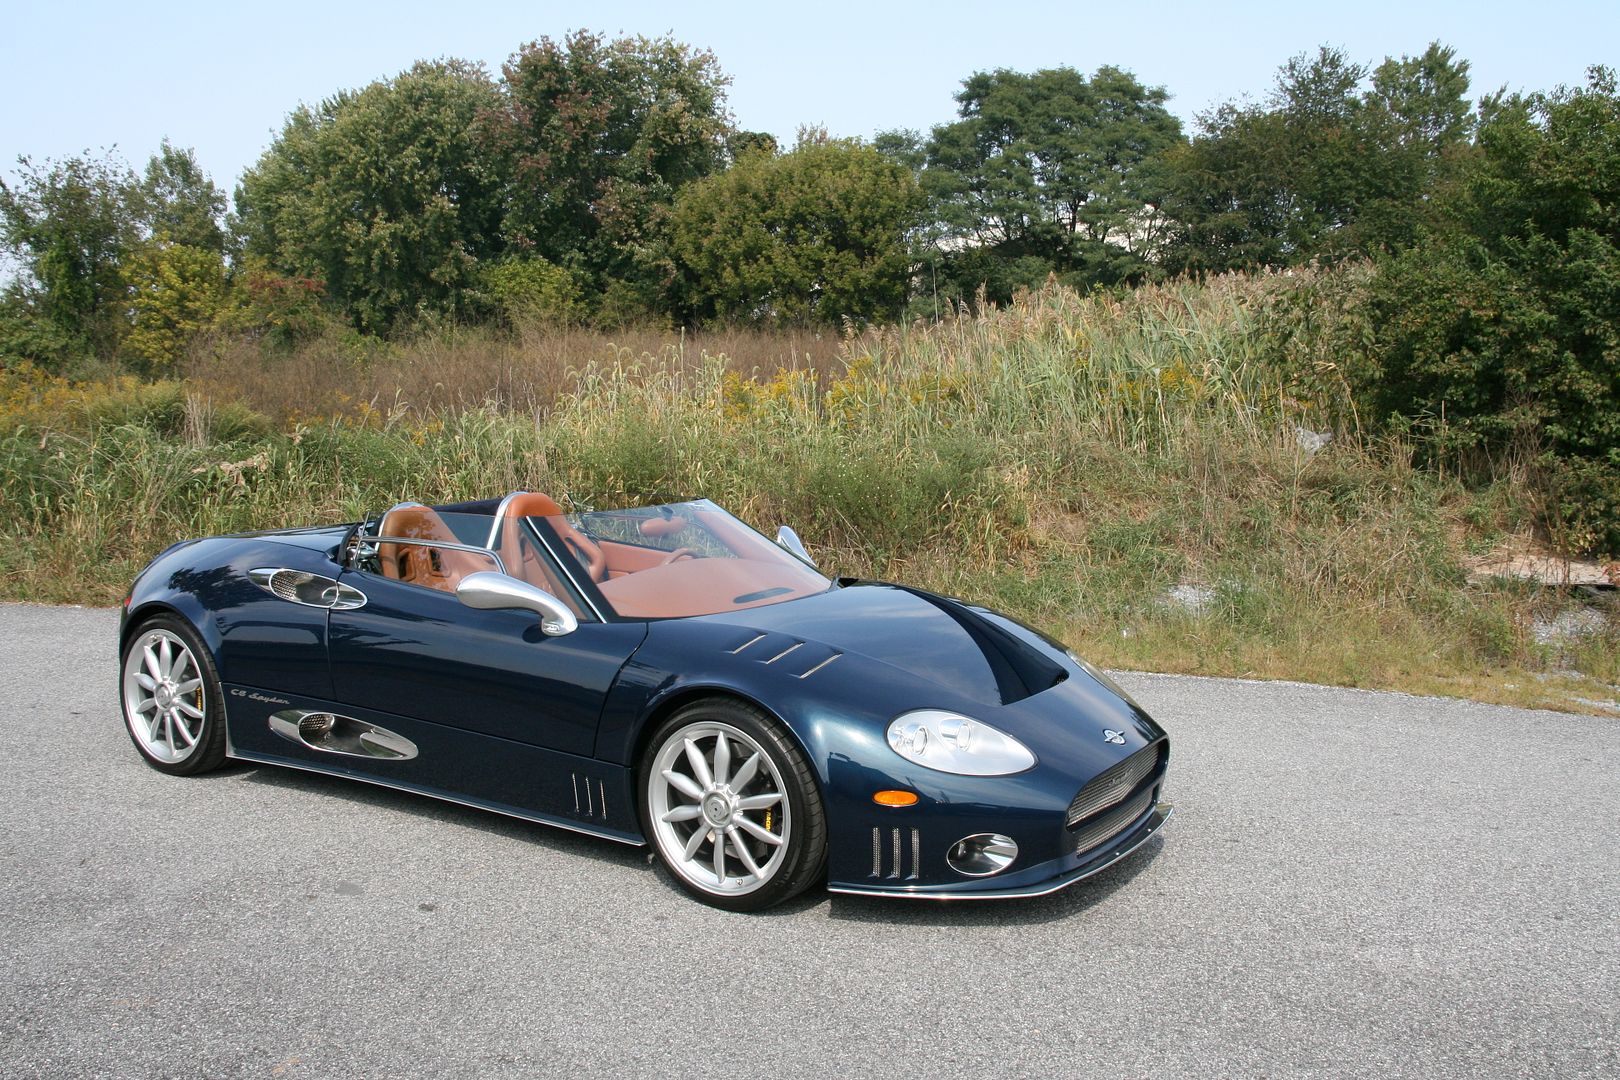
We pulled car out on the sun to check after final polishing

70
75

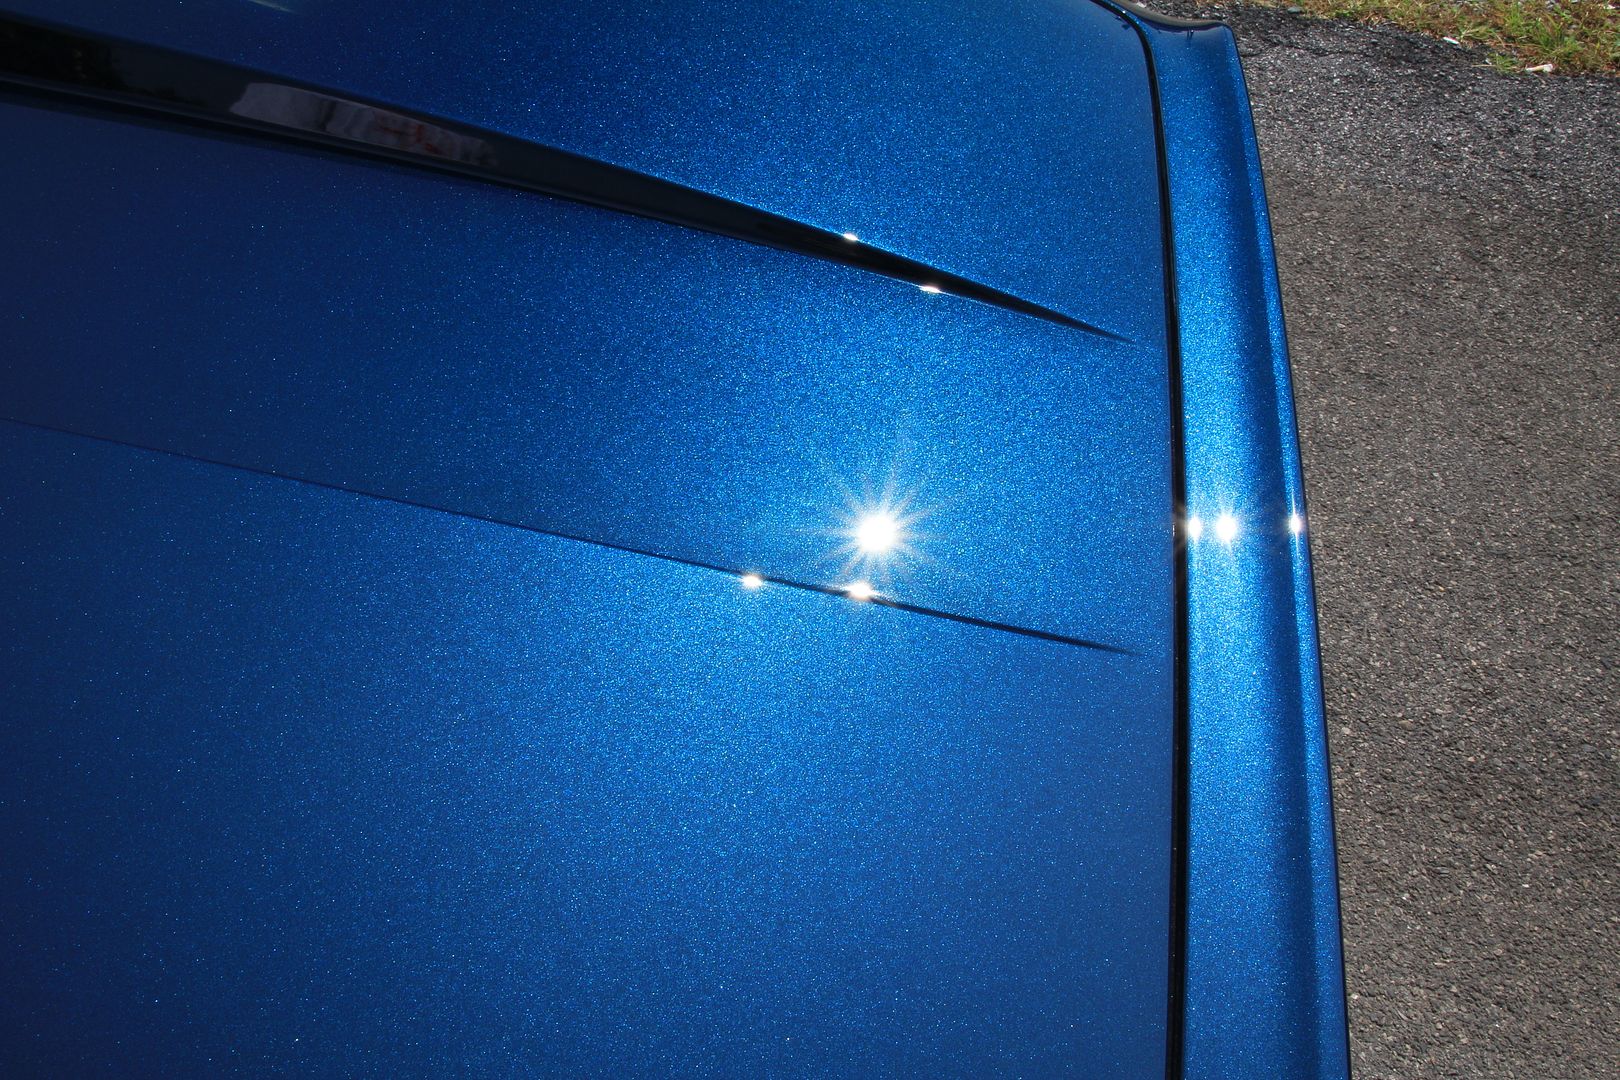
80


Thread
Thread Starter
Forum
Replies
Last Post