Scheerspeed: Full Detail on a Range Roer HSE
#1
This car had never been detailed. it was about a year old, it has been taken to the car wash for a wax every so often, but this time the owner wanted PERFECTION. and thats just what he got. this car needed wetsanding in some places, and a full 3-step polish. as far as he paint goes, it was in pretty bad shape...
Exterior
-Wash
-P21s TAW Pre-soak
-CG CWG
-CG Waterspot Remover
-White/yellow shMITT
-Engine
-Meguiar's Super Degreaser
-Meguiar's Hyper Dressing
-Wheels
-CG Citrus wheel cleaner
-Meguiar's Wheel brightener
-CG CWG
-EZ detail Brush
-Black shMITT
-Amazing Roll-off (tires)
-Swissvax Autobahn
-Wheel Wells
-Simple Green
-black shMITT
-Meguiar's Hyper Dressing
-Clay
-CG Gray clay
-CG Synthetic QD for lube
-Correction
-2000 grit (3M wet-or-dry) sanding paper
-Menzerna Powergloss
-Menzerna SIP
-Menzerna PO85RD
-LC Foamed Wool
-LC yellow compounding pad
-LC orange pad
-LC white pad
-Sonus SFX white pad
-Sonus SFX blue finishing pad
-Makita 9227C
-3M yellow backing plate
-Edge foam pad cleaner
-ISA wipedown
-LSP
-Collinite 915
-FK1# 425
Interior
-CG leather Cleaner
-CG lightning fast
-1Z cockpit Premium
-1Z Gummi Pflege
-Zaino Z10
-303 protectant
-Stoner's Invisible Glass
Well to start, i arrived at fire station #4 (again!) at 7:00AM. i took a quick look at the car and i told the owner that it didn't look like it was in too bad of shape, except for some big scratches, which i was told to remove. first off i decided it would be better to degrease the engine before moving on the the paint, so that i would not dirty the paint.
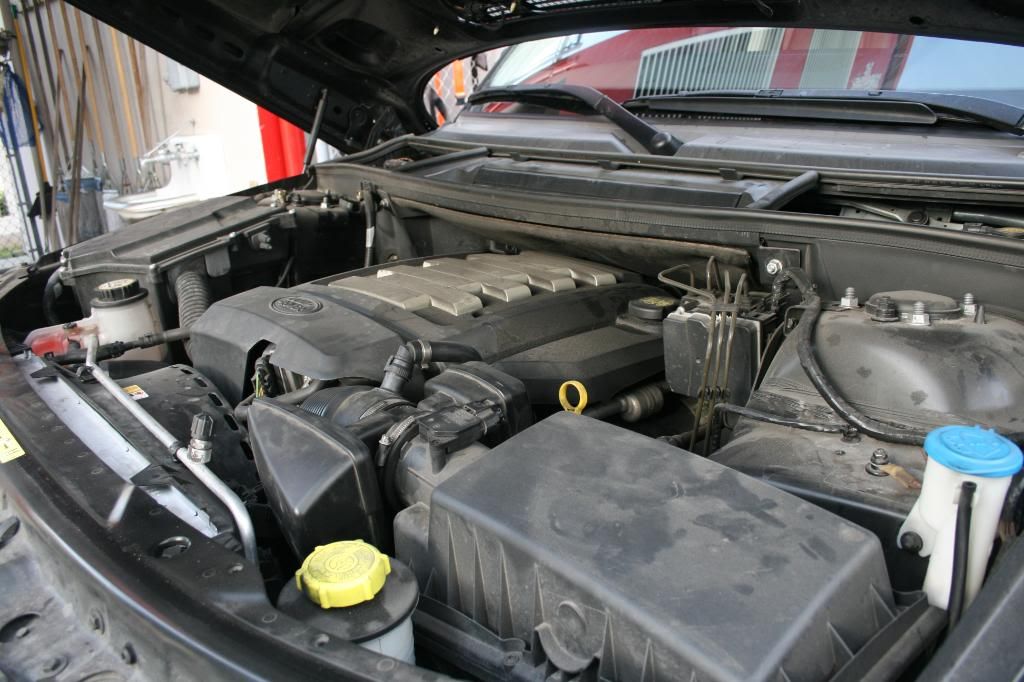

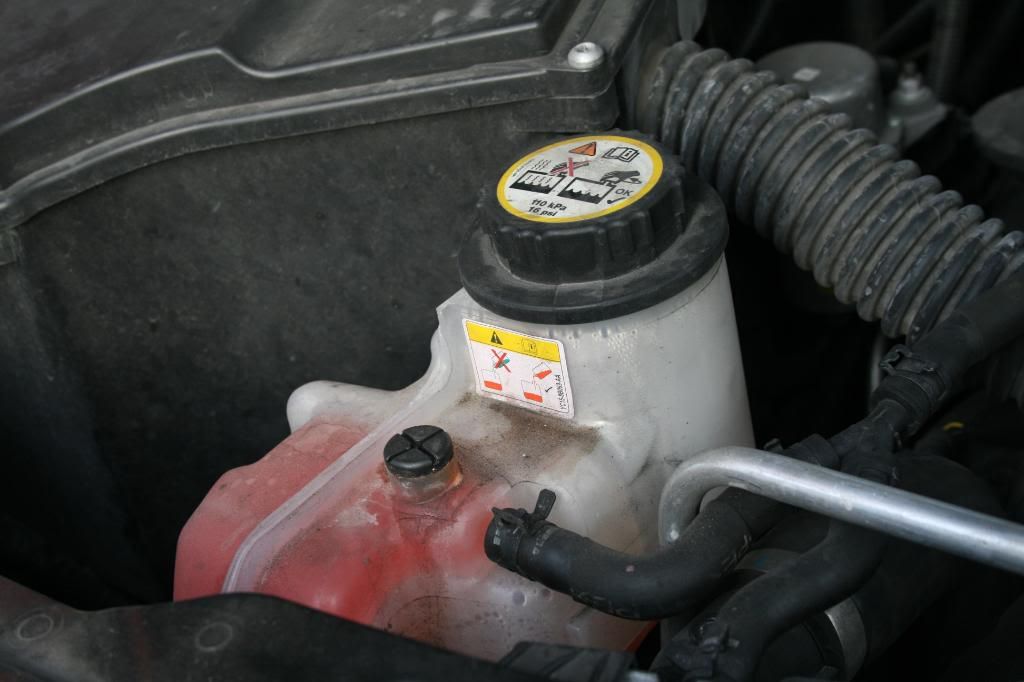
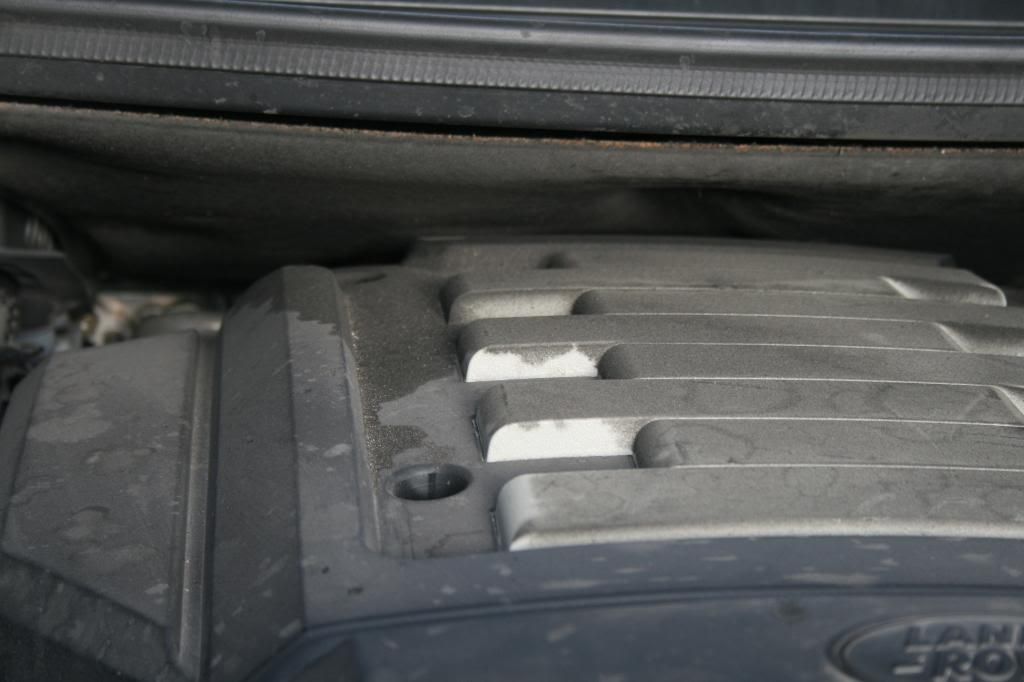
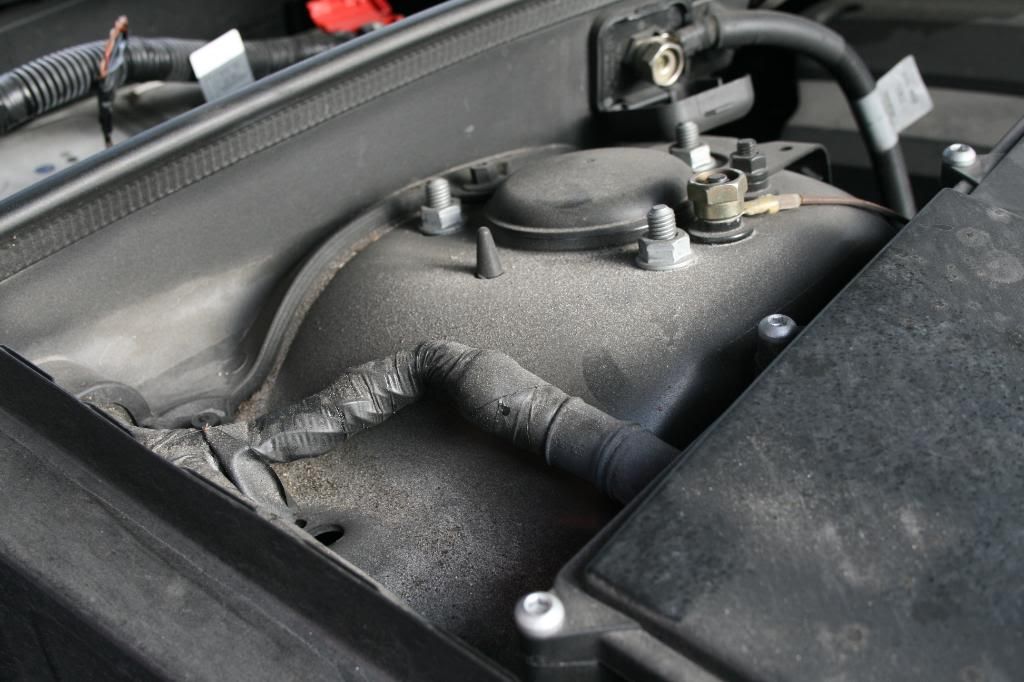
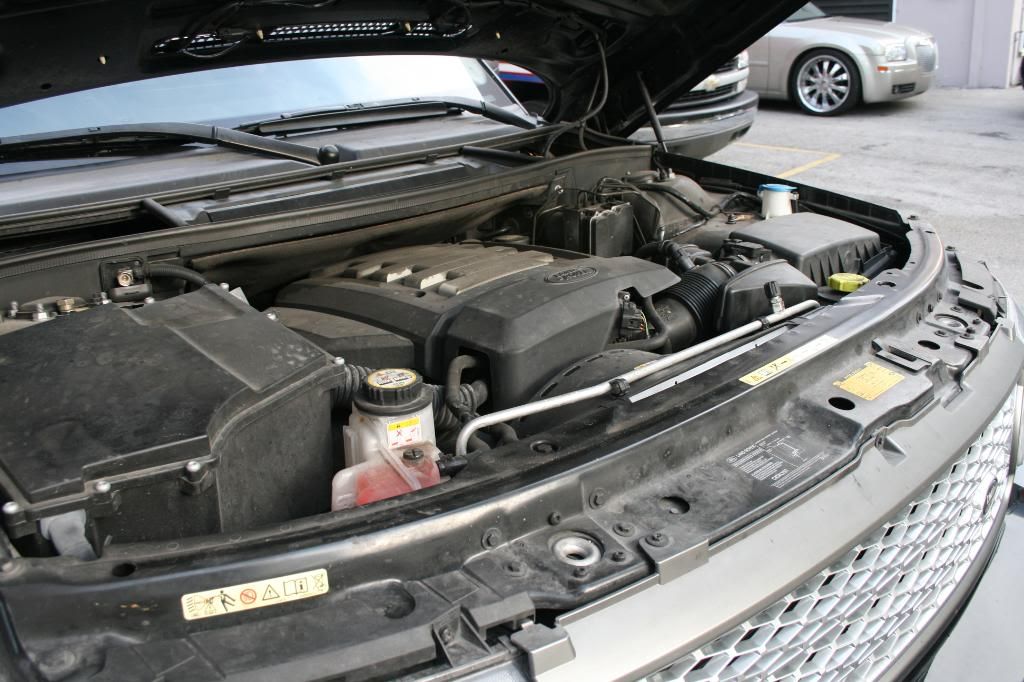
Letting Meguiar's Super Degreaser soak in. then i gave the heavily soiled areas a scrub, then rinsed off.
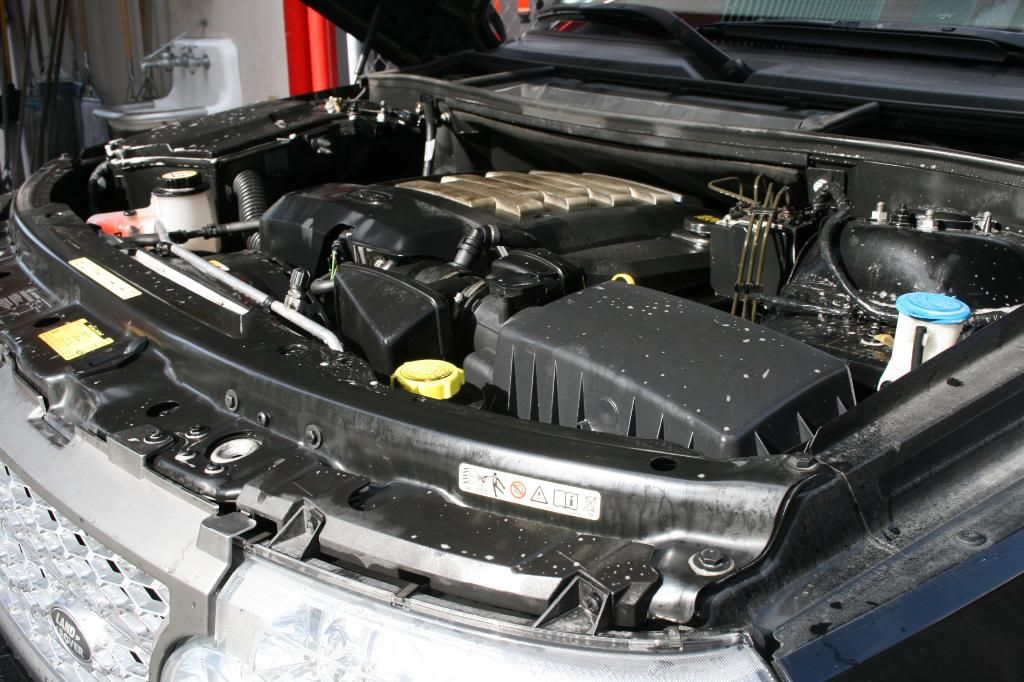
now it's time for the wash. using the two-bucket method with grit guards. i first washed the wheels, then the car. after the wash i clayed the entire car using CG's Gray clay since this car had never been clayed in the past.
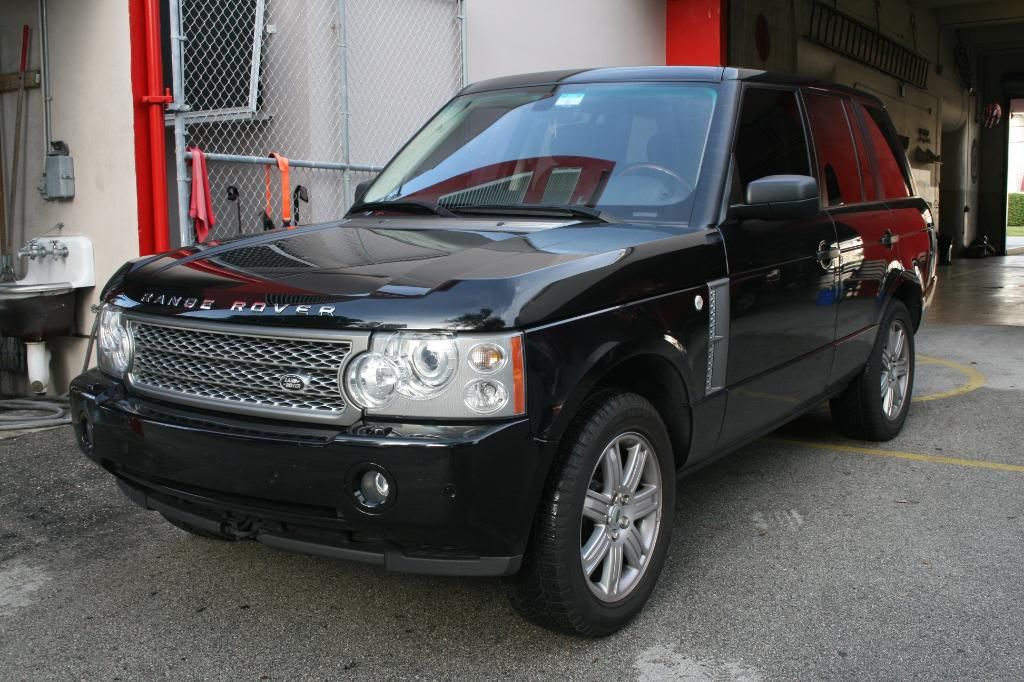
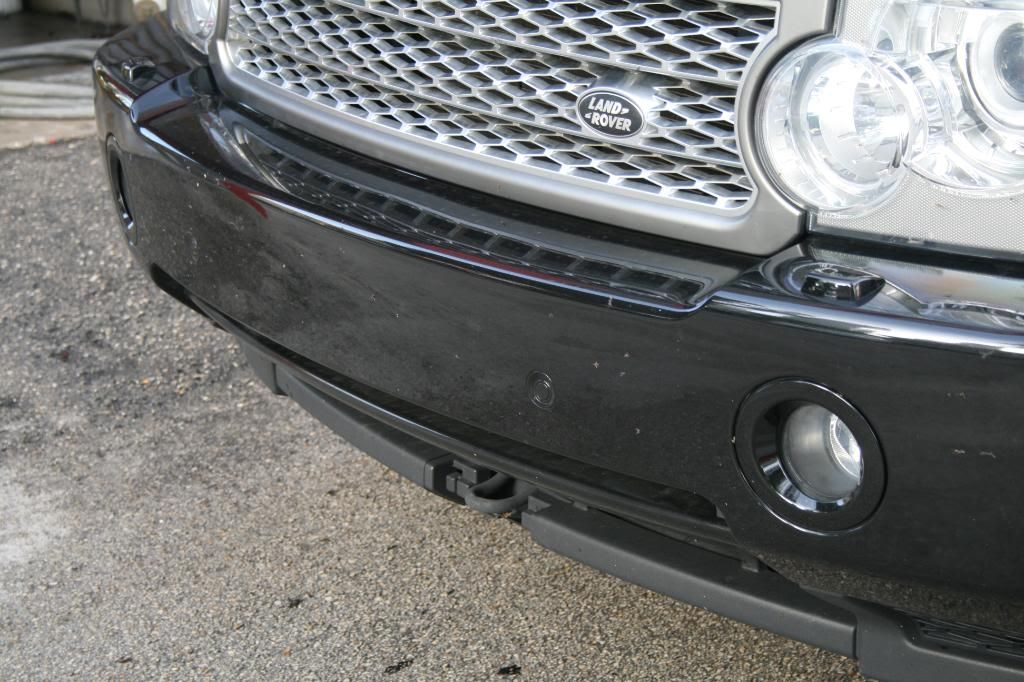
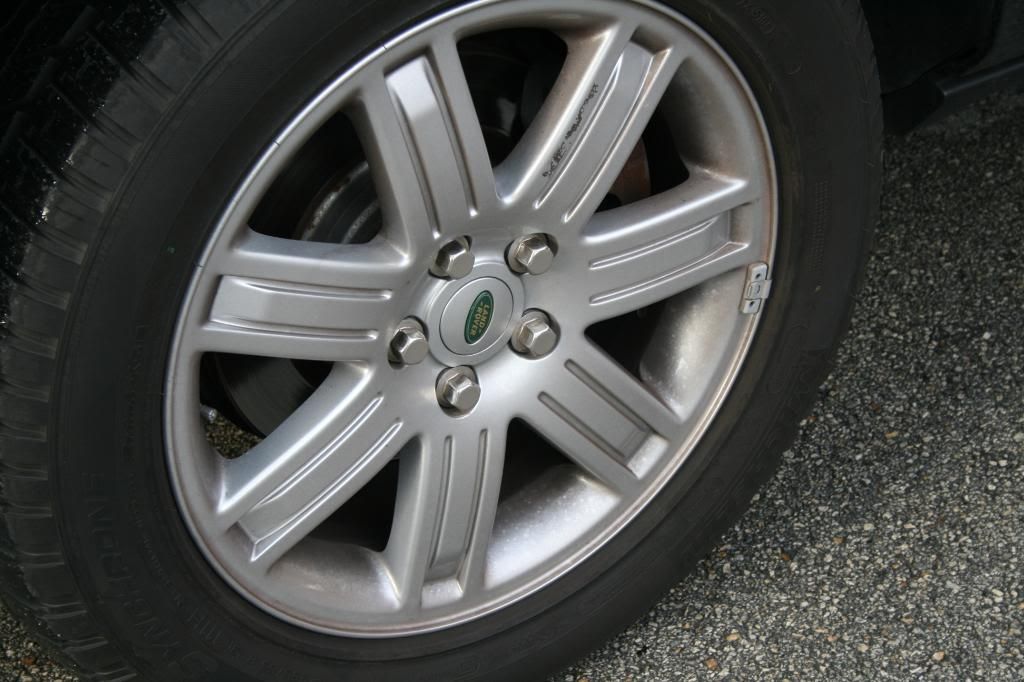
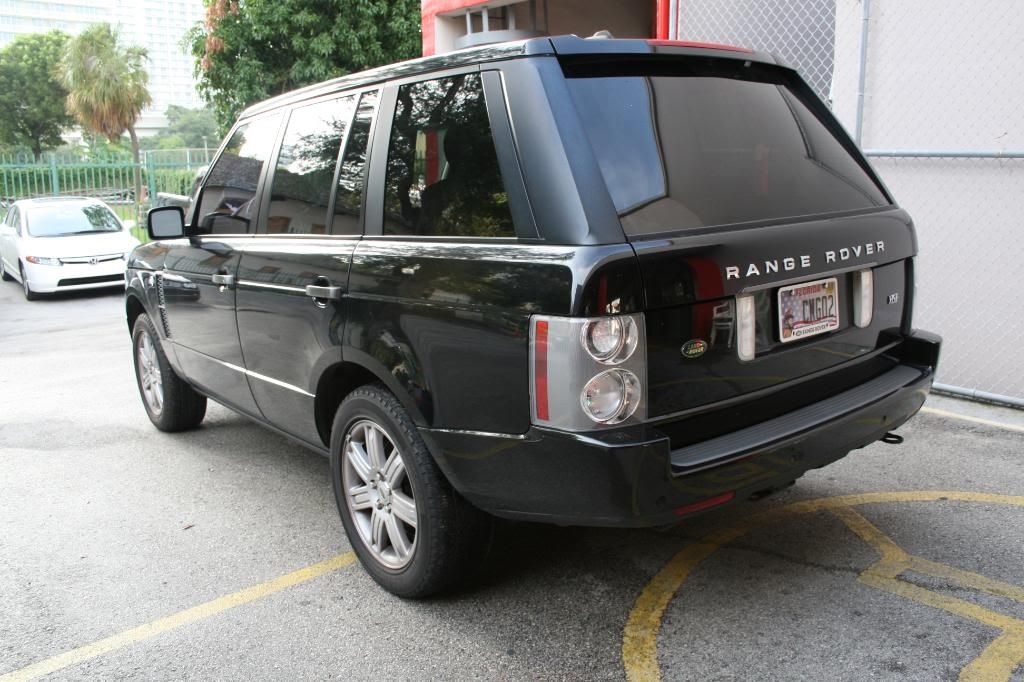
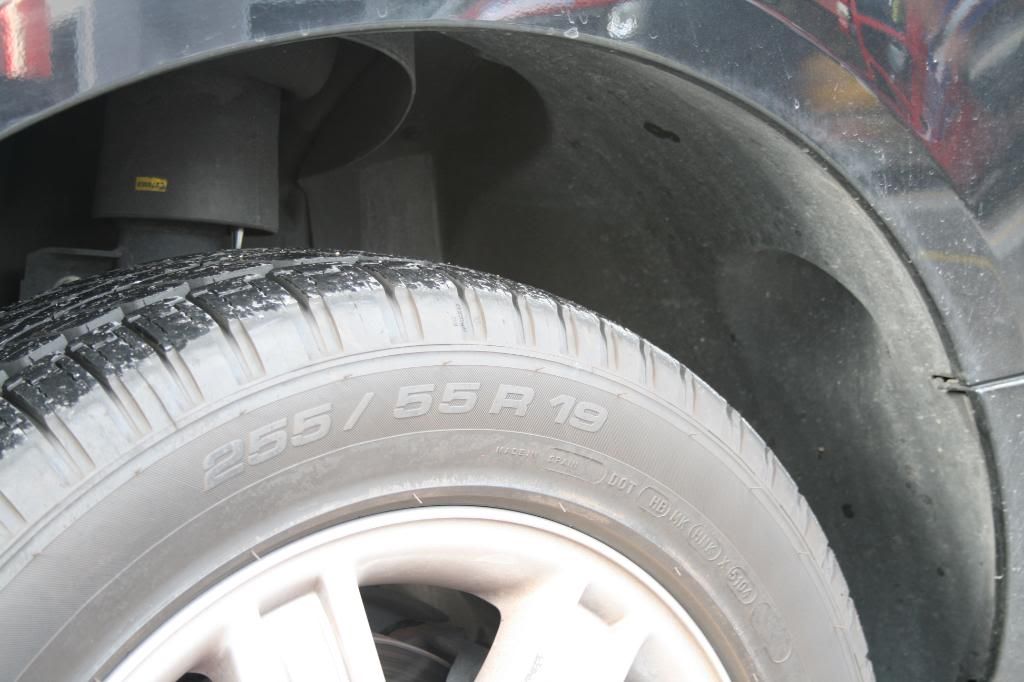
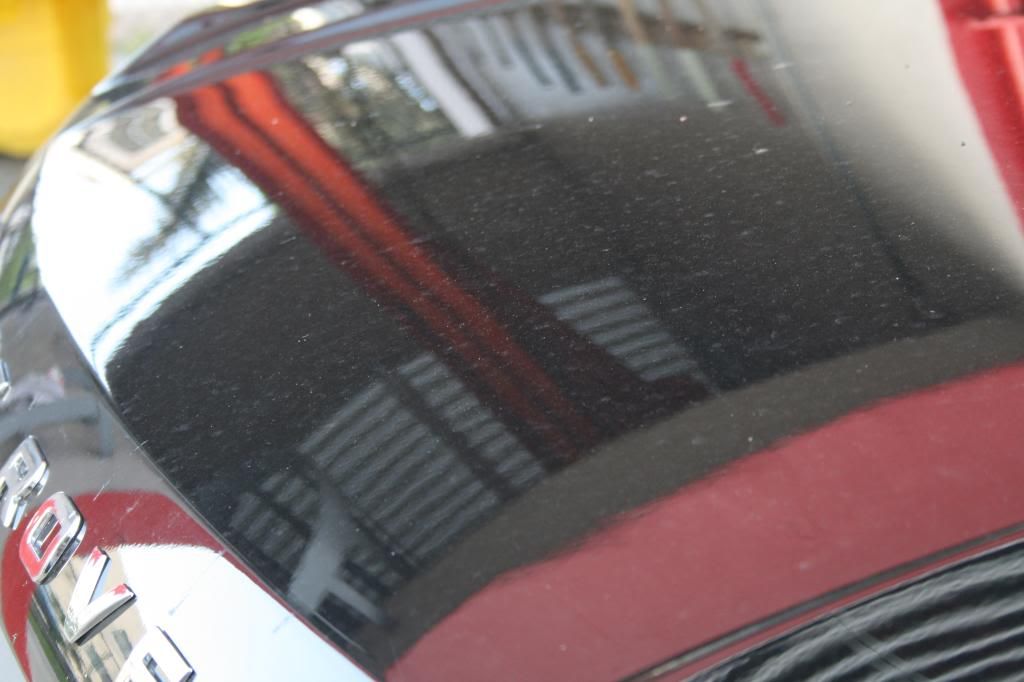
after the wash and clay
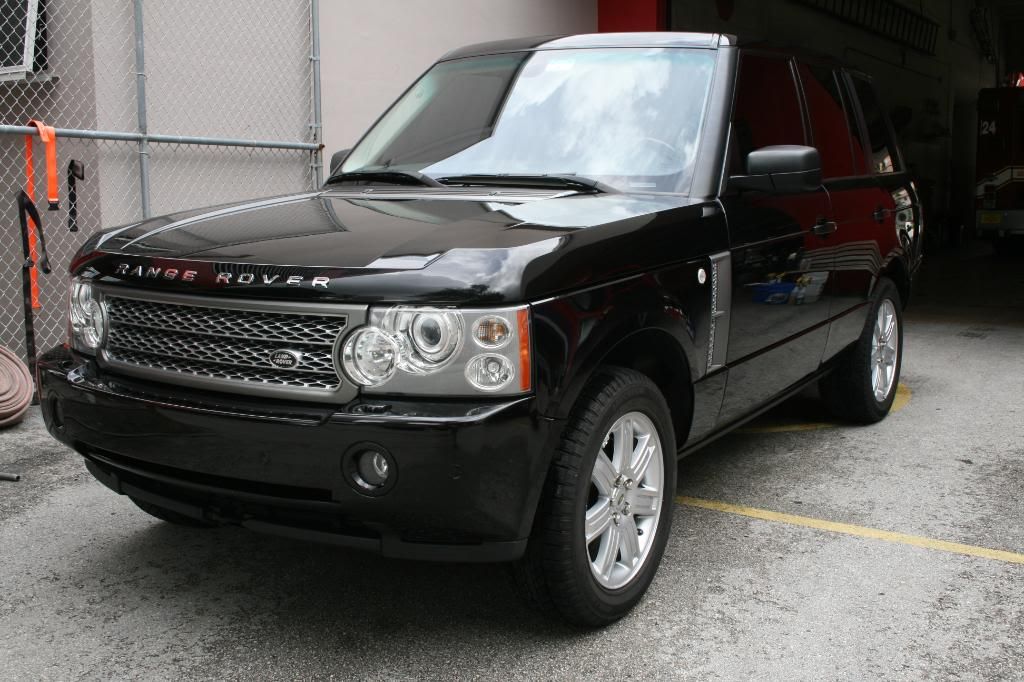
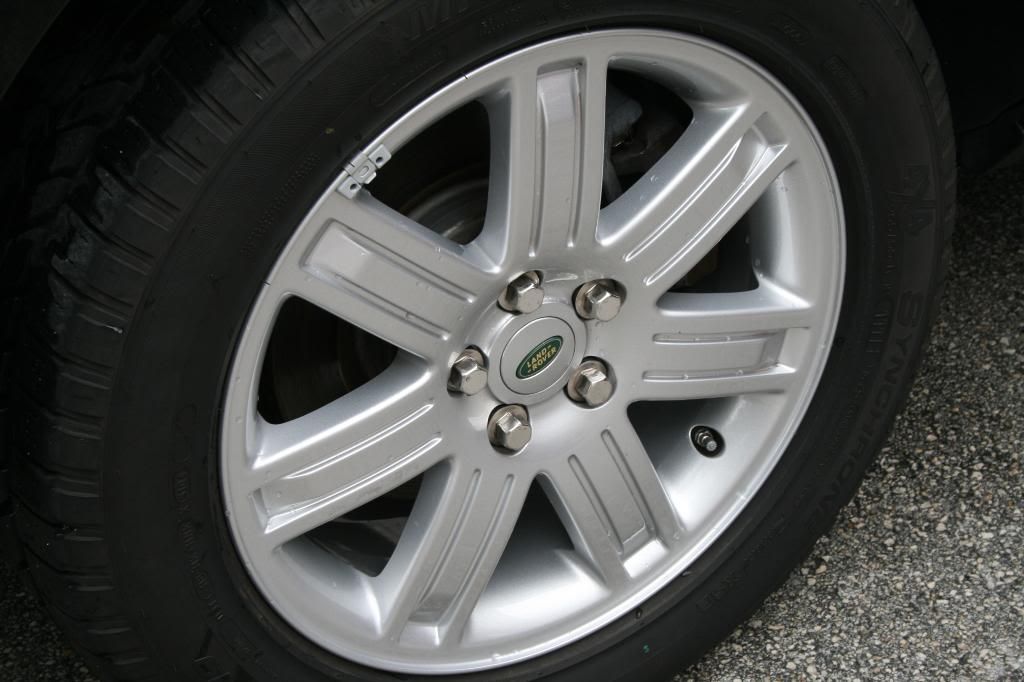
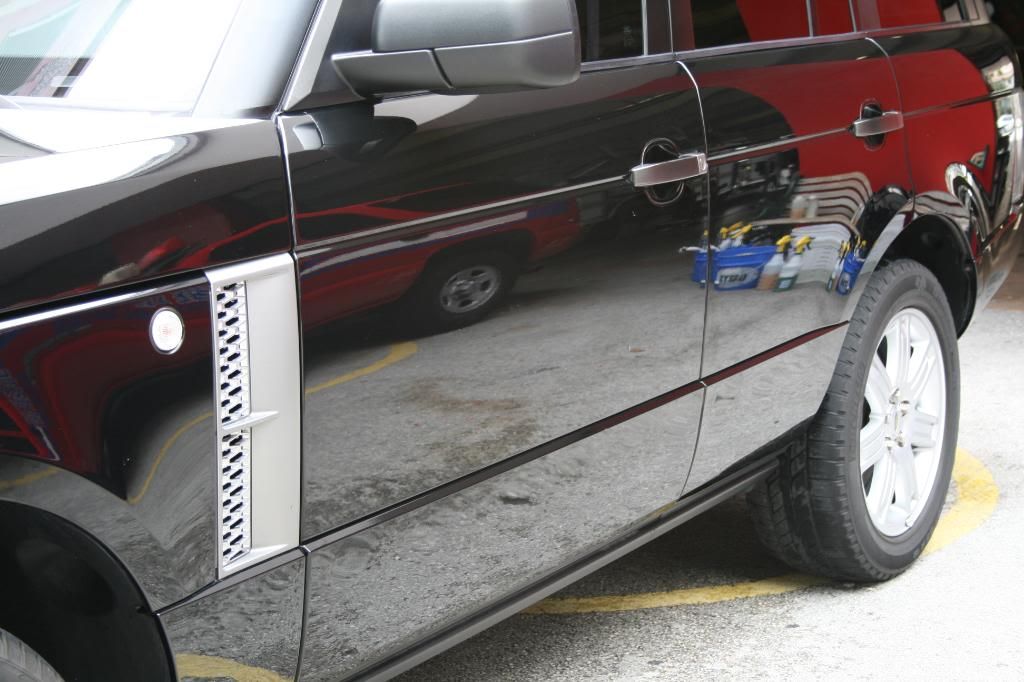

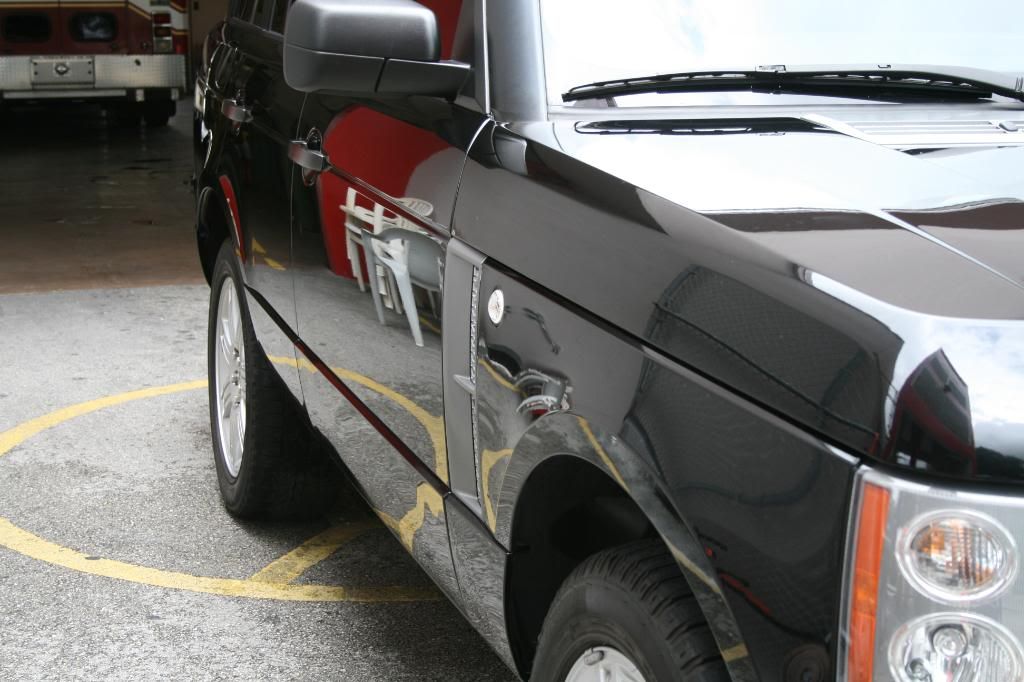

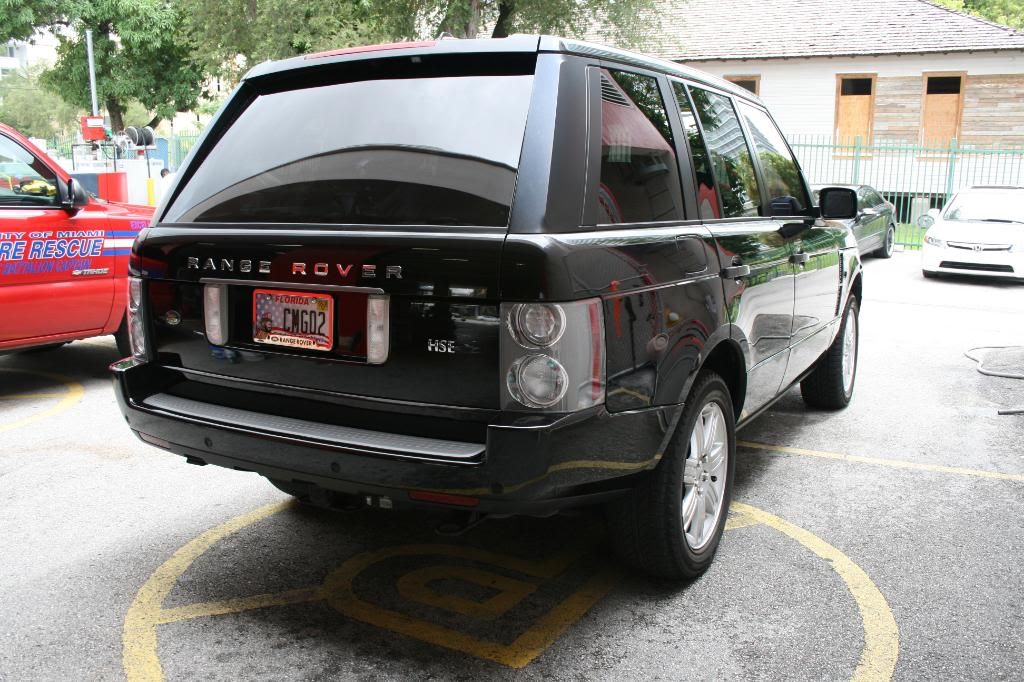
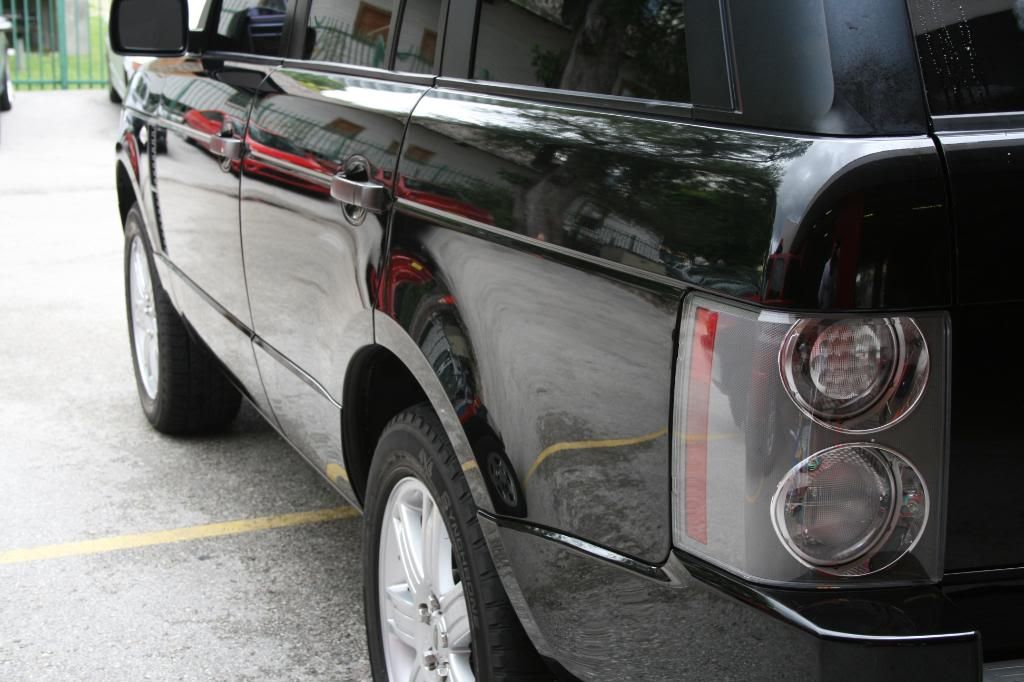
CG's Citrus wah n gloss sure does leave a nice looking shine! but don't be fooled! now onto the halogen lights!
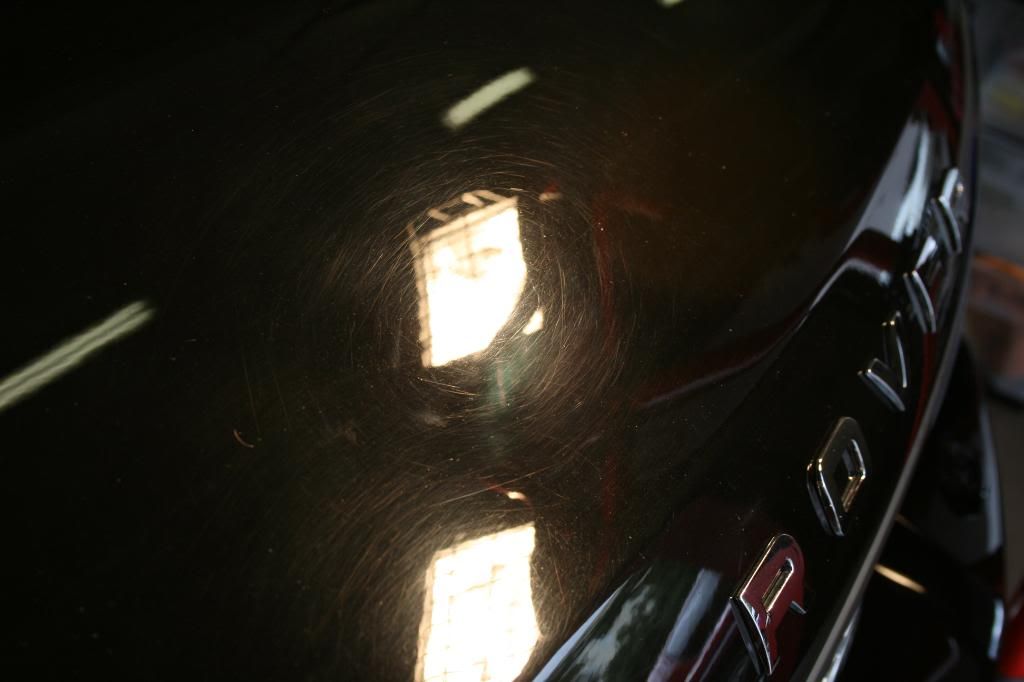
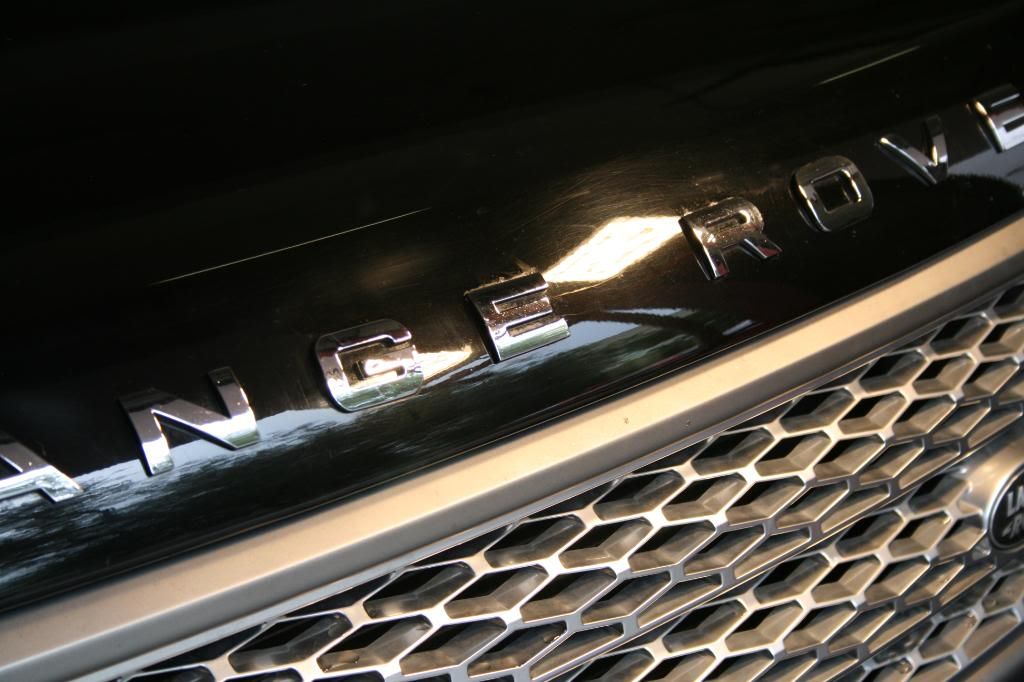

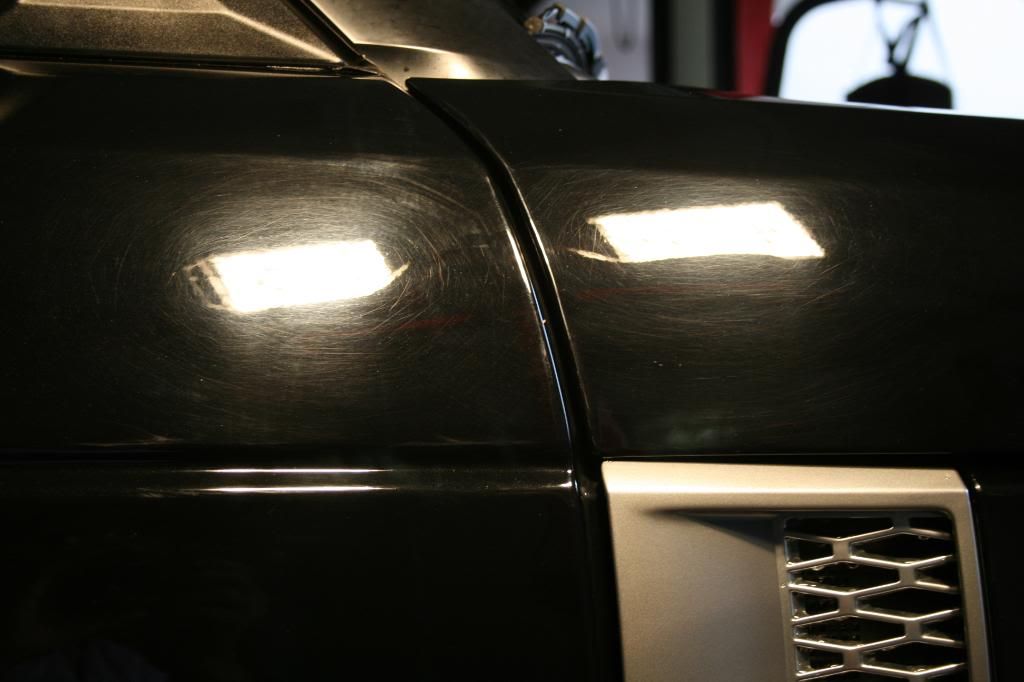

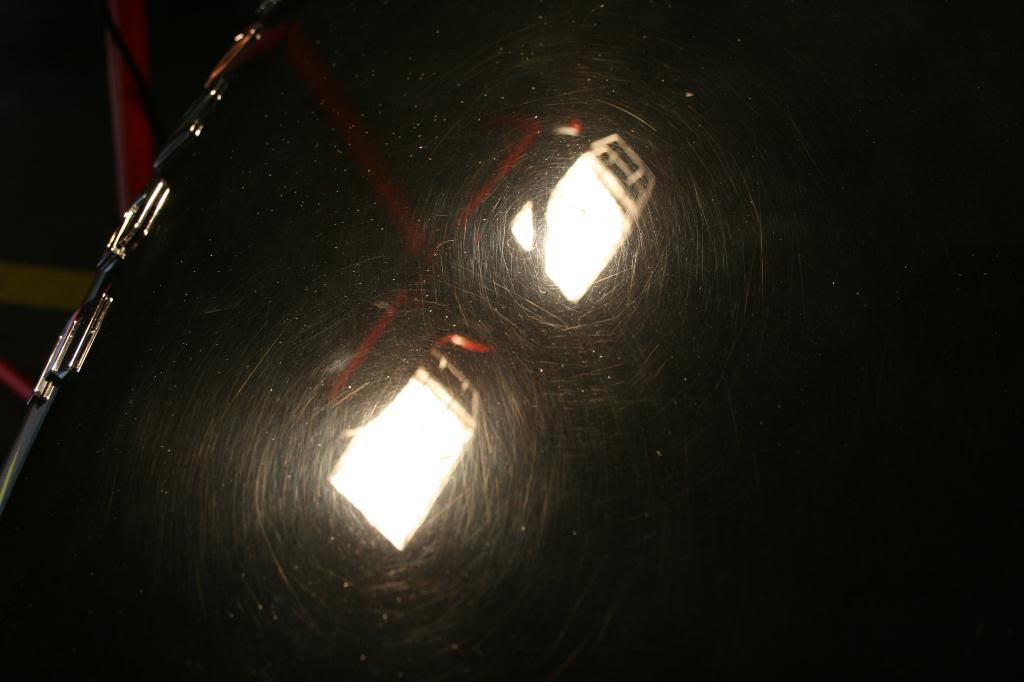
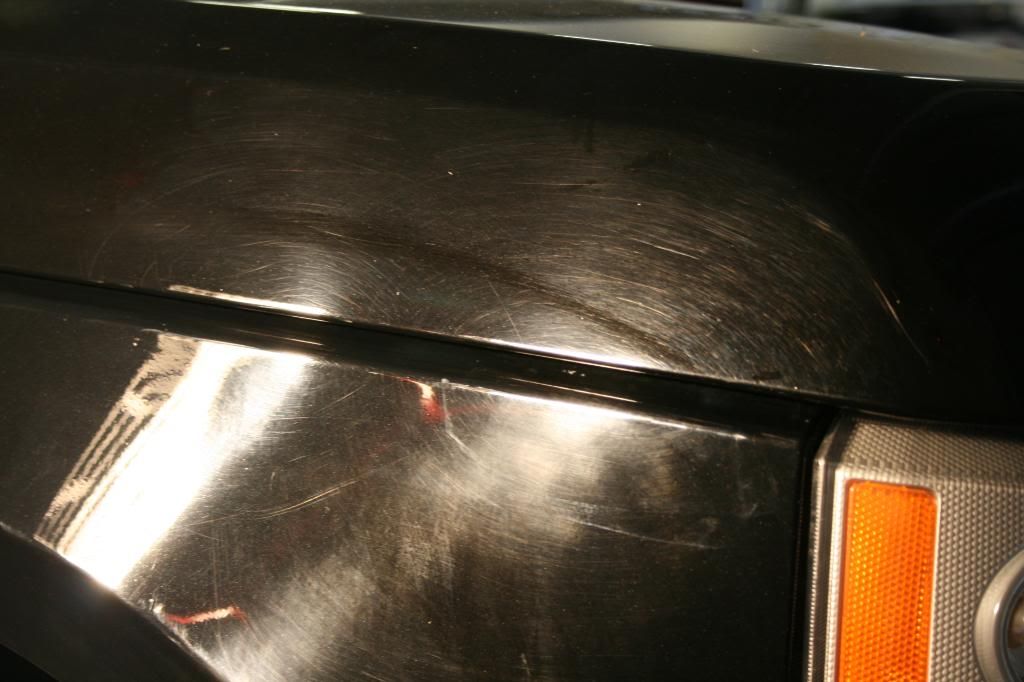
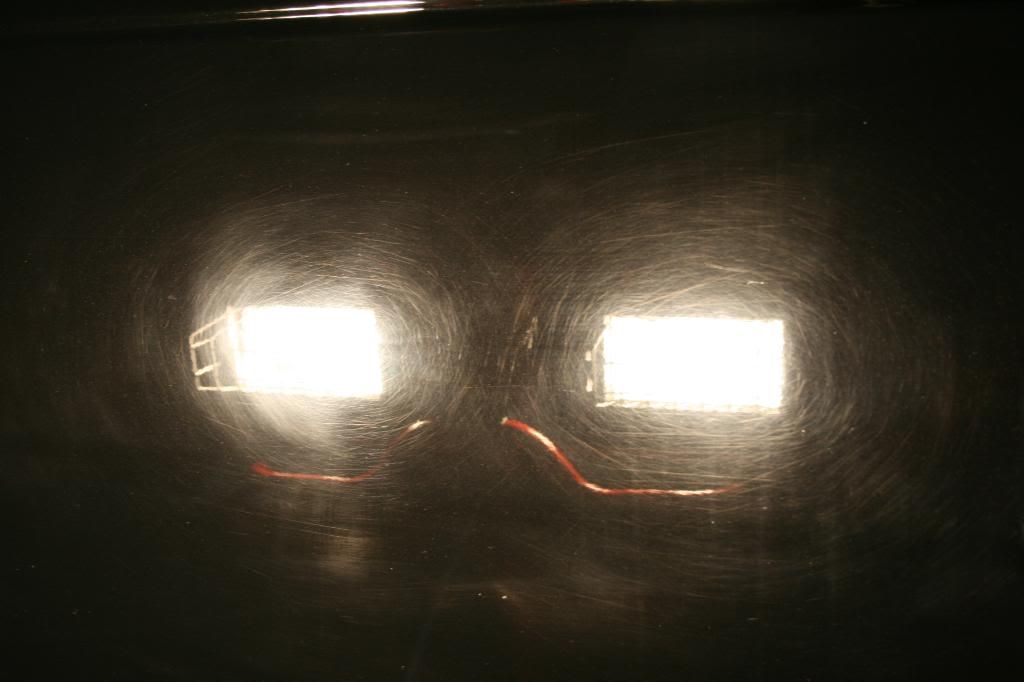
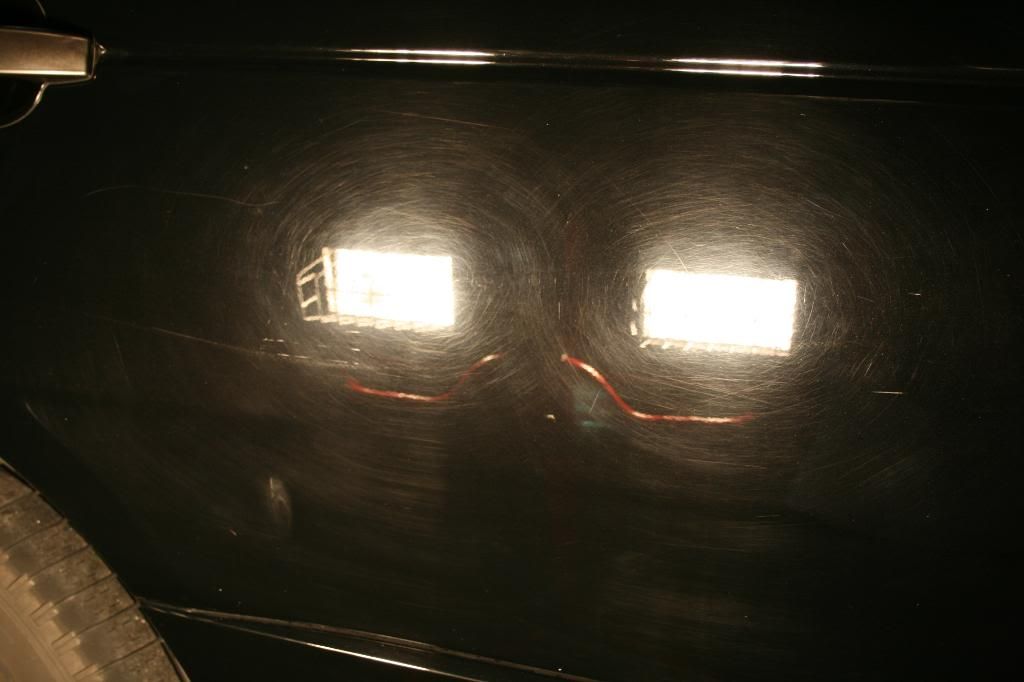
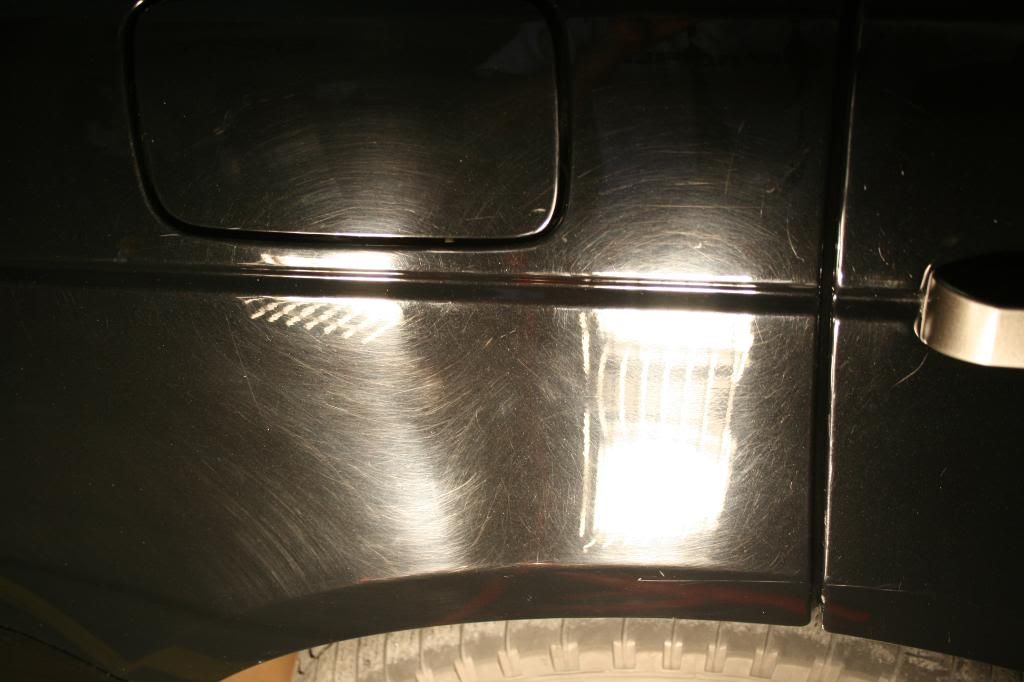
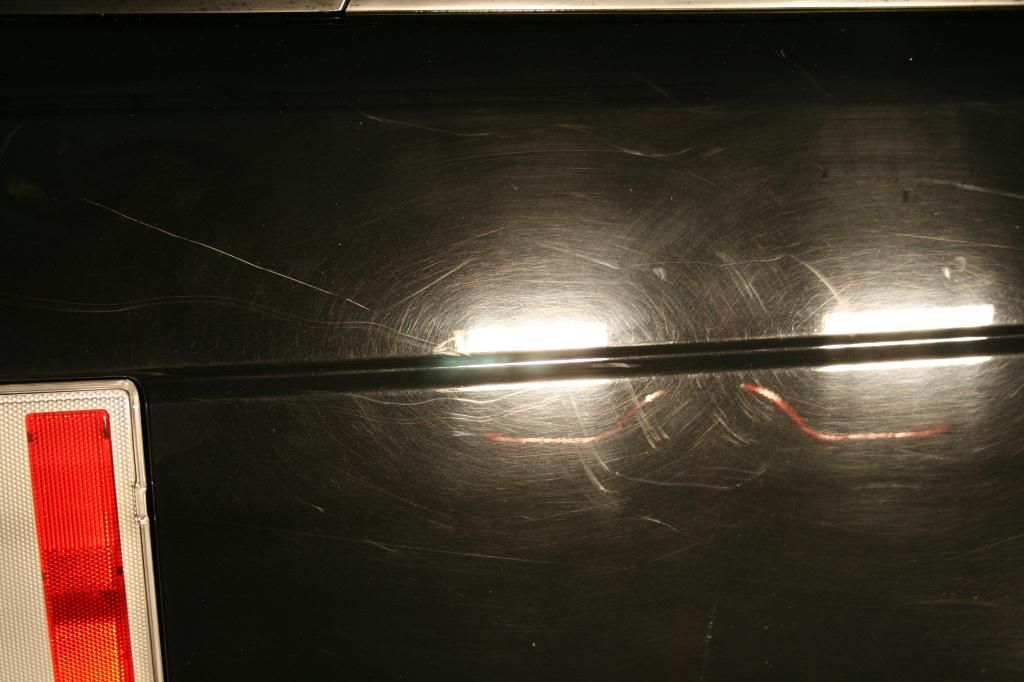
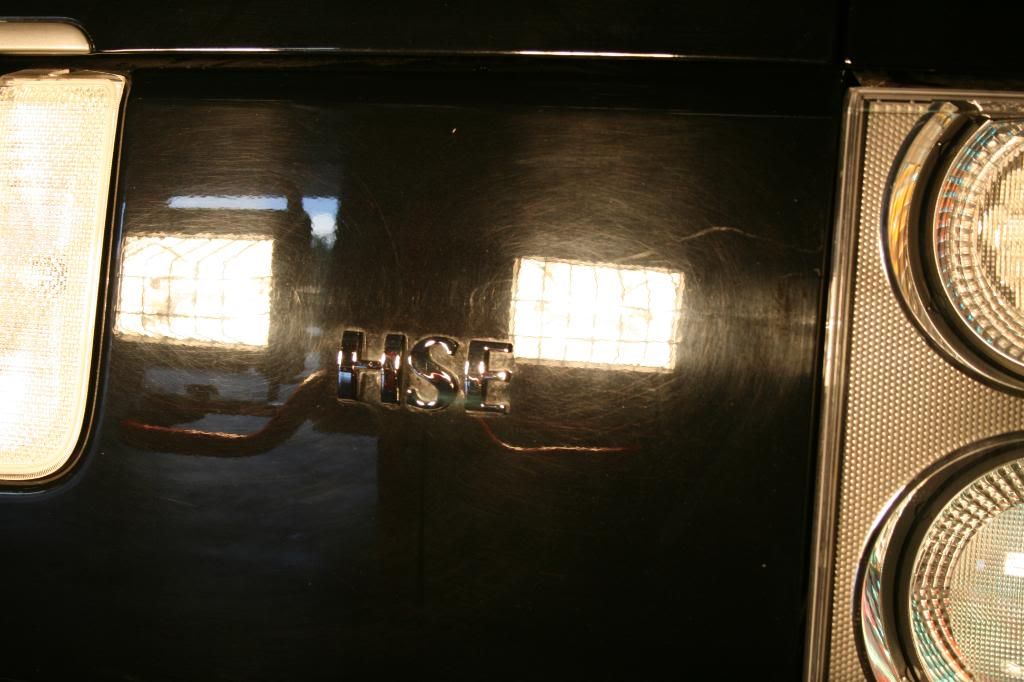
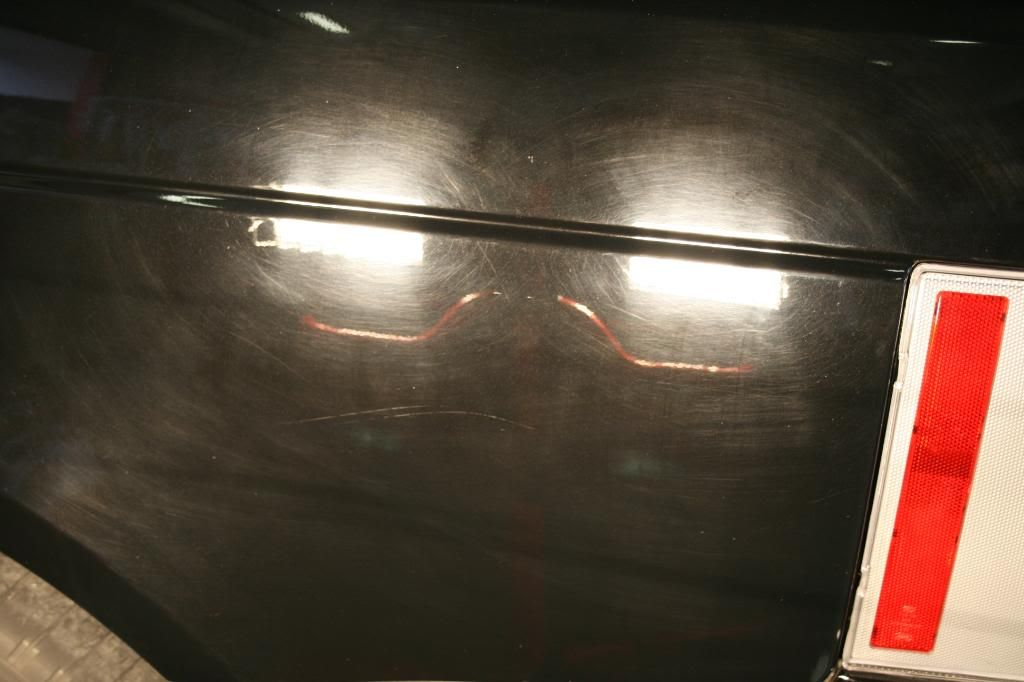
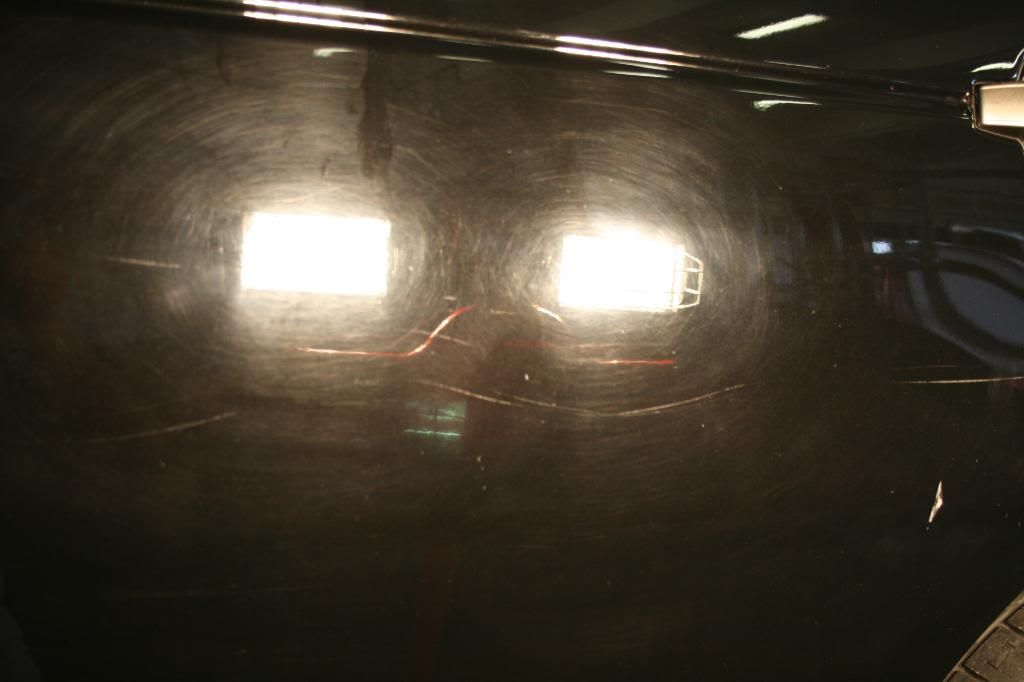
well that paint was in pretty bad shape... so i decided to try a test panel using SIP on a orange pad.
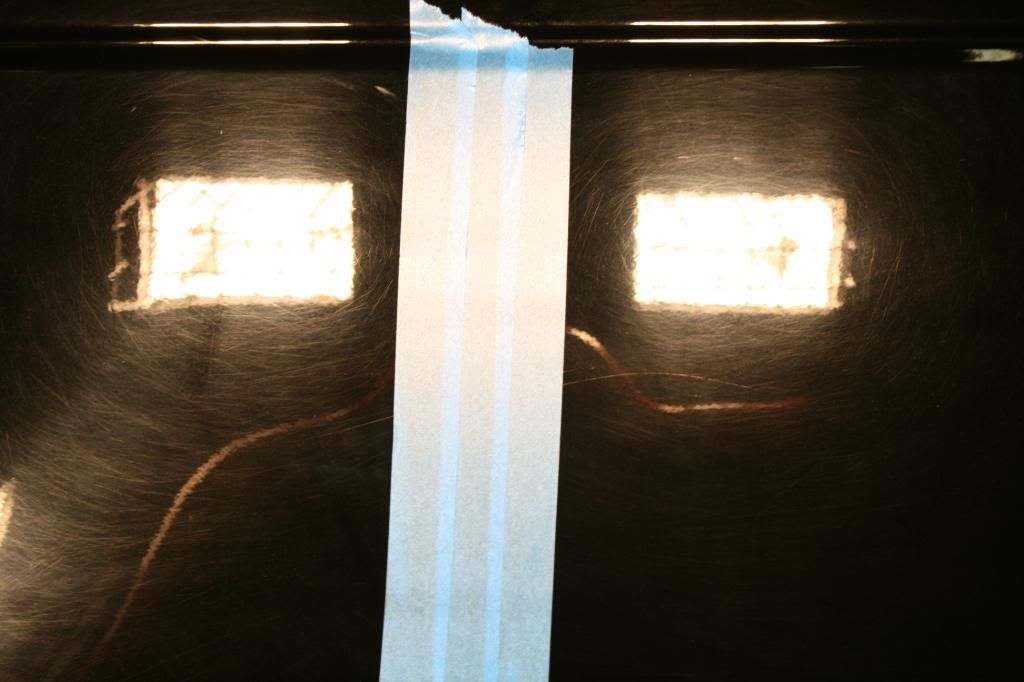
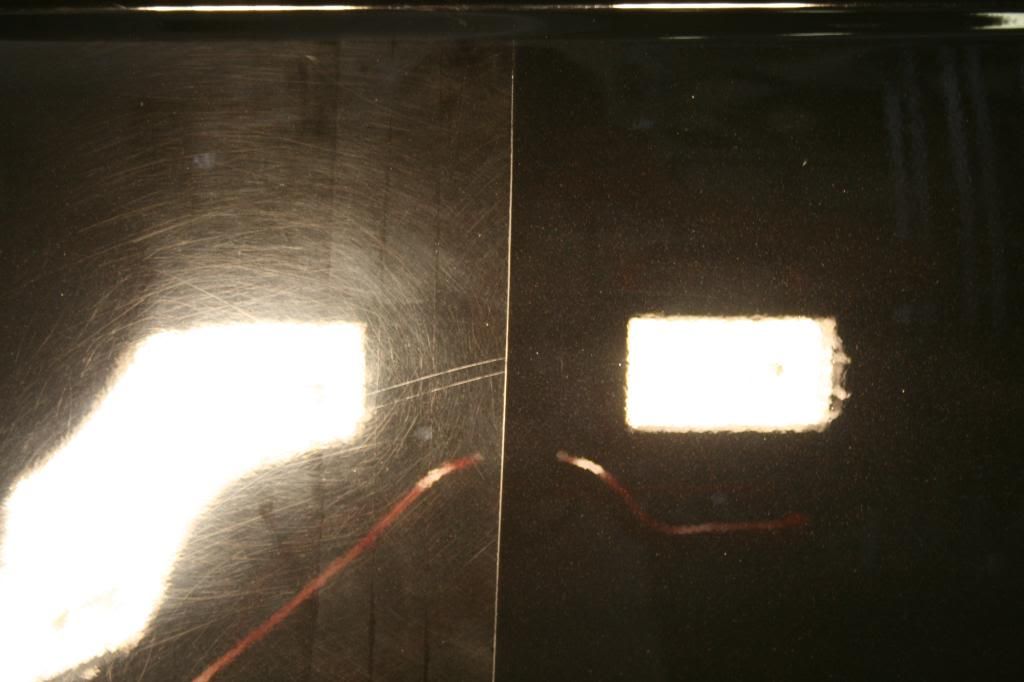
it got most of the defects out of that panel. so i decided to go on with that combination. i moved onto the hood.
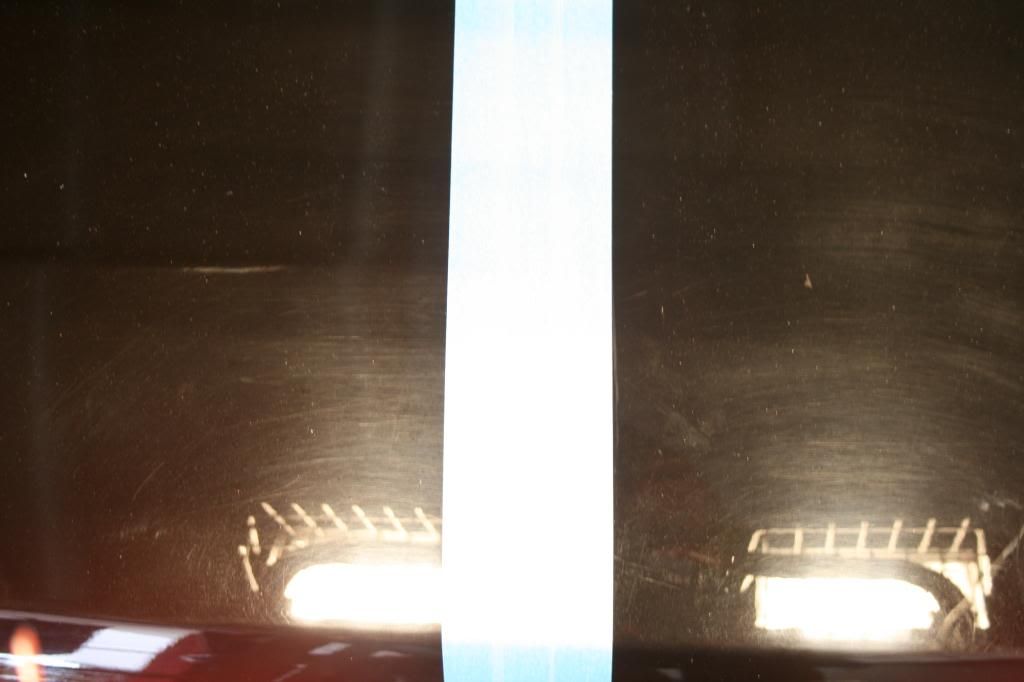
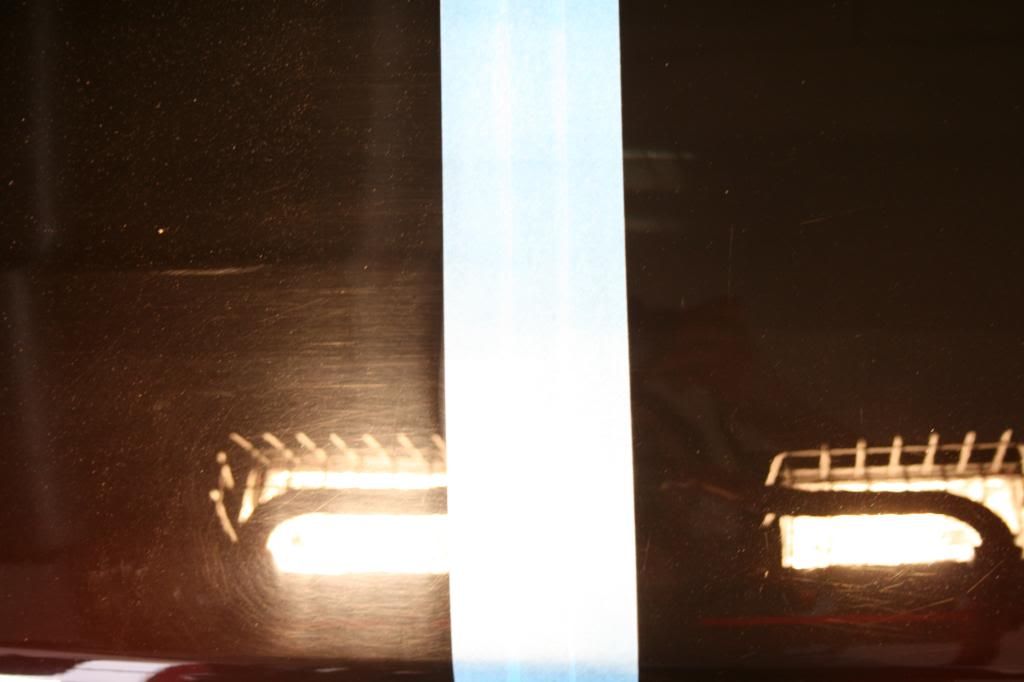
now that didn't seem to do much as far as taking care of the RIDS... so i decided to bump it up a notch to Menzerna Power Gloss on a Purple Foamed Wool Pad.
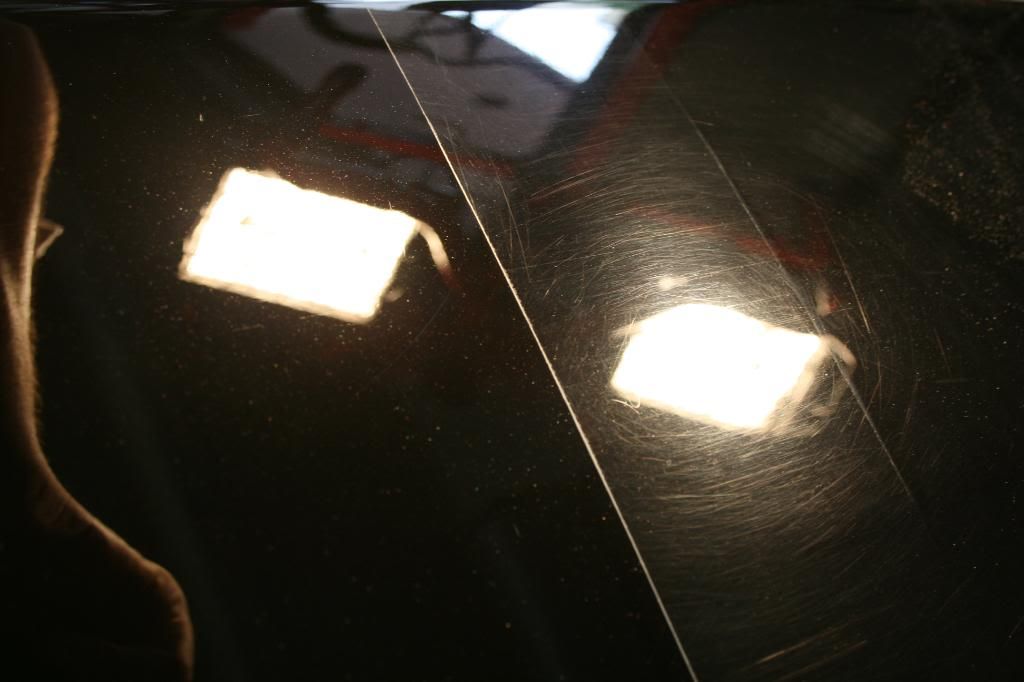
still left some RIDS...
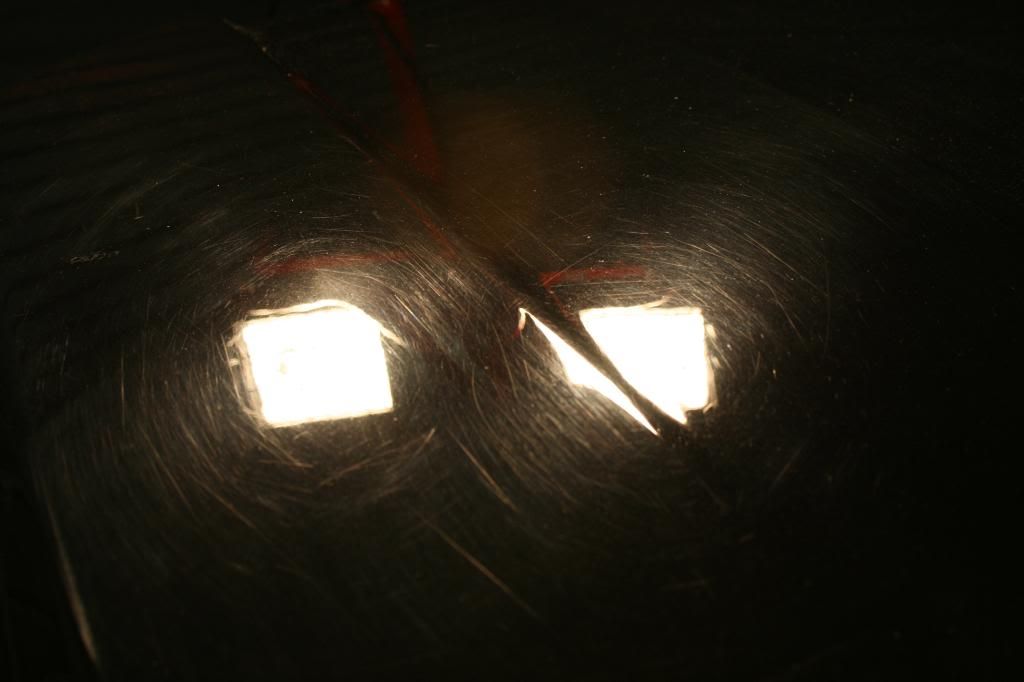
after 1 pass with Power Gloss
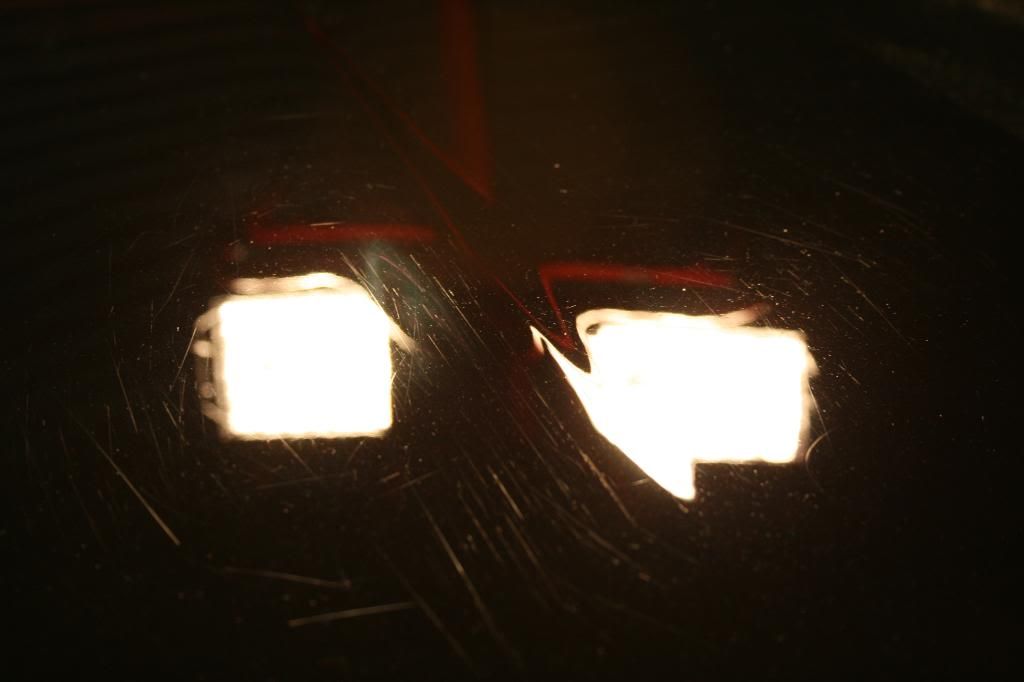
after 2 passes
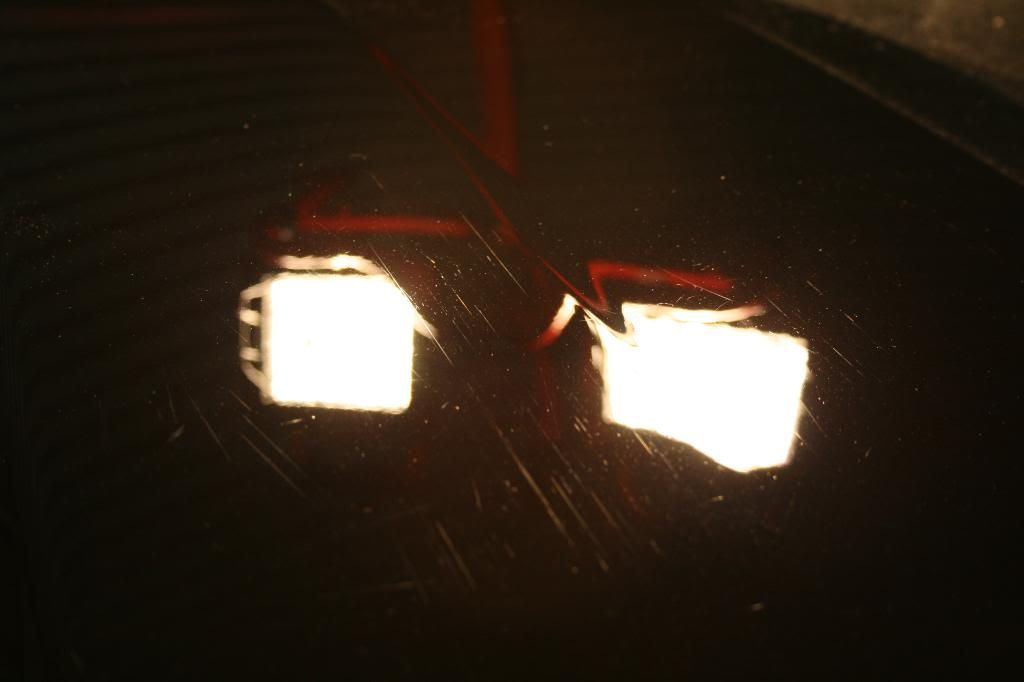
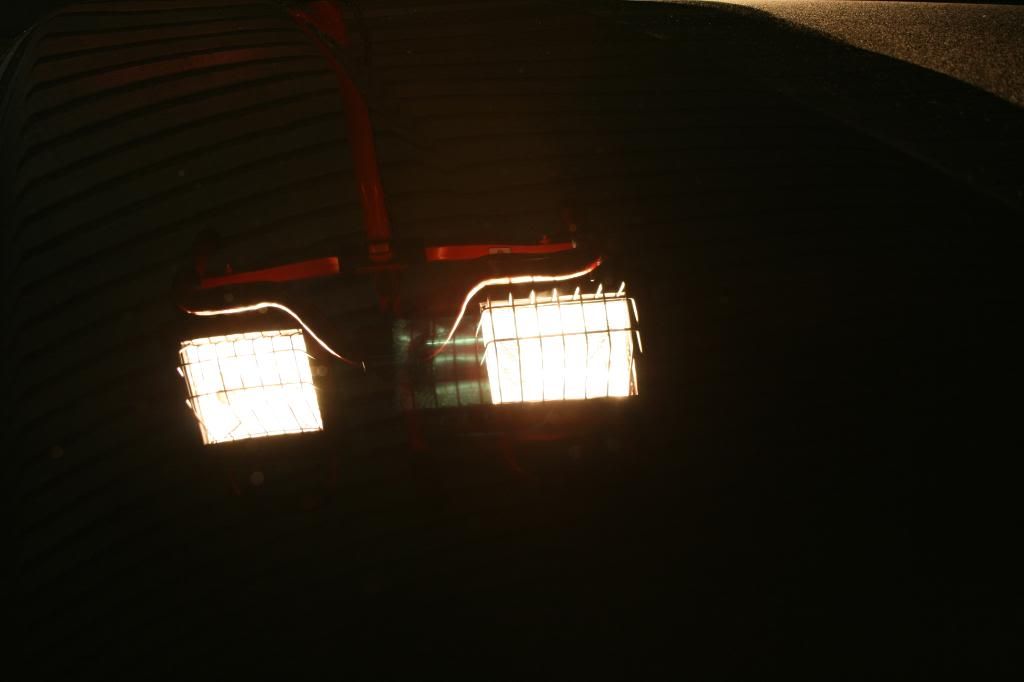
so at this point i had to resort to sanding using 2000 grit paper in order to get rid of the RIDS
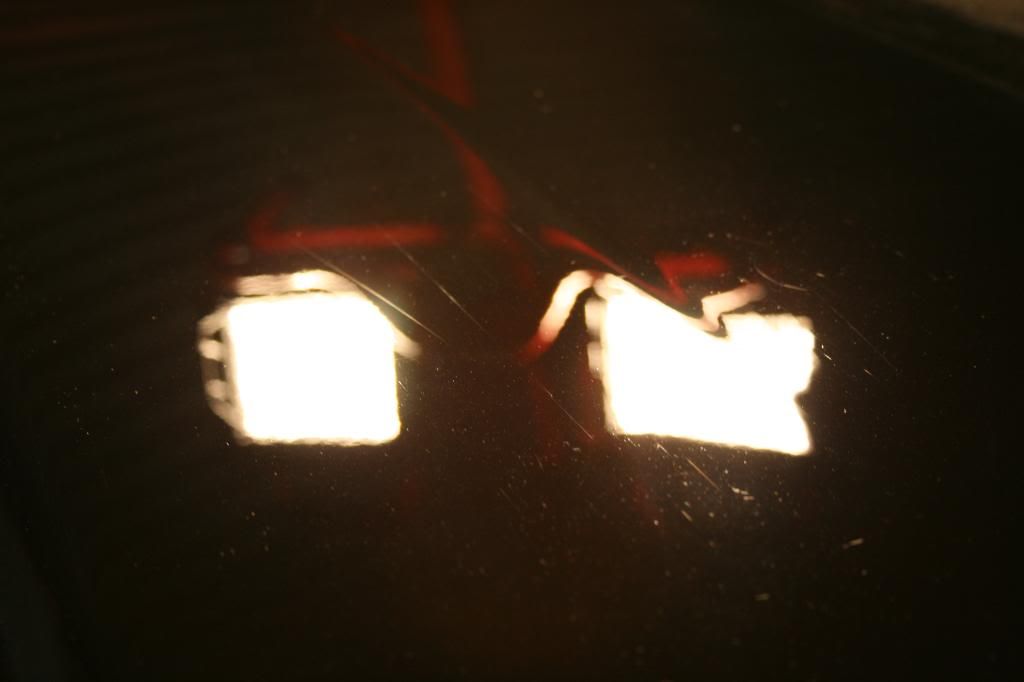

and after powergloss of the same panel
Exterior
-Wash
-P21s TAW Pre-soak
-CG CWG
-CG Waterspot Remover
-White/yellow shMITT
-Engine
-Meguiar's Super Degreaser
-Meguiar's Hyper Dressing
-Wheels
-CG Citrus wheel cleaner
-Meguiar's Wheel brightener
-CG CWG
-EZ detail Brush
-Black shMITT
-Amazing Roll-off (tires)
-Swissvax Autobahn
-Wheel Wells
-Simple Green
-black shMITT
-Meguiar's Hyper Dressing
-Clay
-CG Gray clay
-CG Synthetic QD for lube
-Correction
-2000 grit (3M wet-or-dry) sanding paper
-Menzerna Powergloss
-Menzerna SIP
-Menzerna PO85RD
-LC Foamed Wool
-LC yellow compounding pad
-LC orange pad
-LC white pad
-Sonus SFX white pad
-Sonus SFX blue finishing pad
-Makita 9227C
-3M yellow backing plate
-Edge foam pad cleaner
-ISA wipedown
-LSP
-Collinite 915
-FK1# 425
Interior
-CG leather Cleaner
-CG lightning fast
-1Z cockpit Premium
-1Z Gummi Pflege
-Zaino Z10
-303 protectant
-Stoner's Invisible Glass
Well to start, i arrived at fire station #4 (again!) at 7:00AM. i took a quick look at the car and i told the owner that it didn't look like it was in too bad of shape, except for some big scratches, which i was told to remove. first off i decided it would be better to degrease the engine before moving on the the paint, so that i would not dirty the paint.


Letting Meguiar's Super Degreaser soak in. then i gave the heavily soiled areas a scrub, then rinsed off.

now it's time for the wash. using the two-bucket method with grit guards. i first washed the wheels, then the car. after the wash i clayed the entire car using CG's Gray clay since this car had never been clayed in the past.


after the wash and clay


CG's Citrus wah n gloss sure does leave a nice looking shine! but don't be fooled! now onto the halogen lights!


well that paint was in pretty bad shape... so i decided to try a test panel using SIP on a orange pad.


it got most of the defects out of that panel. so i decided to go on with that combination. i moved onto the hood.


now that didn't seem to do much as far as taking care of the RIDS... so i decided to bump it up a notch to Menzerna Power Gloss on a Purple Foamed Wool Pad.

still left some RIDS...

after 1 pass with Power Gloss

after 2 passes

so at this point i had to resort to sanding using 2000 grit paper in order to get rid of the RIDS


and after powergloss of the same panel

#2
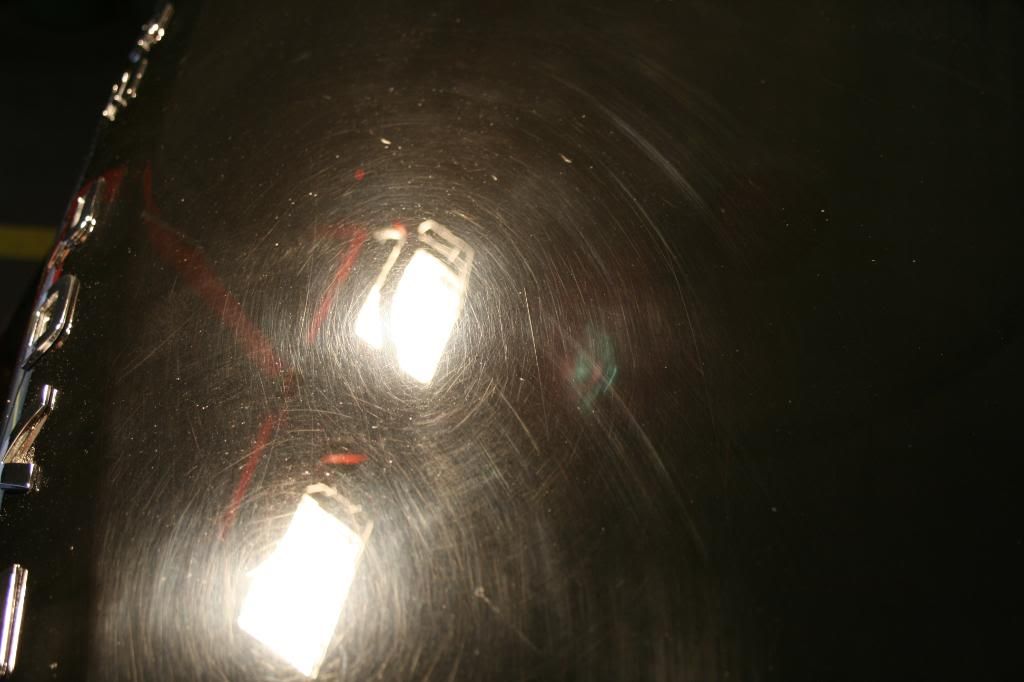
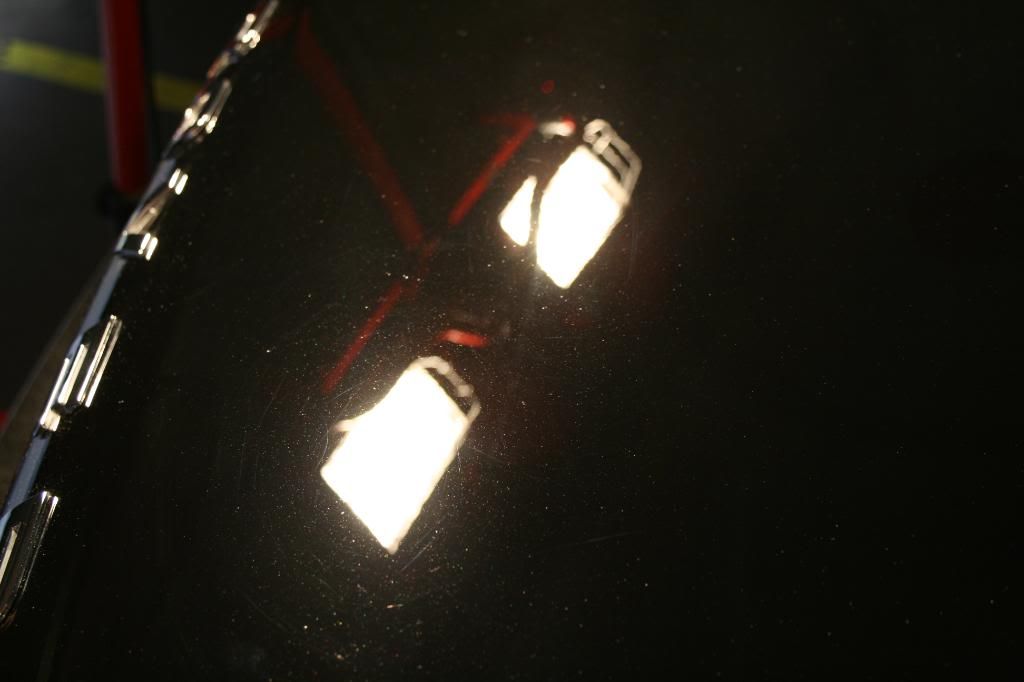
the center of the hood
1 pass wasnt enough....
did anyone say powergloss isn't dusty?
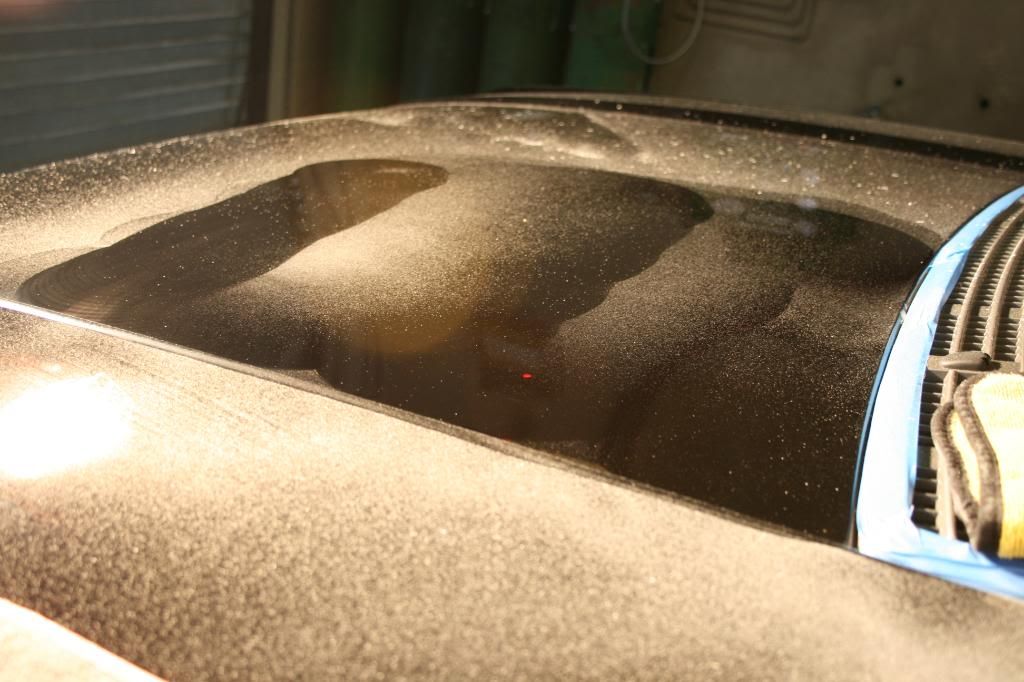
more before and after shots
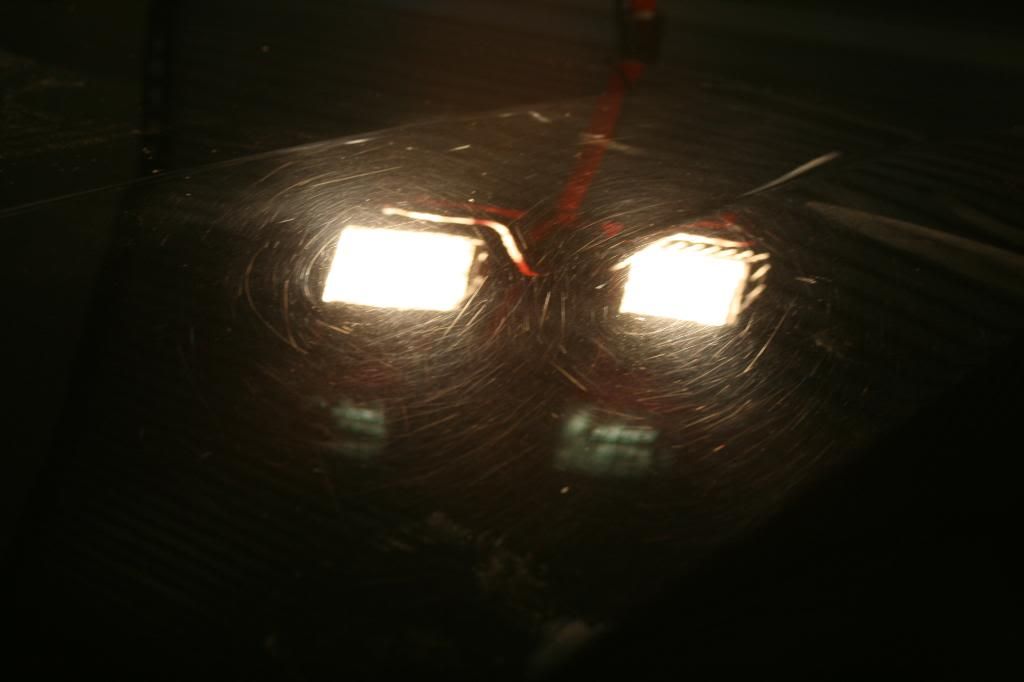
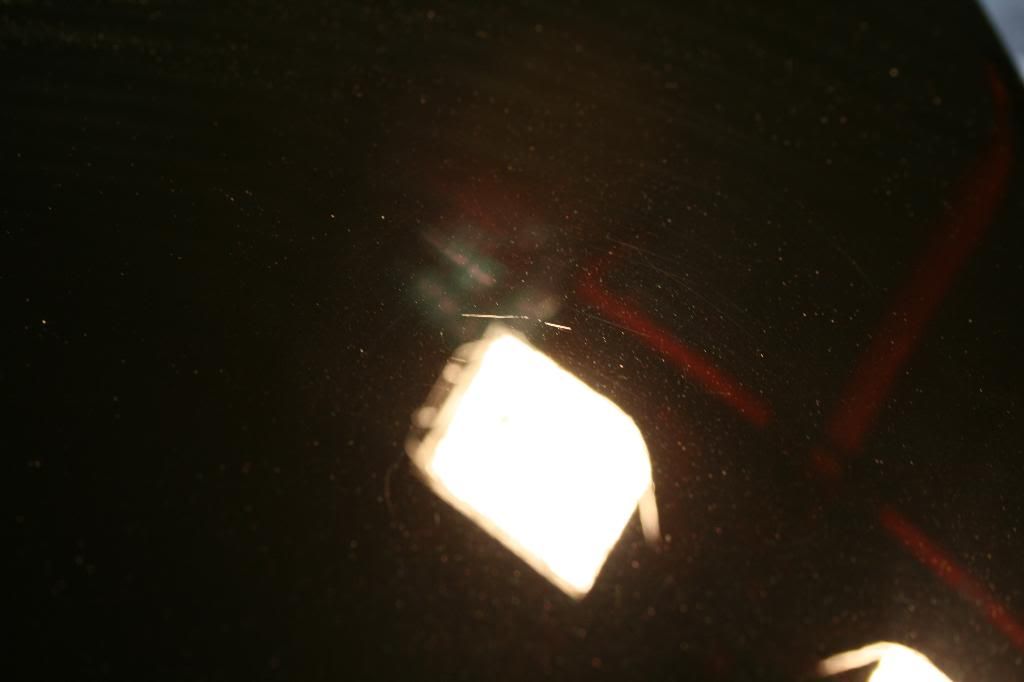
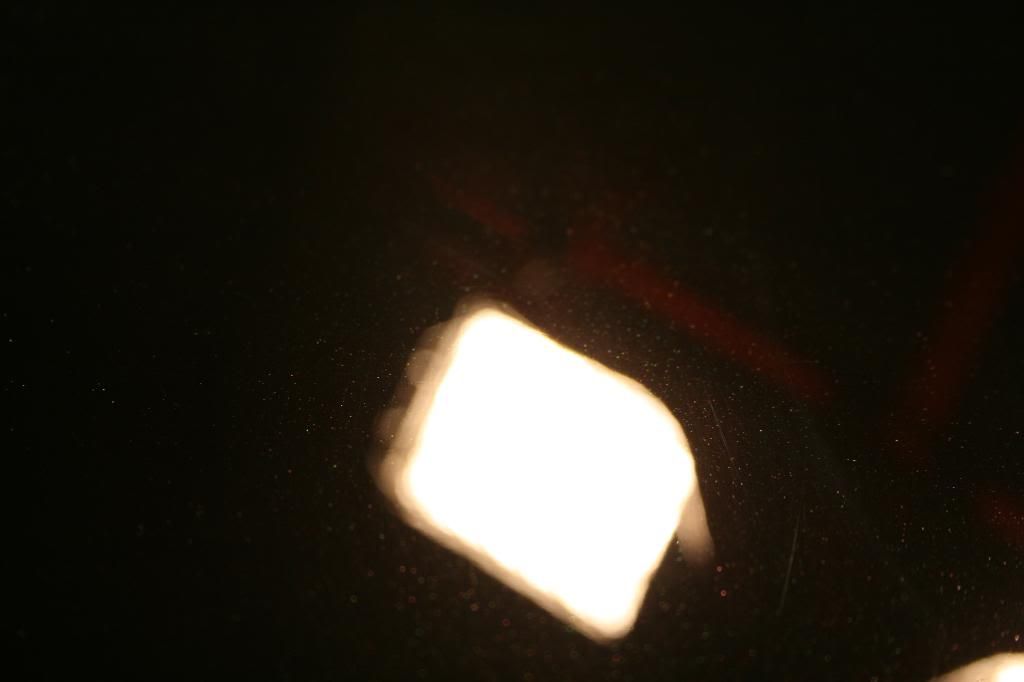
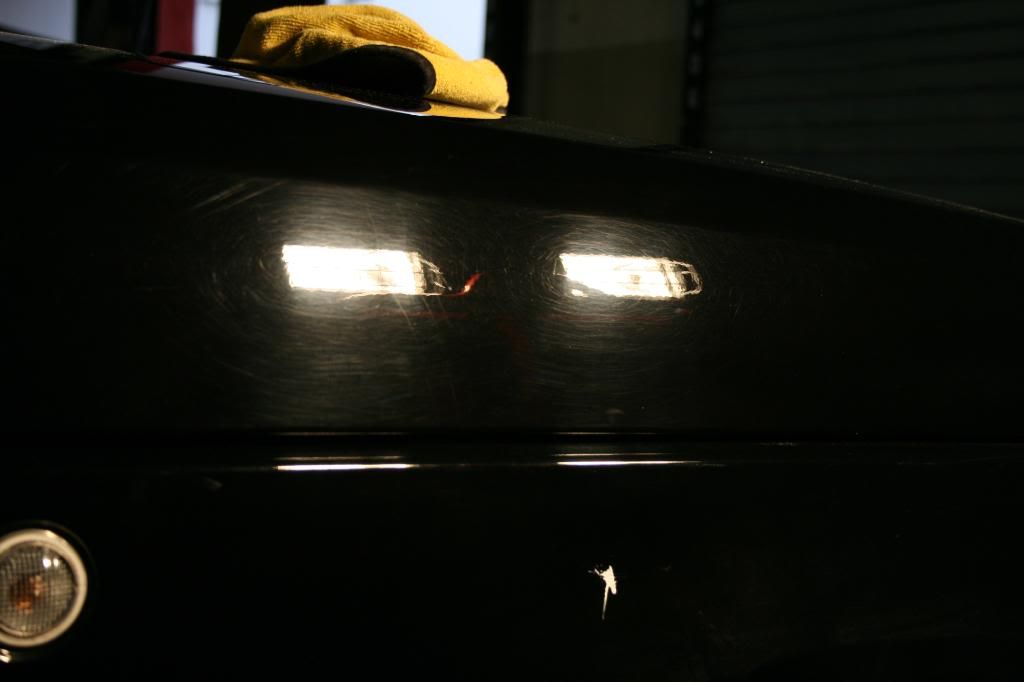
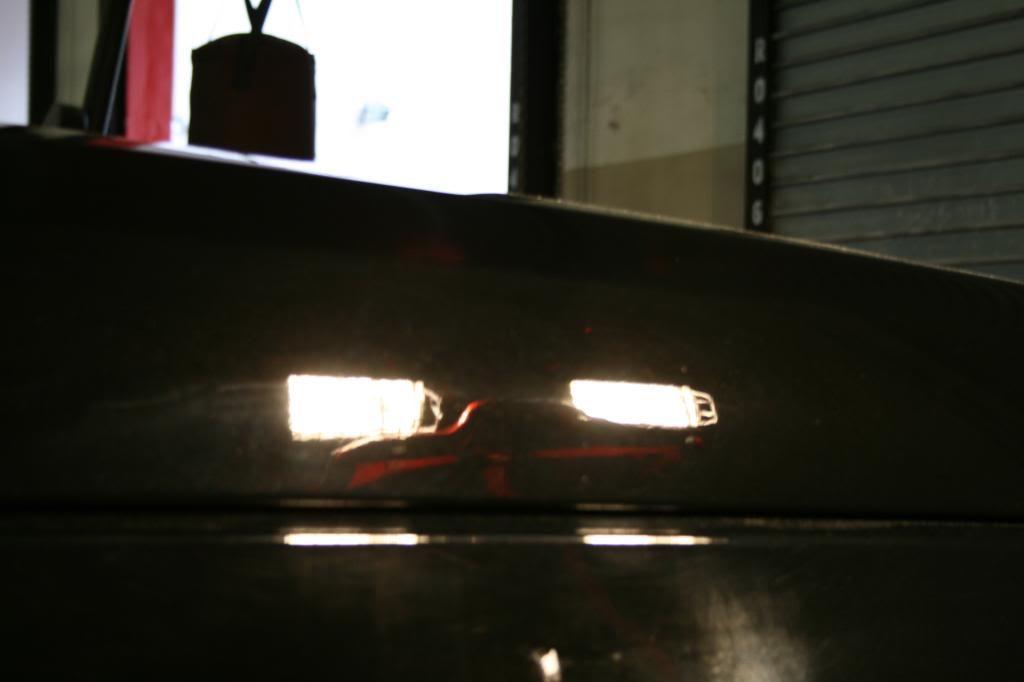
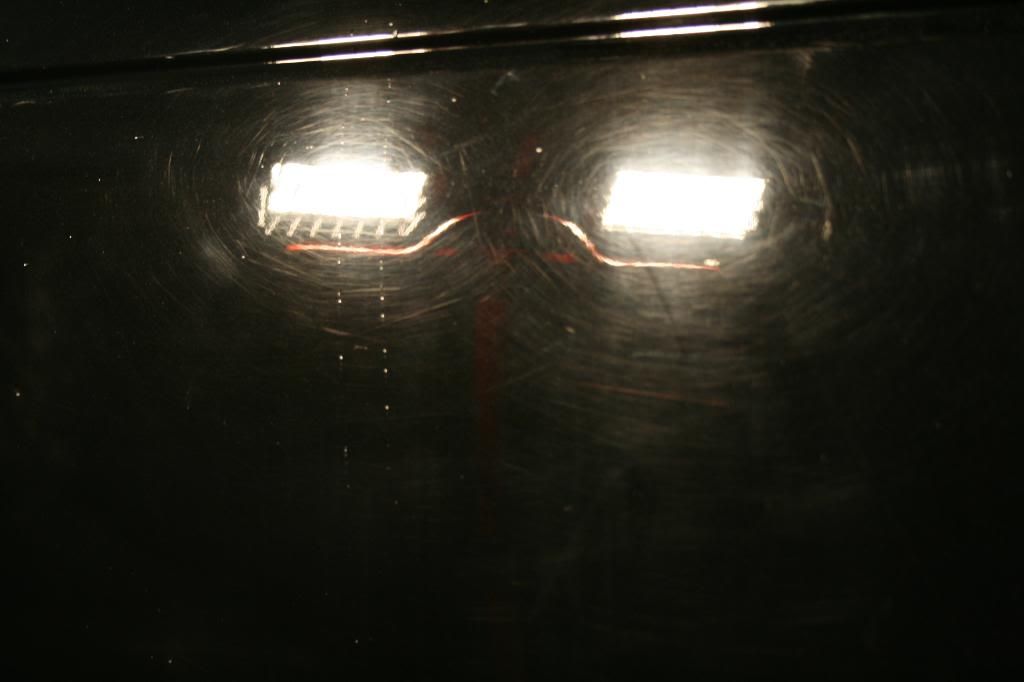
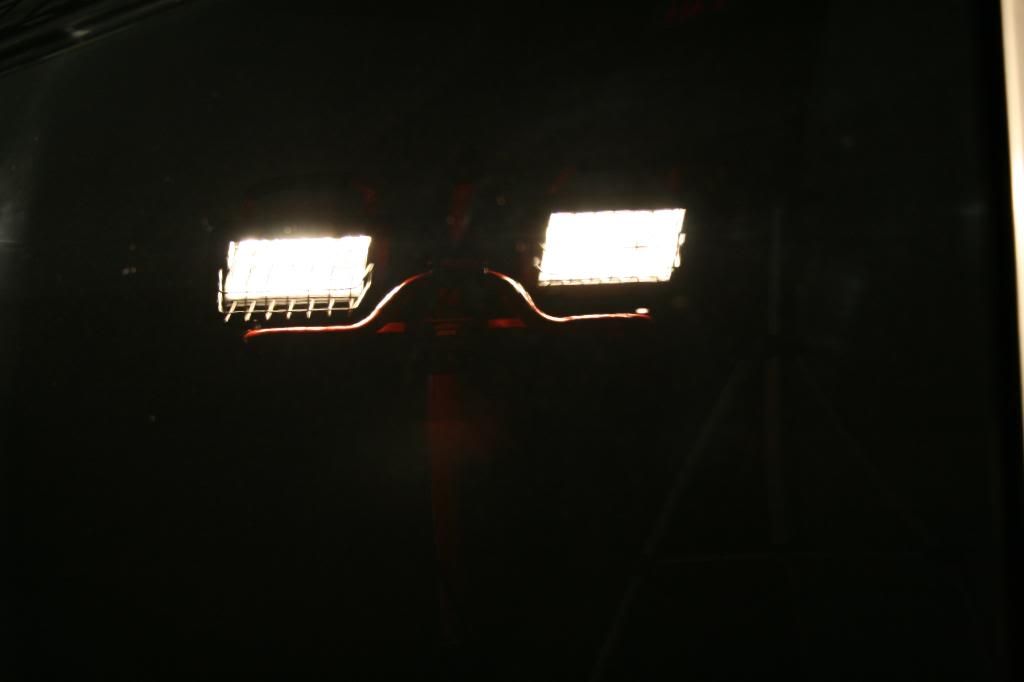
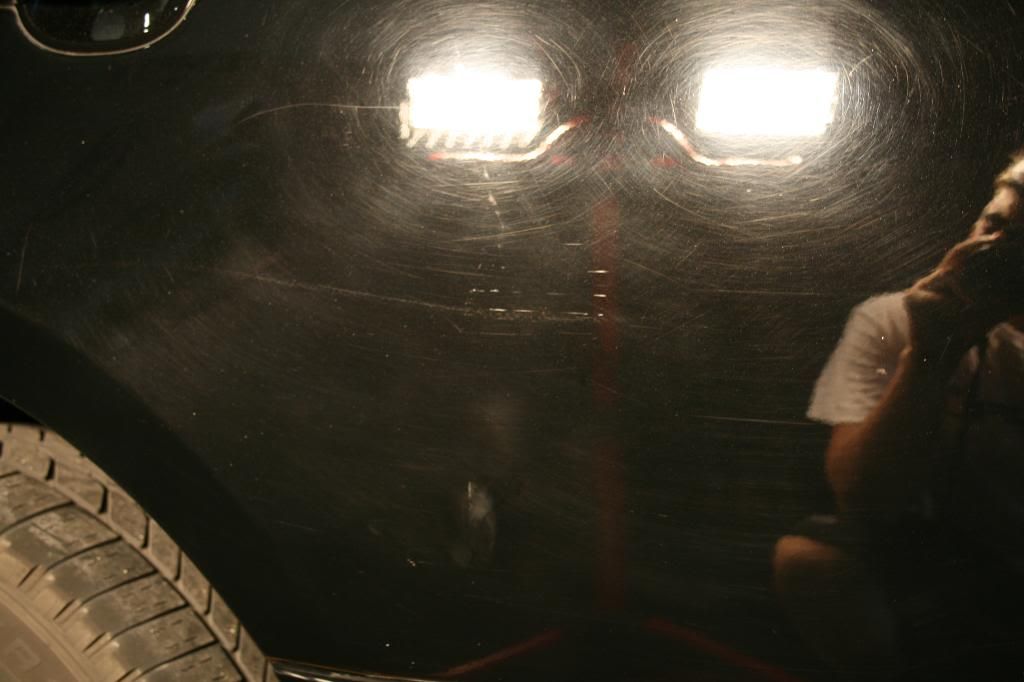
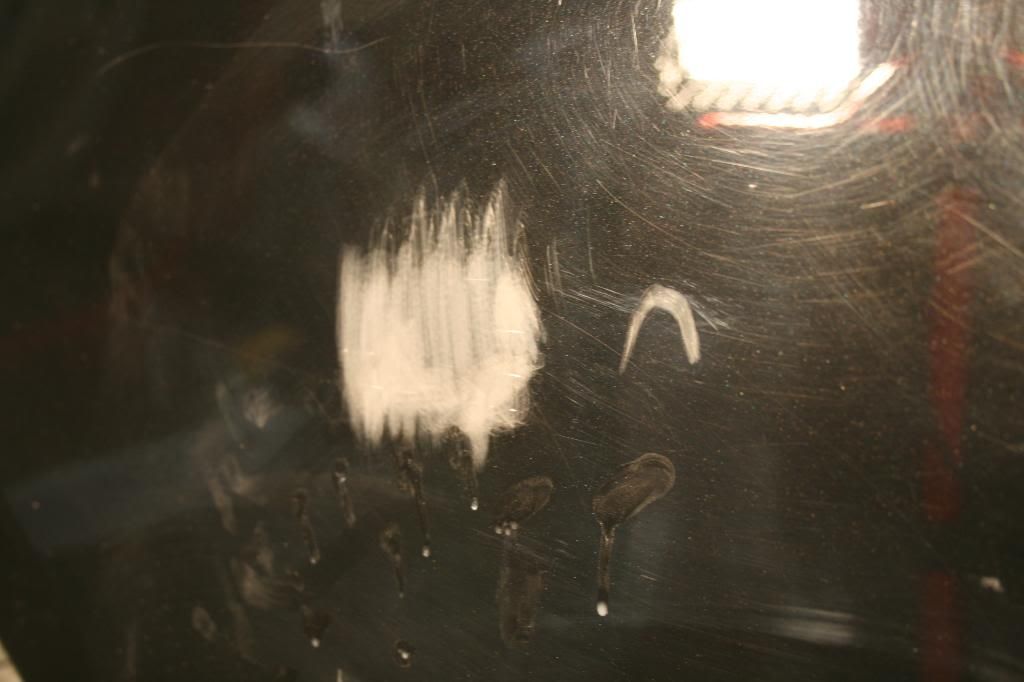
these scratches were caused by a luggage cart from a hotel running into the car. they had to be sanded out. some small parts of it had unfortunately gone too deep...
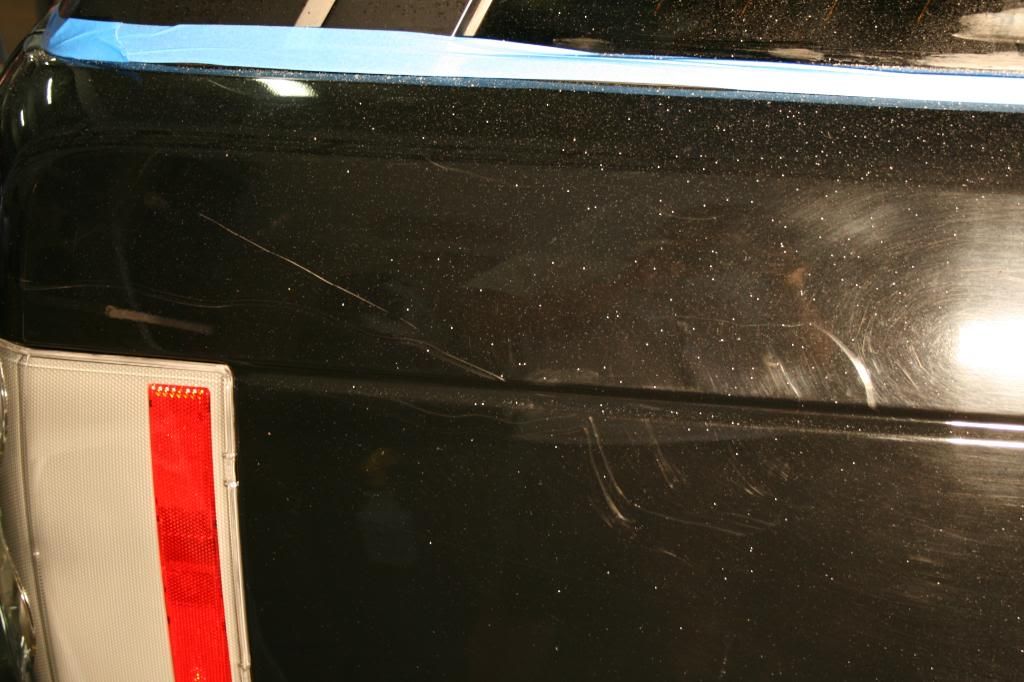
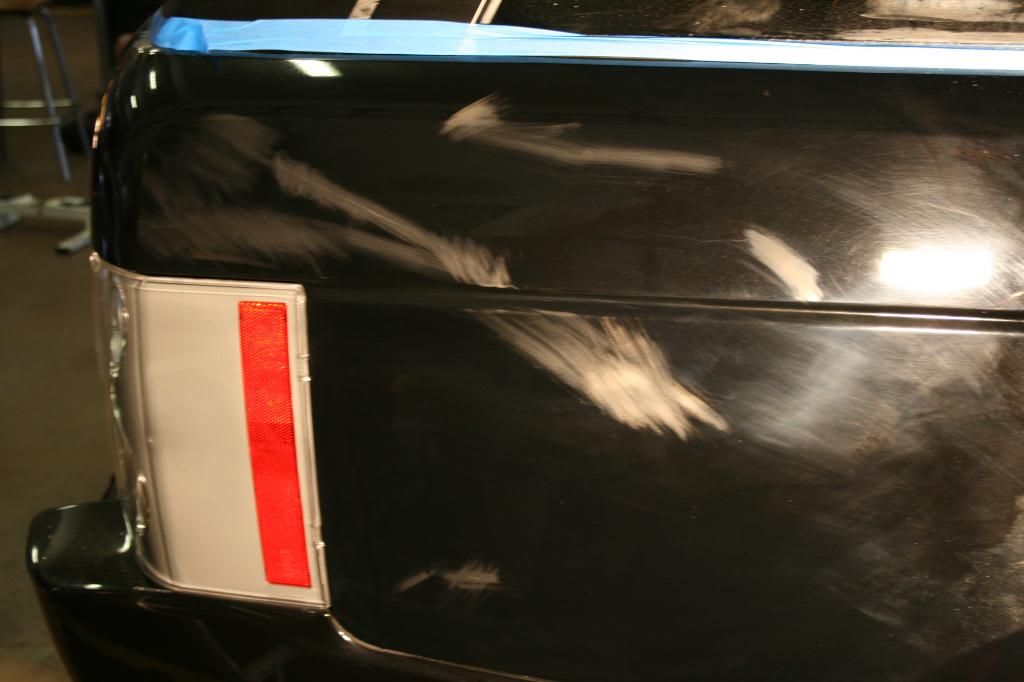
after powergloss
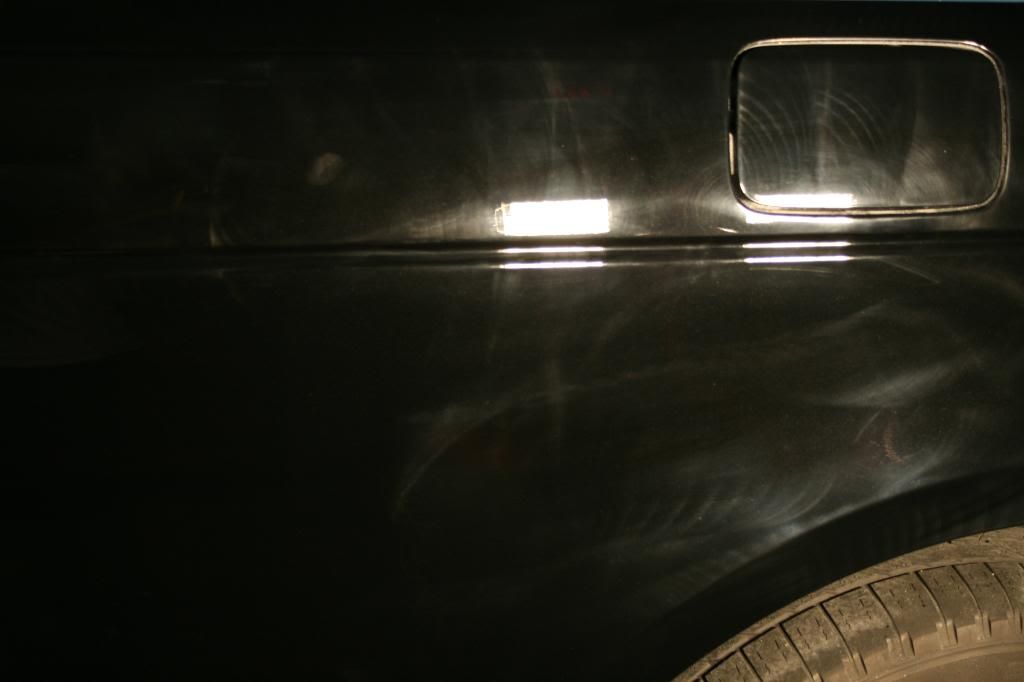
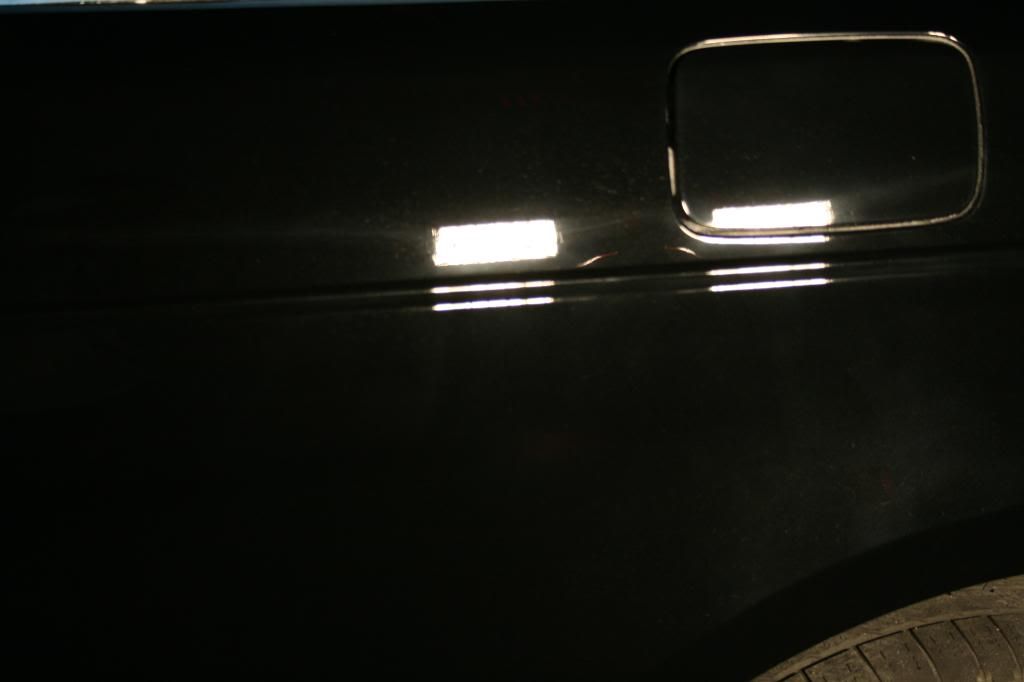
after SIP
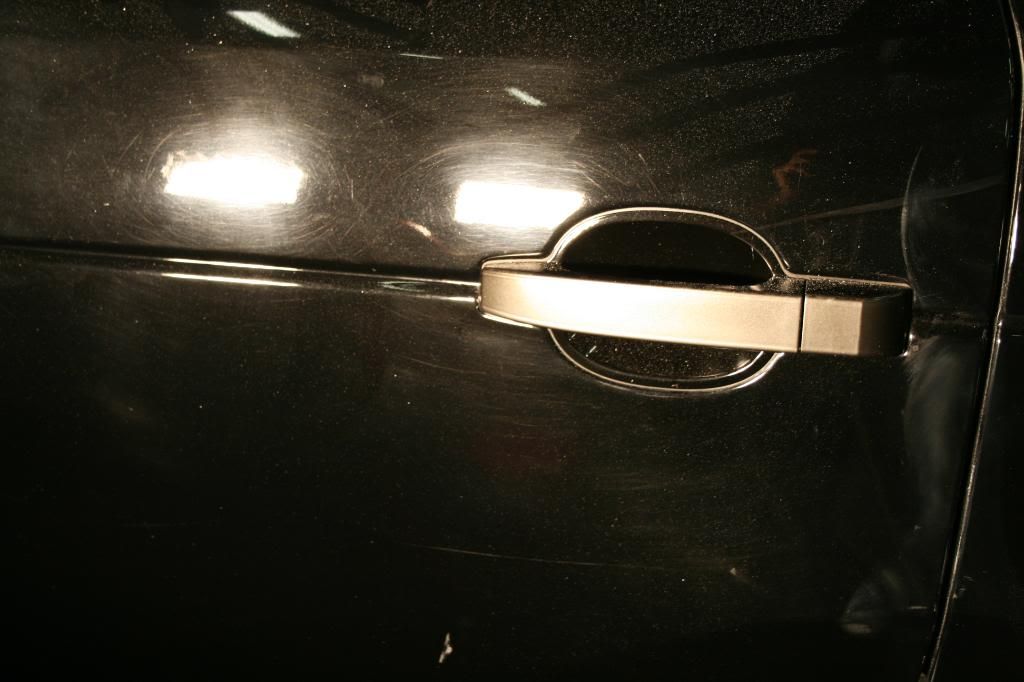
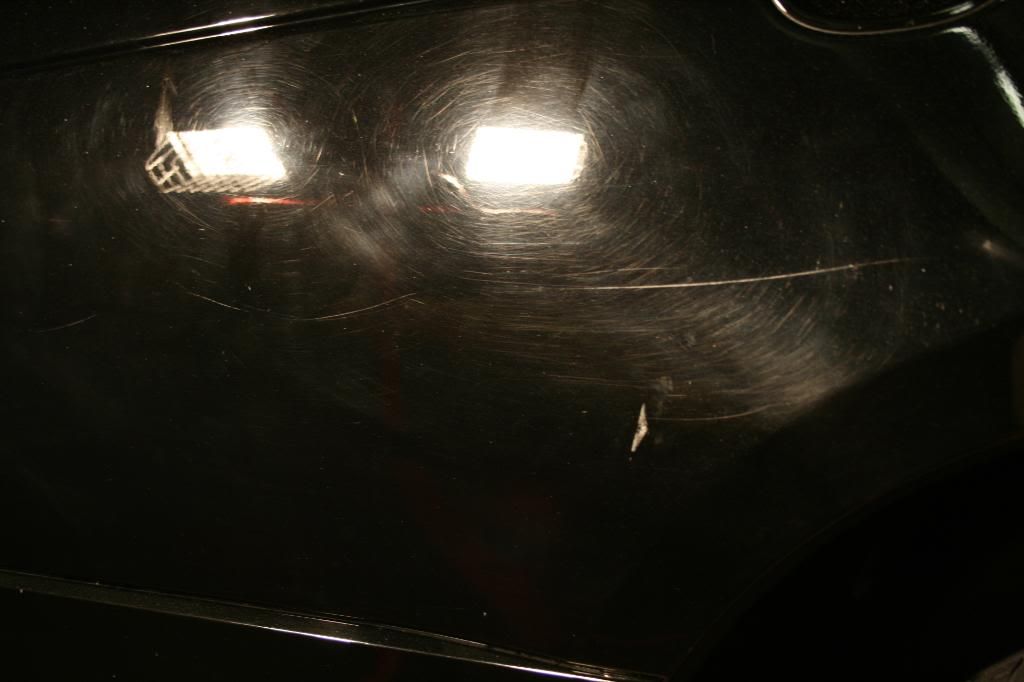
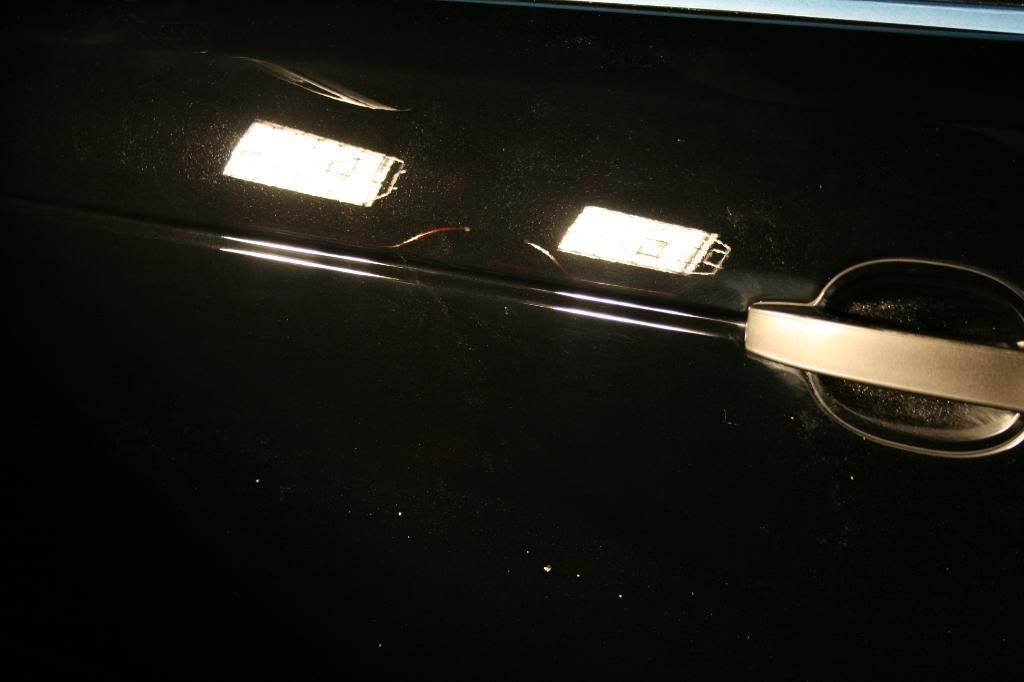
and that was the end of day 1. i left at 11:00PM.
the next morning i arrived back at the station and got started again at around 8:30AM. i re-washed the car because it sat outside at night and got rained on. then i went back to polish the whole car (including the roof) over with SIP on the white sonus SFX pad because my CCS pads were acting up for some reason. i think it had to do with the "sticky clear coat" issue.
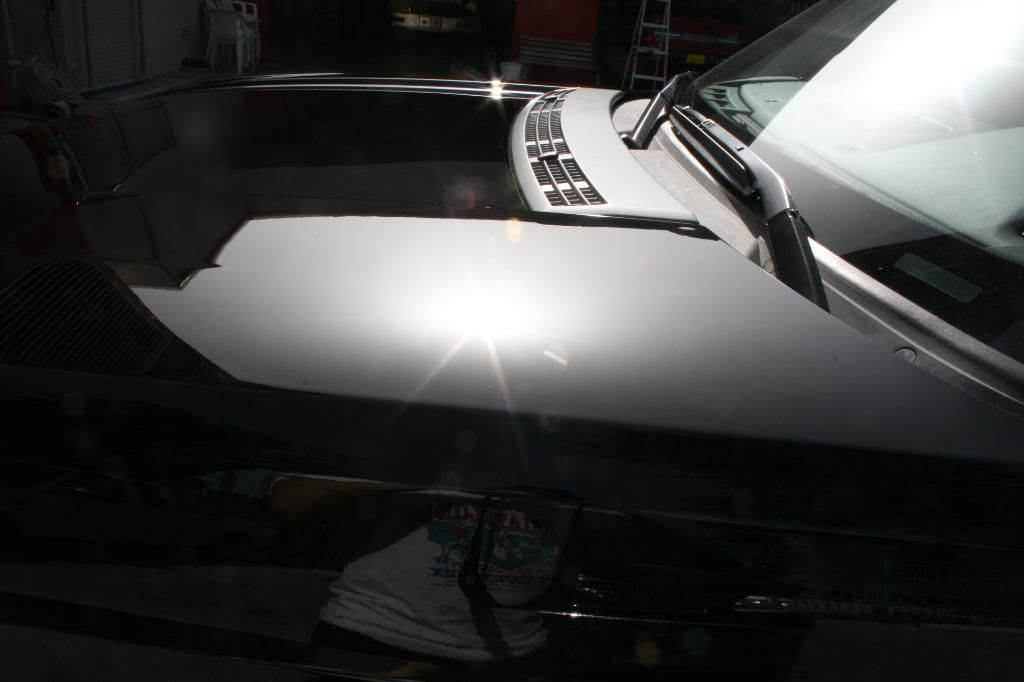
SIP finished down pretty well on the hood with the sonus SFX white polishing pad.
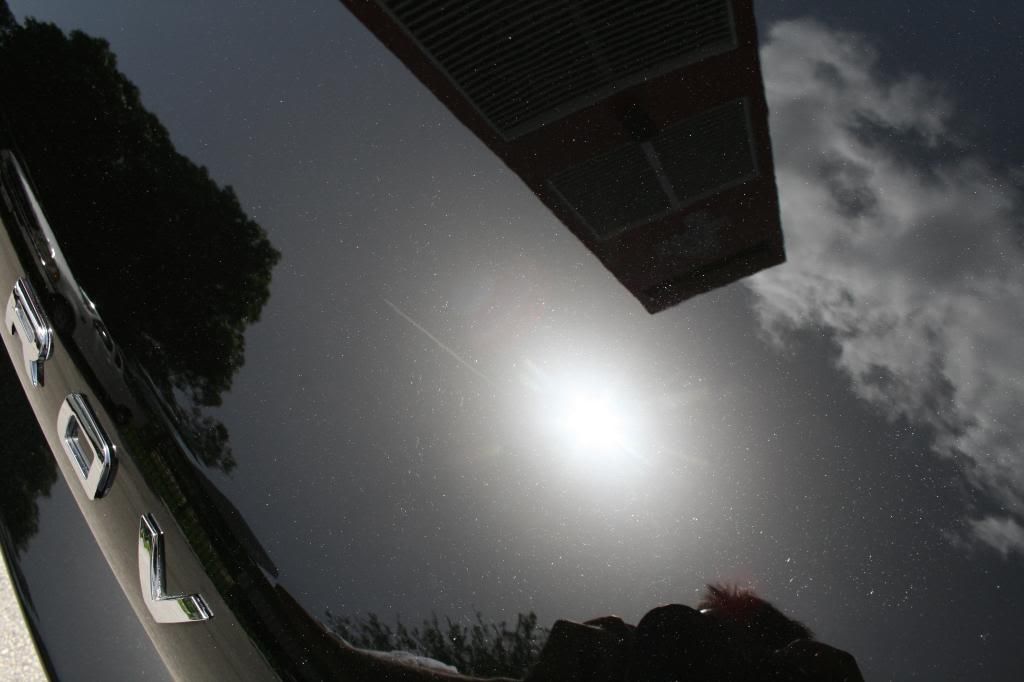
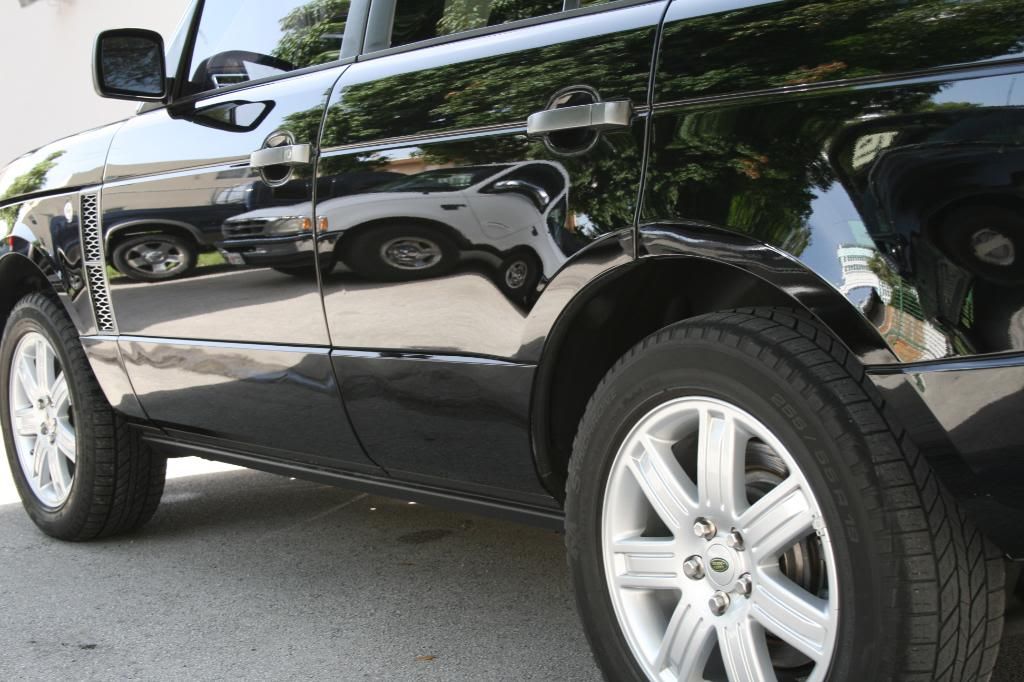
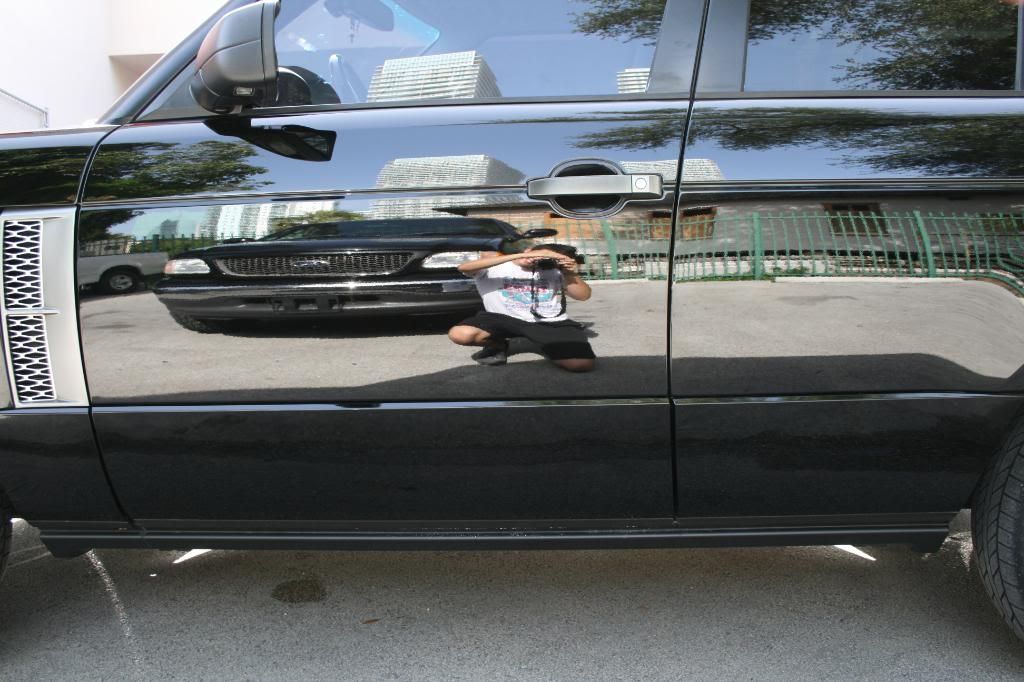
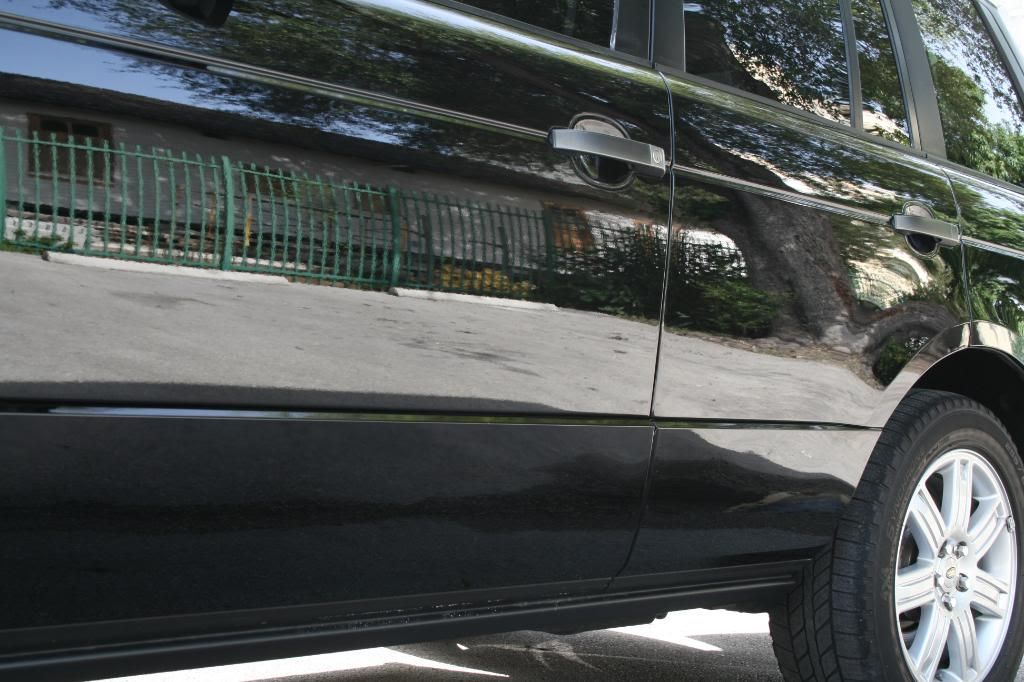
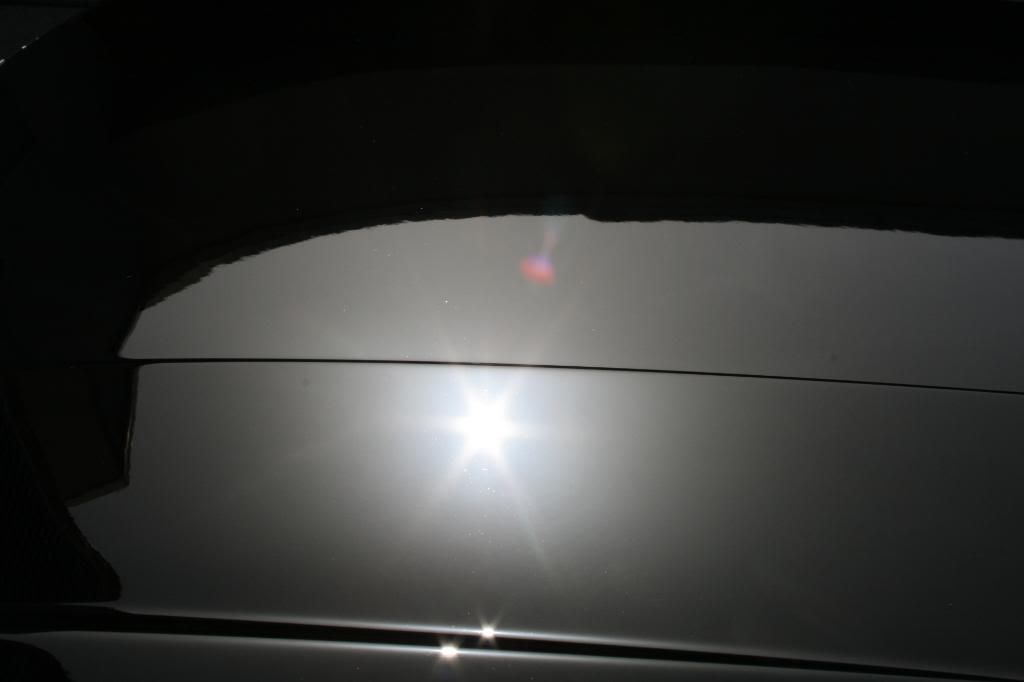
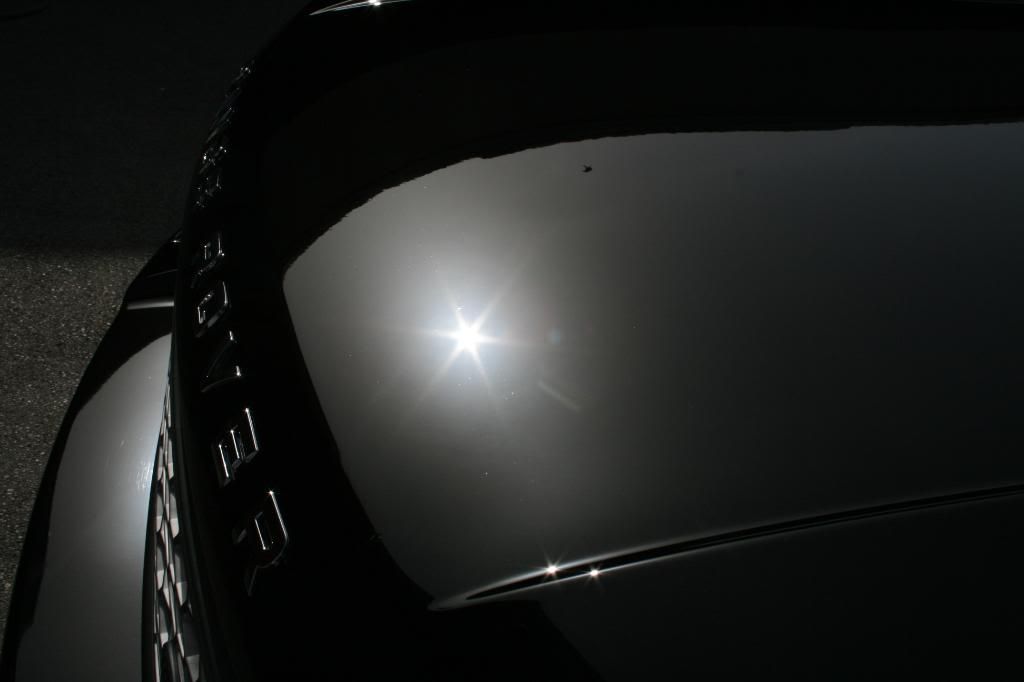
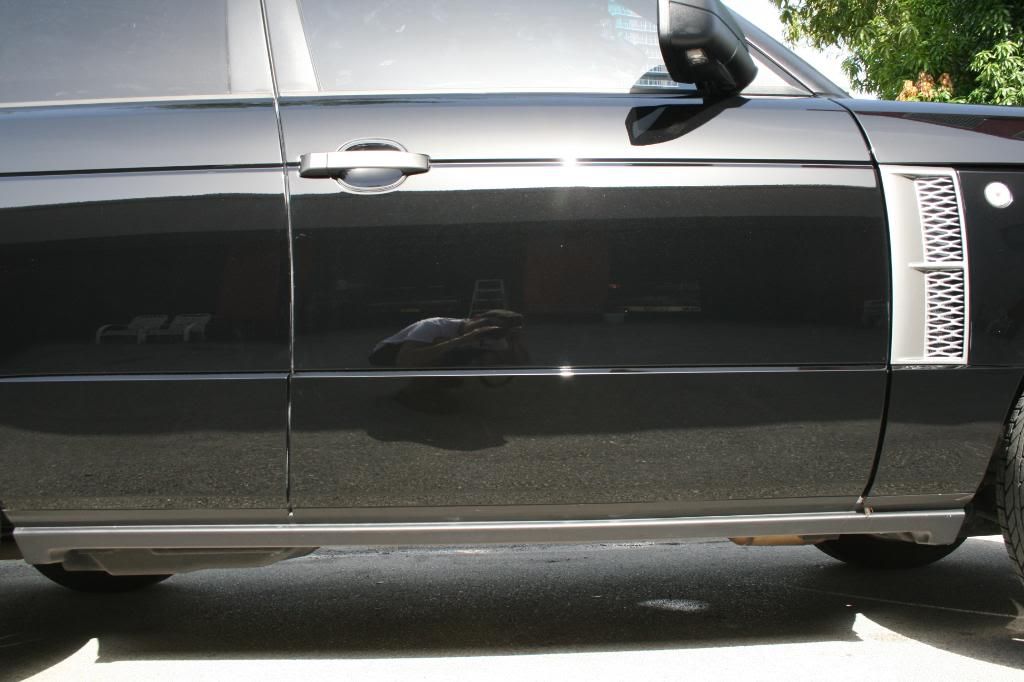
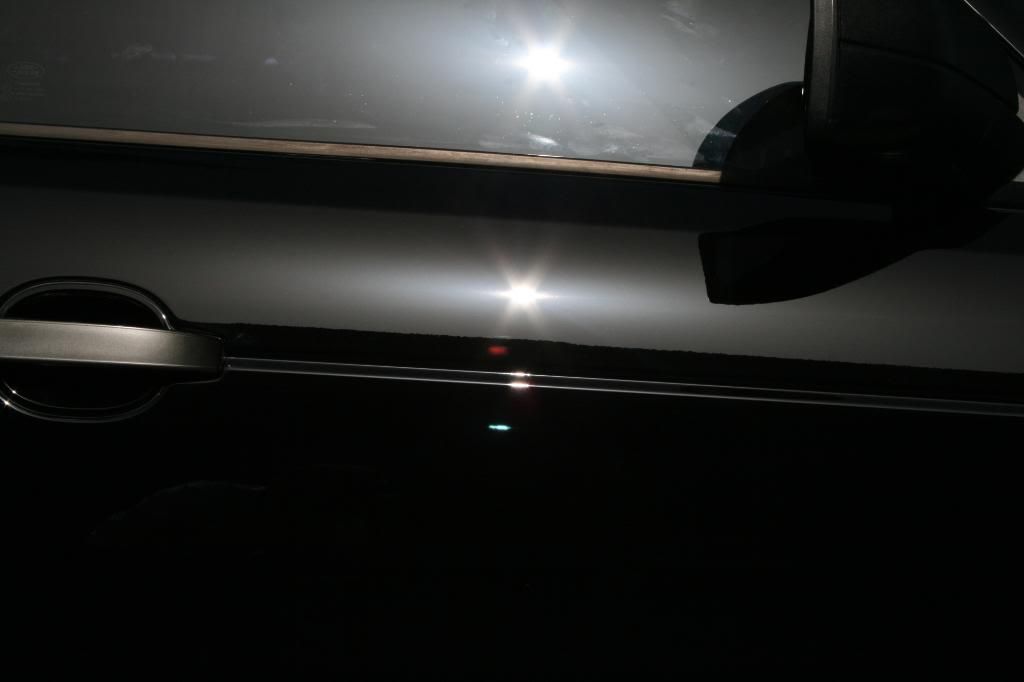
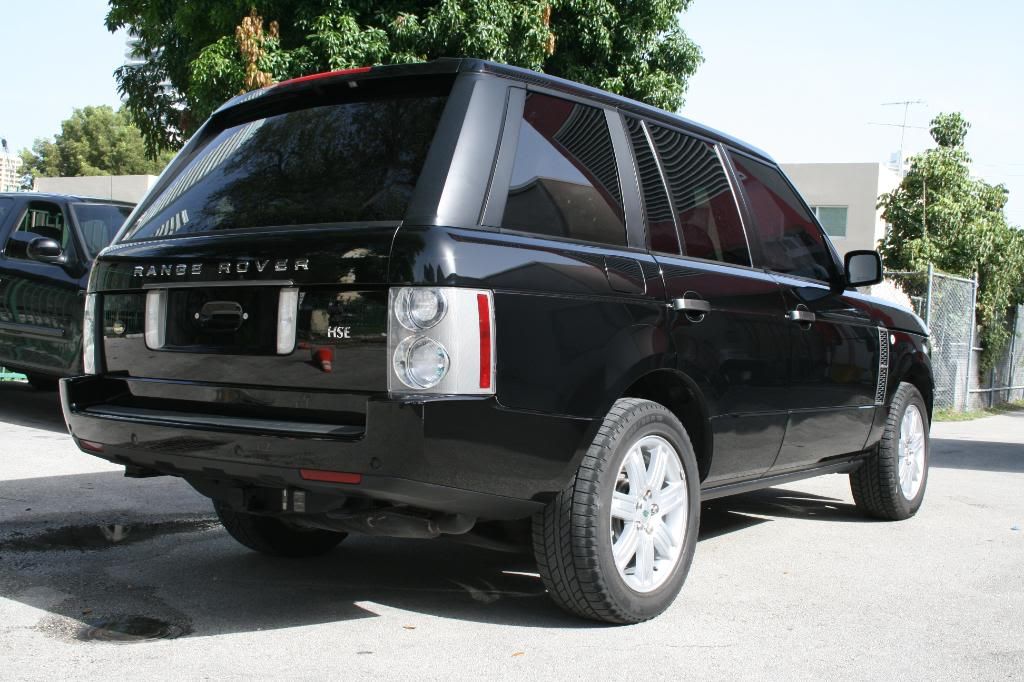
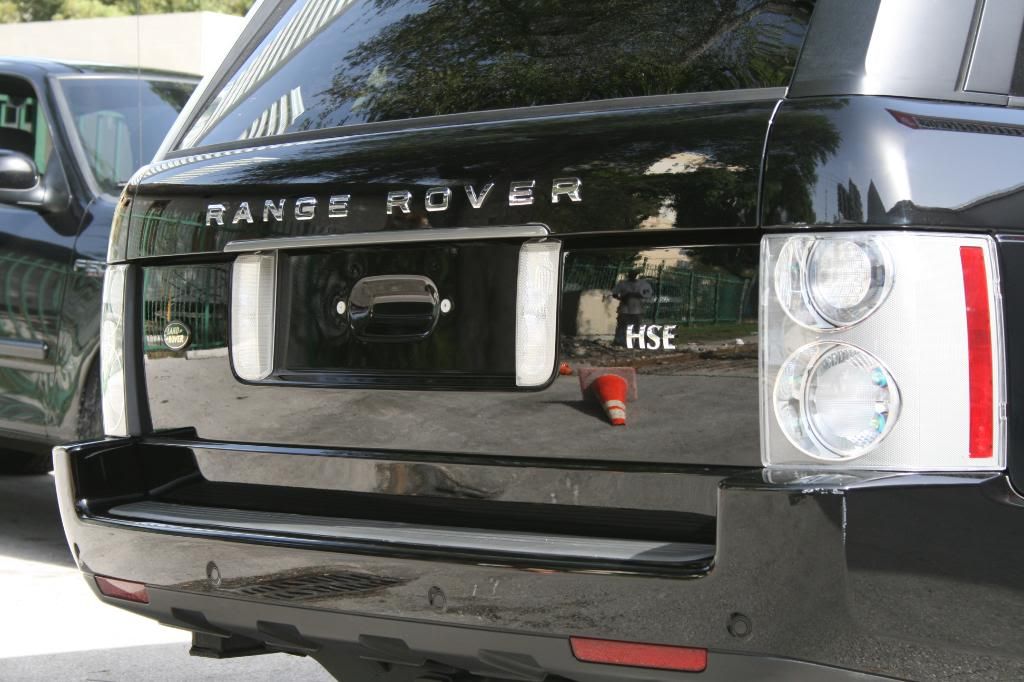
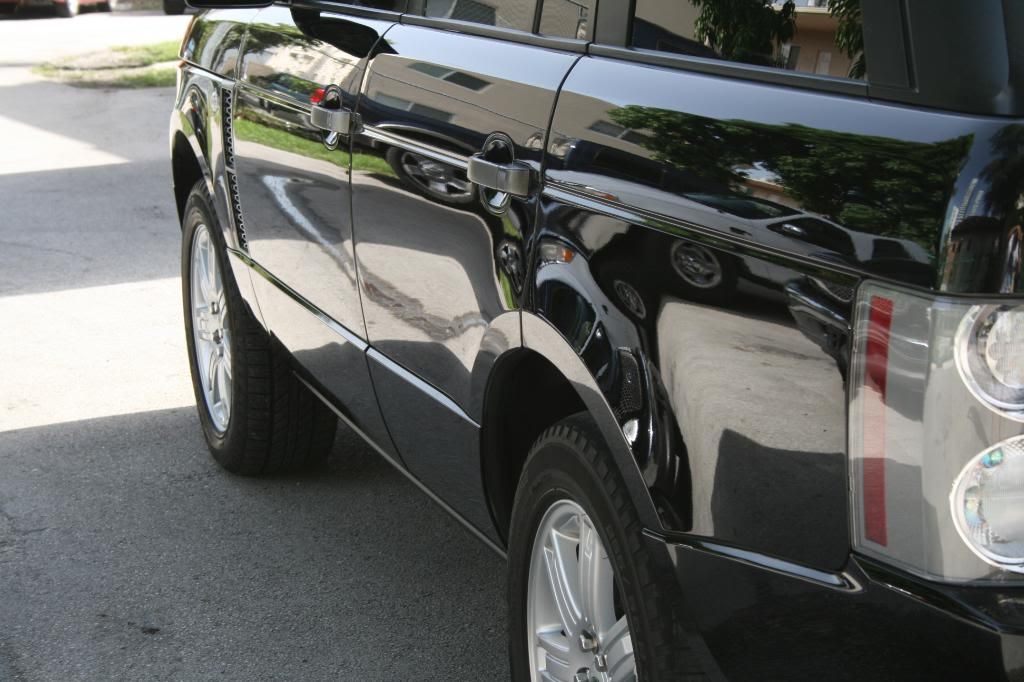
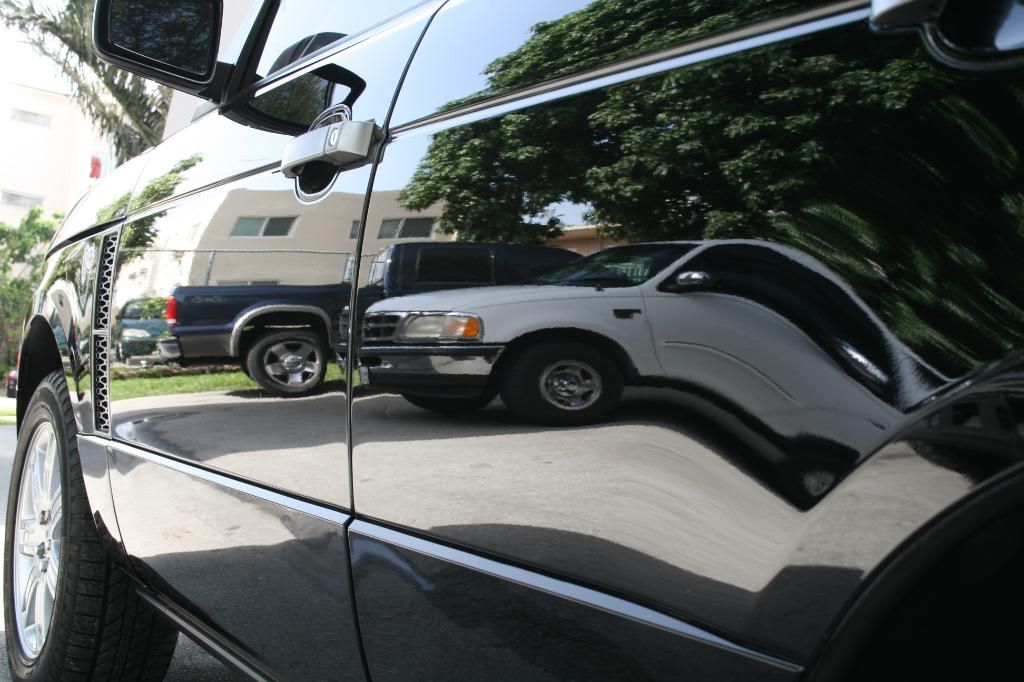
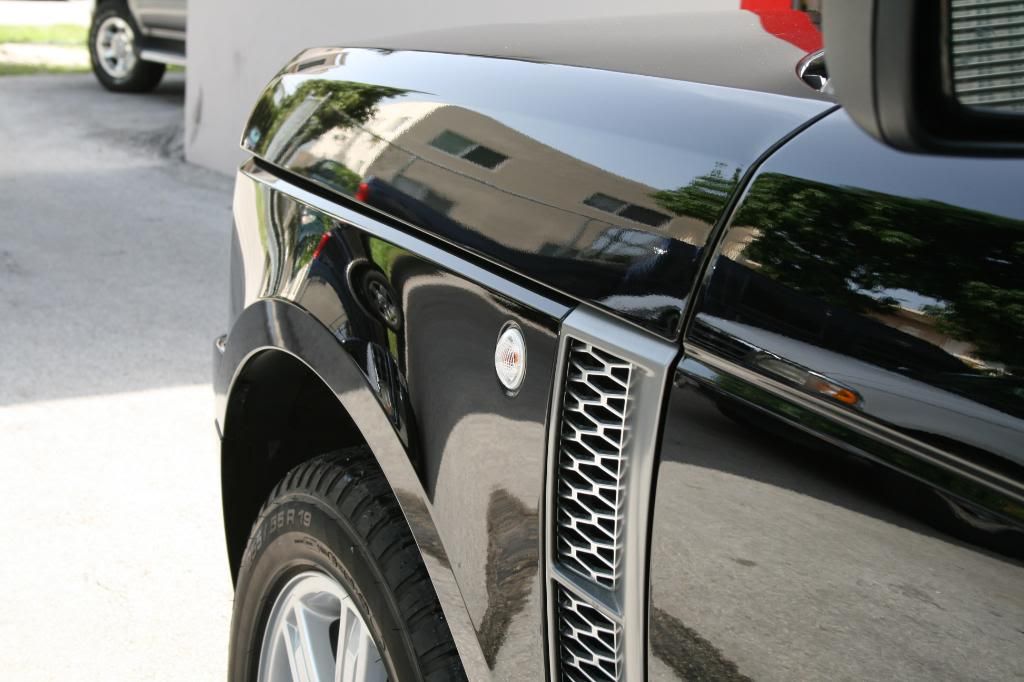
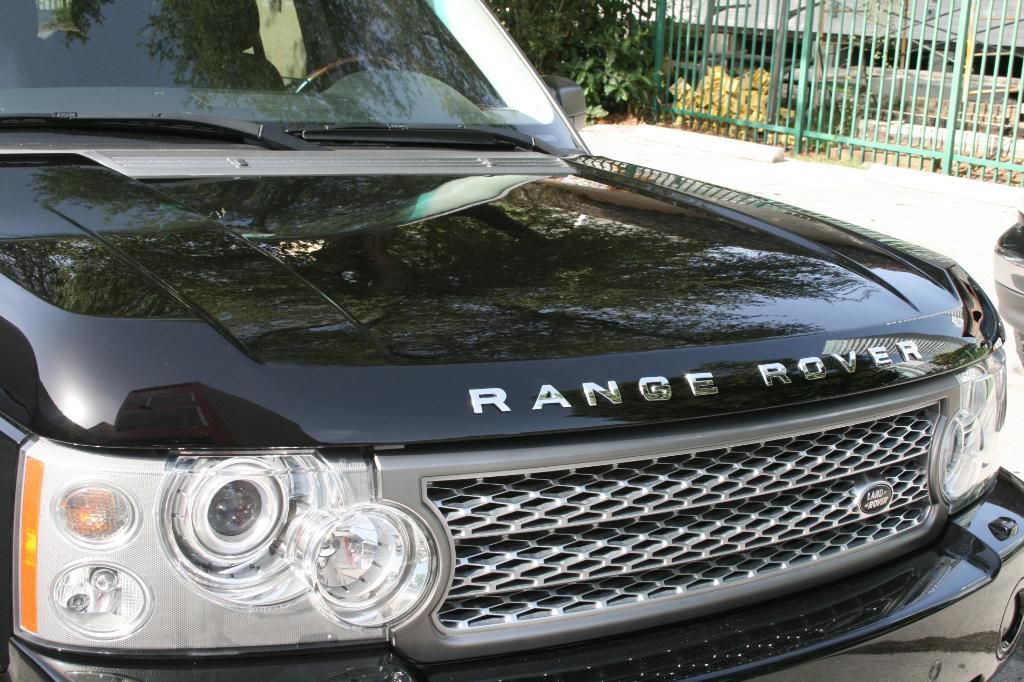
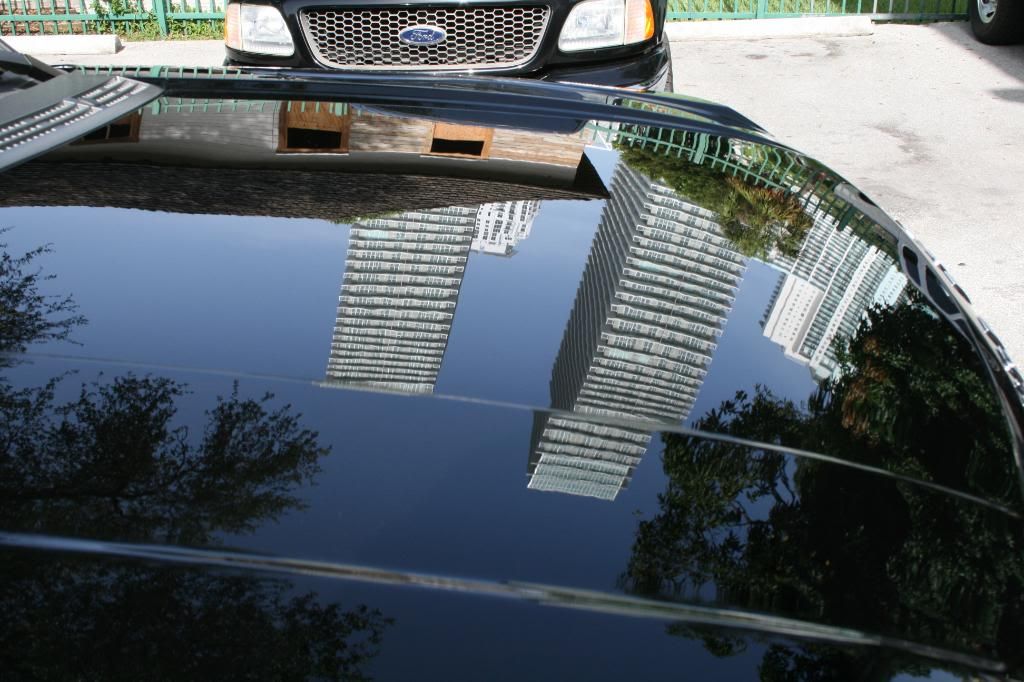
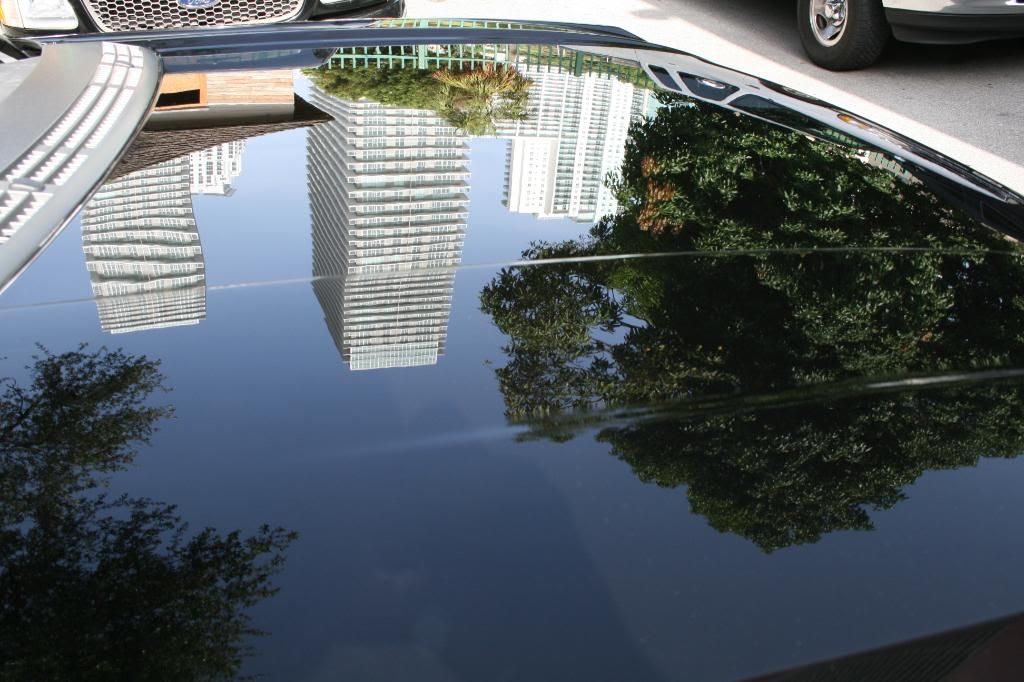
now for the final result of 2 hard days of polishing. these shots are after polishing with PO85RD on the blue sonus pad and given a ISA wipedown
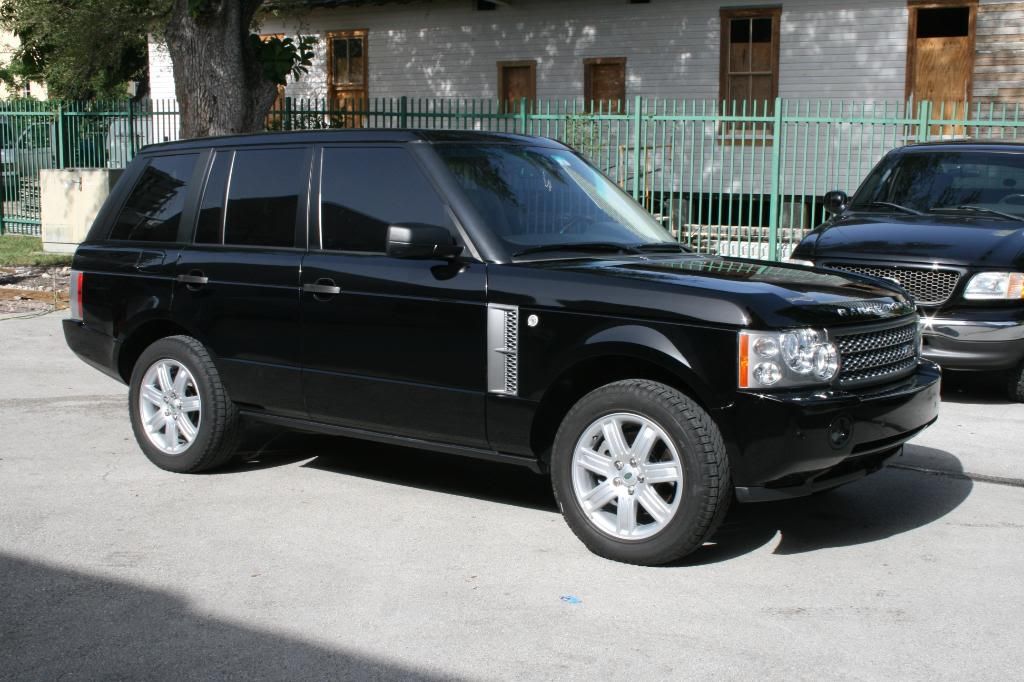
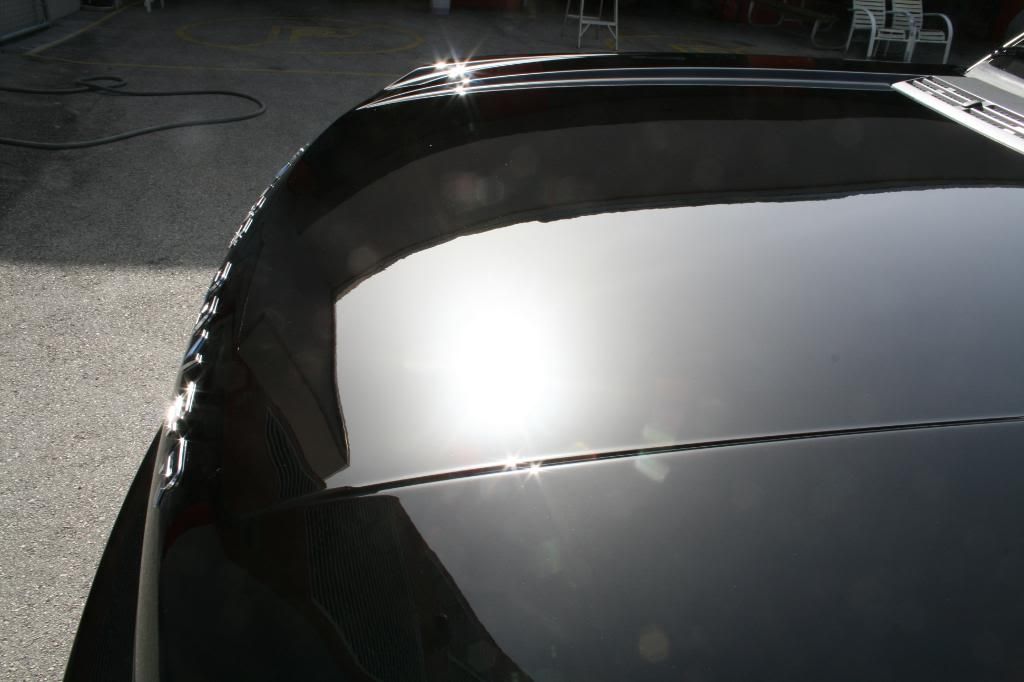



1 pass wasnt enough....
did anyone say powergloss isn't dusty?

more before and after shots


these scratches were caused by a luggage cart from a hotel running into the car. they had to be sanded out. some small parts of it had unfortunately gone too deep...


after powergloss

after SIP


and that was the end of day 1. i left at 11:00PM.
the next morning i arrived back at the station and got started again at around 8:30AM. i re-washed the car because it sat outside at night and got rained on. then i went back to polish the whole car (including the roof) over with SIP on the white sonus SFX pad because my CCS pads were acting up for some reason. i think it had to do with the "sticky clear coat" issue.
SIP finished down pretty well on the hood with the sonus SFX white polishing pad.

now for the final result of 2 hard days of polishing. these shots are after polishing with PO85RD on the blue sonus pad and given a ISA wipedown


#3
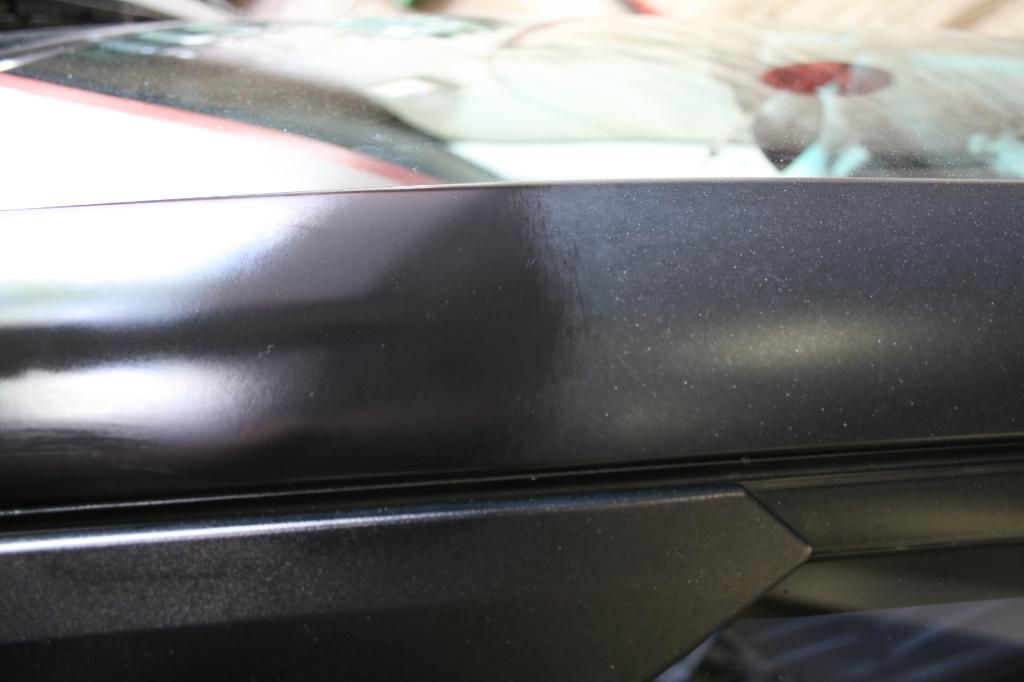
50/50 of Black WOW
after LSP
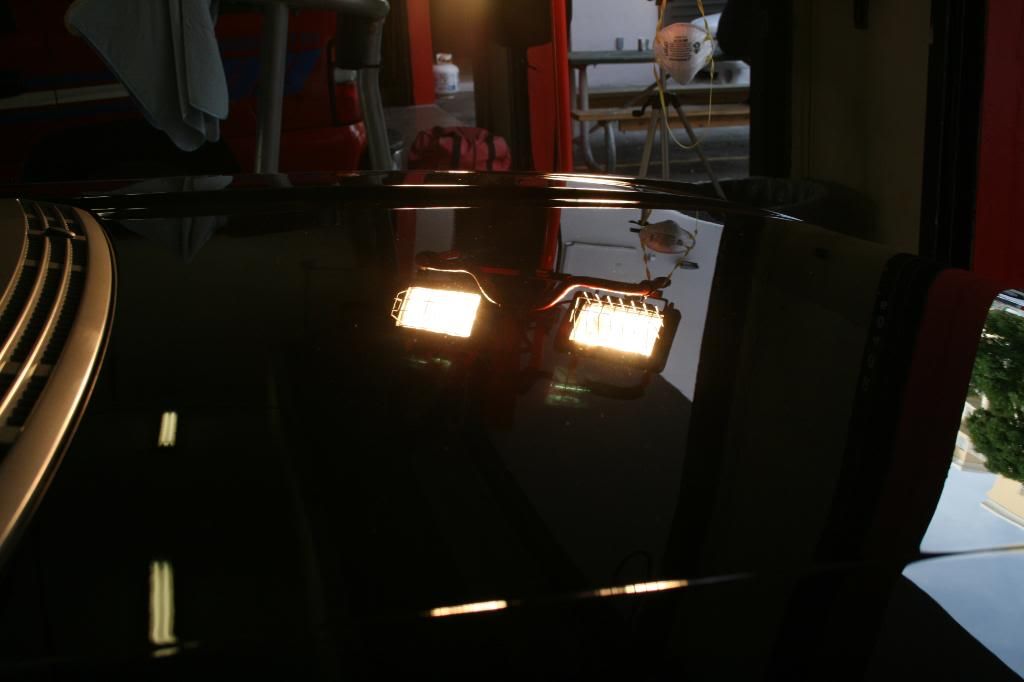
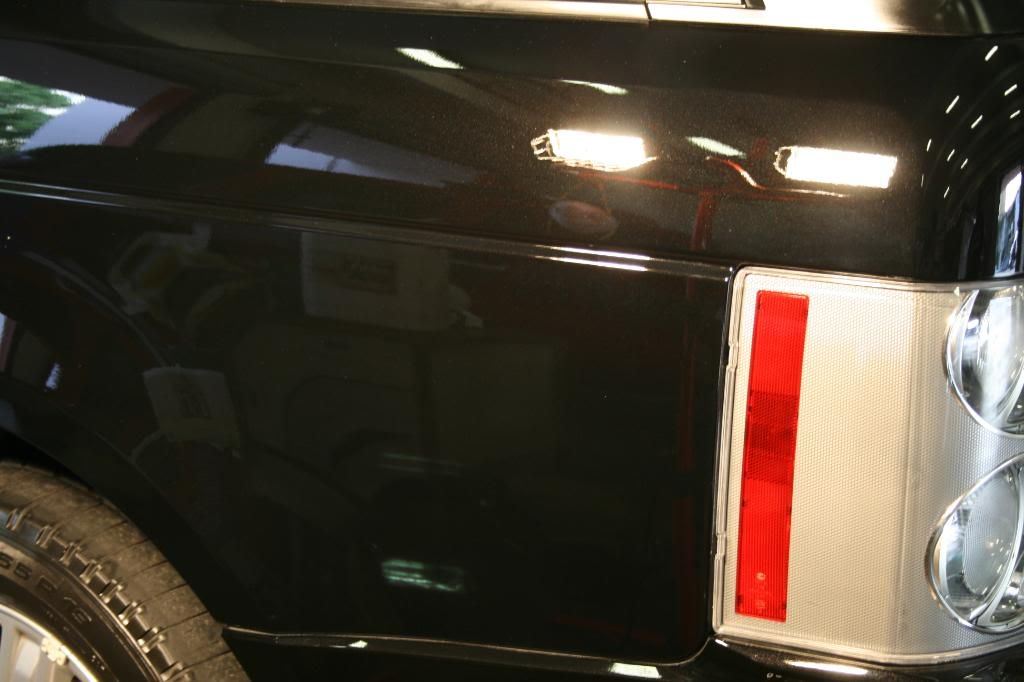
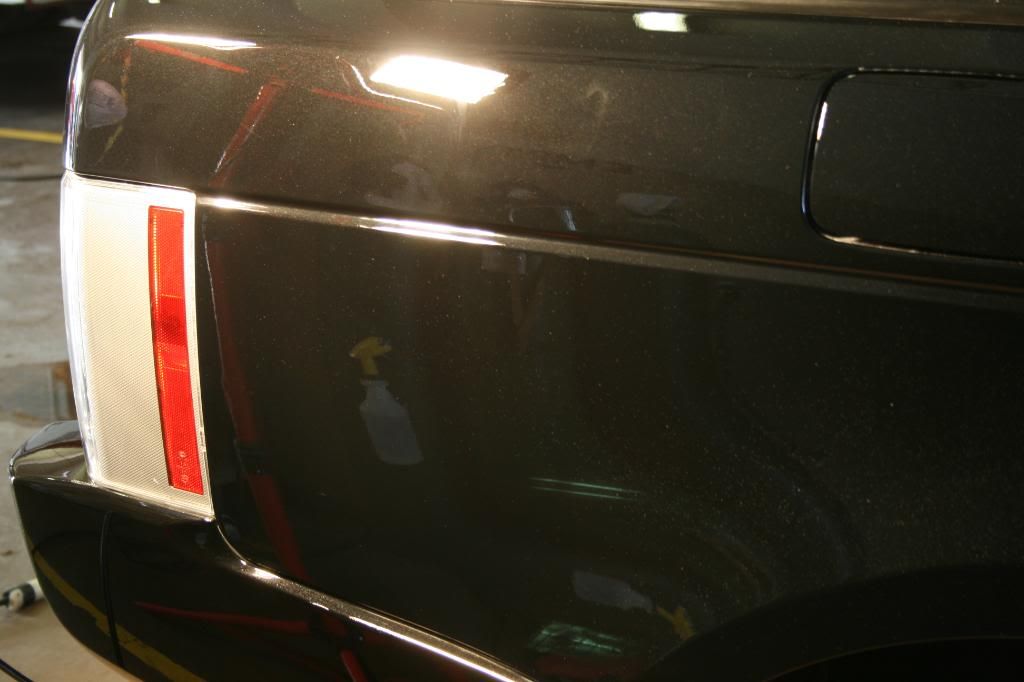
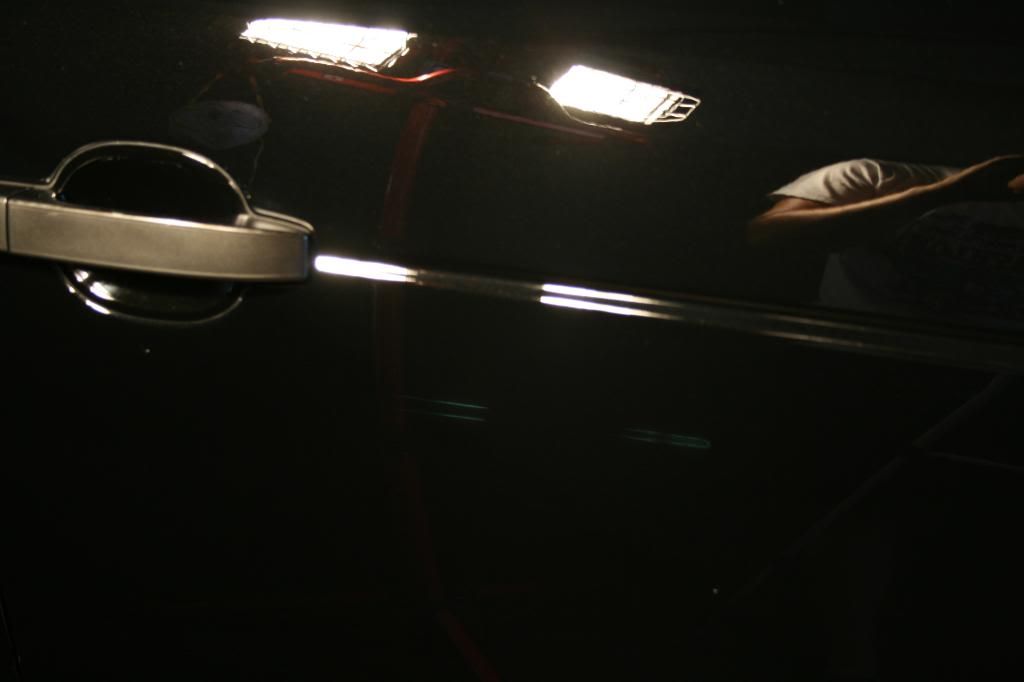
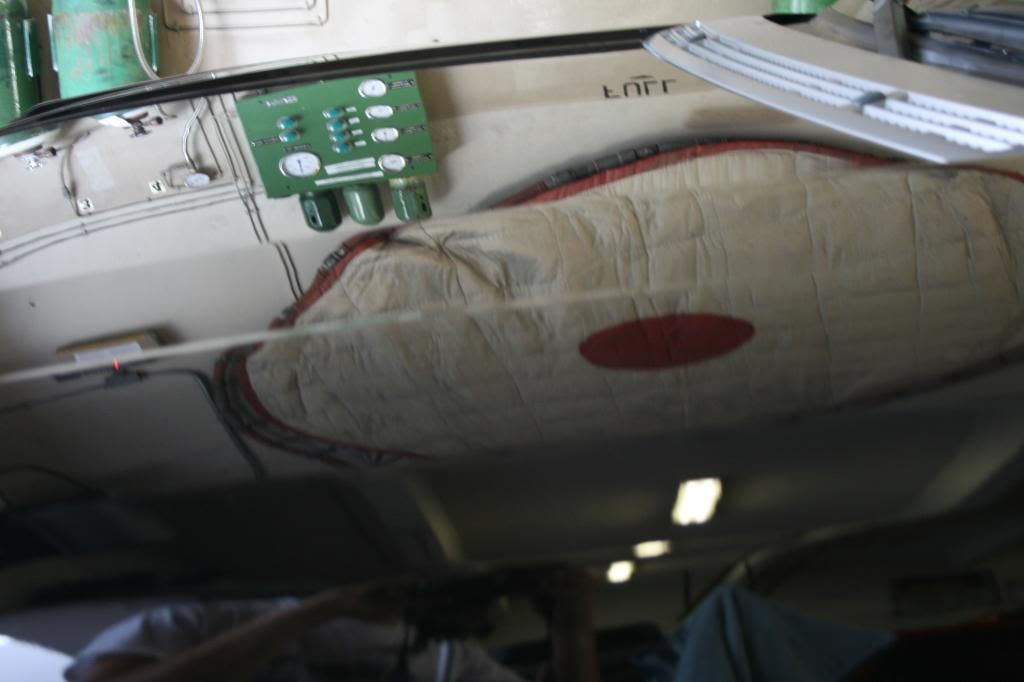
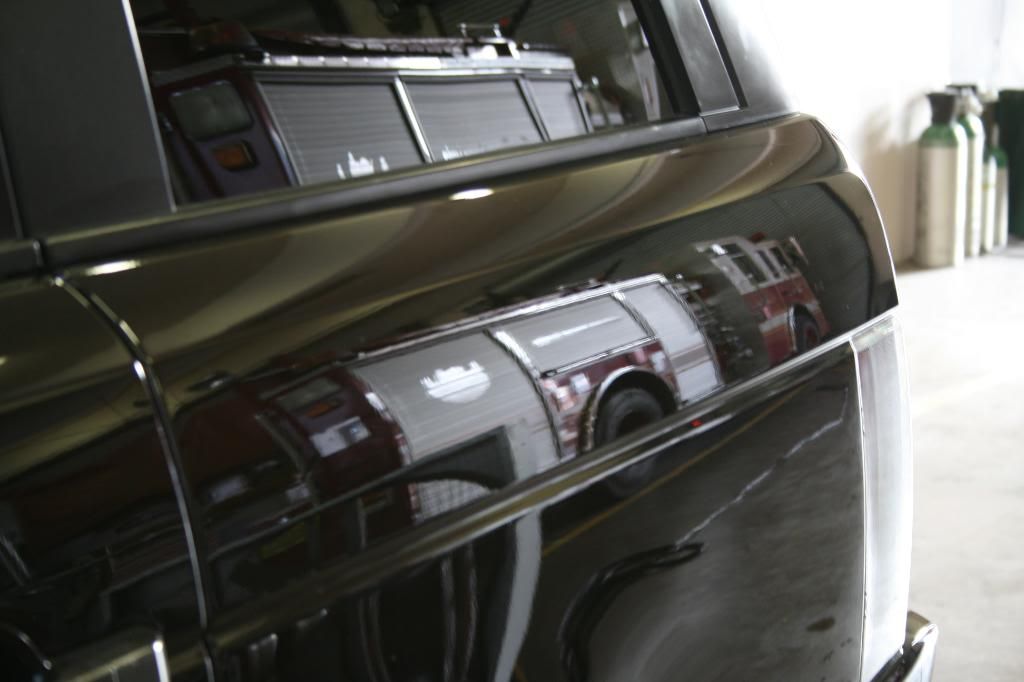
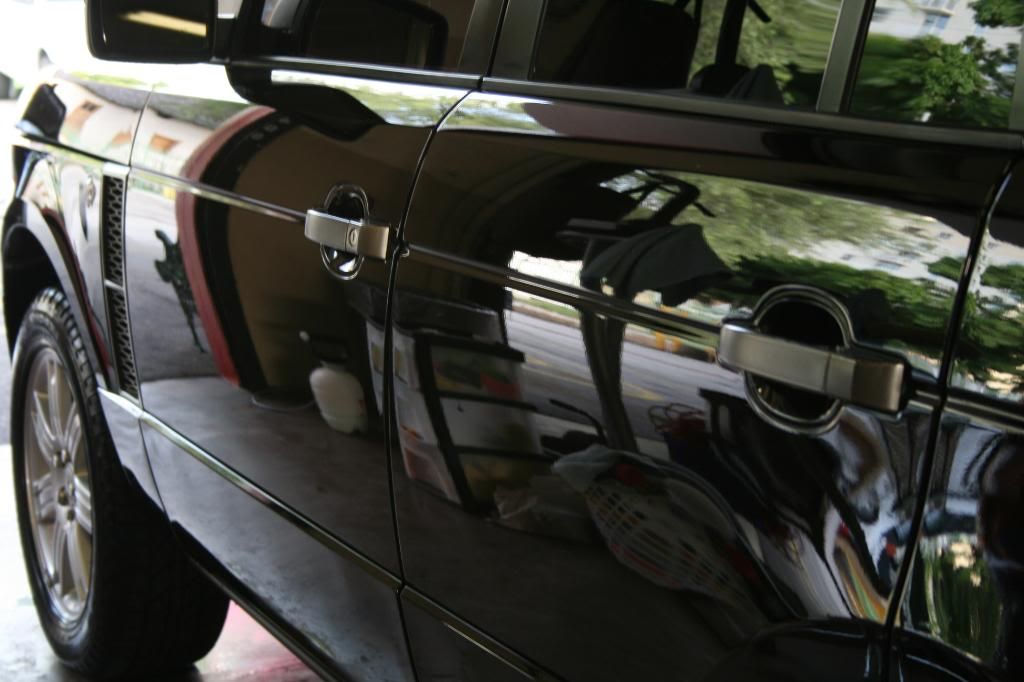
that marked the end of day 2. i have another job at a restaurant that i had to be there at 7:00PM, so i left the station around 6.
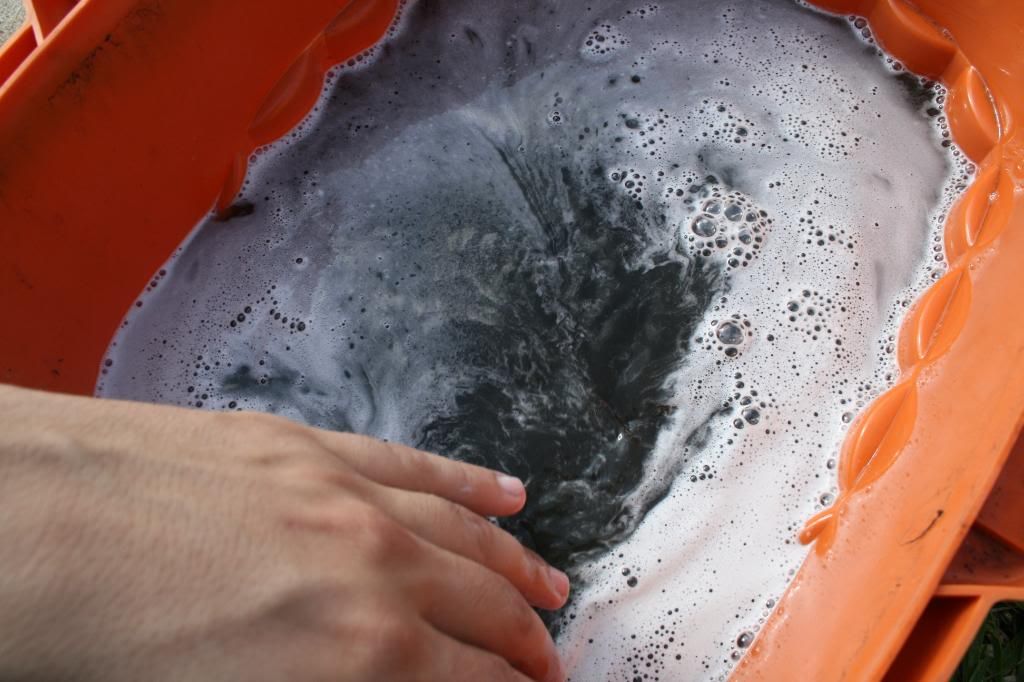
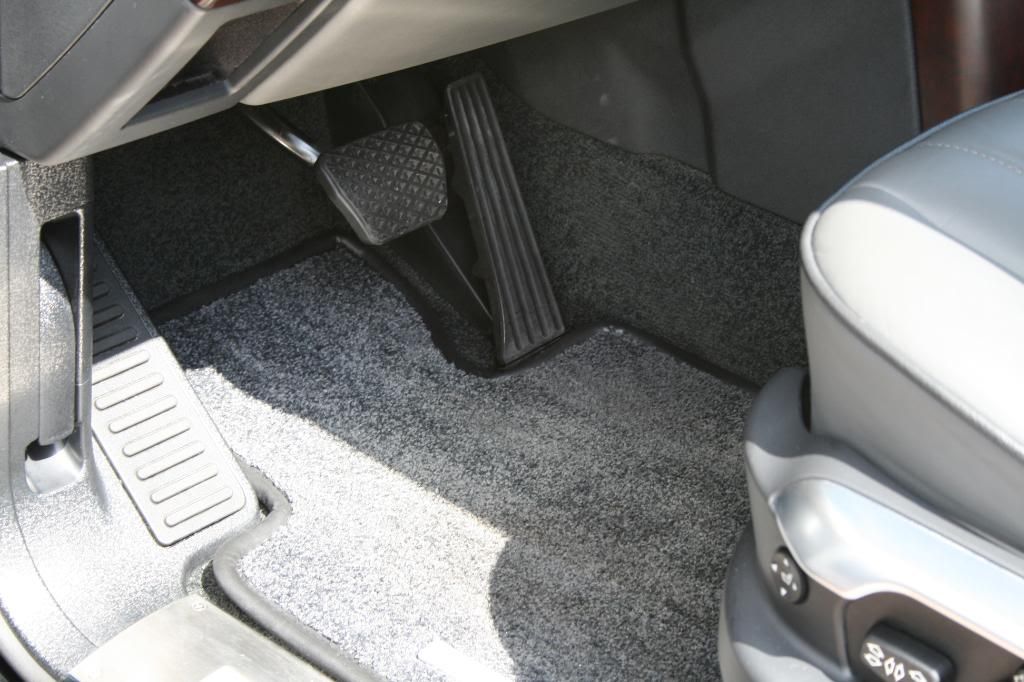
Day 3 was at the owner's house. this was just to do the interior. i started out with cleaning the carpets with CG's Lightning fast stain remover.
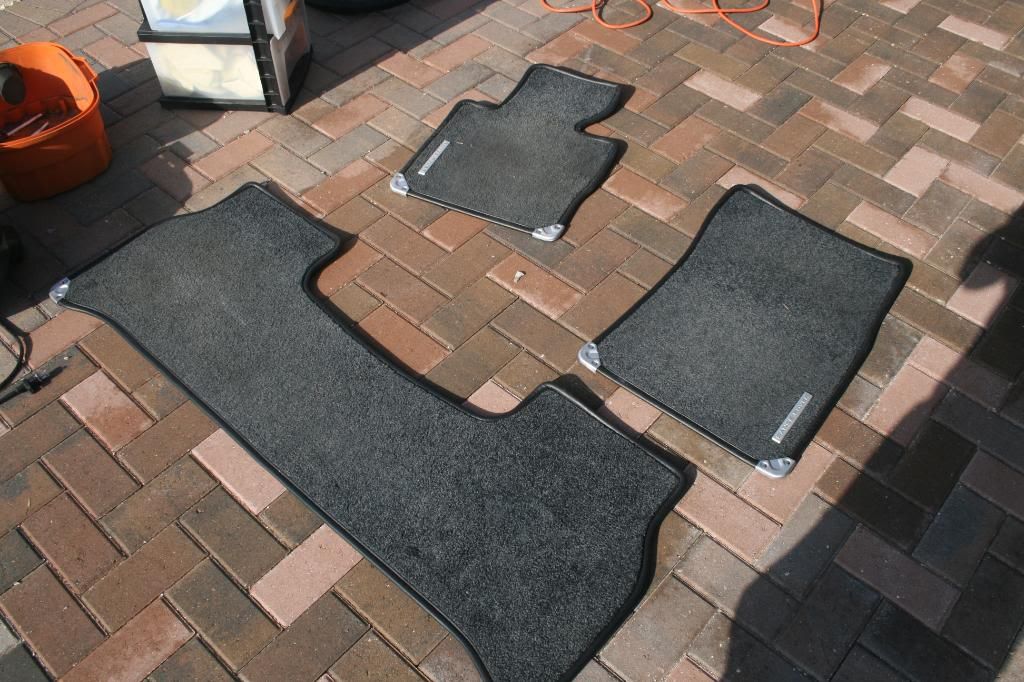
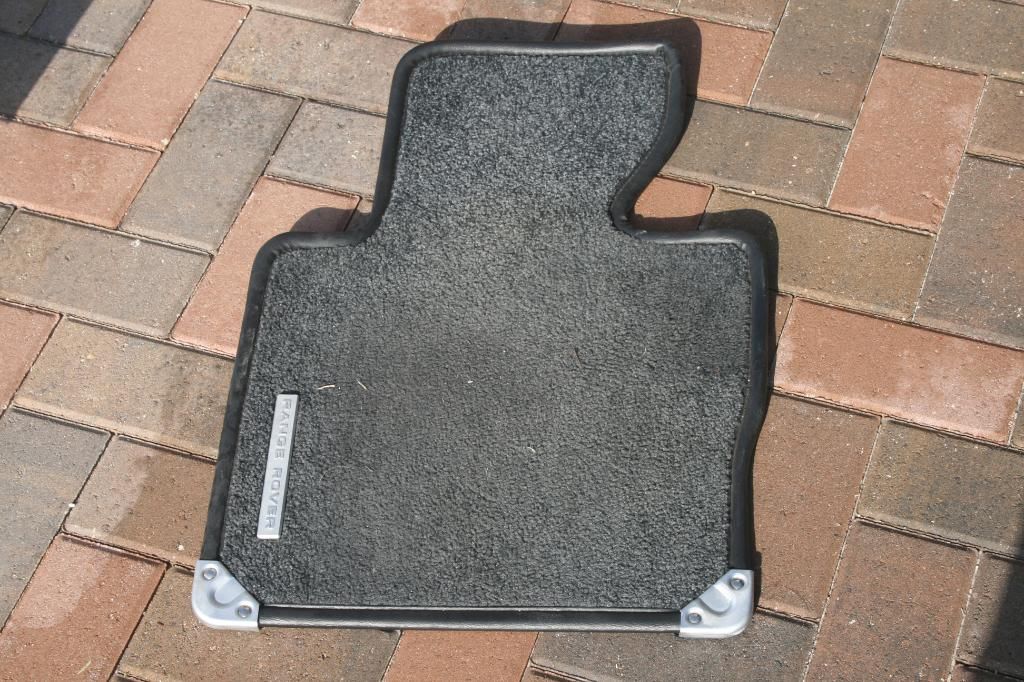
extracted water...
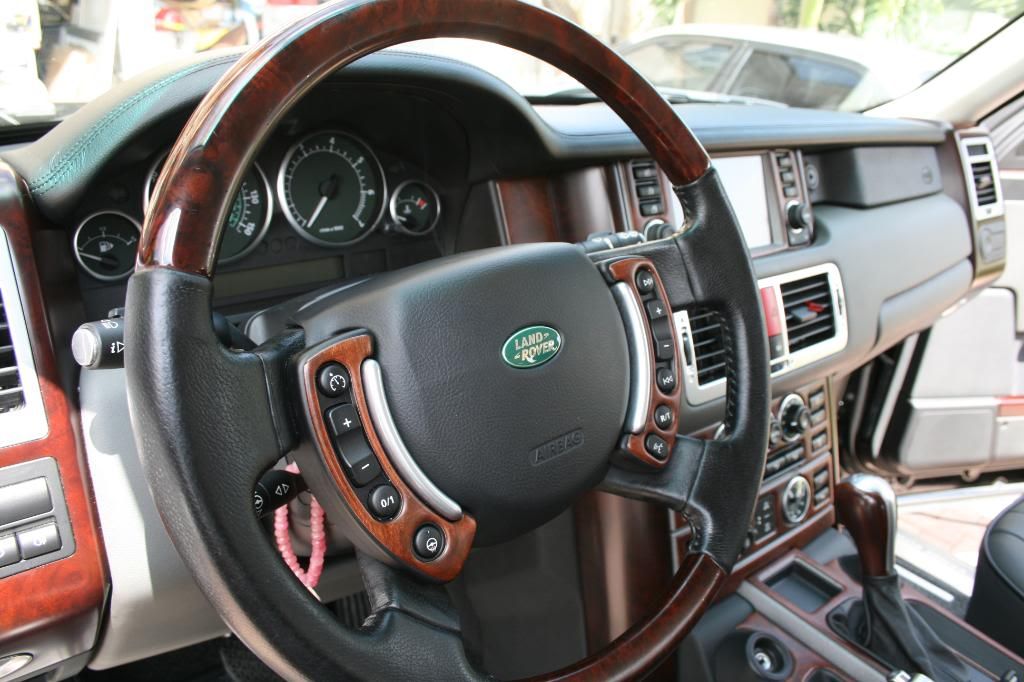
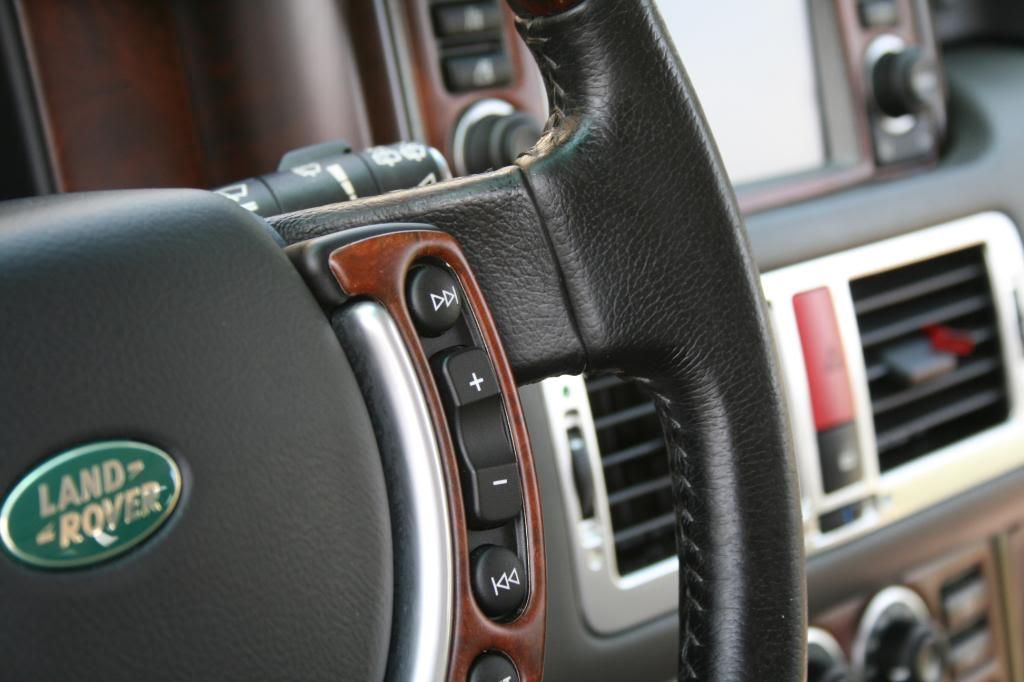
the doors, steering wheel and seats were full of body grease and makeup (it's a woman who drives the car)
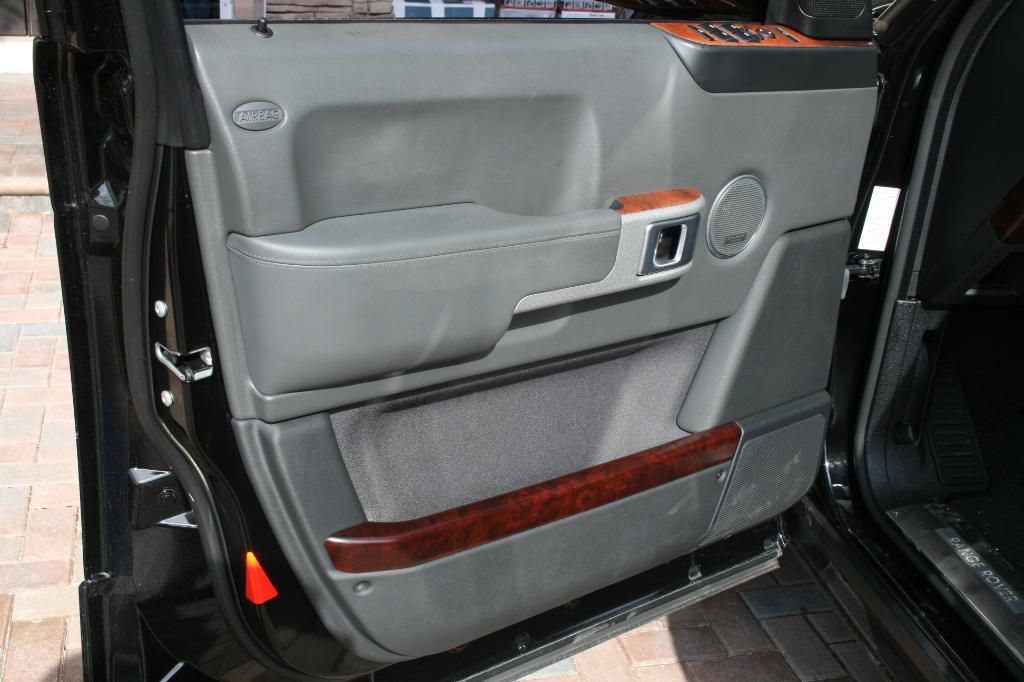
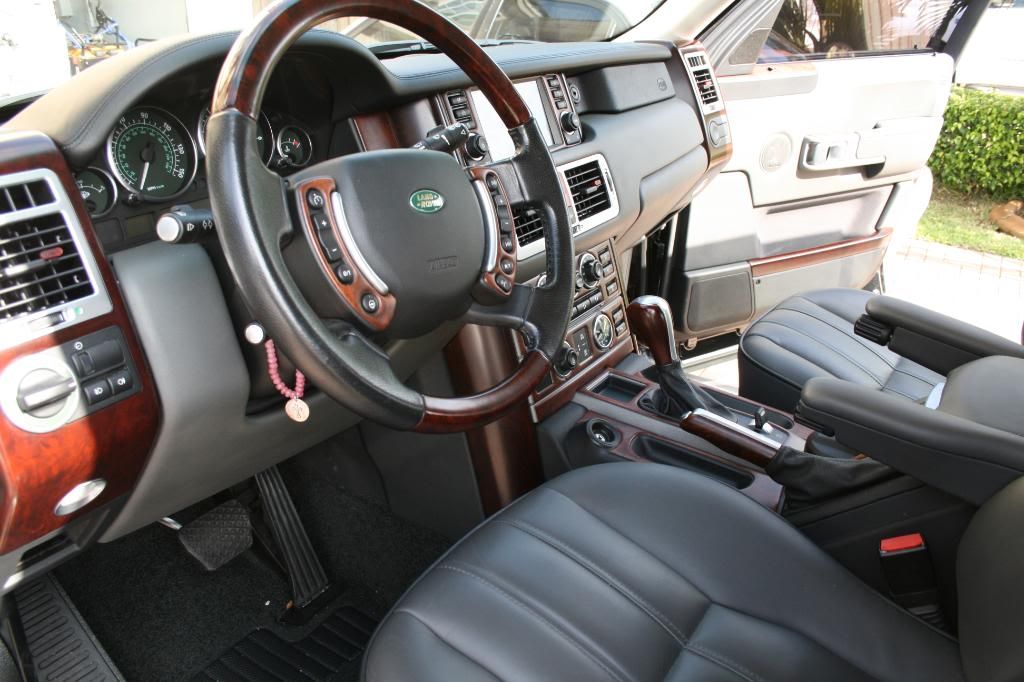
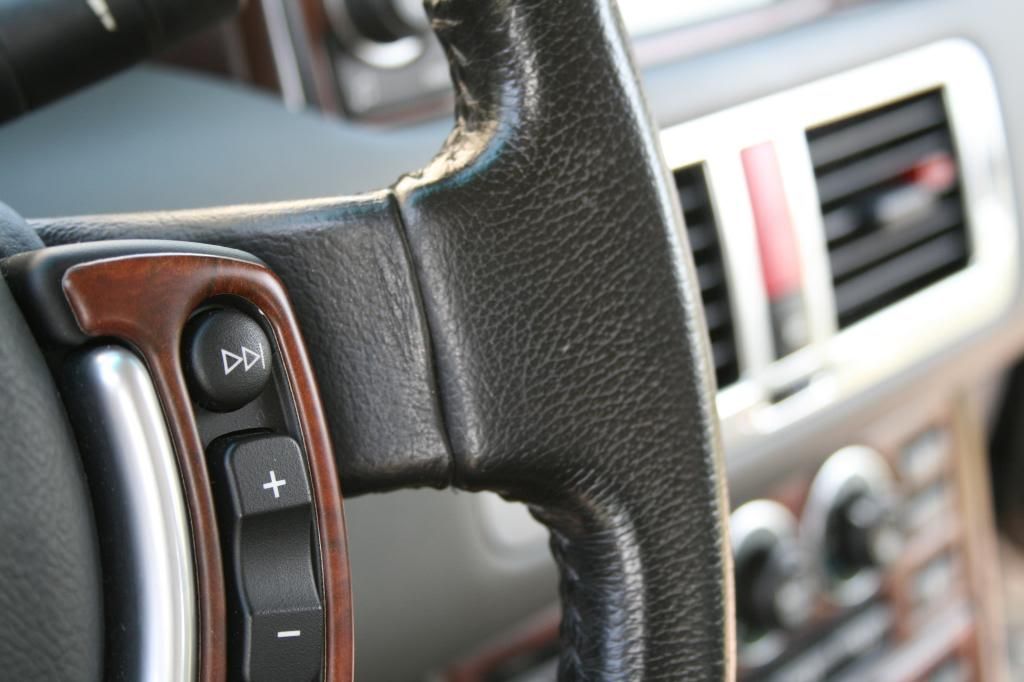
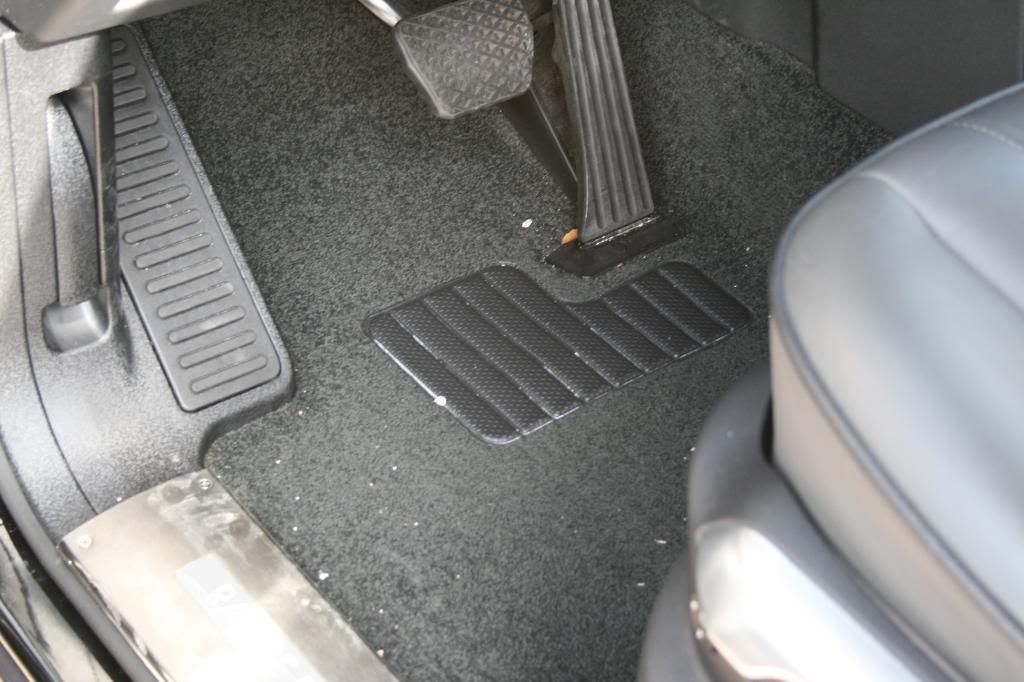
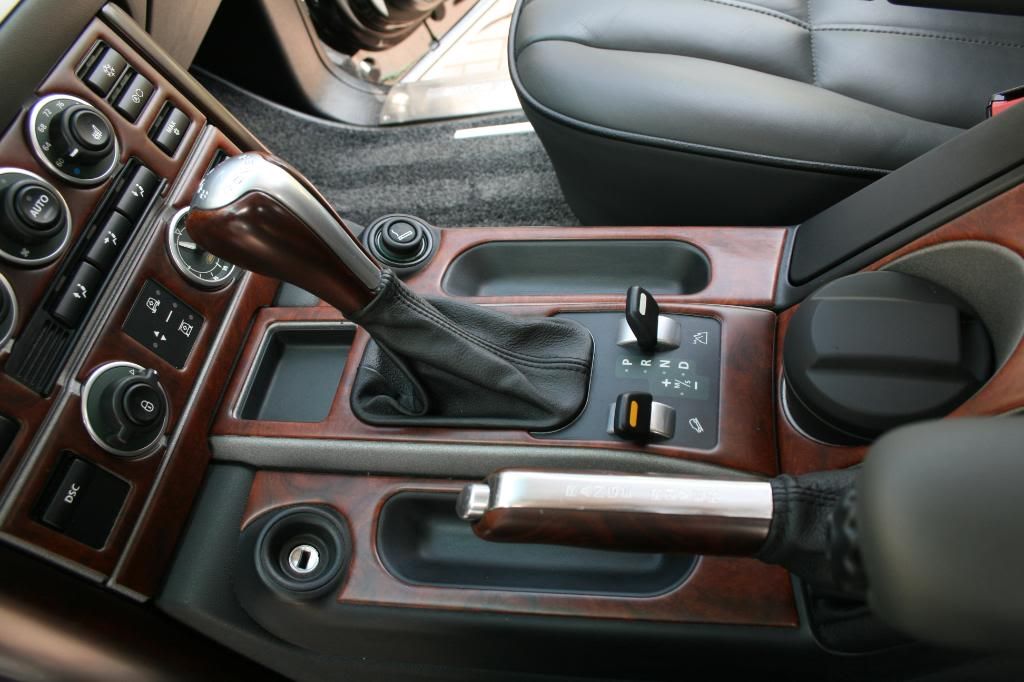
so i gave the leather a good cleaning with CG's leather cleaner, the plastic and LCD screens with 1Z cockpit, and then applied 303 protectant to the dashboard, and Zaino Z10 to the leather seats. then i applied 1Z gummi pflege to the weather seals. then cleaned the glass using stoner's Invisible Glass
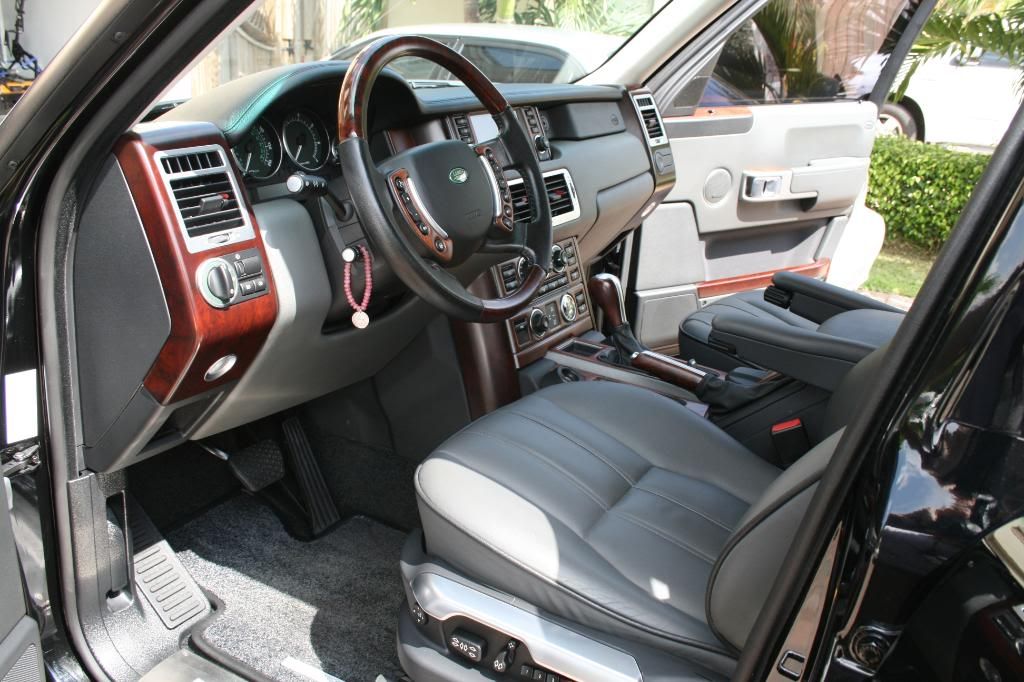
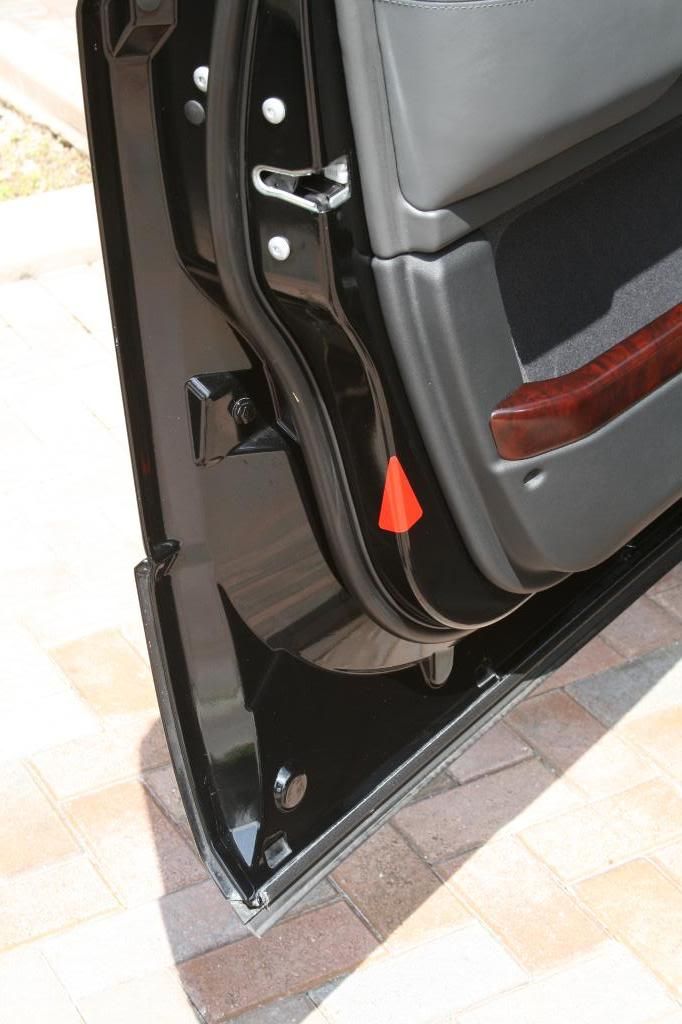
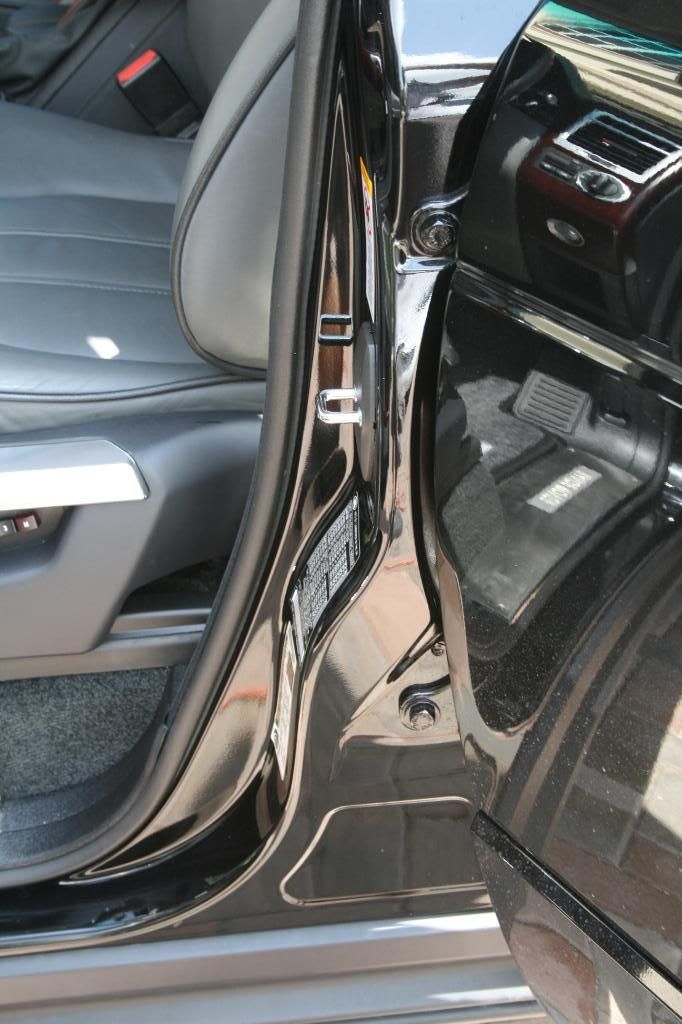
and to finish it off i cleaned off the door jams with FK1 # 425
well i hope you all enjoyed looking at that! it took a lot of hard work to get that shine out of the paint!
thanks for looking!!!

after LSP


that marked the end of day 2. i have another job at a restaurant that i had to be there at 7:00PM, so i left the station around 6.
Day 3 was at the owner's house. this was just to do the interior. i started out with cleaning the carpets with CG's Lightning fast stain remover.


extracted water...

the doors, steering wheel and seats were full of body grease and makeup (it's a woman who drives the car)


so i gave the leather a good cleaning with CG's leather cleaner, the plastic and LCD screens with 1Z cockpit, and then applied 303 protectant to the dashboard, and Zaino Z10 to the leather seats. then i applied 1Z gummi pflege to the weather seals. then cleaned the glass using stoner's Invisible Glass


and to finish it off i cleaned off the door jams with FK1 # 425


well i hope you all enjoyed looking at that! it took a lot of hard work to get that shine out of the paint!
thanks for looking!!!
#4
Amazing work! Few questions:
1. How were the pads acting up? How do you feel about the sonus pads? I was recommended to them but have yet to try them myself.
2. How did you go about polishing the roof? I'm having issues with being able to get the right angles on roofs in order to polish them out correctly.
3. How do you get such good halogen shots?! Mine always suck and don't show nearly any imperfections like the sun does.. (I'm using 500w, do I need to go to 1000w?)
Again, just stunning work!
#6
awesome work! hope you showed the owner a few before and after shots so she knows exactly what she paid for!
great work and that blackwow looks great! interior i think is where the magic happens. no matter how bad paint is, with enough time and the right supplies it can be fixed up enough to look AT LEAST near new. but with a super clean interior, the car is really reborn. your shots of the seats, steering wheel, and dash are, in my opinion, what really set this job over the top in quality. great job man.
+1 to the power gloss being dusty!!
#7
Originally Posted by espelirS2K,Aug 16 2008, 11:38 AM
Amazing work! Few questions:
1. How were the pads acting up? How do you feel about the sonus pads? I was recommended to them but have yet to try them myself.
2. How did you go about polishing the roof? I'm having issues with being able to get the right angles on roofs in order to polish them out correctly.
3. How do you get such good halogen shots?! Mine always suck and don't show nearly any imperfections like the sun does.. (I'm using 500w, do I need to go to 1000w?)
Again, just stunning work!
1. How were the pads acting up? How do you feel about the sonus pads? I was recommended to them but have yet to try them myself.
2. How did you go about polishing the roof? I'm having issues with being able to get the right angles on roofs in order to polish them out correctly.
3. How do you get such good halogen shots?! Mine always suck and don't show nearly any imperfections like the sun does.. (I'm using 500w, do I need to go to 1000w?)
Again, just stunning work!
1- on some panels the pads would seem to stick. this is known as the "sticky clear coat" issue. the CCS pads would tend to skip around and not really finish down well, and would make the paint scorching hot. the sonus pads helped, but it was still a slight problem.
2- i didn't really polish the roof to perfection... no point in doing so, who sees the roof? i just polished it with the SIP to get it to shine again because it was pretty dull and had a lot of acid rain etching.
3 i have a 1000w setup. but i also have a DSLR camera. i think that makes the most of the difference. for the halogen shots i usually set the exposure to +.5 so the swirls come up more.
Trending Topics
#8
Originally Posted by The Twanksta,Aug 16 2008, 12:00 PM
BEAUTIFUL work man! You did a great job on this one! looks like you got the whole fire department on lockdown! haha! Dont you love when that happens??
#9
Originally Posted by MuttGrunt,Aug 16 2008, 12:05 PM
awesome work! hope you showed the owner a few before and after shots so she knows exactly what she paid for!
great work and that blackwow looks great! interior i think is where the magic happens. no matter how bad paint is, with enough time and the right supplies it can be fixed up enough to look AT LEAST near new. but with a super clean interior, the car is really reborn. your shots of the seats, steering wheel, and dash are, in my opinion, what really set this job over the top in quality. great job man.
+1 to the power gloss being dusty!!
great work and that blackwow looks great! interior i think is where the magic happens. no matter how bad paint is, with enough time and the right supplies it can be fixed up enough to look AT LEAST near new. but with a super clean interior, the car is really reborn. your shots of the seats, steering wheel, and dash are, in my opinion, what really set this job over the top in quality. great job man.
+1 to the power gloss being dusty!!


