
New car prep
 08-12-2008, 03:57 AM
#1
Registered User
Thread Starter
Join Date: Jun 2008
Location: Columbus, OH
Posts: 172
Likes: 0
Received 0 Likes
on
0 Posts
I was contacted by the owner of this brand new car about polishing his brand new car. He just moved to Ohio from Miami, and his other cars have been maintained by a couple of the premiere detailers in the country...their work is off the charts, and they normally do the really high-end vehicles (red Italian cars!). I was flattered that he chose me to continue the process, and I also realized that the pressure was on for me to perform since he's used to their level of work!
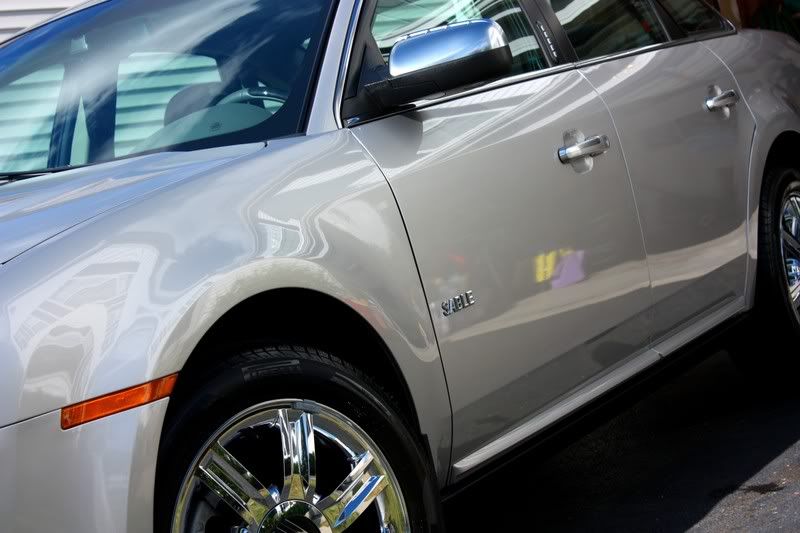
He just bought this 2008 Mercury Sable a month ago, and he wanted to start it off right with a full polish and protection package inside and out. This is a very wise plan, and I highly recommend it for all new cars. You can pretty much count on every new car having imperfections in the painted surfaces that need to be corrected, and the interiors can stand some UV protection as well.
After a wash and clay to remove contaminants, I inspected the paint to see what process it would need. It was in pretty good shape, so I decided on polishing it with Optimum Poli-Seal with Makita rotary, and then giving it months of sealant protection with Optimum Opti-Seal.
Process:
Wash with Dawn to remove any waxes that may have been put on by dealer
Clay (fine) using ONR lube
Wheels: Megs Wheel Brightener 4:1
Wheel wells: Megs APC+ 4:1
Wheel wells dressed with Megs Exterior Trim Shine
Tires dressed with Sonus Tire Gel
Polishing:
Optimum Poli-Seal, white LC Pad, 1000rpm
Sealed with Optimum Opti-Seal.
Interior:
Zaino Z10 leather conditioner on seating surfaces
Optimum Protectant Plus on all plastic and vinyl surfaces
Megs Interior Detailer on console and controls
ONR in door jams
Tools:
Makita 9227c rotary
W66 backing plate (thanks for the recommendation, Rickrack!)
Canon Rebel XSi w/18-55mm lense
Total time: 5 hours
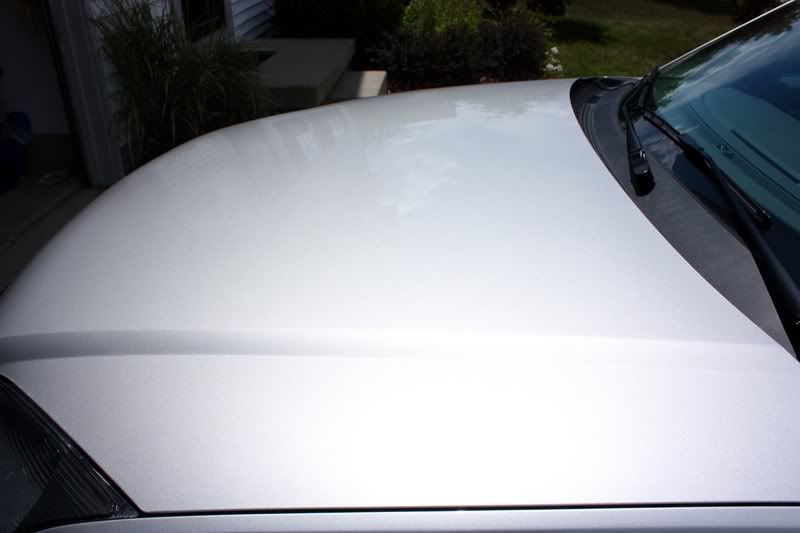
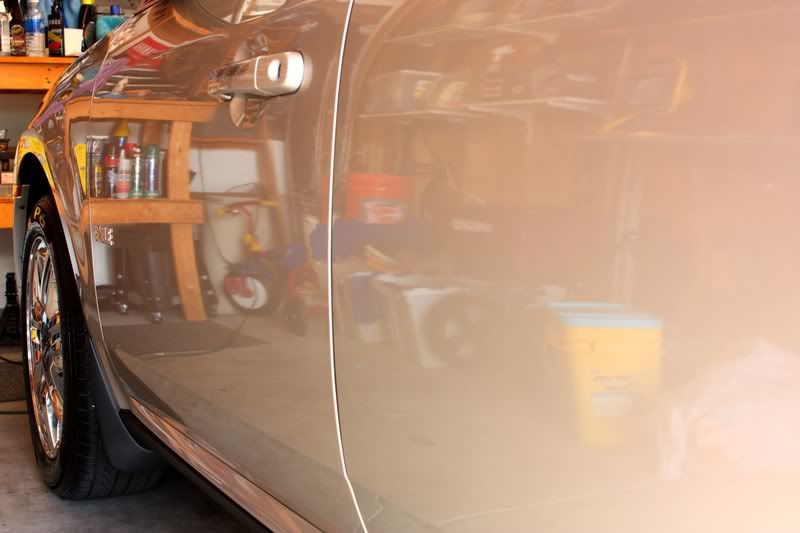
When I received the car it was a little dirty, and the finish didn't have much depth. There was no pop in the metal flake, either.
Befores:
This photo didn't turn out too well...sorry

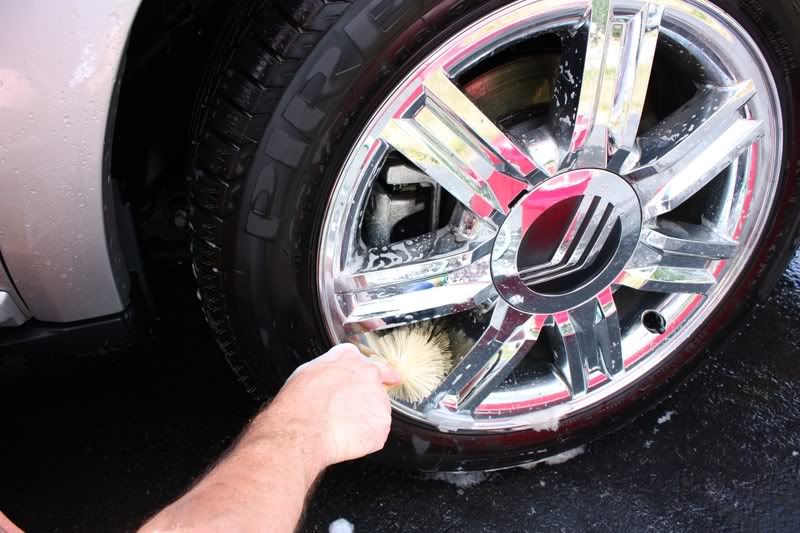
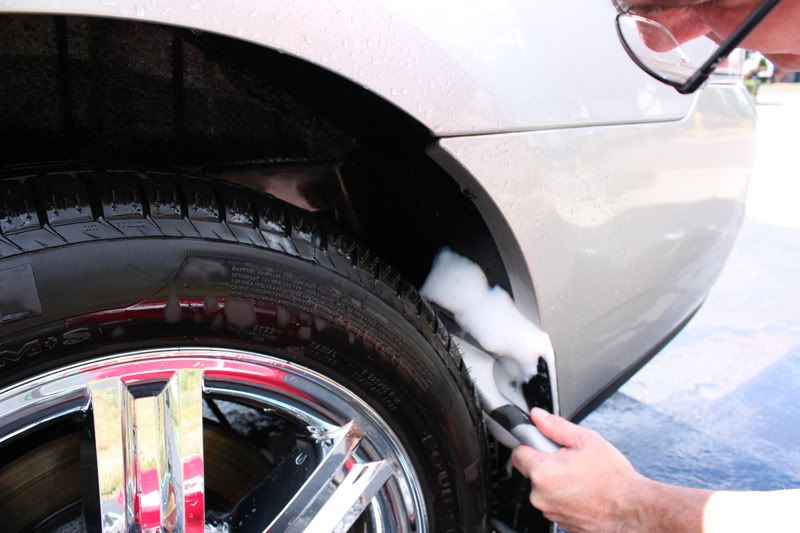
Now time for washing. I spend a lot of time on the wheels to get all brake dust and grime off of the inside of the rims.
Don't forget the wheel wells.
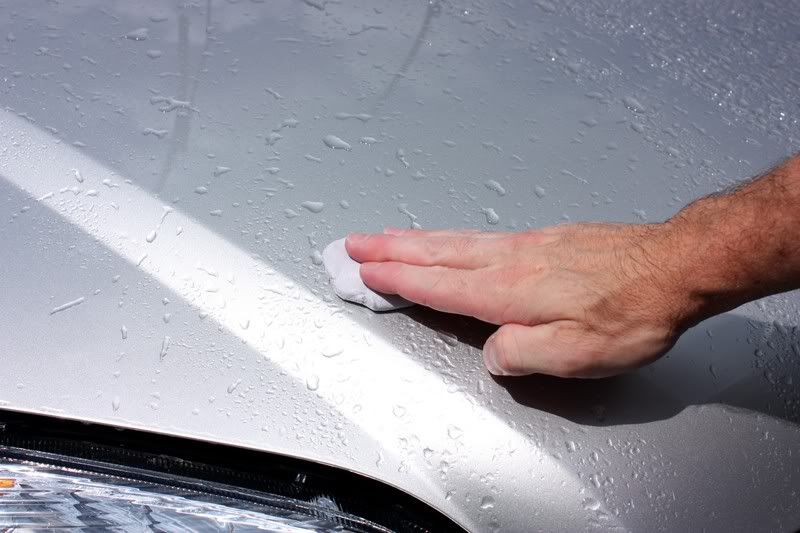
After washing is complete, I then move on to claying the surface to get it completely clean and smooth. You'd be surprised how much contamination is removed even from brand new cars.
After I complete washing and claying, I bring the cars in and use my Blaster Sidekick to blow out all water from all of the hiding places. These are great for when doing basic washes as well...otherwise you end up with water streaks everywhere after you drive! And the less you have to touch the surface of the car even with a MF towel, the less chance that you have inducing swirl marks.

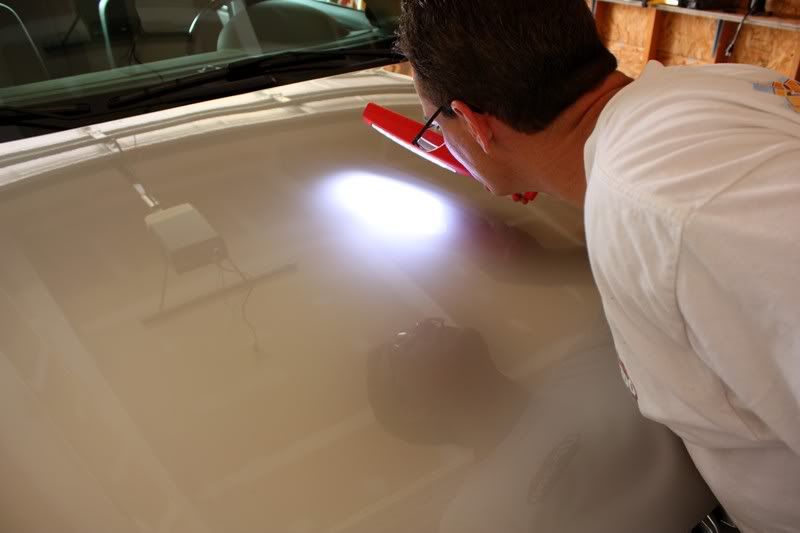
After the surface is clean and dry, I break out my HID light and fully inspect the finish to see the condition, and to determine what polishes and pads to use. Throughout the detailing process, I will use my HID light, 500w halogens, and frequenty bring the car out into the sunshine to make sure I am achieving the desired results.
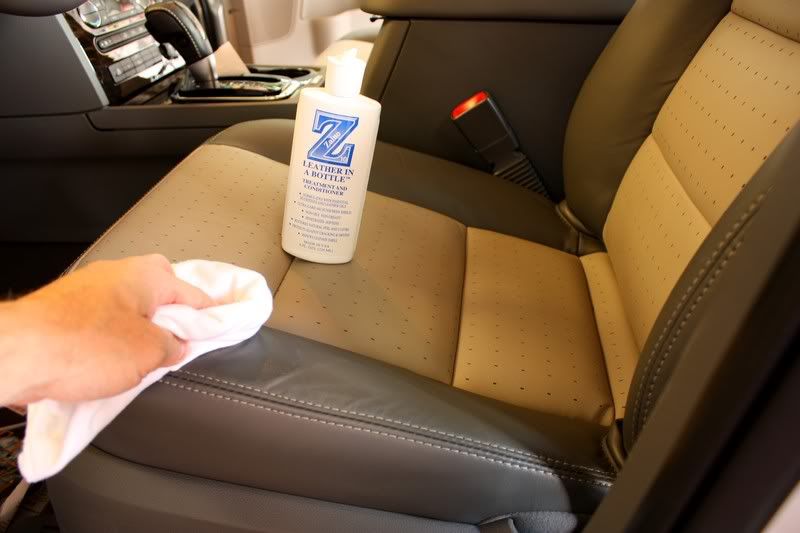
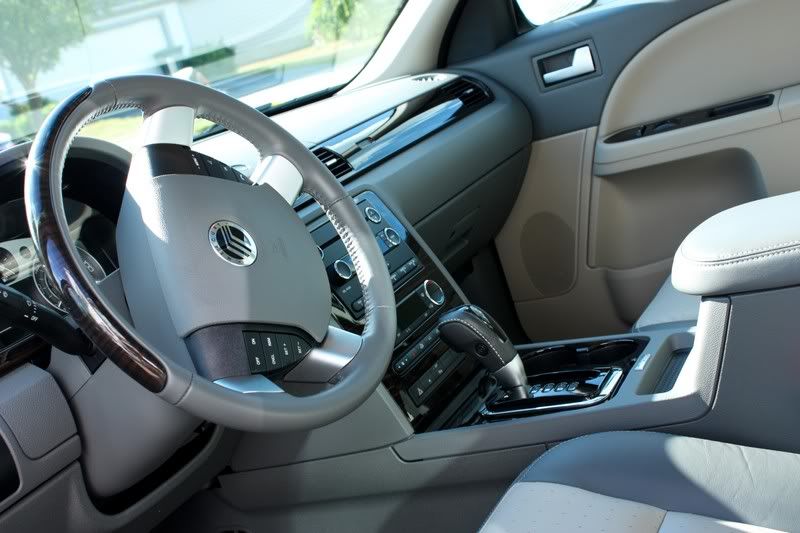
And now onto the interior. Here I am applying Zaino leather conditioner...very good stuff! I also treat every single surface inside the vehicle with other products to make sure it looks great, and has UV protection to make it last.
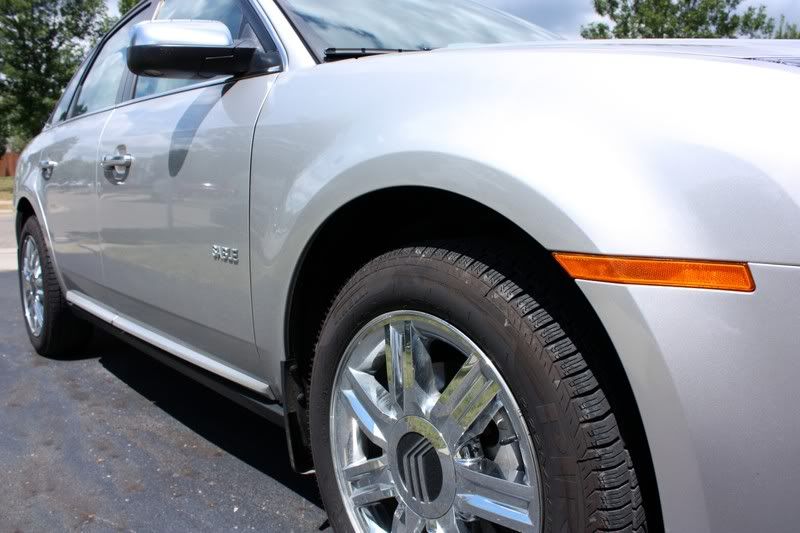
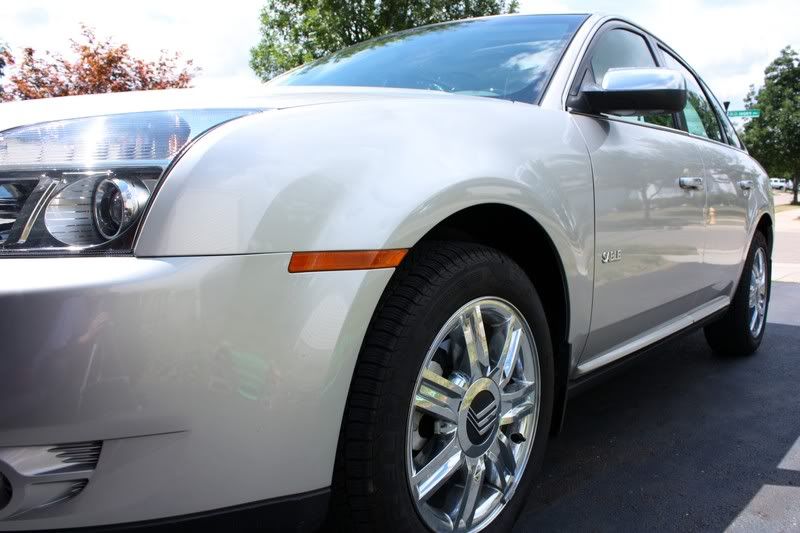
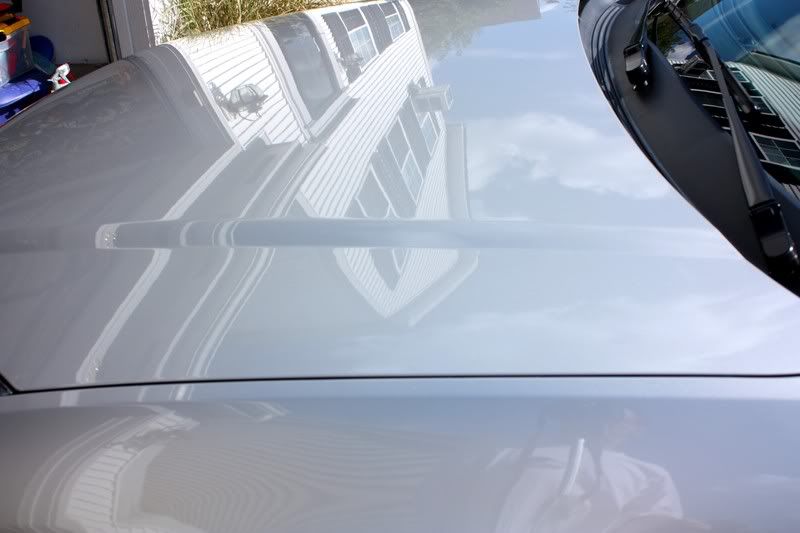
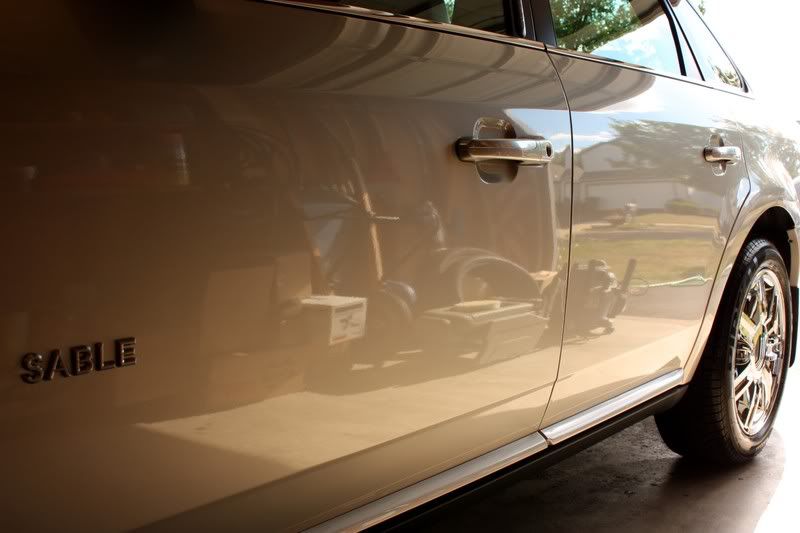
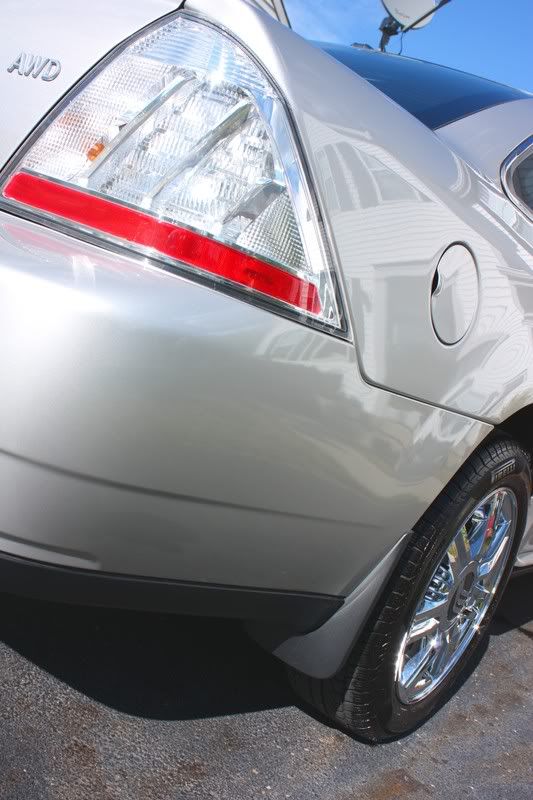
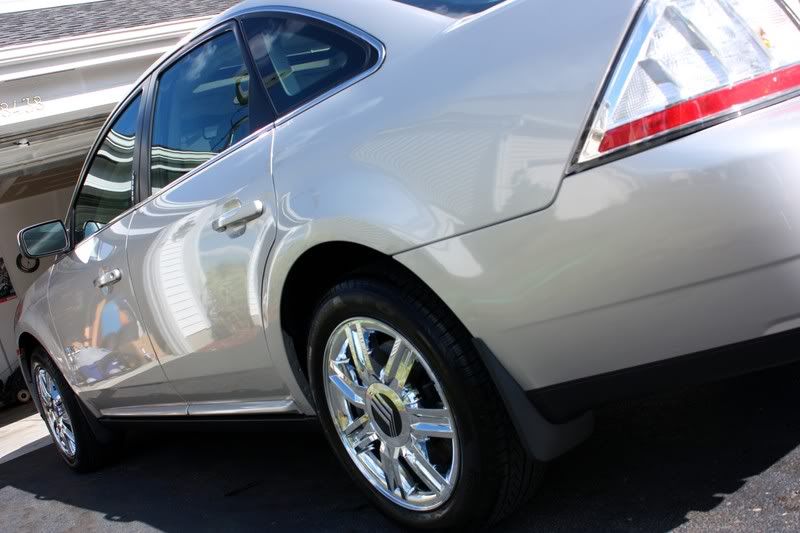
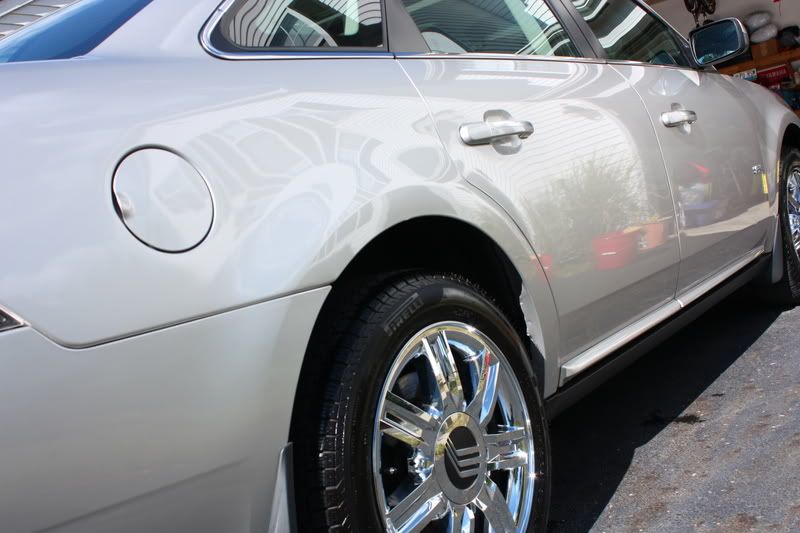
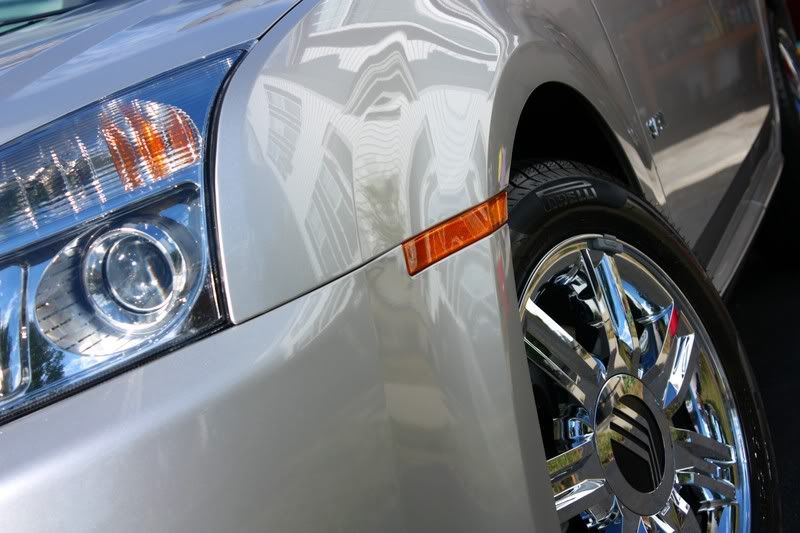
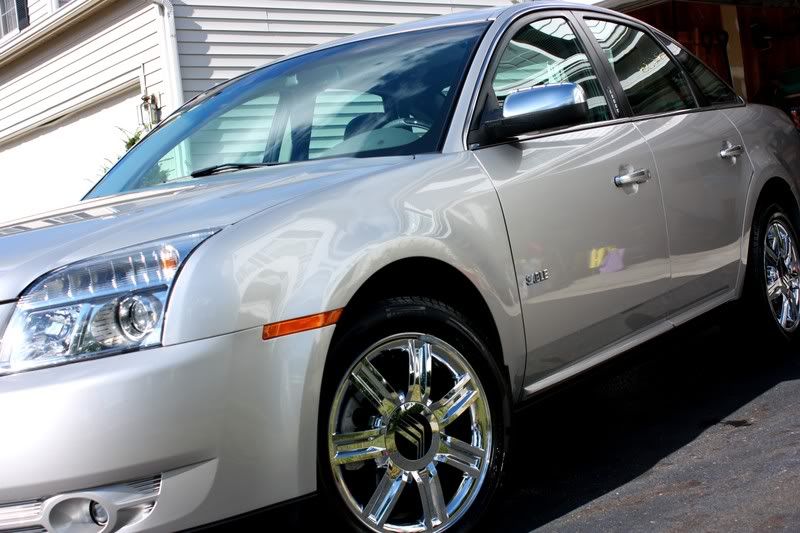
And now magically...the finished product. The metallic flake popped, and I added a tremendous amount of depth and gloss. It's now protected for many months to come!
He just bought this 2008 Mercury Sable a month ago, and he wanted to start it off right with a full polish and protection package inside and out. This is a very wise plan, and I highly recommend it for all new cars. You can pretty much count on every new car having imperfections in the painted surfaces that need to be corrected, and the interiors can stand some UV protection as well.
After a wash and clay to remove contaminants, I inspected the paint to see what process it would need. It was in pretty good shape, so I decided on polishing it with Optimum Poli-Seal with Makita rotary, and then giving it months of sealant protection with Optimum Opti-Seal.
Process:
Wash with Dawn to remove any waxes that may have been put on by dealer
Clay (fine) using ONR lube
Wheels: Megs Wheel Brightener 4:1
Wheel wells: Megs APC+ 4:1
Wheel wells dressed with Megs Exterior Trim Shine
Tires dressed with Sonus Tire Gel
Polishing:
Optimum Poli-Seal, white LC Pad, 1000rpm
Sealed with Optimum Opti-Seal.
Interior:
Zaino Z10 leather conditioner on seating surfaces
Optimum Protectant Plus on all plastic and vinyl surfaces
Megs Interior Detailer on console and controls
ONR in door jams
Tools:
Makita 9227c rotary
W66 backing plate (thanks for the recommendation, Rickrack!)
Canon Rebel XSi w/18-55mm lense
Total time: 5 hours
When I received the car it was a little dirty, and the finish didn't have much depth. There was no pop in the metal flake, either.
Befores:
This photo didn't turn out too well...sorry
Now time for washing. I spend a lot of time on the wheels to get all brake dust and grime off of the inside of the rims.
Don't forget the wheel wells.
After washing is complete, I then move on to claying the surface to get it completely clean and smooth. You'd be surprised how much contamination is removed even from brand new cars.
After I complete washing and claying, I bring the cars in and use my Blaster Sidekick to blow out all water from all of the hiding places. These are great for when doing basic washes as well...otherwise you end up with water streaks everywhere after you drive! And the less you have to touch the surface of the car even with a MF towel, the less chance that you have inducing swirl marks.
After the surface is clean and dry, I break out my HID light and fully inspect the finish to see the condition, and to determine what polishes and pads to use. Throughout the detailing process, I will use my HID light, 500w halogens, and frequenty bring the car out into the sunshine to make sure I am achieving the desired results.
And now onto the interior. Here I am applying Zaino leather conditioner...very good stuff! I also treat every single surface inside the vehicle with other products to make sure it looks great, and has UV protection to make it last.
And now magically...the finished product. The metallic flake popped, and I added a tremendous amount of depth and gloss. It's now protected for many months to come!
 08-12-2008, 04:39 AM
#2

awesome work.
i agree that it's important to protect a vehicle from the get-go. i think its really underrated and a lot of folks out there don't think to prevent damage the right way. car should show a lot less wear now and it looks great!
i agree that it's important to protect a vehicle from the get-go. i think its really underrated and a lot of folks out there don't think to prevent damage the right way. car should show a lot less wear now and it looks great!


 08-13-2008, 04:26 AM
#5

Wow, that looks great.
And that looks like a nice car. Not really my thing at the moment, but it looks comfortable, quiet, and roomy. I bet it's a great car to take on a long highway trip.
And that looks like a nice car. Not really my thing at the moment, but it looks comfortable, quiet, and roomy. I bet it's a great car to take on a long highway trip.


