
Matt's Headlight Restoration
 11-18-2009, 09:38 PM
#1
Registered User
Thread Starter

Join Date: Oct 2009
Location: Madison, Alabama
Posts: 308
Likes: 0
Received 0 Likes
on
0 Posts
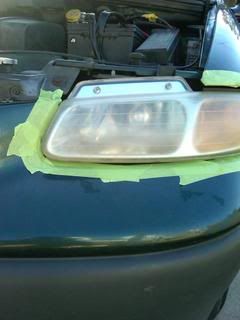
I'm using a kit that I put together that replicates 3M's kit. In a nutshell, it is exactly like 3M's kit, but I bought bigger round discs of each, and put it together much cheaper.
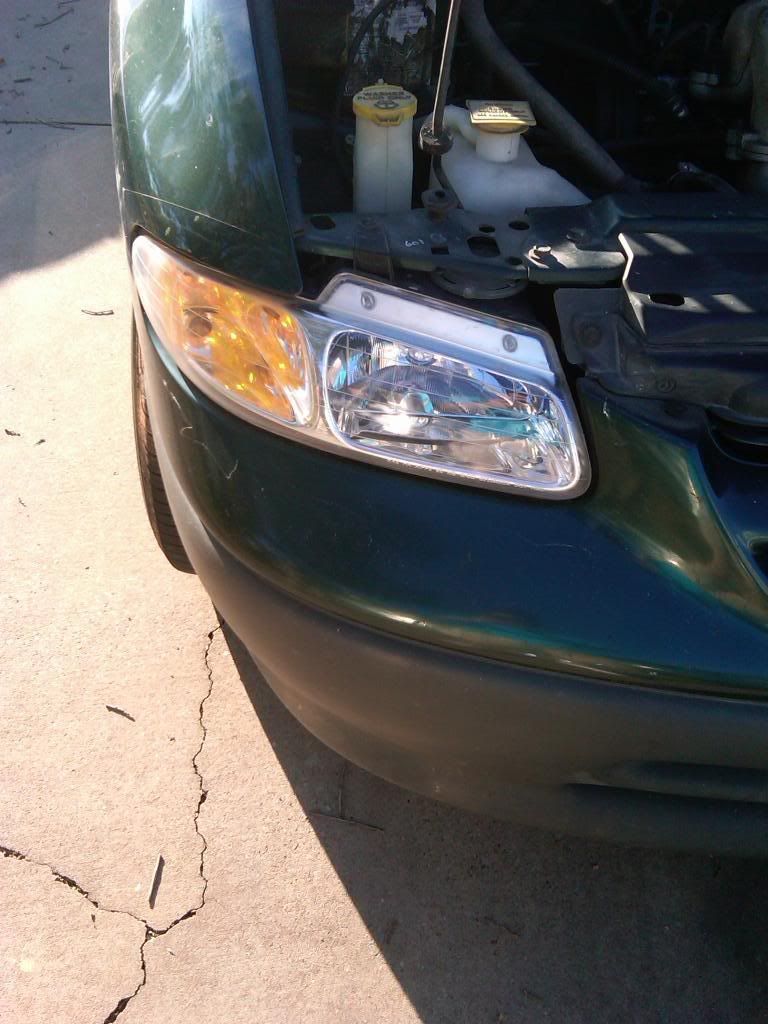
1997 Dodge Caravan:
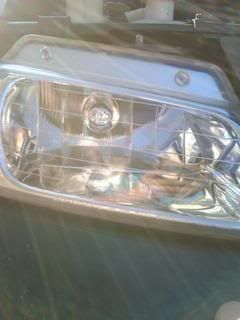
Passenger before:

Driver before:
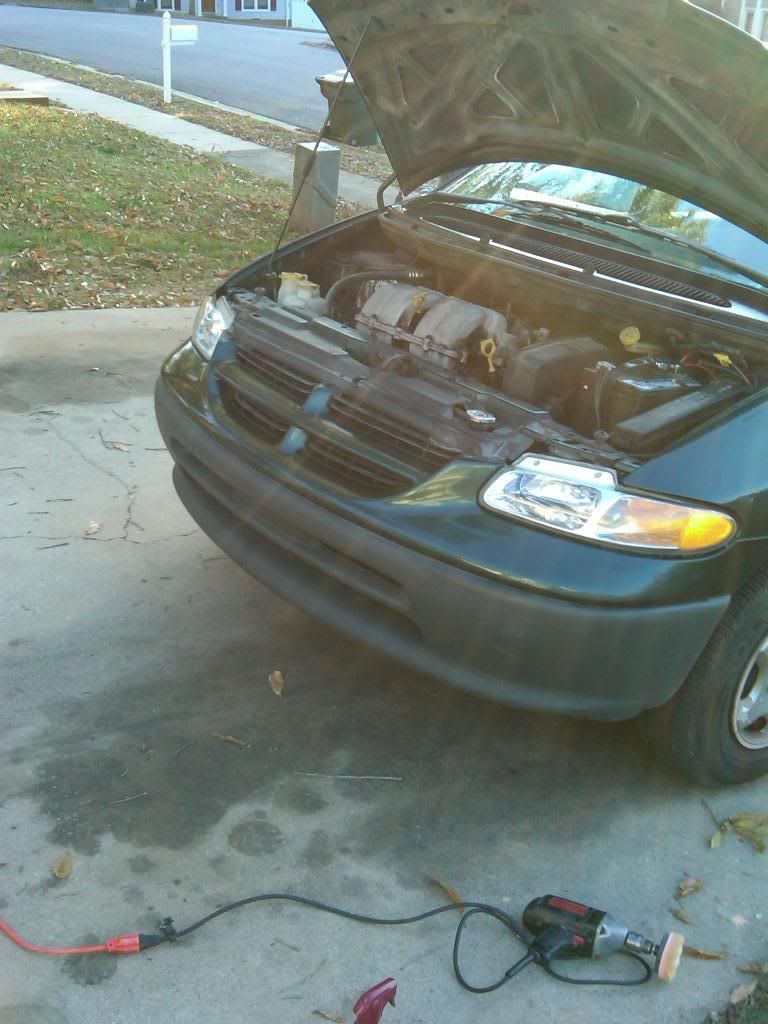
Driver afters:
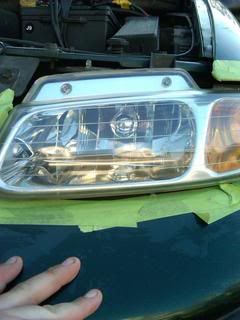
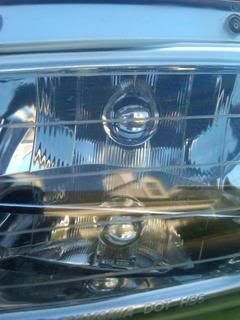
Passenger afters:
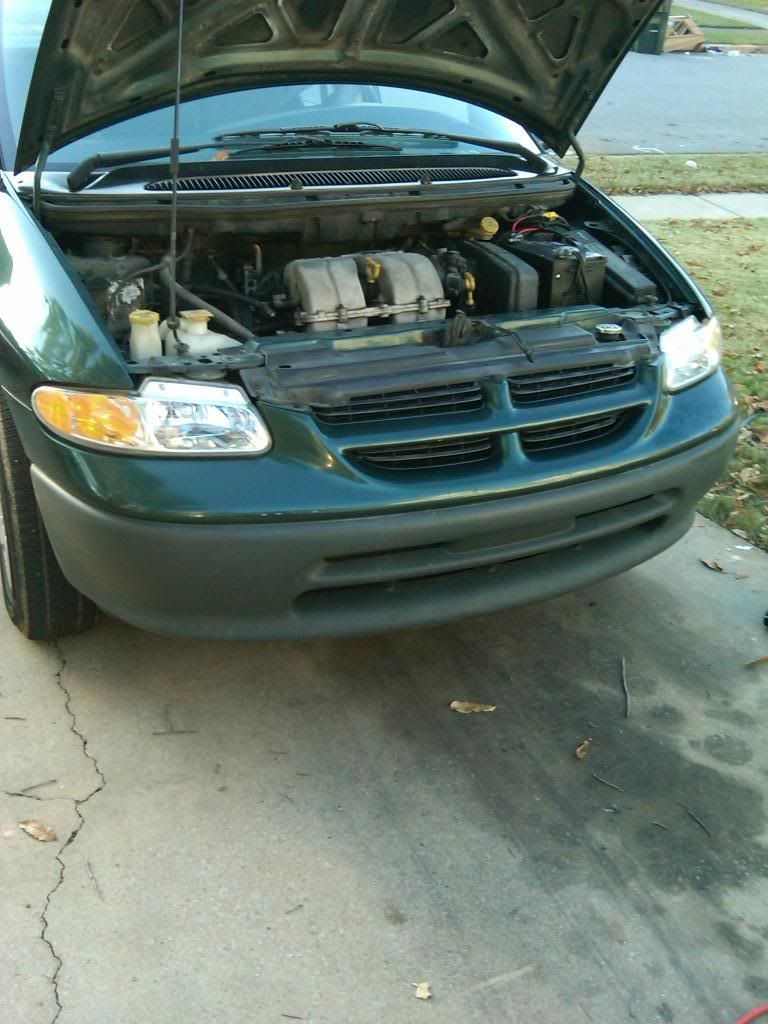
Both finished:
1997 Dodge Caravan:
Passenger before:
Driver before:
Driver afters:
Passenger afters:
Both finished:


 11-19-2009, 09:27 AM
#3
Registered User
Thread Starter
Join Date: Oct 2009
Location: Madison, Alabama
Posts: 308
Likes: 0
Received 0 Likes
on
0 Posts
Thanks! It was actually a friends car. He doesn't care so much about the paint and stuff, but he had to turn his high beams on just to see well enough to drive. He asked me to fix it. Oh, can I get my wacko badge? I posted a customer detail also.


 12-01-2009, 06:16 PM
#6
Registered User
Thread Starter
Join Date: Oct 2009
Location: Madison, Alabama
Posts: 308
Likes: 0
Received 0 Likes
on
0 Posts
No reason to be scared man. Go to your local O'reillys, and ask them to order the 3M headlight restoration kit out of their re-finishers guide. It should be about $22 after tax.
Things you will need:
Portable drill (corded or cordless, I use a corded variable speed)
3M Restoration Kit
3M masking tape
Time...
-Mask the paint around the headlights very well. The tape should fit under your headlights to an extent. Put 2 layers of tape everywhere.
-Sand with the 500 grit (orange sand paper) first. Make sure you get the entire headlight very well. More sanding on each step makes the next step easier.
-Sand with the 800 grit (white and purple sand paper) next. Make sure you get the entire headlight. This reduces the coarse scratches to finer scratches.
-Spray the headlight with water or detail spray. Enough to cover the whole headlight. Next use the 3000 grit Trizact 2 pad. Again, make sure to get the whole headlight. In this step, you should get a white substance, that kind of looks like slush.
-Wipe clean
-Break out the 3M compound they give you in the kit. Change to the orange buffing pad, and put a dime sized amount of compound on it. Polish out the whole headlight.
-Wipe to a brilliant luster. Repeat on other headlight!

Thread
Thread Starter
Forum
Replies
Last Post