
flex orbital polish tips
 04-22-2009, 08:06 PM
#1

Thread Starter

just to give a little background, so the car has never been through paint correction for the past two years, swirls were building up . i have always taken care of my car but after 2 years, it's got pretty bad. my car has always looked clean and shiny until the sun hits it , so i thought it's time to do something about it.
Thanks again to Bay Area's very own espelirS2k's advices, i was able to move on with my detail this weekend. i thought i've share some before/after shots, i only got my phone as the camera so sorry for the bad quality pics, but you get the idea.
Products used:
Menzerna SIP + uber green pad
Menzerna Final polsih + uber blue pad
Wolfgang deep gloss sealant + uber black pad
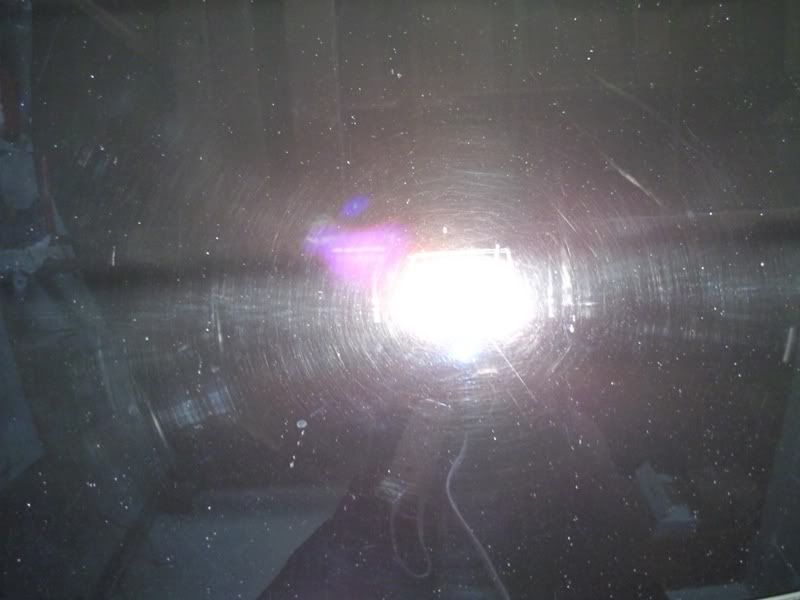
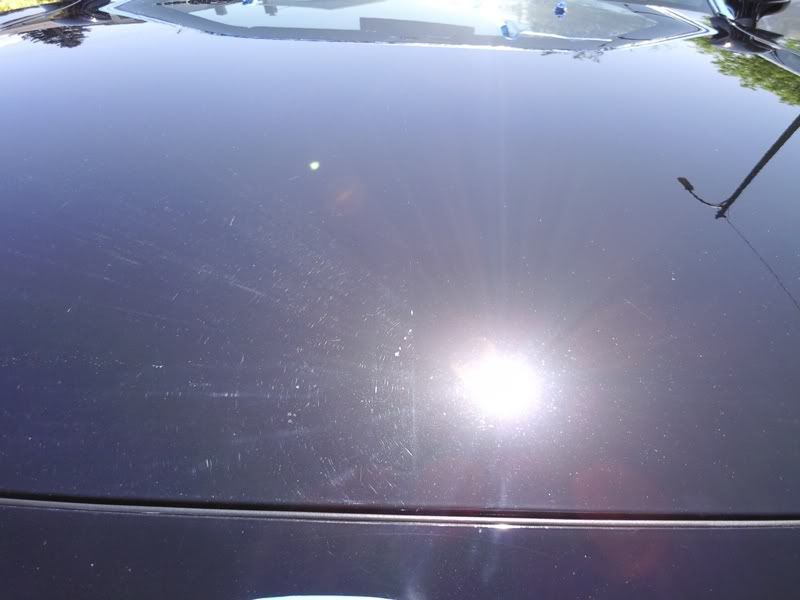
before:
swirl city!!!
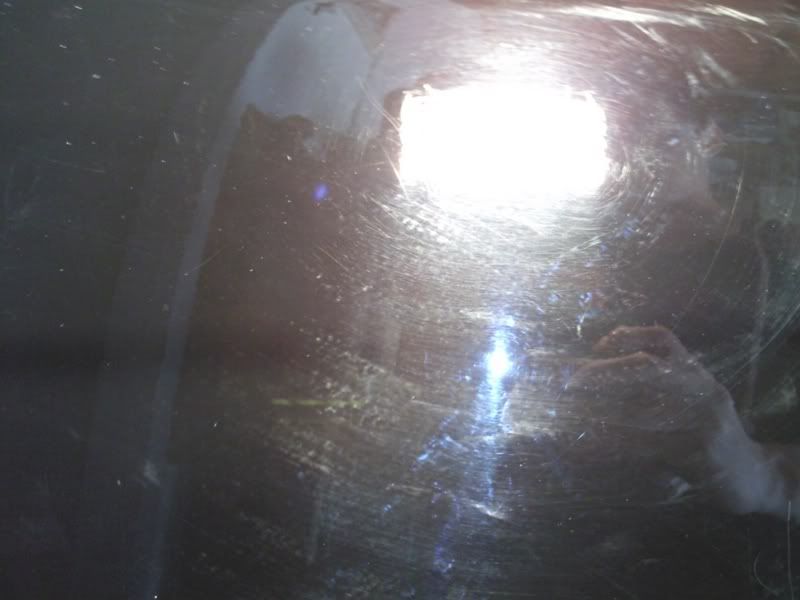
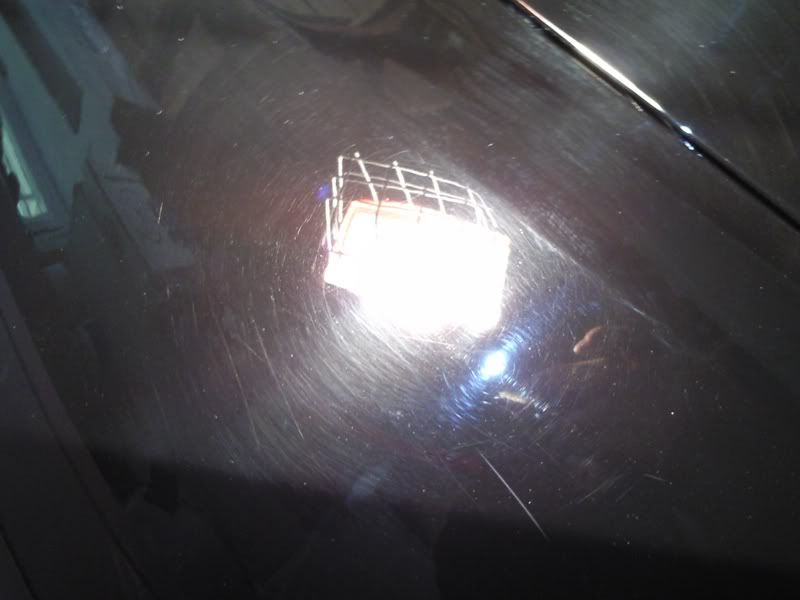
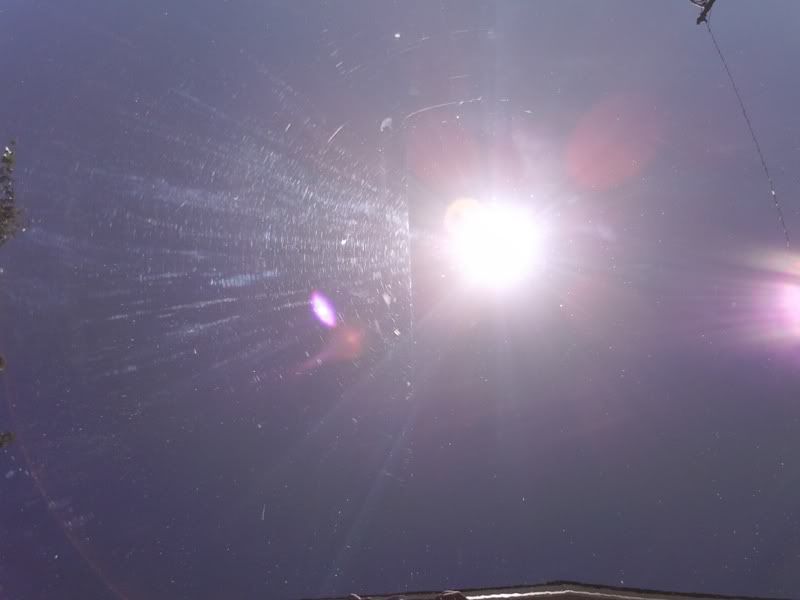
After:
right side after SIP + green pad
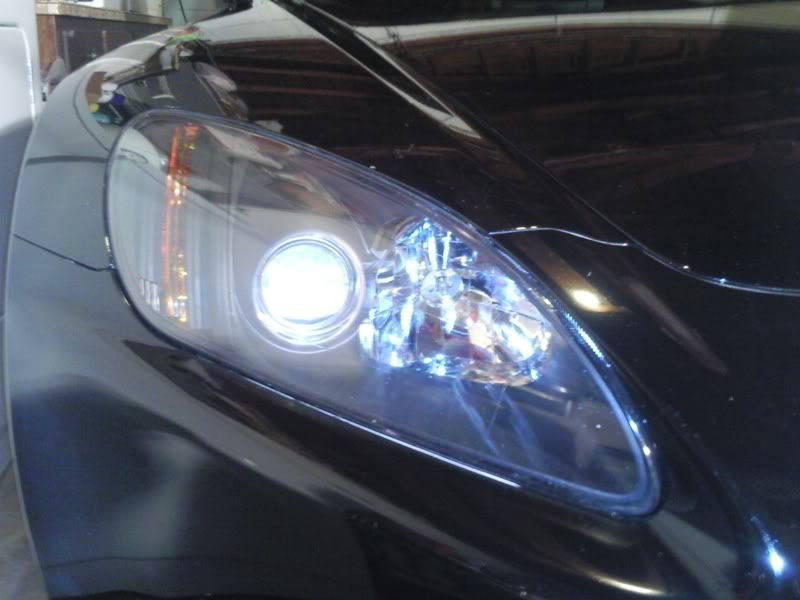
cleaned off the haze off my healdights
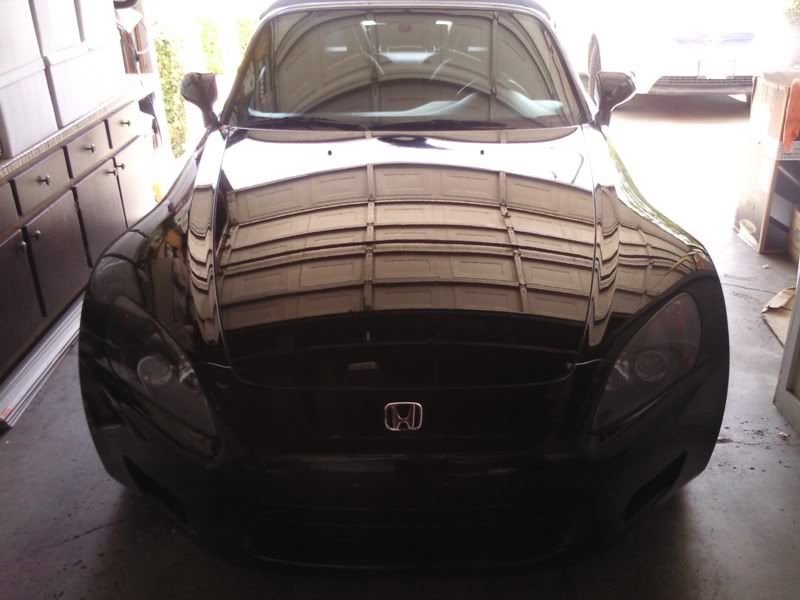
hood done:
in the sun

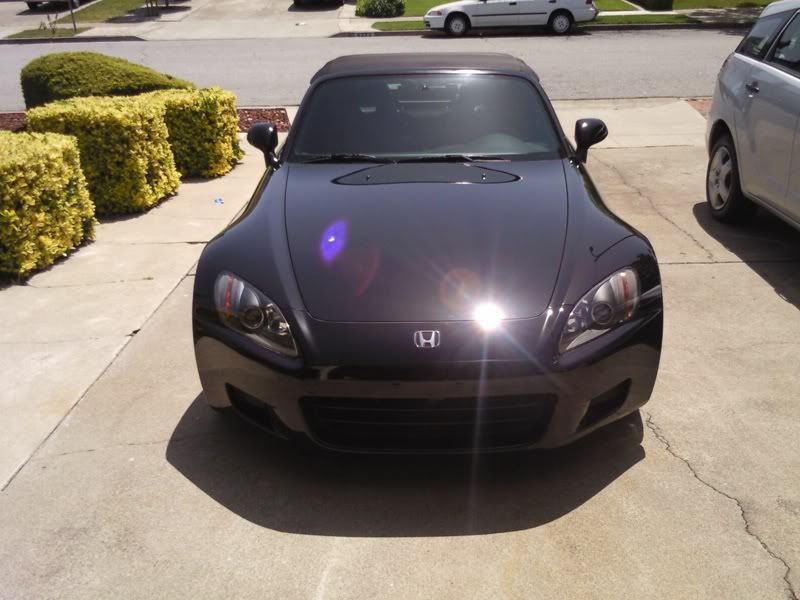
Overall, i am pretty impressed. i beleive i removed at least 90% of the swirls, as i only took one pass. I might have messed up the final polish step , it was very hard to get the final polish to break down, so i pretty much just work each section for about 5 min and remove the product off the panel. i might have to revisit it next time, but am i suppose to be expecting a super high gloss after that step? ( my car has always been in high gloss mode, so i dont know if it were suppose to be even better than that lol)
comments are welcomed!
---------------------------------------------------------------------------------------------
Hello all,
i have had always had success getting helps from all of you helpful s2ki crew here, so here i am again, so i just purchased the flex orbital tool, and i have zero polish experience, i am wondering if i can just follow the PC guides on the web or are there particular things that i should watch out for since it is more powerful than the PC?
here's what i plan to do base on what i read so far on the web:
hit it with Menzerna SIP + orange pad
hit it with Menzerna SIP + green pad
hit it with Menzerna Nano Polish PO 106 FA+ blue pad
hit it with sealant/wax + black pad. (seal first with wolfgang deep gloss sealant, then top off with p21s)
does it look right? i am more concerned at the paint correction steps (orange and green pads). wondering if i can use the final polish with the green pad and skip SIP with green pad or should i keep what i have planned to reduce the micro marring?
also , do i hit it at full speed (6) or should i use it at a lower speed setting? here's what i plan to do . spread it first at speed 3, and start working it at speed 6.
any other tips are welcomed as well!
Thanks!
Thanks again to Bay Area's very own espelirS2k's advices, i was able to move on with my detail this weekend. i thought i've share some before/after shots, i only got my phone as the camera so sorry for the bad quality pics, but you get the idea.
Products used:
Menzerna SIP + uber green pad
Menzerna Final polsih + uber blue pad
Wolfgang deep gloss sealant + uber black pad
before:
swirl city!!!
After:
right side after SIP + green pad
cleaned off the haze off my healdights
hood done:
in the sun
Overall, i am pretty impressed. i beleive i removed at least 90% of the swirls, as i only took one pass. I might have messed up the final polish step , it was very hard to get the final polish to break down, so i pretty much just work each section for about 5 min and remove the product off the panel. i might have to revisit it next time, but am i suppose to be expecting a super high gloss after that step? ( my car has always been in high gloss mode, so i dont know if it were suppose to be even better than that lol)
comments are welcomed!
---------------------------------------------------------------------------------------------
Hello all,
i have had always had success getting helps from all of you helpful s2ki crew here, so here i am again, so i just purchased the flex orbital tool, and i have zero polish experience, i am wondering if i can just follow the PC guides on the web or are there particular things that i should watch out for since it is more powerful than the PC?
here's what i plan to do base on what i read so far on the web:
hit it with Menzerna SIP + orange pad
hit it with Menzerna SIP + green pad
hit it with Menzerna Nano Polish PO 106 FA+ blue pad
hit it with sealant/wax + black pad. (seal first with wolfgang deep gloss sealant, then top off with p21s)
does it look right? i am more concerned at the paint correction steps (orange and green pads). wondering if i can use the final polish with the green pad and skip SIP with green pad or should i keep what i have planned to reduce the micro marring?
also , do i hit it at full speed (6) or should i use it at a lower speed setting? here's what i plan to do . spread it first at speed 3, and start working it at speed 6.
any other tips are welcomed as well!
Thanks!
 04-22-2009, 08:23 PM
#2
Registered User
Join Date: Mar 2006
Location: Bay Area
Posts: 17,670
Likes: 0
Received 0 Likes
on
0 Posts
Skip the orange pad on your black s2k. You'll spend a long time correcting the marring put in by the orange pad. So do SIP+Green (even white would be better) then 106fa+black, not blue. Black has a TINY bit more cut than blue. Then finish up with sealant on blue pad.
Other than that.. sounds like you'll be golden. 3-6-3 should work great .
.
The flex is amazing to work with.. not nearly the hand fatigue the PC gives you. Go out and do it now!
But don't forget to post pics
Other than that.. sounds like you'll be golden. 3-6-3 should work great
.The flex is amazing to work with.. not nearly the hand fatigue the PC gives you. Go out and do it now!
But don't forget to post pics
04-22-2009, 09:17 PM
#3
Thread Starter
Hahaha Thanks a lot espelirs2k, i will give it a shot this weekend LOL! and i will provide some before after pix as well!
when you say 3- 6-3 , you mean spread it at speed 3, then work it at speed 6, what's the last 3?
also wondering what would be a good indication that i can stop working at speed 6 , my assumption would be when all the chemicals are close to gone?
Thanks!
when you say 3- 6-3 , you mean spread it at speed 3, then work it at speed 6, what's the last 3?
also wondering what would be a good indication that i can stop working at speed 6 , my assumption would be when all the chemicals are close to gone?
Thanks!
04-22-2009, 09:21 PM
#4
Registered User
Join Date: Mar 2006
Location: Bay Area
Posts: 17,670
Likes: 0
Received 0 Likes
on
0 Posts
Because menzerna polishes are diminishing abrasives.. to use the polish to it's fullest ability you use what is called the "zenith point" polishing technique. You spread it at a low speed to "warm" the abrasives up, and then after it's spread as evenly as possibly across the section of the panel, you bump it up and work it at speed 6. Work in the polish until it "flashes" meaning the haze from the polish on the panel is gone, and it's more like a clear film. After that, lower the speed again to 3 to "burnish" the paint. What this does is further break down the abrasive particulate in the polish, meaning less micromarring from an aggressive pad.
Hope this helps!
Hope this helps!
04-22-2009, 10:46 PM
#5
Thread Starter
Originally Posted by espelirS2K,Apr 22 2009, 09:21 PM
Because menzerna polishes are diminishing abrasives.. to use the polish to it's fullest ability you use what is called the "zenith point" polishing technique. You spread it at a low speed to "warm" the abrasives up, and then after it's spread as evenly as possibly across the section of the panel, you bump it up and work it at speed 6. Work in the polish until it "flashes" meaning the haze from the polish on the panel is gone, and it's more like a clear film. After that, lower the speed again to 3 to "burnish" the paint. What this does is further break down the abrasive particulate in the polish, meaning less micromarring from an aggressive pad.
Hope this helps!
Hope this helps!

 04-23-2009, 10:10 AM
#7
Registered User


Join Date: Feb 2008
Posts: 697
Likes: 0
Received 0 Likes
on
0 Posts
is there a general "working time" aka 1-2 minutes where the product should USUALLY flash? i know its different depending on machine/product etc etc, but i had a tough time noticing the flash point last time i practised so if i had a general time limit of too soon and too long it could help