
The remodeling/home improvement thread
 02-19-2011, 04:11 AM
#471

That's true...there are clamps holding the sink in place, and silicone (or whatever) to fill in. Didn't think about that being a problem there. I did think that butcher block counters can be a breeding ground for bacteria unless well sealed. So you can't really cut anything right on the counters. They do look nice.
 02-19-2011, 05:02 AM
#472

I have hard surface countertops in my kitchen and I'd rather have some type of stone. However, we're really tired of having stuff done and just want to live with/enjoy what we have for the moment. I'll get some tips from you, Deb when you get here. 
02-19-2011, 05:12 AM
#473
Okey dokey.
02-19-2011, 05:16 AM
#474
Registered User

Join Date: Mar 2004
Posts: 10,478
Likes: 0
Received 0 Likes
on
0 Posts
Originally Posted by DrCloud,Feb 18 2011, 09:26 PM
Contrary to modern practice, the counters are different: the wet one is Corian, with a nifty molded-in sink, and the dry one is butcher block.
03-08-2011, 10:31 PM
#475
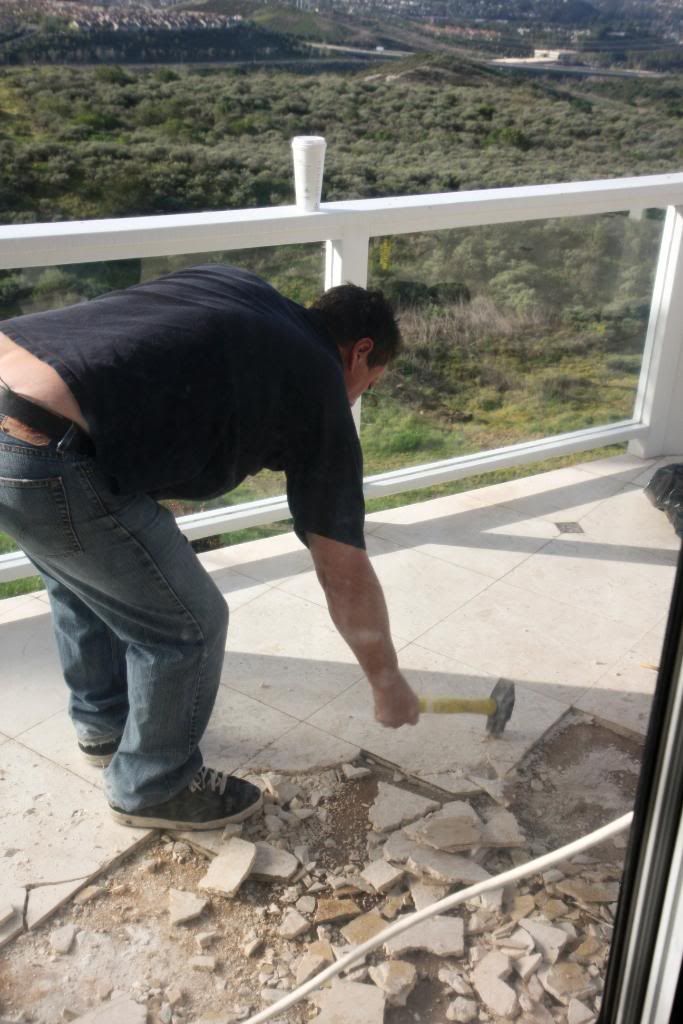
The way S2ki is right now, this might not get viewed but here are photos from my deck rebuild.
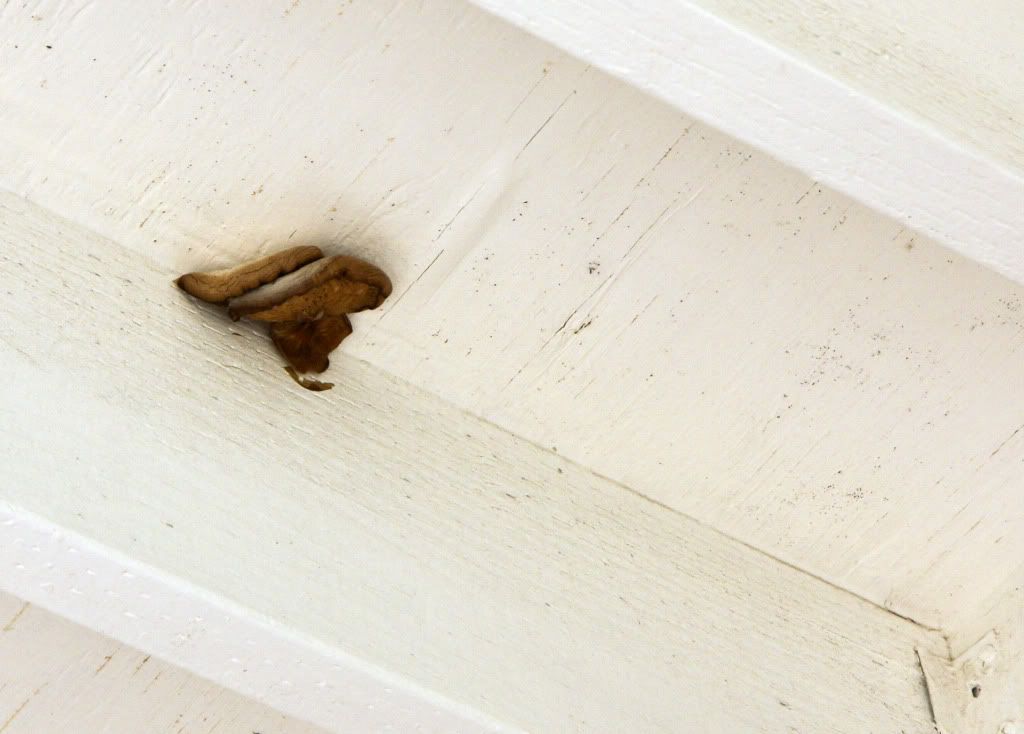
^The first hint that something was wrong. A mushroom growing out the bottom of my deck in February.

^BEFORE. The travertine deck with a tile missing where my first contractor picked through to find wet plywood underneath. Wow, what a surprise.
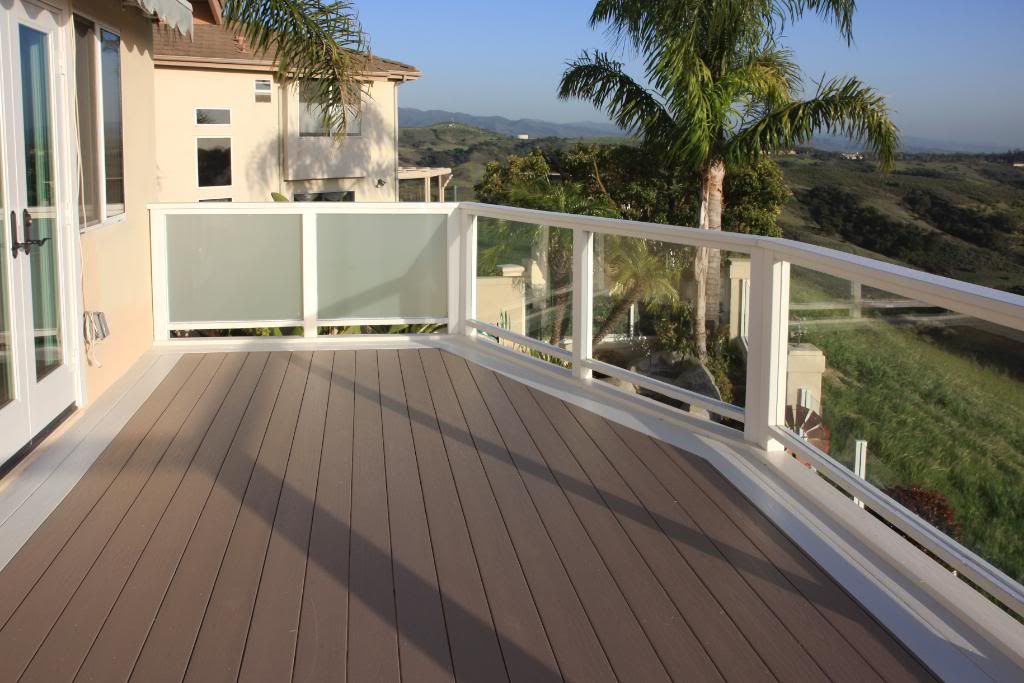
^AFTER. The Azek planks are all installed with the Cortex plugs over the screw holes.

^BEFORE. I really liked the look of the deck but there was no keeping it when it was just turning into a sponge.
^AFTER. I went with the Azek planks even though rain now drips through the deck. I just don't want to deal with the cracks and problems of a solid deck that sits in the full sun and other weather every day.
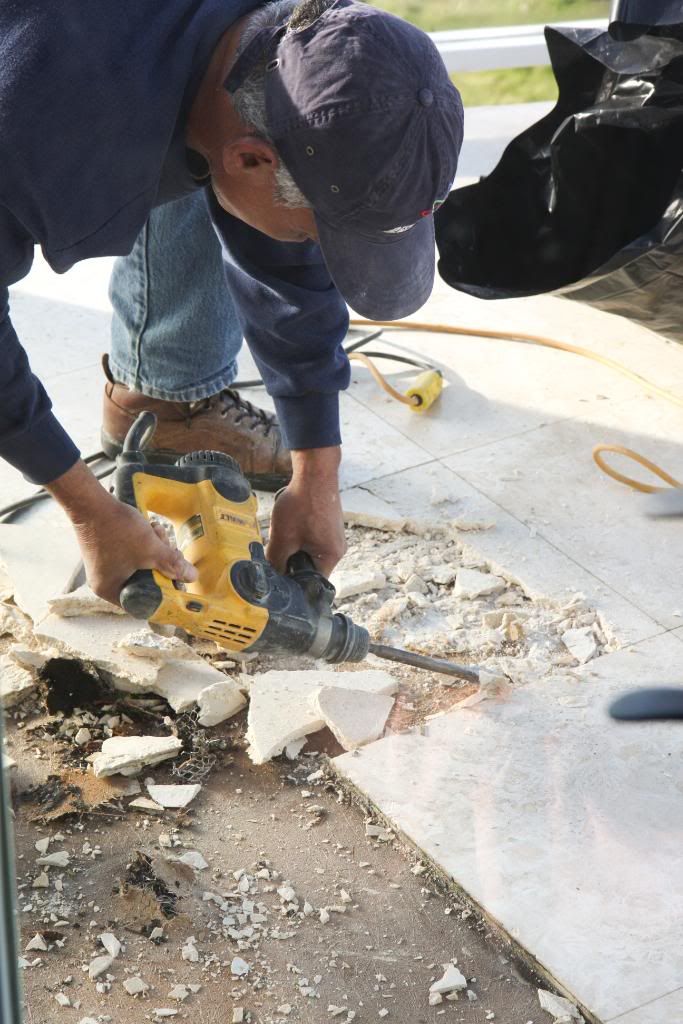
^It took ^Alfonso and Reggie two full days to remove the travertine, a layer of cement-type stuff, a layer of some fiber-type stuff and then the wet plywood.
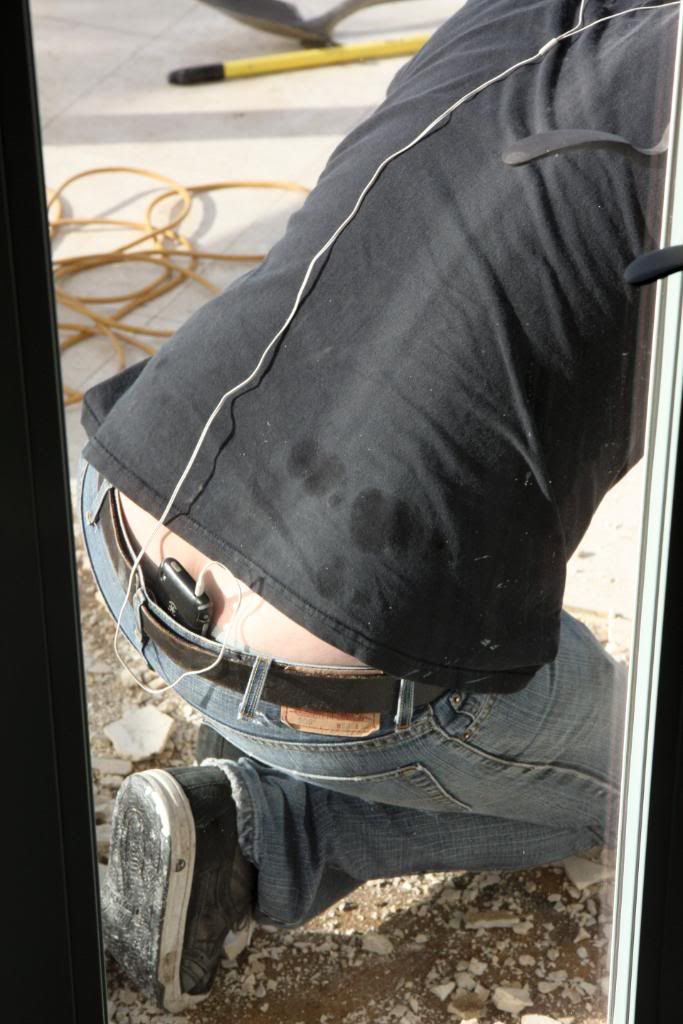
^Reggie was a singing and dancing worker. It wasn't a pretty sight or sound. It was also pretty unprofessional when I wanted to talk to him and he was still singing along to his iPod while in conversation.
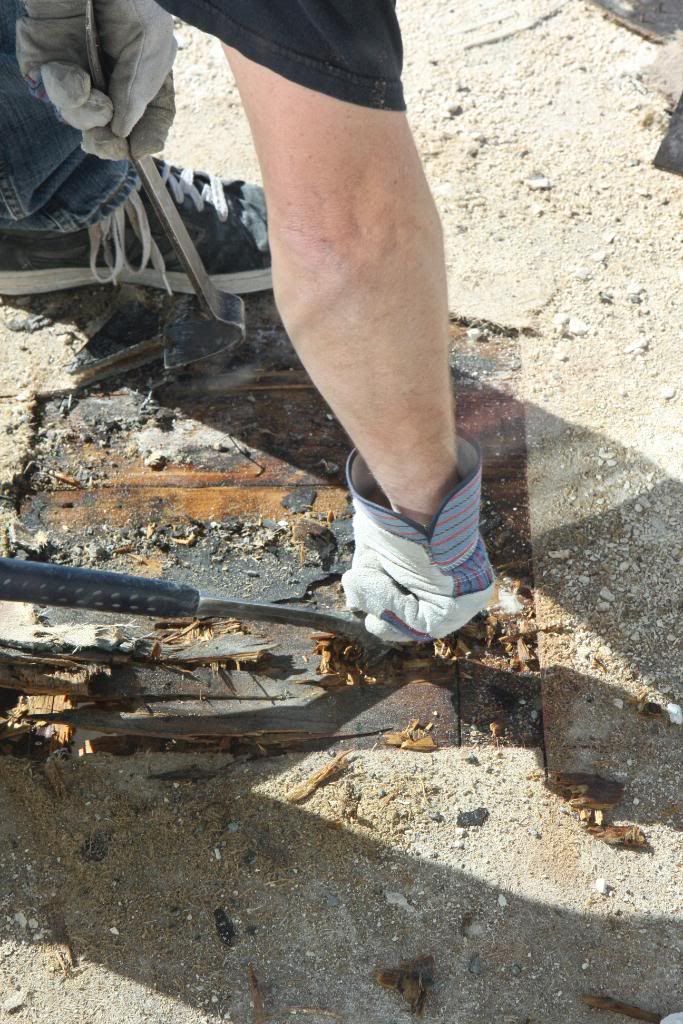
^Wet plywood under the fiber. My contractor called the fiber Kevlar but I don't thing that's what Kevlar is.
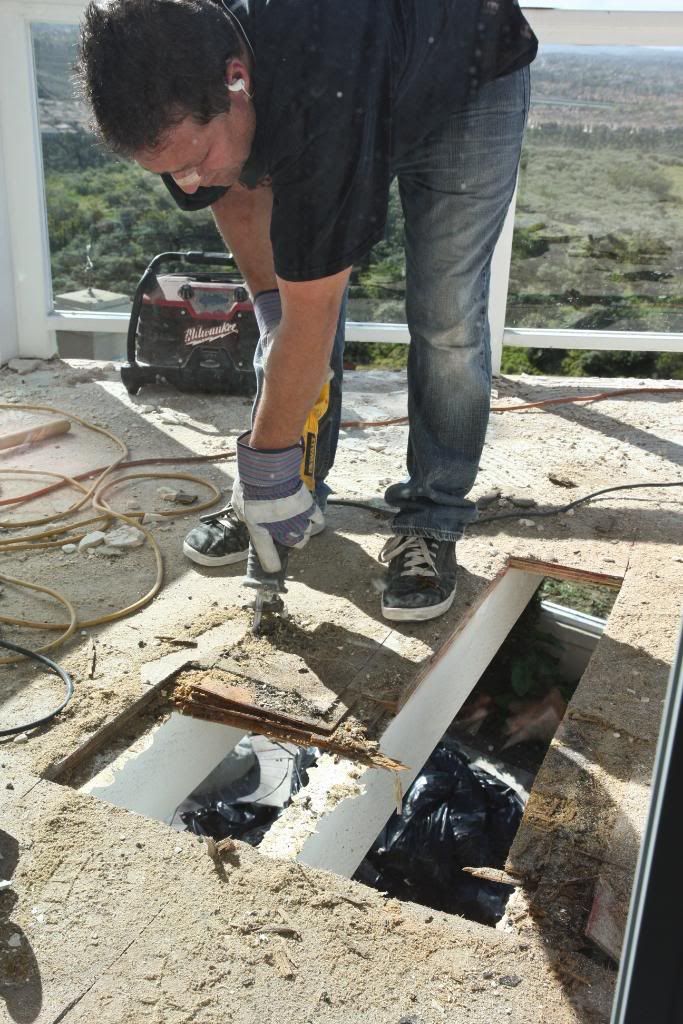
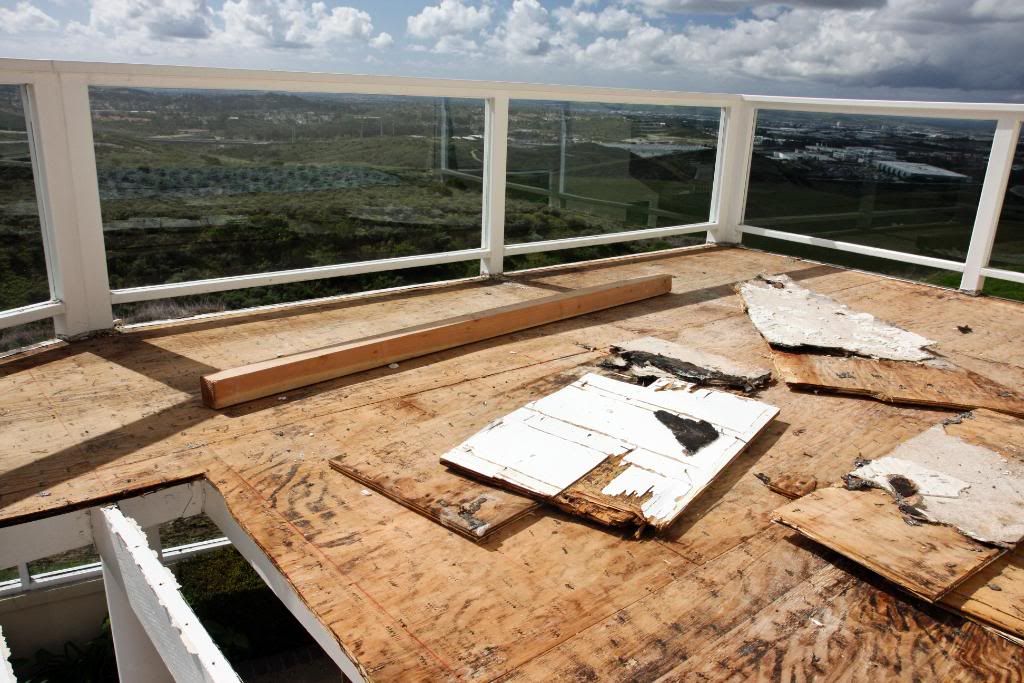

^At least the joists were still in good condition.

^Additional supports were added for the white Azek border planks.
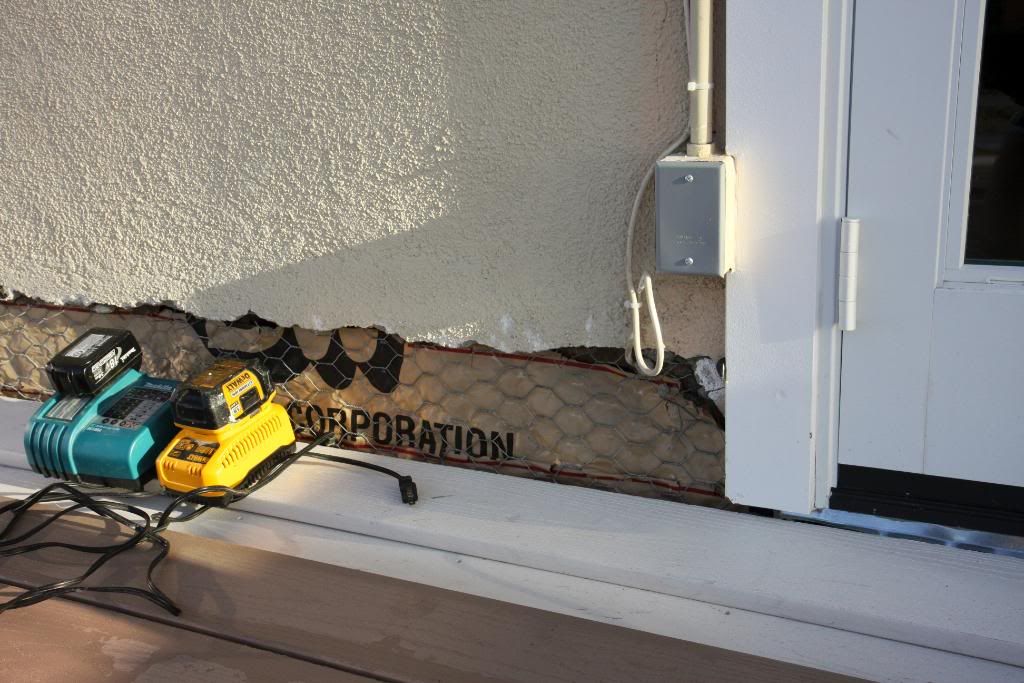
^The original flashing installed with the deck by the first home owner (I am the third) was put in to the outside of the paper in the wall instead of behind it. When it rained hard for a few days, I would get water falling inside the house, at my kitchen window, which is below the deck. I had the guys take off the stucco and put flashing in correctly before re-stuccoing. I sure hope I'm done with rain inside the kitchen window.
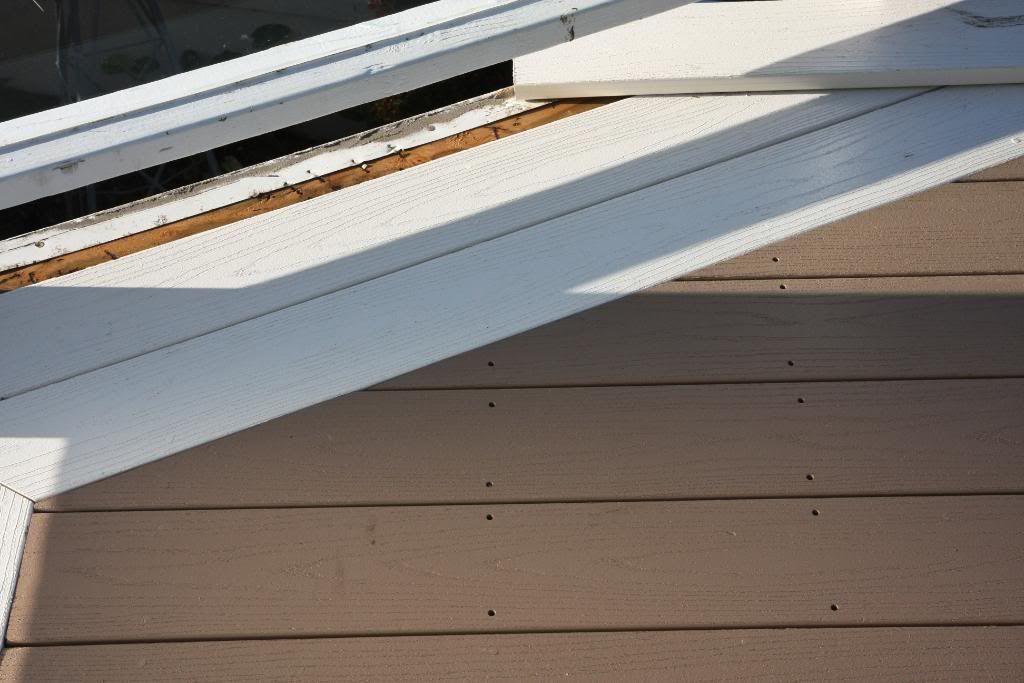
^The planks without the Cortex plugs covering the screws.
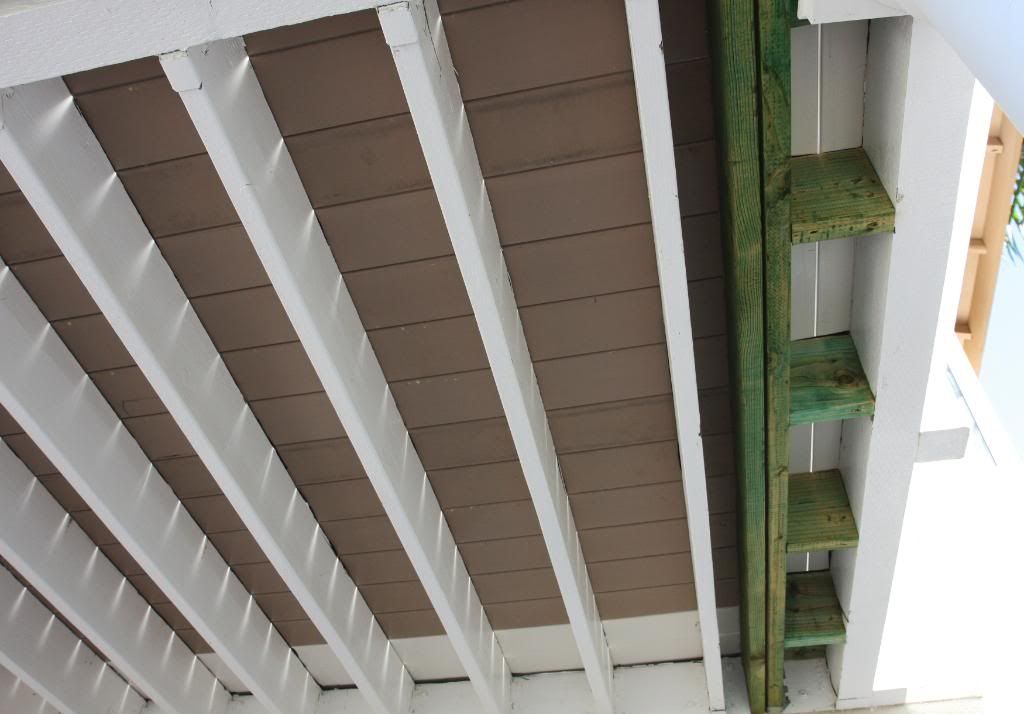
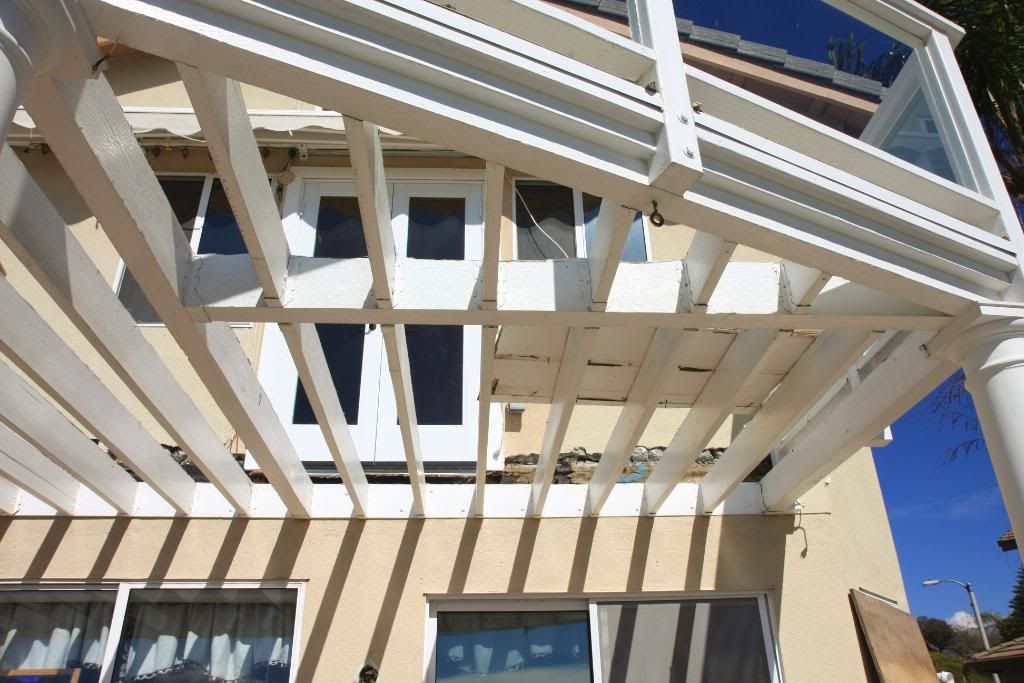
^Underside of deck planks before paint.
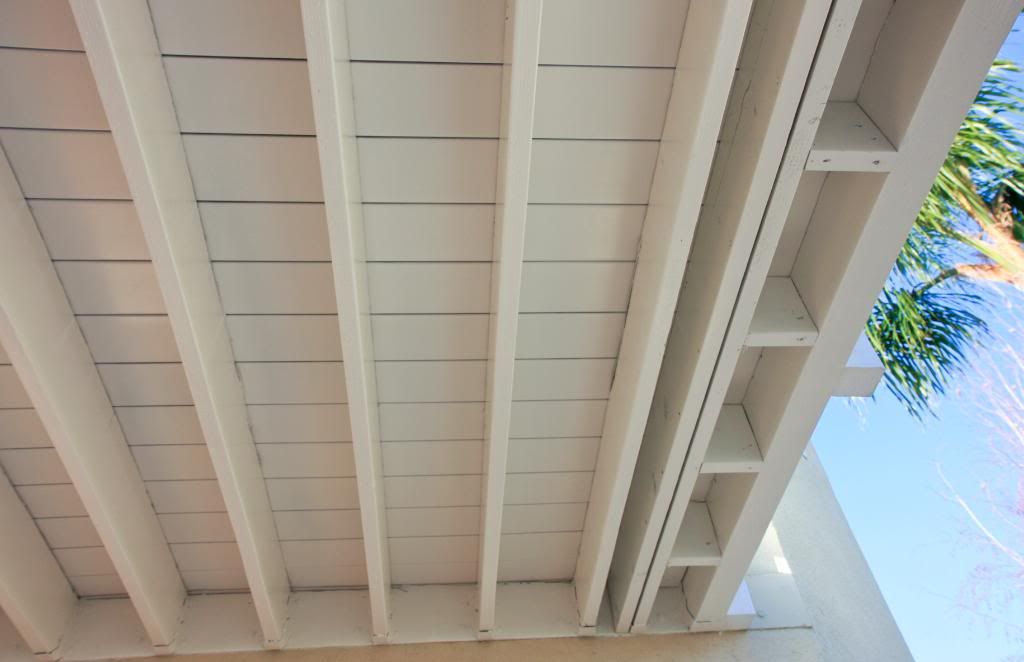
^Painted white. Much better.
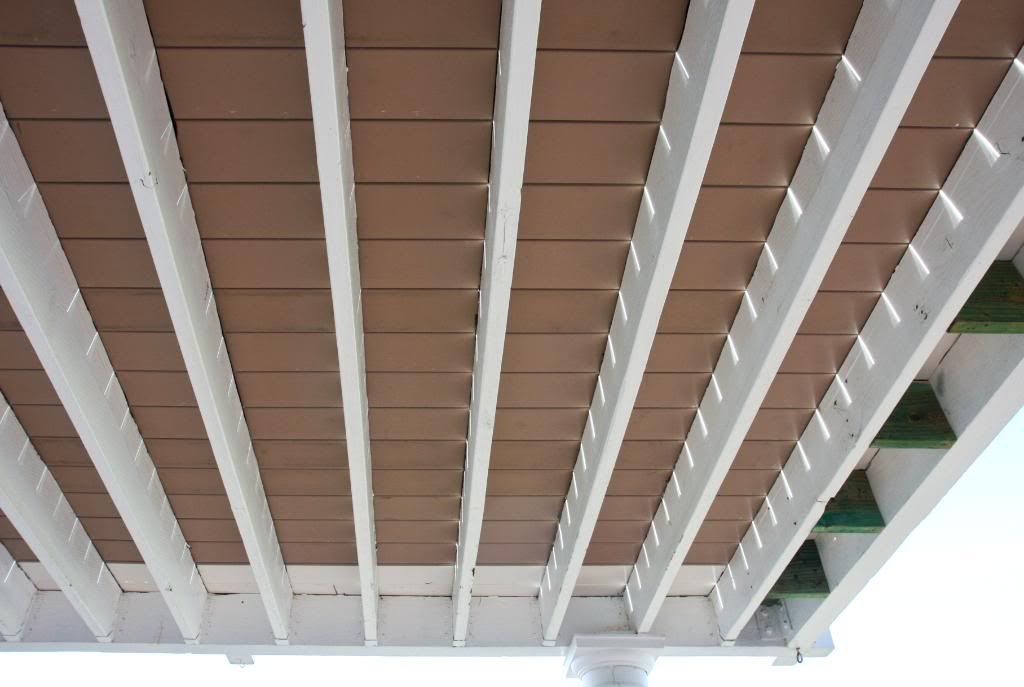
^Other end of underside of Azek planks, before paint.
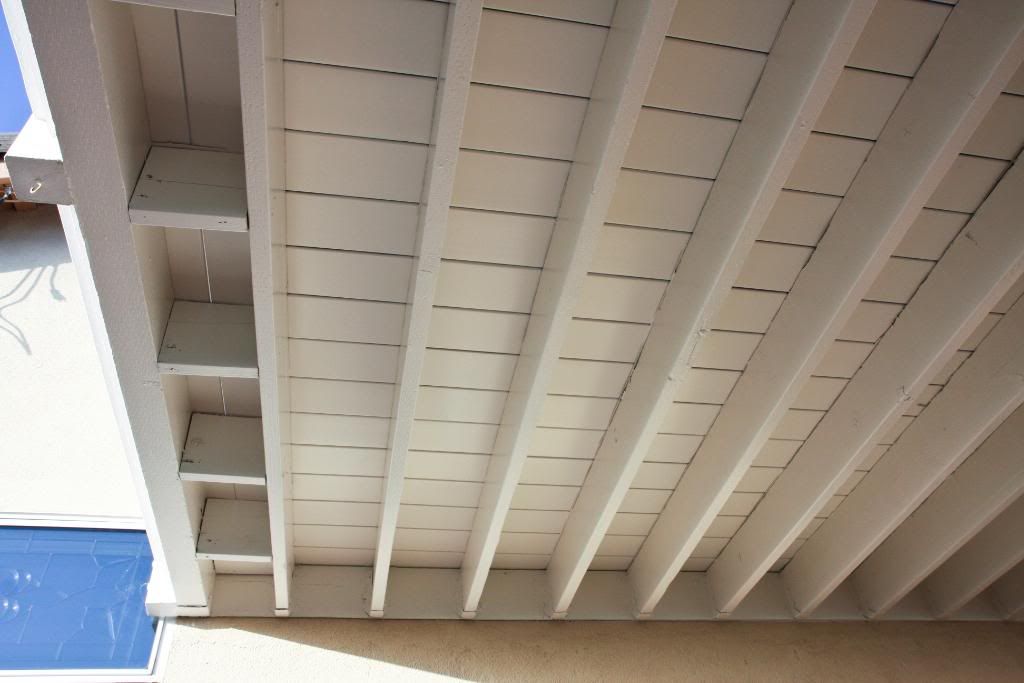
^After white paint, much better.
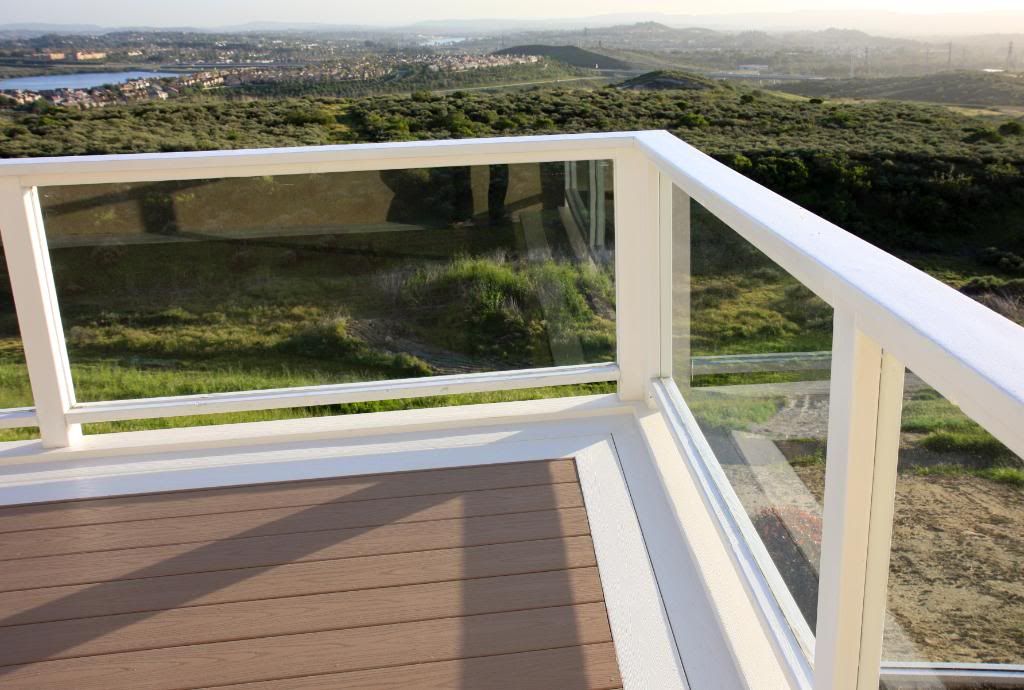
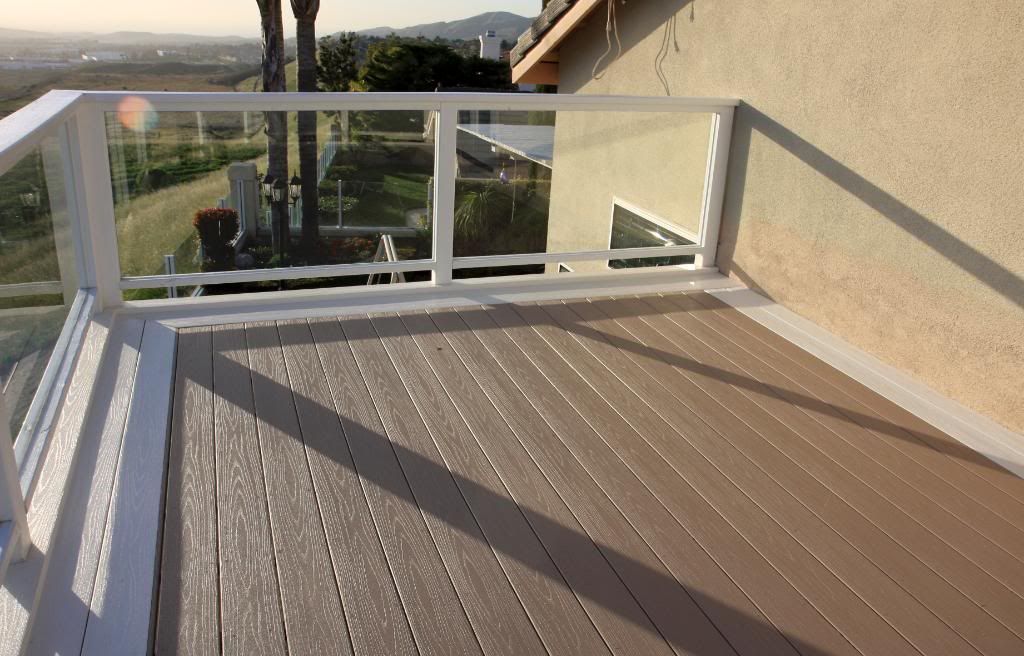
^AFTER. The Cortex plugs hammered into the screw holes really helped make them disappear.
^The first hint that something was wrong. A mushroom growing out the bottom of my deck in February.
^BEFORE. The travertine deck with a tile missing where my first contractor picked through to find wet plywood underneath. Wow, what a surprise.
^AFTER. The Azek planks are all installed with the Cortex plugs over the screw holes.
^BEFORE. I really liked the look of the deck but there was no keeping it when it was just turning into a sponge.
^AFTER. I went with the Azek planks even though rain now drips through the deck. I just don't want to deal with the cracks and problems of a solid deck that sits in the full sun and other weather every day.
^It took ^Alfonso and Reggie two full days to remove the travertine, a layer of cement-type stuff, a layer of some fiber-type stuff and then the wet plywood.
^Reggie was a singing and dancing worker. It wasn't a pretty sight or sound. It was also pretty unprofessional when I wanted to talk to him and he was still singing along to his iPod while in conversation.
^Wet plywood under the fiber. My contractor called the fiber Kevlar but I don't thing that's what Kevlar is.
^At least the joists were still in good condition.
^Additional supports were added for the white Azek border planks.
^The original flashing installed with the deck by the first home owner (I am the third) was put in to the outside of the paper in the wall instead of behind it. When it rained hard for a few days, I would get water falling inside the house, at my kitchen window, which is below the deck. I had the guys take off the stucco and put flashing in correctly before re-stuccoing. I sure hope I'm done with rain inside the kitchen window.
^The planks without the Cortex plugs covering the screws.
^Underside of deck planks before paint.
^Painted white. Much better.
^Other end of underside of Azek planks, before paint.
^After white paint, much better.
^AFTER. The Cortex plugs hammered into the screw holes really helped make them disappear.
 03-09-2011, 02:37 AM
#477
Definitely some poor construction/upgrades there. I think it looks really nice. And I can't see the holes at all. 
03-09-2011, 02:49 AM
#478
 HOWEVER, the new one looks super great! I'm sure you'll enjoy it. Verrrrry niiiiiice.
03-09-2011, 03:40 AM
HOWEVER, the new one looks super great! I'm sure you'll enjoy it. Verrrrry niiiiiice.
03-09-2011, 03:40 AM
#479

Thread Starter
Very nice. My guy didn't put in plugs to cover the screws...What's up with that? 
I'm sure you'll be happy with the surface.
I'm sure you'll be happy with the surface.
03-09-2011, 08:44 AM
#480
Jerry was a huge help with the project. He ended up at my house, instead of me, on at least two of the seven days. Yesterday, he got the painter to pay attention to the fact that sprayed paint was going to come up between the planks. The painter taped off each gap so that there wasn't over spray on top of the deck. Jerry is artistic and smart about construction.