Access to roof drains?
#1
Ref the drains (#17 & 21 in the image in this thread) https://www.s2ki.com/s2000/topic/102...-top-drainage/
Can I get to these by removing the interior trim behind/aside driver and passenger without having to remove the top or the 'package shelf' trim? I think someone reassembled the drains incorrectly when the PO had the top replaced. The passenger drain appears to send only 1/4 of the water I put down the drain out the tube in the wheel well. The rest seems to trickle out of the door sill over a very long time, making me think the connection between the 'sink' and the tubing below it is jacked up.
Can I get to it w/o having to mess with the convertible top?
#2
Most likely it it just clogged up. If pine needles or debris go into the rain rail they end up in a drain catch just above the bucket. Think of the tub drain at you house to keep the hair out. When you remove the parts you noted you are basically taking the drain out to clean it. If you squeeze your head in between the top and the roll hoop on either side you can see the drain. It is located behind the "brushes" and just in front of the rear wrap around trim corner. There is about a 3/8" gap and the drain/ bucket is right there. Now that you have coordinates lower the top. You should now be able to clean the drain trap of whatever is blocking it with needle nose pliers or forceps.
Utah
Utah
#3
Most likely it it just clogged up. If pine needles or debris go into the rain rail they end up in a drain catch just above the bucket. Think of the tub drain at you house to keep the hair out. When you remove the parts you noted you are basically taking the drain out to clean it. If you squeeze your head in between the top and the roll hoop on either side you can see the drain. It is located behind the "brushes" and just in front of the rear wrap around trim corner. There is about a 3/8" gap and the drain/ bucket is right there. Now that you have coordinates lower the top. You should now be able to clean the drain trap of whatever is blocking it with needle nose pliers or forceps.
Utah
Utah
#4
There is no "connection" between 17 and 21. There is a " drain" which apparently you found and a "bucket"it drains into. No physical connection, clamp, etc. Between 17 & 21 It is a "floating joint". You might try running a wire from the bottom side, can't go all the way up due to the bends. Spider webs can trap debris if cars sitting awhile.
Utah
Utah
#6
There is no "connection" between 17 and 21. There is a " drain" which apparently you found and a "bucket"it drains into. No physical connection, clamp, etc. Between 17 & 21 It is a "floating joint". You might try running a wire from the bottom side, can't go all the way up due to the bends. Spider webs can trap debris if cars sitting awhile.
Utah
Utah
#7
Moderator


17 and 21 push together with a moderate push-fit.
put the top halfway down, then check it from outside the car with a pen light.
You can actually see right down the drain hole, and likely see if there is a disconnect.
The only way that connection can be disturbed is if they actually removed the drain bucket during top install.
Tube 21 also goes into rubber sleeve 19. If the tube was removed, its important to use a pen light to make sure the tube goes into the rubber sleeve.
It can easily be put in with no connection, you have to get in there with a penlight to be sure.
Trending Topics
#8
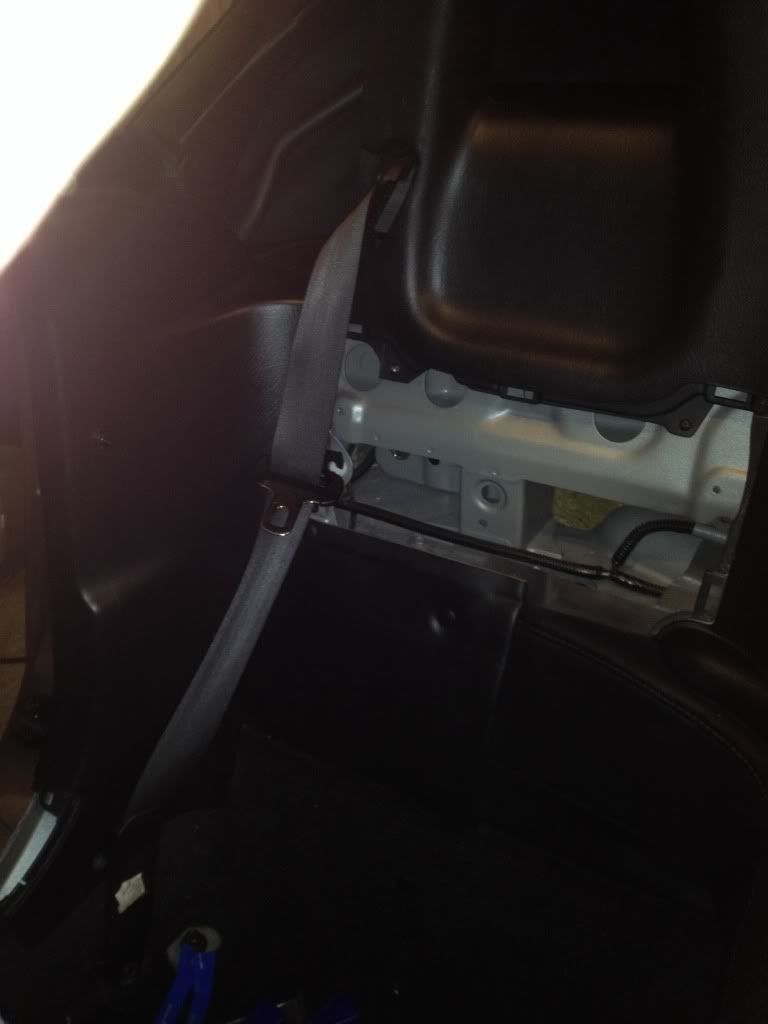
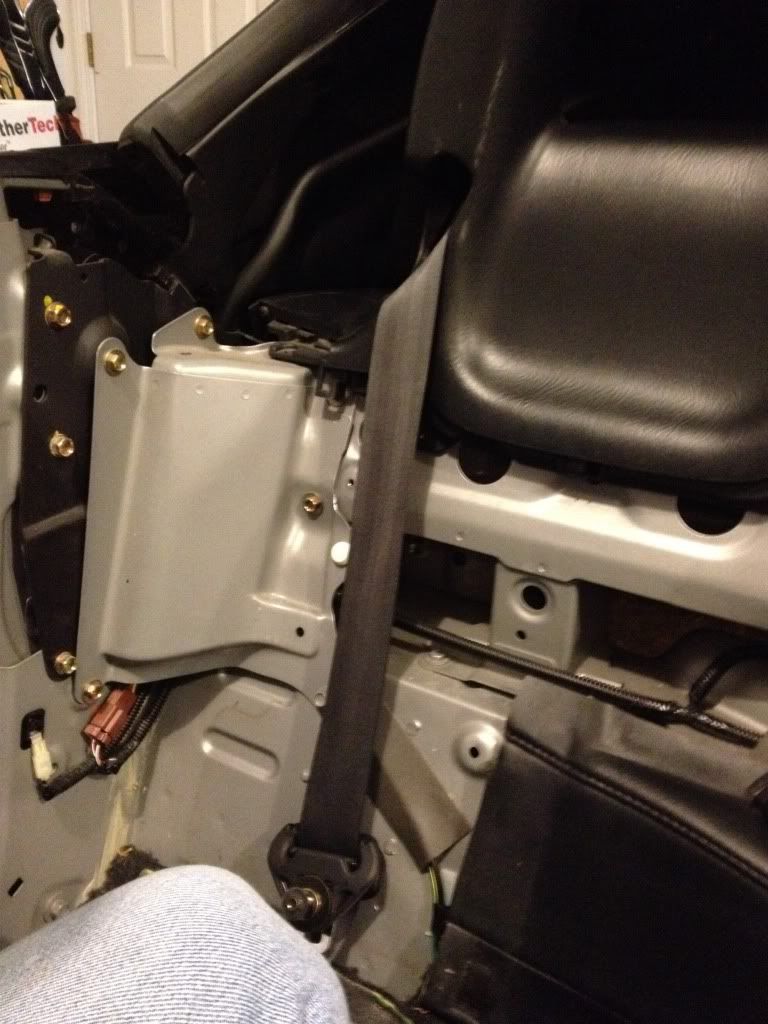
Since nobody seemed to know whether I could tear into this from the area next to the passenger's shoulder (from the interior, after removing parts, I decided to give it a try. Well, the result is good (details soon) but the process of getting to where I could take that section down enough to see the joint between 17 & 21 involved me removing the console, rear console (secret compartment area) which required removal of trunk liner, and rear package shelf. All in all, a nightmare. However, after going through these steps:
removing the panel directly behind the passenger seat:
Removing the door sill and the interior panel next to the passenger's shoulder:
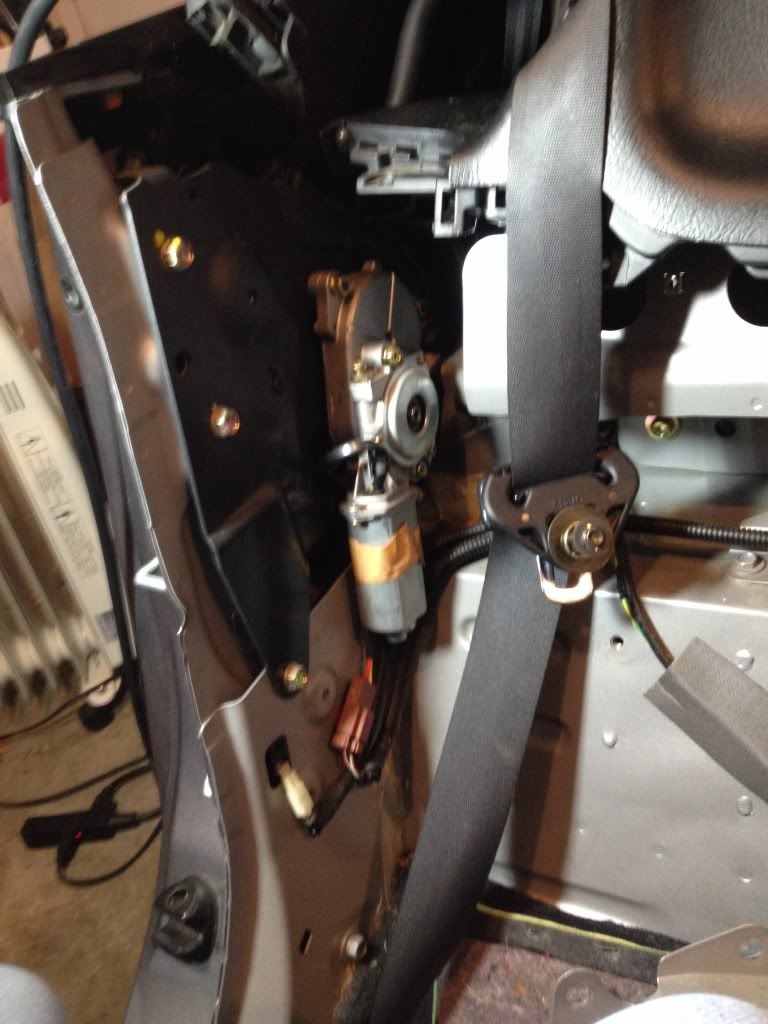
Then I had to take a ton of other stuff off to get to the bolt on the top of the cover for the top motor, but it eventually got to this point:
Now I was able to see where the 'knuckle' of part 21 passed though a panel:
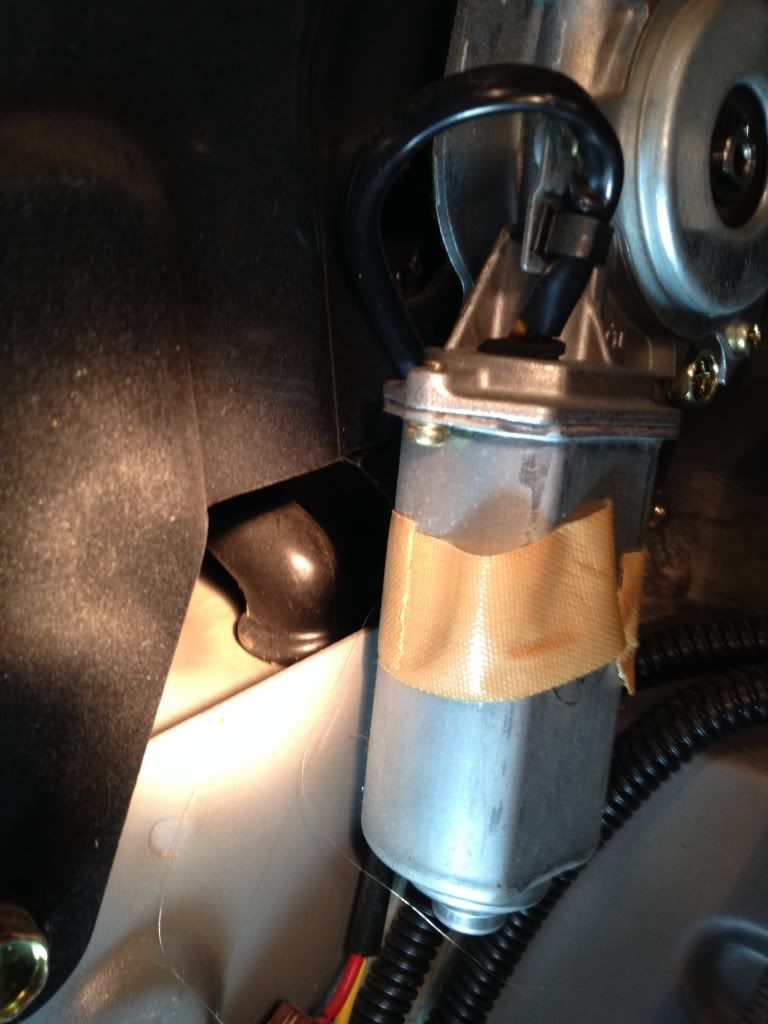
Nothing obvious wrong there. Next I took my trombone cleaner (flexible, thin snake used to clean a trombone, and widely used in the Miata community to clear their rain drains) and shoved it up from the wheel well drain output. Like in the past (I think mentioned in a different post out here) I was able to slide 4' of snake up the hole, which given the distance, should be impossible given the whole assembly is maybe 18". I had a buddy of mine try and see if he could see anything while I was snaking the drain, and all of a sudden he saw the snake itself, but *next to* the drain, not out the top? I took a picture, it is hard to see, but it's in the hole that is right below and to the left of part 21 which is in the top right corner of the picture:
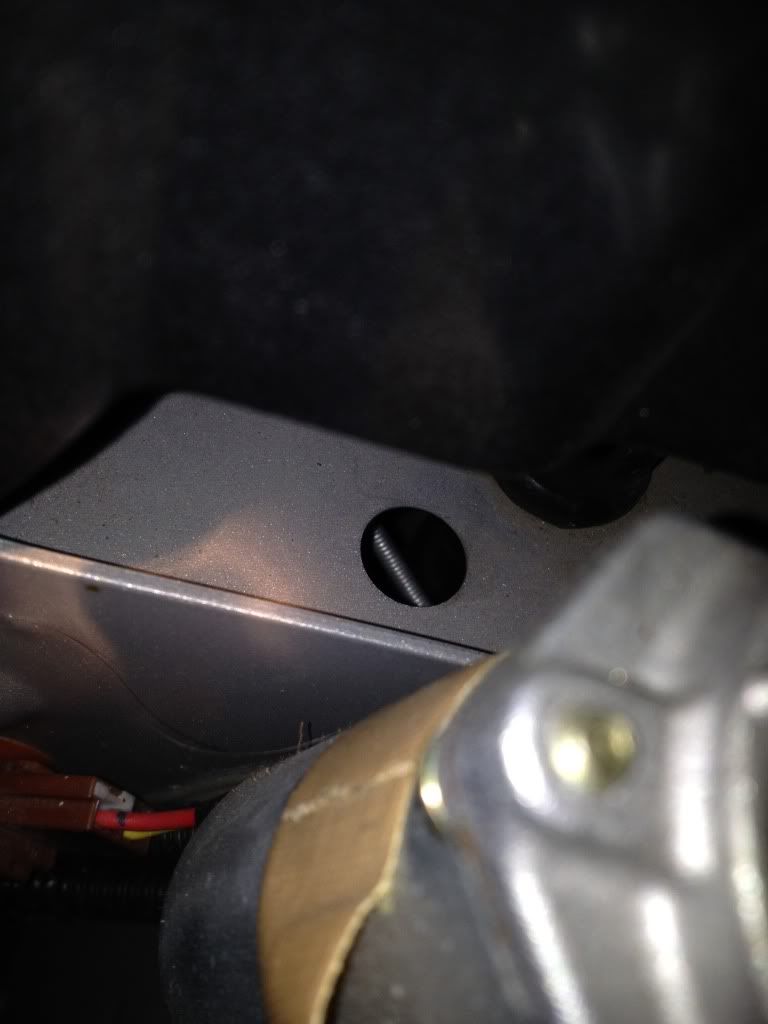
This tells me my problem has to be a break in the drain, and I'm guessing it has to be at the joint between #19 & 21, given that I'm looking at 21 in the picture.
I think this explains why most of the water is staying within the bodywork (on the lift 3/4 of the water leaked out hte front of my rocker panel with only the rear jacked up to get the tire off), but not getting my passenger area wet.
Anyone know how to remove #21 so I can reconnect them (19 & 21)?
#9
Moderator


Remove the bucket and the pipe as one.
There is one Philips screw holding the bucket in, at the top front side of bucket.
The bucket is also clipped into the body, pull bucket (same way you pull up on center console)
with bucket and tube as one, lower into place while guiding end of tube into rubber sleeve. You will need to drop a penlight down in the body to be sure it goes in the rubber sleeve.
Thread
Thread Starter
Forum
Replies
Last Post
SilverDreamRacer
UK & Ireland S2000 Community
10
11-20-2009 01:24 AM


