When you click on links to various merchants on this site and make a purchase, this can result in this site earning a commission. Affiliate programs and affiliations include, but are not limited to, the eBay Partner Network.
Had some interested in people wanting me to track my journey and experience for my transition to a K-motor as well as a way for myself to document and remember things as they are still fresh in my mind.
Initially, I was totally against moving to an 'inferior' engine when I was told of the swap. But, after some research and understanding of the pros/cons of the K-motor and the whole swap in general, it only made sense to make the transition to the 'inferior' motor. The car is 90% a track car, 5% driven to and from the tracks, and 5% for weekend/fun events and etc. Of those track days, I am heavily involved in the Rocky Mountain region of NASA and I am primarily building the car to be on the pointy end of the TT5 class. The F20 that I pulled from the car had never let me down. After 5 years of learning and growing with the car, I never had a day where the car left me stranded or required a tow. But, being that the F20 motors are becoming unobtanium and priced as such, it only made sense to bite the bullet and fork over the money to switch to a cheaper and more readily available powerplant. This was done pre-emptively, as to try and offset the high initial cost of swapping over to the K. (Motor is still up for sale if anyone is in need! Check my posts!)
Engine: K24a2 - I opted for the ASM diy stage 1 package as this is my first engine swap. I wanted to limit the work inside the engine as much as possible since this was my first ever swap to a different powerplant. I opted for a few upgrades: Drag Cartel Drop-in camshafts, Fluidampr crank pulley, Moroso baffled pan, and the F2K oem header service. I also opted to retain creature comforts as well so I ordered the modified ep3 pulley setup as well as the AC compressor through ASM.
Wiring: I opted for the OEM F2K service through ASM for simplicity's sake as well as wanting to retain cruise control & AC. It also made sense to ship my wiring harness back as I already planned to ship the header to ASM.
ECU: As mentioned before, I was not really on the pointy end of TT5 due to multiple factors. One major factor was still being on the stock ECU and another being my unwillingness to sacrifice creature comforts such as AC & CC to reach my minimum competition weight. So, I got to start fresh with a brand new Haltech 1500 Elite.
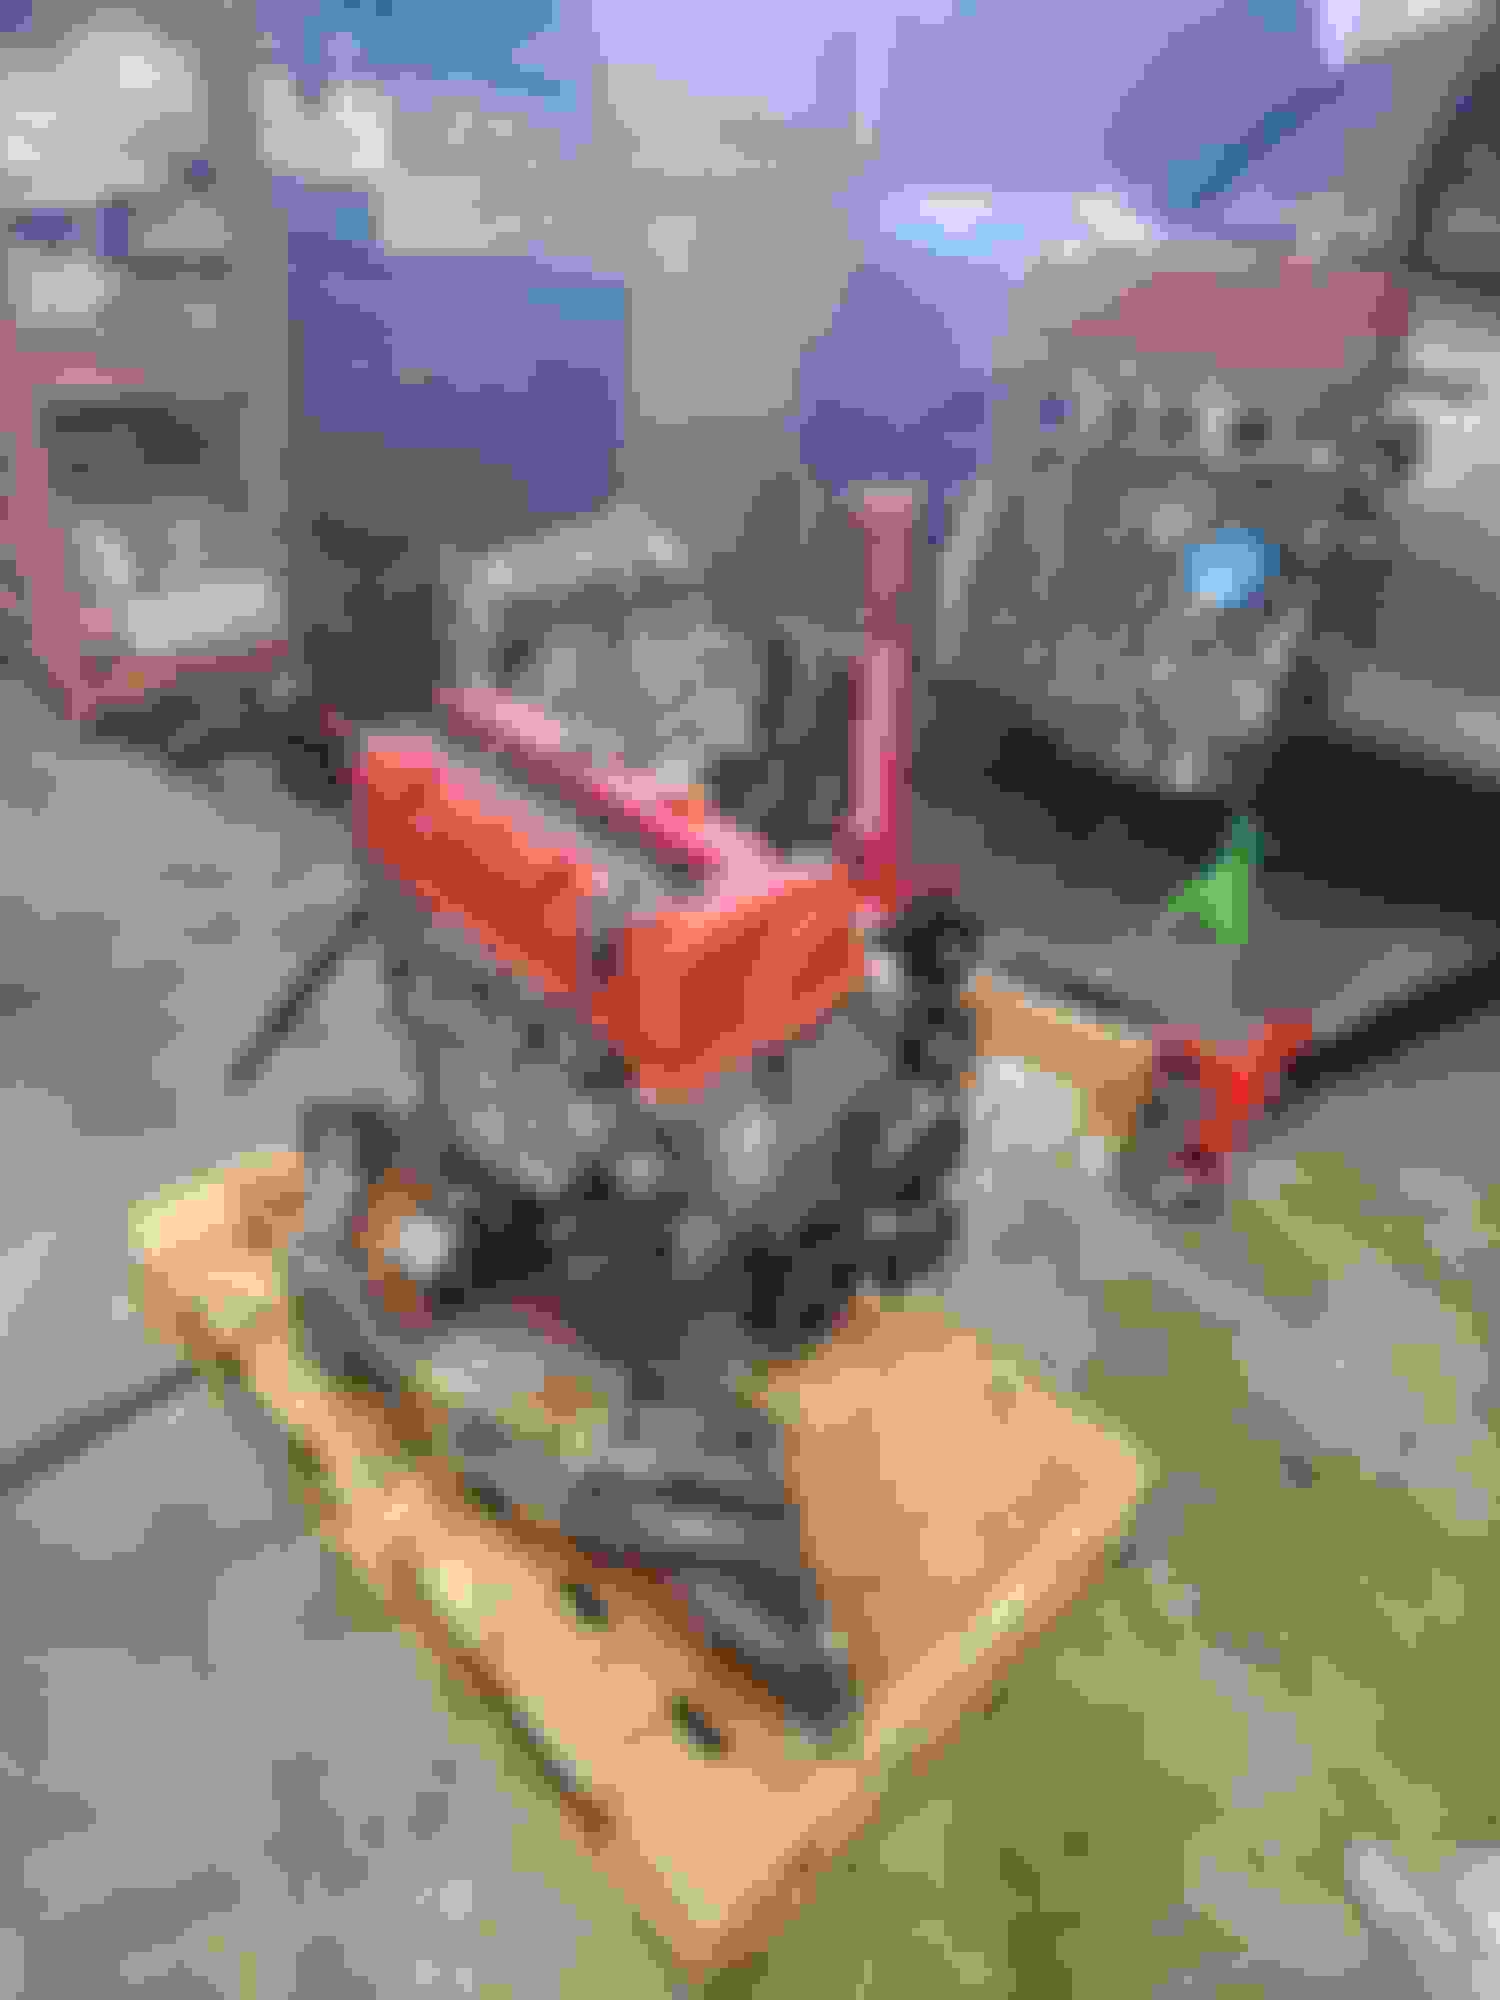
Pulling the drivetrain: I had never had to pull the motor from an F20 and the only other experience I had of pulling an engine was to replace a motor for a Honda fit. I opted to remove the trans separately first, then removed the engine through the top. No major headaches or issues. Having hood struts that open the hood to ~service level height eliminated the need for me to remove the hood or prop it higher. No issues with the front crossbeam in the way, all smooth sailing.
Waiting game: I placed my order with ASM before I had pulled the motor. Within 2 weeks, Andy said he had the motor ready with the several add-ons I had ordered on top of the standard Stage 1 kit! ASM had to wait on me for the wiring harness & header to ship things back to me all on one pallet. For clarification, I had to pull the F20 along with the wiring & headers to be reused for the K.
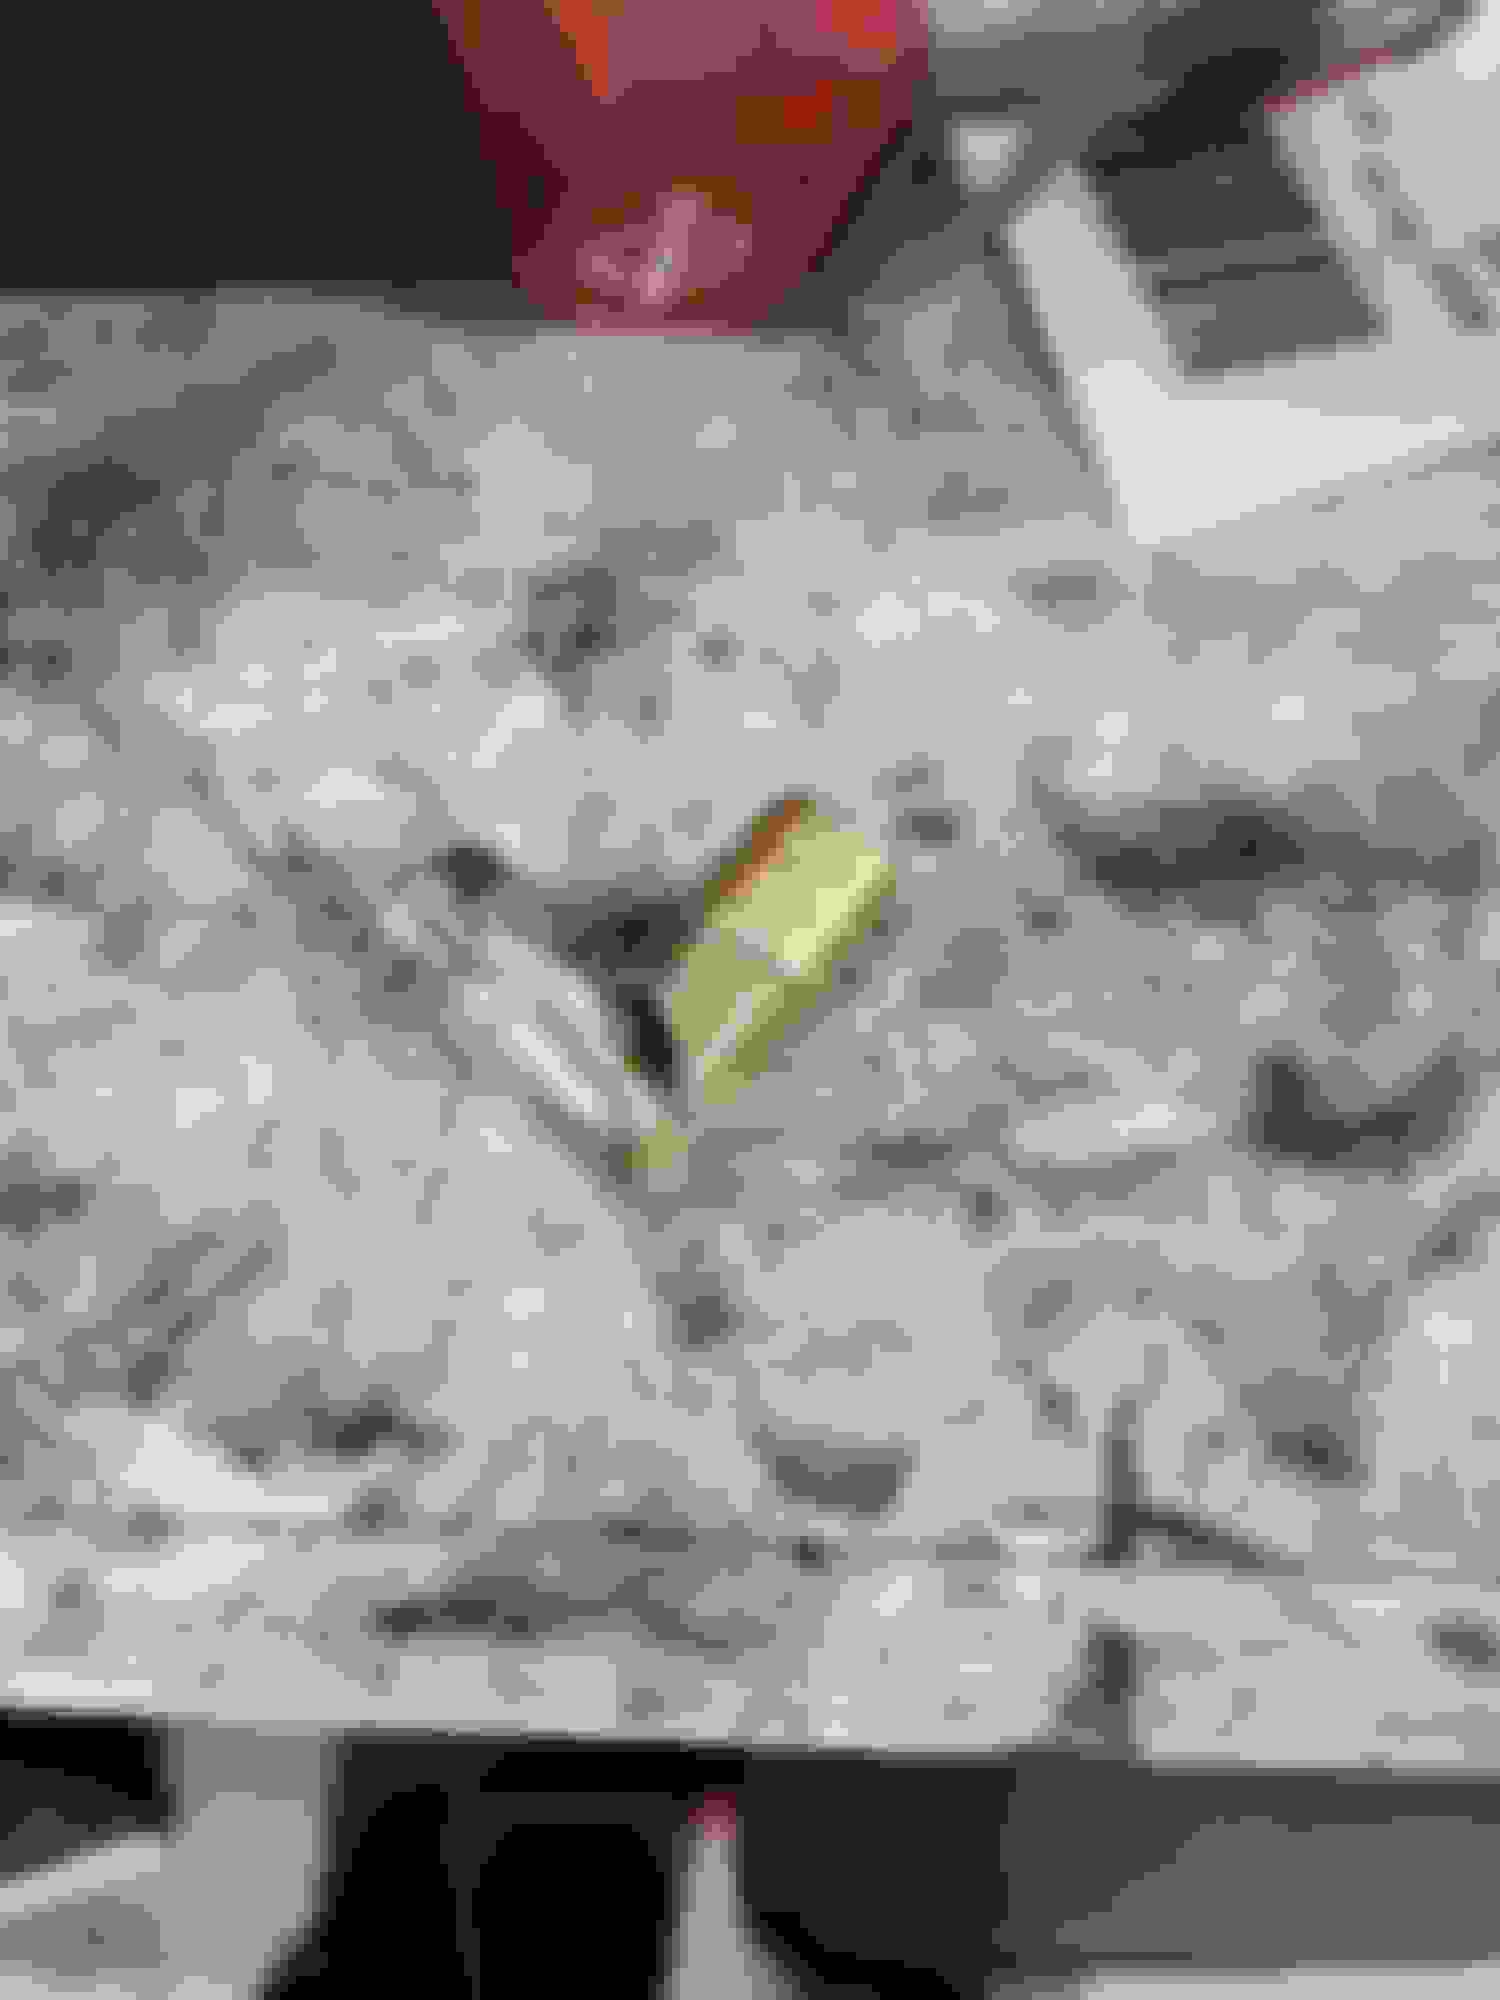
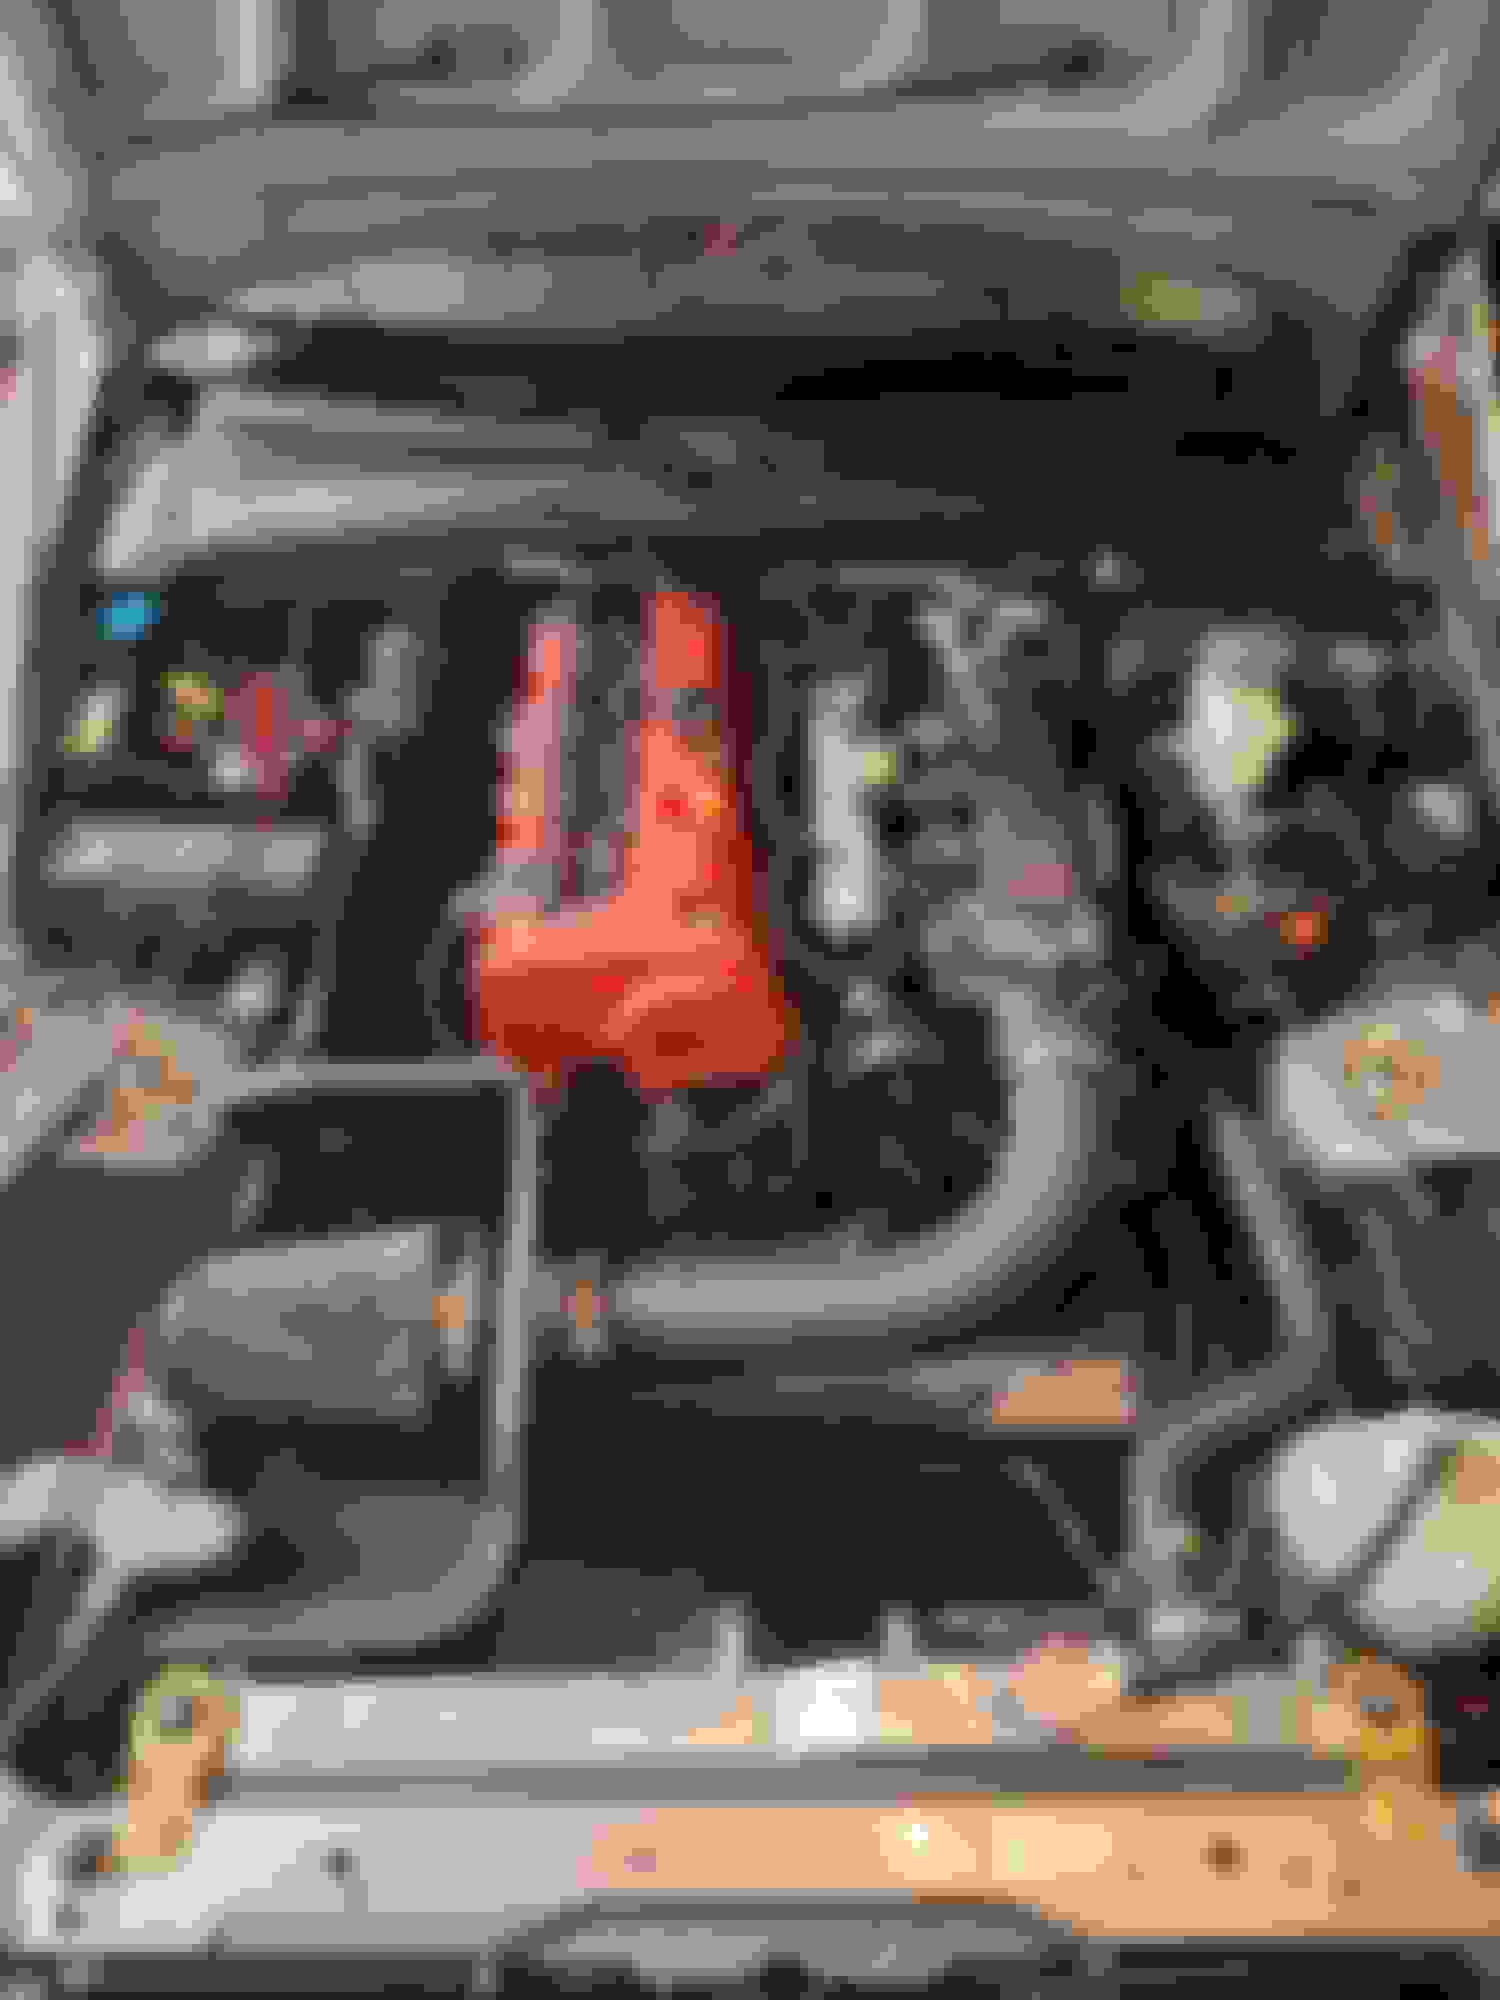
Pre-install preparation: Shipping of the motor was more than what was quoted on the website. This ended up being higher due to requiring liftgate service to my residence. I was planning on modifying my OEM F20 intake manifold to work with the K motor. A local buddy happened to have an already modified intake manifold ready for sale, and I decided to save myself chopping and grinding a virgin manifold. A lot of test fitting was involved and installing and removing the adapter plate as well as the intake manifold mocked up to the engine was required. Before deciding to buy my buddy's modified header, I ended up removing the brass fitting on the adapter plate. NOTE THE ANGLE IT WAS SET AT. Before opting to purchase my buddy's modified intake, I had to remove the brass fitting to see where the extra ports on the manifold would need to be cut and ground for clearance. I ended up setting it vertically and only found my mistake after I needed to hook up the coolant hose to the brass fitting. It was too short and the angle made it a hard kink. I ended up destroying the fitting while trying to set it straight with a mallet and had to source another one from Amazon.
I ended up reusing my OEM clutch and pressure plate. I had replaced my clutch and pressure plate less than 5k miles ago after an aftermarket pressure plate had cracked and nearly left me stranded at an out-of-region track. Andy recommended a stronger ACT pressure plate, but I really enjoy the feel of the OEM clutch system and I do not plan to add more any more power through the system that would require a heavier duty plate or disc. Clutch and pressure plate bolted up without issue. ASM already installed the transmission adapter as well as the flywheel and they have paint marks to indicate it was torqued.
Having new cams, I was unsure if this required a break-in procedure. Andy recommended doing some dry cranking to get oil through the system and said it was good to go. They even adjusted the valves to OEM specs!
I also want to keep AC. This is probably the most complicated part of the full swap. There are several different recommendations such as using an RSX compressor with a TSX pulley and clutch or vice versa. I opted to just get the compressor through ASM. The OEM lines can be reused but require 'reclocking' of the ports going to the compressor. A little bit of heat, vise grips, and patience and I was able to get the hardline portion bent and oriented to bolt up to the compressor. This required a bit of finesse as the lower coolant hose runs along the same path and can interfere with each other. The second complexity here is the fact that the compressor requires you to 'clearance' one of the steering rack mounting brackets as well as the torque sensor body. There are many horror stories of people grinding too far and exposing the copper/brass bits and ruining the torque sensor. I followed the recommendations of Andy and the interwebs and only ground flush to the body of the plastic and seems to have been enough.
I was told my a TX s2k guru that adding bracing to the intake manifold was highly recommended. After a local k-swap 86 competitor faced the exact issue described this year, I decided to add two braces to try and avoid a similar failure. Some flat bar from the local hardware store, some bending, some cutting, a few holes and bam! Two simple braces that should help support the heft of the intake manifold.
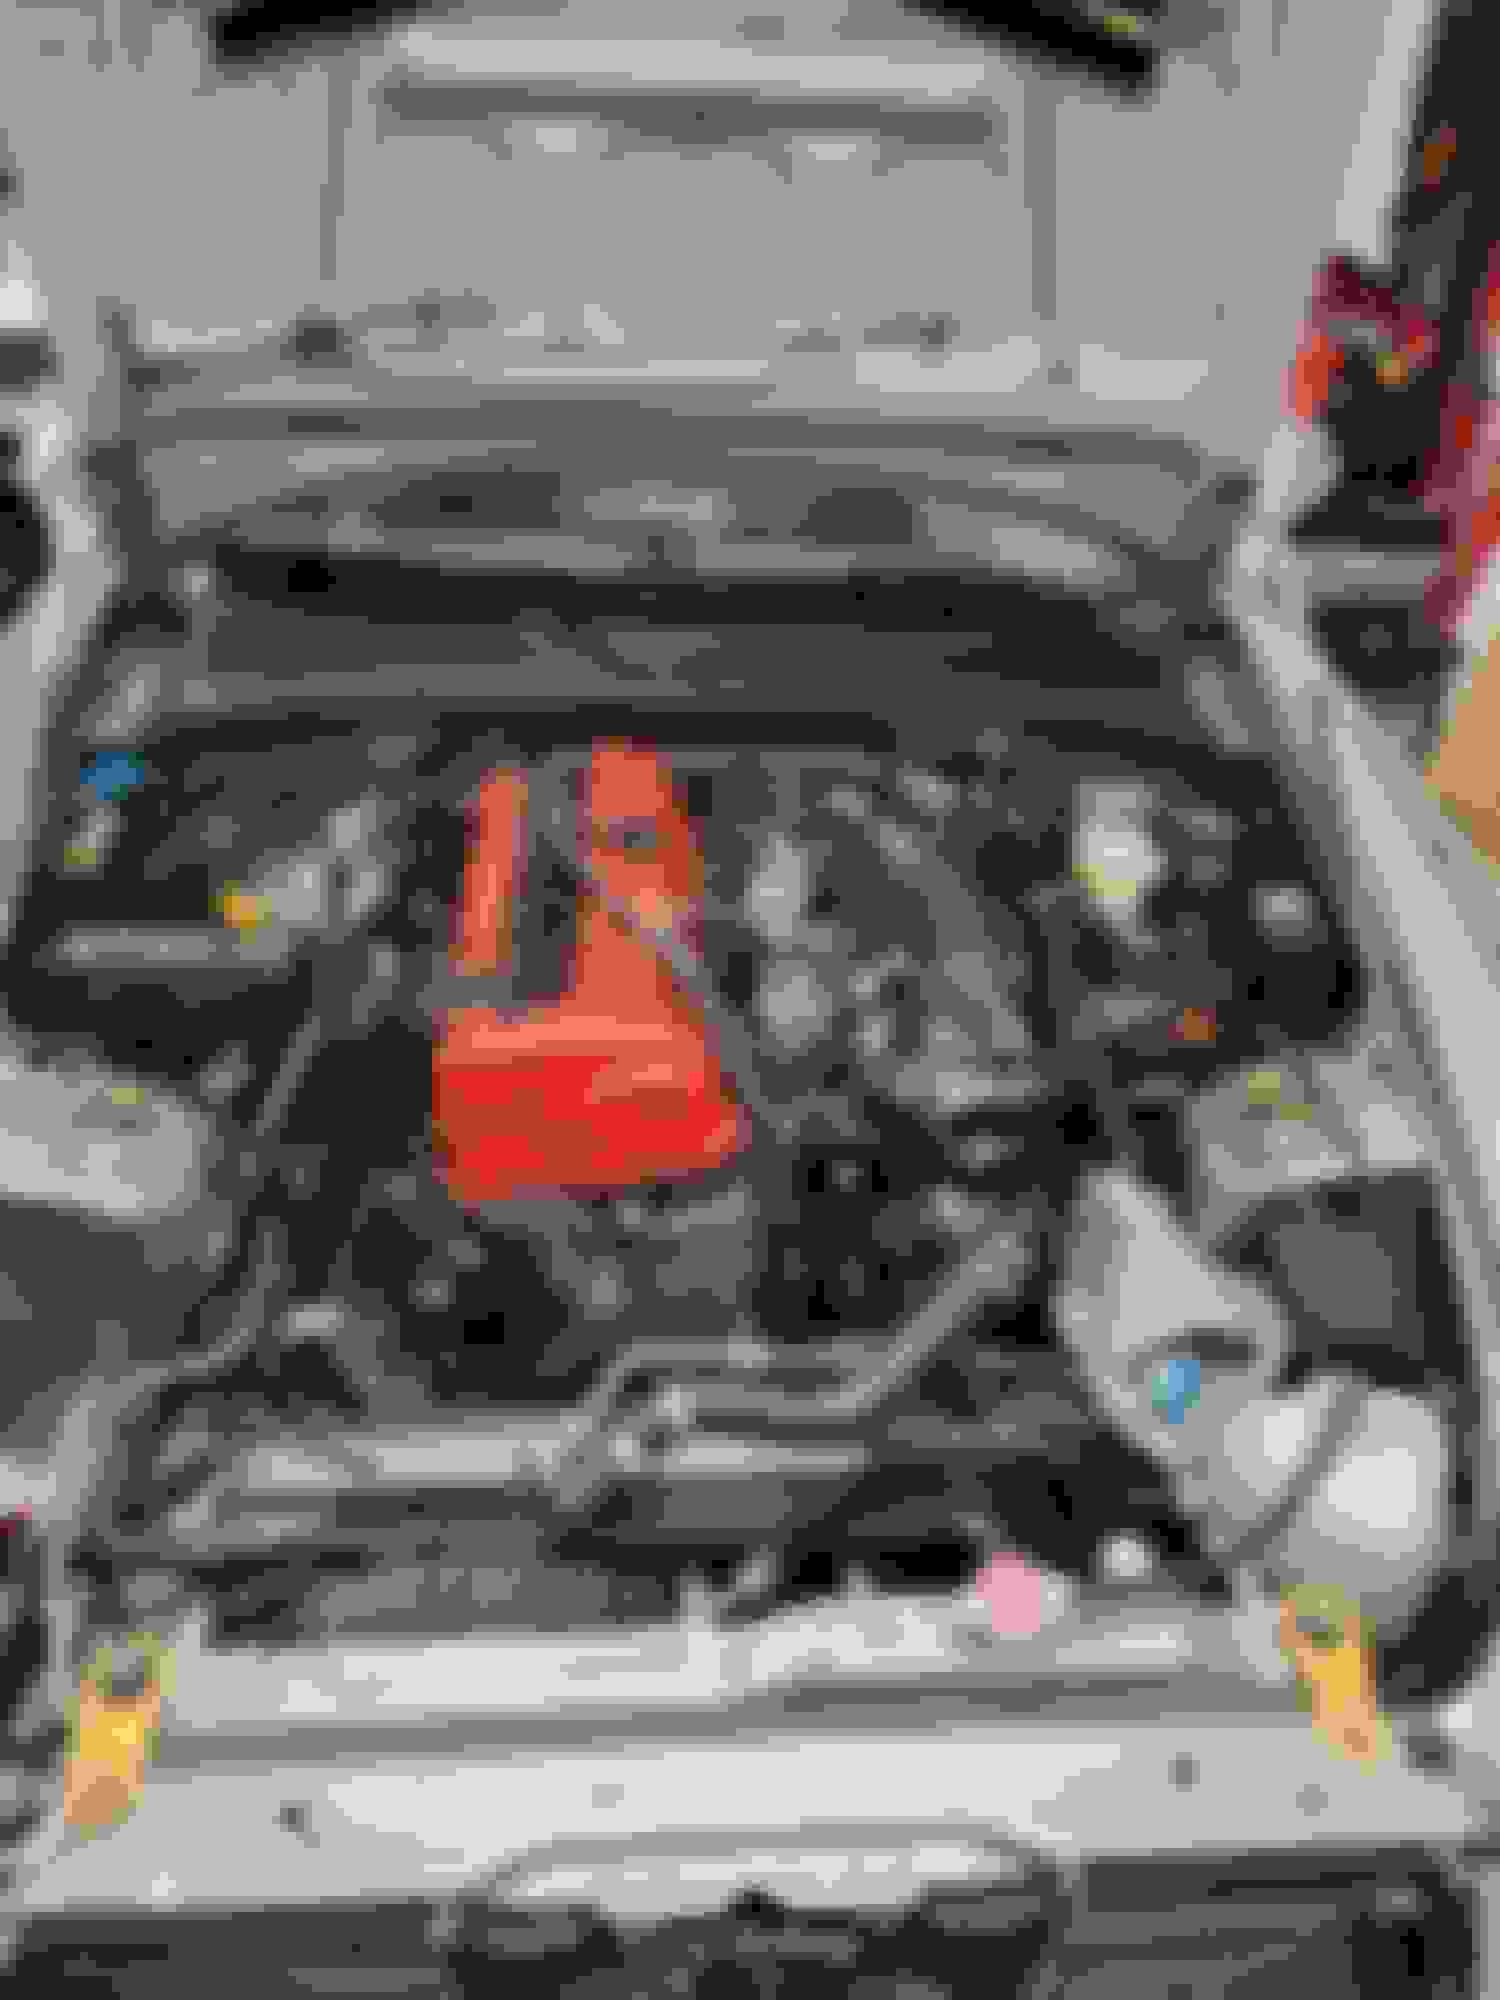
Installing the drivetrain: Here's the fun part! ASM installed the wiring harness to the new motor before shipping so installation of the motor was a breeze. Just some up and down, back and forth and the engine was sitting right where it needed to be. Installing the transmission was a bit of a longer story. for some reason, the transmission felt it mated up relatively 'higher' than where it would with the F20. I was having issues mating up the trans to the engine and ultimately had to remove the motor mounts and let the motor drop further in the engine bay to get enough clearance in the trans tunnel to slip in the input shaft. The next part was trying to get the dowel pins to seat in to the transmission adapter plate. For some reason these things just would not seat in to the adapter plate. Not proudly, I ended up getting 3 bolts threaded in and sort of forced the dowel pins into the adapter plate. One note: When reusing the oem intake manifold in combination with the EP3 pulley for AC, the TPS sensor will interfere and will need to be flipped on the throttle body. Apparently you can reuse the S2000 TPS, but I could not see how it would fit and I already had a B-series TPS on the way. Another note: The motor mounts that come with the kit have an upper and lower slot on both brackets. In my case, I found the best positions for the transmission to be level and the shifter to sit 'flat' was for the driver's side mount to use the lower bracket hole, and the passenger's side mount to use the upper bracket hole. Upon re-examination, the mount holes were as Hasport state and I used the lower mount boles on both sides for the extra height of the K24. The threads on the shifter sit almost as vertical as with the k20, but slightly shifted to the left in the housing. I had to take off the plastic retaining piece on the inner rubber shift boot as I noticed the offset was causing extra interference when trying to grab 1st & 2nd gear.
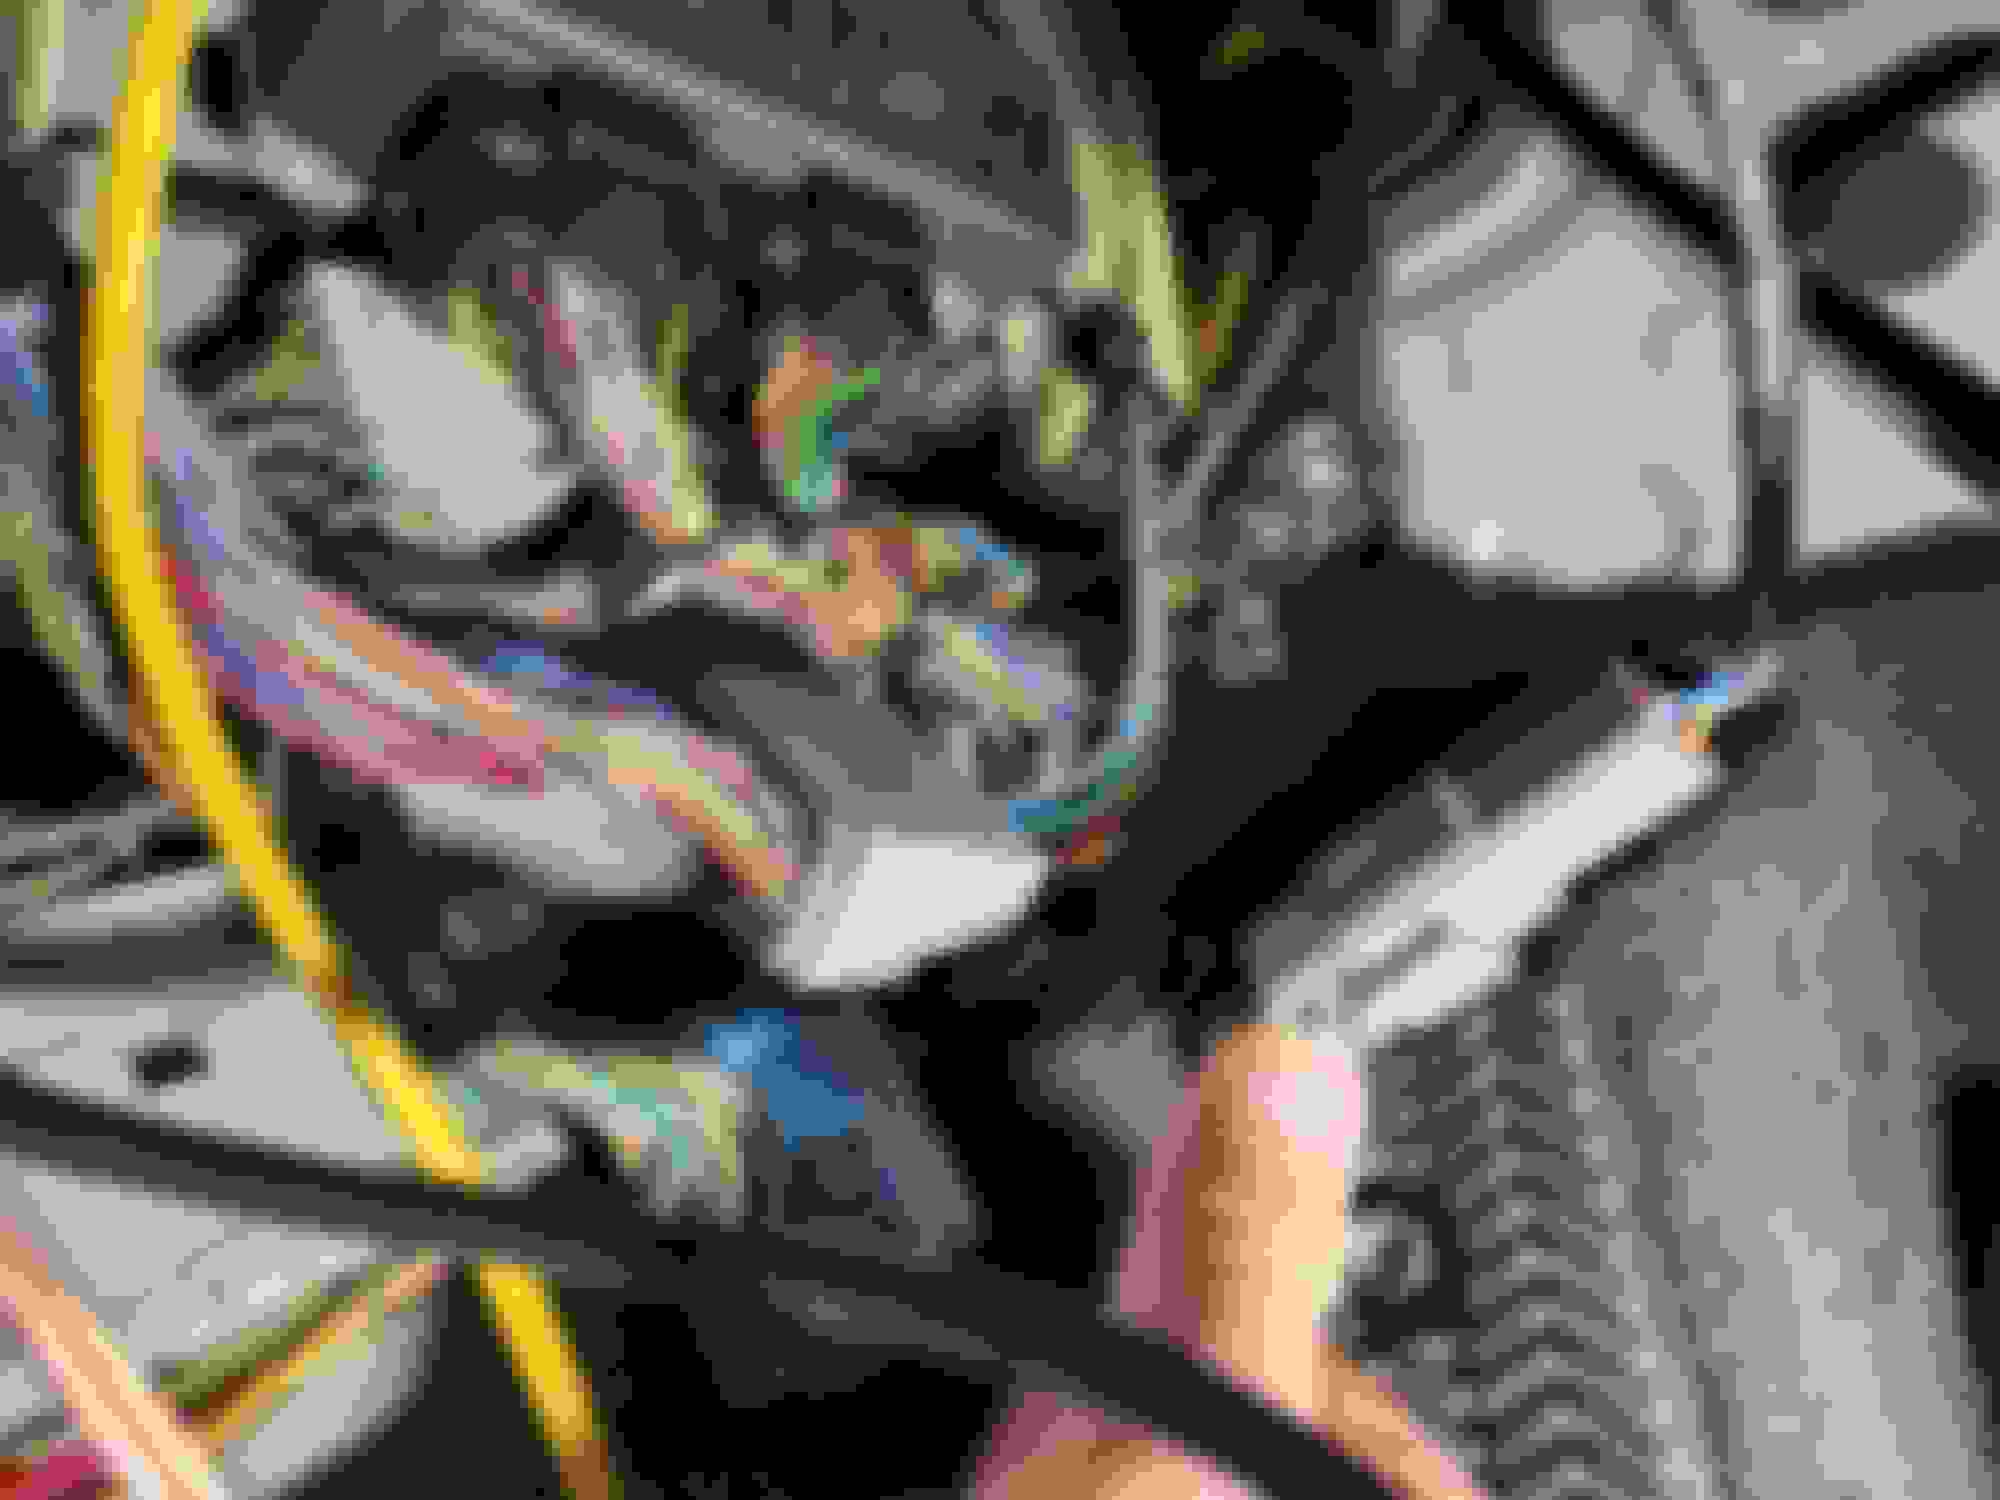
First startup: OH BOY! Installing the the motor and getting everything hooked was basically getting an Ikea product on hard mode. Nothing was really difficult but seeing it for the first time and having to do wiring is not something I am relatively good at or a fan of doing. I especially hate doing anything under the dash as it is just an awkward place to work in where you have to perform and hold yoga poses to see and access things. I initially created a simple bracket from the remaining flat bar from the manifold braces for the Haltech to mount where the old ECU was. For some unknown reason, this was causing issues and the Haltech would not turn on. I thought I had fried the system. This took about a day of diagnosing and after pulling the ECU, and letting it sit unplugged and unmounted for a few minutes, it powered back up. I was unsure if maybe the Haltech did not like being mounted upside down or if the metal bracket was causing it to ground out. In the end, I used a plank of vinyl I had from doing our flooring. It worked out great because the vinyl would not be conductive, it has its own padded backing to reduce rattling/vibration, and I could heat it and mold it to sit almost flush against the mounting face. BIG NOTE: When it came time to start cranking, I encountered my biggest blocker. I am learning things on the fly and am not well-verse in K-swap components or electrical diagnosing in general. I was not getting spark or fuel. I was chasing down unloaded maps, unplugged wires, missing grounds, blown fuses, blown relays, the whole shebang. In the end, fellow k swap 86 competitor buddy led me to a possibility that my crankshaft position sensor was wired up for a K20 instead of K24. He had actually mentioned this a few days prior but I had dismissed it as I thought it couldn't be a possibility. In the end, I had to use my limited multimetering skills while I sent videos to my friends of the readouts when probing the harness plug. After poking myself several times, I was able to repin the connector and on the first crank she started right up.
Today 1/29: Car is waiting on a few parts as I want to address some concerns, but the car is able to move under its own power. I have a tune scheduled in a few weeks and should be hitting the track for testing very soon. I plan to add pictures and possibly videos later of the moments that I remembered to take pictures of.
Experience so far: Andy and team at ASM have been fantastic. Despite how busy they are, they kept me informed and were able to answer my numerous questions I had during the swap. They did not gatekeep any information or make me feel like I was stupid (which I am).
February 9, 2024 Update:
I had a last minute 'idiot' issue I was trying to diagnose as my scheduled tuning appointment was approaching. I was having issues getting my wideband sensor to connect and be detected by the Haltech ECU. This was a result of not reading the manual thoroughly and seeing that the wideband requires a setting to enable the CAN system to be turned on when plugged in to the wiring harness instead of directly to the ECU itself. In short, read the damn quick start/manuals!
Also buttoned up the two PCV ports on the K engine. The lower PCV located near the alternator was simply blocked off as was recommended and the valve cover was routed to a catch can that is vent-to-atmosphere.
I had a dyno date planned with a local shop who had tuned a few other k swap vehicles and he was relatively nearby. The shop was Divulge Motorosports and Steve did a fantastic job. I had to drop off the vehicle and unfortunately was not very involved in the tuning process. He did not have to reach out to me for any odds or ends and was able to turn it around next day. He knew immediately that the car was not a stock k24 and I mentioned the upgraded cams. Car made nearly 200 ft lbs & 250 whp. This seems a bit exaggerated however and I believe the figures are more in the 220s range based off of what a fellow NASA member mentioned when using the same tuner then re-dynoing for NASA avg calculations. The drive home was quite telling of the different characteristics of the K. The powerband seemed to just have more overall power everywhere but was most apparent in the low-end range. In the stop-and-go traffic, the immediacy from the extra displacement gives good cause for a daily driver k-swap and not just for racing purposes.
Observations:
The K engine vibrates A LOT. VERY VIBRATEY. This was most apparent through the shift knob. I currently have an innovative poly trans mount which I will be swapping back to an oem mount, using a heavier shift knob, and addressing an unforeseen circumstance:
I am unaware if the engine sits further forward in relation to the F. But, this unknown variable on top of the extra thickness added by the transmission adapter plate, is causing the exhaust to be smashed into the underbody of the car. I am currently thinking of a way to remedy this issue and can only think to cut and weld the test pipe slightly longer to add some extra space.
I took some time later today and decided to undertake messing with the exhaust and swapping over the transmission mount. I took a torch and bent the lip downwards on the muffler portion and reclocked the exhaust and it is no longer contacting the body. The combination of the trans mount + heavier shift knob + messing with the exhaust not only reduced the vibrations through the shifter, but also fixed a possible exhaust leak that was happening due to poor sealing from the pinched exhaust. THERE IS still a lot more vibrations through some of the rev range, but it is significantly reduced with the aforementioned changes/fixes.
Really interesting writeup! What exactly was the intake manifold problem you mentioned could happen if you don't brace it?
Supposedly the k motors are a bit more vibratey than the f20. The f20 also has two braces for the intake manifold from the factory as well. Some people experience sheared bolts at the throttle body to intake manifold, some experience the intake manifold to head bolts shearing. The k&n intake has a fairly soft coupler so I made sure to leave a gap between the tb and intake while bracing the intake manifold itself.
Yep our car already has that brace on the F series. Curious... would the same brace work on the K24? It is not hard to just make one as you did but curious if the OEM one we have is the same dimension
Yep our car already has that brace on the F series. Curious... would the same brace work on the K24? It is not hard to just make one as you did but curious if the OEM one we have is the same dimension
So I mocked up the bracing and the angle was not correct to be reused without modification. I would have been tempted to modify it to work but I am going to be including with the sale of my f20 for the next owner.
Very cool. Will have to keep an eye out at HPR for your car. I instruct for Sarian Motorsport on occasion and hope to make it back to some NASA events in 2025. Currently poking around for an S2000 to replace an NC miata.

 01-29-2024, 08:52 AM