
HKS 75mm Exhaust and Invidia Test Pipe
 01-06-2011, 08:10 PM
#1
Registered User
Thread Starter
I could not take the sound of the J's 70RR anymore. So I needed a change, I have always like the sound of HKS exhaust on various cars so I figured Id give it a try. End result is this is great value for money and looks great in my opinion, I have had numerous different exhaust over the years and this is my favorite, so far.
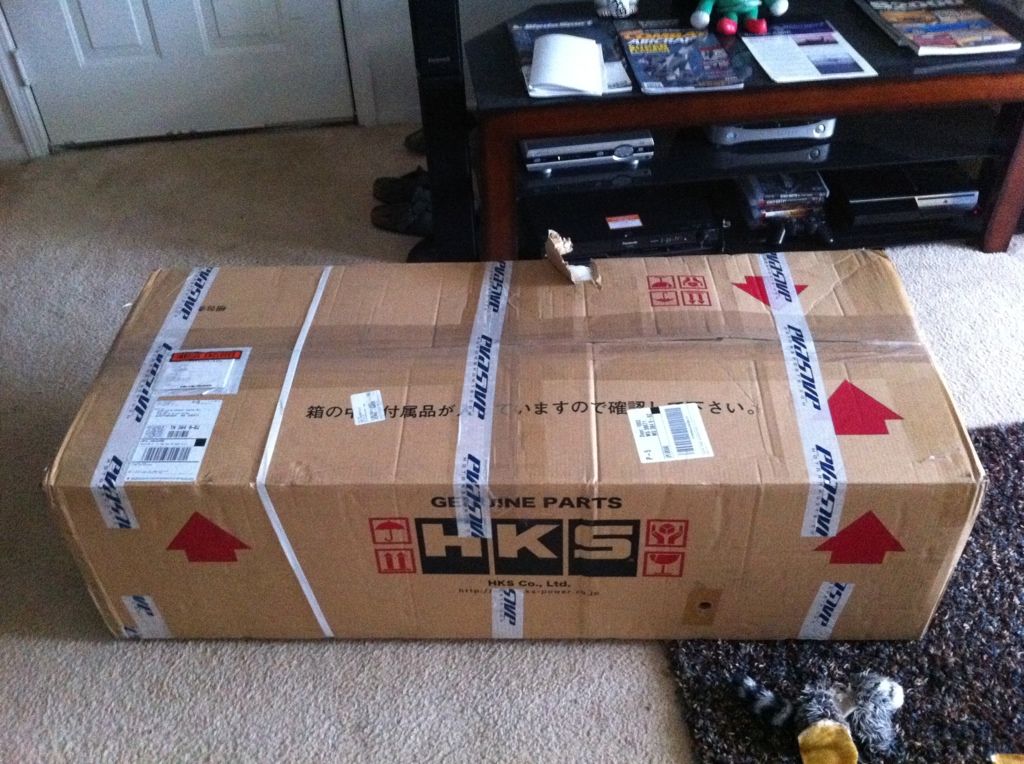
Well start with the packaging, pretty normal for most exhaust, but it was defiantly to satisfaction.

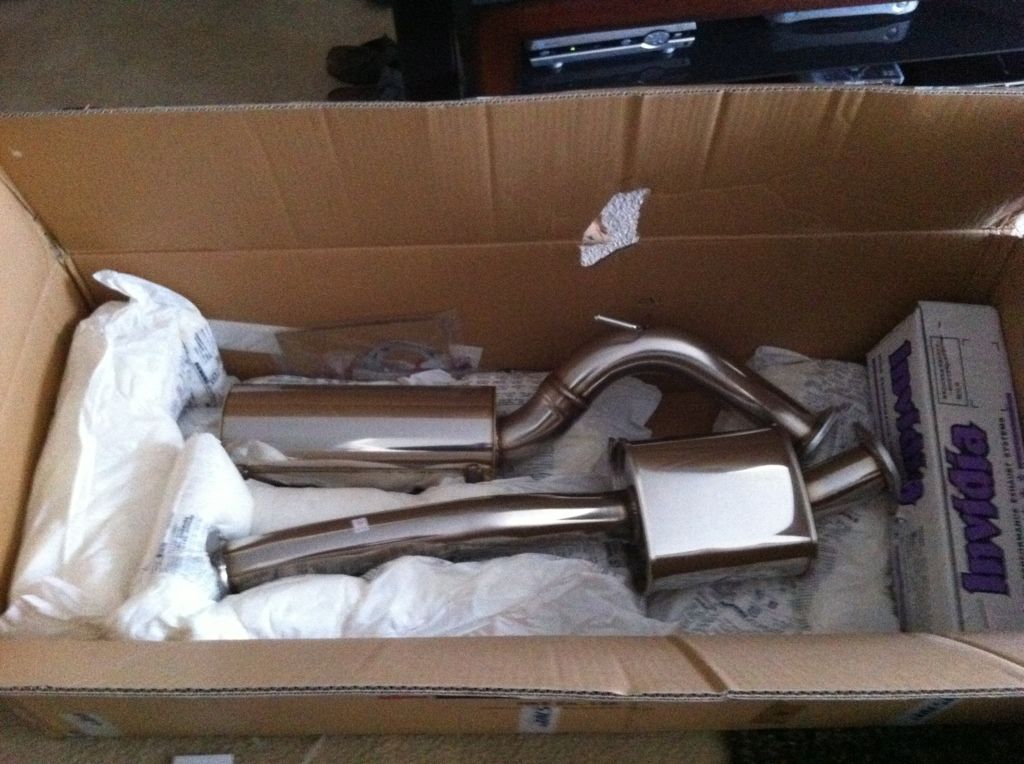
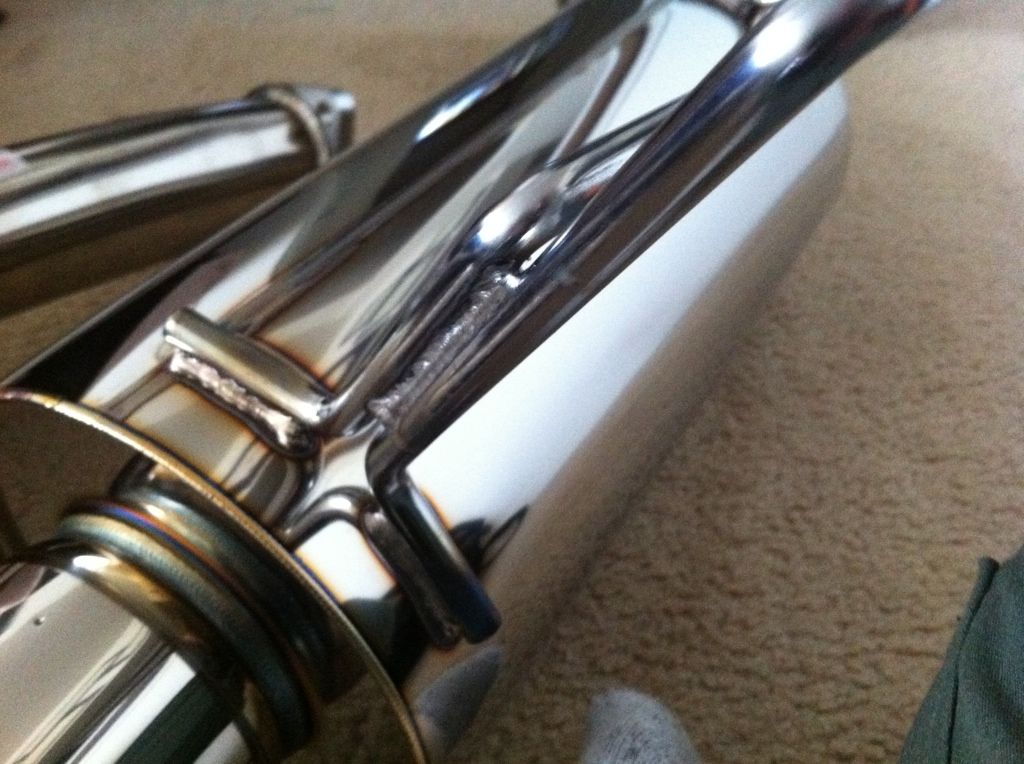
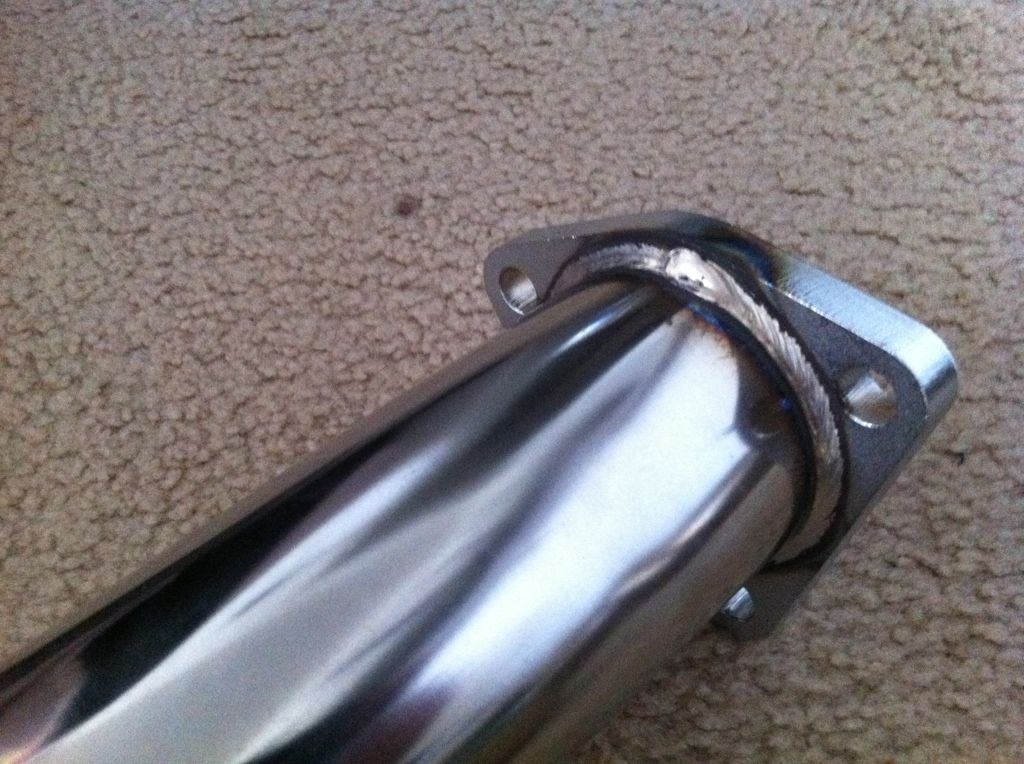
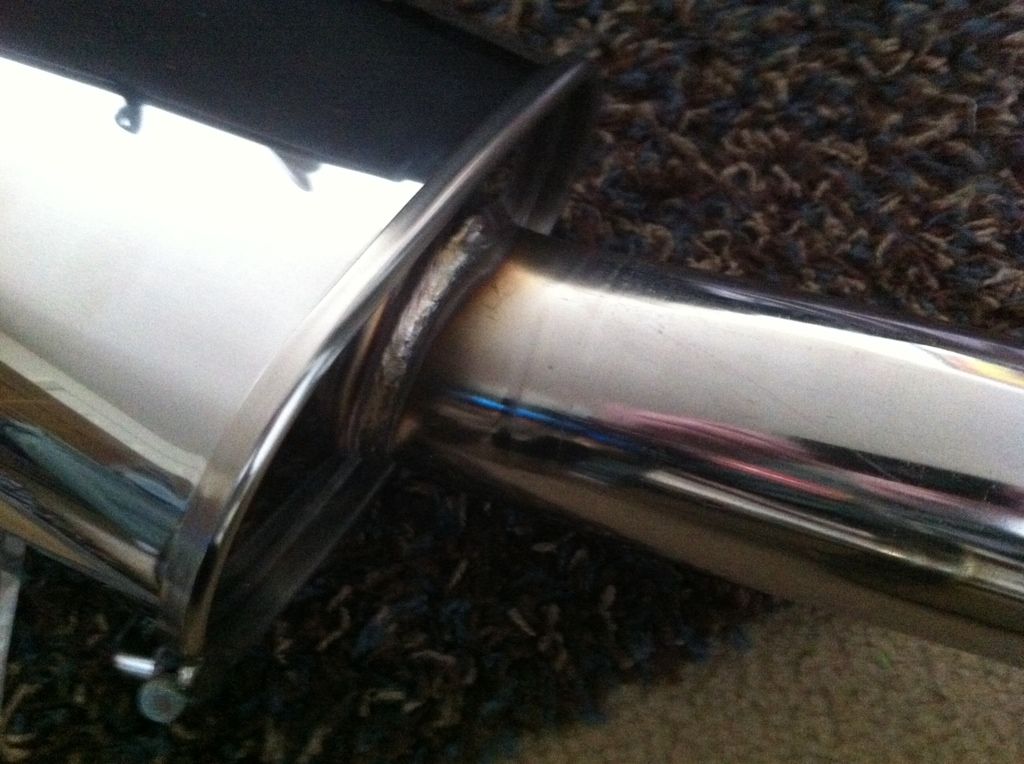
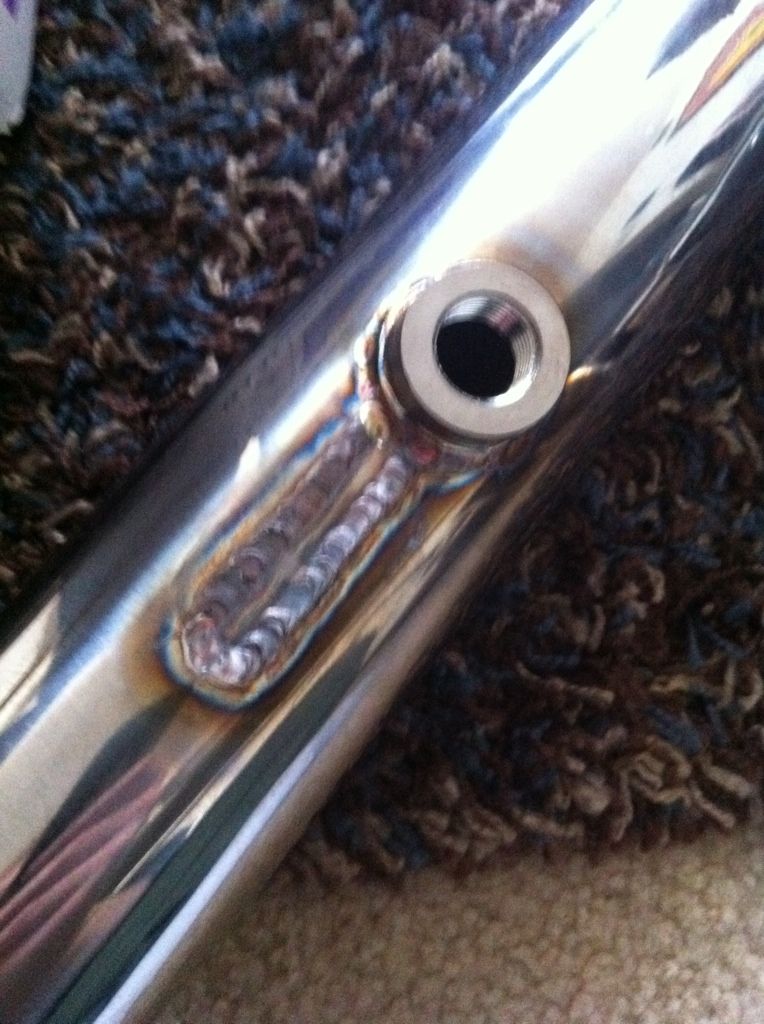
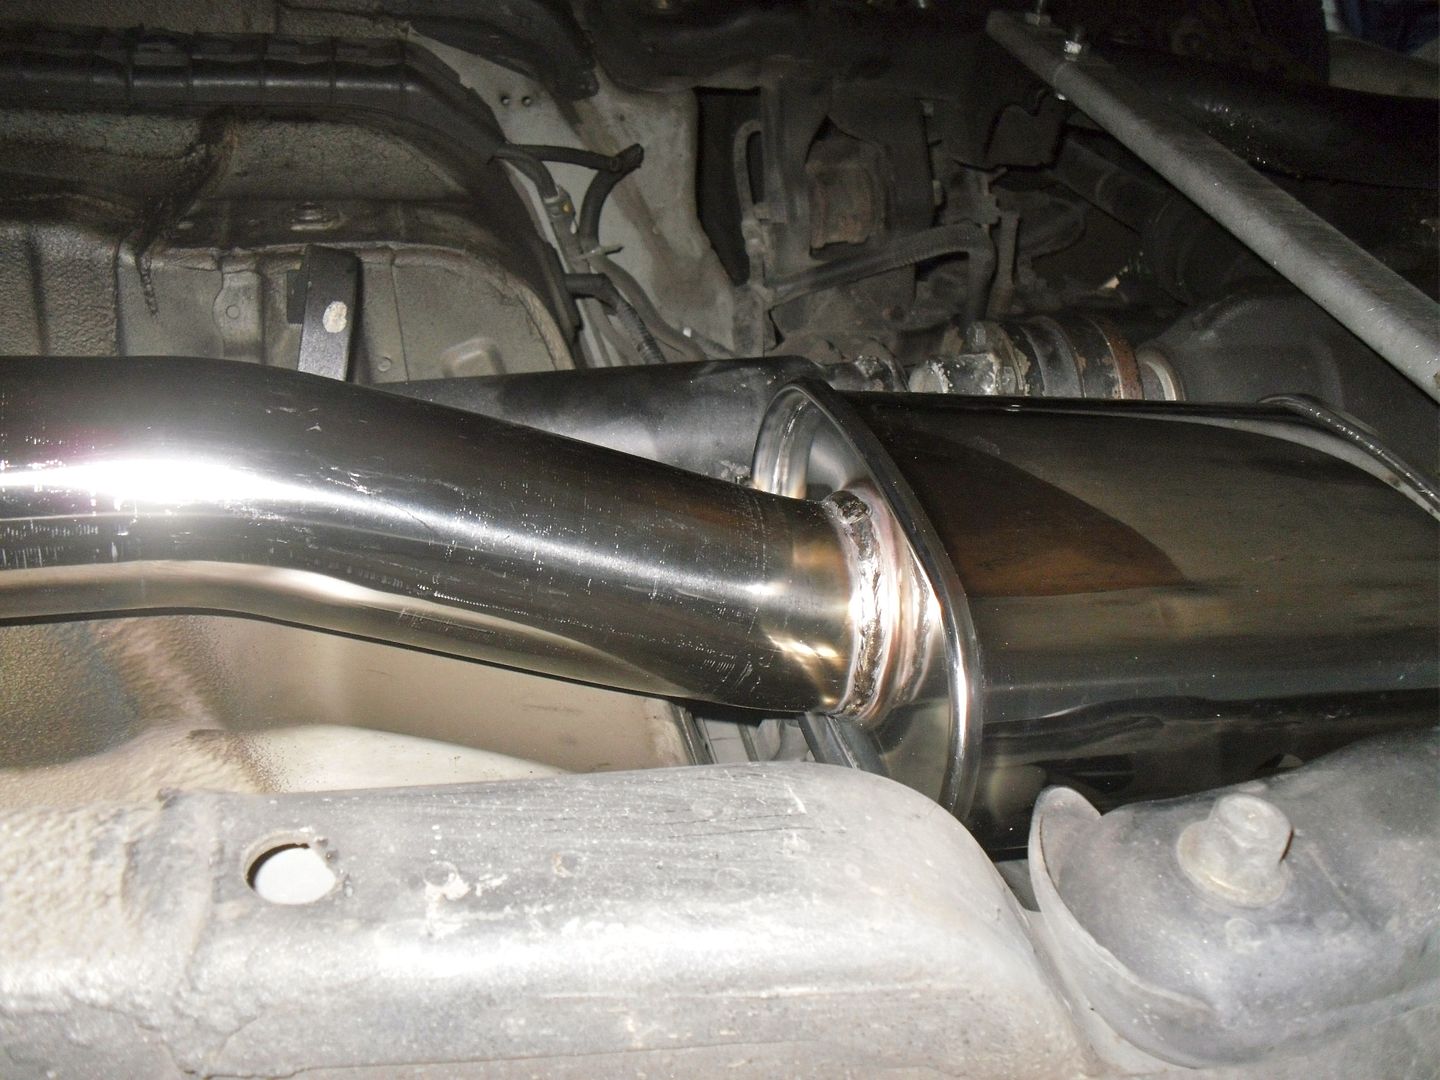
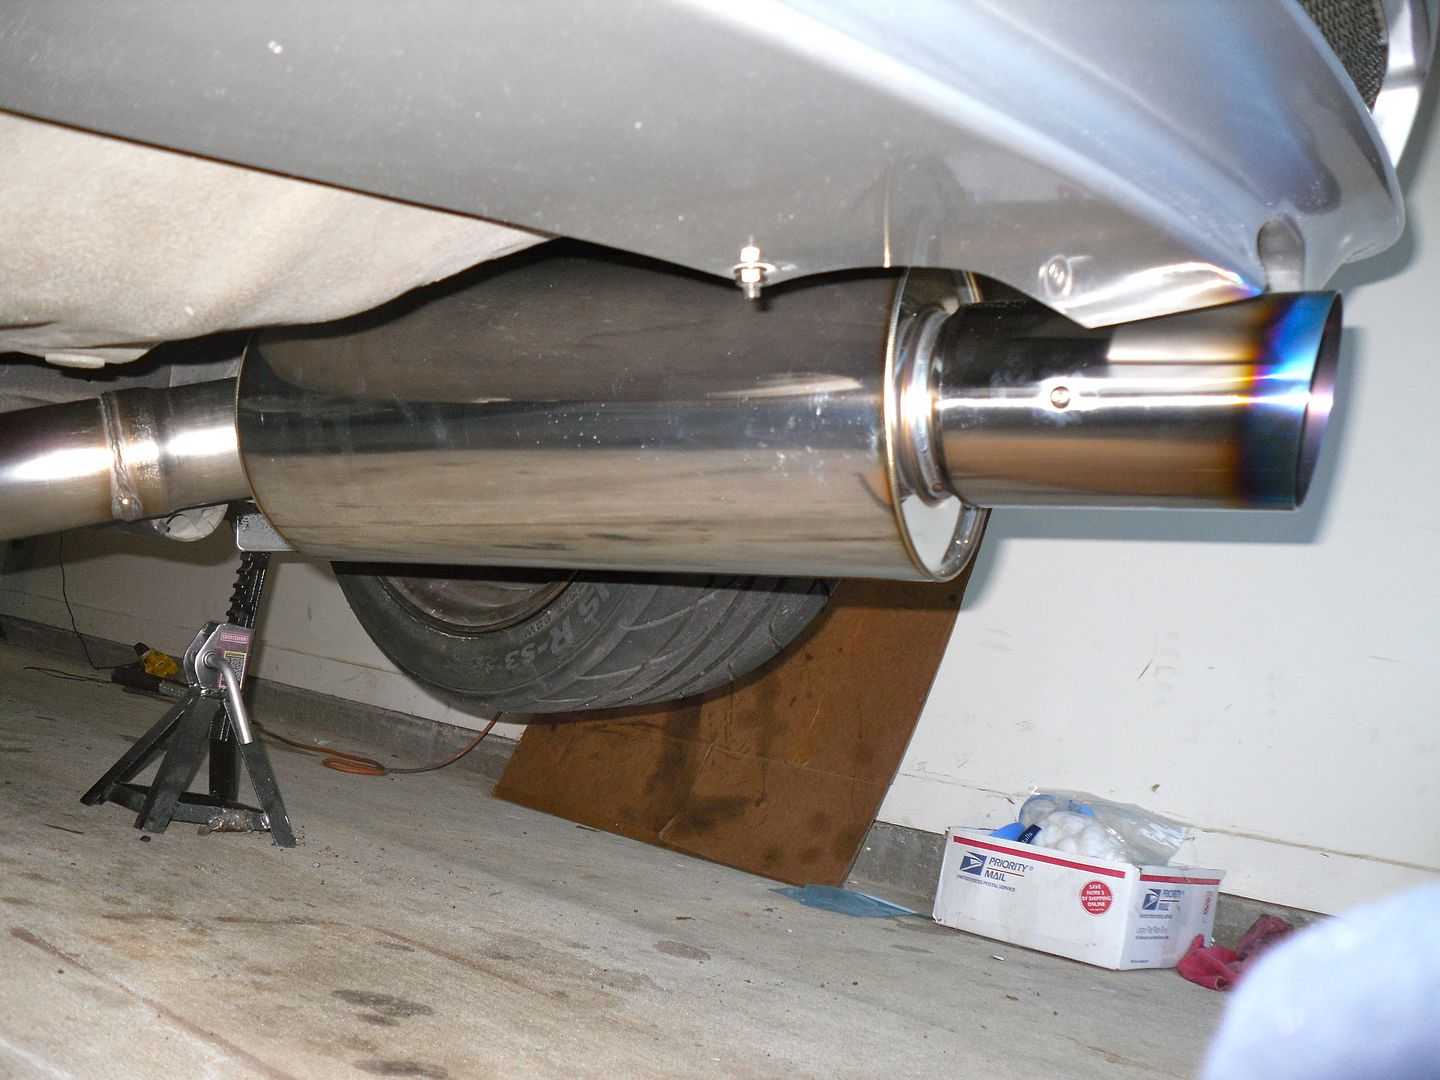
Ill jump to the welds now. I was pleased with the welds keeping in mind what the price of the exhaust was. The main place of focus was the muffler where they were very nice.
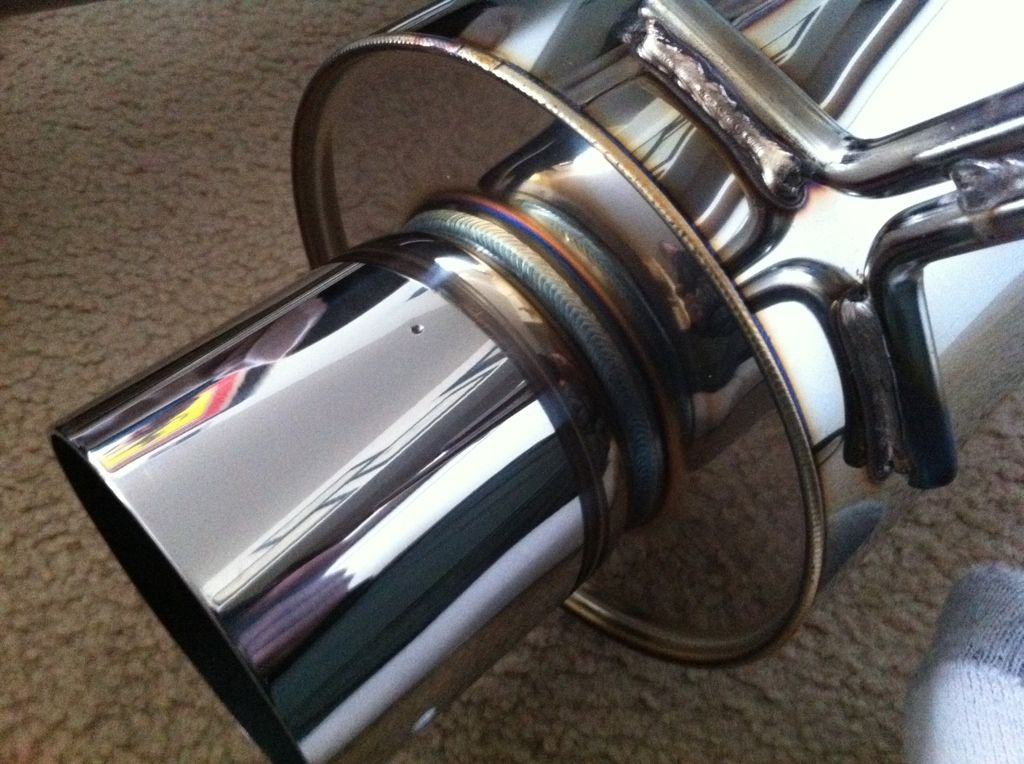
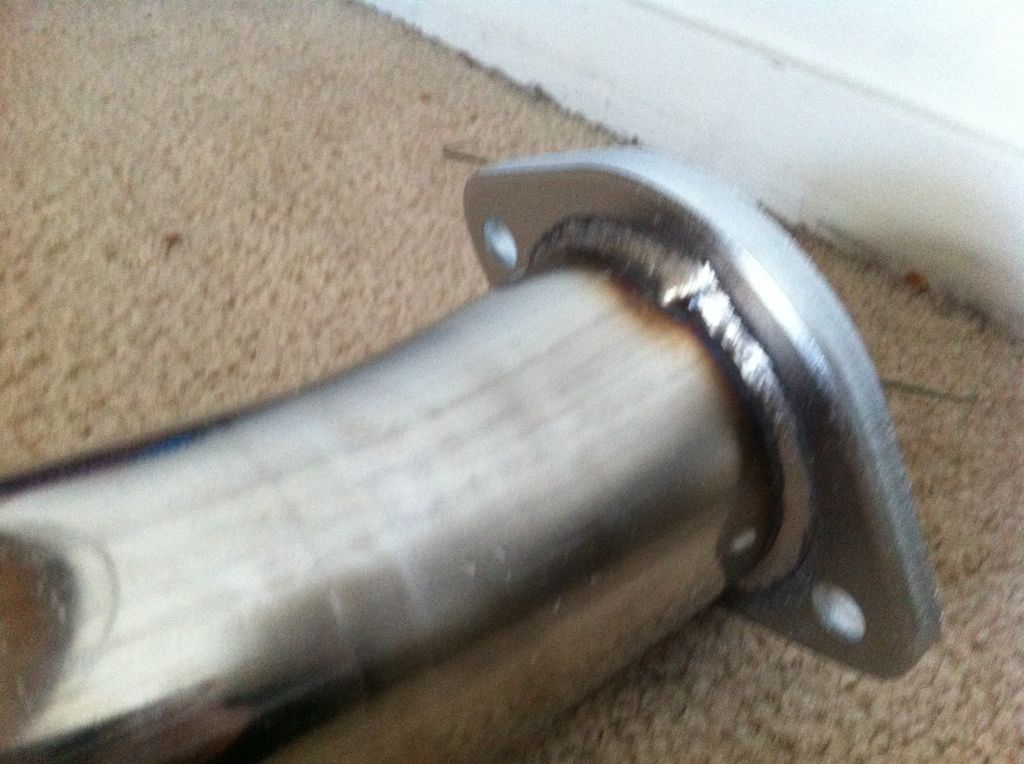
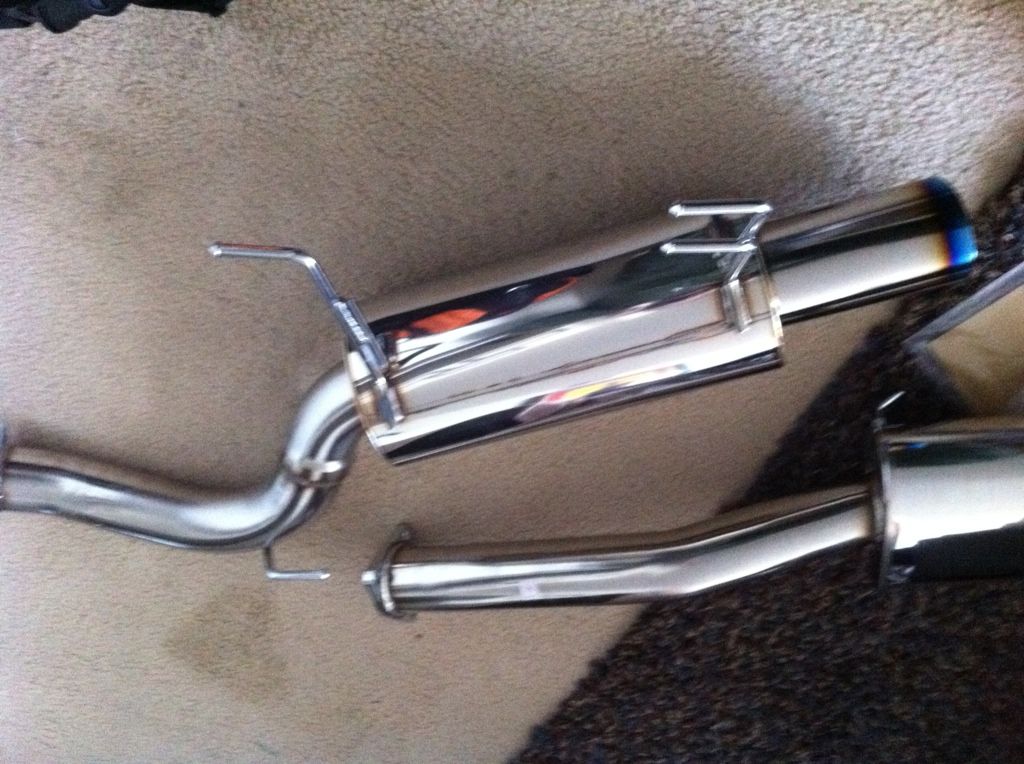
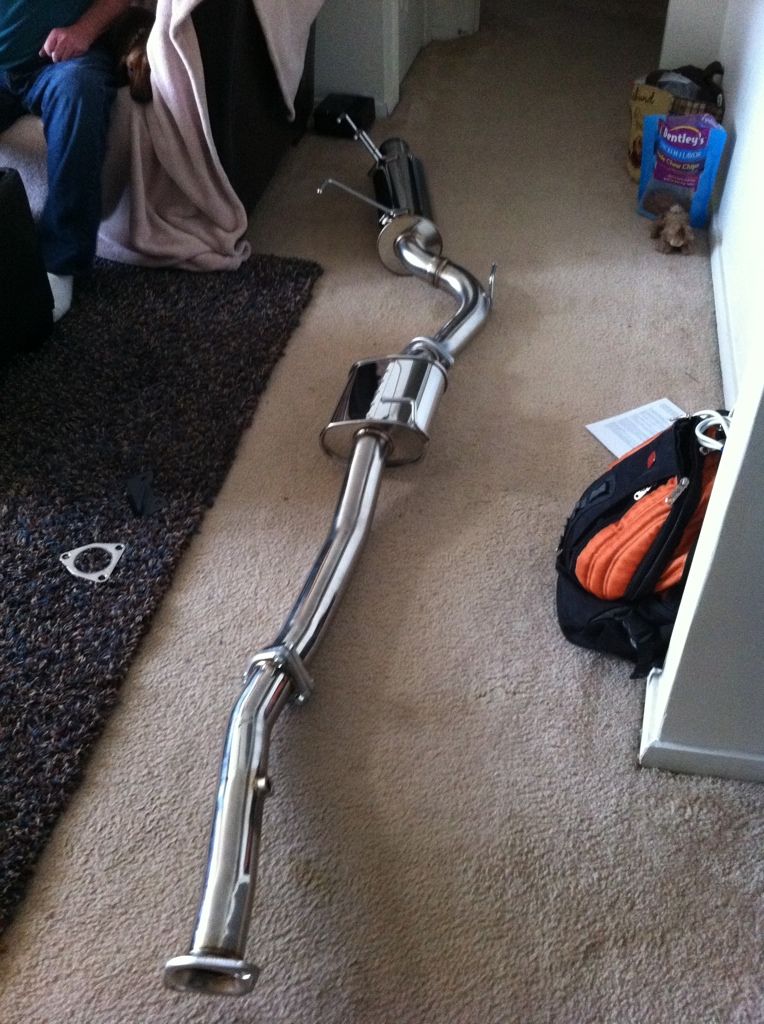
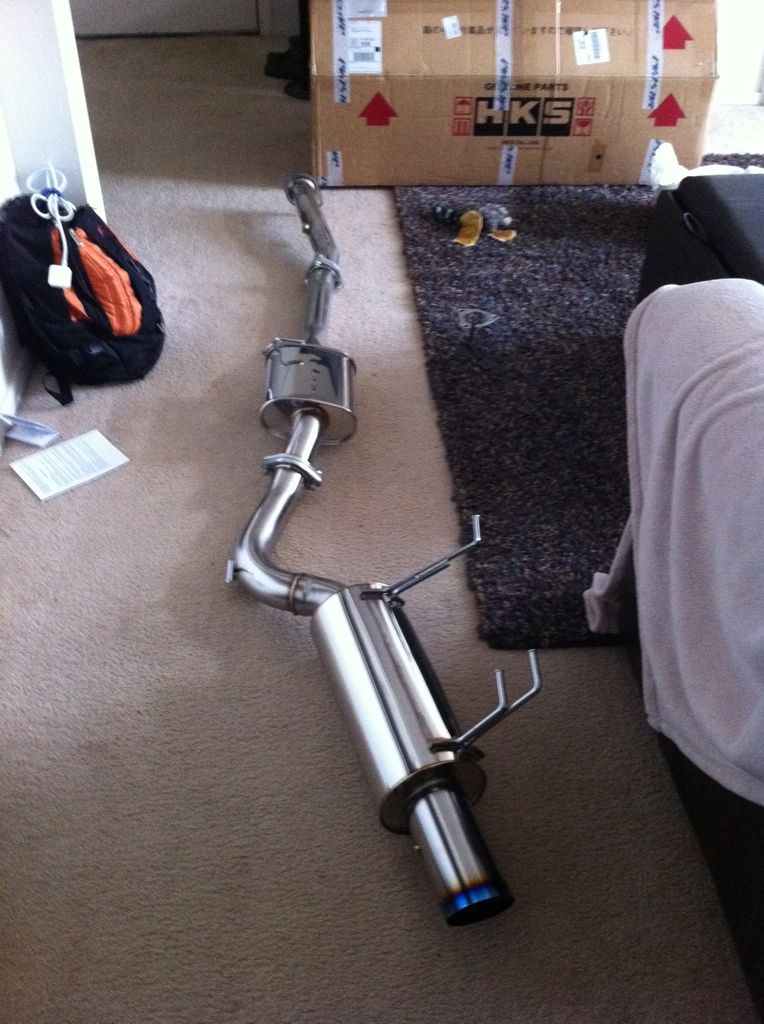
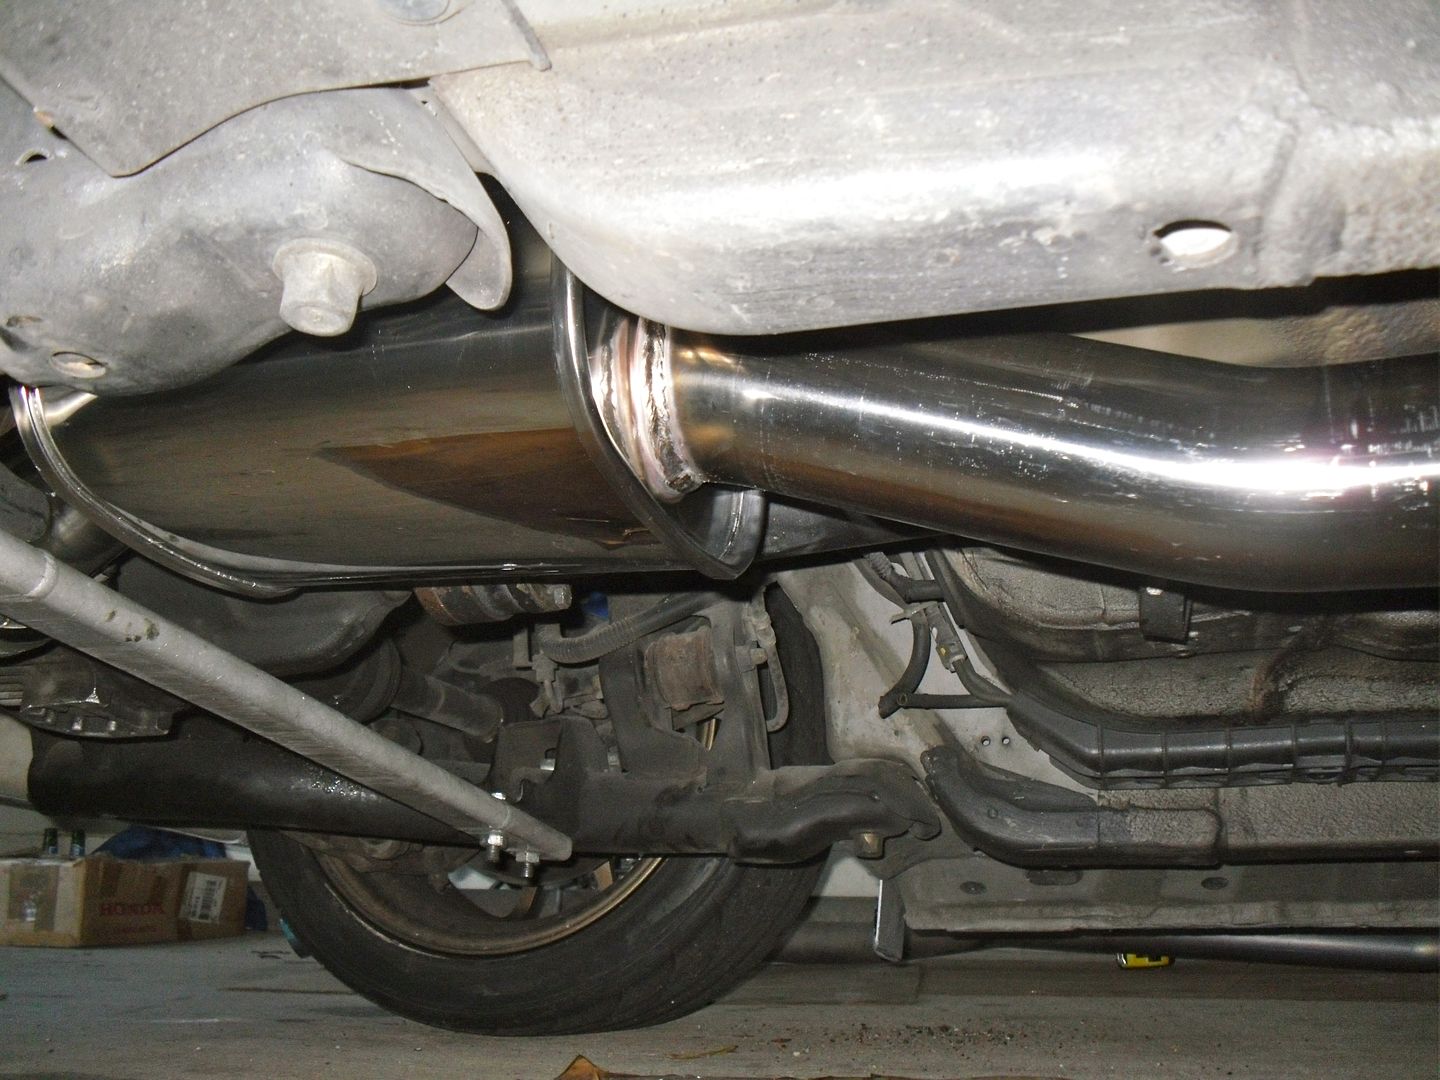
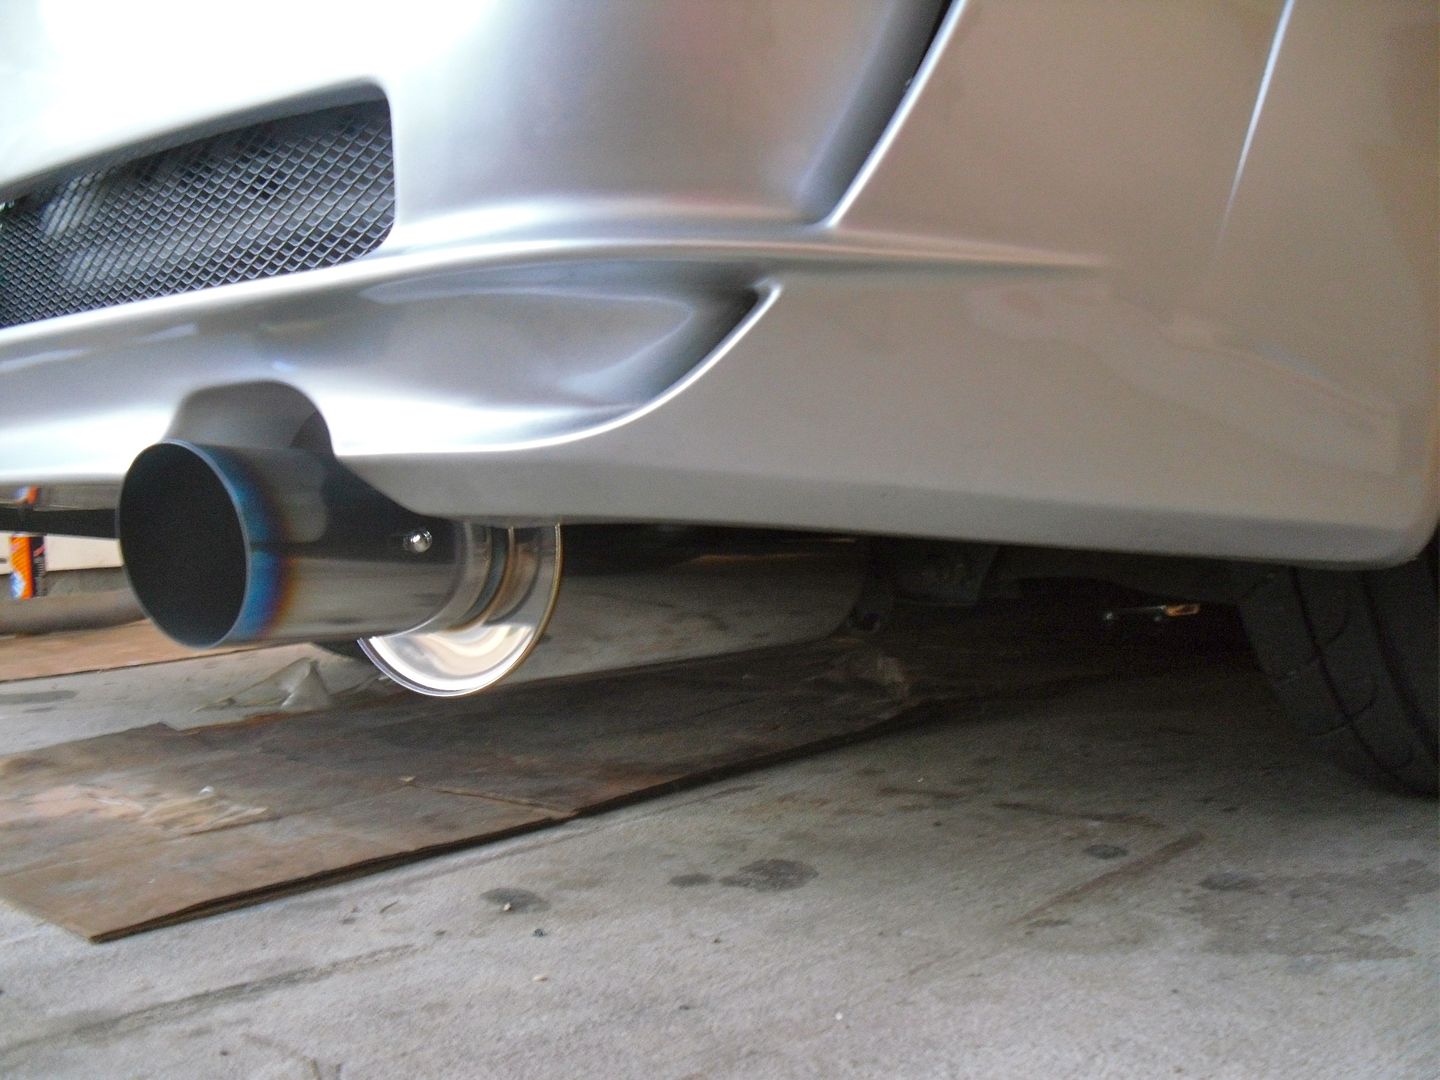
Fully assembled with the test pipe.
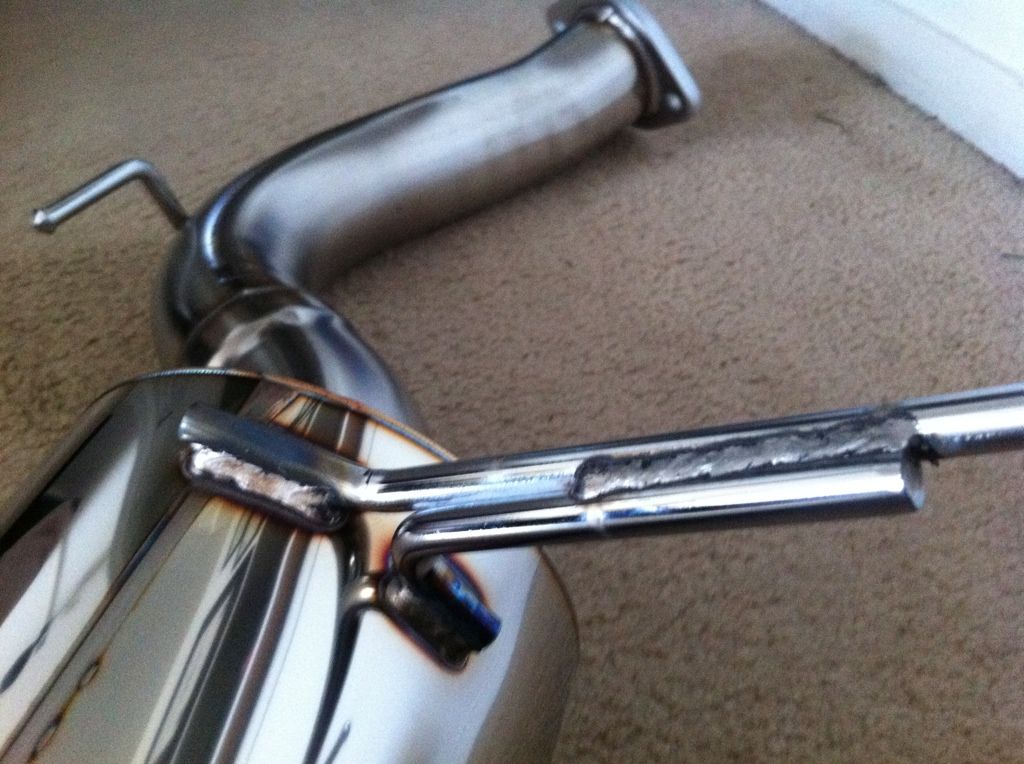
The added bracket

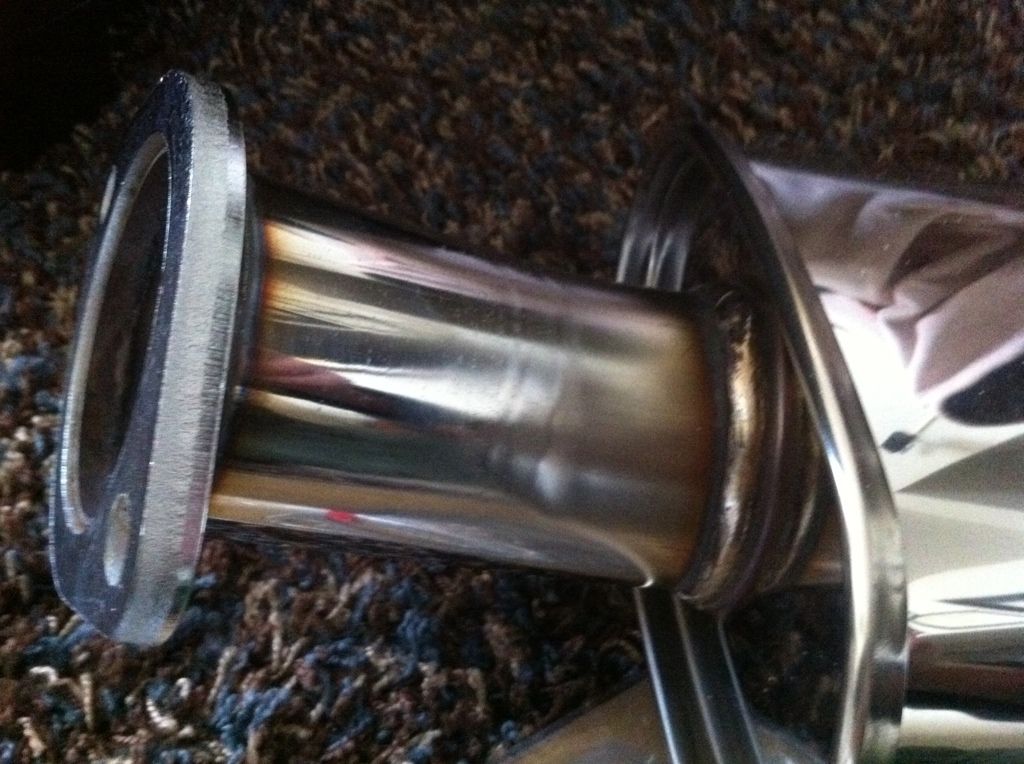
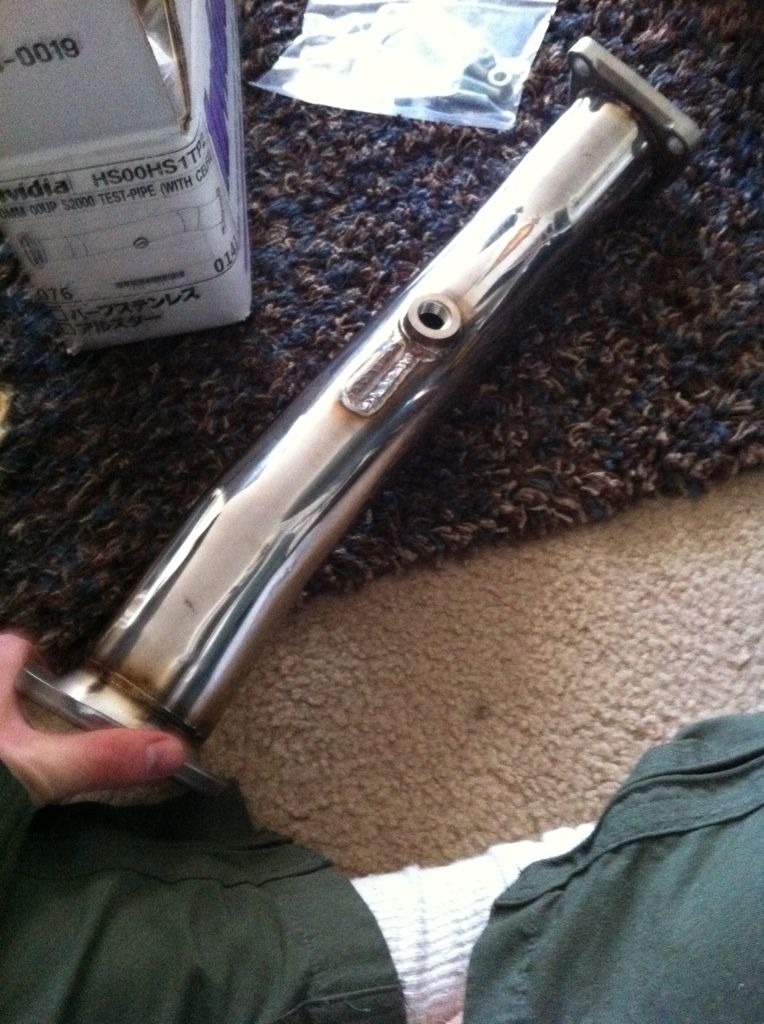
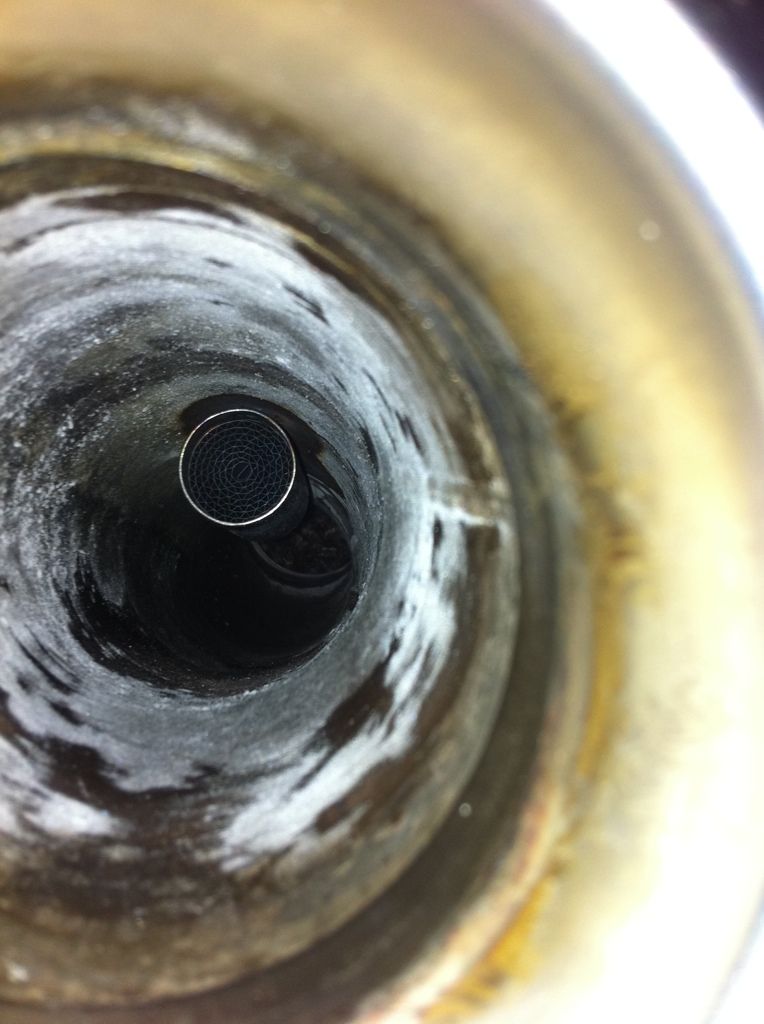
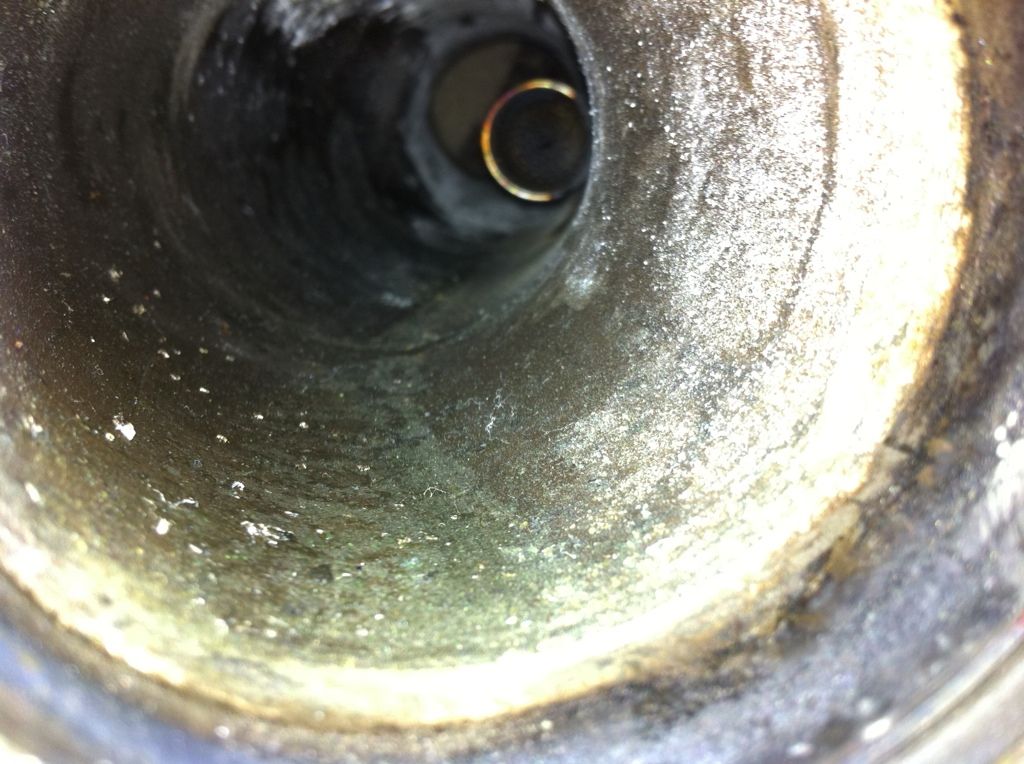
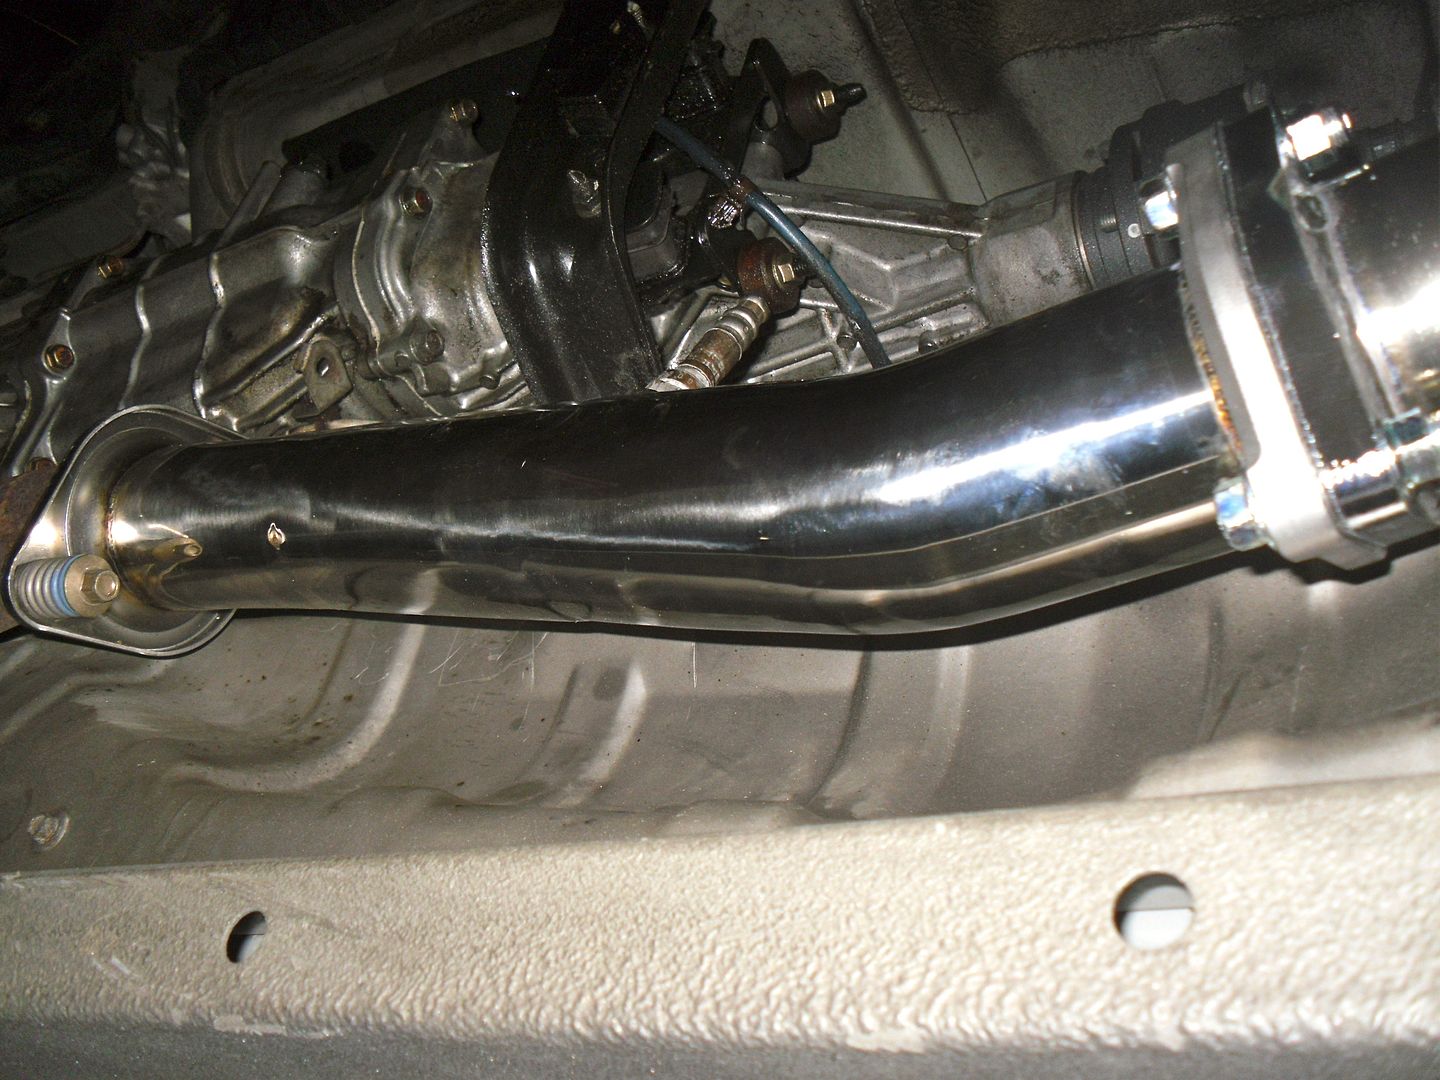
On to the Invidia 70mm test pipe. Test pipes are test pipes I have had various Spoon, and J's Racing test pipes and final conclusion they are all the same. But I did not realize the CEL fix I just figured that it would be another spacer as I have used in the past, however this one has a honeycomb looking piece inside the pipe infront of the O2. Overall construction seems nice for less than 100 new hardware and gaskets what else can you ask for.
A look inside
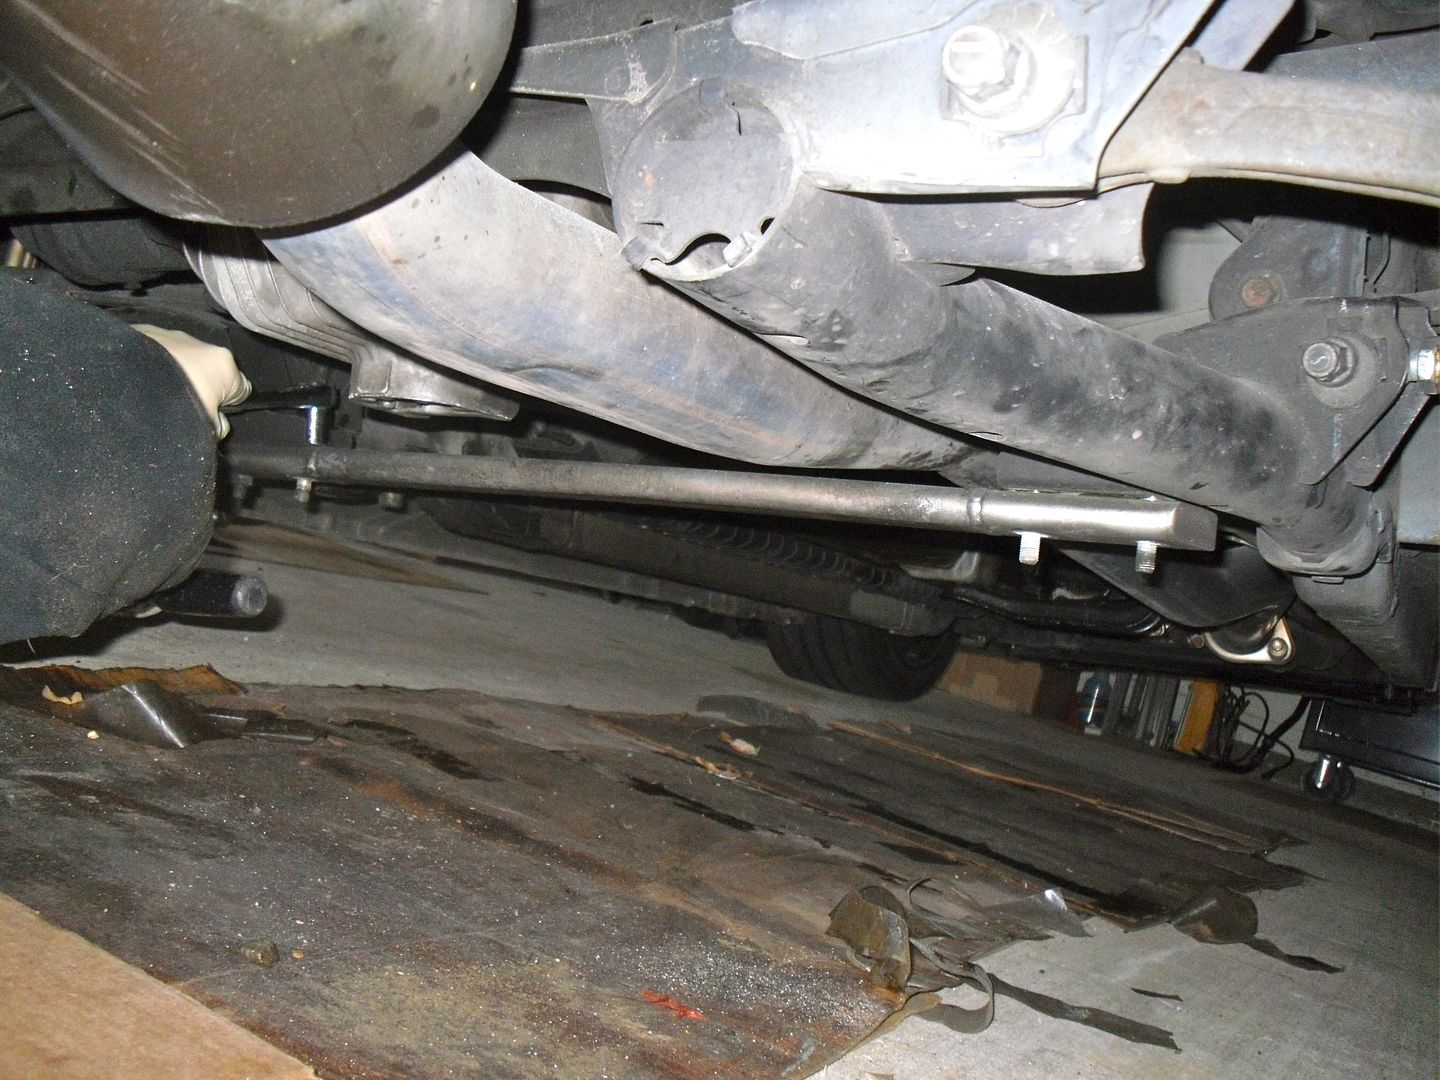
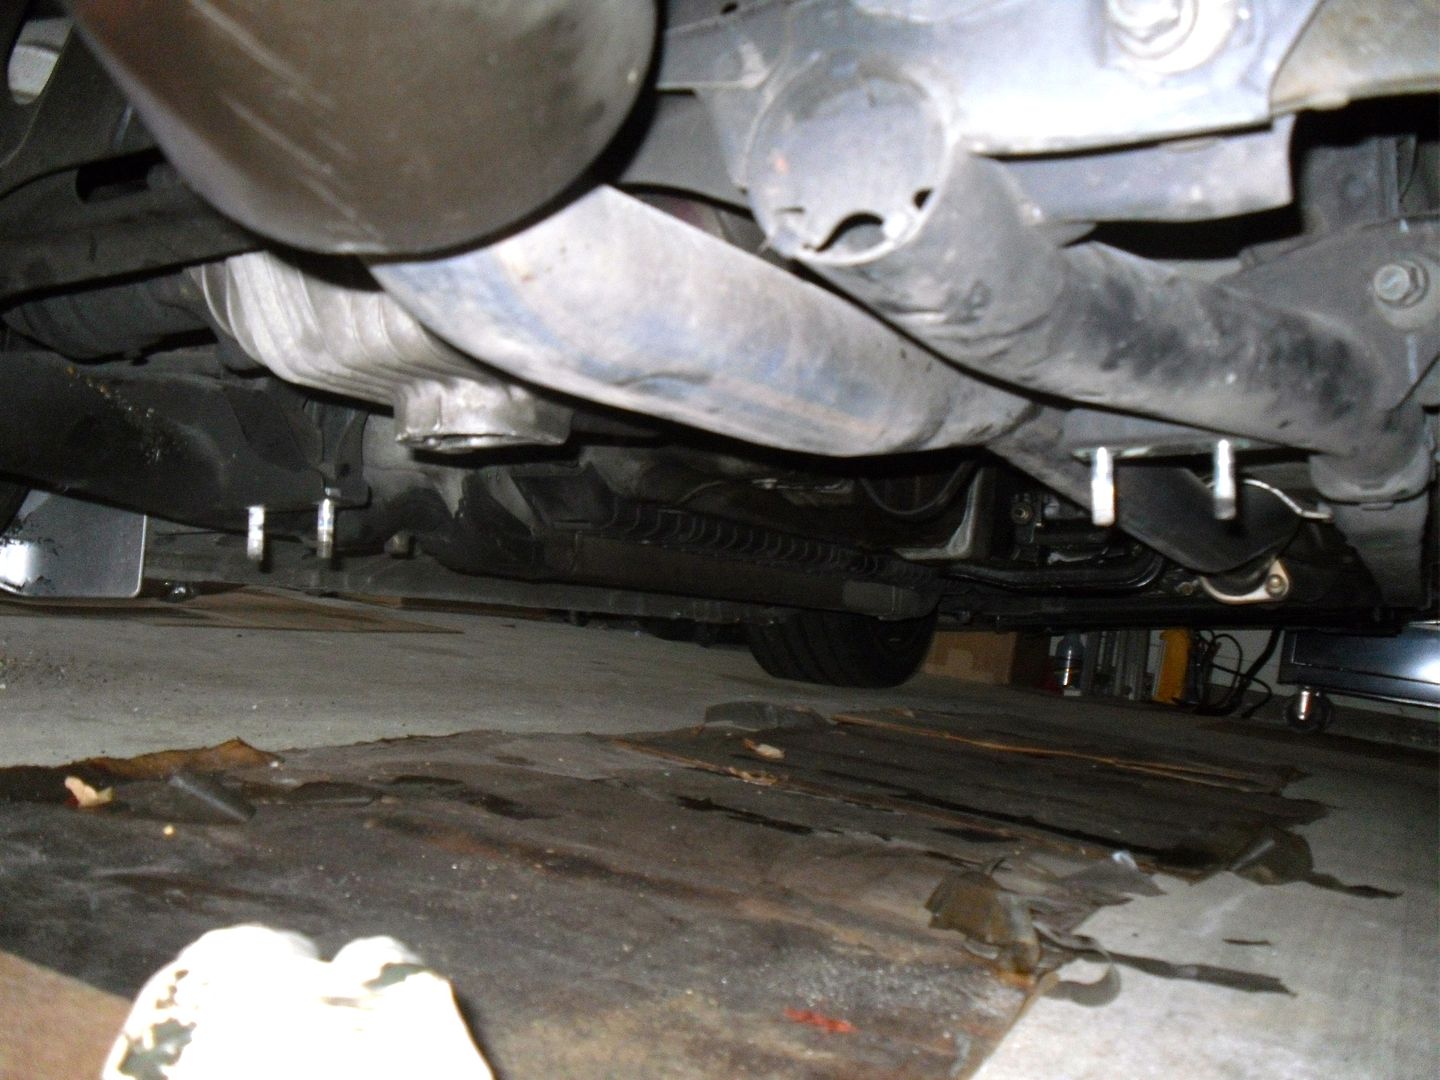
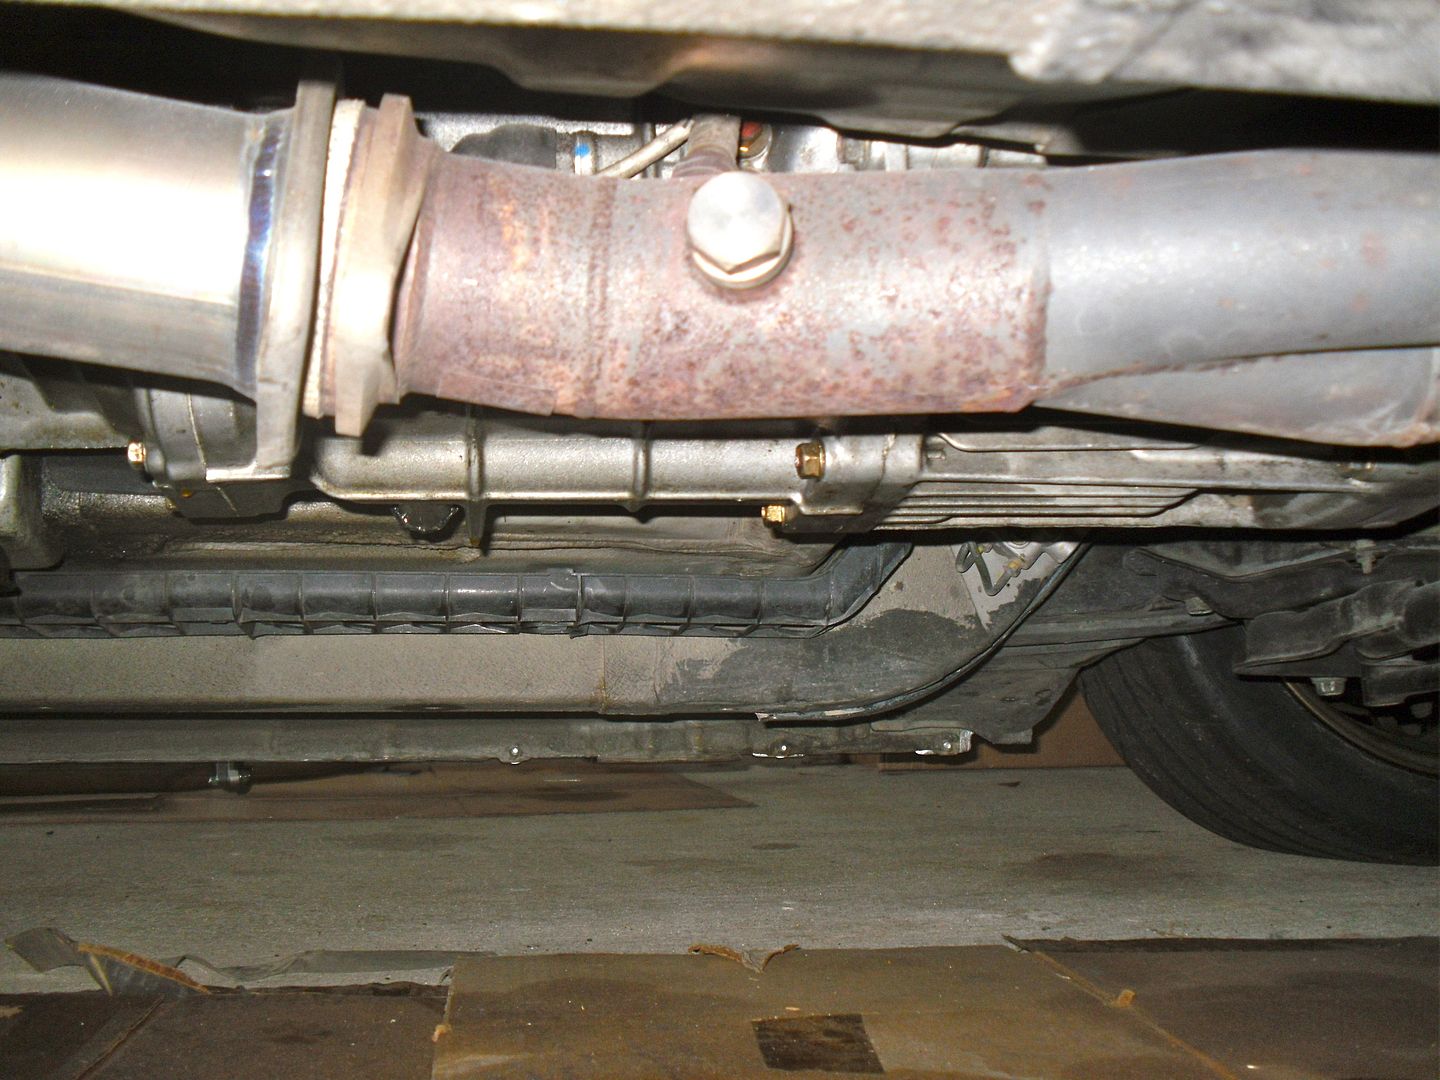
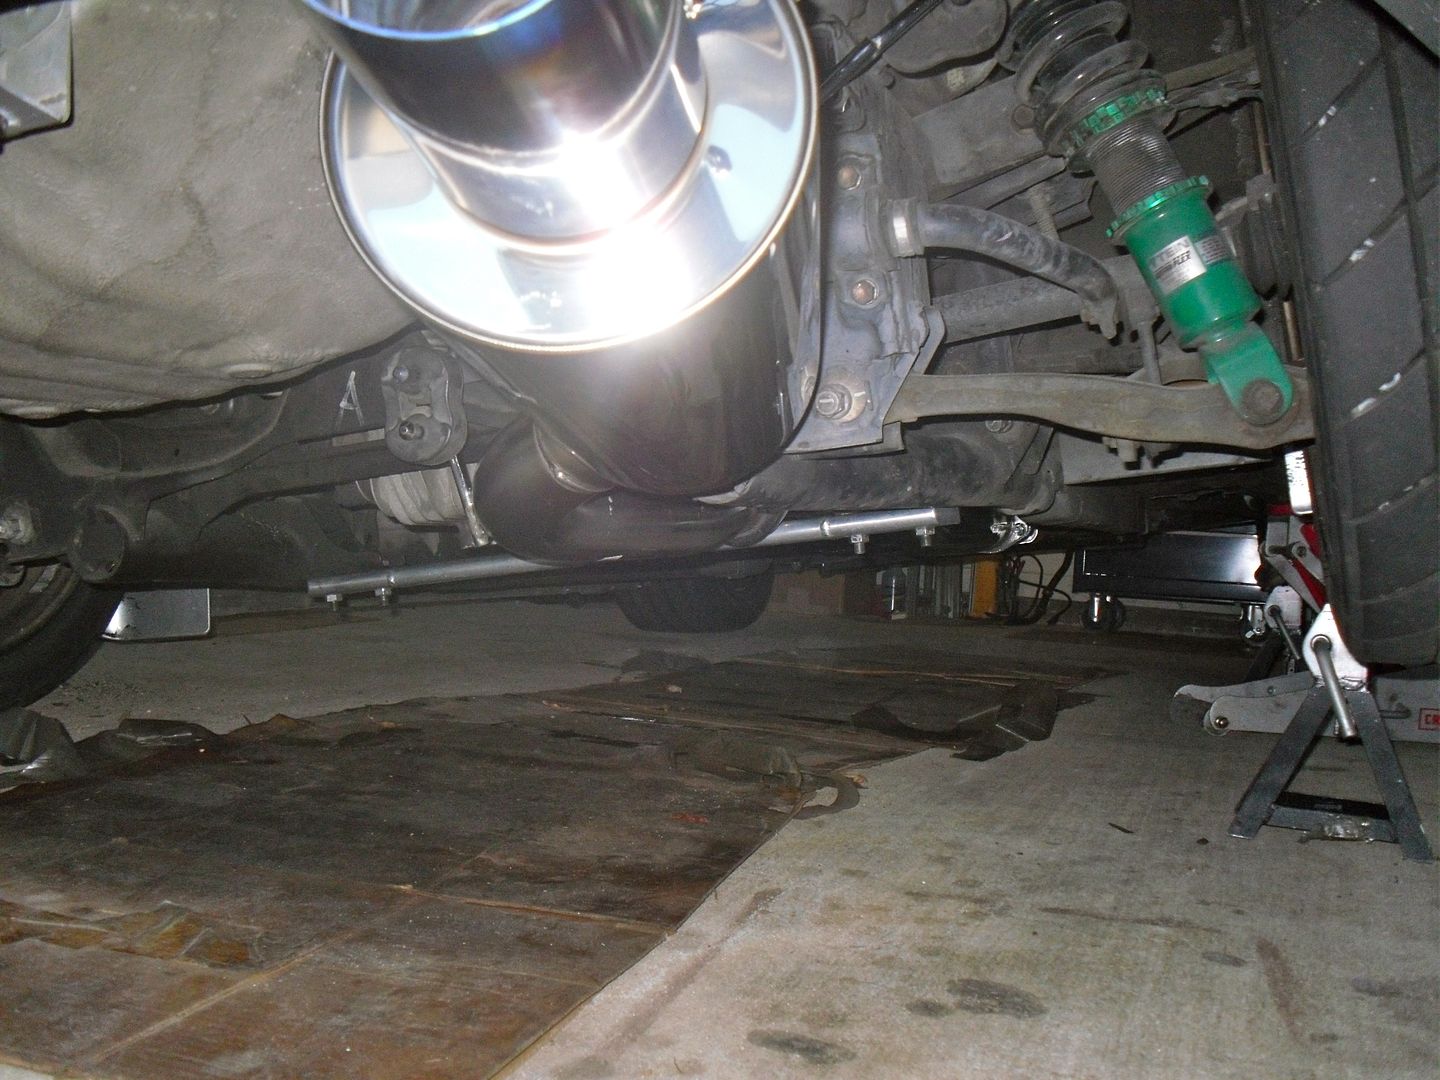
Ok from here on Ill go through the installation. I am well aware I have fluid leaks under my car I am in the process on trying to find an AP2 trans to replace it, so there is no need to tell me how gross the underside of my car is I was just under there I know. Along with that I had help from someone too, thankfully.
Start off with removing the rear lower tie bar.
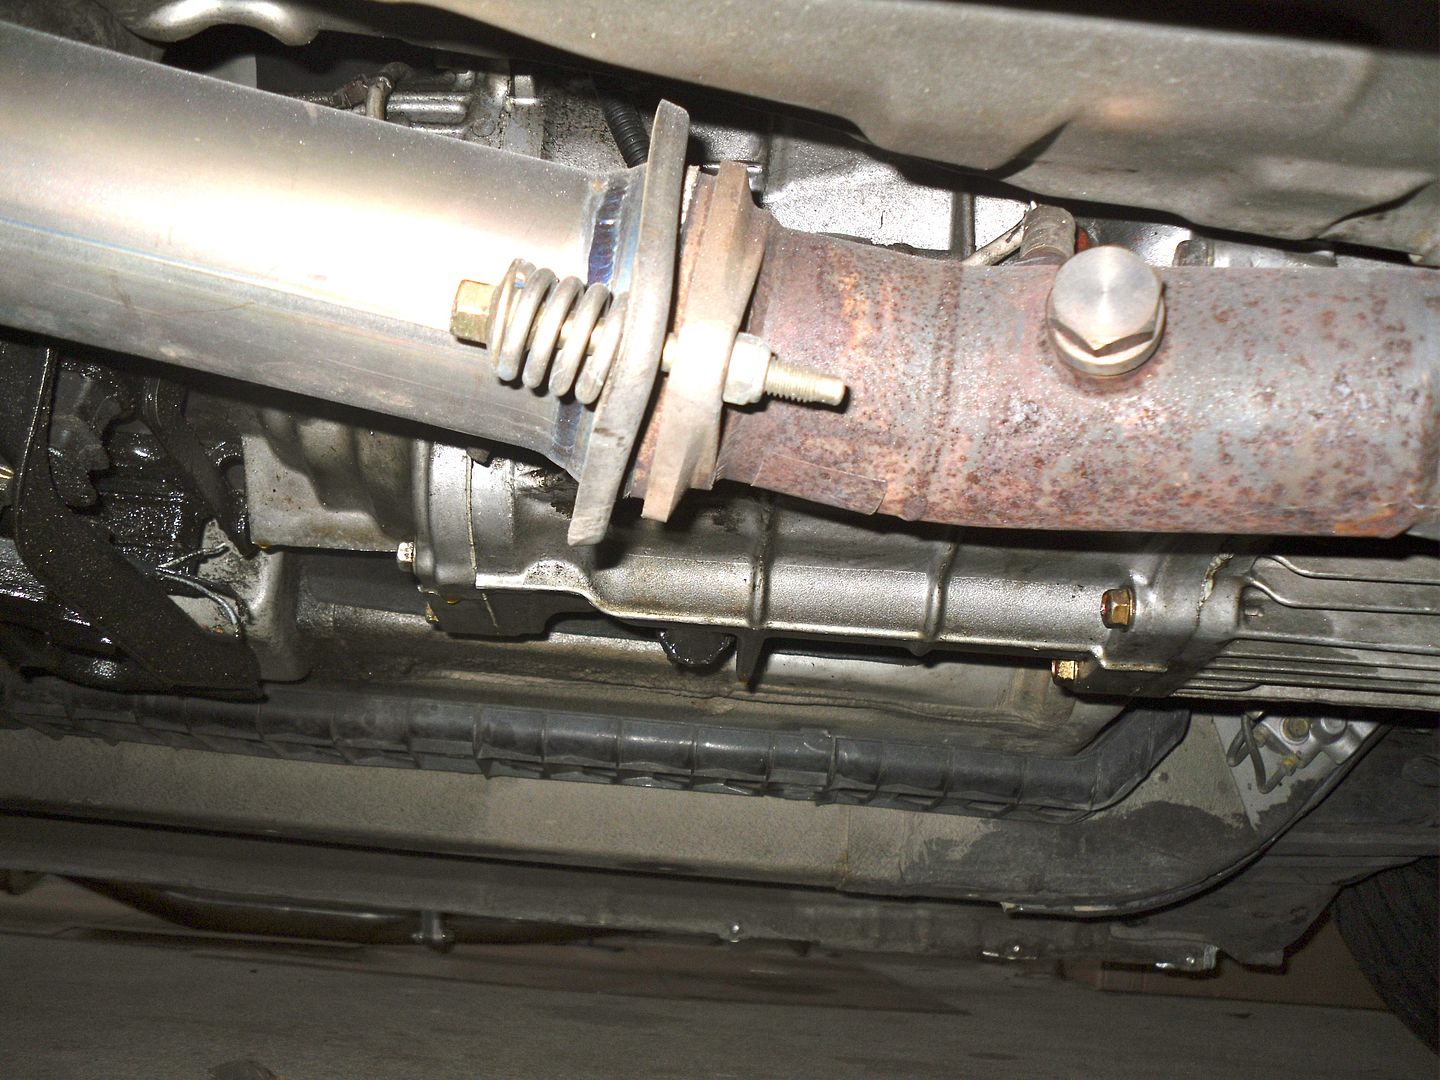
Then remove the exhaust spring bolts up front. I normally use ratchet wrenches for these.
Now well tackle the exhaust hangers. I have found that a small spray from some brake parts cleaner will provide just enough lube to slide the hanger right out.

Now is when it is nice to have a helping hand to hold both ends of the exhaust drop it down and slide it out from the rear of the car.
Then sit it aside
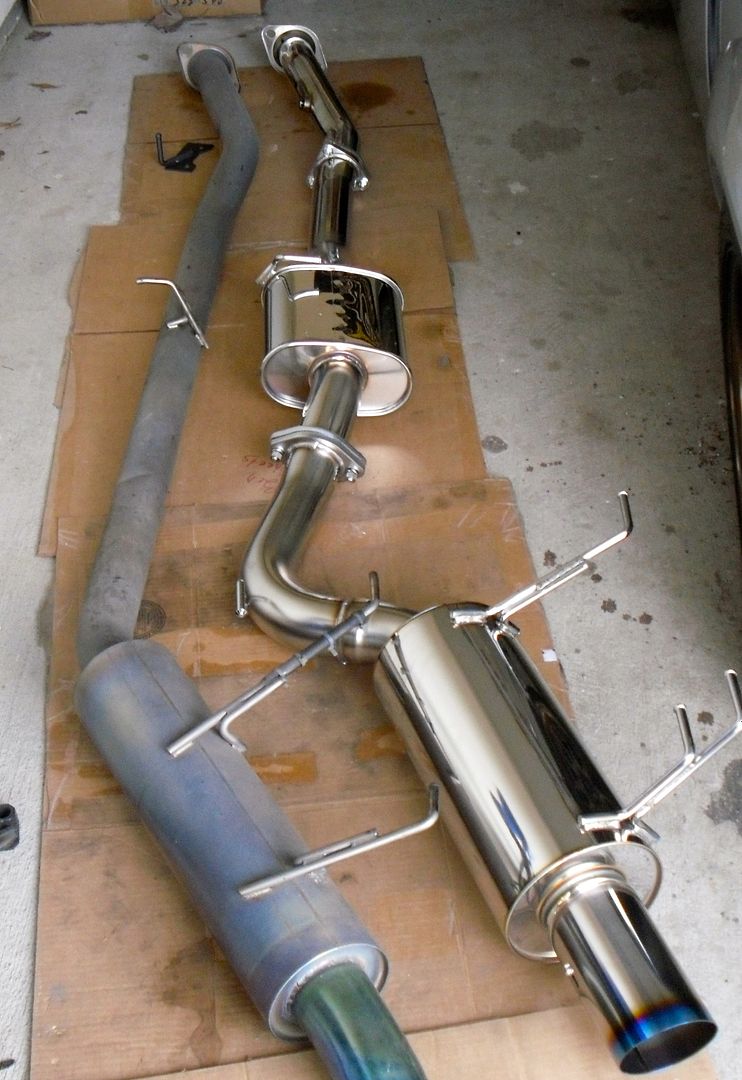
Here is a comparison of the J's vs HKS
Now here is what I did and it turned out to not work as it has for me in the past. I assembled the exhaust and planed to install it on the car. Im sure you can do this however the middle hanger is nearly impossible to get to. because the HKS maximizes all the space. We found this out the hard way.

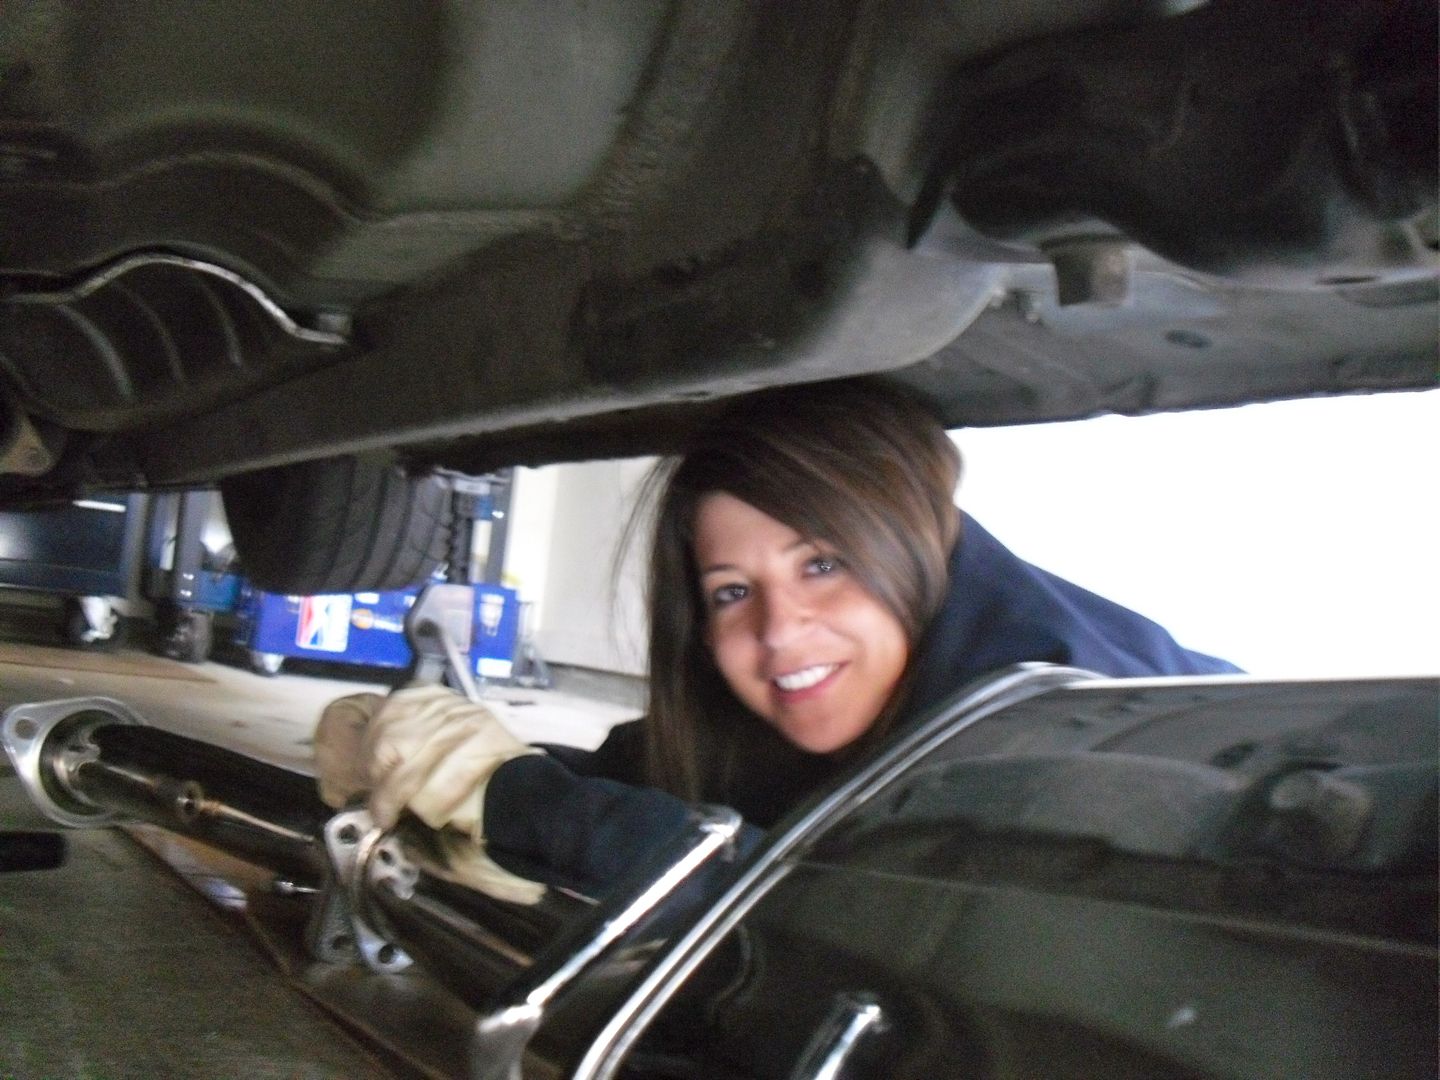
My helper re assembling the exhaust.
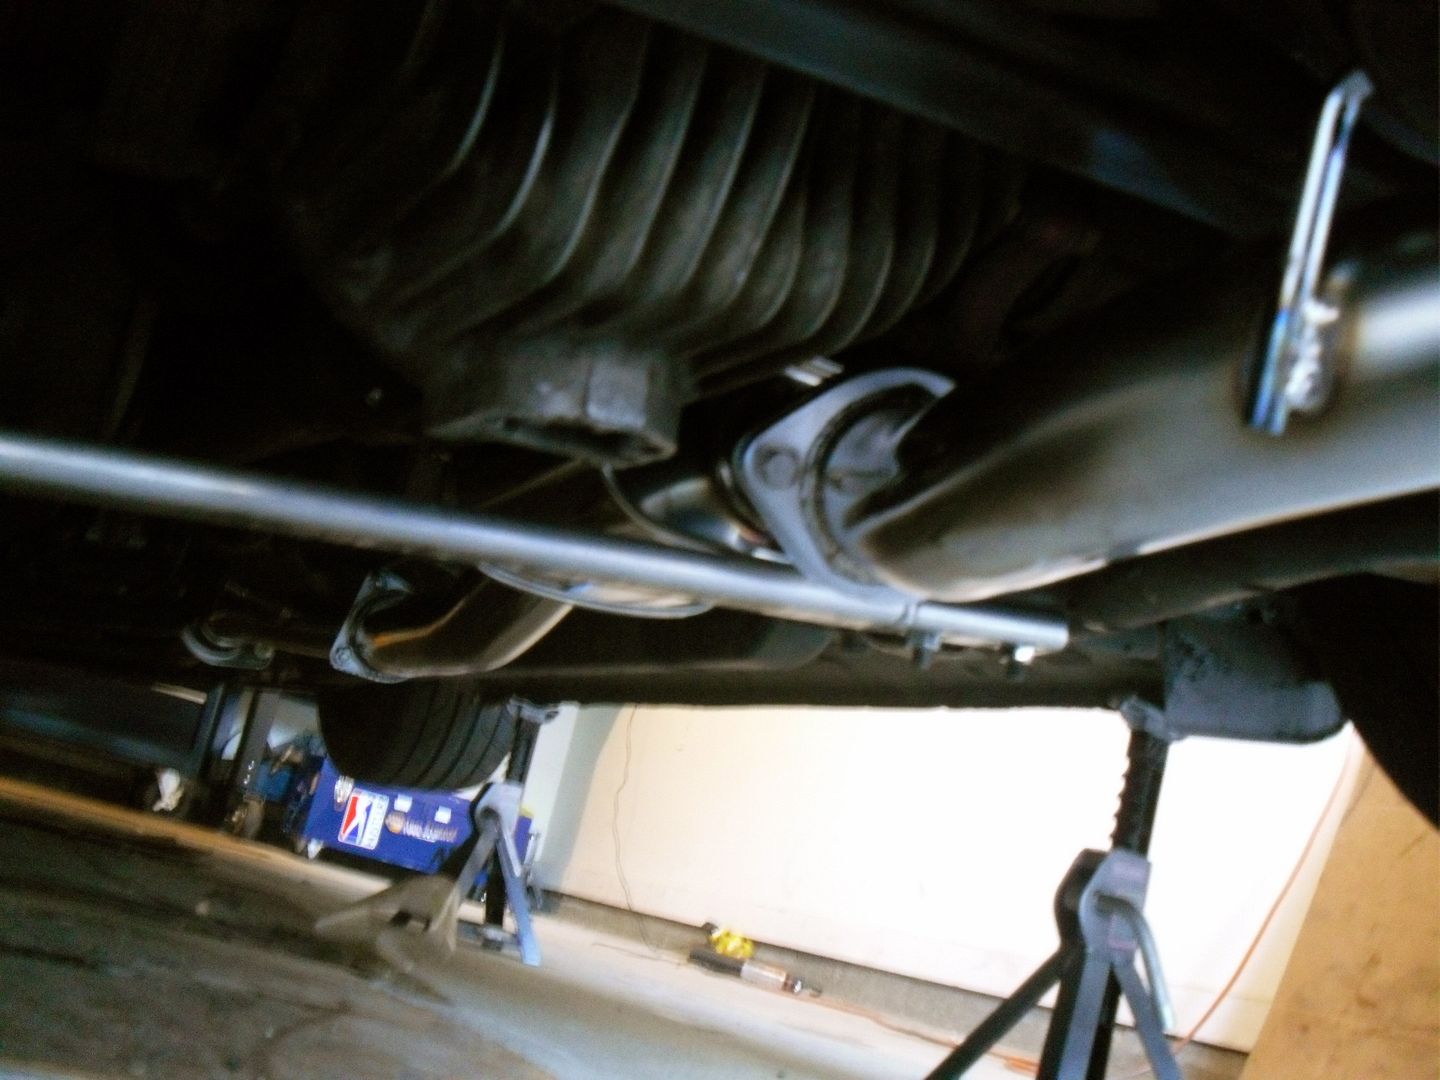
Now hang the exhaust on all the hangers. The furthest hanging back nearest the tip has two options my car being an AP1 required using the shorter hanger. The hanger on the B pipe will be the most challenging. There is not much room to work with the hanger.

Now make sure the that you have tightened all the bolts and placed gaskets between all the flanges. Ratchet wrenches again work great for this, the 02 sensor will require a 22mm wrench. A dab of anti seize on the O2 sensor, and bolts is not a bad idea.

Last reattach the tie bar, start the car and check for exhaust leaks.
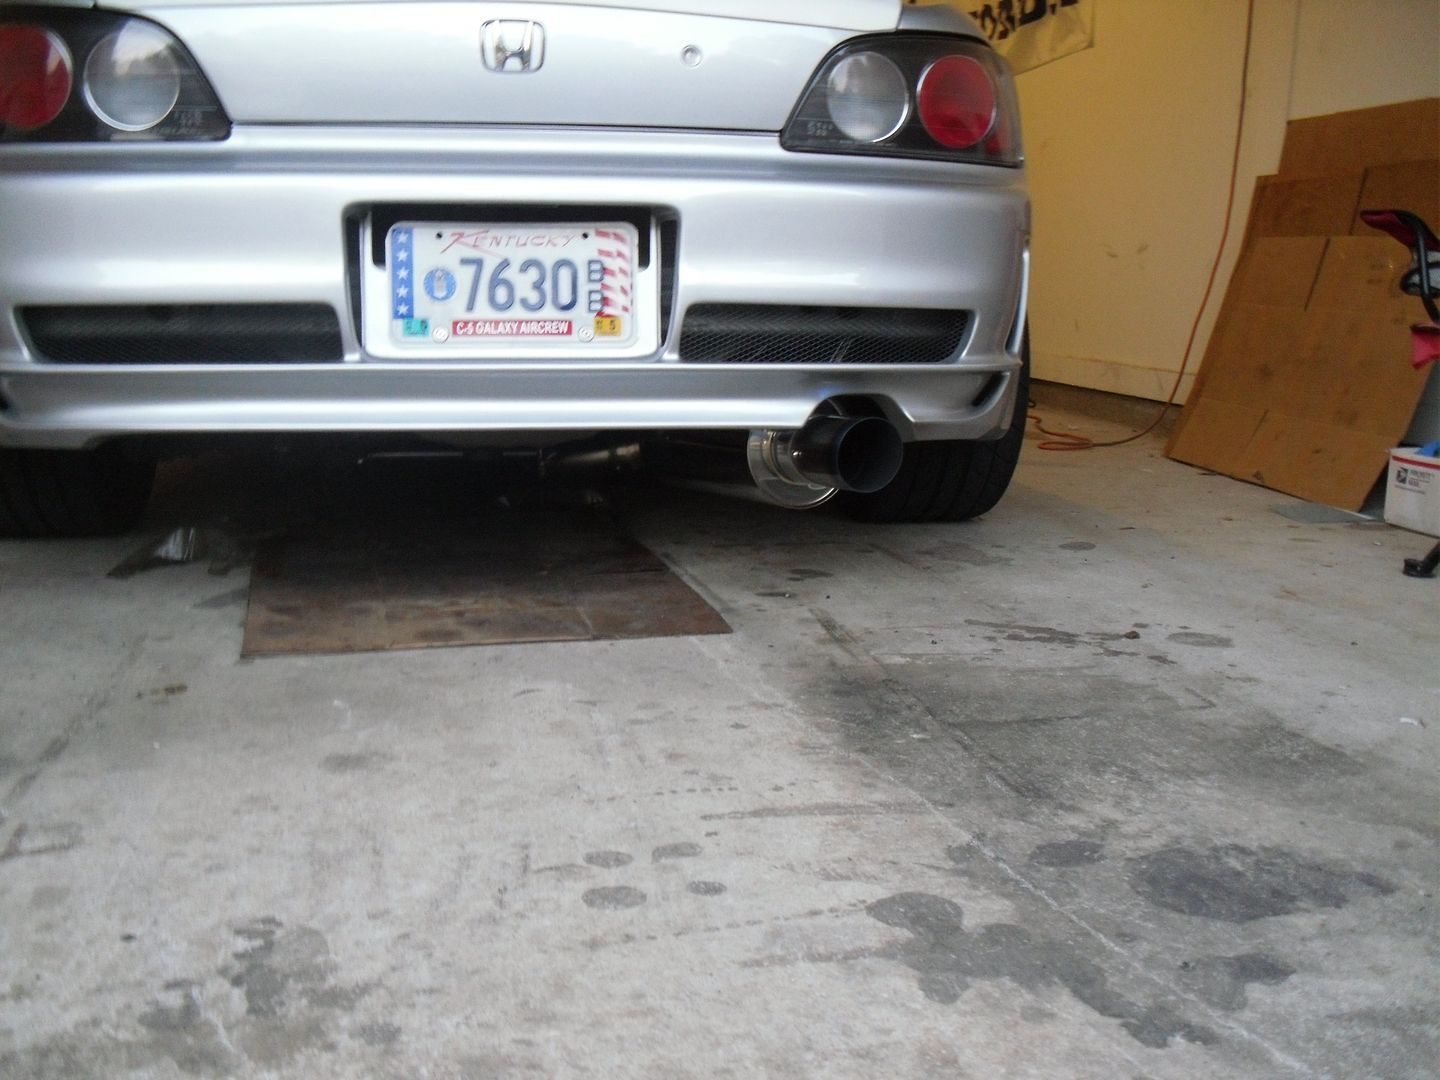
Closing thoughts. I am really happy with this exhaust so far it looks great and sounds great. It is not too loud but has a nice tone, I would highly recommend this to anyone looking for a single. My next project will be working on making a video for this thread.
Thanks to Mike@Evasive for the exhaust.
Well start with the packaging, pretty normal for most exhaust, but it was defiantly to satisfaction.
Ill jump to the welds now. I was pleased with the welds keeping in mind what the price of the exhaust was. The main place of focus was the muffler where they were very nice.
Fully assembled with the test pipe.
The added bracket
On to the Invidia 70mm test pipe. Test pipes are test pipes I have had various Spoon, and J's Racing test pipes and final conclusion they are all the same. But I did not realize the CEL fix I just figured that it would be another spacer as I have used in the past, however this one has a honeycomb looking piece inside the pipe infront of the O2. Overall construction seems nice for less than 100 new hardware and gaskets what else can you ask for.
A look inside
Ok from here on Ill go through the installation. I am well aware I have fluid leaks under my car I am in the process on trying to find an AP2 trans to replace it, so there is no need to tell me how gross the underside of my car is I was just under there I know. Along with that I had help from someone too, thankfully.
Start off with removing the rear lower tie bar.
Then remove the exhaust spring bolts up front. I normally use ratchet wrenches for these.
Now well tackle the exhaust hangers. I have found that a small spray from some brake parts cleaner will provide just enough lube to slide the hanger right out.
Now is when it is nice to have a helping hand to hold both ends of the exhaust drop it down and slide it out from the rear of the car.
Then sit it aside
Here is a comparison of the J's vs HKS
Now here is what I did and it turned out to not work as it has for me in the past. I assembled the exhaust and planed to install it on the car. Im sure you can do this however the middle hanger is nearly impossible to get to. because the HKS maximizes all the space. We found this out the hard way.
My helper re assembling the exhaust.
Now hang the exhaust on all the hangers. The furthest hanging back nearest the tip has two options my car being an AP1 required using the shorter hanger. The hanger on the B pipe will be the most challenging. There is not much room to work with the hanger.
Now make sure the that you have tightened all the bolts and placed gaskets between all the flanges. Ratchet wrenches again work great for this, the 02 sensor will require a 22mm wrench. A dab of anti seize on the O2 sensor, and bolts is not a bad idea.
Last reattach the tie bar, start the car and check for exhaust leaks.
Closing thoughts. I am really happy with this exhaust so far it looks great and sounds great. It is not too loud but has a nice tone, I would highly recommend this to anyone looking for a single. My next project will be working on making a video for this thread.
Thanks to Mike@Evasive for the exhaust.
 01-06-2011, 08:48 PM
#2


Nice writeup! Best sounding exhaust for the s2k, and big gains considering it's an NA bolton. i would suggest getting a 3" testpipe though, sounds even better and gives further gains especially with header


 01-07-2011, 02:16 AM
#6
Registered User
Join Date: Nov 2008
Location: Mooresville, NC
Posts: 1,314
Likes: 0
Received 0 Likes
on
0 Posts
Btw look into getting some non-foulers to space out the o2 sensor in the test pipe. I have that same invidia TP with the honeycomb cel fix and it does not work.
