When you click on links to various merchants on this site and make a purchase, this can result in this site earning a commission. Affiliate programs and affiliations include, but are not limited to, the eBay Partner Network.
So, I decided to do a little thanksgiving weekend project and paint my calipers. I didn't like the way the stock coating looked so porous and there were casting lines on the calipers and brackets. If you do this the way I did, be sure to set some time aside (2 days) if you are reusing your old calipers, or get a second set of calipers to work on. I did my project in three days because I didn't want to spend ALL of my time working on the car, but it can be done in two. I didn't want to try to do this with the calipers still on the car, so I took everything off.
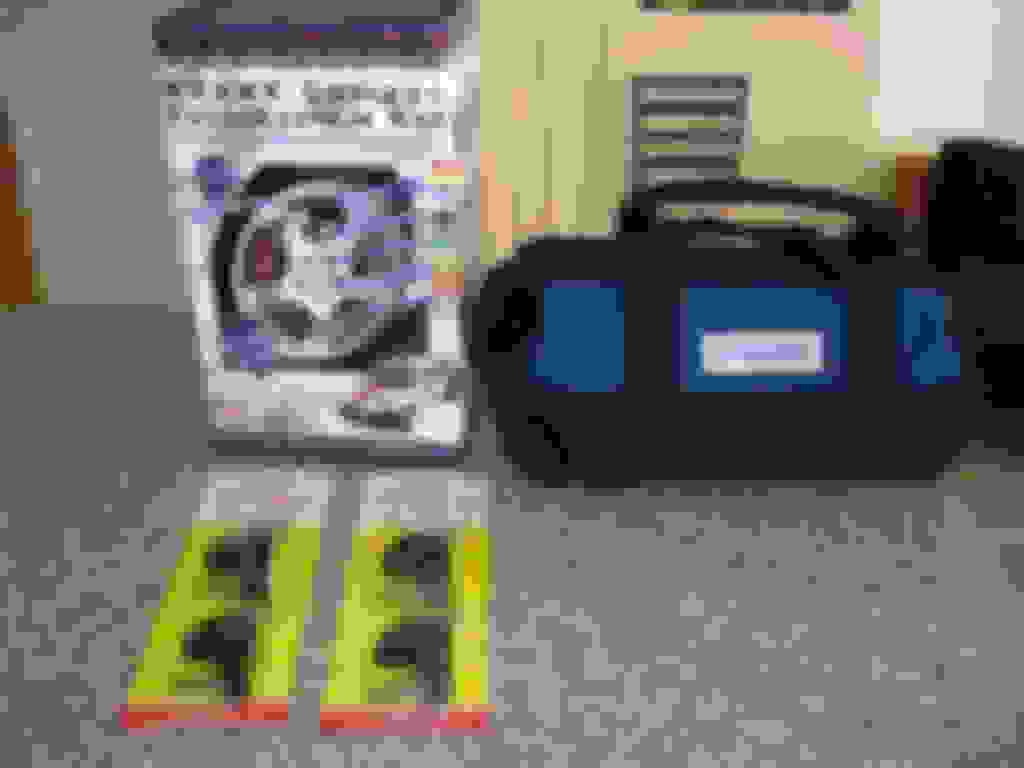
As for the paint, I went with G2 caliper paint in Black. I didn't want to be flashy, but I wanted it to be different if someone looked at it. I also track my car, so it was important to me to have a high temp paint. G2 advertises that their paint can hold up to 900 degrees. I'll find out how good it holds up in the spring once track season starts up again. A note with the G2 sysem, it is an epoxy mix, so you have 4 hours to paint once you mix up the reactant with the paint.
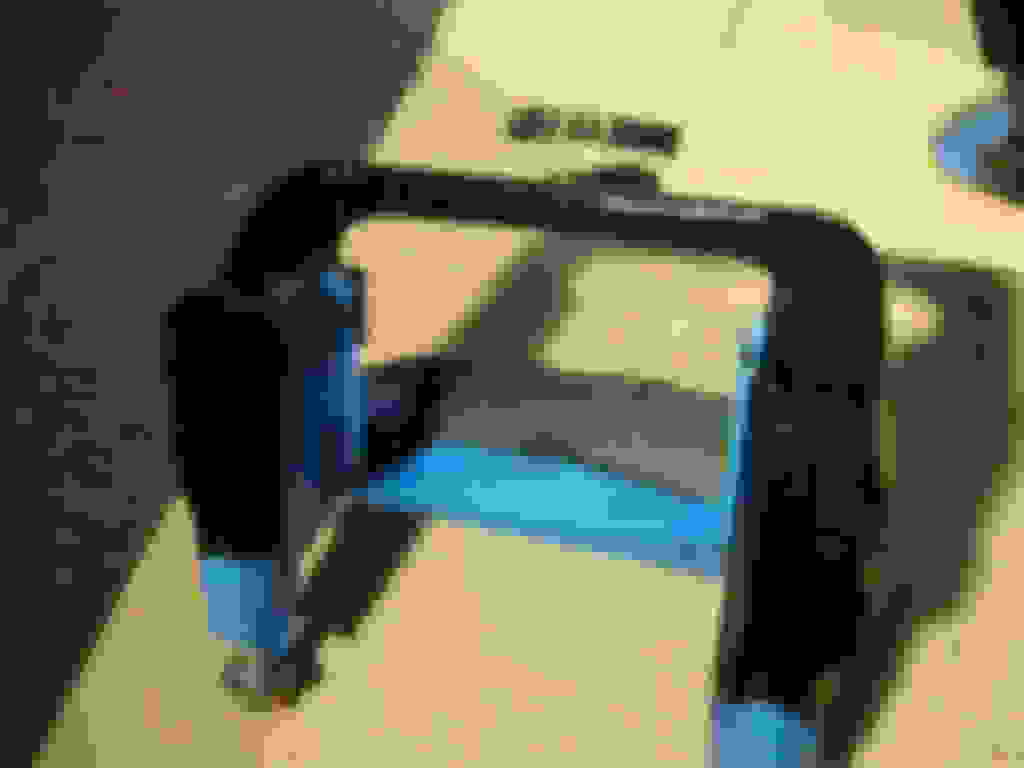
Another very helpful thing to have is brake line clamps to keep the brake fluid from leaking out of the lines when you remove your calipers. They are OTC 4506 clamps, I bought 4 of them for 15 shipped on Ebay.
Total cost: 55 bucks for paint and 4 brake line clamps.
So, lets get started. Tools needed:
-10,12,14,17, 19 sockets
-10,14,17 wrenches
-Pliers (optional for rear Ebrake cable)
-the G2 kit comes with a can of brake cleaner, but I highly recommend buying two more to really get it all off.
-shop towels
-brake line clamps
-caliper paint of your choice
-Dremel
-Extra sanding stone attachment and sandpaper for Dremel
-Vacumn bleeder for brakes.
-Brake Fluid (half a liter should be fine)
-Drain container for brake fluid from the calipers.
-breaker bar
-Torque Wrench. Preferably a big one for 25-100 ft-lb and a smaller one for the small stuff.
-Time. You'll want two days for this.
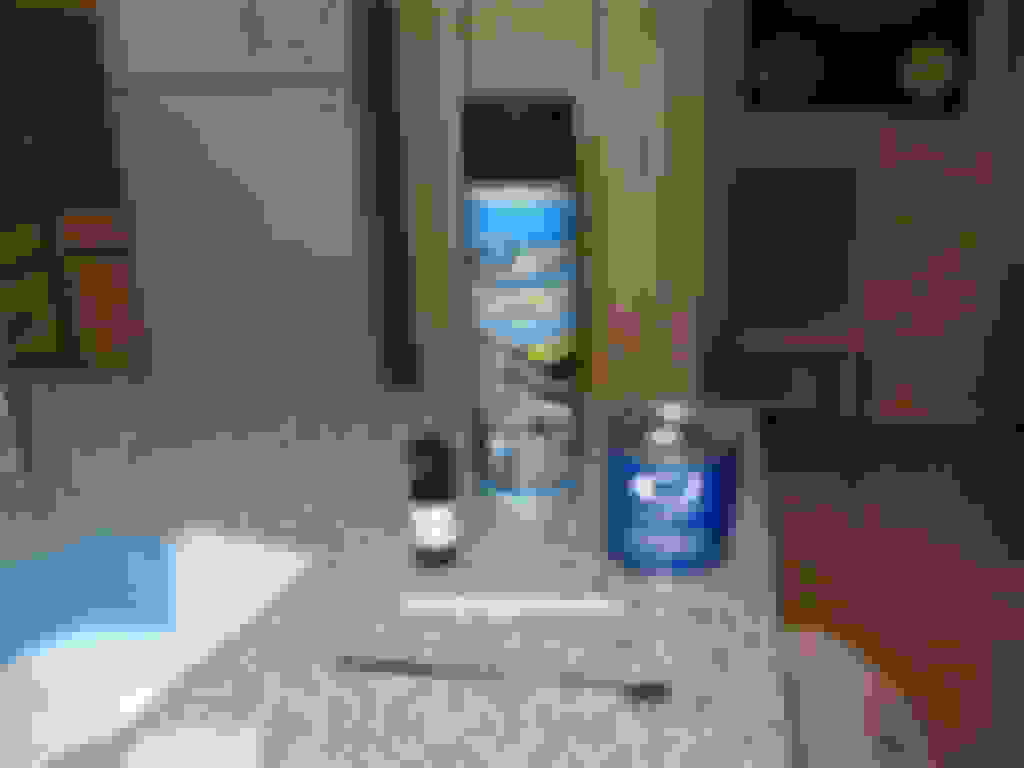
My kit:
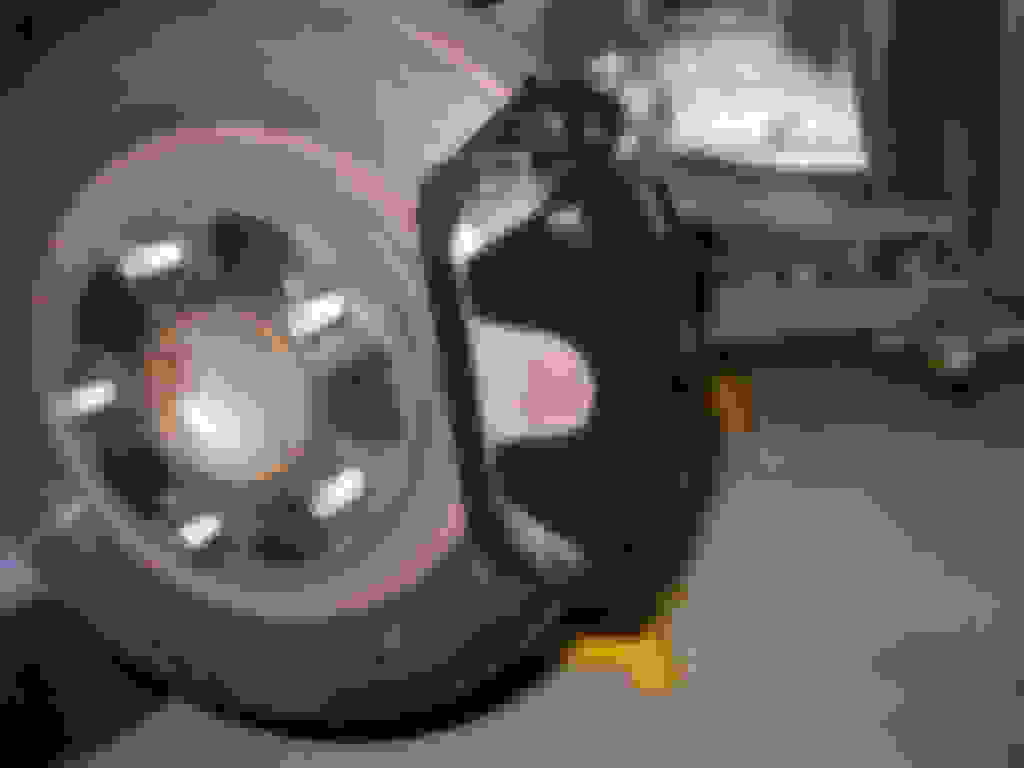
Loosen up your wheels and jack up the car on all fours. My jack can't reach the front and rear jack points, so I jack up by the side and put my jack stands on the big ass subframe tube on the rear and on my X-brace in the front. Take off the rims.
Stock brakes.. yuck!
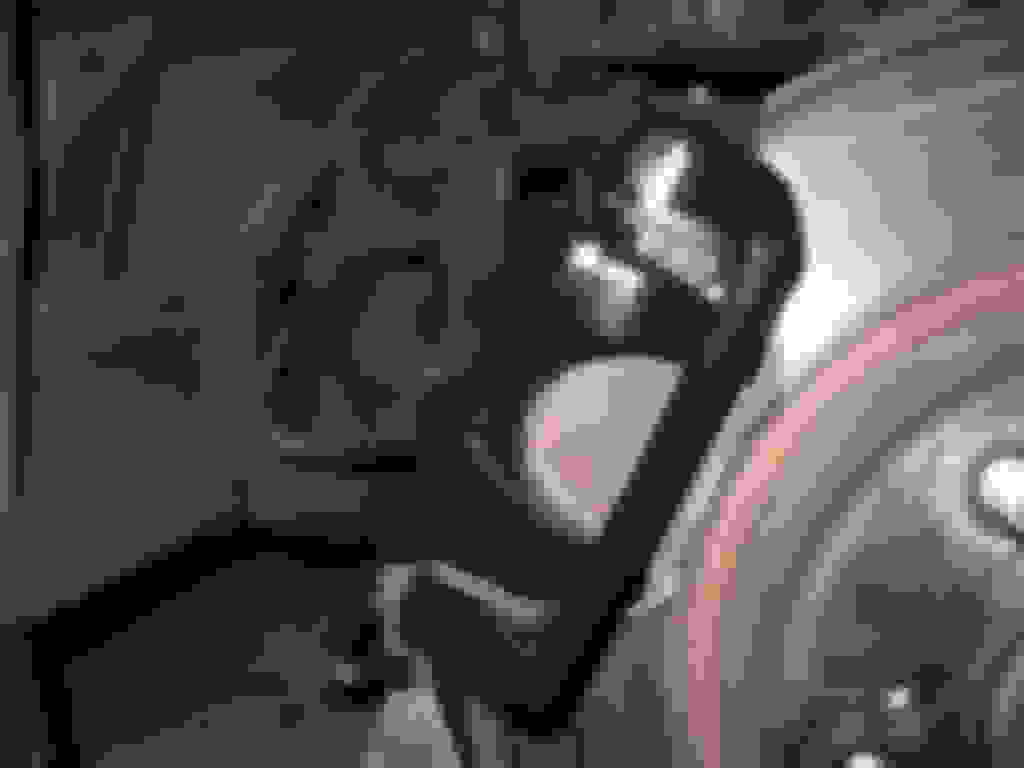
Lets start with the rear calipers. These are a bit more complicated due to the Ebrake cable. Use a 10mm socket to get the caliper cover off (2 bolts)
Once the cover is off, you'll see two upside down bolts on the ebrake bracket.
Use a 12mm to get those off. Once the bolts are off, you'll be able to get the ebrake cable off of its lever on the caliper. If you want to, you can use pliers to remove the snap clip to remove the bracket off the cable to that it isn't pulling on the cable. I didn't do this.
Here's where you use the brake line clamps. Using a 14mm socket, take off the banjo bolt from the calipers. There are two washers, be sure not to lose them and make sure one isn't stuck to the caliper. Using the brake line clamp, put it on the brake hose and hand tighten it until it is tight. don't use any tools to force it tighter! Your caliper will start pouring out the brake fluid, so have your drain pan underneath the caliper.
Using a 10mm, remove the two bolts that hold the brake line bracket from the calipers.
With a 12mm socket and a 14mm wrench, remove the caliper from the caliper bracket. This is the two bolts with a rubber accordion seal on them. Remove the caliper and remove the pads.
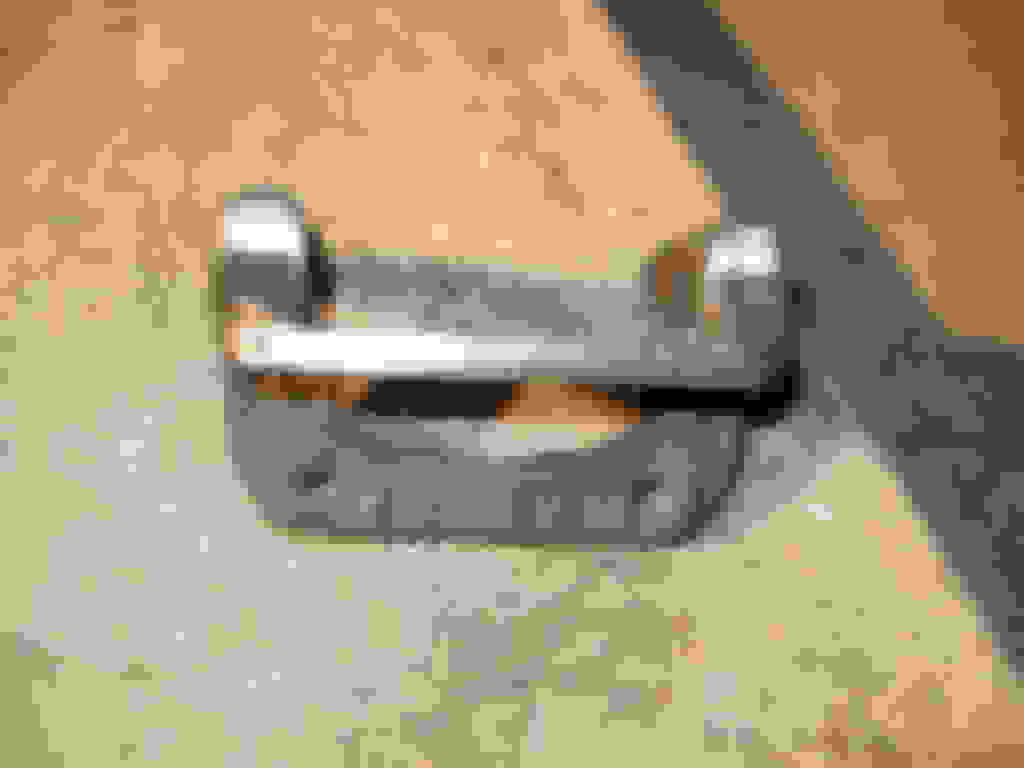
Using a 14mm socket, remove the two bolts on the hub that the caliper bracket attaches to, then remove the caliper bracket. Remove the shims from the caliper bracket.
That's it for the rear calipers. The front calipers don't have the ebrake cable, so they are easier to take off, just five bolts!
Using a 14mm, remove the banjo bolt from the front calipers and clamp the hoses with your brake clamps. With a 12mm socket and a 17mm wrench, remove the two bolts holding the caliper to the bracket. Then using a 17mm socket, remove the two bolts holding the caliper bracket to the knuckle. These are really torqued on there from the factory, so you may want to use a breaker bar to get them off.
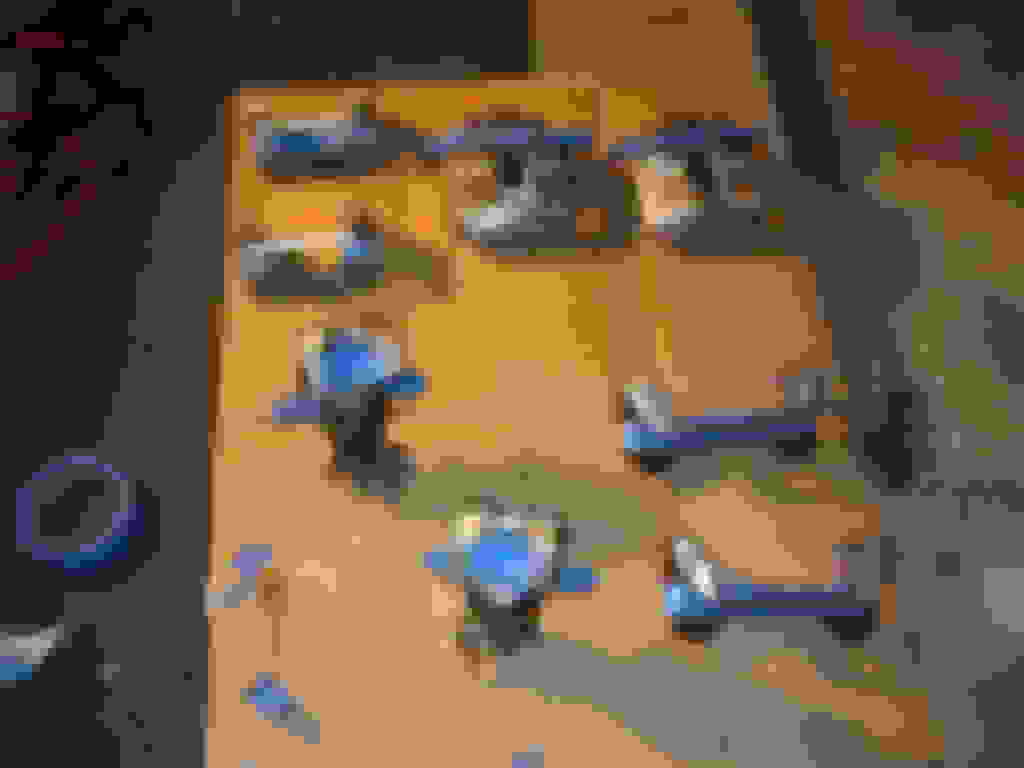
That's it! you should have 4 calipers and 4 caliper brackets off the car. Here is where you use one of your brake cleaner cans and clean them up a little, you don't want to be breathing in brake dust while you're sanding. Open up the garage door before you use the brake cleaner, the stuff will make you woozy.
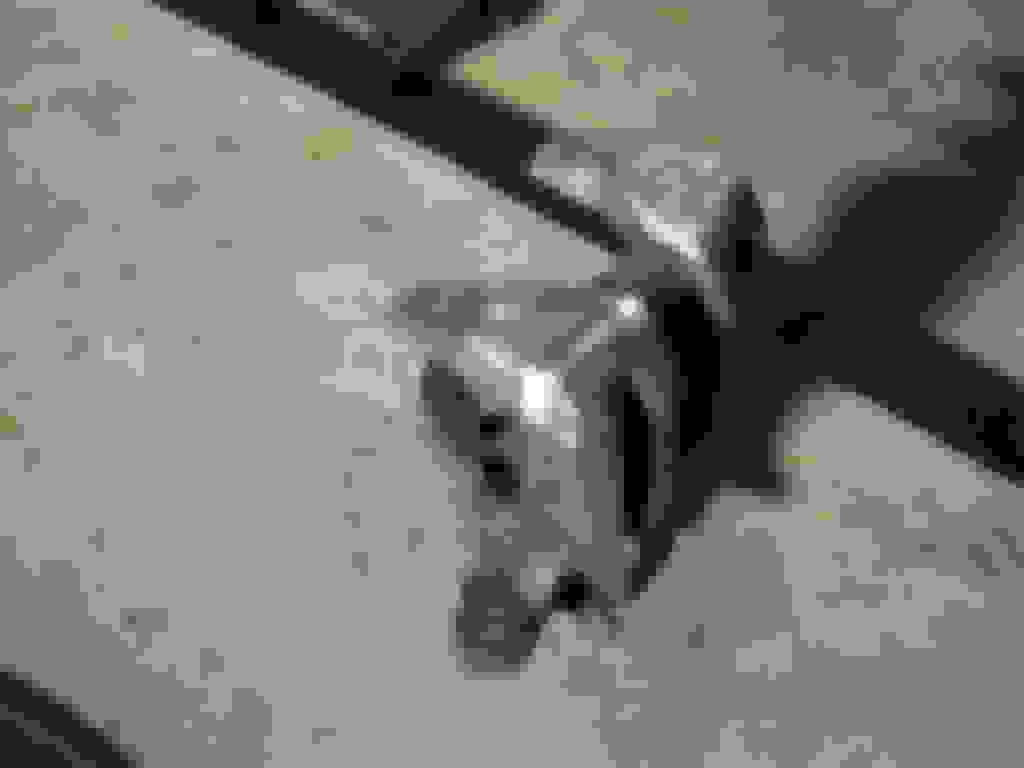
After that, get your dremel and a sanding stone attachment:
And start going to town on your calipers. I only grinded off the paint and the casting lines on the visible part of the calipers:
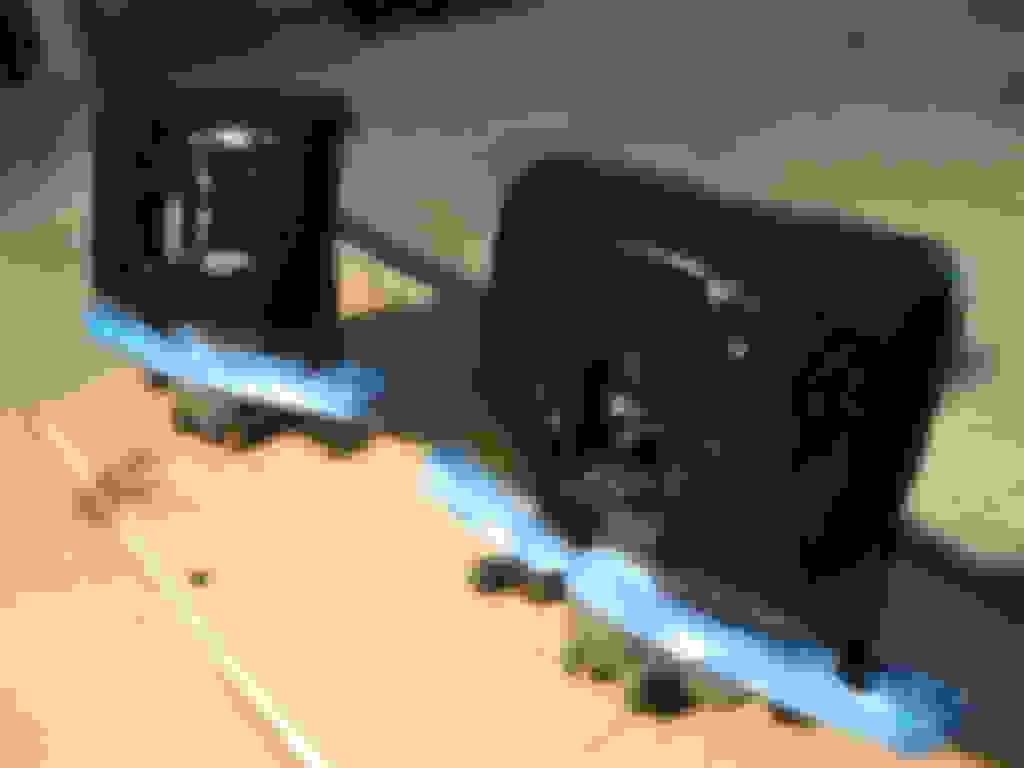
When you're done grinding away, go back with the brake cleaner and clean these up really well. Mask off what you don't want paint to get on:
The G2 kit:
It comes with brake cleaner, a jar of paint, the reactant, a stir stick, and a brush along with the instructions. You'll have more than enough paint to do all four calipers. Poor the reactant into the paint, and stir. Let it mix up and react for about 15 minutes, or it may be a bit runny at first. Stir again, then start painting. Put on one coat of paint, and wait about 15 minutes before putting on a second coat. I did half of my calipers and brackets with one coat, and by the time I was done with the 4th part, 15 minutes passed, so I went back and did my second coat. You don't actually have to sit there and wait for 15 minutes. The paint will get thicker and it will level out easier the longer it reacts with the hardener. But remember, you only have four hours to paint once you start mixing.
After you're done painting, look all of your parts over for any spots you missed or to touch something up. I still had about 30% of my paint left in the jar, I felt bad about throwing it out.
I would let the calipers dry for at least 8 hours before handling them, preferably for 24 hours. G2 says to wait 24 hrs before driving the car.
When they are done drying, put them back on the car. As they say, installation is the reverse of removal. Helms says to replace the two washers on the banjo bolts, but I reused mine. Here are your torque specs from the Helms, I suggest using a torque wrench:
Front Calipers:
Caliper Bracket to Knuckle: 79 ft-lb
Caliper to Caliper Bracket: 24 ft-lb
Brake Hose Banjo Bolt: 25 ft-lb
Time to bleed the brakes! The bleeding order is Front Left, Front Right, Rear Right, Rear Left. Use a 10mm wrench, crack open the bleeder valve on your first caliper, and remove the hose clamp. Attach your vacuum bleeder (or pressure bleeder if you use one of those). Also open up your master cylinder cap and have your extra brake fluid ready.
Put a vacuum on the caliper and wait until the brake fluid starts coming out. You'll get bubbles in the line from air leaking around the bleed valve. Once you get some brake fluid going through your lines, release the vacuum and let the caliper gravity bleed. you'll see fluid slowly going down the hose due to gravity. If there is no bubbles in the line, shut off the bleeder valve and move on to the next caliper.
The torque spec on the bleeder valve is 6.5 ft-lb.
Then put all of your wheels back on, drop the car and torque the lugs to 80 ft-lb.
And you're done! You'll see the painted brakes better with AP1 wheels than AP2 wheels. We'll see how this lasts on the track in the spring.
I thought about going with red, but A) these are still the factory brakes, not Brembos, B) I think after the civic craze, people view red brakes as a bit ricerish, and C), black will be so much easier to keep clean after a track day. I want my car to be different, but not necessarily scream "modded!!"
looks nice...i went w/black as well but honestly you didn't need to pull the calipers to do a decent job...I had my front ones professionally painted so they were off (dremeled off completely and painted with a special undercoat to withstand high temps) but the rears I did myself with a simple kit from autozone...I didn't dremel them but they came out pretty well anyway...and honestly unless you spend a few hours on the calipers dremeling off the castings they will still show...your still kinda do
anyway nice work...and black is the sleek choice...not ricey but if you look close it says modified
i used a file to get rid of the cast marks and then used a sanding block, i think 80-grit to smooth it out. did it all installed and it looks damn nice.
I thought about going with red, but A) these are still the factory brakes, not Brembos, B) I think after the civic craze, people view red brakes as a bit ricerish, and C), black will be so much easier to keep clean after a track day. I want my car to be different, but not necessarily scream "modded!!"

 11-28-2009, 12:55 PM