
BEATRUSH UNDERPANEL INSTALL PICS AND WRITE UP!
 10-10-2008, 10:14 AM
#1

Thread Starter


FIRST EVER BEATRUSHUNDERPANEL FOR THE S2000; BEATRUSH UNDERPANEL WRITE UP AND PICS
Underpanel
One of the easiest parts I've had to install!
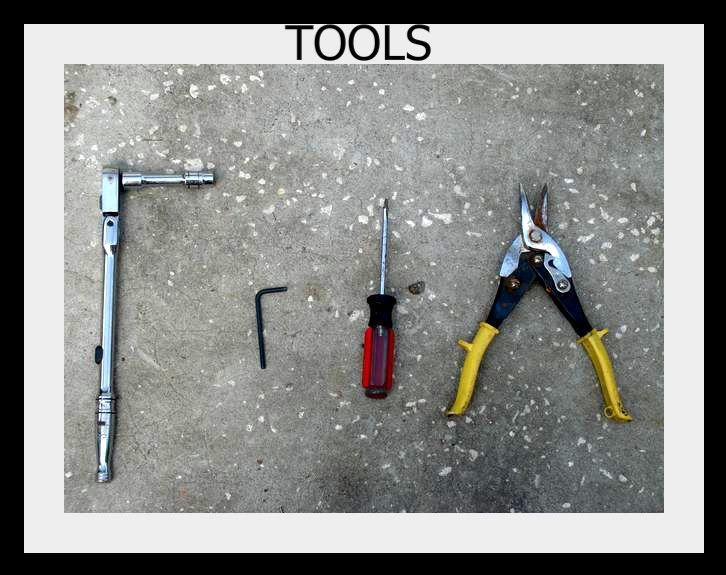
::Being Prepared::
ALL right guys... you wanna make sure you start with the proper tools
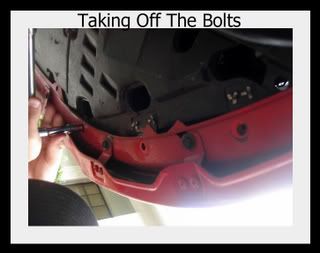
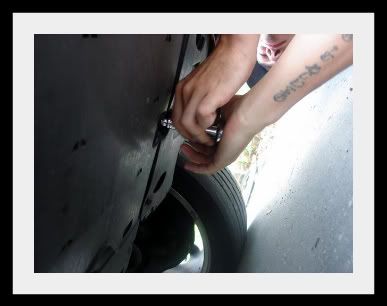
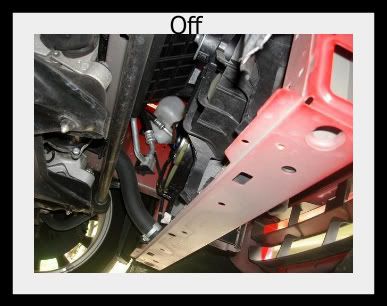
::First Things First::
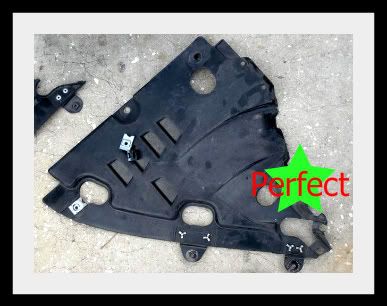
Just start with the stock underpanel; Slowly start removing all the bolts and clips from the stock underpanel.
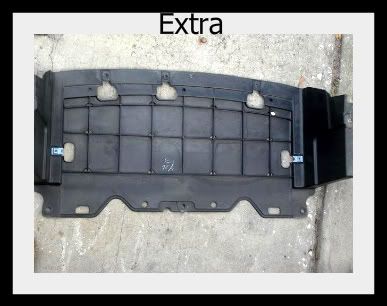
::Lots Of Parts Left::
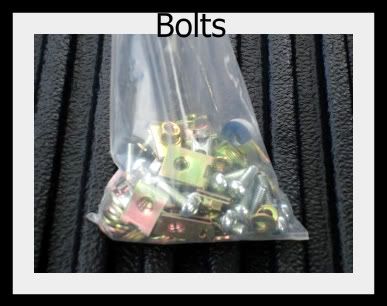
Trust me, your going to have a lot of Parts left over! What you should end up with is the stock underpanels, and tones of bolts and nuts!

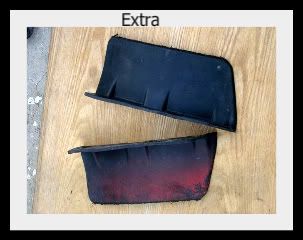
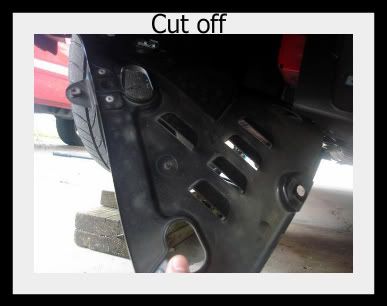
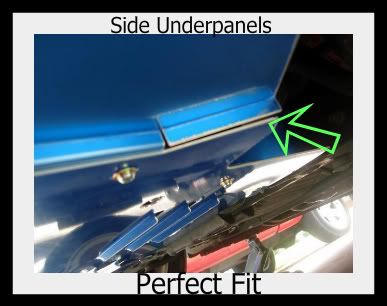
:: NOTE :: On the side of the stock underpanel, you are going to have to cut some of the panel off. Please be very careful when cutting the side underpanels.. Your going to need the to holes that are located on the side of the wheel well.

::Beatrush::
With year of experience in motor sports, Laile; which manufactures, brands, and operates Beatrush; has collected sufficient data information on the tracks of Japan to produce high quality and functional products. Located in Yokohama, Japan; Laile manufactures most of their product's brands like Beatrush and Arpsports with their high precision machinery. All the unique products developed by Laile offers superior safety and plenty of pleasure both in track and the street, as well to look at.
*Reduces air turbulance, thus producing more downforce.
*Helps to cool down engine by drawing out heat from the engine compartment through especial design slits.
*Protects under the engine from rocks and gravel during heavy competition like rally, auto-x, etc.
*Track tested for functionality.
*Developed by Beatrush Japan, the leaders of competitive rally.
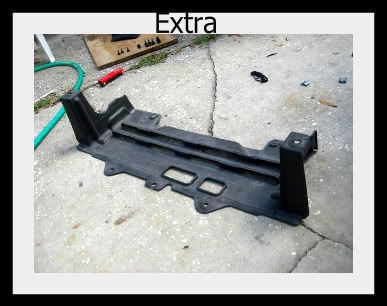
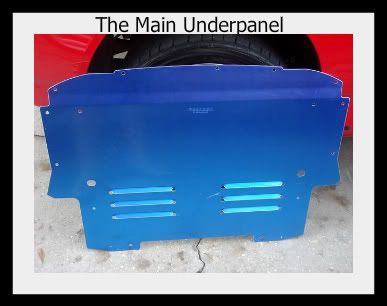
UnderPanel
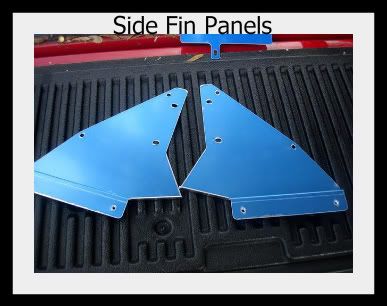
When you receive the underpanel, you will get 5 major parts, bolts, an align key, and instructions. Really cool thing about the Beatrush Underpanels is that they come with Blue film; This will indicate the directions the underpanel will need to be facing. So if the Blue Phylum is pointing at you; then your going in the right direction!!
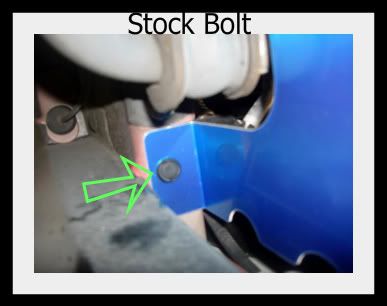
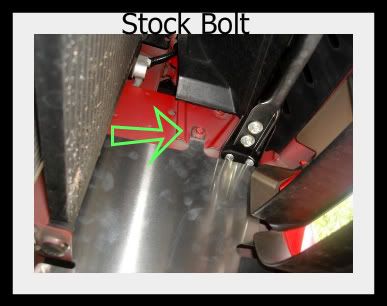
Once you start putting the underpanel in place; everything will line up perfectly.. There are some stock bolts you might have to reuse; so make sure you don't throw those away!!
:: Note :: There will be to holes in the rear that your going to have trouble with because you can bolt the other side! Beatrush supplies you with 2 special bolts. Once you start screwing in the screw the special bolt will expand and secure the rear of the underpanel. Unfortunately I didn't get to take any pictures!! I do apologies! But its easy I promise!
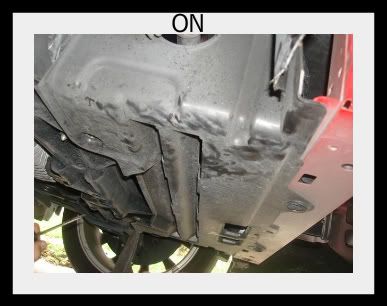
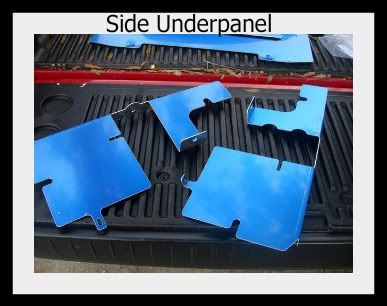
Putting the Underpanel on is as easy as taking it off. You wanna first start with the Side Underpanels, Then the Main Underpanel, Then finish it off the the Fin Underpanels.
:: Note :: You will use some stock Bolts to apply the underpanel
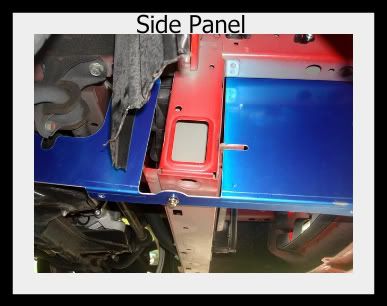
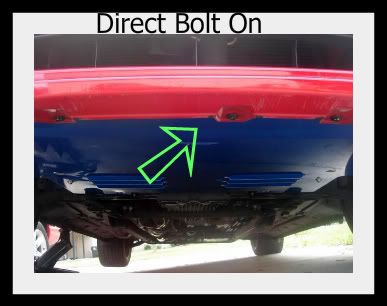
::The UnderPanel Is Next ::
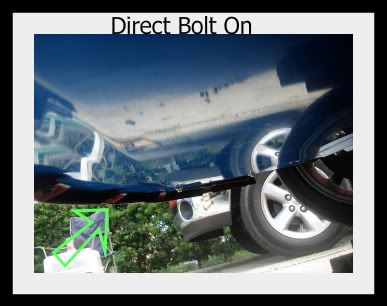
:: Last Is The Fin Underpanels ::
:: Last Notes ::
The Underpanel works great!! You will see fast results after the install. I took it down the highway at 115 mph, no shaking, no sound.. The nose just dives in. You will see a difference in your front end alone. When I used to drive the S at a high speed; i noticed air bubbling up in the front end, with the new under panel the air is reduced for a smoother ride! All I need now is a rear Diffuser!!
:: For those that got theirs delivered already please post comments!! ::


 10-10-2008, 10:23 AM
#3
Thread Starter
Originally Posted by roflitzjinno,Oct 10 2008, 10:19 AM
looks good. only comes in blue? would this be better if my car was slammed opposed to the stock plastic?


 10-10-2008, 12:28 PM
#7
Registered User

looks like it covers the exact same area as the OEM....
and vents are in the same place too (but are smaller) ---
guess I'm not convinced this is an upgrade.
It is pretty though.
and vents are in the same place too (but are smaller) ---
guess I'm not convinced this is an upgrade.
It is pretty though.
Trending Topics
10-10-2008, 12:44 PM
#8
Registered User

Join Date: Dec 2007
Posts: 1,105
Likes: 0
Received 0 Likes
on
0 Posts
Originally Posted by slackfaster,Oct 10 2008, 12:28 PM
looks like it covers the exact same area as the OEM....
and vents are in the same place too (but are smaller) ---
guess I'm not convinced this is an upgrade.
It is pretty though.
and vents are in the same place too (but are smaller) ---
guess I'm not convinced this is an upgrade.
It is pretty though.
 10-11-2008, 11:16 AM
#10
Thread Starter
Originally Posted by slackfaster,Oct 10 2008, 12:28 PM
looks like it covers the exact same area as the OEM....
and vents are in the same place too (but are smaller) ---
guess I'm not convinced this is an upgrade.
It is pretty though.
and vents are in the same place too (but are smaller) ---
guess I'm not convinced this is an upgrade.
It is pretty though.
But it is one pretty piece lol