Gauges installed under passenger dash
#11
What else is needed other than the hose you constructed? Believe it or not I am having one hell of a time finding much information about setting up for oil pressure gauge and the water temp gauges.
I have seen some stuff about sandwich plates for the oil, and I have seen adapters that go in the radiator hose for water temps... But I dont want to cut the radiator hoses and then have to run ground wires... Just seems less clean.
I have seen some stuff about sandwich plates for the oil, and I have seen adapters that go in the radiator hose for water temps... But I dont want to cut the radiator hoses and then have to run ground wires... Just seems less clean.
Some people run a longer braided hose to the frame in the engine bay and use a vacuum block T, so there are a few ways to do it depending on what you need. I kept it simple. I didn't see the benefit of keeping the factory sensor, so I just removed it.
I never did water temp gauge setups, so not sure what is needed there. I don't see a big need for water temp info. , I think my scangauge provides accurate water temp data if I ever needed it, easy plug into the obd2 port any time I need to check it.
#12
Fair enough.
Where there any issues by removing the factory OEM sensor? CEL's or codes being thrown?
You should assemble these and sell them for a small profit. I would be happy to pay for one knowing I got exactly what I needed, assembled and all I had to do was thread it into the block, and thread in my sensor
***EDIT***
Found a place online where you can order hoses to be made... Does this info look right?
1/4" SAE 100R14A PTFE Hose Assembly
(This is a stainless braided hose, rated for -65°F to +450°F and 3,000 PSI)
Fitting 1: MBSPT-04-02 | 1/8" BSPT Male
Fitting 2: FP-04-02 | 1/8" NPTF Female Pipe
Does it matter what the material of the fittings are? From the website "all hose fittings shown below are steel with anti-corrosive plating"
Website that builds to order
Where there any issues by removing the factory OEM sensor? CEL's or codes being thrown?
You should assemble these and sell them for a small profit. I would be happy to pay for one knowing I got exactly what I needed, assembled and all I had to do was thread it into the block, and thread in my sensor

***EDIT***
Found a place online where you can order hoses to be made... Does this info look right?
1/4" SAE 100R14A PTFE Hose Assembly
(This is a stainless braided hose, rated for -65°F to +450°F and 3,000 PSI)
Fitting 1: MBSPT-04-02 | 1/8" BSPT Male
Fitting 2: FP-04-02 | 1/8" NPTF Female Pipe
Does it matter what the material of the fittings are? From the website "all hose fittings shown below are steel with anti-corrosive plating"
Website that builds to order
#13
Fair enough.
Where there any issues by removing the factory OEM sensor? CEL's or codes being thrown?
You should assemble these and sell them for a small profit. I would be happy to pay for one knowing I got exactly what I needed, assembled and all I had to do was thread it into the block, and thread in my sensor
***EDIT***
Found a place online where you can order hoses to be made... Does this info look right?
1/4" SAE 100R14A PTFE Hose Assembly
(This is a stainless braided hose, rated for -65°F to +450°F and 3,000 PSI)
Fitting 1: MBSPT-04-02 | 1/8" BSPT Male
Fitting 2: FP-04-02 | 1/8" NPTF Female Pipe
Does it matter what the material of the fittings are? From the website "all hose fittings shown below are steel with anti-corrosive plating"
Website that builds to order
Where there any issues by removing the factory OEM sensor? CEL's or codes being thrown?
You should assemble these and sell them for a small profit. I would be happy to pay for one knowing I got exactly what I needed, assembled and all I had to do was thread it into the block, and thread in my sensor

***EDIT***
Found a place online where you can order hoses to be made... Does this info look right?
1/4" SAE 100R14A PTFE Hose Assembly
(This is a stainless braided hose, rated for -65°F to +450°F and 3,000 PSI)
Fitting 1: MBSPT-04-02 | 1/8" BSPT Male
Fitting 2: FP-04-02 | 1/8" NPTF Female Pipe
Does it matter what the material of the fittings are? From the website "all hose fittings shown below are steel with anti-corrosive plating"
Website that builds to order
That looks like pretty much all you need, I think those are the correct fitting ends, it's been a couple years since I did one, just double check the size of the aem sensor and the oem sensor, but I believe those are correct. Decide where you want to connect the sensor and then figure out the length you need, having a couple more inches will make the bend of the hose smoother, so consider adding a couple more inches if it helps.
Removing the oem sensor does not trigger any codes or lights, the sensor only activates when it gets a low pressure reading, once it is gone nothing is transmitted back to the ecu. You just need to tie up the end of the wire that connects to the sensor. When you thread in the new hose just thread it in snug, don't over-tighten it. I used a high temp sealant on the threads that is made by Permatex, the same company that makes Loctite, they have a high temp sealant, or you could use Teflon tape.
#15
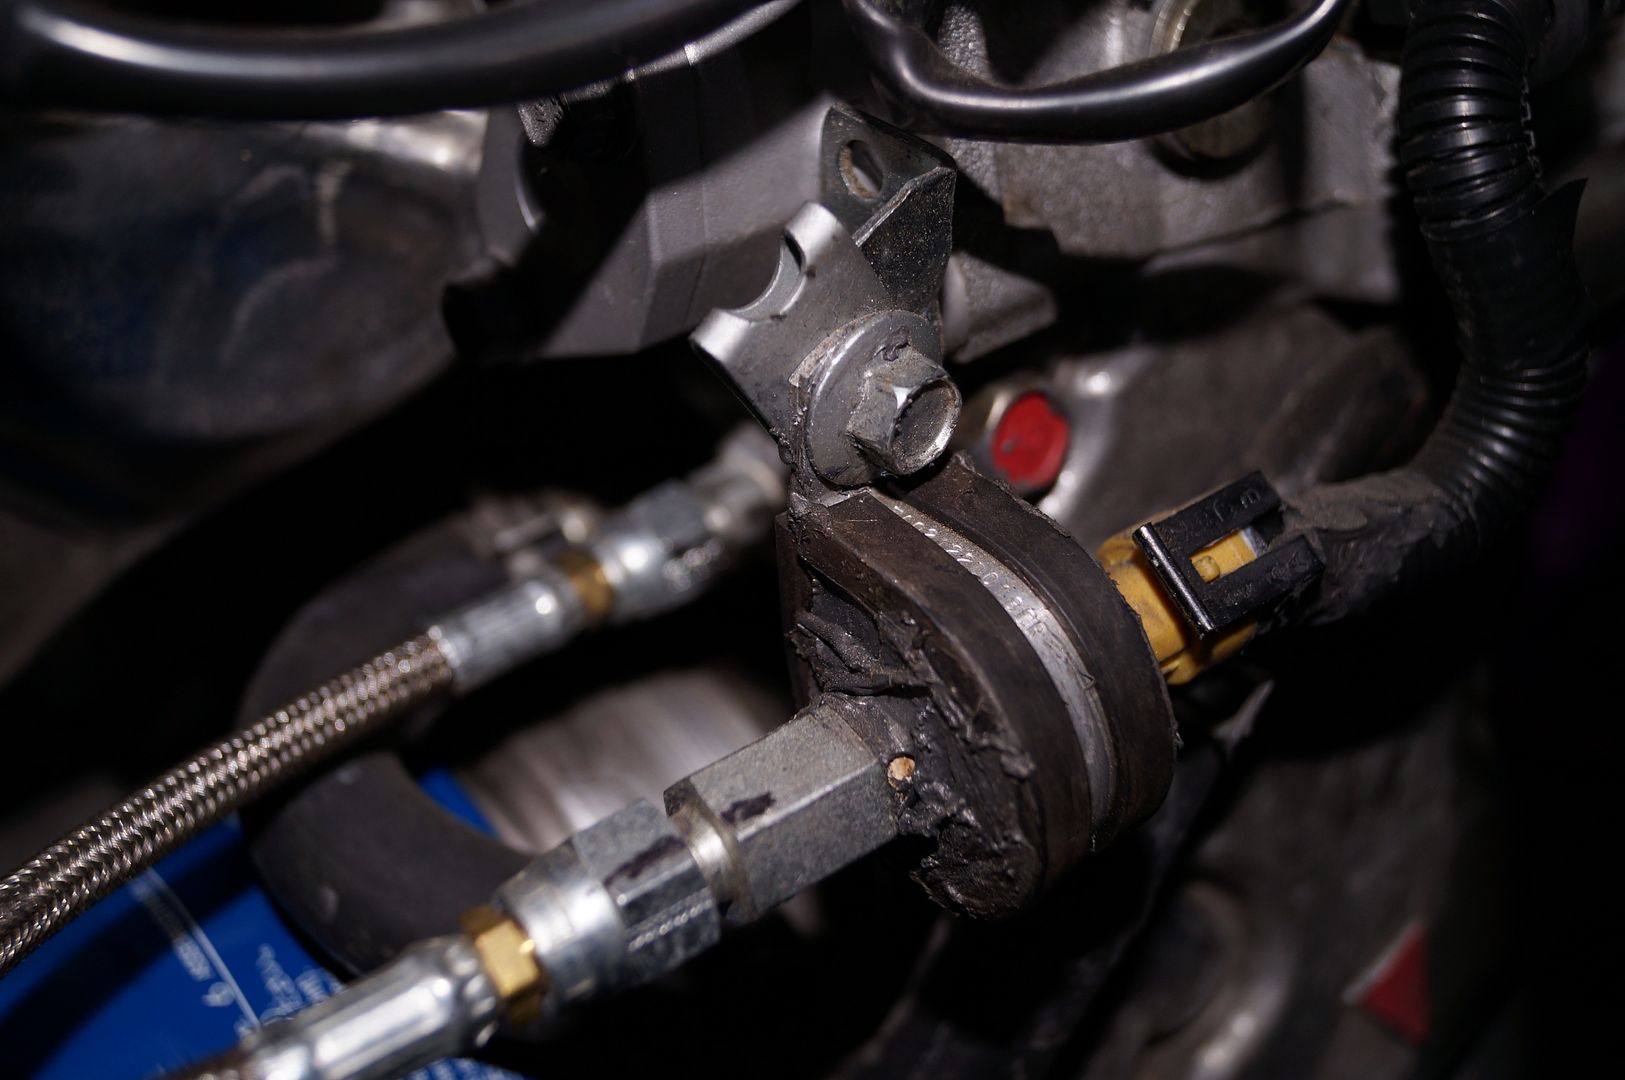
I clamped a larger one around the AEM sensor, it was somewhat tight but I was worried about it coming loose with vibrations. I then filled in the surrounding open space with gobs of Permatex Gasket Sealer - Ultra Black. Once it hardens up it holds the sensor tightly and helps to provide extra grip against vibrations. It's almost like an engine mount now ,lol, it's been solid for over 2 years of driving. I used a small 90 degree angled metal
bracket hanging off the TCT mounting bolt, easy enough to make up out of any small bracket type material. I then bolted the clamp to the bracket to get it facing the right direction.
Installed with gasket sealer filler

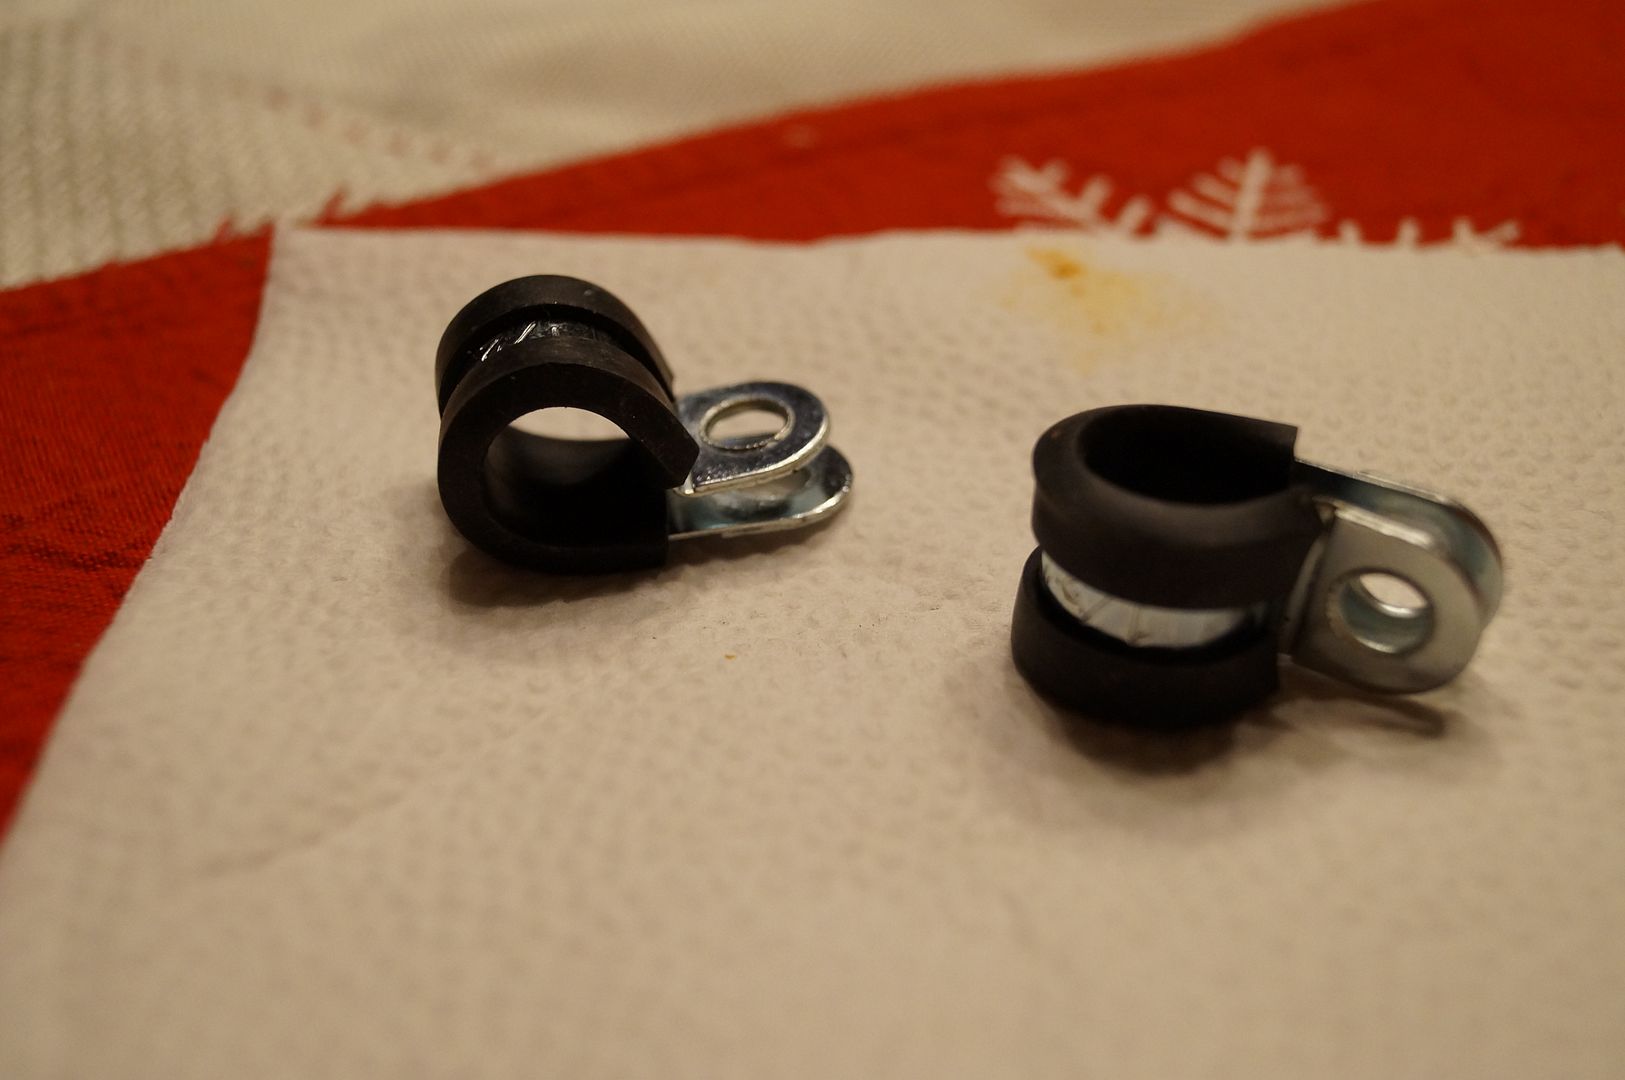
These are the smaller sized ones, I used them to run the wiring through the engine bay, and one larger sized one for the sensor

#17
FWIW, I got the inspiration for a flexible oil pressure line from The Old One's website, I just used different parts to make it work for my engine bay, good reading , check out the link below:
http://theoldone.com/articles/oilpressure/
#19
https://www.youtube.com/watch?v=T3VM...WMsFG&index=12
#20
I am using a Mishimoto oil filter sandwich plate adapter for both oil pressure and oil temperature. Works great now but had some problems initially with a minute oil leak. Finally traced it down to a bad thread in the sandwhich plate where I mounted the oil temperature sender. Re-cut the thread and replaced the sender. Have not had any issues since. I did this about 1 1/2 years ago.


