DIY: Bride Seat & Rail Install
#21
I recently purchased a pair of Bride Digo seats and rails and thought I'd do a quick write-up for you guys for future reference. I cannot recall the exact size tools to use at this time, but you will need a socket set and allen-keys for the install. Power tools will make removal of the OEM seats a lot easier. Also, thanks to the guys at WekSos Industries for guiding me towards the correct mounting rails.
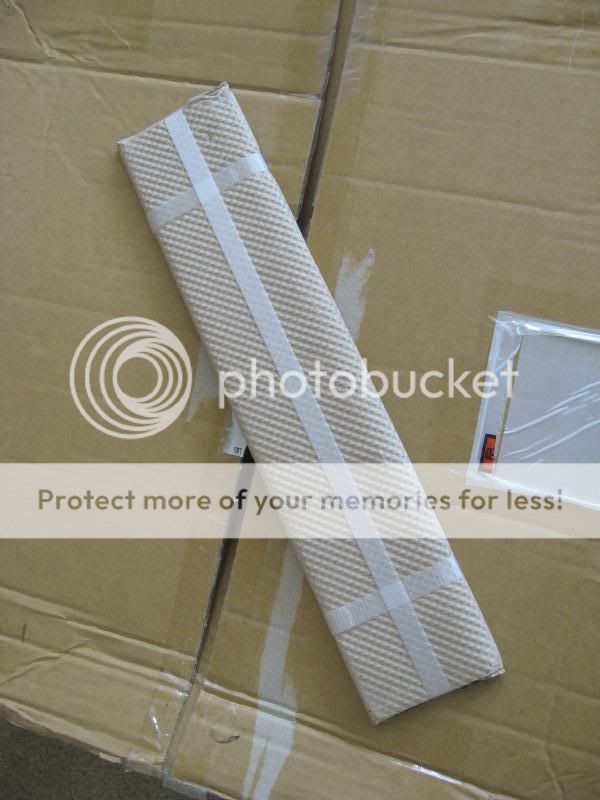
Unloading the package:


The mounts on the seat do not align with the rail:

Re-checked the packaging, adapter plates found well-hidden in the box:


Installation instructions and mounting hardware (Top-left for the belt-latch, three rows on bottom-right to mount adapter plate to rail. The two bolts and zip-tied washers will not be used):


Adapter plates mounted (note the lack of space between the mounting points and the slider, patience will be necessary to mount all six bolts):


Hardware for the belt-latch pre-mounted before the OEM belt-latch is installed:

For reference, here's the OEM layout for the passenger-side belt-latch:

OEM seat is held in by four bolts. Here's a picture of the passenger-side with the seat already removed:

Hardware to mount seat rail to the seat:


Under the driver-side seat, the seat-belt harness must be disconnected to remove the seat. There are three mounting points that attaches the harness to the bottom of the seat, detach the harness:

Seats installed. Perfectly clears the doors and glove compartment:


Unloading the package:


The mounts on the seat do not align with the rail:

Re-checked the packaging, adapter plates found well-hidden in the box:


Installation instructions and mounting hardware (Top-left for the belt-latch, three rows on bottom-right to mount adapter plate to rail. The two bolts and zip-tied washers will not be used):


Adapter plates mounted (note the lack of space between the mounting points and the slider, patience will be necessary to mount all six bolts):


Hardware for the belt-latch pre-mounted before the OEM belt-latch is installed:

For reference, here's the OEM layout for the passenger-side belt-latch:

OEM seat is held in by four bolts. Here's a picture of the passenger-side with the seat already removed:

Hardware to mount seat rail to the seat:


Under the driver-side seat, the seat-belt harness must be disconnected to remove the seat. There are three mounting points that attaches the harness to the bottom of the seat, detach the harness:

Seats installed. Perfectly clears the doors and glove compartment:


The following users liked this post:
DOXI (08-14-2022)
#25
Sorry to bring a dead topic back from the dead, but i have a few questions because these are the seats I want.
1) How much was the whole setup, if you remember?
2) Where did you end up mounting the harnesses?
3) How long did it take you to finish the job, if you remember?
1) How much was the whole setup, if you remember?
2) Where did you end up mounting the harnesses?
3) How long did it take you to finish the job, if you remember?
Thread
Thread Starter
Forum
Replies
Last Post
SiClone
S2000 Modifications and Parts
0
08-06-2017 07:00 PM
andrewv
Delaware Valley S2000 Members
3
04-03-2013 09:20 AM
Bullwings
S2000 Racing and Competition
8
05-29-2011 04:58 AM


