
Plasti-dipped the front bumper of my RYP
 07-18-2012, 09:21 PM
#1


Thread Starter
Join Date: Jul 2009
Location: Professor Touge Emeritus
Posts: 8,570
Likes: 0
Received 9 Likes
on
8 Posts
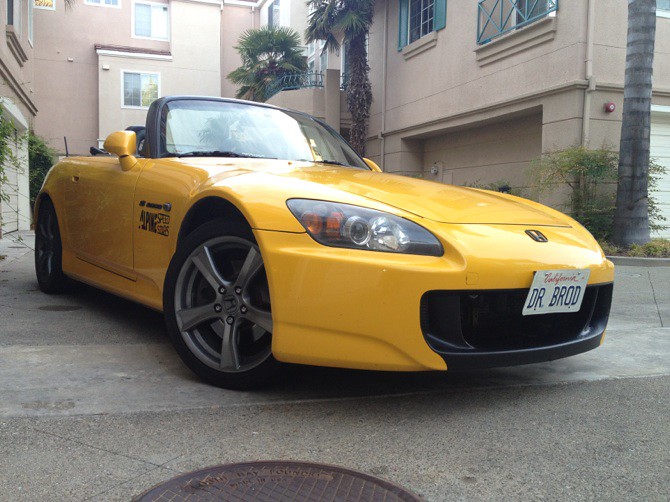
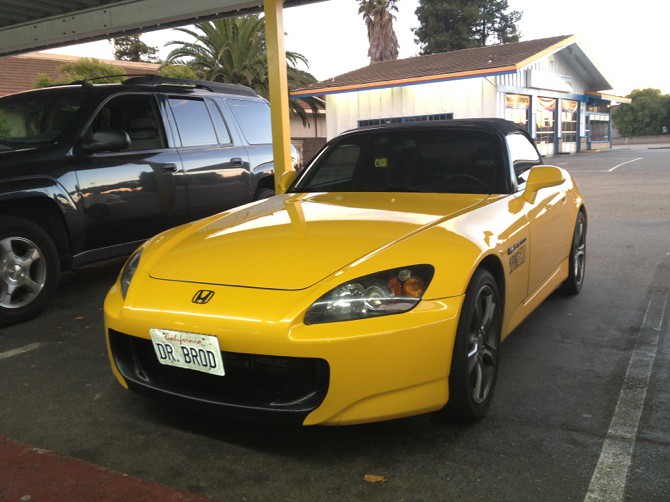
After doing countless mountain drives, my front bumper has taken a beating. For example, I've beheaded a rabbit, exploded a quail, and I've hit a bouncing rock at 60mph. Needless to say, I'm not talking about the average rock chip. With all these incidents, the paint is blown out on my front bumper. I intended to do something to cover past damage and minimize the future damage other the coating the huge chunks of missing paint with exuberant amounts of touch up paint.
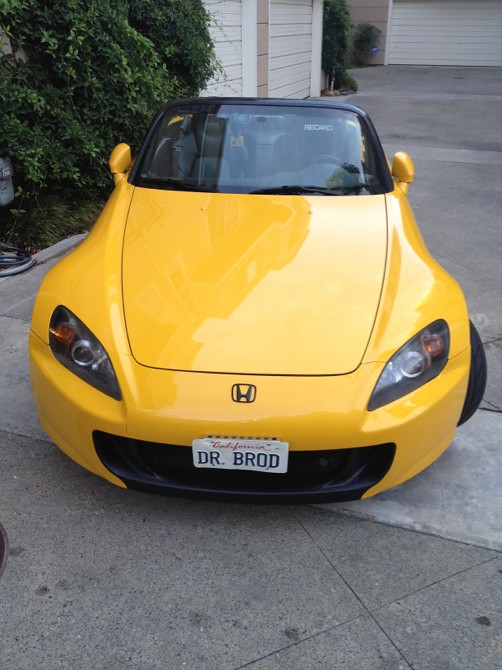
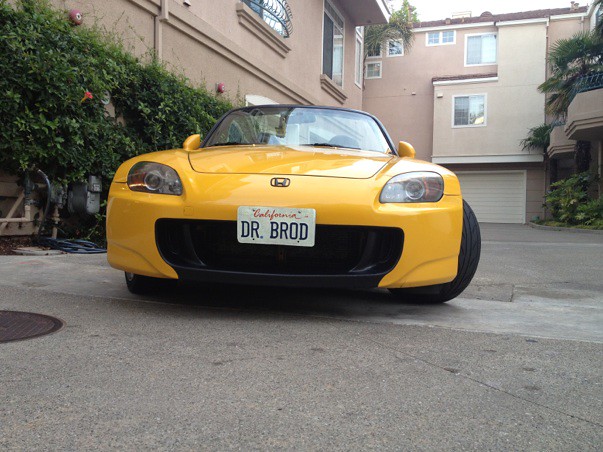
Below is my Plasti-Dip creation...total cost...less than $10...
Credits go to my friend Paul for doing a majority of the work, and providing artistic renditions in the early stages of degisn. Credit to my friend Baron for creating a second round of artistic renditions.
Supplies:


Front bumper first outline with electrical tape:


Front bumper prepping and getting ready for paint:

Paul spraying an early coat on the front bumper:


Progression of several coats on the side marker badge:


Front badge pre paint:


Below is my Plasti-Dip creation...total cost...less than $10...
Credits go to my friend Paul for doing a majority of the work, and providing artistic renditions in the early stages of degisn. Credit to my friend Baron for creating a second round of artistic renditions.
Supplies:
Front bumper first outline with electrical tape:
Front bumper prepping and getting ready for paint:
Paul spraying an early coat on the front bumper:
Progression of several coats on the side marker badge:
Front badge pre paint:


 07-18-2012, 09:21 PM
#3
Thread Starter
Join Date: Jul 2009
Location: Professor Touge Emeritus
Posts: 8,570
Likes: 0
Received 9 Likes
on
8 Posts
Here are the pre-production renders that Paul mocked up before the project.
Winged look:


Mouth look:


Full front look:


Boxed look:

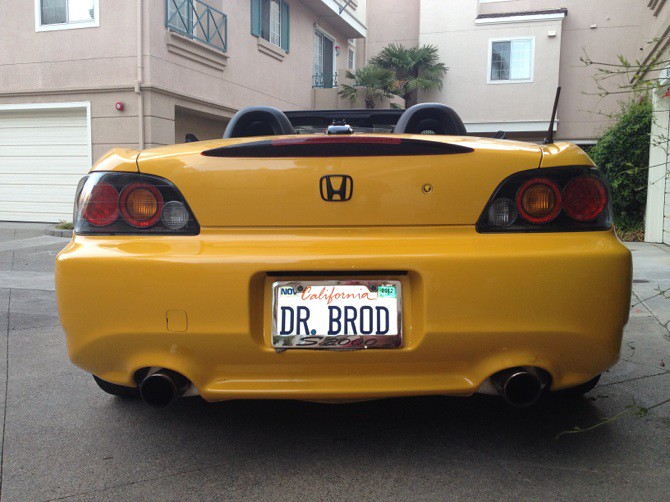
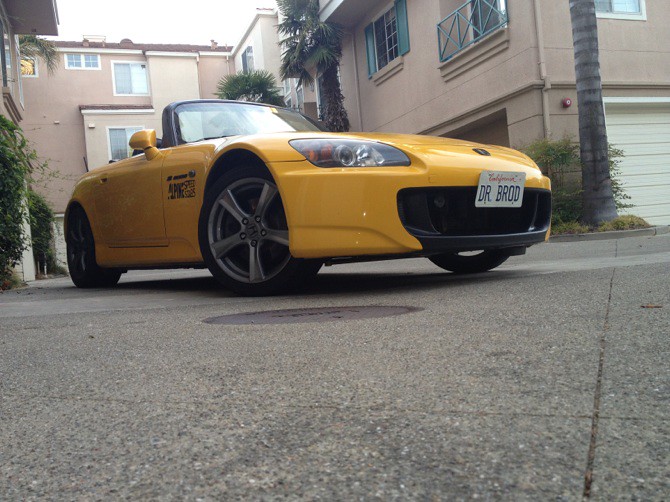
Because a couple have asked about the source pictures of my car...
Please find most of them here:
https://www.s2ki.com/s2000/topic/944...ht-photoshoot/
https://www.s2ki.com/s2000/topic/927...t-s2000-miata/
https://www.s2ki.com/s2000/topic/909...onda-by-night/
Winged look:
Mouth look:
Full front look:
Boxed look:
Because a couple have asked about the source pictures of my car...
Please find most of them here:
https://www.s2ki.com/s2000/topic/944...ht-photoshoot/
https://www.s2ki.com/s2000/topic/927...t-s2000-miata/
https://www.s2ki.com/s2000/topic/909...onda-by-night/
07-18-2012, 09:25 PM
#4
Thread Starter
Join Date: Jul 2009
Location: Professor Touge Emeritus
Posts: 8,570
Likes: 0
Received 9 Likes
on
8 Posts
Baron (darkfalcon) took the time to make some edits of my car with Forza4. Check them out. Thank you buddy for your hard work on these edits. Simply amazing!


 07-18-2012, 09:41 PM
#7
Thread Starter
Join Date: Jul 2009
Location: Professor Touge Emeritus
Posts: 8,570
Likes: 0
Received 9 Likes
on
8 Posts
Can't believe it only took a couple hours, and $10 in the end....
Trending Topics
07-18-2012, 09:45 PM
#8
looks like a vampire lol I saw you had some nasty damage before the painting which why I assume your dipping it to begin with. I think you did good for what you were trying to accomplish, but definitely nothing I would do
07-18-2012, 09:48 PM
#9
Thread Starter
Join Date: Jul 2009
Location: Professor Touge Emeritus
Posts: 8,570
Likes: 0
Received 9 Likes
on
8 Posts
Plus with the type of driving I do (chasing cars through mountain roads)...a show-quality front bumper is pointless for me.
