
gusbo's DIY brake ducts
 04-17-2008 | 04:28 AM
#1

Thread Starter
Joined: Feb 2007
Posts: 1,373
Likes: 1
From: Poland
I wanted to have brake ducts that actually work. I was considering Chargespeed but could't make myself to pay for them and wait for the delivery. Than I had this sleepless night when all my ideas come one by one and... I got an idea to make my own brake ducts.
As there are many people who want to know what brake ducts I have on my car I decided to make a step by step instruction to help them out with this simple mod. I do not have the other side of the kit installed yet (cooling pipes and such) but it will be done later together with some suspension work I have planned.
What you need:
1. a S2000 with AP1 front bumper,
2. donnor AP1 bumper
3. beer
4. dremel
5. 2 WC pipes (yeah I know)
6. mesh (to your taste - silver or black)
7. beer
8. heat gun
9. double sided adhesive tape
10. beer
OK, so first you look for a donnor bumper, that is needed to cut your new brake ducts:
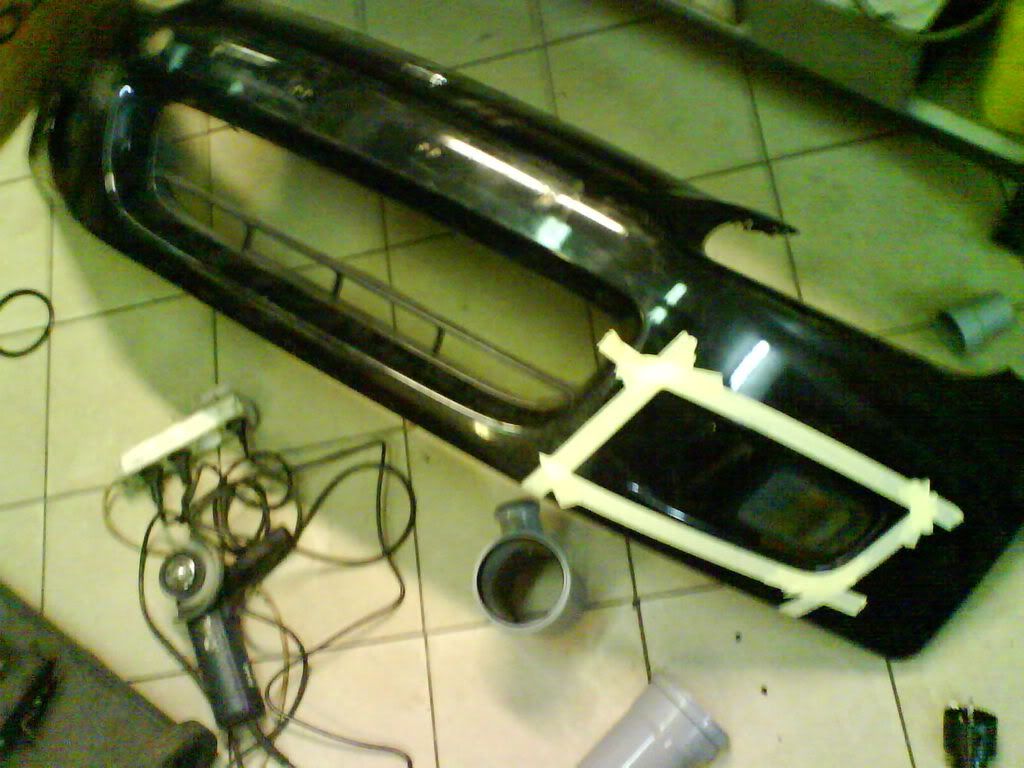
Than you decide what shape it will have and cut it - it will fit anyway as both bumpers are OEM. What you should consider though is what lip you have. Here's how I cut my:

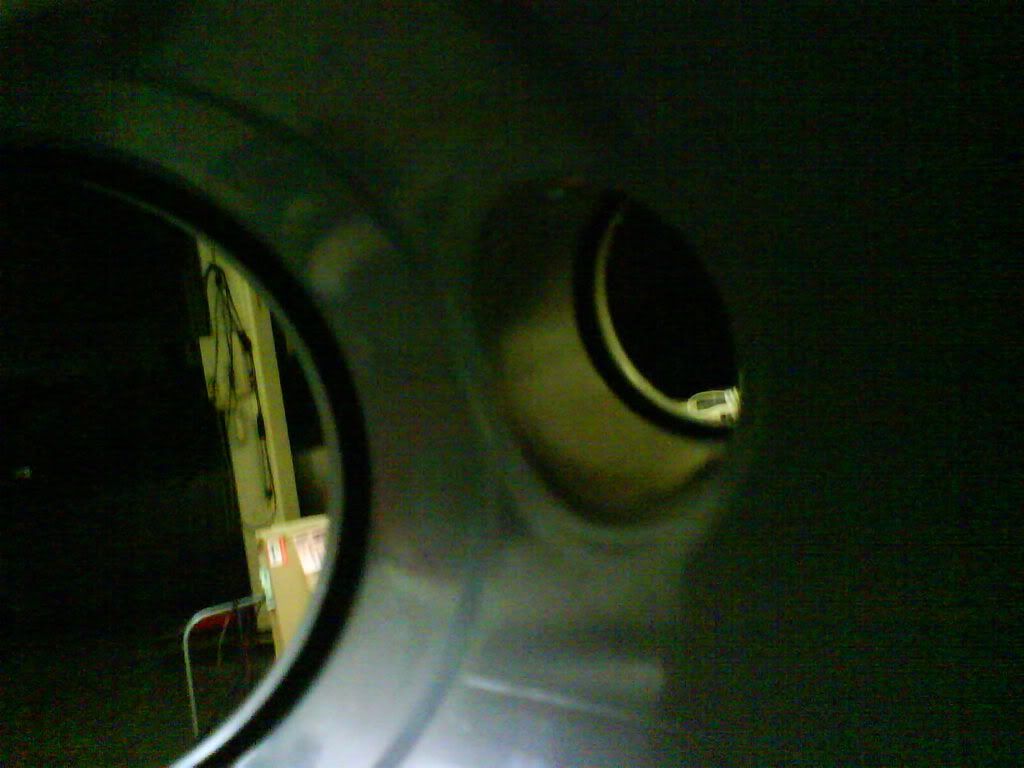
Now for those who want it to be functional. I wanted something that could fill the OEM faux vent but with a pipe sticking out in the back. I've spent some time and could't find any solution and then I thought about a piece of WC pipe. When you look inside it you will see that the surface is rounded. I cut a piece with a pipe and than used a heat gun to make it flat. Once it was flat I cut to the shape of the faux vent. You probably have no idea what I'm taking about so take a look at the pics:
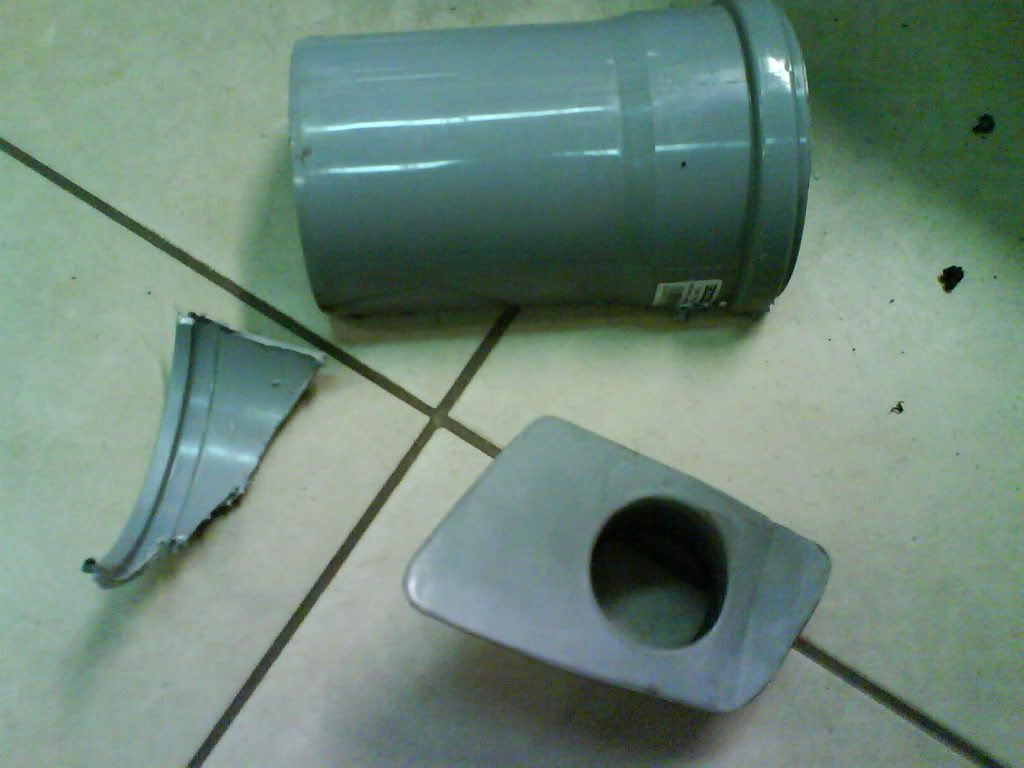
The WC pipe:

That's what you see when you look inside the pipe - your future brake vent
Now you can see exactly the same piece but cut to shape and heat-trated to be flat. I painted it flat black later.
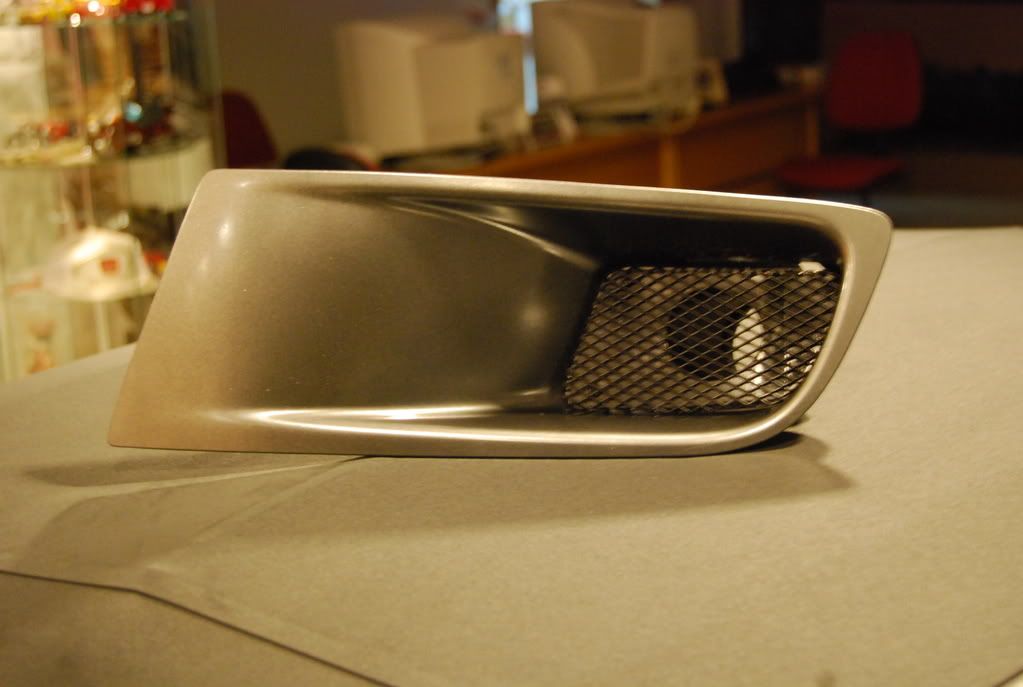
OK, here you can see the new vent cut, with the insert already mounted and covered with black mesh. I use 3 srews to mount it (I wanted it to be detachable), but you can also weld or glue it in place:
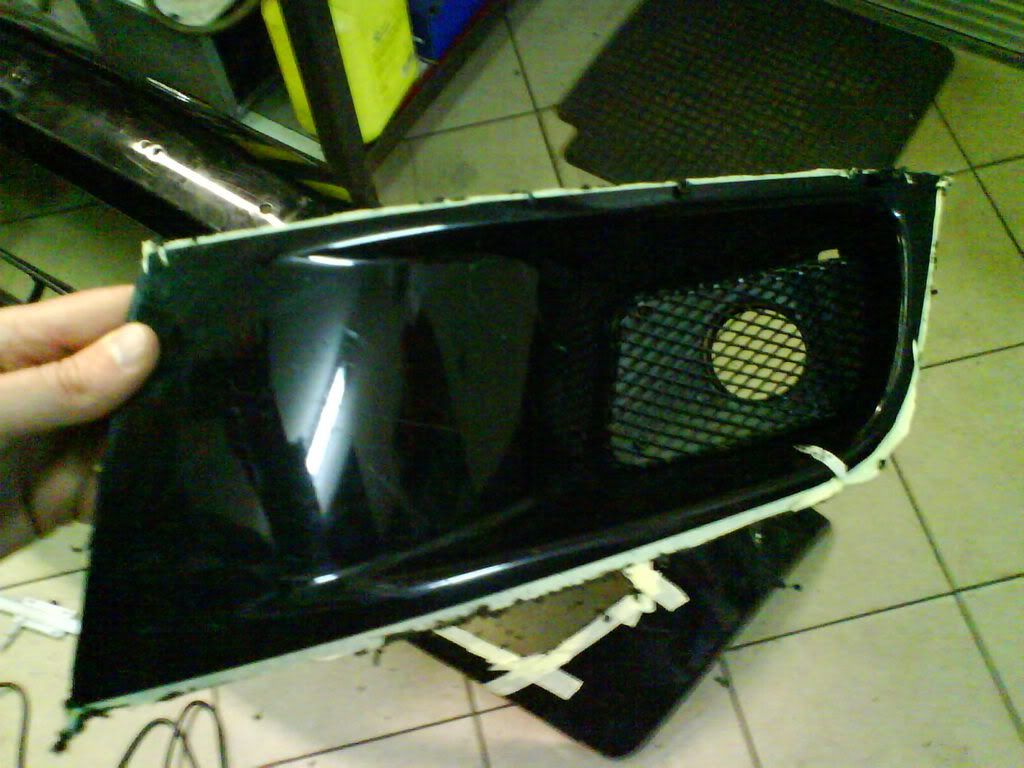
Now you need to work on it, so that the surface is smooth, and later you paint to your colour of choice. When ready the brake duct looks like that:
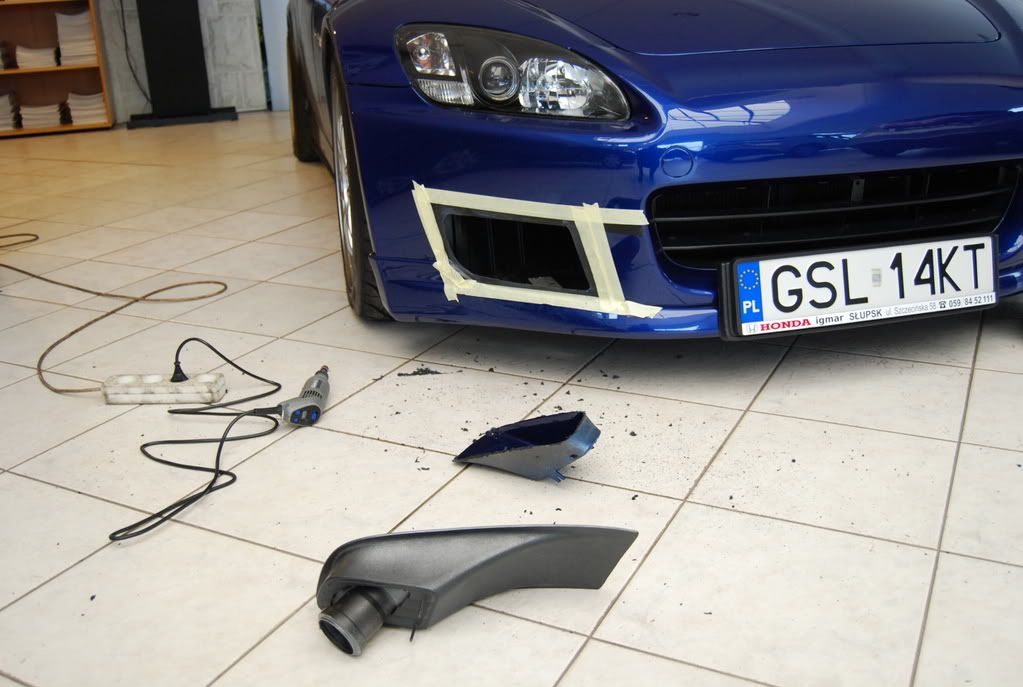
Here comes the most scary part. You take your dremel and make a huge ass hole in your beloved car. But it's also a lot of fun if u enjoy the adrenalin rush
What you need to remember doing it is to make the hole smaller then the new brake duct and to leave some place for the adhesive tape/glue or whatever u use:
Also, take a look at how the brake duct looks when viewed from the rear^
Than u put your brake duct in place and voila!
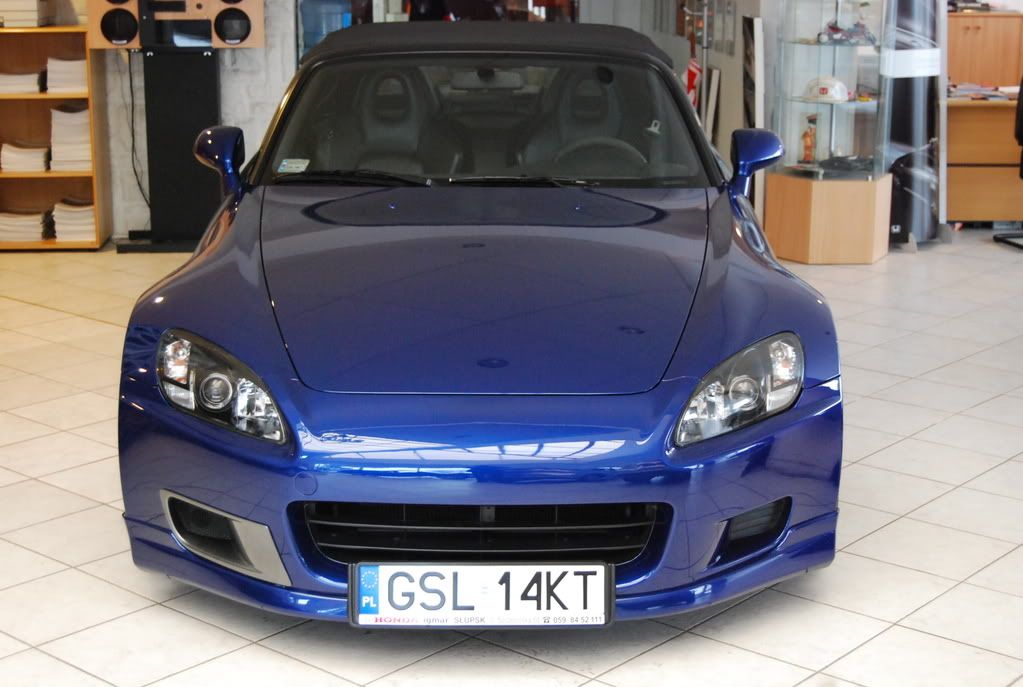
You have some beer and can now start the other side. Once completed the car looks like that:
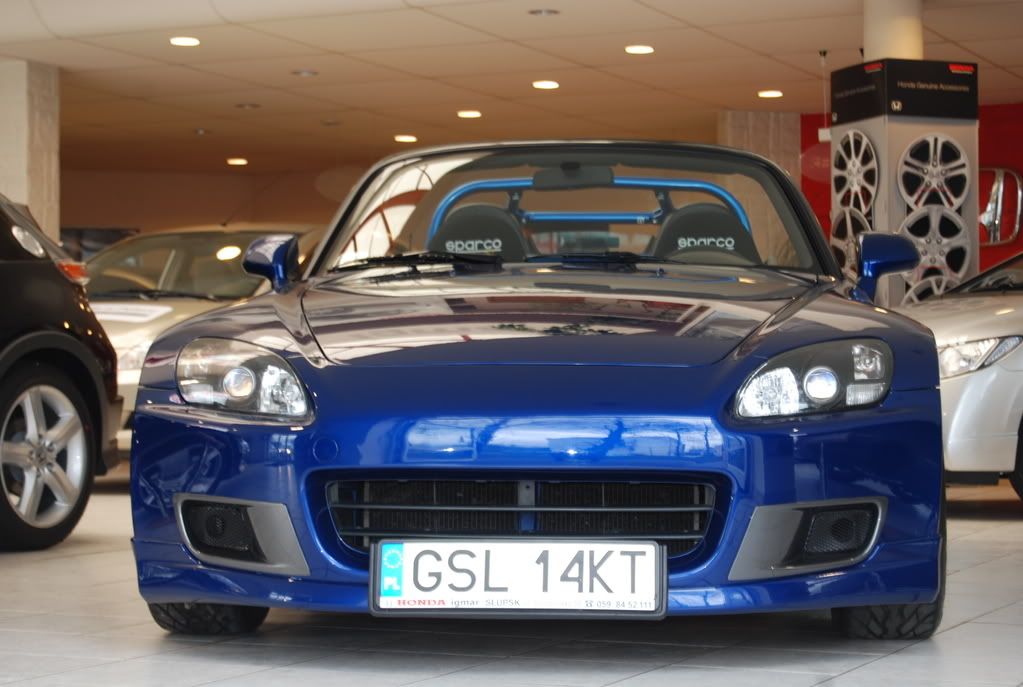
I hope it helps if you decide on doing it. I love it myself and am happy I did it
gusbo
As there are many people who want to know what brake ducts I have on my car I decided to make a step by step instruction to help them out with this simple mod. I do not have the other side of the kit installed yet (cooling pipes and such) but it will be done later together with some suspension work I have planned.
What you need:
1. a S2000 with AP1 front bumper,
2. donnor AP1 bumper
3. beer
4. dremel
5. 2 WC pipes (yeah I know)
6. mesh (to your taste - silver or black)
7. beer
8. heat gun
9. double sided adhesive tape
10. beer
OK, so first you look for a donnor bumper, that is needed to cut your new brake ducts:
Than you decide what shape it will have and cut it - it will fit anyway as both bumpers are OEM. What you should consider though is what lip you have. Here's how I cut my:
Now for those who want it to be functional. I wanted something that could fill the OEM faux vent but with a pipe sticking out in the back. I've spent some time and could't find any solution and then I thought about a piece of WC pipe. When you look inside it you will see that the surface is rounded. I cut a piece with a pipe and than used a heat gun to make it flat. Once it was flat I cut to the shape of the faux vent. You probably have no idea what I'm taking about so take a look at the pics:
The WC pipe:
That's what you see when you look inside the pipe - your future brake vent
Now you can see exactly the same piece but cut to shape and heat-trated to be flat. I painted it flat black later.
OK, here you can see the new vent cut, with the insert already mounted and covered with black mesh. I use 3 srews to mount it (I wanted it to be detachable), but you can also weld or glue it in place:
Now you need to work on it, so that the surface is smooth, and later you paint to your colour of choice. When ready the brake duct looks like that:
Here comes the most scary part. You take your dremel and make a huge ass hole in your beloved car. But it's also a lot of fun if u enjoy the adrenalin rush
What you need to remember doing it is to make the hole smaller then the new brake duct and to leave some place for the adhesive tape/glue or whatever u use:
Also, take a look at how the brake duct looks when viewed from the rear^
Than u put your brake duct in place and voila!
You have some beer and can now start the other side. Once completed the car looks like that:
I hope it helps if you decide on doing it. I love it myself and am happy I did it
gusbo

 Looks good.


