When you click on links to various merchants on this site and make a purchase, this can result in this site earning a commission. Affiliate programs and affiliations include, but are not limited to, the eBay Partner Network.
Just figured I'd post these up since we've had a string of beautiful days and I managed to get outside with the camera.
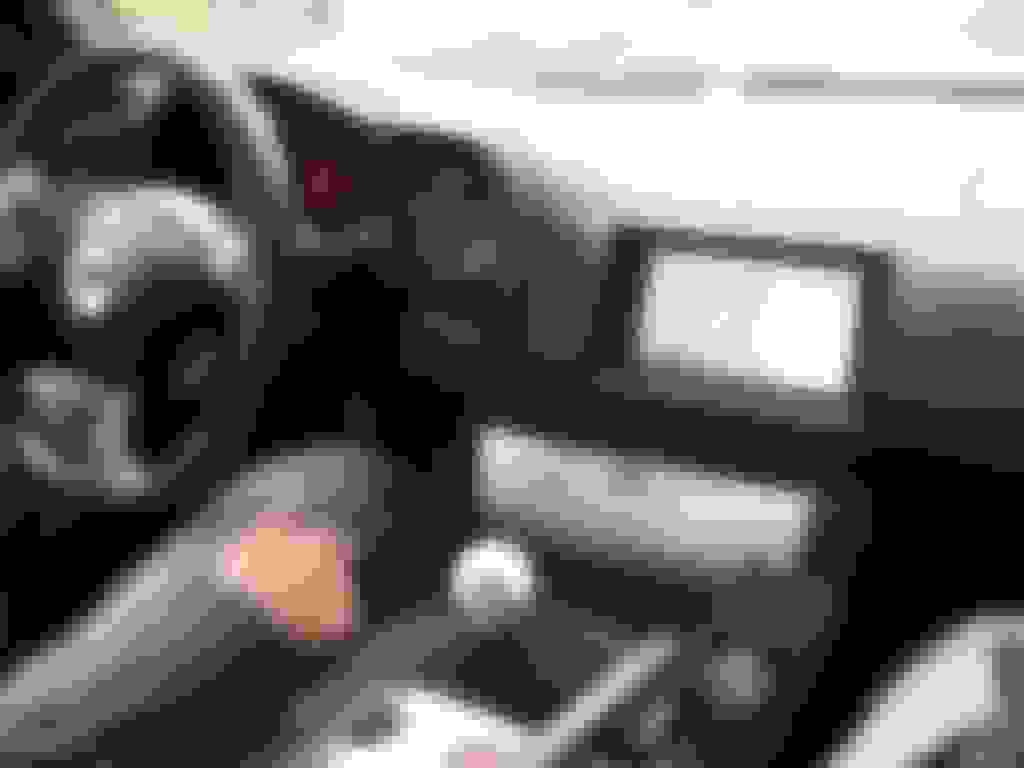
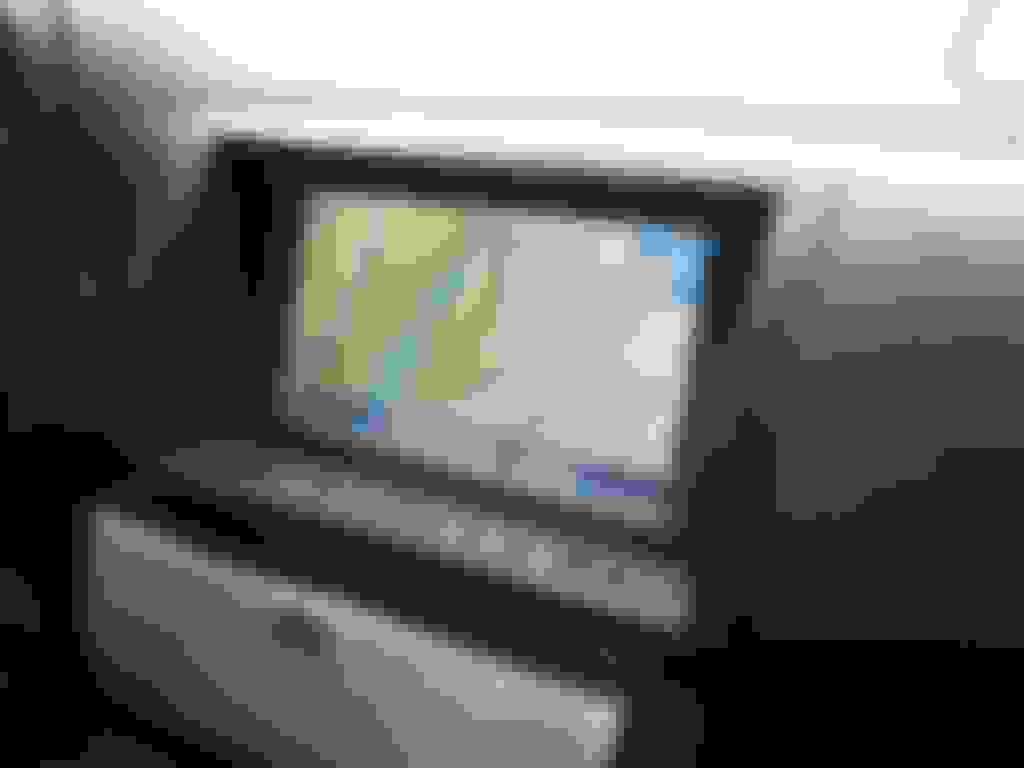
I used a Pioneer 6.5" touch screen and a DVD-based navigation system. The bezel was made using ABS plastic and body filler, according to instructions from these tutorials:
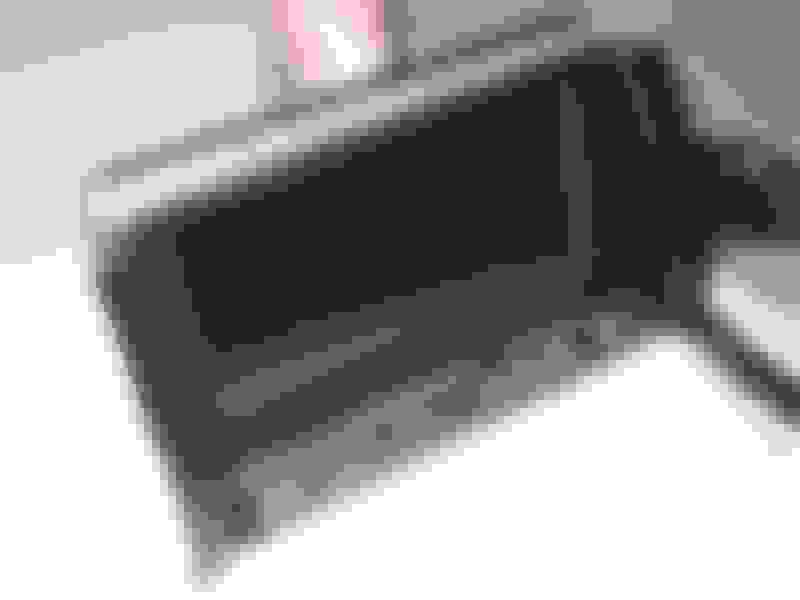
I ended up taking the monitor and cutting the plastic casing in half. Then I moved the bottom piece with the button holes to the horizontal position as seen in the pics. That was possible because the buttons on this particular monitor have their own circuit board which is attached to the main board via a ribbon cable (I guess you could potentially put them anywhere in the car).
Anyway, it looks and works great! The buttons even light up at night
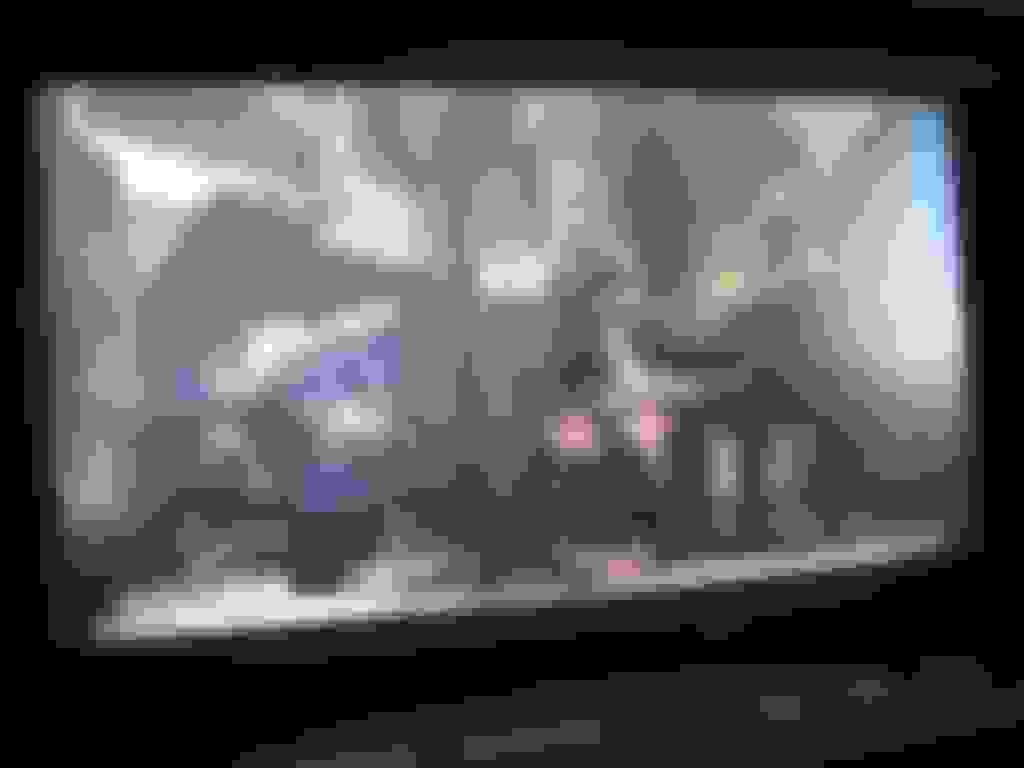
This is what the monitor looked like out of the box:
Your work is tits you have some big ones to cut up that monitor
Did you use a JDM bezel and modify it or make up one your self? If you made it your self, would you please let me/us know what is it made from?

 05-26-2007, 03:56 PM