When you click on links to various merchants on this site and make a purchase, this can result in this site earning a commission. Affiliate programs and affiliations include, but are not limited to, the eBay Partner Network.
I had to Google Prussian Blue paste. Interesting product that. Keep us posted and hopefully you get this resolved soon.
BTW, any plans of going to Watkins in July? Rico and Mike maybe headed there and I think I’ll show up and hang out too.
Part of me wanted to, but I'm planning to go to Club Motorsports with the MGA on July 12-13. I don't think I can do both. I suppose you could borrow the car.
Track Day Insurance! They're always asking me if there is a second driver.
In other news ...
It's like having a loose thread on your sweater! You resist it for a while, but eventually you pull on it and the whole sweater unravels.
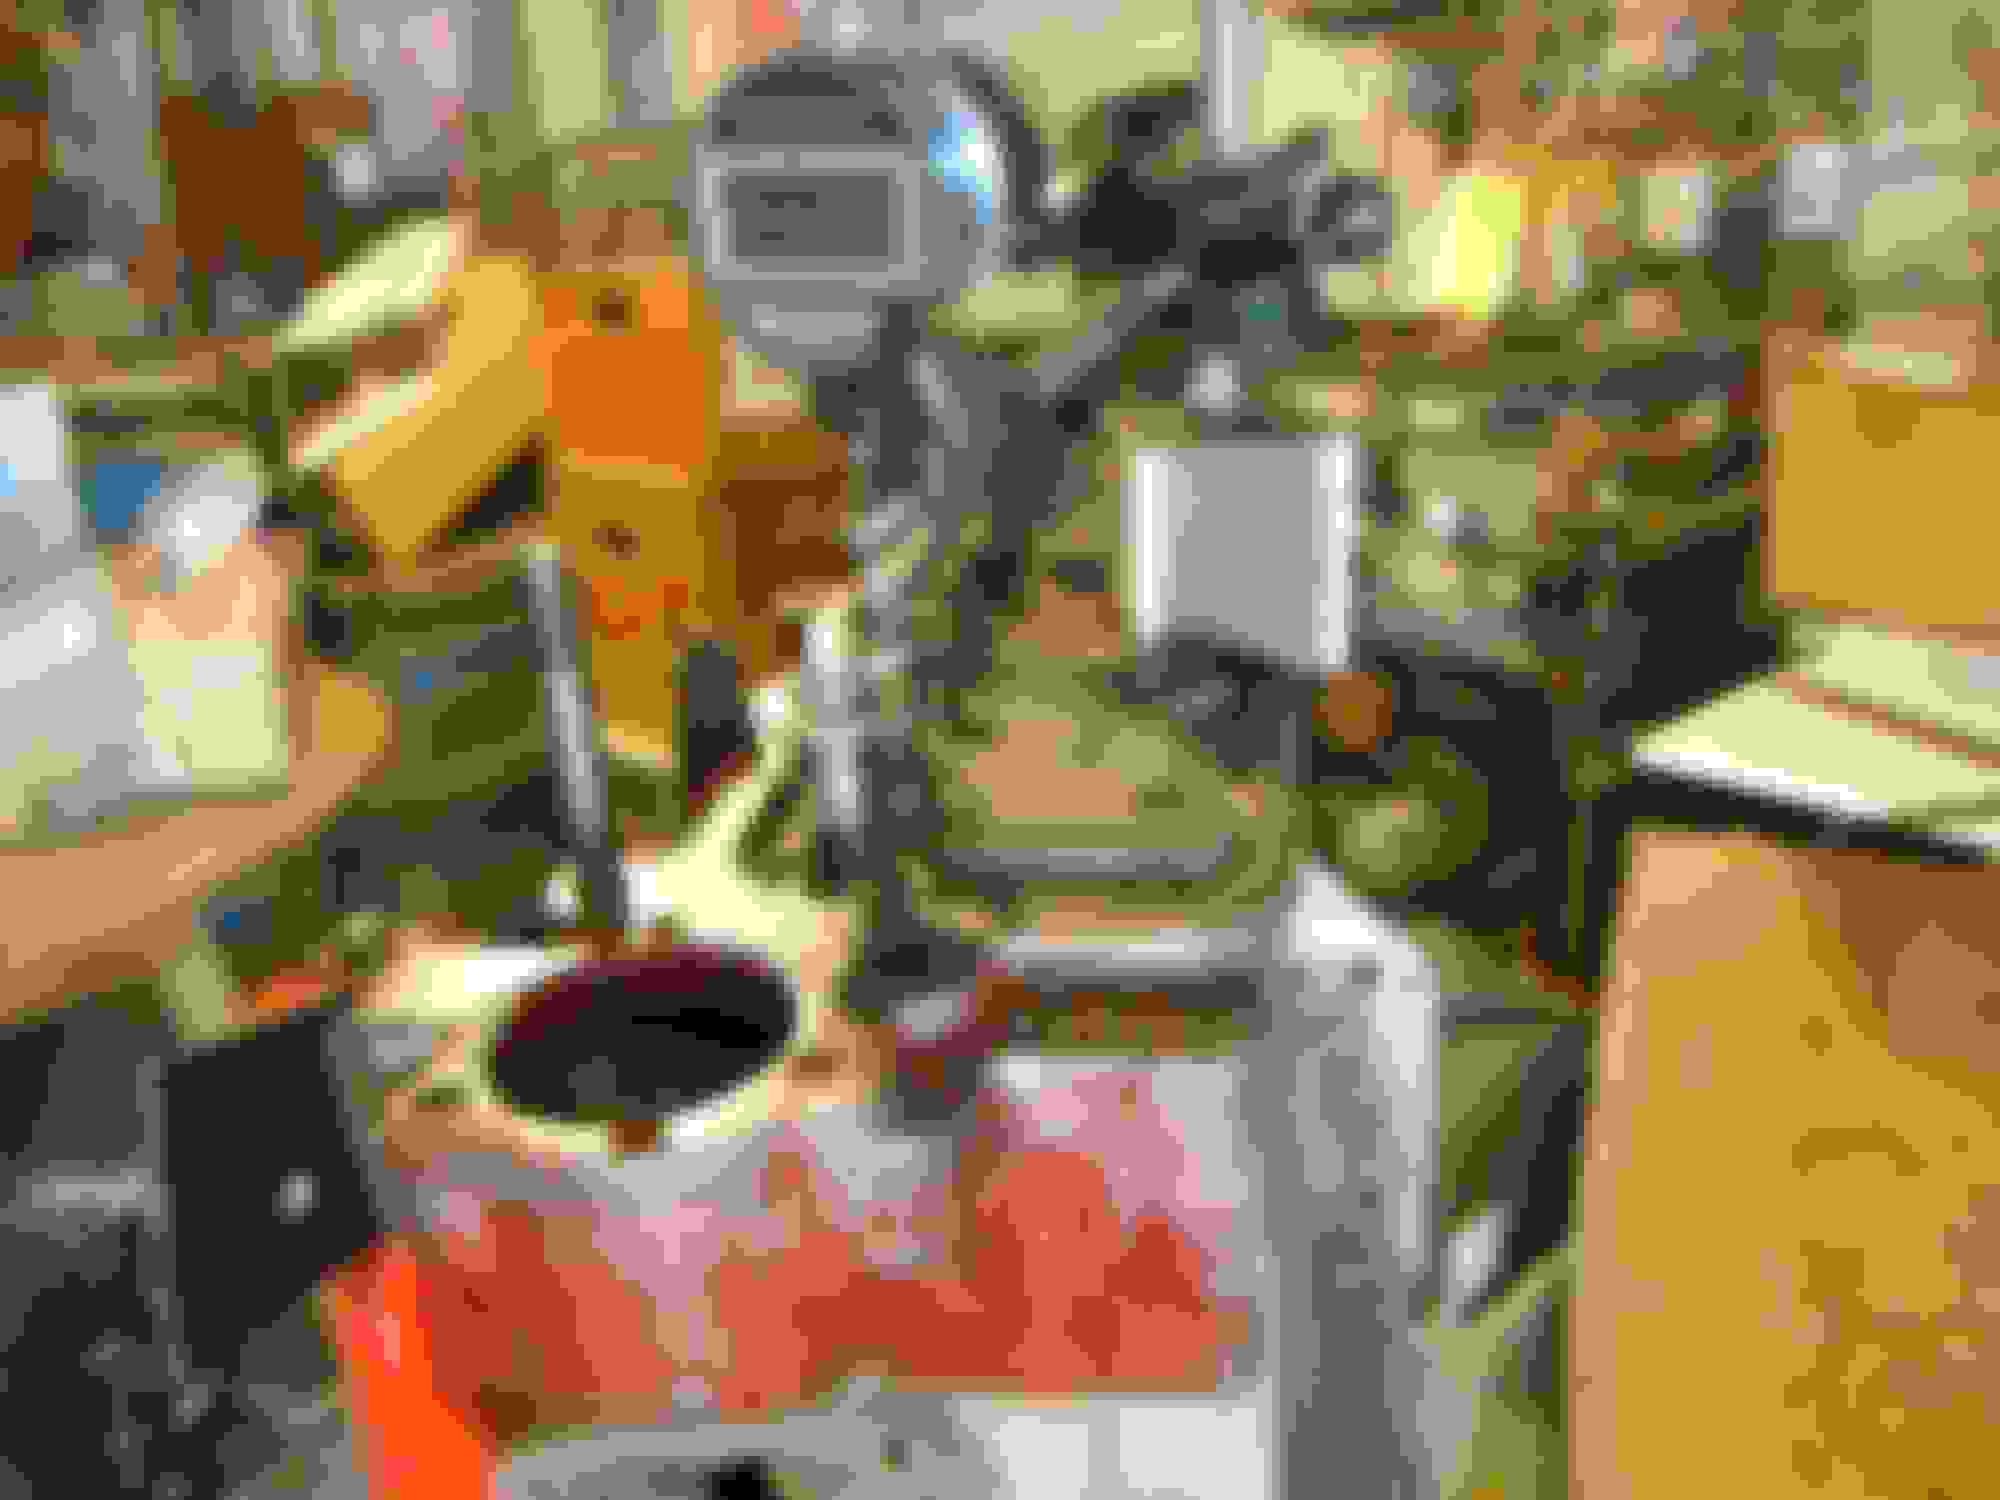
After spending the morning ordering up some blue paste and a few new grinding wheels from Goodson Tools, I just couldn't resist. I had to go back to the basement where, after smearing transmission fluid onto the pistons and applying the head to the block - just to see what I could see - I found the "witness marks" where the pistons were hitting the block. Fairly gently grinding "above" the Westlake Promontory on each combustion chamber relieved the interference. So now, without any head gasket, the engine spins without the pistons clicking against the head. I've marked with a Sharpie the area that I had to grind down.
What is also interesting is that a defect in the head between the 1st and 2nd combustion chambers has a welded repair that can be seen in the photo. The head itself is highly ported - hopefully by someone who knew what he was doing! - and the repair may suggest that the head was one the owner wanted to salvage. The head is not original to this engine.
From looking at the Corinthian Vintage Auto Racing (CVAR) website for Group 4 and the paperwork that came with the engine, the engine looks like it ran 5 race weekends in 2012. In almost every race, the car seemed to finish in the top three. But it was super light! The car was sold in January, 2013. Here's the original writeup on Bring a Trailer.
No, it just came back from the machine shop. It was mostly OK, just slight interference in all 4 combustion chambers. I ground it down myself. Just a little bit. Now I have to check for valve interference at full lift.
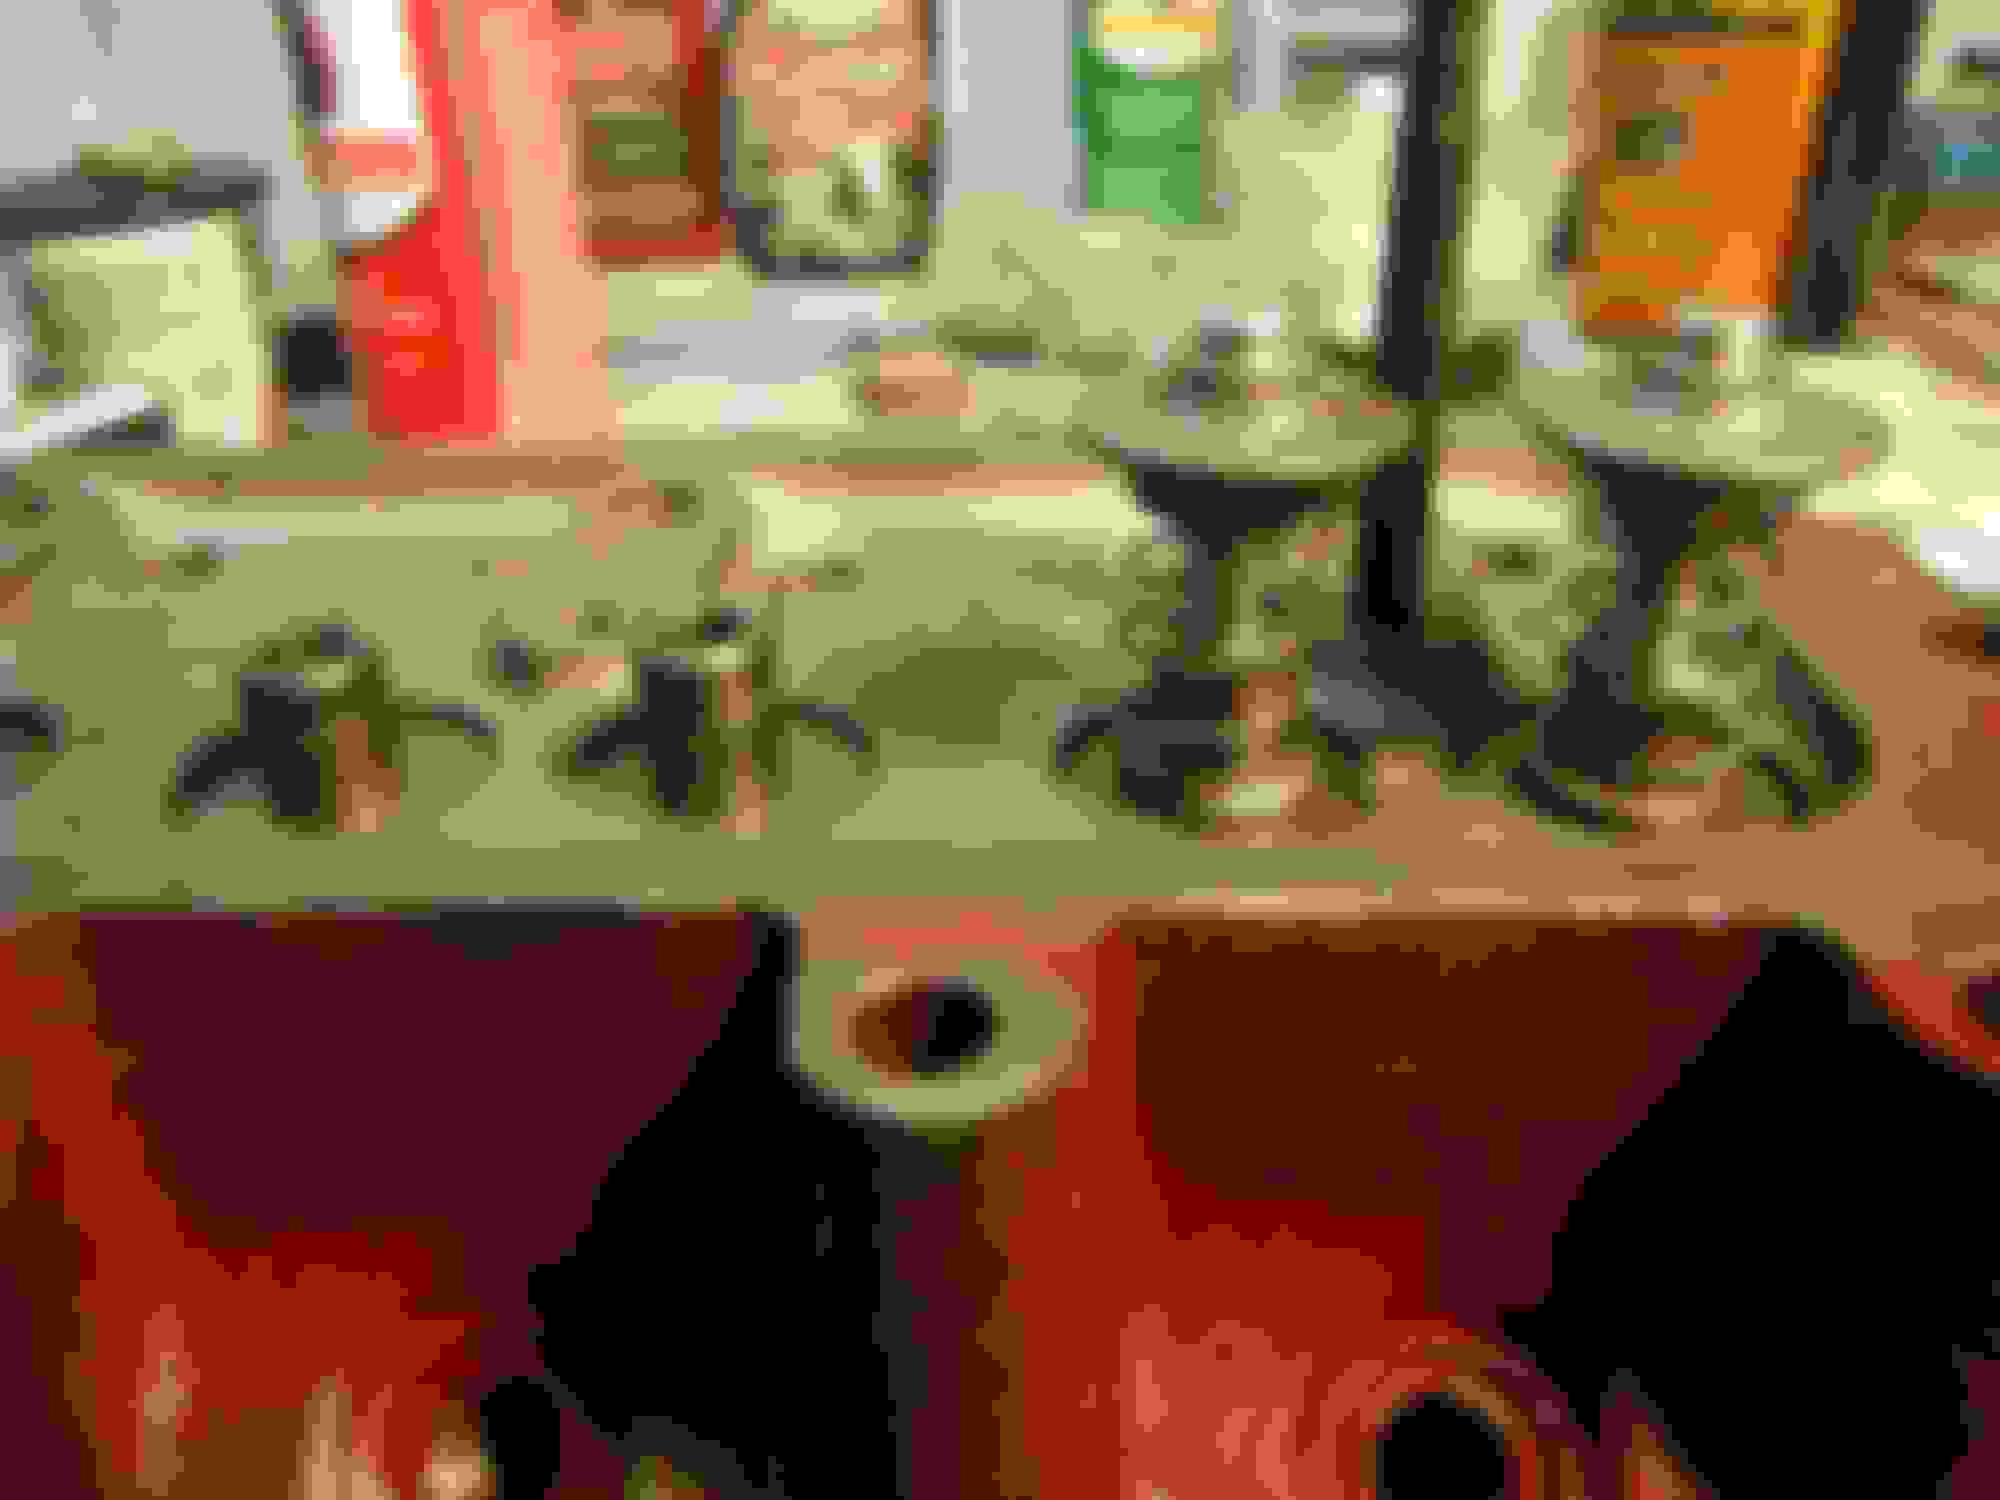
I finally made it back to the basement lair where I do "critical thinking". Yesterday, I'm trying to measure valve drop and test fit the replacement head to the 1622 block with domed pistons. I'm trying to determine if I have valve to piston contact (no head gasket, zero lash) given the domed pistons.
The camshaft appears to have 0.337 inches of lift at the intake. I'm using stock rocker arms with a quoted rocker ratio of 1.426 to 1.
I discovered that my maximum valve movement is limited to 0.473" by the valve guide and the bottom of the valve collar. The valve guide extends .697" from the pocket while the valve collar extends .352" below the underside of the lip that holds the springs. In other words, I can only press the valve down 0.473" before the bottom of the collar collides with the top of the valve guide. And that is without the oil seal that I was planning to use.
If I divide .337" (cam lift ) by .473" (max valve travel), I come up with a maximum effective rocker ratio of 1.40. And that is without any stretch while running!
The valve guides themselves look like they have those spiral inserts that a fellow named Dale Spooner (Motion Machine?) liked to use. Not sure I want to be grinding them down. Would probably be easier for me to grind away the bottoms of the collars - but I don't really want to do that either.
The notes that came with the engine suggest that valve lash should be .006 intake and .008 exhaust.
***
... Every once in a while someone comes around the paddock looking for a spare pushrod, as theirs is bent or broken. I never understood why.
I decided to attend to the welding machine until my next move on the Allen Johnson domed piston engine. The problem is that my welding is not much to behold.
I warmed up by welding a nut onto the back of the clutch pedal so that I can have a simple - and hopefully reliable - stop to limit clutch travel. Following Eric Ohmit's protocol and hope this addresses jy clutch overthrow problem.
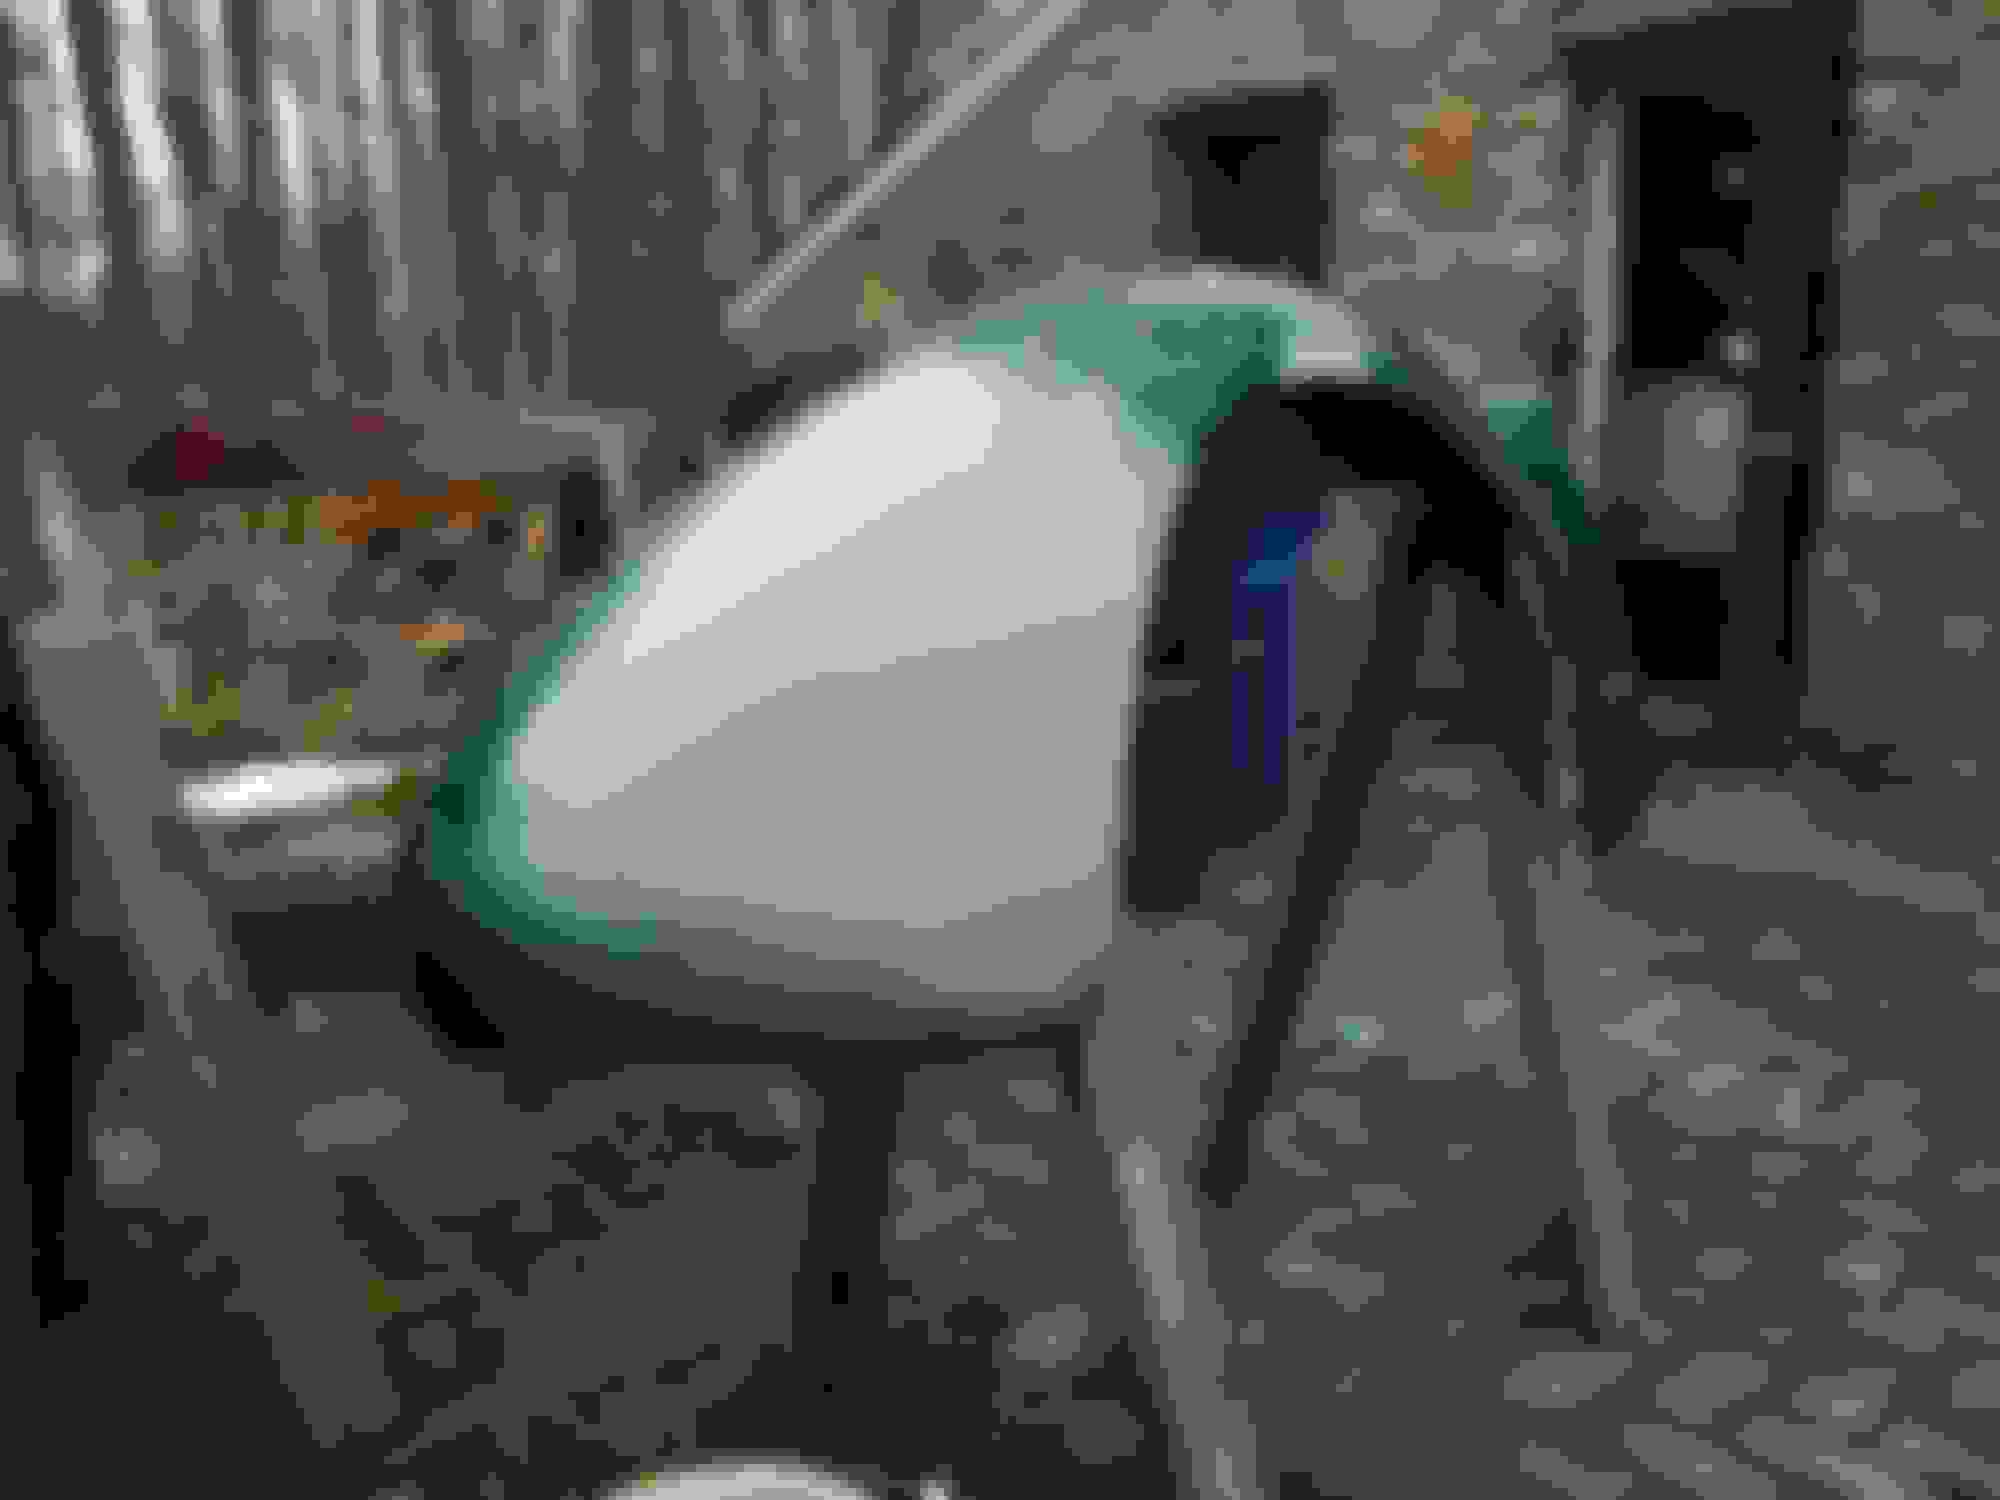
I then moved to a long stalled windage tray project for one of the spare oil pans. Essentially I am making up a new oil pan following Hap Waldrop's (Speedracer's) design. The oil pan on my ghost main engine is fairly mangled from when I broke my kingpin last summer.
The pan had at least three layers of incompatible paint that was crinkled, very hard but with rust spots. It took quite some effort to strip but I eventually got most of it off. I cut some 1" pieces out of angle iron and drilled holes for rivnuts that I welded in place. I then welded these pieces into the pan.
Here they are at the end of the job, all installed with the pan sprayed with phosphoric acid to prevent rust.
My setup had the tray sitting about 2" above the bottom of the oil pan and I was concerned that the tray might not clear the spinning crankshaft throws. So I did a test fitting to verify that I had clearance.
On the lower, permanent part of the tray, the plan is that I will JB Weld the gap between the tray and the oil pan. If the gap turns out to be too large, I'll fabricate a better fitting piece. The upper piece will be removeable and I still need to drill a few holes in this.
Last edited by blueosprey90; 02-05-2024 at 05:19 PM.
I waffled for months over whether to visit the body shop or the paintless dent removal guy in the next town but ultimately decided to try to tackle the repair myself. First time for everything!
The dent basically had three depressions with a crease down the middle and a "crown" at the top of the largest depression. I was worried about saving the paint and heated the fender with the heat gun to about 130 degrees. I started from the back side with the center crease. I was doing fairly well at removing the dent, but the paint started to crack significantly. I also noticed that the edge of the fender around the wheel was cracked in one spot and distorted in two more. Checking against the opposite side, I concluded that the fender had been "shortened"; and looking at the attachment points at the rear clip, I noticed that that rear clip metal was bent and ripped as well as being inaccessible. By that time, it was clear that I would need to repaint the fender. Consequently, I pulled it so that I could repair the rear clip and reshape the fender.
I did a tension pull on the rear clip to help me straighten that metal and once I got it reshaped, welded the metal tear. It came out fairly well. I managed to do a pretty good job shaping the fender, but had trouble with burn through when welding the tear along the wheel well. The fender paint "failed" because the underlying Bondo "shattered". Eventually, I unpacked the palm sander and sanded down the damaged area more or less to bare metal to remove the Bondo. Primed the area. I have about a pint of Urethane paint - I hope it matches and sticks. It will be a cold weather paint job.
Now I need to figure out how to use a paint gun. Have never done that before. I have two guns, one being a mini which is what I think I will use. I only have a small 5 gallon compressor but I hope it is sufficient. My plan is to wet sand the entire fender with 500 grit paper - maybe 600 grit if I can find some - and spray the entire fender.
My metal work was surprisingly decent, but I still have some very minor high and low spots that I can't fix, so Bondo will be my friend. I hope to apply only a very thin skim coat this time.
In other news, I took the head for the 1622 back to the machine shop. I need about 0.160" minimum of additional valve travel clearance. I think the shop will want to reduce the valve guides rather than reduce the valve cups.
"Stupid" may be a more apt description. I gave myself, however, a grade of 90 on the metal work. I was pretty happy with the result.
Because the body filler under the paint had cracked, I sanded down more than a few divots to get down to metal and an adhering a filler. As a result, I needed to fill the low spots with body filler as well - but a pretty thin layer. Primed the work area and a few other spots. My plan is to scuff the entire fender and then paint the whole thing. Shade of paint is the big unknown. I also need to figure out how to use a paint gun, because I've never done that before.

 01-25-2024, 07:26 PM