When you click on links to various merchants on this site and make a purchase, this can result in this site earning a commission. Affiliate programs and affiliations include, but are not limited to, the eBay Partner Network.
The Seat-Of-The-Pants Dyno. Basically, I was able to get to about 100-102 on the Lime Rock front straight with the same engine before I refreshed it. When installed after the refresh, I could only get to about 90-92 mph.
I could also hear a "puffyness" in the exhaust note that suggested ..., well, it suggested something wasn't right. With new rings and a decent head, I suspected valve timing. Plus, I had had some trouble with the valve timing on the refresh.
MGA: Before placing the 3 main 1800 engine into storage, I still needed to deal with the cam timing. Lobe separation on the camshaft is 108 degrees. I had used an adjustable camshaft sprocket that I had tried to set to 105 degrees. But upon measuring after removal of the engine, I think it was more like 101 degrees. By seat of the pants dyno, the engine was about 10% down on power and I could hear a “puffing” in the exhaust.
I tried to “center” the two parts of the adjustment cam sprocket and reinstall. But after many attempts, I could never get it to show maximum lift at 108 degrees. I figured I was a tooth off (but unsure in which direction), or I didn’t use the chain tensioner, or that I blew finding top dead center. I think I found 110 degrees a few times, but that seemed off and by then I had lost confidence. Eventually, I decided to return to the stock sprocket and to use the 2 degree offset key. The engine had run strong and trouble free with that set up. The cam timing is now set at 106 degrees.
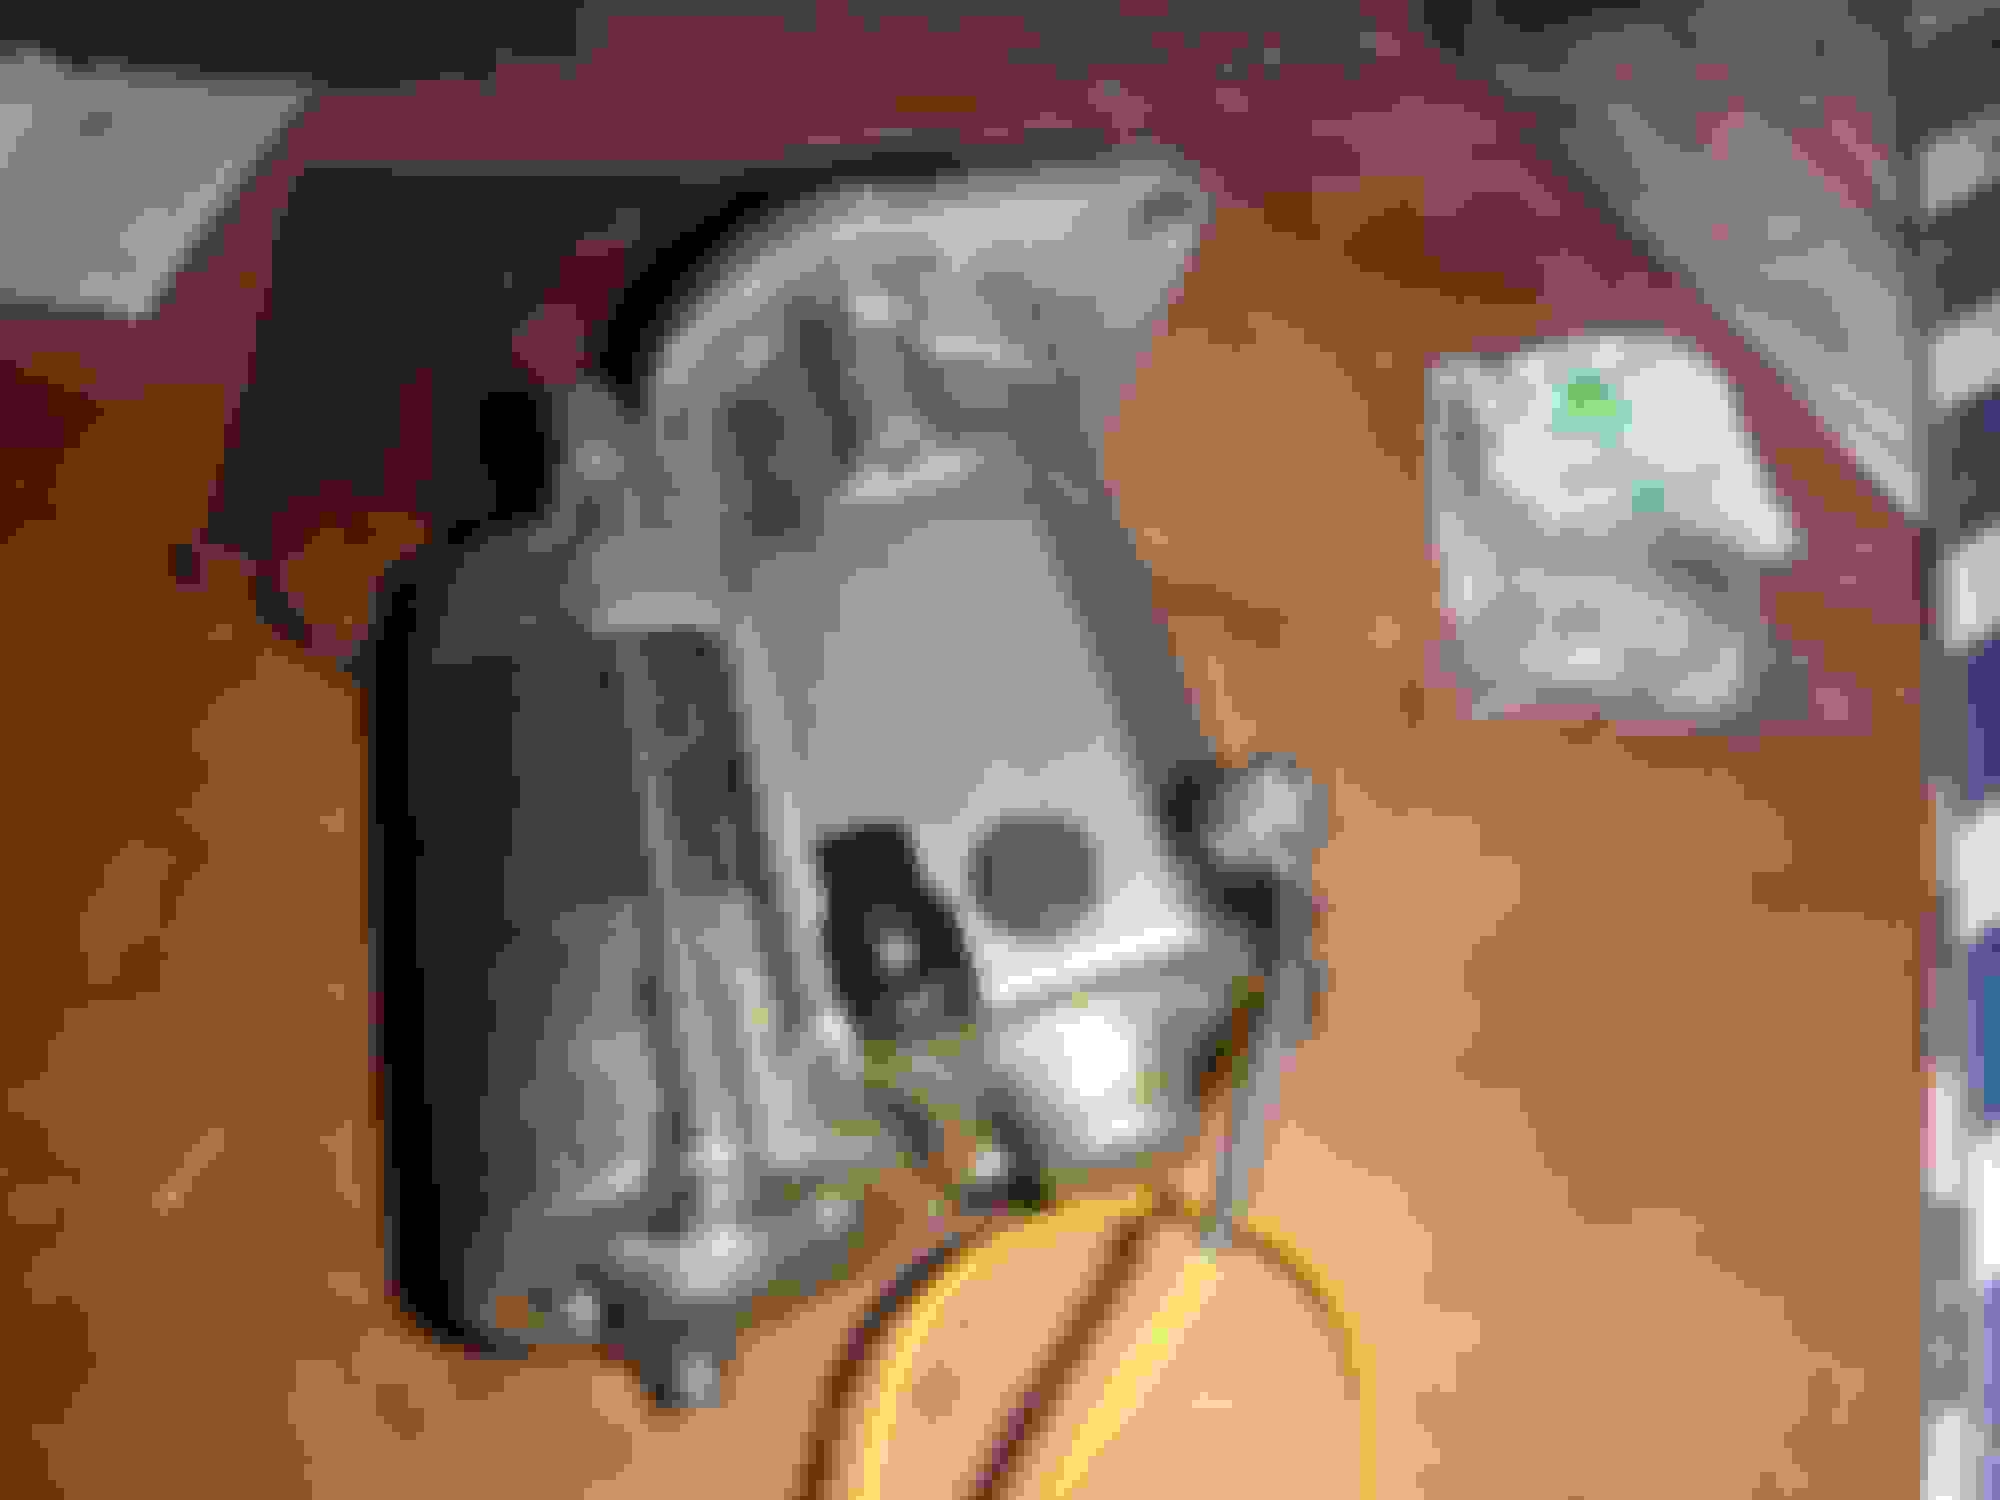
I must be cross eyed! Even with stock components, I don’t see the dots lining up when they are side by side (#4 at TDC). The cam sprocket seems 1/2 tooth behind the dot on the crank sprocket. This alignment issue was a significant part of my trouble.
I have to tighten everything down and install the timing chain cover. I need to install the head (refreshed) and determine whether I have an acceptable valve train in my spares. Then I can get this engine out of the way and finish up the ghost main.
I looks like I will have to cancel my entry for the VSCCA Empire Cup event in early June. Nancy & I have been invited on a boat trip (goal is to bring the boat up the east coast from Florida to Connecticut) starting around Memorial Day.
Jeff, how long does a boat trip like that take? Is it a power boat or a sail boat?
Levi
It's a power boat, assumed to be about 50 feet long. Trip is expected to take 10 to 14 days depending on weather. Some will be on the Inland Waterway, but I think north of Norfolk, Virginia, it will be on the ocean. But then again, what do I know.
Progress on the MGA engine build is unsteady and painfully slow.
Based on the parts spread across the basement, I decided that I should assemble a third valve train for installation on the 3 main 1800 engine. This meant re-bushing a set of old rocker arms, resurfacing the business end that runs on the valve tip and assembling onto a new rocker arm shaft. It took me much longer than anticipated – especially reaming out the bushings to fit nicely onto the rocker arm shaft. I eventually got it assembled - but as usual wasn’t 100% satisfied with the end result. I installed on the 1800 engine, torqued the head down and worked to button that engine up for storage.
The plan was to install the head that had come off of the 1800 engine onto the ghost main engine, the theory being that this was my best head. I decided to perform a kerosene leak down test, where you flip the head upside down, pour kerosene in the combustion chambers and see if it leaks out. Just a formality, me thinks. Quite surprisingly, however, the #3 and #4 intake valves leak and to a lesser degree so does #2. On close inspection, the exterior body of the spark plugs also appear discolored – sort of a whiteish film on the silver base. All of this was completely unexpected and now I’m thinking that the head, not the cam timing, was causing my lack of power.
So I was compelled to examine the second 15 head – this is the one that was originally assembled for this engine, probably back in 2016 or 2017 – before it was a ghost main engine. I tried the kerosene leak down test on that head, and had no evidence of any leaking. The face of the head was also in very good shape, probably having been resurfaced after the original crankshaft failure. In any event, this second head went on the engine. ... - Oh, why not! .. And I also decided to use the valve train assembly that originally went with this second head but was now on the first, leaking 15 head.
So now with the head swapping and the valve train swapping, I also decided to install the valve train that I was originally going to use on the ghost main engine and install that on the 1800 engine. This means removal of the newly assembled valve train. As noted, I was not 100% satisfied with my work and will play with that one some more to get it right. But as a result of this decision, the 1800 is not quite ready for the storage run.
So, on the ghost main, I did complete the installation of the head and the valve train. I dropped the engine off of the engine stand into the cradle that I use to haul it up the stairs. I investigated the end float on the distributor drive shaft. My end float is .017.5” and it is maybe supposed to be.005” to .007”. I don’t see how I can accurately shave the back side of my distributor gear retention housing to reduce the end float. I’ll try swapping in a few alternate parts (housing and drive gear) to see if I can improve the end float situation, but will probably decide to live with what I have.
Last edited by blueosprey90; 03-13-2023 at 04:15 AM.
I think you are getting closer to getting it right. I’m amazed how productive you are with your time and then post such a descriptive account. Good luck El Jefe
Distributor drive shaft end float woes, continued ... After two days of effort, I decided to reuse the existing distributor drive spindle with an end float of 0.017.5".
I dug through my spares, and have a total of 5 drive spindles. Two are "new" and seem to have more end float slop than the old ones.
Spindle #4 is what came out of the car. It has about three seasons on it. Spindle #5 is unused. That one had an end float of .020.5".
Spindle #2 had come out of the 1800, although I am not sure if it was in the original block or in Eric's replacement block. In any event, it has gear wear with the teeth starting to show a knife like edge. I didn't measure end float because I wouldn't want to use - especially with the camshaft in the 1600.
Spindle #3 is in useable condition, but it had an end float of .014.5. Better, but still not in spec.
Spindle #1 was in spec with an end float of .006". After the others, it almost seemed too tight! But this piece had been poorly stored and the teeth were pitted from rust.
I tried to sand and polish the teeth with significant improvement, but I was unable to remove all of the pitting and "rough spots". I finally decided not to risk ruining the camshaft by using this drive spindle. I elected to reuse Spindle #4.
In other news, I tried to modify and reorient the input power lug on a high torque starter. After completing my work, the starter motor would not engage during a "bench" test - well, I hooked it up to the lawn tractor battery. Criminies! Today I undid my work and put everything back together in the original orientation. I have continuity, so I think It should work. Not sure I'll use it though as I don't like the power lug orientation.
I also managed to complete the swap of the valve trains. With the engines virtually complete, I have to start thinking about getting the 1800 into storage, getting the ghost main out of the basement and pulling the transmission and drive shaft out of the car.
1800 all buttoned up and almost ready to go into storage. I waffled on whether to add oil to the sump, but eventually decided to do so. I sprayed some fogging oil into the cylinders.
At this point, I just need to rachet the engine into place, cover with plastic, put the cover on the box and move to the rented barn.
But before getting ahead of myself and doing all of that, I need to scrounge through my parts to determine if I have a MGB back plate that will fit my hopefully "new" transmission. I have an MGB something extra high back plate. If it fits the transmission, I'll cut it down to MGA size, clean it up and throw it in the box. Even though it is heavy steel and I would prefer aluminium, it is better than nothing. Right now the engine has a low starter mount back plate. The new transmission will require a high starter mount MGB back plate.

 02-21-2023, 12:38 PM