
Montreal F1 Pic
 06-14-2007, 02:01 PM
#21
Registered User
Join Date: Aug 2005
Location: Branford, CT
Posts: 6,242
Likes: 0
Received 0 Likes
on
0 Posts
Originally Posted by nibble,Jun 12 2007, 10:52 PM
Guys I envied...


 06-14-2007, 02:13 PM
#22
Registered User
Join Date: Aug 2005
Location: Branford, CT
Posts: 6,242
Likes: 0
Received 0 Likes
on
0 Posts
Originally Posted by Spec_Ops2087,Jun 12 2007, 11:12 PM
Nice shots, I'll be posting mine up soon as well.
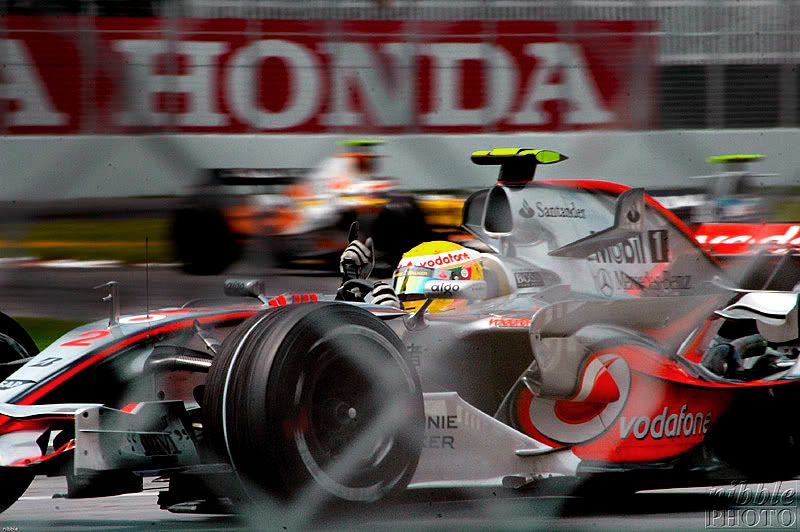
You need a press pass just like I do. Stupid wire fence
You need a press pass just like I do. Stupid wire fence
Shots below were all shot through 2 wire fences in the same "Senna Curves" last year.
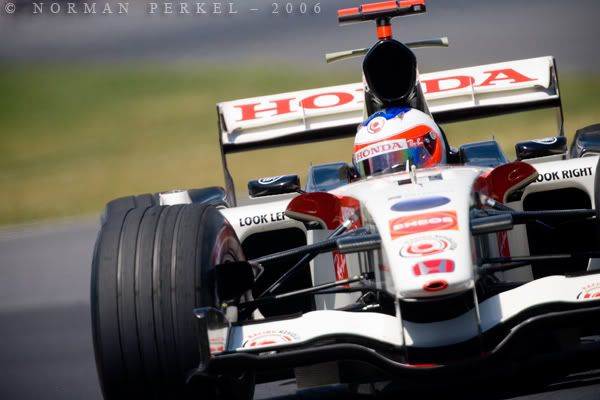
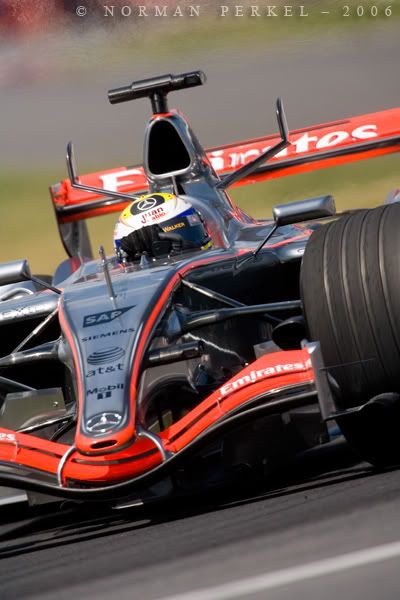
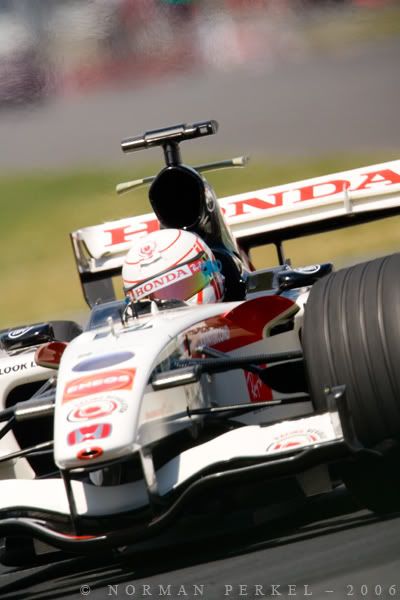
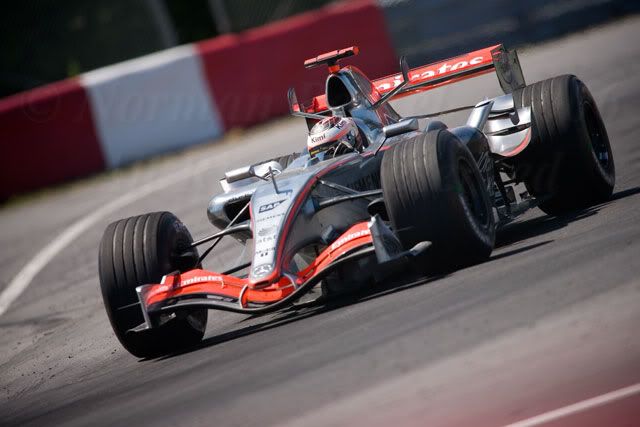
Trick is to get the lens as close to the wire as possible (take lens hood off if necessary) and shoot with as open an aperture as possibe


 06-17-2007, 12:53 PM
#29
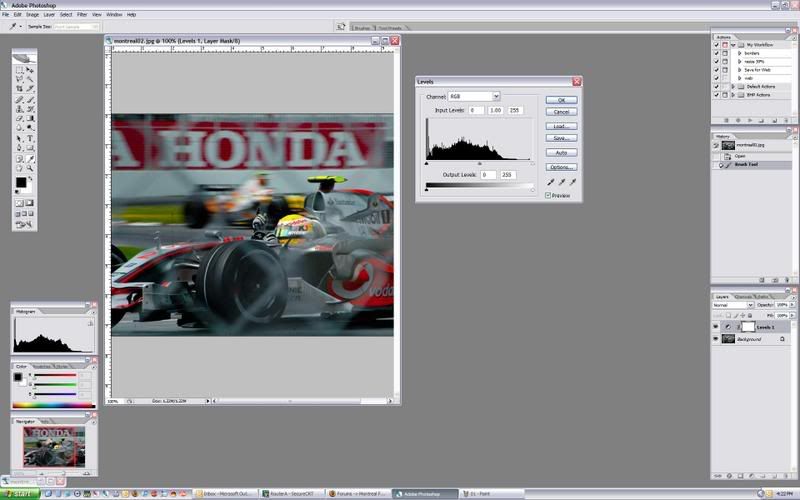
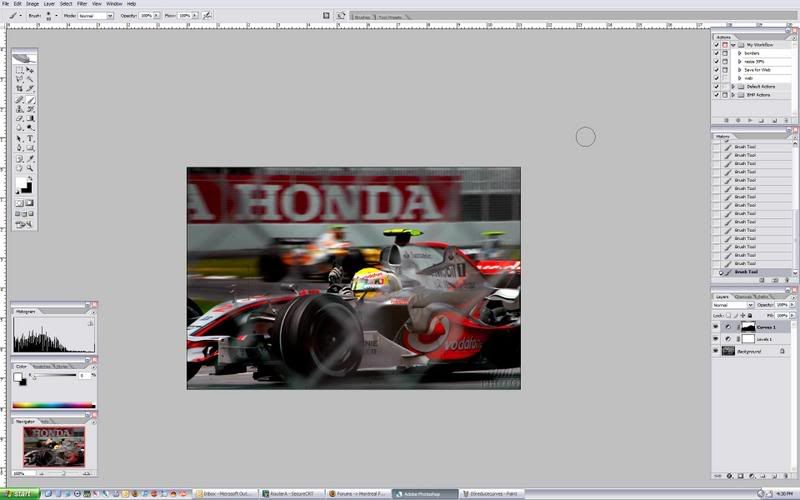
Here's a quick & dirty 2min. process of the pic above.
Step 1
I fished around for the proper color temperature by using the midtone eyedropper. I choose a spot on the concrete, as that will give me a color close to neutral gray. Ideally, you would want to color balance on ACR w/ a RAW file.
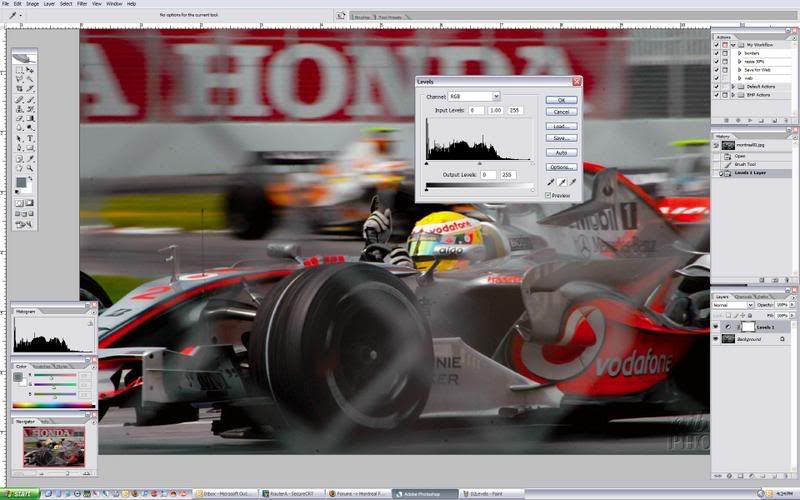
Step 2
Added some contrast to the image via Levels.
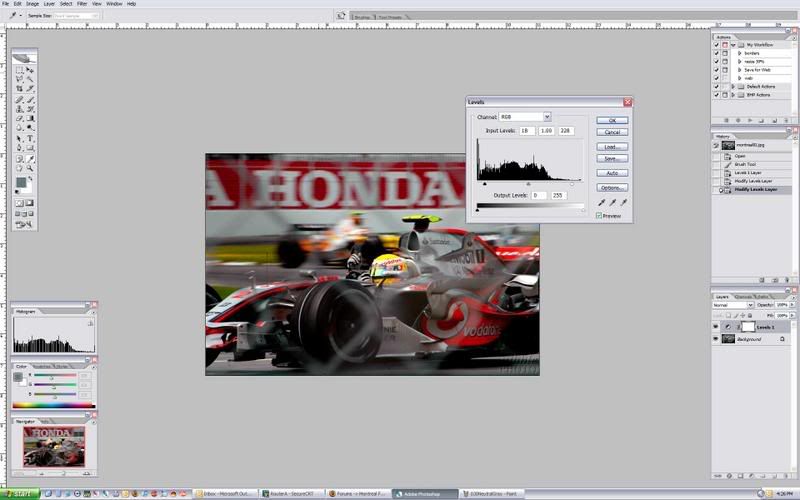
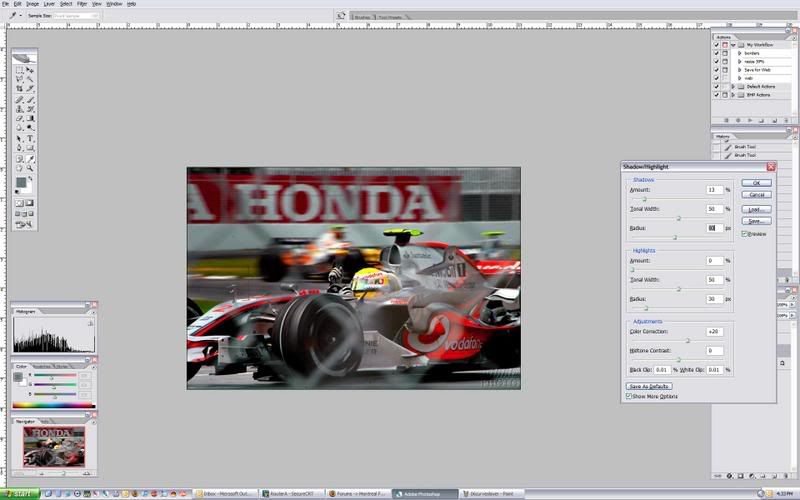
Step 3
Reduce the curve. I want to reduce the background image, so that the subject pops out. I have a layer mask with the subject showing through the mask.
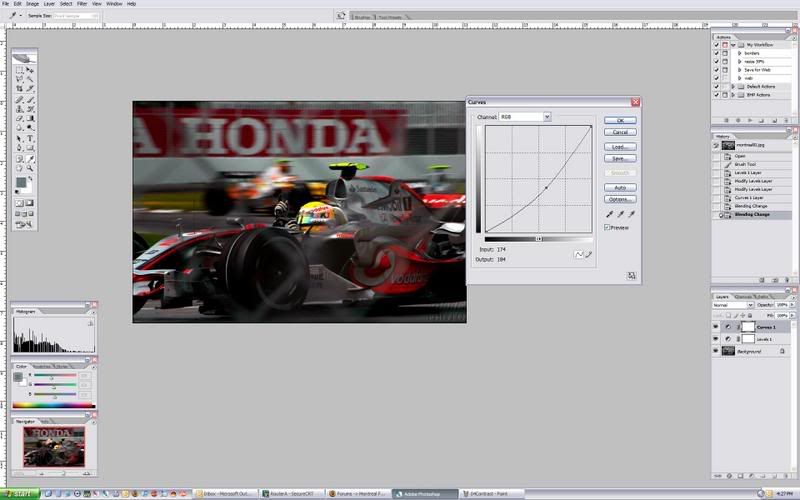
Step 4
Created a copy of the background layer. I bumped the shadows & dragged the curves layer mask. I then inverted the layer mask. Making the subject stand out even more.

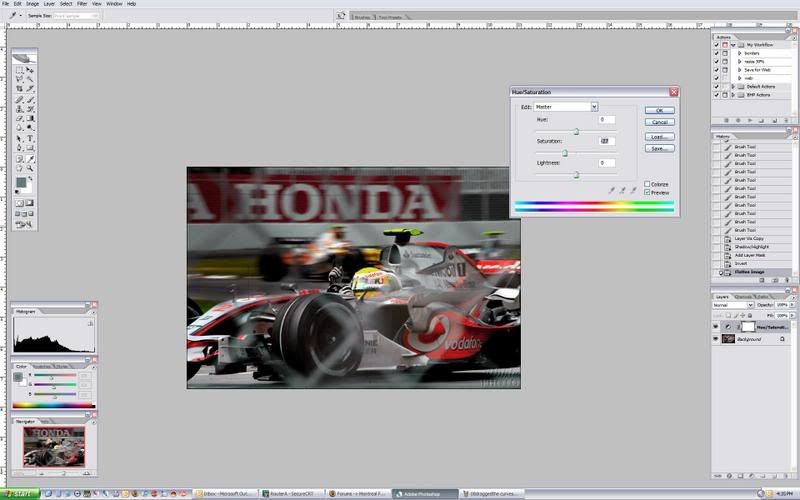
Step 5
Reduce the saturation.
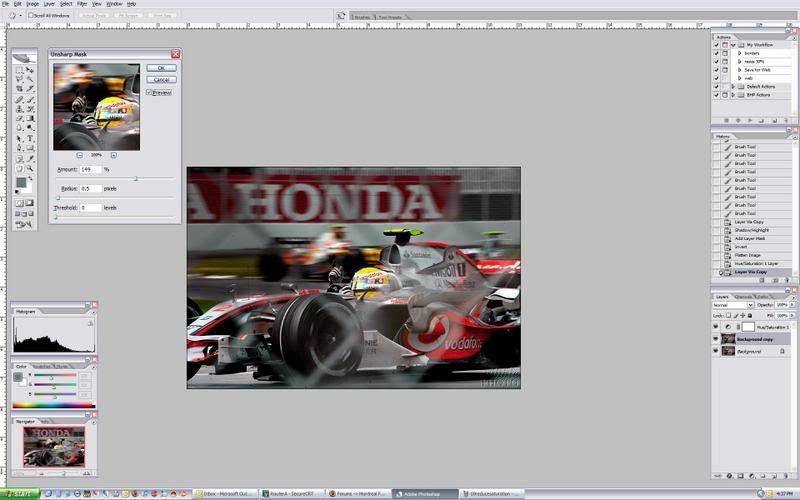
Step 6
Sharpened the image via USM.
Before

After
Once again this was a 2min. re-edit. Nothing too crazy.
Step 1
I fished around for the proper color temperature by using the midtone eyedropper. I choose a spot on the concrete, as that will give me a color close to neutral gray. Ideally, you would want to color balance on ACR w/ a RAW file.
Step 2
Added some contrast to the image via Levels.
Step 3
Reduce the curve. I want to reduce the background image, so that the subject pops out. I have a layer mask with the subject showing through the mask.
Step 4
Created a copy of the background layer. I bumped the shadows & dragged the curves layer mask. I then inverted the layer mask. Making the subject stand out even more.
Step 5
Reduce the saturation.
Step 6
Sharpened the image via USM.
Before
After
Once again this was a 2min. re-edit. Nothing too crazy.
 holy crap what a difference