Tougehorseman + Kalibos = Stereo Install Weekend
#1
Today, James and I embarked on a 12+ hour journey through the process of swapping my amplifier as well as verifying the entire wiring structure of the stereo set up. Of particular concern was coming up with a way to mate the new (and smaller) amplifier to the existing one-off custom amplifier rack, built for a much larger amplifier. Also, the process naturally involved a careful tuning session, where we verified the set up against everything from dubstep to salsa. Fueled by Heinekens, BBQ'd treats, and capped off with new york strip steaks, this proved to be an epic morning, afternoon, and evening.
The Touge Horse made it's debut at James' pad:

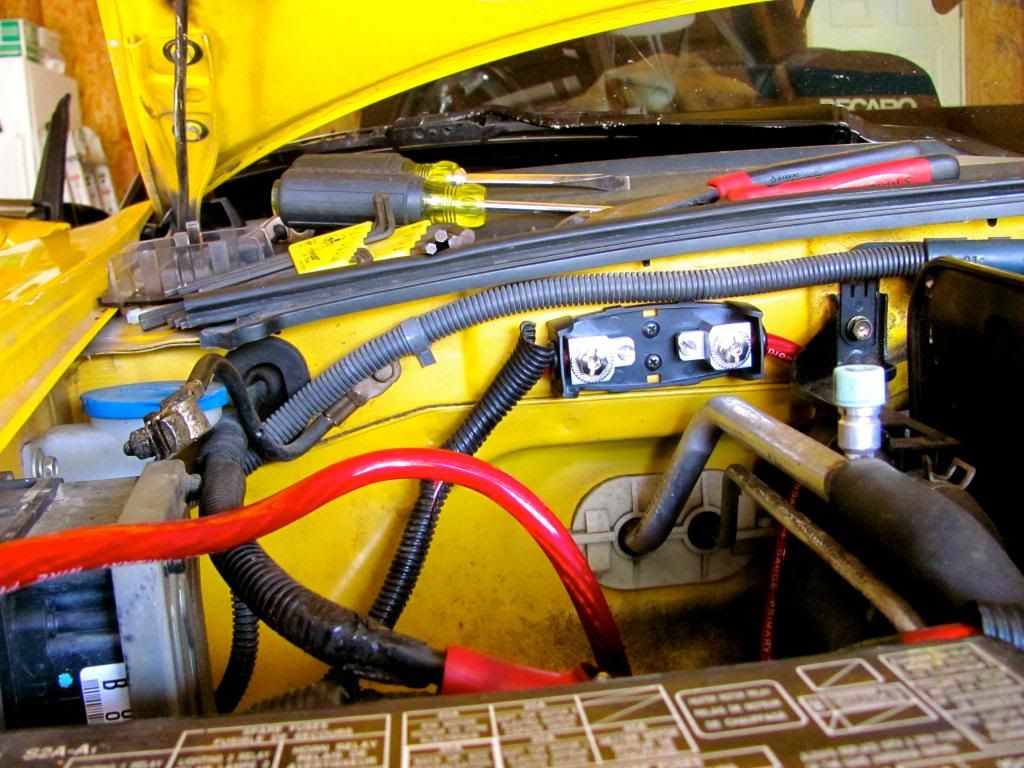
TASK 1: Upgrading and relocating the main fuse to the firewall.
My previous set up had the fuse precariously dangling in a less-than-ideal location. After some time, it eventually failed, and melted itself away. This time around I bought a proper Kicker fuse with a better terminal connector, and a better internal fuse. We used a better wire to re-locate the fuse to the firewall securely. We also upgraded the terminal connections that bridge the battery post to the large gauge wires for cleaner connectivity. I also took some time to detail the engine bay (a much needed cleaning) with some Simple Green Extreme.
Here's a pic of that project in progress:
TASK 2: Creating a custom amplifier rack.
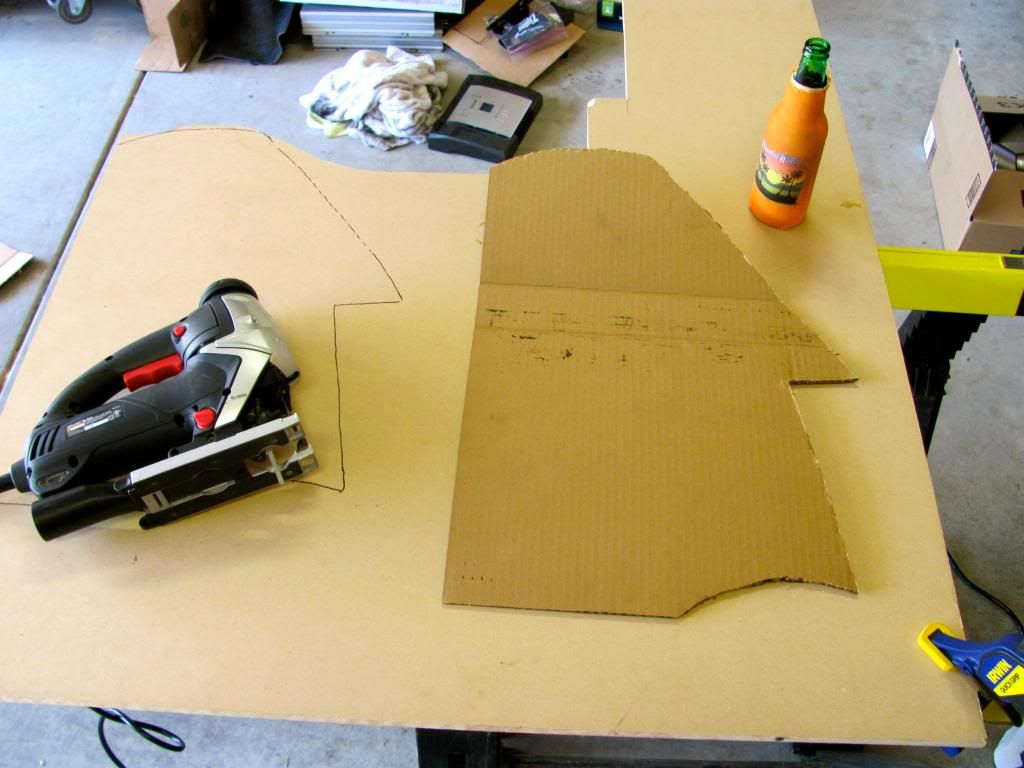
To begin with, we used cardboard to create a template of the amplifier rack base, being careful to match it closely to the existing top portion. A perfect match was necessary because the clearances involved were quite minimal.
Here's the cardboard template in progress:

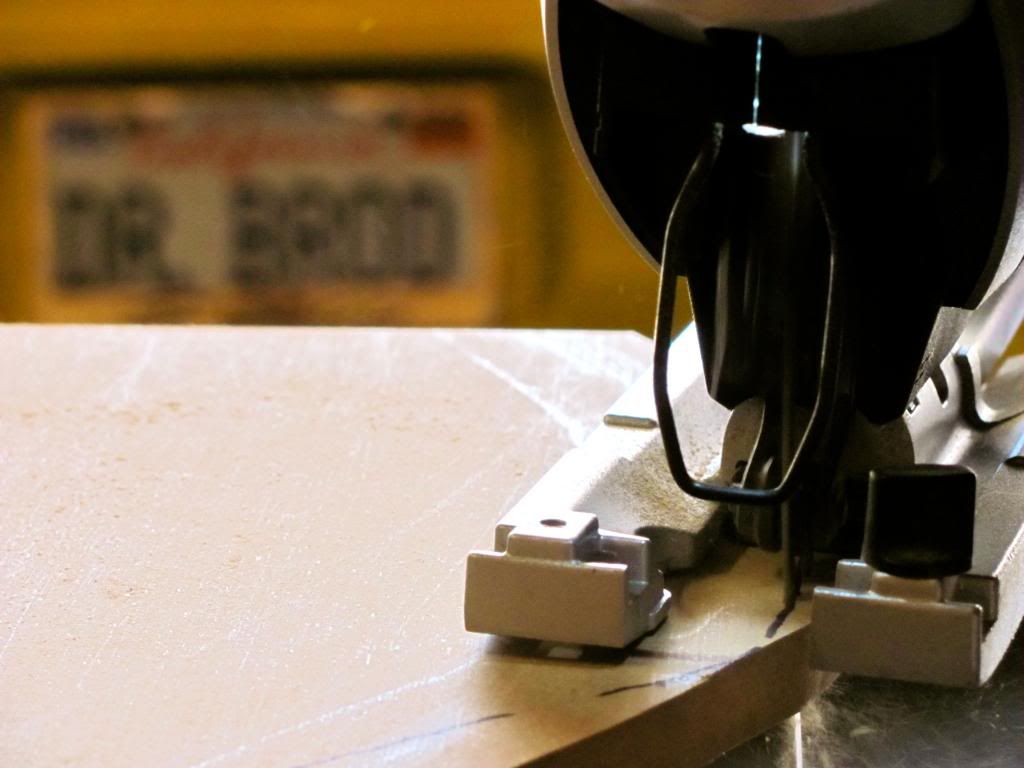
Next, we began cutting the MDF board to match the cardboard template:


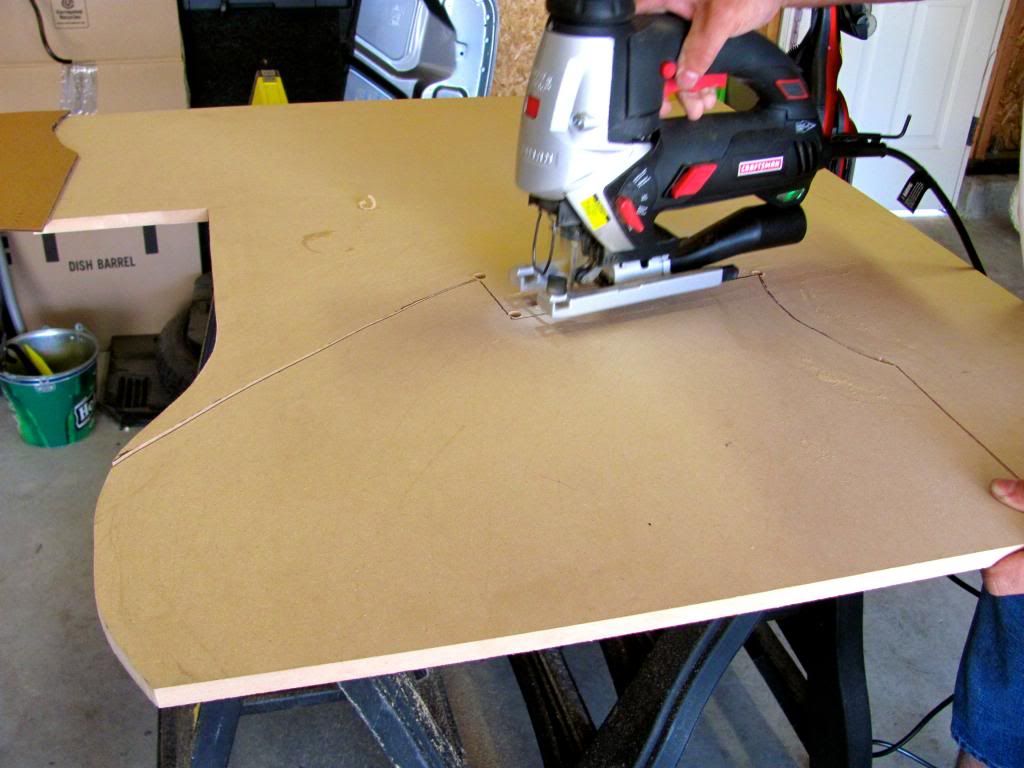
And a perfect fit is achieved:

Next, we sketched the outline of the existing amplifier rack cover window to determine the position of the new amplifier. Unfortunately (or fortunately, depending on your perspective), the new amplifier is significantly smaller than the old amplifier.

Then, we began creating MDF brackets which would be used to:
(1) support the upper amplifier rack cover
(2) provide increased aesthetic touches to the open areas of the amplifier rack.
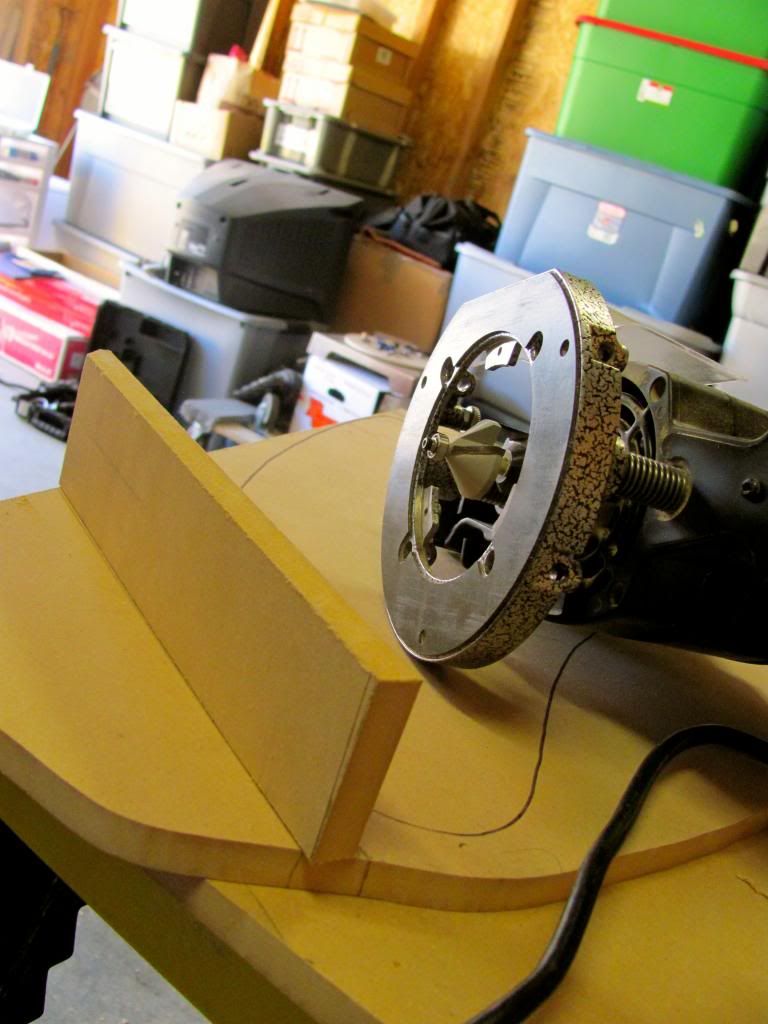
Note the snazzy laser guided saw:

Also used this neat tool to create angled edges to the MDF brackets, because perfection was the only option:
Screwing in the MDF brackets to the lower amplifier rack:

And a bit of glue to seal the deal:
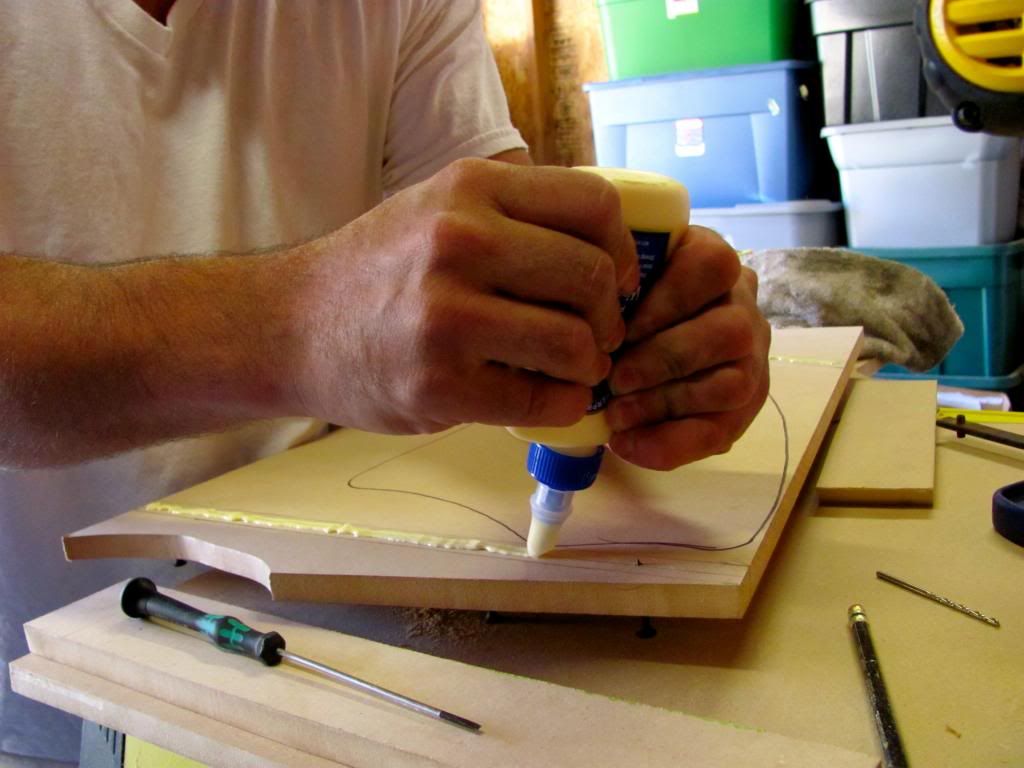
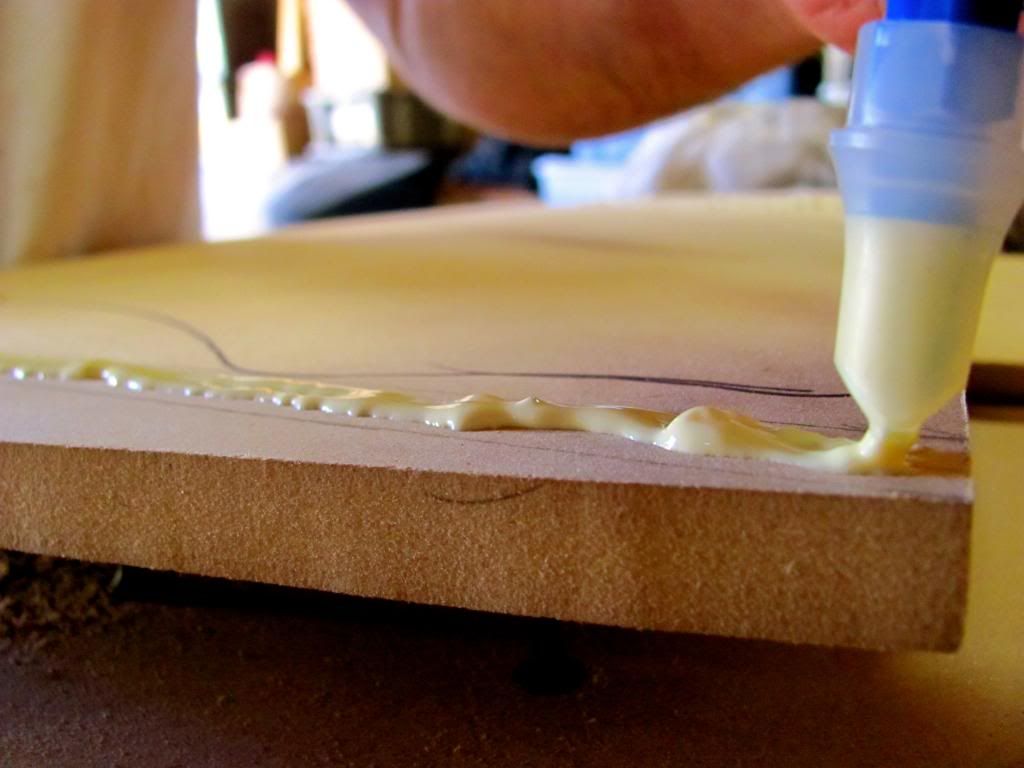
And now we wait while the brackets bond to the rack:

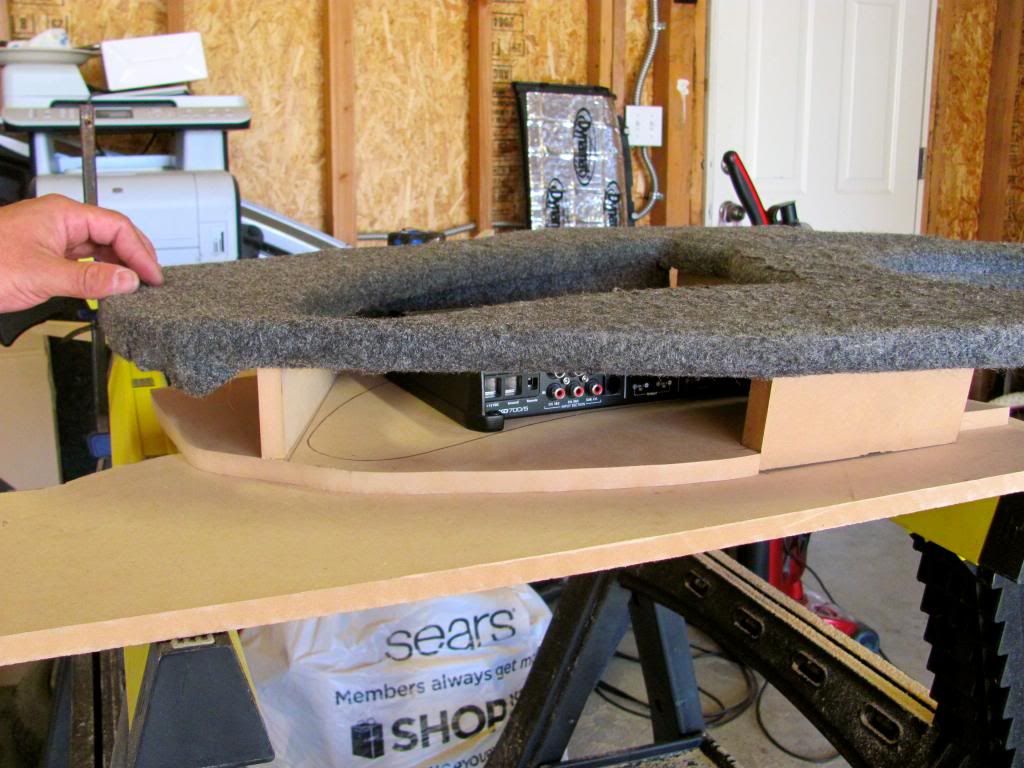
Eyeballing the orientation of the amp with the window sketch and the brackets in place:

Test fitting the MDF brackets with the entire rack:

The Touge Horse made it's debut at James' pad:

TASK 1: Upgrading and relocating the main fuse to the firewall.
My previous set up had the fuse precariously dangling in a less-than-ideal location. After some time, it eventually failed, and melted itself away. This time around I bought a proper Kicker fuse with a better terminal connector, and a better internal fuse. We used a better wire to re-locate the fuse to the firewall securely. We also upgraded the terminal connections that bridge the battery post to the large gauge wires for cleaner connectivity. I also took some time to detail the engine bay (a much needed cleaning) with some Simple Green Extreme.
Here's a pic of that project in progress:

TASK 2: Creating a custom amplifier rack.
To begin with, we used cardboard to create a template of the amplifier rack base, being careful to match it closely to the existing top portion. A perfect match was necessary because the clearances involved were quite minimal.
Here's the cardboard template in progress:

Next, we began cutting the MDF board to match the cardboard template:


And a perfect fit is achieved:

Next, we sketched the outline of the existing amplifier rack cover window to determine the position of the new amplifier. Unfortunately (or fortunately, depending on your perspective), the new amplifier is significantly smaller than the old amplifier.


Then, we began creating MDF brackets which would be used to:
(1) support the upper amplifier rack cover
(2) provide increased aesthetic touches to the open areas of the amplifier rack.
Note the snazzy laser guided saw:

Also used this neat tool to create angled edges to the MDF brackets, because perfection was the only option:

Screwing in the MDF brackets to the lower amplifier rack:

And a bit of glue to seal the deal:


And now we wait while the brackets bond to the rack:

Eyeballing the orientation of the amp with the window sketch and the brackets in place:

Test fitting the MDF brackets with the entire rack:


#2
During a break, we decided to lift up the subwoofer box to see what treasures might have fallen into the crevices over the last two years. Wow it was very surprising what we found, including:
- a strange sticky (decrepid melted jelly beans) rusty (water?!) substance
- a complete set of washers, bolts, and nuts (still mint condition, no rust!)
- a sawed off portion of an OEM S2000 seat belt buckle bracket (from the buddy club rail install project)
- several batteries
- several lighters
- an allen wrench
- obligatory loose change (= 0.57)
- a strange square shaped zip-tie thingy
- a standard tri-pod mount
- a go-pro mount
Note to self...seal the area for the future to prevent the accumulation of strange items in the trunk well below the subwoofer box!

Also decided to take some pics of James' car during the break since he was so nice to lend his garage to the Horseman's chariot:


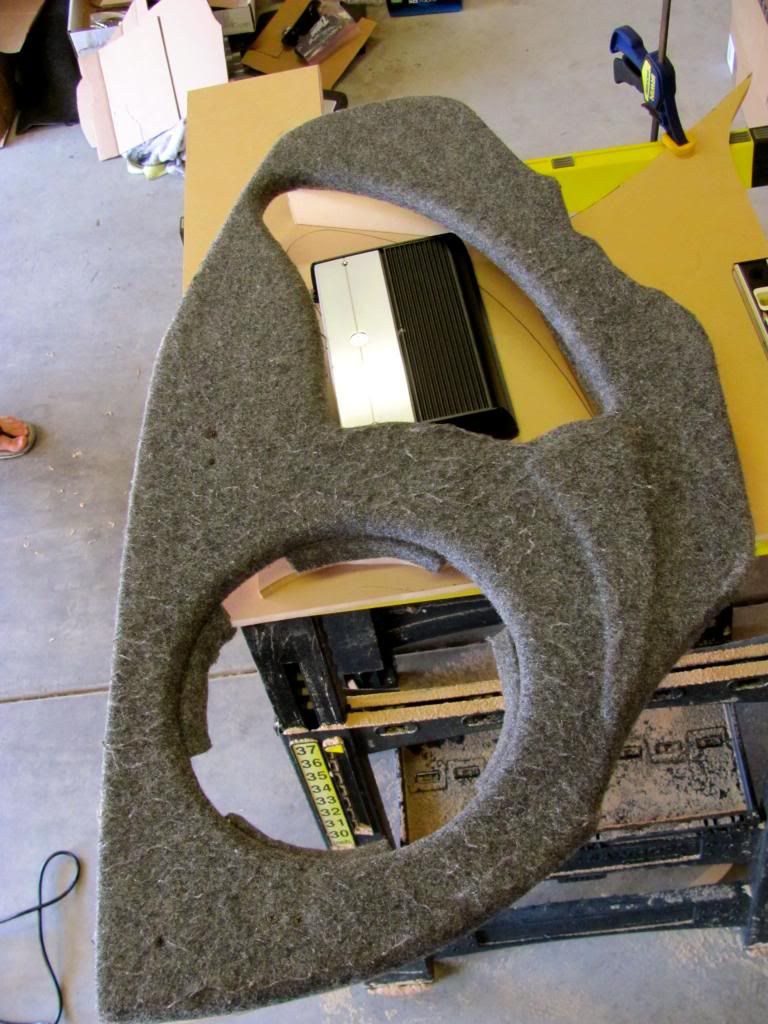
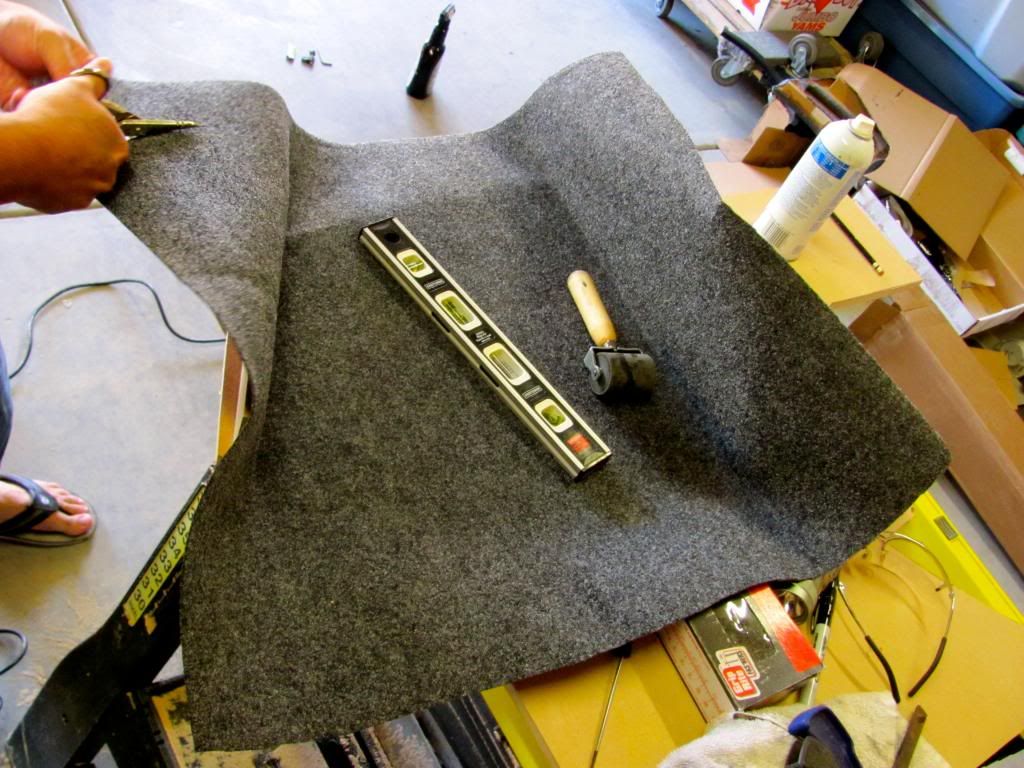
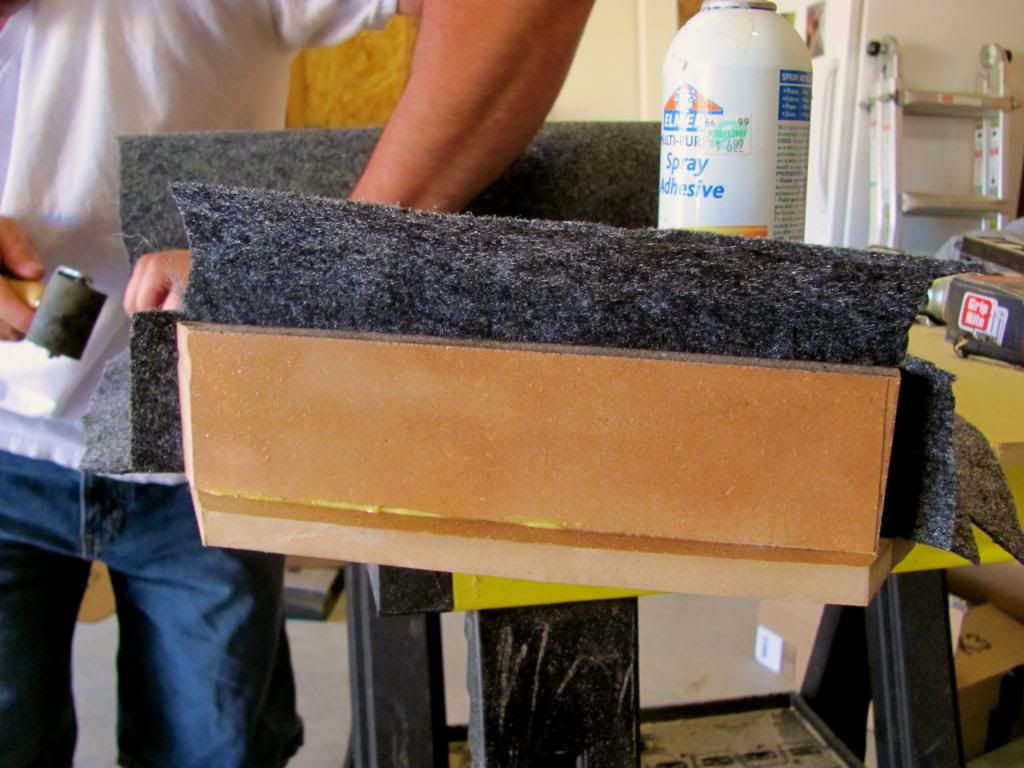
Then began the carpeting process for the lower amplifier rack. Simple process, but attention to detail was necessary. James tracked down a near perfect carpet color that matches the s2000 interior beautifully. Not only was the carpet color matched, but the carpet was selected for its specific texture and ability to bond onto the MDF board using aerosol adhesive spray. Pictures of the carpeting process are below:




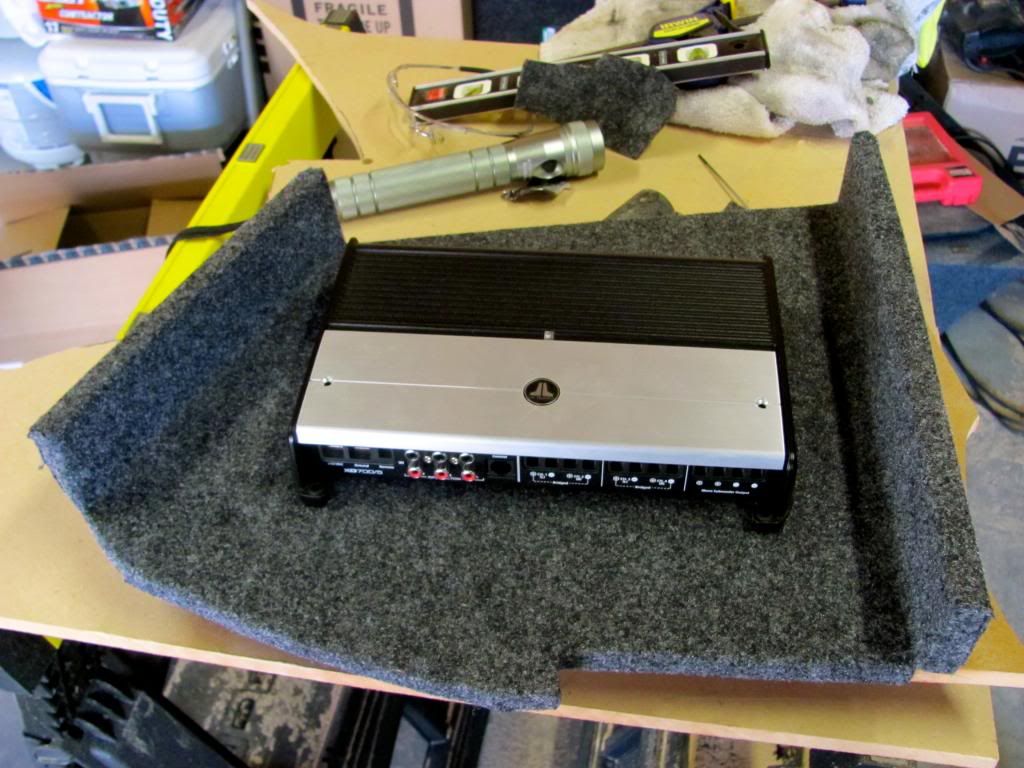
And the finished product with the new amplifier sitting cozy:
Next, the amplifier was wired up cleanly:


And here's the finished product for with all the pieces of the puzzle put back together:


TASK 3: Tune the stereo.
Listen to my car, you'll know its brilliant! Tuned "free-hand" (no-machine) using James' ear, and a variety of several types of music. All levels and filters adjusted using the amplifier. The head unit seems to have a problem with the sub-woofer level control, so it basically doesnt change anything (another necessary upgrade). The bass/treble are set to "0", and the stereo sounds beautiful with all types of music sampled (rap/hip-hop, R&B, rave/house/dance/dub-step, rock, salsa, reggaton, etc.)

TASK 4: Eat!
Marinating the steaks:

Grilling the steaks:

Dinner is served:

- a strange sticky (decrepid melted jelly beans) rusty (water?!) substance
- a complete set of washers, bolts, and nuts (still mint condition, no rust!)
- a sawed off portion of an OEM S2000 seat belt buckle bracket (from the buddy club rail install project)
- several batteries
- several lighters
- an allen wrench
- obligatory loose change (= 0.57)
- a strange square shaped zip-tie thingy
- a standard tri-pod mount
- a go-pro mount
Note to self...seal the area for the future to prevent the accumulation of strange items in the trunk well below the subwoofer box!

Also decided to take some pics of James' car during the break since he was so nice to lend his garage to the Horseman's chariot:


Then began the carpeting process for the lower amplifier rack. Simple process, but attention to detail was necessary. James tracked down a near perfect carpet color that matches the s2000 interior beautifully. Not only was the carpet color matched, but the carpet was selected for its specific texture and ability to bond onto the MDF board using aerosol adhesive spray. Pictures of the carpeting process are below:


And the finished product with the new amplifier sitting cozy:

Next, the amplifier was wired up cleanly:


And here's the finished product for with all the pieces of the puzzle put back together:


TASK 3: Tune the stereo.
Listen to my car, you'll know its brilliant! Tuned "free-hand" (no-machine) using James' ear, and a variety of several types of music. All levels and filters adjusted using the amplifier. The head unit seems to have a problem with the sub-woofer level control, so it basically doesnt change anything (another necessary upgrade). The bass/treble are set to "0", and the stereo sounds beautiful with all types of music sampled (rap/hip-hop, R&B, rave/house/dance/dub-step, rock, salsa, reggaton, etc.)

TASK 4: Eat!
Marinating the steaks:

Grilling the steaks:

Dinner is served:

#3
THE FUTURE:
The future holds a couple more projects.
1. Further Dynamat the trunk area.
2. Further Dynamat the door.
3. Upgrade head-unit.
4. Fill in the open portions of the window in the amplifier rack window.
I'm very open to suggestions about #3. I'm aiming to do some sort of fun project which will fill the void with an LED-lighted model of my car, and raise the amp to be flush with the amplifier rack cover.
#6
It looks and sounds great, however it's still a work in progress. Car needs some dynamatting in strategic areas to reduce vibration which we already have a plan for. In addition, the new amp was considerably smaller than the previous one which left a gaping hole around amp rack cover and exposed a lot of the underlying structure and wiring of his set up. We built a new amp rack to work with his cover for the time being. There is still ideas floating back and forth on weather to redo the cover and make the amp flush or box in the amp and utilize the extra space for other things.
v/r
James
v/r
James
Trending Topics
Thread
Thread Starter
Forum
Replies
Last Post


