Clutch replacement (Martin's)
 11-22-2006, 08:39 AM
#1
Registered User
Thread Starter

Join Date: Apr 2005
Location: From Diego to the Bay
Posts: 1,279
Likes: 0
Received 0 Likes
on
0 Posts
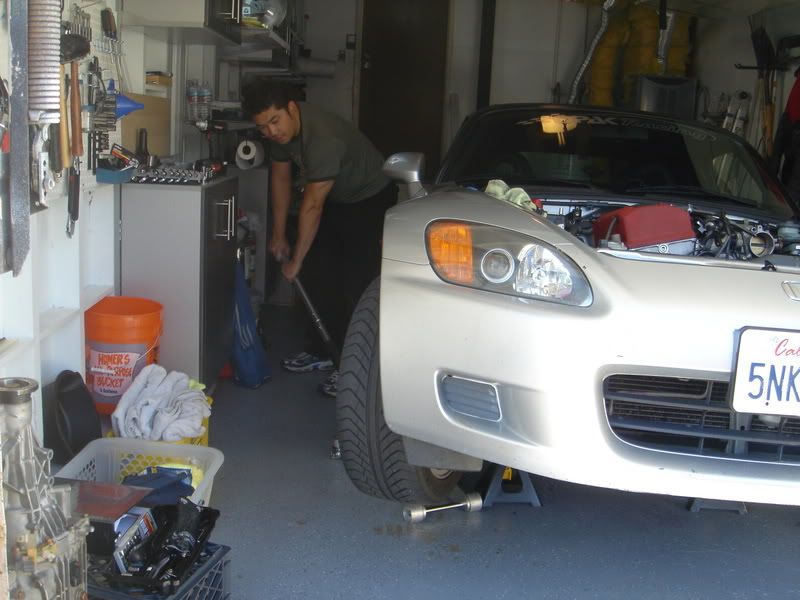
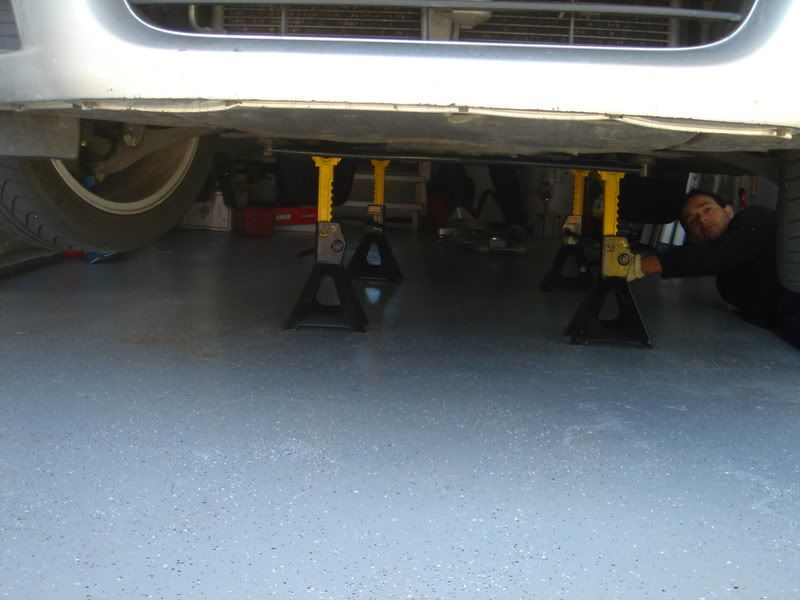
Martin making sure the jacks are at the right height. This is important as you'll need as much space move around below the car.
Remove the hood it's easier to work on the car.
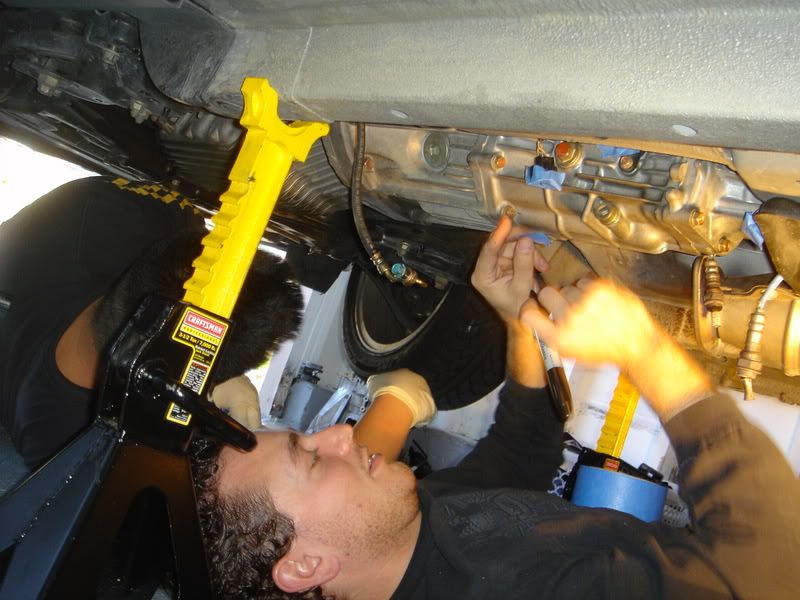
Make sure to label the tranny harness. It will make you're life easier.
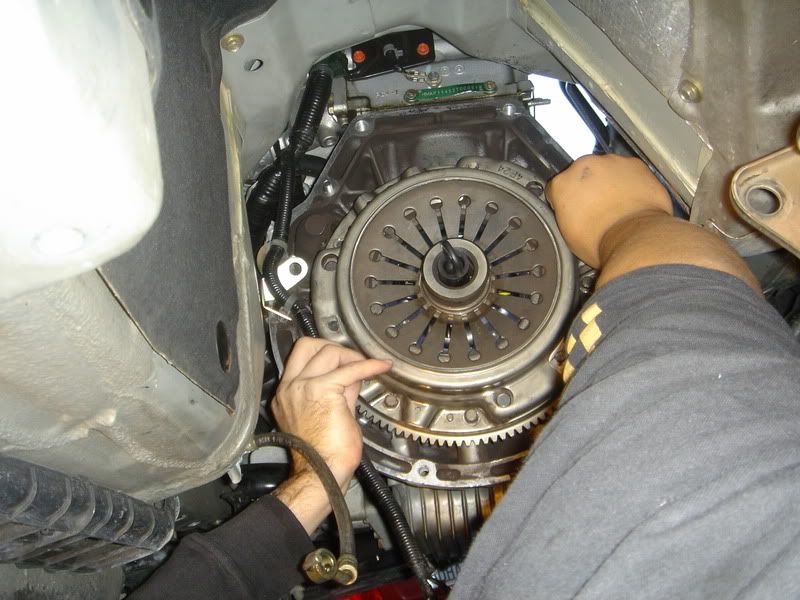
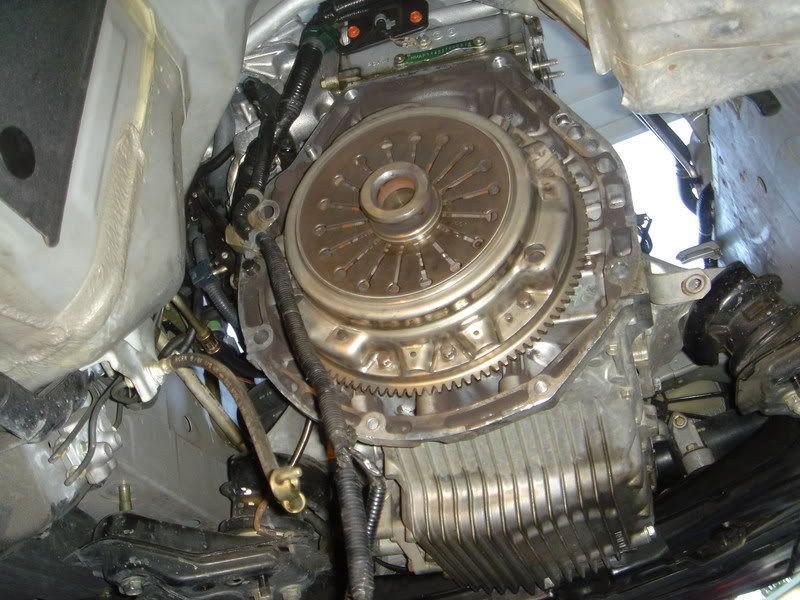
After taking all the tranny bolts and removing it from the axel, we dropped it and replaced the Clutch plate. Here's a pic of the Pressure plate install. I leave the clutch alignment tool in and remove it at the very last moment before installing the tranny.
After the pressure plate has been installed, and torqued to the correct setting. We followed the Helm's manual for the correct spec's. Here she is ready for the tranny.
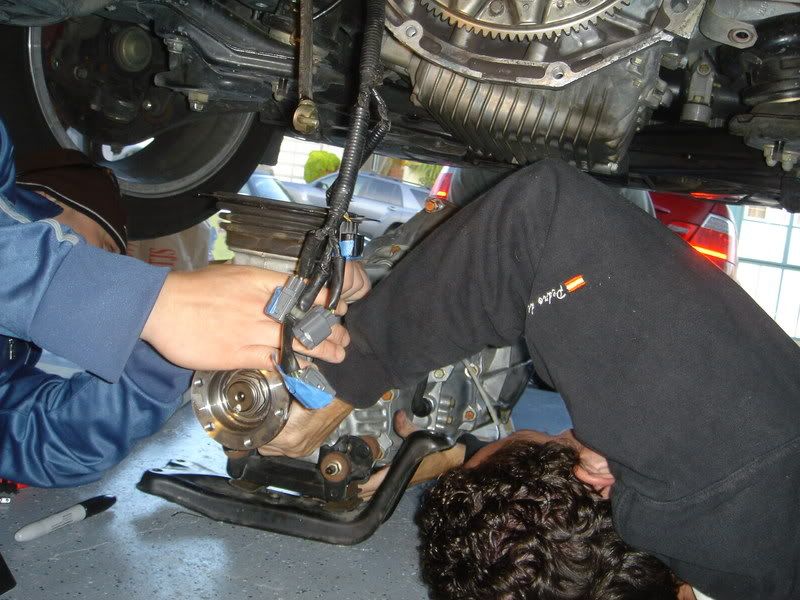
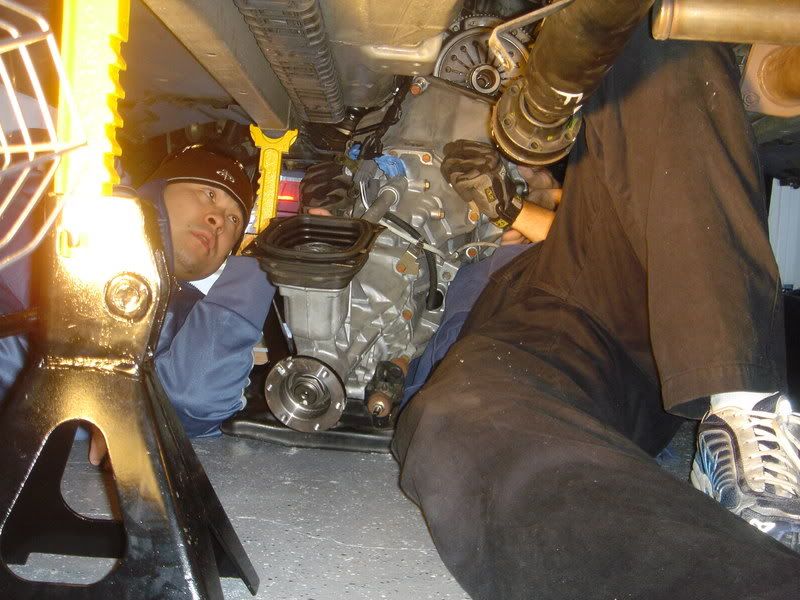
Putting back the harness. And preparing to put tranny back in.
I'm now the official human tranny lifter.
Martin and I got the same info from this link
S2KI FAQ's From Cmnsnse
I found it was helpful but it is always recommended that you follow the helms as well to find the correct torque settings and part in case you should happen to loose or break something.
Lesson's learned:
1) Always keep your tools in one common area if possible. Having several guys working on the car can be a bit confussing when looking for tools. Organization is the key.
2) Try to mark, label all the bolts after you remove them. Don't be suprised to find one or more parts left over. It bothers me alot when I don't know where the part should go.
3) Make sure you have penatrating fluid, brake fluid, and even some tranny fluid.
4) If you can try to get air tools or electric torque tools. It helped to have dav's Electric torque gun for the heavy duty jobs, and my 24 lbs/ft torque gun.
5) Have shop rags or paper towels
6) Have some workgloves and some latex gloves unless you like alot of grease all over your hands and nails.
7) Try to lure some of your buddies to come and "Watch"


 11-22-2006, 10:17 AM
#5
Registered User

Join Date: Jan 2005
Location: Bay Area
Posts: 690
Likes: 0
Received 0 Likes
on
0 Posts
Just helping change the clutch was a bitch. haha....Mike you might have to help me as well when the time comes to change my clutch. I learned a lot that day. Thanks for lesson Mike.
11-22-2006, 10:32 AM
#7
Registered User
Join Date: Aug 2003
Location: The Beach, CA
Posts: 5,372
Likes: 0
Received 0 Likes
on
0 Posts
There's no need to label the connectors on the gearbox since they are all different shapes. Just need to remember the routing of it which is easy as well. I've also always done it with removing the slave cylinder while holding the rod down and putting tape on it to keep it there. It saves time from bleeding the slave. Plus you need to remove the slave anyways to remove the fork. I've also never been able to fully bleed the clutch without removing the rear of the two bolts and tilting the slave a bit upwards. There just always seems to be one bubble that stays trapped in there.
You must torque the flywheel and pressure plate bolts to spec since this car is so prone to clutch buzz/chatter.
I've done about 15-20 S2000 gearbox install/removals now and after the 2nd time it really is a breeze after you get past the 6 subframe bolts (gotta have power/air guns for it or else you'll die) and the driveshaft allen bolts.
Trending Topics

 11-27-2006, 10:01 AM
#10
Registered User
Thread Starter
Join Date: Apr 2005
Location: From Diego to the Bay
Posts: 1,279
Likes: 0
Received 0 Likes
on
0 Posts
Originally Posted by DongTran,Nov 22 2006, 10:48 PM
s2000 MT w/o lift = PITA

MrBean thanks for the resize. I was on the road when I posted those.
Dav and Rob. Just let me know where and when. I'll come by to lend a helping hand and tools

kane.s2k thanks for your input, you're right i the connectors are all different plugs. The slave cylinder is PITA, I'll try to tape it up next time.
Thanks again to marcos! It turns out that the fork was off a bit, so he came by to loosen the tranny and adjust the fork. And he was dead on about the bad slave cylinder.