
Battery Relocation project
 05-18-2012, 11:34 AM
#1

Thread Starter

Hi guys, I hardly posted when I was living up there, and even less now that I'm back in SLO. Just figured I'd post a few pics up of this battery relocation I'm doing. Not complete yet. But I think its coming along fairly well.
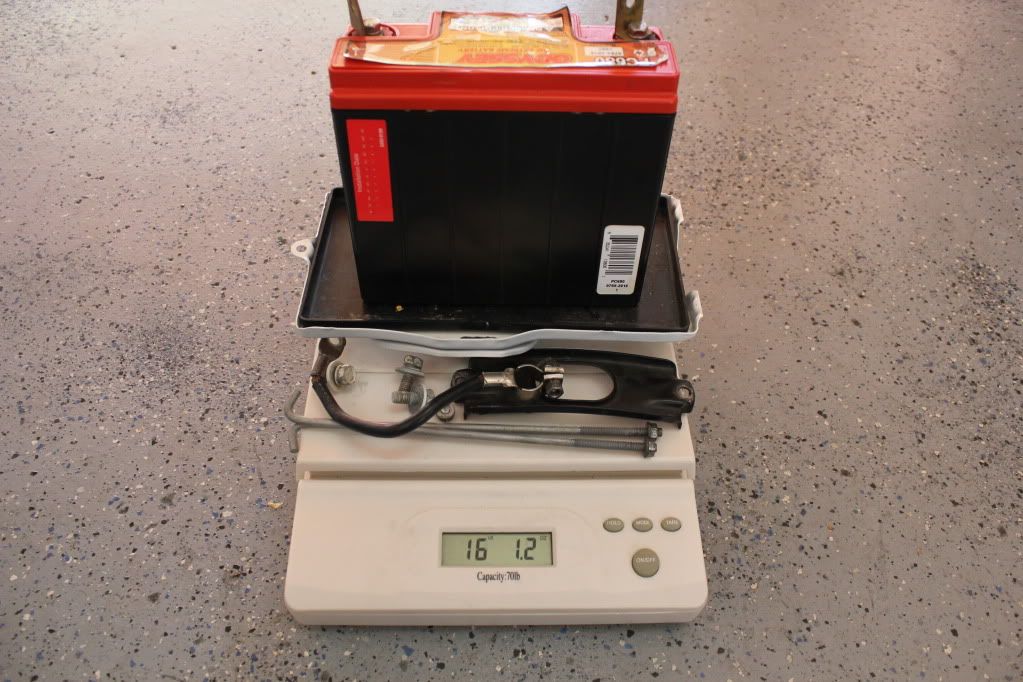
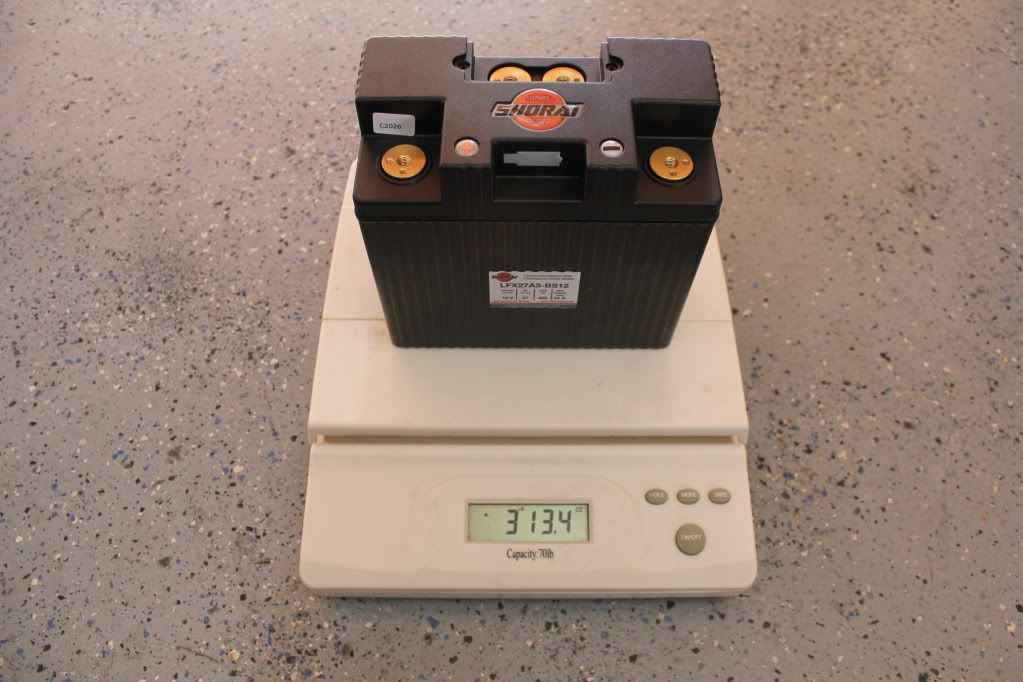
First, why...a lot of the weight I've removed from the car as been off the rear. I'd like to put a little more weight back there. Also, I went with a LiFePO4 (Lithium Iron Phosphate) battery since its twice the CCA of the completely dead PC680 it is replacing and 1/4 the weight. The thing that kills batteries is heat, and even more true with lithium, this battery apparently can handle being under the hood, but I'd rather be nice to it and keep it cool
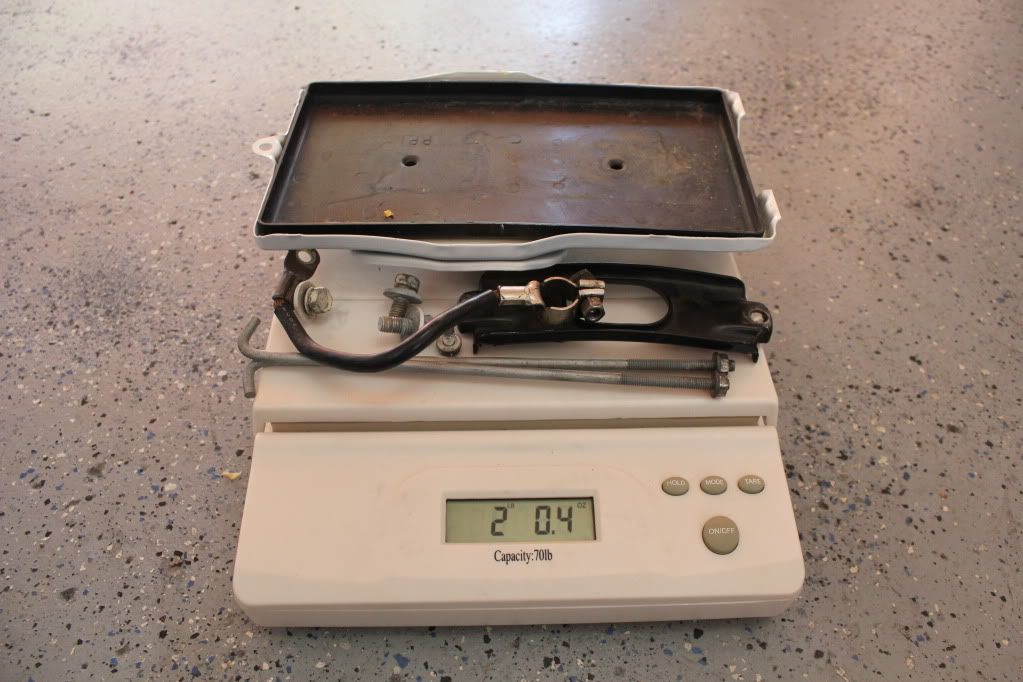
Just the OE mounting hardware
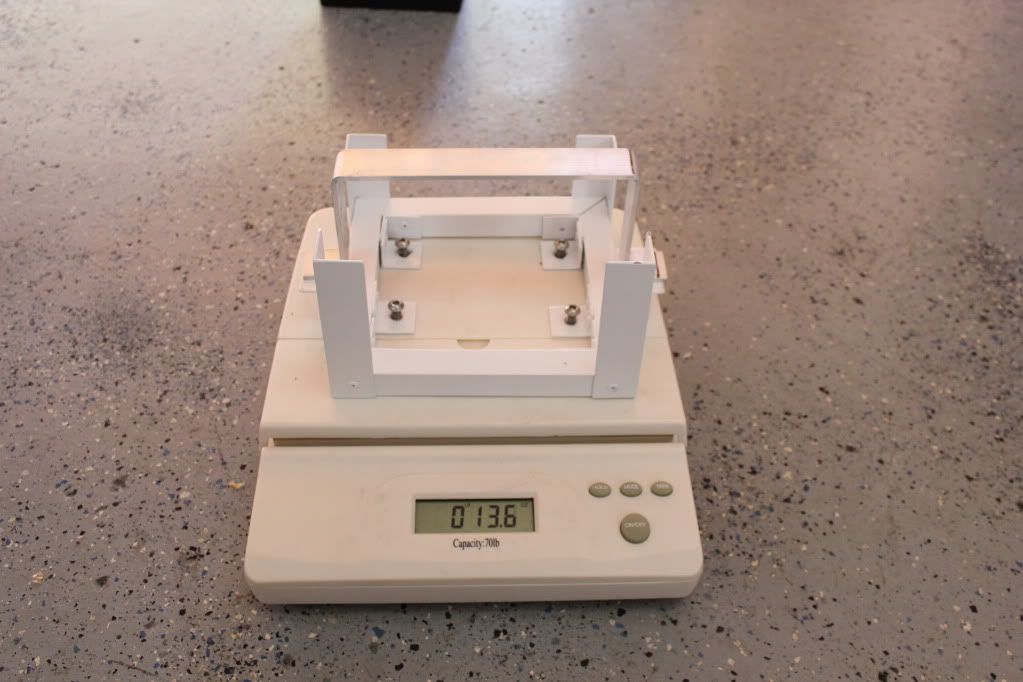
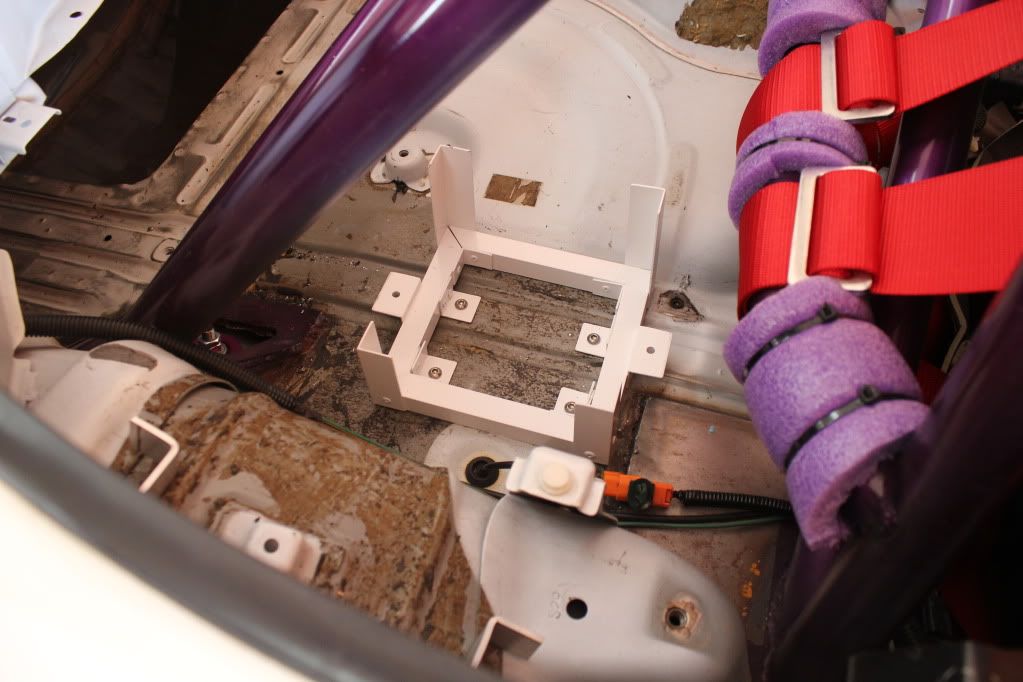
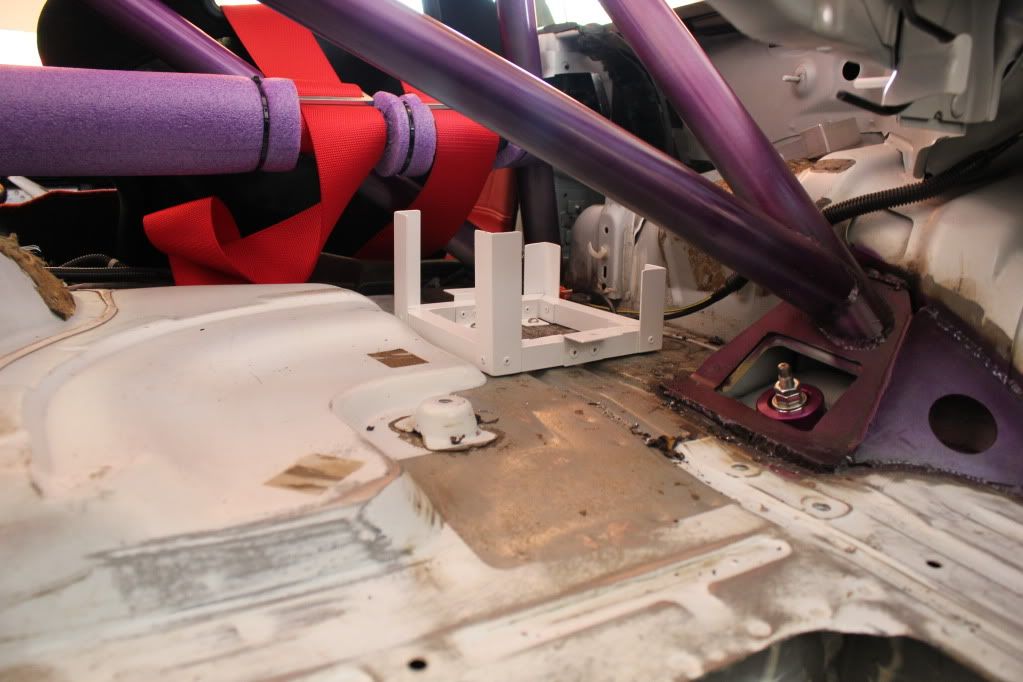
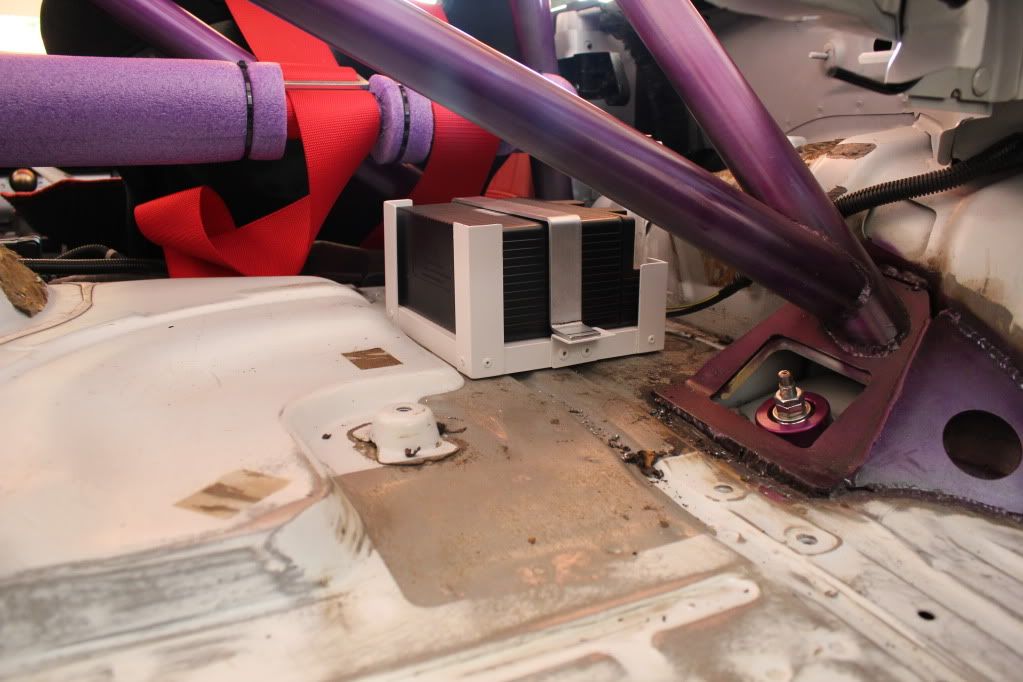
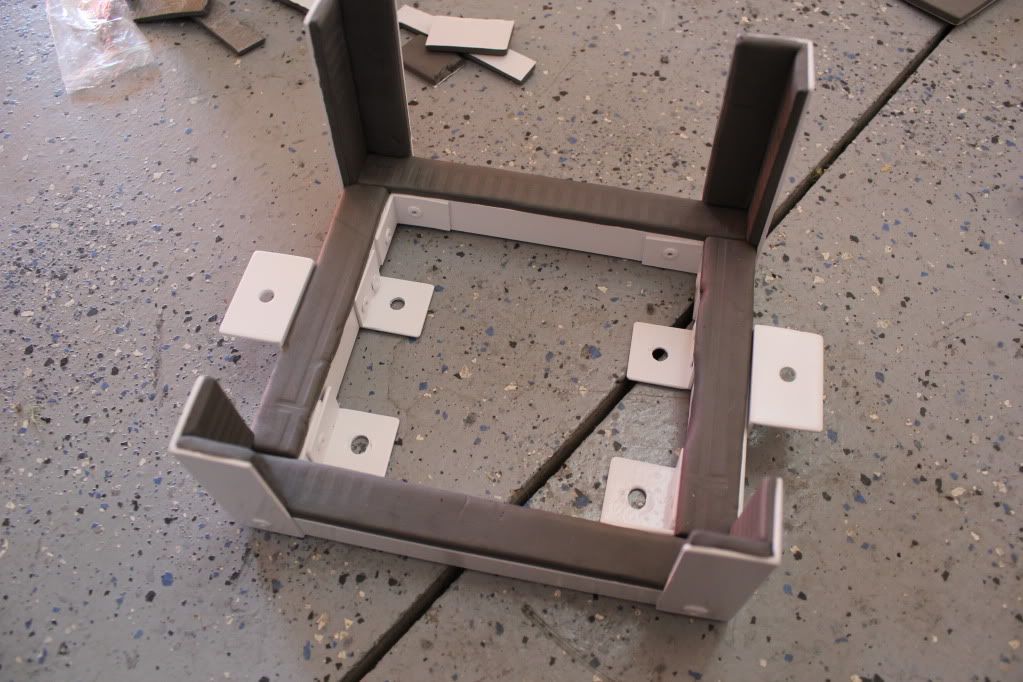
My mounting hardware made out of square and angle aluminum stock and riveted together...some foam will be added when all the painting is done.
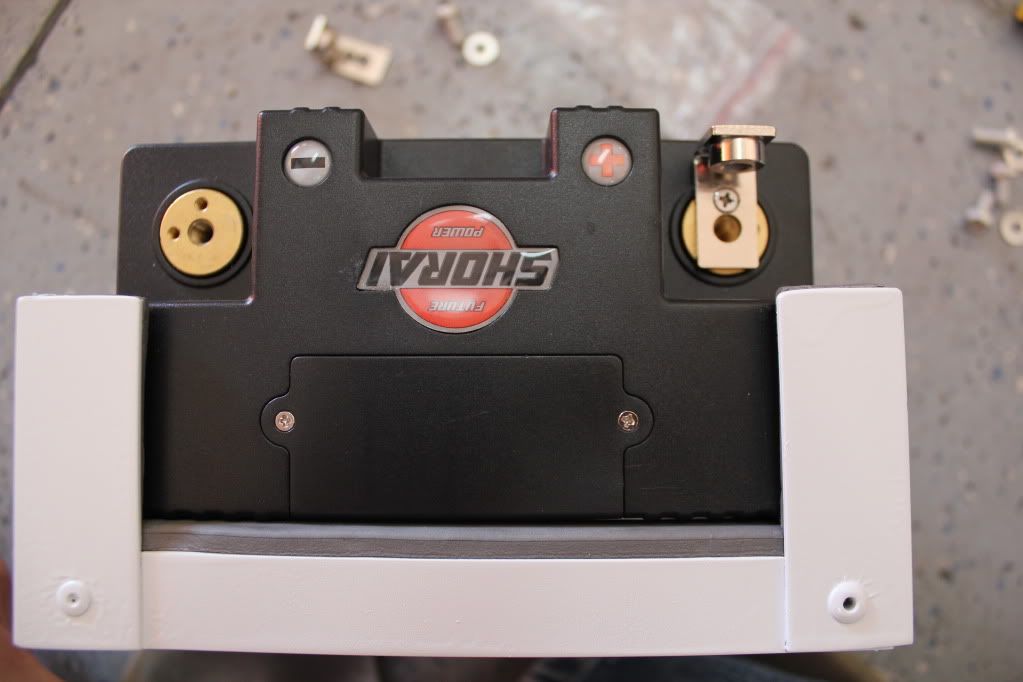
Mount with battery
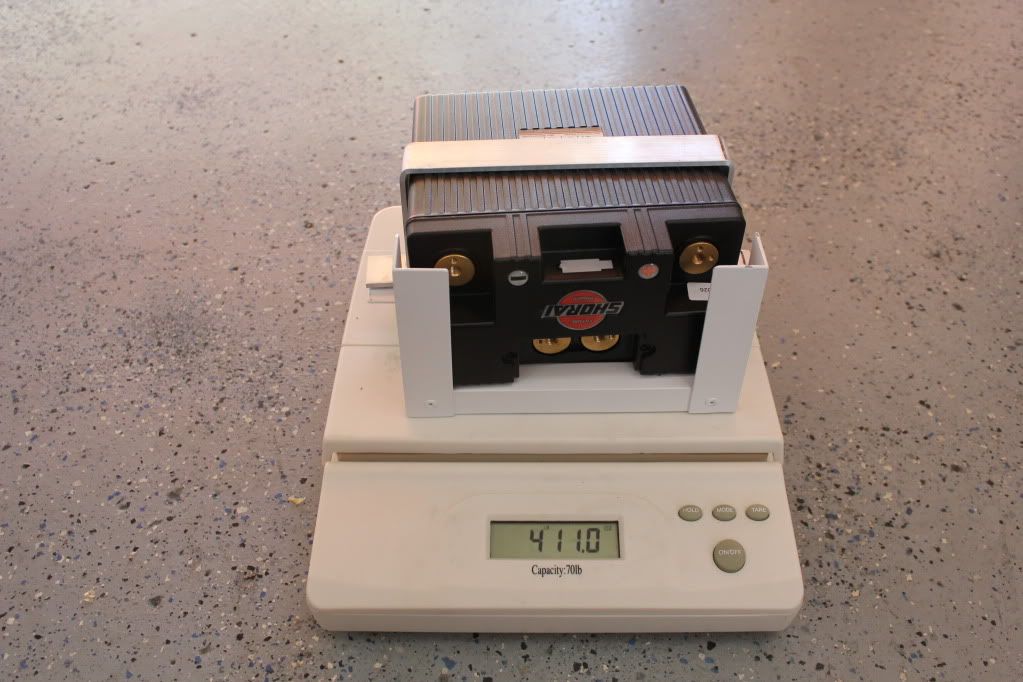
and battery alone
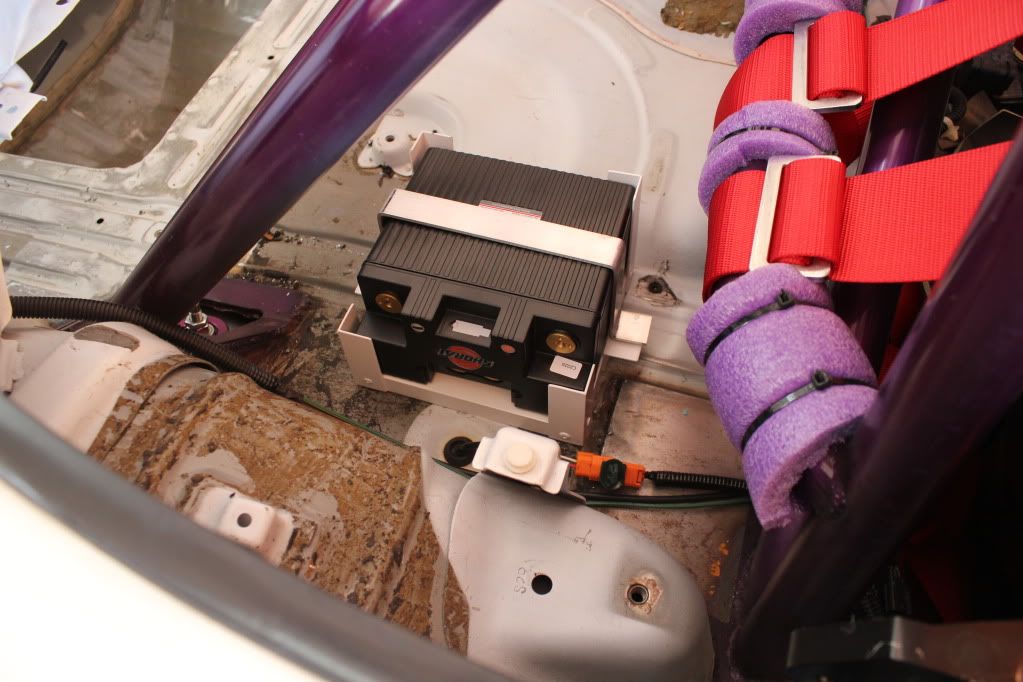
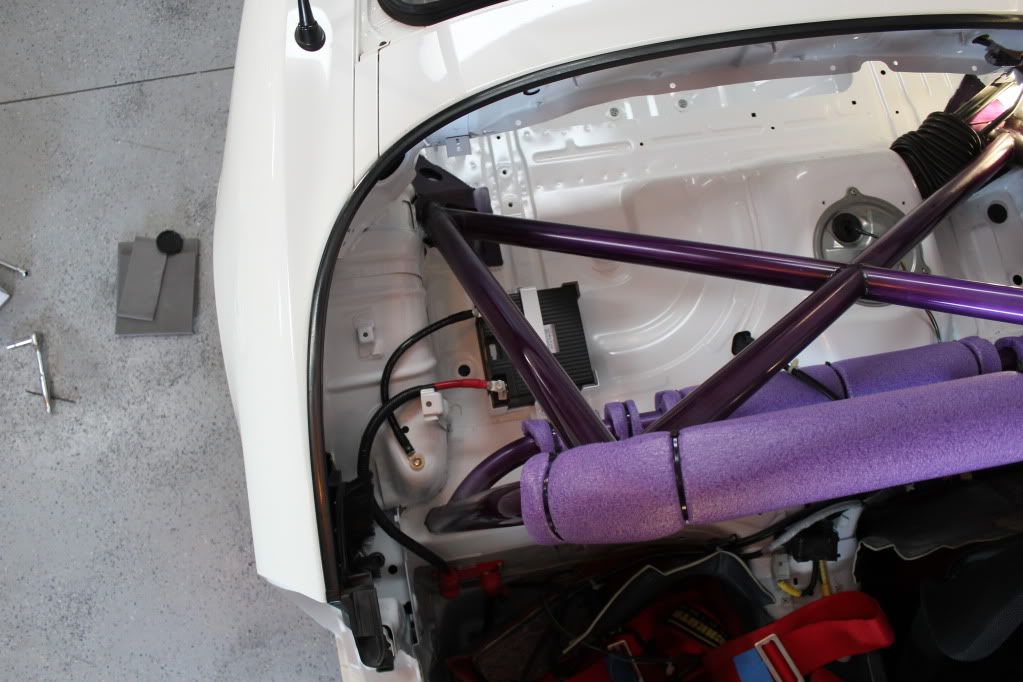
Mounting it fairly close to center of car, just in front of where the spare tire mounts. Using rivet nuts to secure the battery mount to the chassis
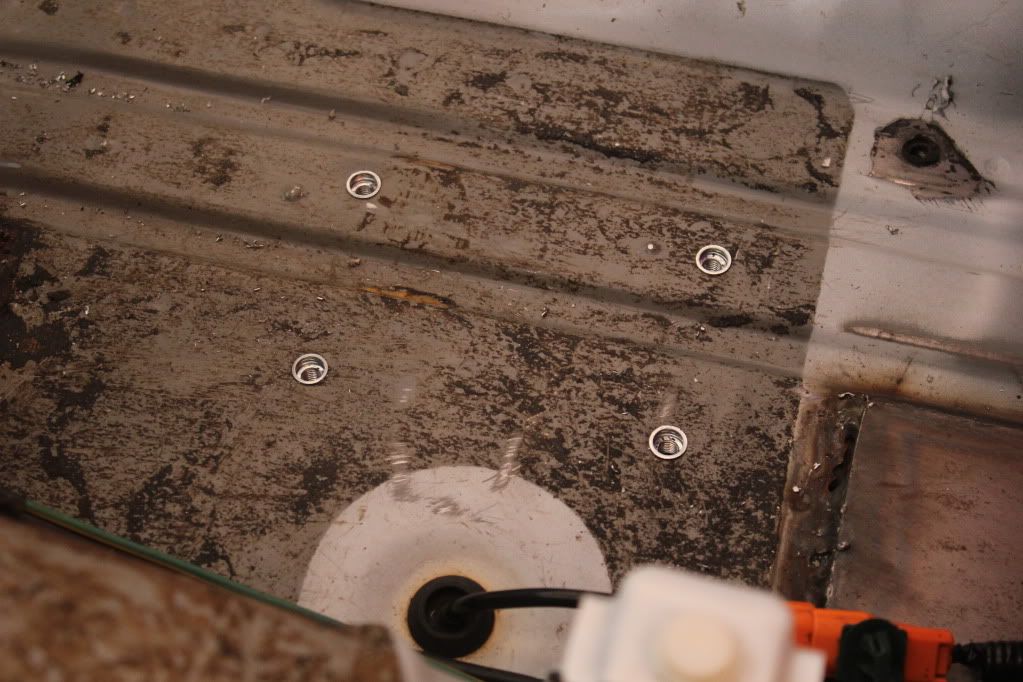
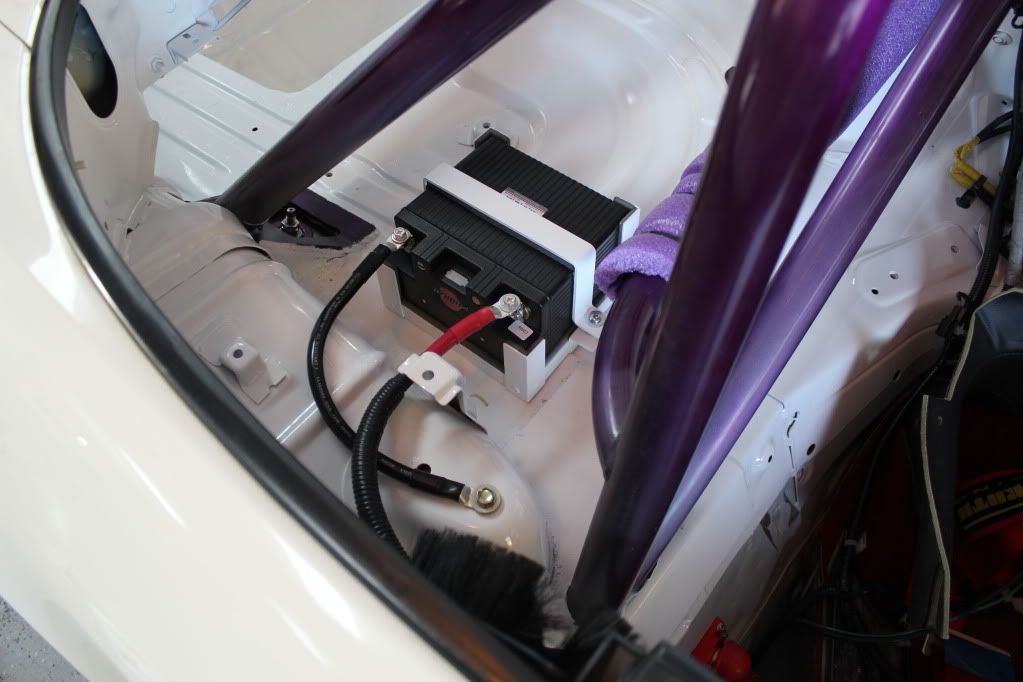
and with the battery in there
more to come with all the wiring and finishing the painting in the trunk etc. Going to be using the OE positive battery cable mounted to a panel pass through connector, 2awg wiring and a 150amp ANL fuse.
First, why...a lot of the weight I've removed from the car as been off the rear. I'd like to put a little more weight back there. Also, I went with a LiFePO4 (Lithium Iron Phosphate) battery since its twice the CCA of the completely dead PC680 it is replacing and 1/4 the weight. The thing that kills batteries is heat, and even more true with lithium, this battery apparently can handle being under the hood, but I'd rather be nice to it and keep it cool
Just the OE mounting hardware
My mounting hardware made out of square and angle aluminum stock and riveted together...some foam will be added when all the painting is done.
Mount with battery
and battery alone
Mounting it fairly close to center of car, just in front of where the spare tire mounts. Using rivet nuts to secure the battery mount to the chassis
and with the battery in there
more to come with all the wiring and finishing the painting in the trunk etc. Going to be using the OE positive battery cable mounted to a panel pass through connector, 2awg wiring and a 150amp ANL fuse.

 05-18-2012, 12:54 PM
#4
Looks like you're doing a really clean job!
I do have to wonder about the value of moving a mere 4 pounds four feet rearward. I think you'd already be getting a lot of the benefit with just the battery swap alone. Those batteries are crazy light! I get the point of moving it away from heat, though.
I do have to wonder about the value of moving a mere 4 pounds four feet rearward. I think you'd already be getting a lot of the benefit with just the battery swap alone. Those batteries are crazy light! I get the point of moving it away from heat, though.
 05-18-2012, 02:30 PM
#6
Registered User


Pretty well done - your concept and execution is well thought out!
A+ for both effort and installation - I like it but for my daily driver don't think I will benefit the same way. Clearly your car is a track car with the roll cage and harness.
I actually went with a heavier larger Optima battery for a while before going back to the stock battery size.
A+ for both effort and installation - I like it but for my daily driver don't think I will benefit the same way. Clearly your car is a track car with the roll cage and harness.
I actually went with a heavier larger Optima battery for a while before going back to the stock battery size.
05-18-2012, 02:55 PM
#7
Looks good Eric, cant wait to see the details of the wiring. Question though; isnt there some kind of standard where when mounting a battery in the rear the typical build is to enclose the battery in container/casing that can resist the battery acids + contain the unit if its to catch on fire?
Trending Topics
05-18-2012, 04:42 PM
#8
Thread Starter
Looks good Eric, cant wait to see the details of the wiring. Question though; isnt there some kind of standard where when mounting a battery in the rear the typical build is to enclose the battery in container/casing that can resist the battery acids + contain the unit if its to catch on fire?
Rick/Rob - thanks! And yea this isn't something that makes a whole lot of sense for a normal person
 06-02-2012, 09:09 PM
#9
Thread Starter
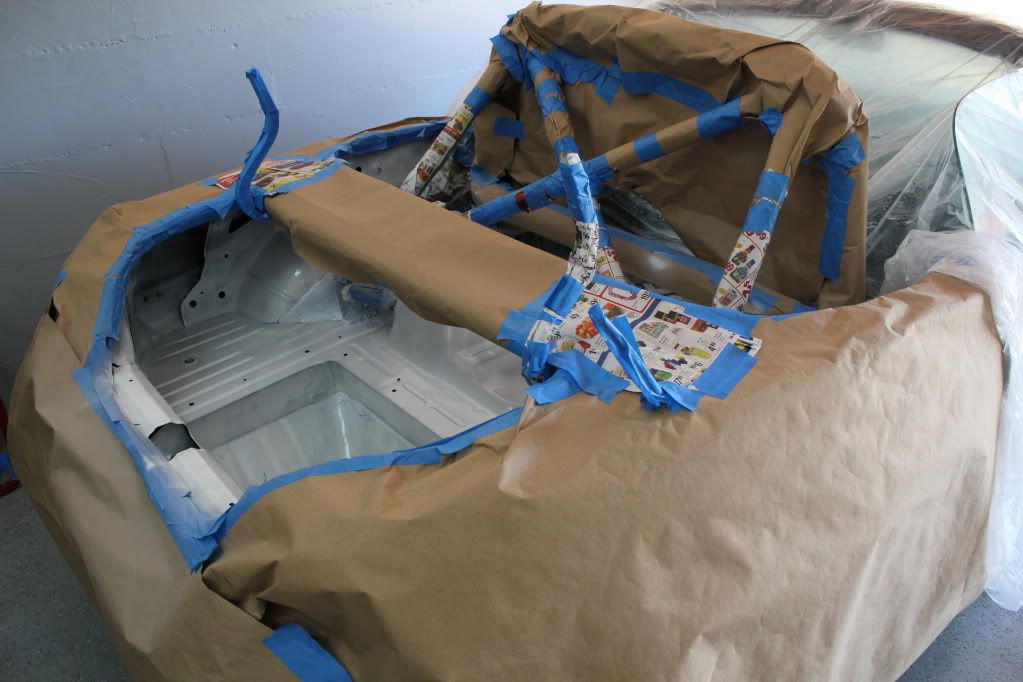
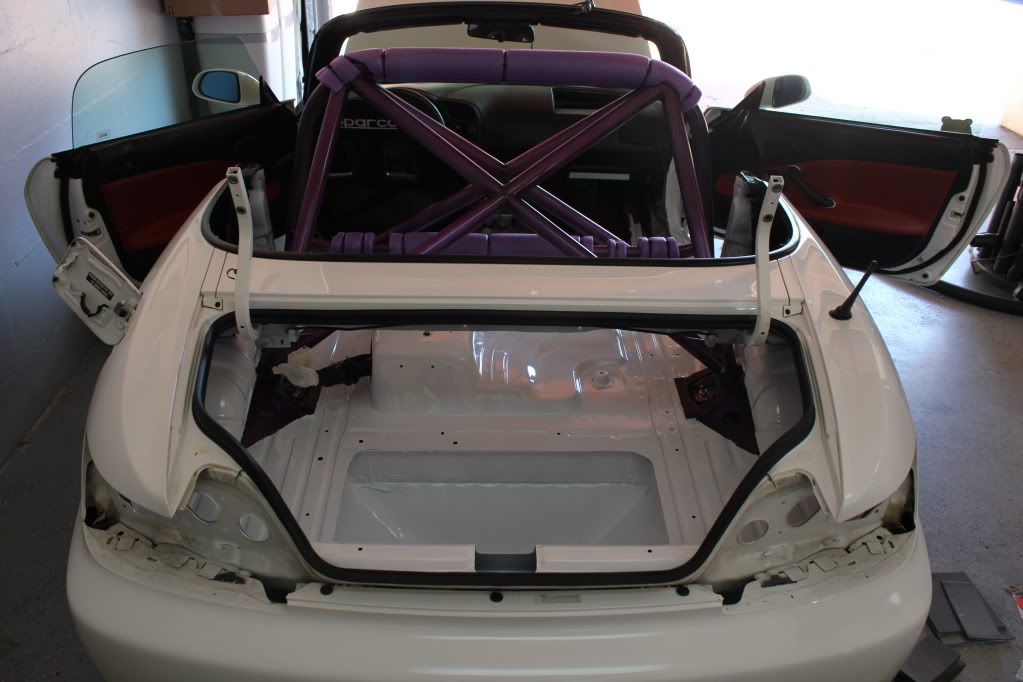
Finished the project up finally today, figured I'd post up the last pics today.
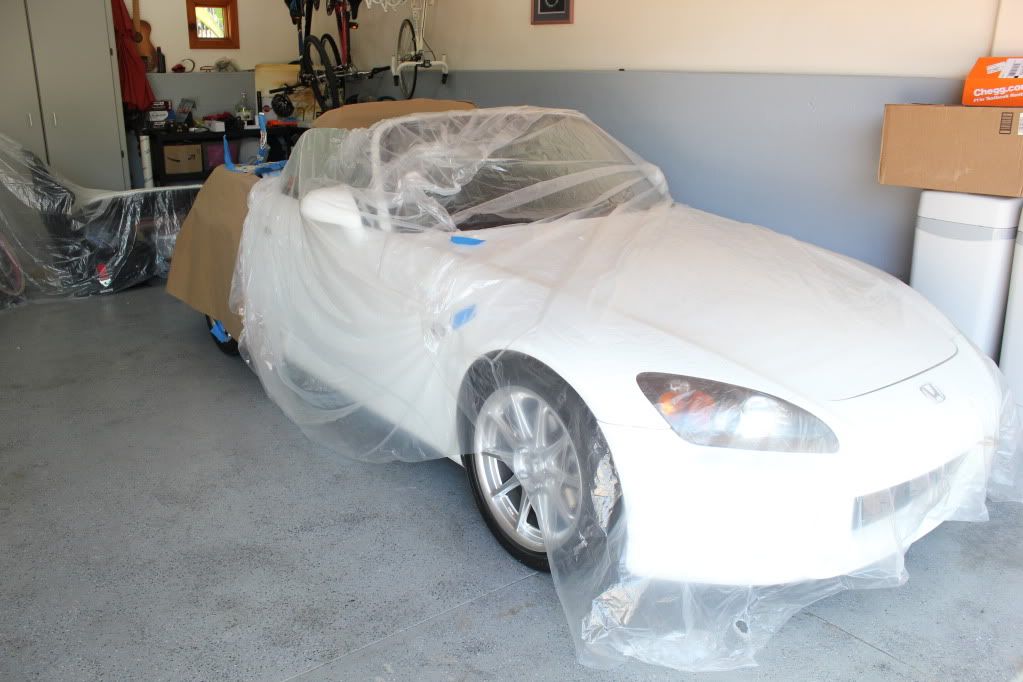
Covered car up to keep overspray off when painting inside the trunk area
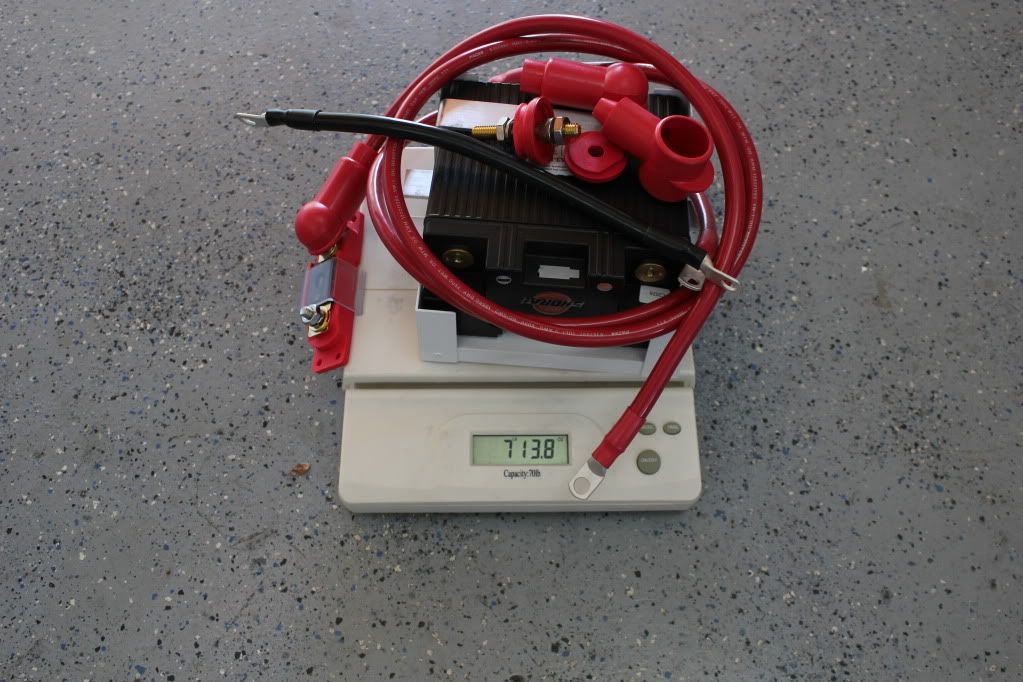
Nearly every component to the entire relocation, only things missing are 1/2 roll of electrical tape, a battery post, and a few more misc bits of hardware...final total was probably really close to 8lbs
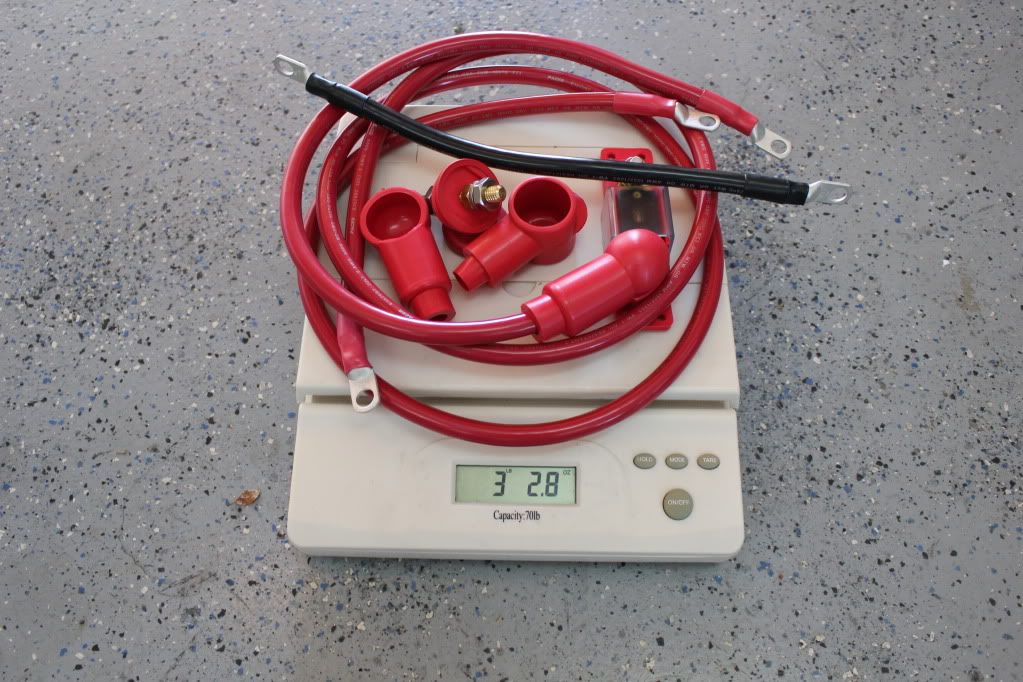
Just the wiring 2awg
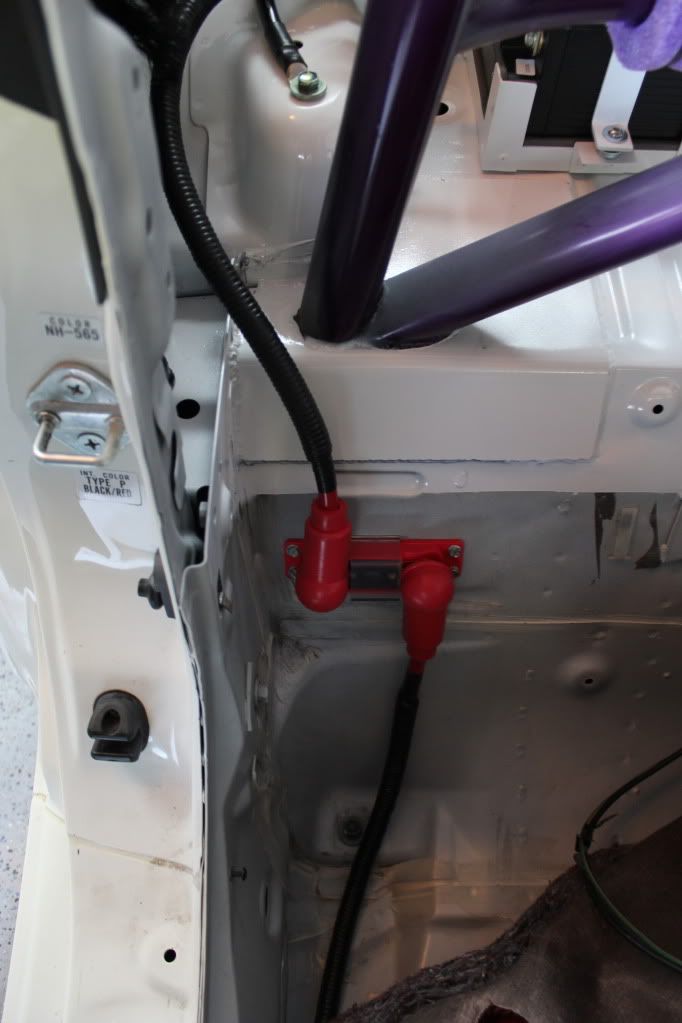
Firewall pass-thru fitting, utilized the OE positive battery connection, this is where the battery post was screwed onto

Other side

The battery came with a bunch of self-adhesive foam that they suggest using when mounting the battery
It also came with pretty cool 90 degree posts with anti-rotation set screws
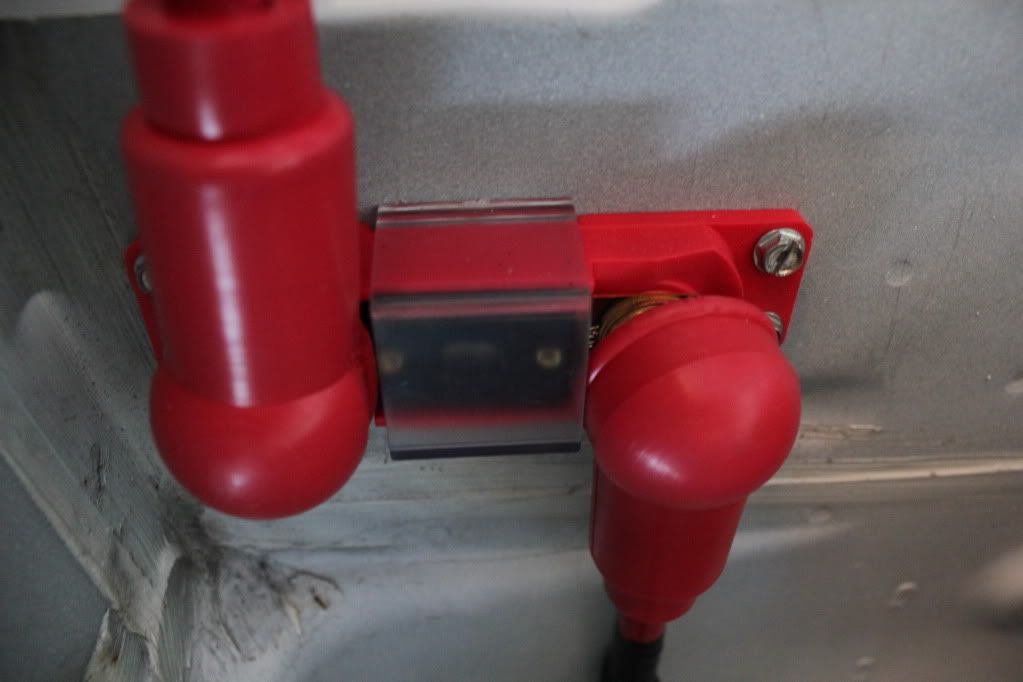
Here is the fuse holder and where I mounted it, using a 150a fuse, seems to be working just fine.
And finally some finished pictures
I still need a post cover for the positive side at the battery, but might be looking into building a sort of lexan cover for the whole thing. Anyway, things are VERY slowly coming together the way I want, and I'm pretty happy with the way this turned out...hope you guys like
Covered car up to keep overspray off when painting inside the trunk area
Nearly every component to the entire relocation, only things missing are 1/2 roll of electrical tape, a battery post, and a few more misc bits of hardware...final total was probably really close to 8lbs
Just the wiring 2awg
Firewall pass-thru fitting, utilized the OE positive battery connection, this is where the battery post was screwed onto
Other side
The battery came with a bunch of self-adhesive foam that they suggest using when mounting the battery
It also came with pretty cool 90 degree posts with anti-rotation set screws
Here is the fuse holder and where I mounted it, using a 150a fuse, seems to be working just fine.
And finally some finished pictures
I still need a post cover for the positive side at the battery, but might be looking into building a sort of lexan cover for the whole thing. Anyway, things are VERY slowly coming together the way I want, and I'm pretty happy with the way this turned out...hope you guys like

 Nice setup. And I like your cage. never really looked at it.