
o_O S2000 | Mk I — Stage II
 05-05-2018, 11:36 PM
#3111

Thread Starter
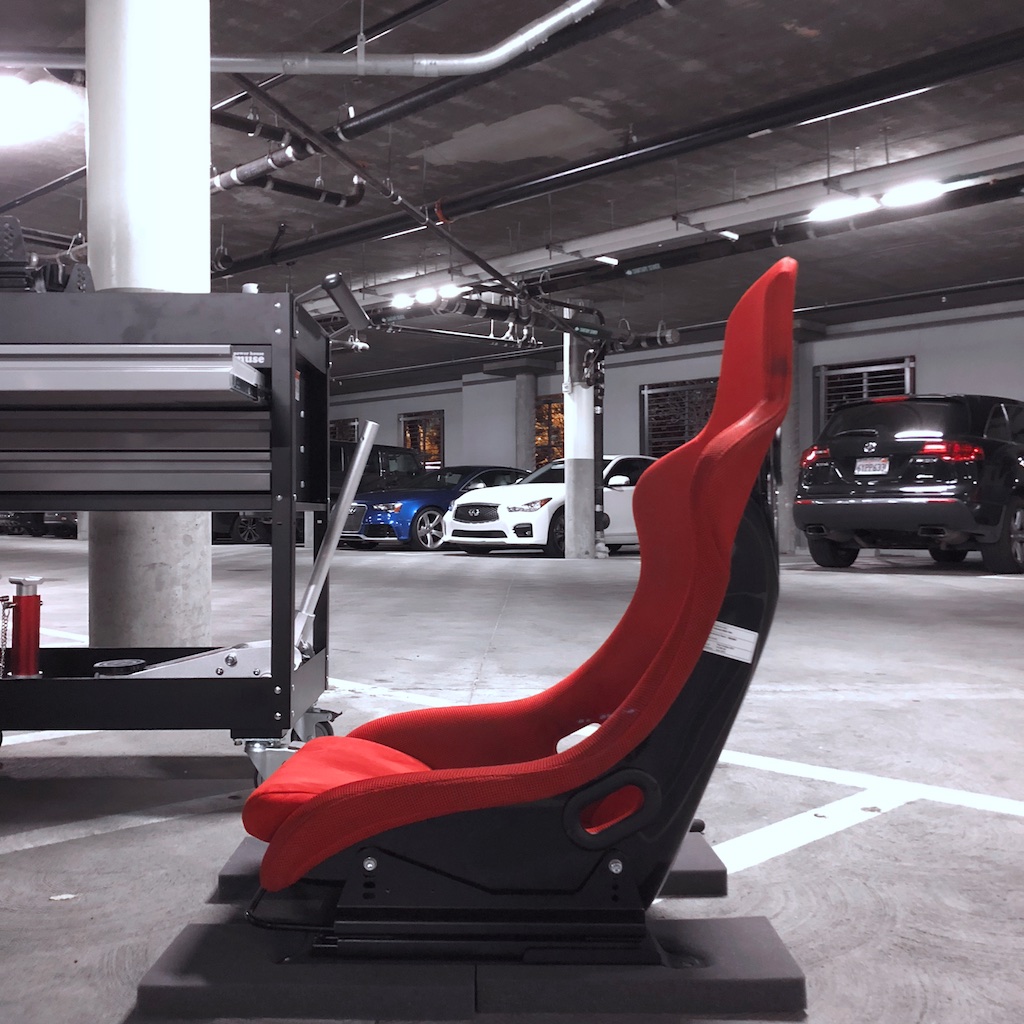
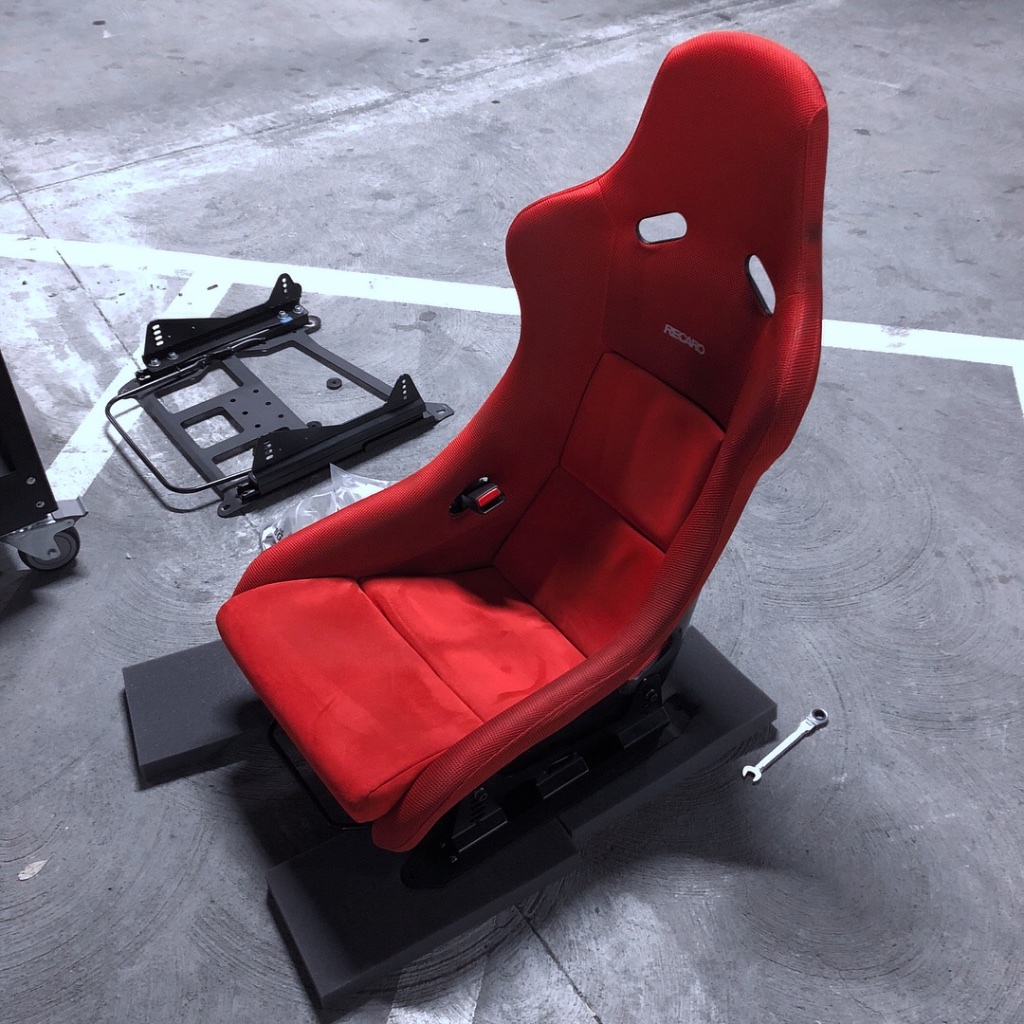
PCI driver's side slider seat mount installed
A few days later I got the new driver's side seat mount installed. This new design was something Rogue Motorsports worked with PCI on to better accommodate wider seats like the Pole Position and allow them to sit as low as possible while still being extremely strong, if not even stronger than the previous base with some more triangulation. They also worked up some new Pole Position specific side mounts that allow the rear of the seat to be mounted much lower than before. The weight between the two is basically the same with the sliders and everything mounted. For me having sliders in the driver's seat is still a necessity as my car will be worked on my shops and mechanics that aren't as tall asI am at 6'2". If you want to save as much weight as possible and don't care about having sliders than the adjustable mount is the way to go.
Again here is the previous version I had installed. Like the passenger side, the Pole Position had to be installed on the highest setting in the rear. These side mounts are also shorter than the new style side mounts just like the old passenger side. So not really ideal for the Pole Position.

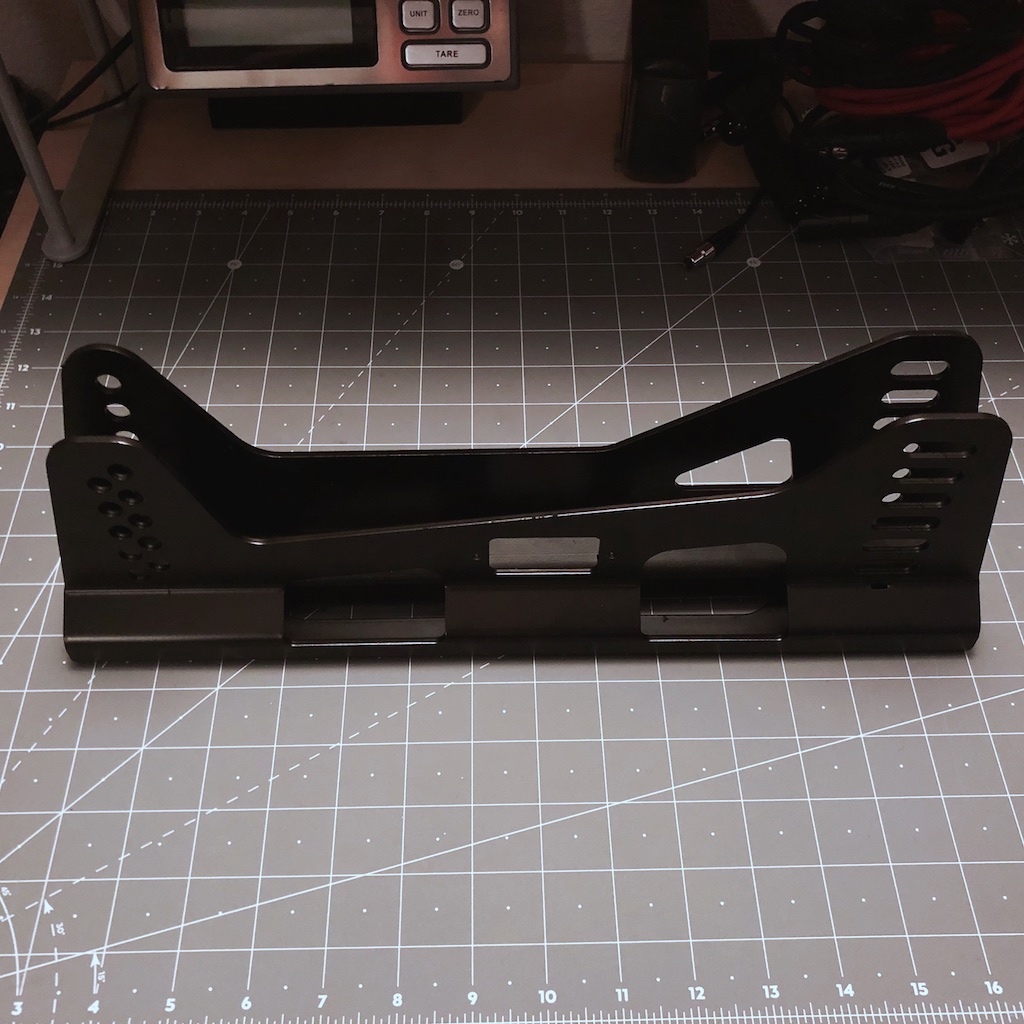
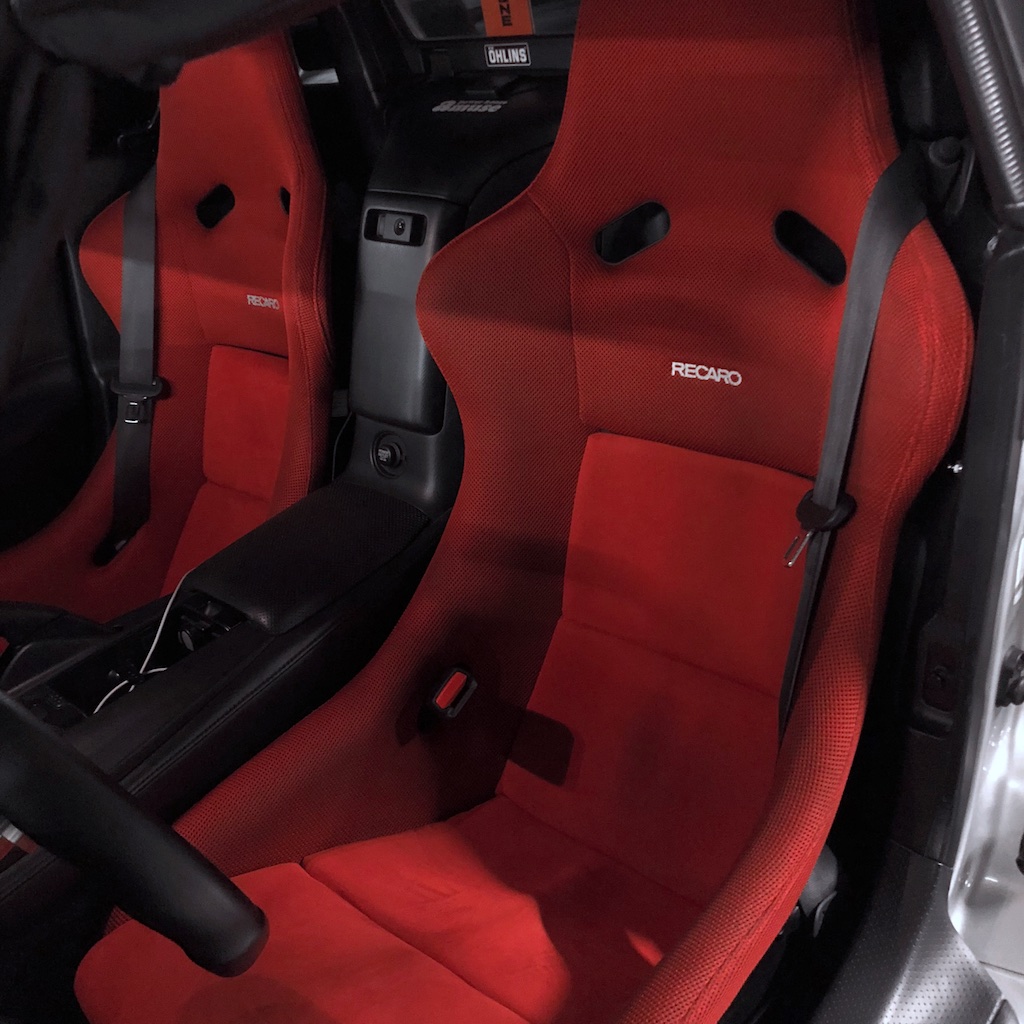
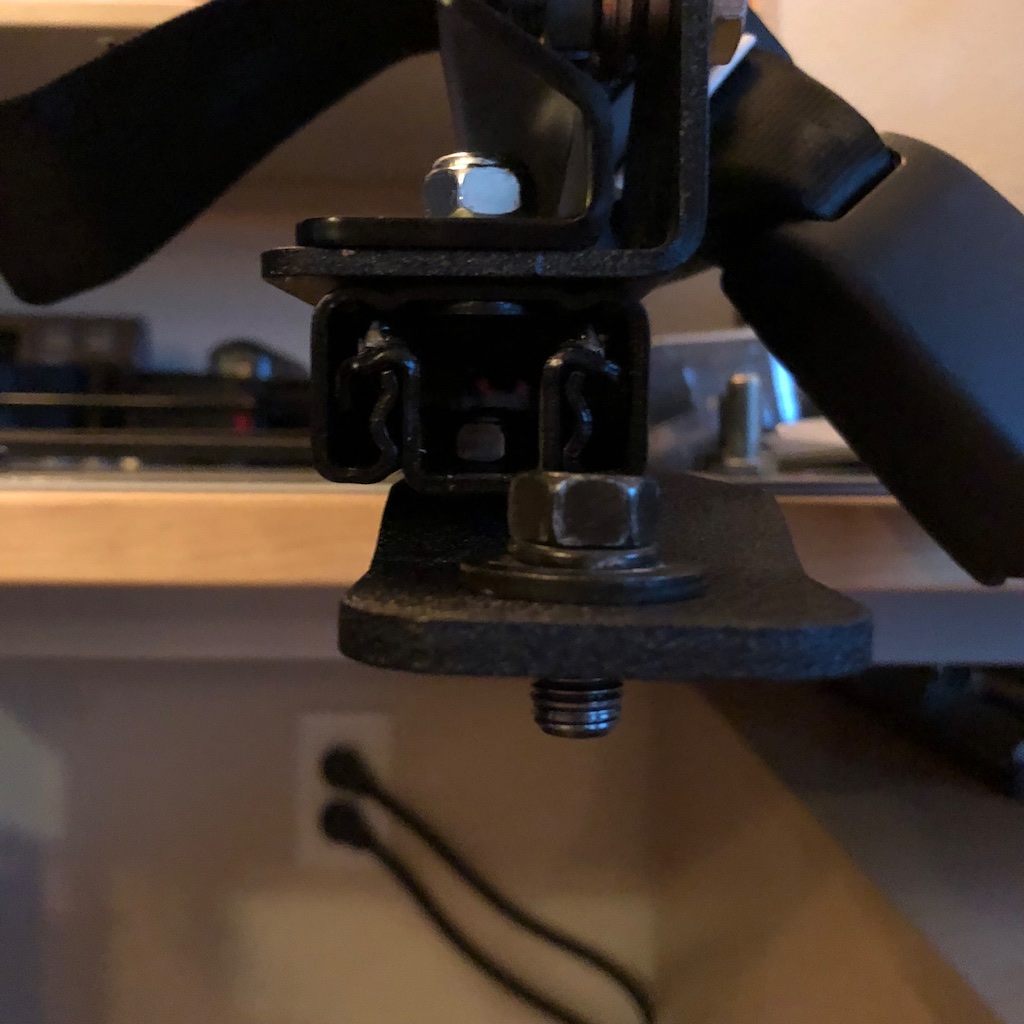
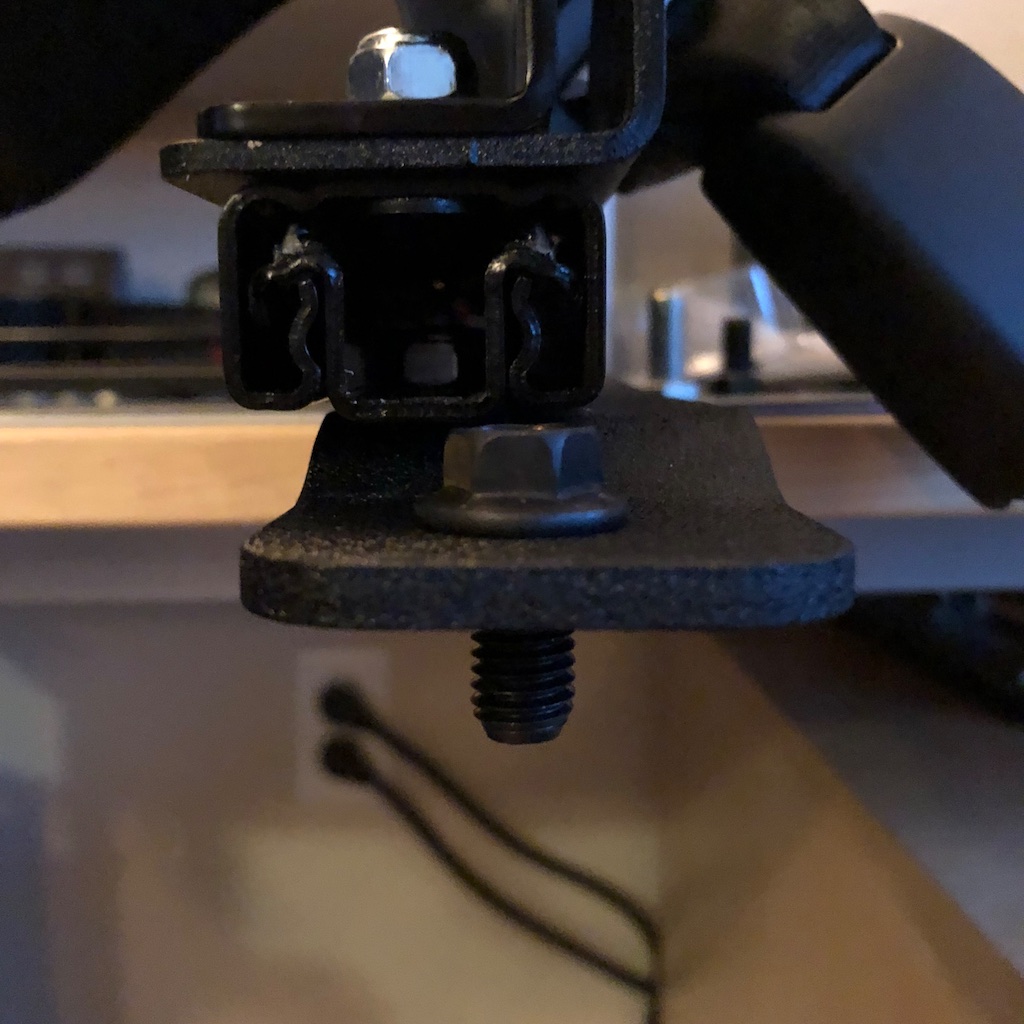
Here you can see the new mounts with newly designed side mounts. You can see that the rear of the side mount has staggered mounting holes for more fine tuning. This allows the rear of the seat to sit right on the carpet.
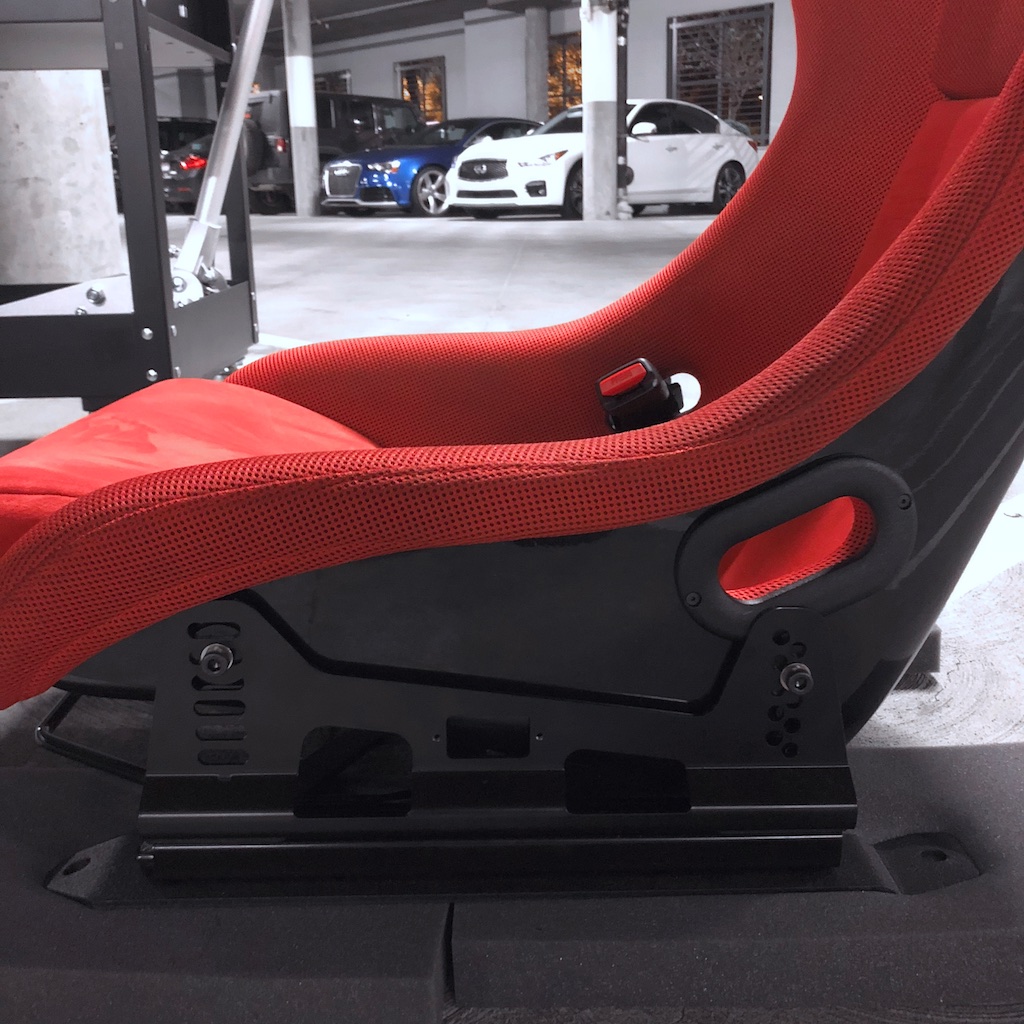
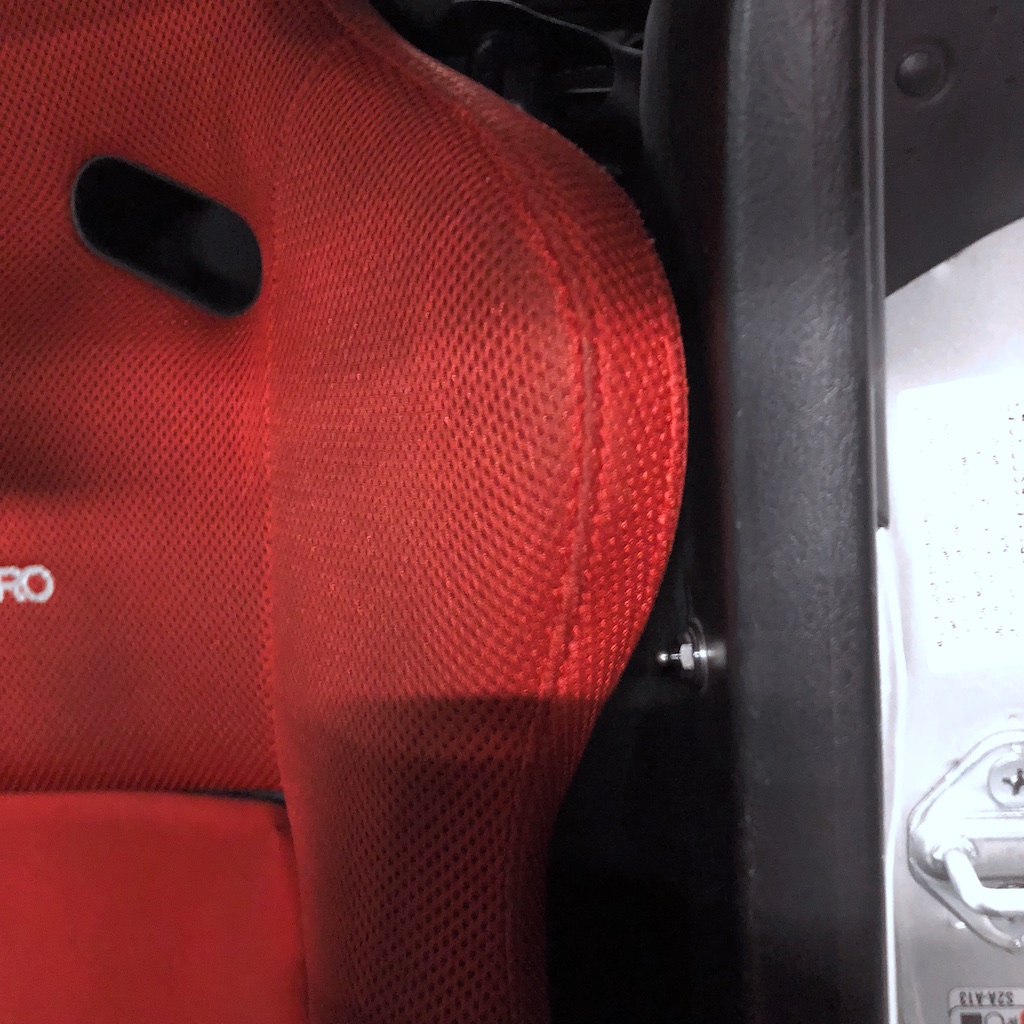
You can see in this photo I am using 4/5 on the front, and 7/10 on the rear. This was the lowest position I could get the rear. At this position the seat is essentially sitting on the carpet. When sitting in the seat and adjusting on the slider, it took a few slides back and forth against the floor to make sliding a bit easier.
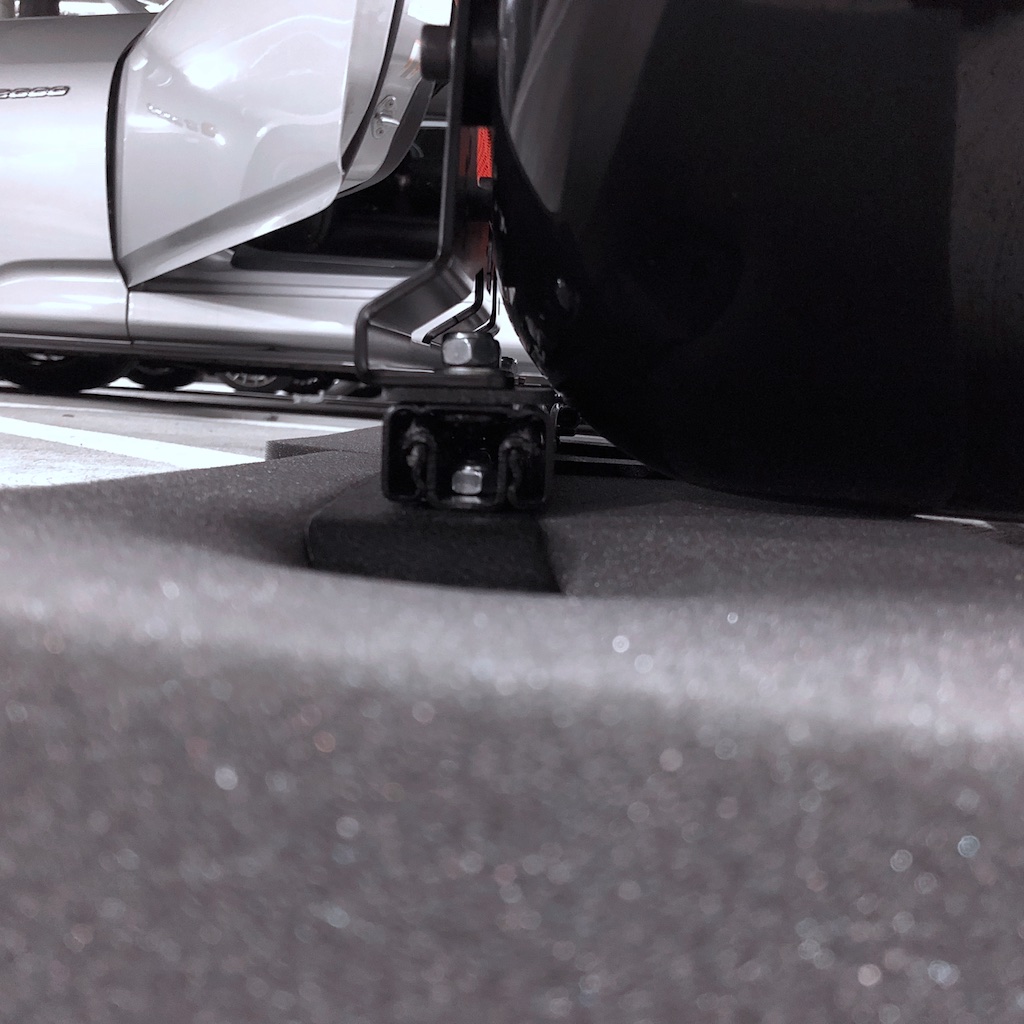

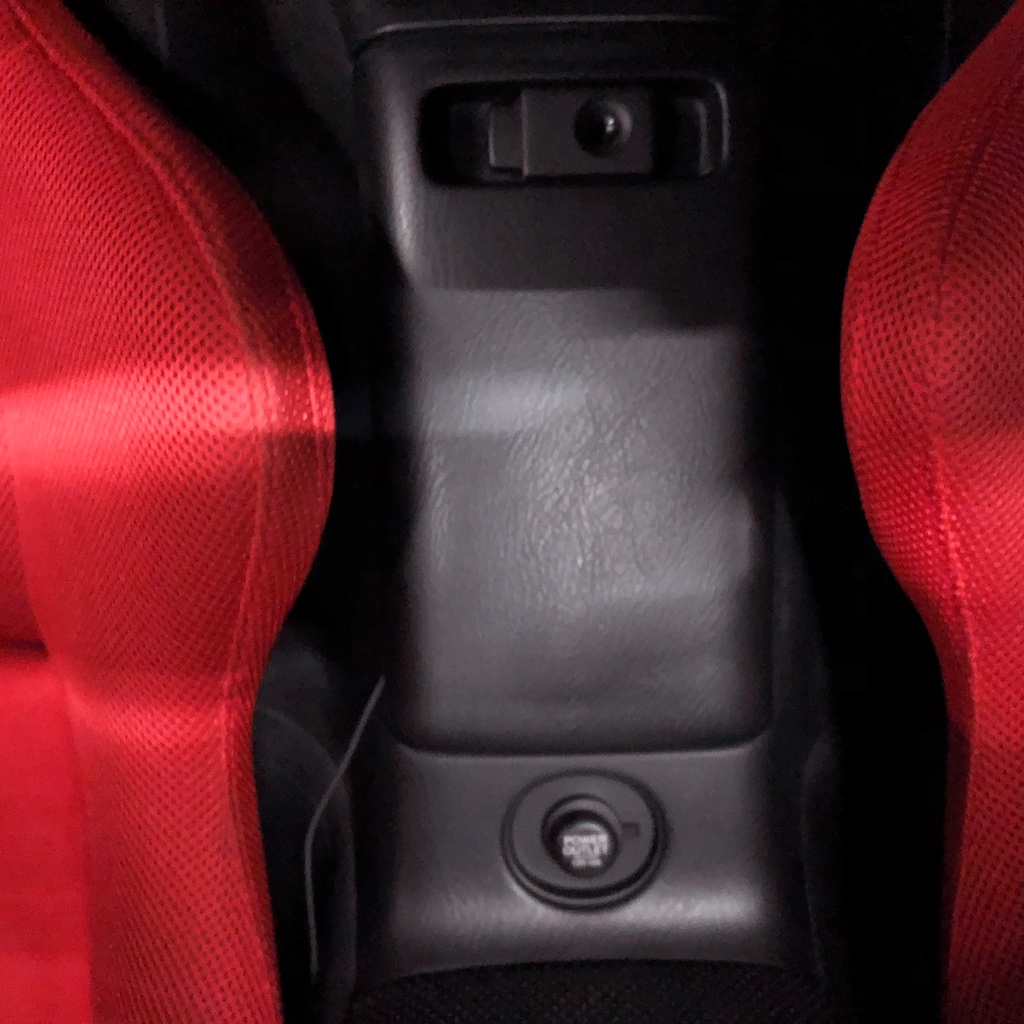
These photos give a basic idea of how low the rear of the seat is able to sit.
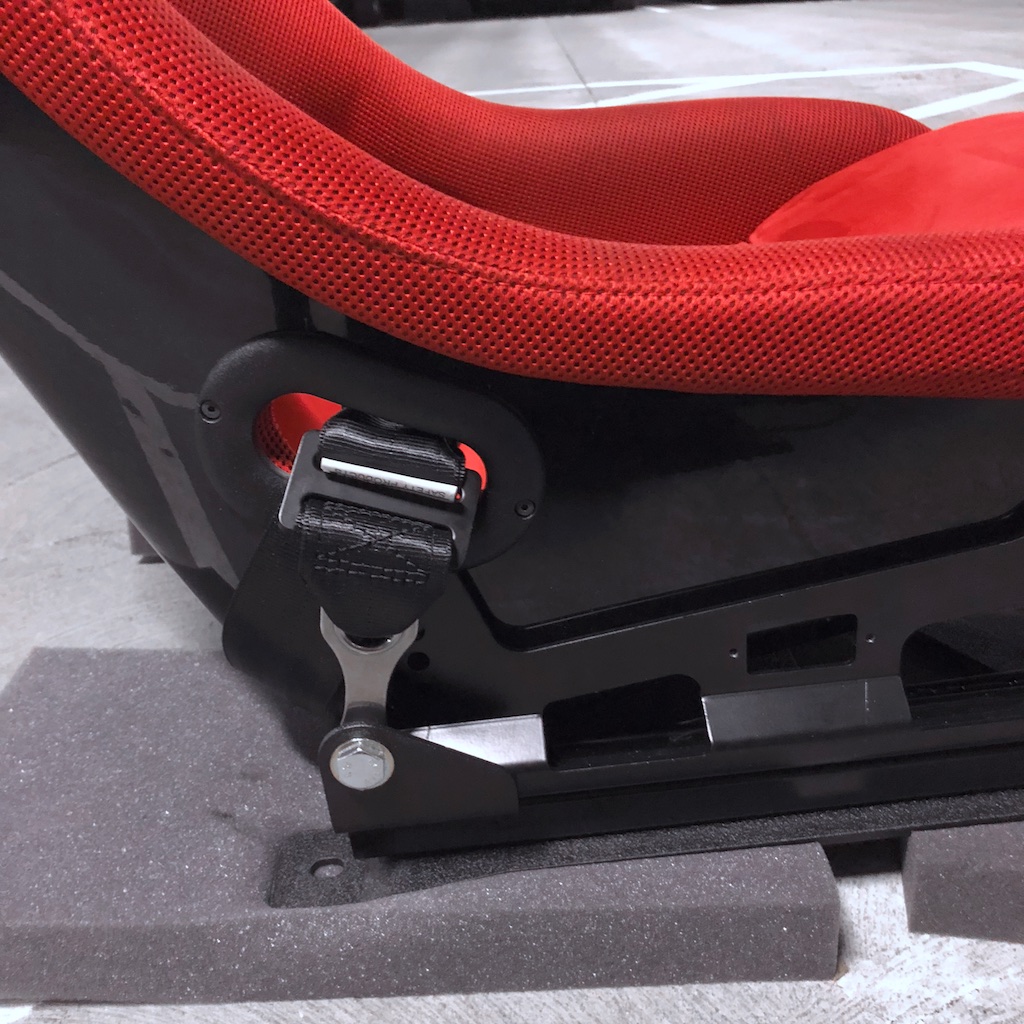
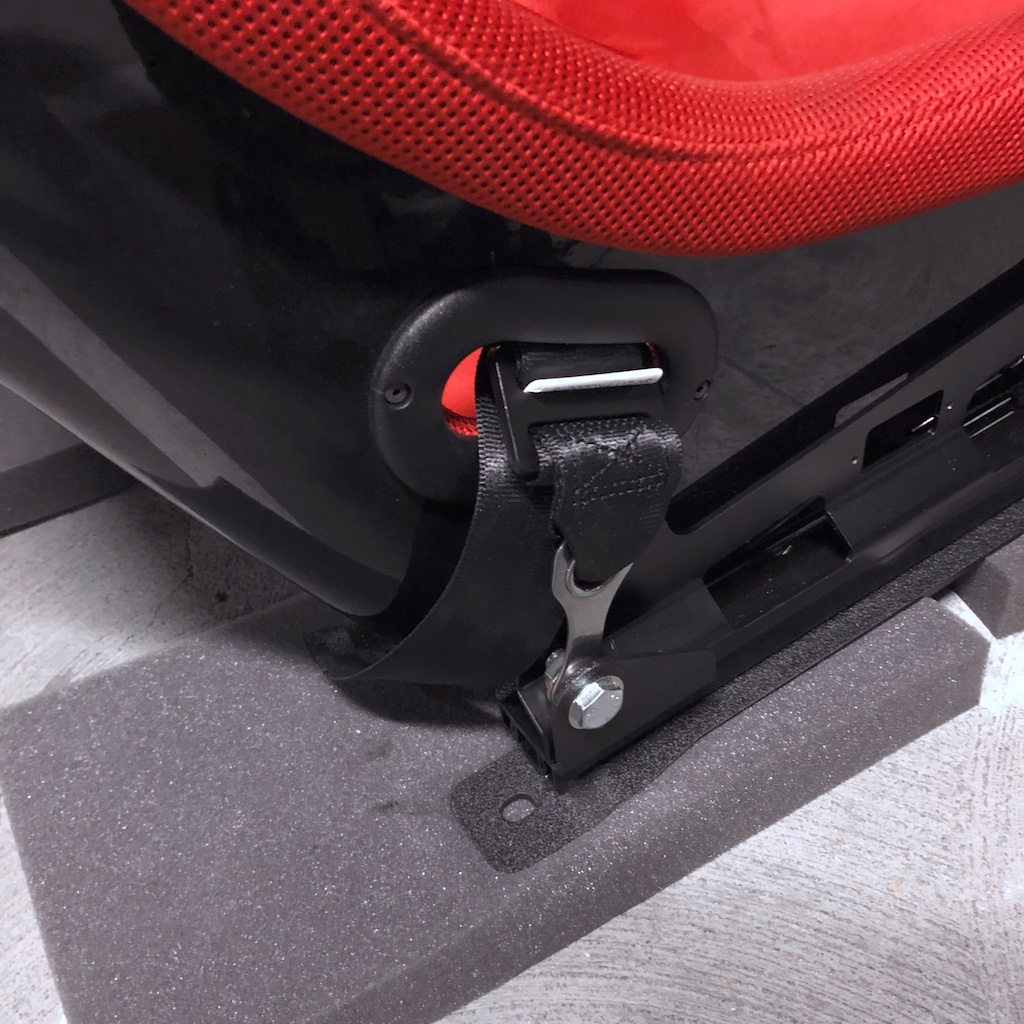
And again the Schroth lap belt/OEM style receptacle combo is mounted onto the base the same as the passenger side. There is just enough space to use the Schroth 25mm long bolt, with spacer, washers and nut like before. I made sure to push the seat belt mounting bracket all the way up against the side mount to provide as much transmission tunnel clearance as possible. This was another issue with the previous setup. It put the seat belt mounting point right up against the trans tunnel carpet, and would sort of interfere with sliding the seat. Wasn't a major problem but this setup provides much better clearance and easier sliding.
I am extremely happy with the seating position, allowing me to get the rear of the seat even lower than before, and much happier with the position I was able to get the seat setup at. Install was very similar to the passenger side. Mount up everything with the side mounts loose on the base. Get in the seat to position from side to side and at the correct angle, then tighten up the front side mount bolts to lock the position in, then remove everything so you can tighten it all up and then remount in the car. Making sure to pass the seat belt mount through the seat and installing it into the chassis before mounting the seat back in the car.
The only small issue I ran into when mounting the base was with how the seat belt mounts to the chassis on the driver's side. It uses a lot of extra washers that I needed to remove so that the shroud around the belt mounting would fit well with the base. The seat belt mount is still able to pivot around it's mounting point like before, but just doesn't stick out so much this way.
Another thing to keep in mind only if you are quite tall. The inside slider can come into contact with the OEM inside rear base mounting bolt because of how much it sticks up. I decided to get a shorter flange bolt to replace this bolt only to allow the slider to slide back as far as possible. Again though with the slider so far back to the point it comes into contact with this bolt, you have to be pretty tall. If you are 6' or shorter it shouldn't be a problem.
Extremely happy with this setup. It's so nice to get into the seat and have the receptacle not fall down below me. You do need to wrap the lap belt very tightly into the brackets to make it as short as possible to get proper positioning as you can see in my photos, but this process is pretty straightforward. If anyone has any issues or questions when trying to do this with the same parts let me know and I can probably help.
A few days later I got the new driver's side seat mount installed. This new design was something Rogue Motorsports worked with PCI on to better accommodate wider seats like the Pole Position and allow them to sit as low as possible while still being extremely strong, if not even stronger than the previous base with some more triangulation. They also worked up some new Pole Position specific side mounts that allow the rear of the seat to be mounted much lower than before. The weight between the two is basically the same with the sliders and everything mounted. For me having sliders in the driver's seat is still a necessity as my car will be worked on my shops and mechanics that aren't as tall asI am at 6'2". If you want to save as much weight as possible and don't care about having sliders than the adjustable mount is the way to go.
Again here is the previous version I had installed. Like the passenger side, the Pole Position had to be installed on the highest setting in the rear. These side mounts are also shorter than the new style side mounts just like the old passenger side. So not really ideal for the Pole Position.
Here you can see the new mounts with newly designed side mounts. You can see that the rear of the side mount has staggered mounting holes for more fine tuning. This allows the rear of the seat to sit right on the carpet.
You can see in this photo I am using 4/5 on the front, and 7/10 on the rear. This was the lowest position I could get the rear. At this position the seat is essentially sitting on the carpet. When sitting in the seat and adjusting on the slider, it took a few slides back and forth against the floor to make sliding a bit easier.
These photos give a basic idea of how low the rear of the seat is able to sit.
And again the Schroth lap belt/OEM style receptacle combo is mounted onto the base the same as the passenger side. There is just enough space to use the Schroth 25mm long bolt, with spacer, washers and nut like before. I made sure to push the seat belt mounting bracket all the way up against the side mount to provide as much transmission tunnel clearance as possible. This was another issue with the previous setup. It put the seat belt mounting point right up against the trans tunnel carpet, and would sort of interfere with sliding the seat. Wasn't a major problem but this setup provides much better clearance and easier sliding.
I am extremely happy with the seating position, allowing me to get the rear of the seat even lower than before, and much happier with the position I was able to get the seat setup at. Install was very similar to the passenger side. Mount up everything with the side mounts loose on the base. Get in the seat to position from side to side and at the correct angle, then tighten up the front side mount bolts to lock the position in, then remove everything so you can tighten it all up and then remount in the car. Making sure to pass the seat belt mount through the seat and installing it into the chassis before mounting the seat back in the car.
The only small issue I ran into when mounting the base was with how the seat belt mounts to the chassis on the driver's side. It uses a lot of extra washers that I needed to remove so that the shroud around the belt mounting would fit well with the base. The seat belt mount is still able to pivot around it's mounting point like before, but just doesn't stick out so much this way.
Another thing to keep in mind only if you are quite tall. The inside slider can come into contact with the OEM inside rear base mounting bolt because of how much it sticks up. I decided to get a shorter flange bolt to replace this bolt only to allow the slider to slide back as far as possible. Again though with the slider so far back to the point it comes into contact with this bolt, you have to be pretty tall. If you are 6' or shorter it shouldn't be a problem.
Extremely happy with this setup. It's so nice to get into the seat and have the receptacle not fall down below me. You do need to wrap the lap belt very tightly into the brackets to make it as short as possible to get proper positioning as you can see in my photos, but this process is pretty straightforward. If anyone has any issues or questions when trying to do this with the same parts let me know and I can probably help.

The following 2 users liked this post by andrewhake:
newold_m (08-15-2021),
ottawas2000guy (01-17-2019)
05-05-2018, 11:36 PM
#3112
Thread Starter
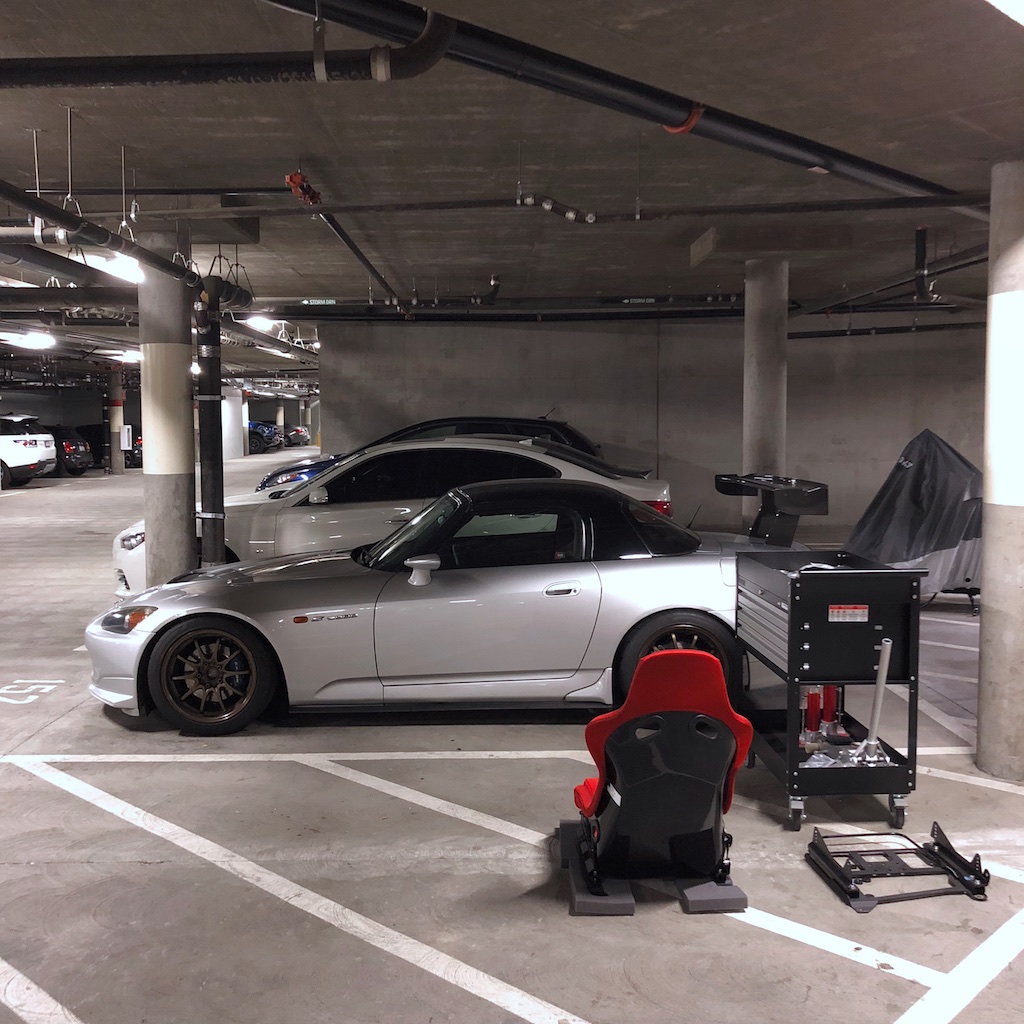
Here are a few photos of the car taken since I have last posted.
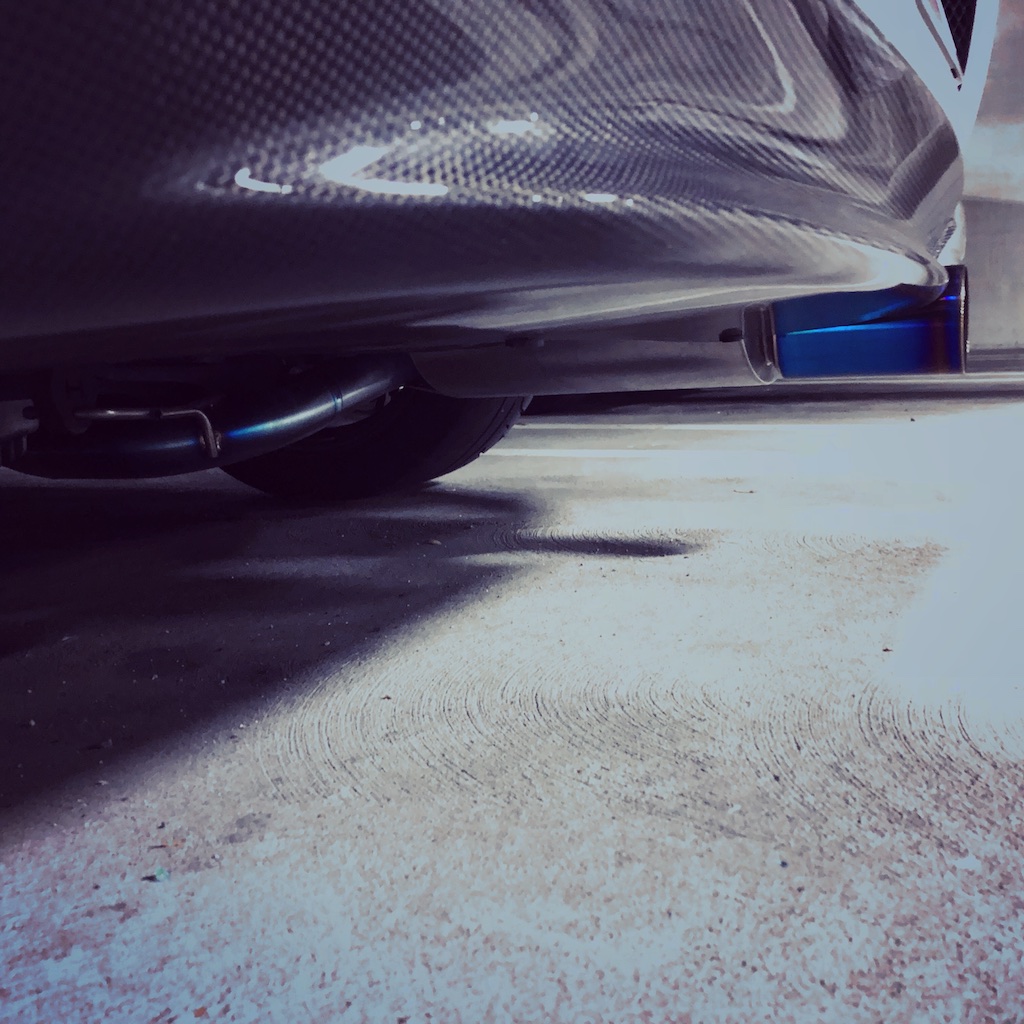
The 60mm Amuse Euro 6 is still installed on the car. I should have some time to get the 70mm installed towards the end of this month. The piping on these goes to through a cool cycle of blue to deep purple and slowly back to silver as you run it in more and more. The tip doesn't change color at all because it is anodized not just hit with a torch to heat up the tip.
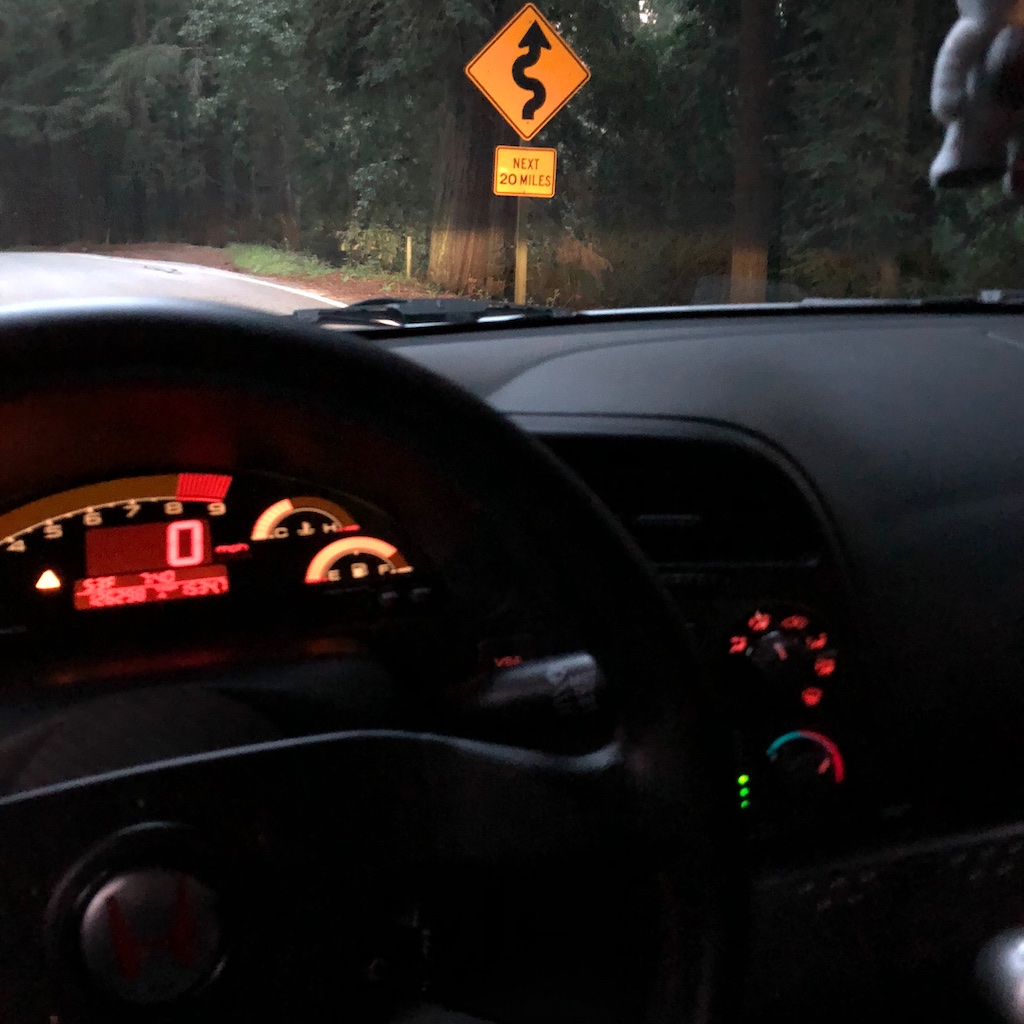
The car still regularly ventures out into the mountains of course.
And gets driven every day.
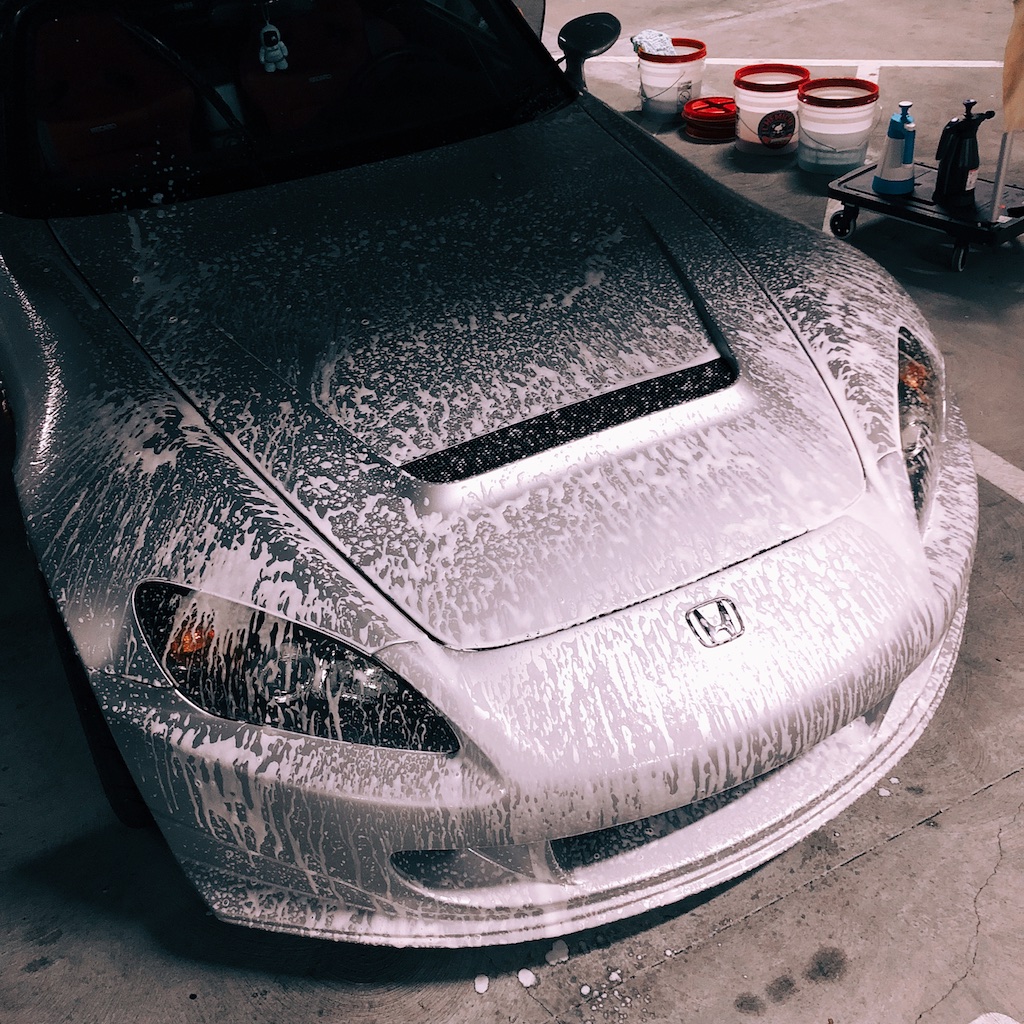
And sometimes even washed. I picked up the new foam sprayer from Ammo NYC and his new Frothe formula which works great if you don't have access to a hose for washing. I use this in combination with my normal Optimum No-rinse routine for washing and it is great.
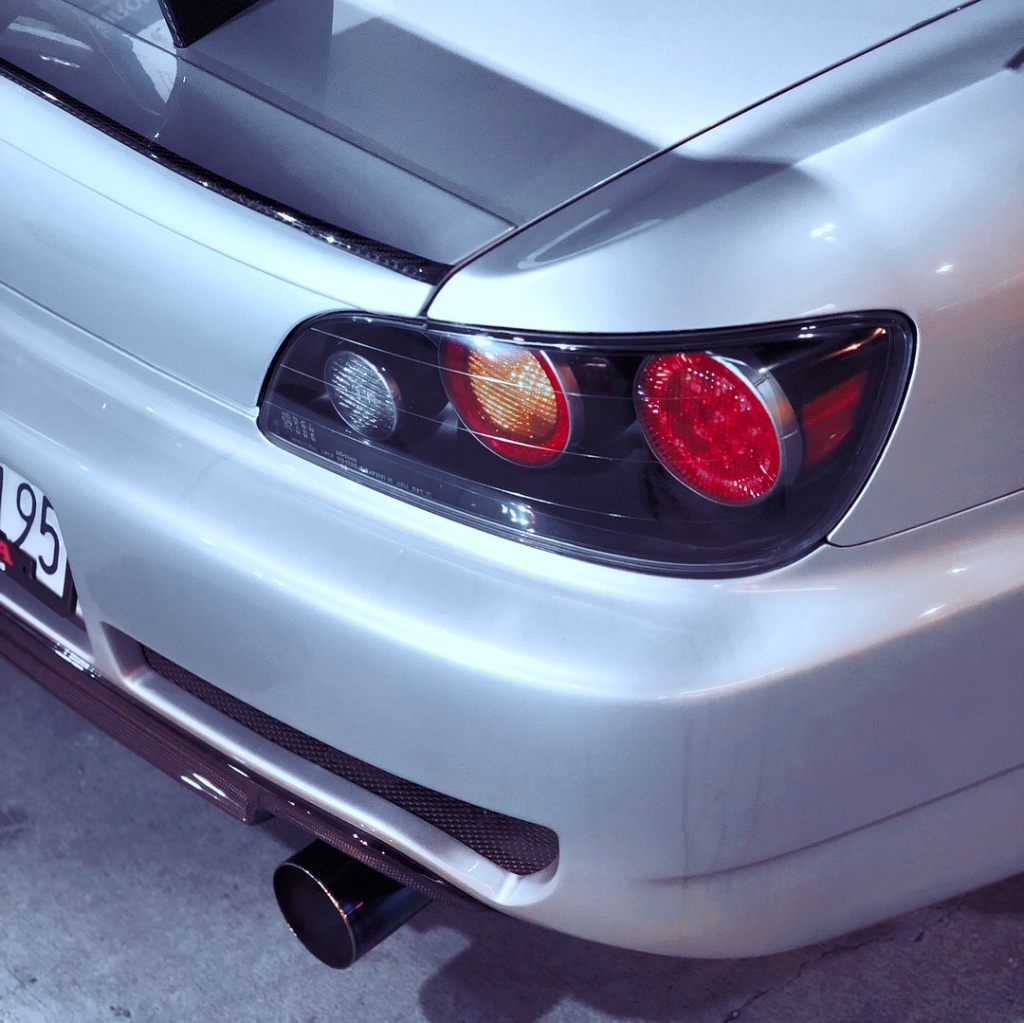
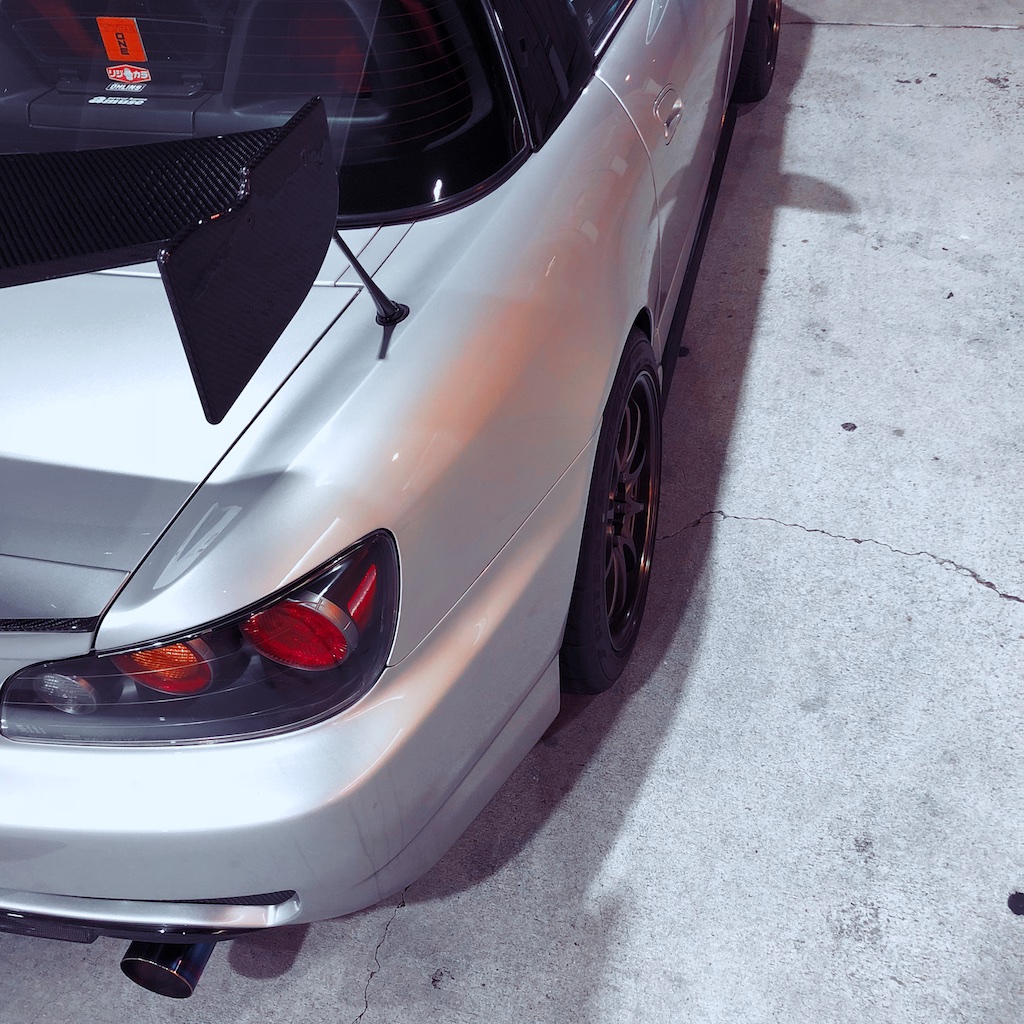

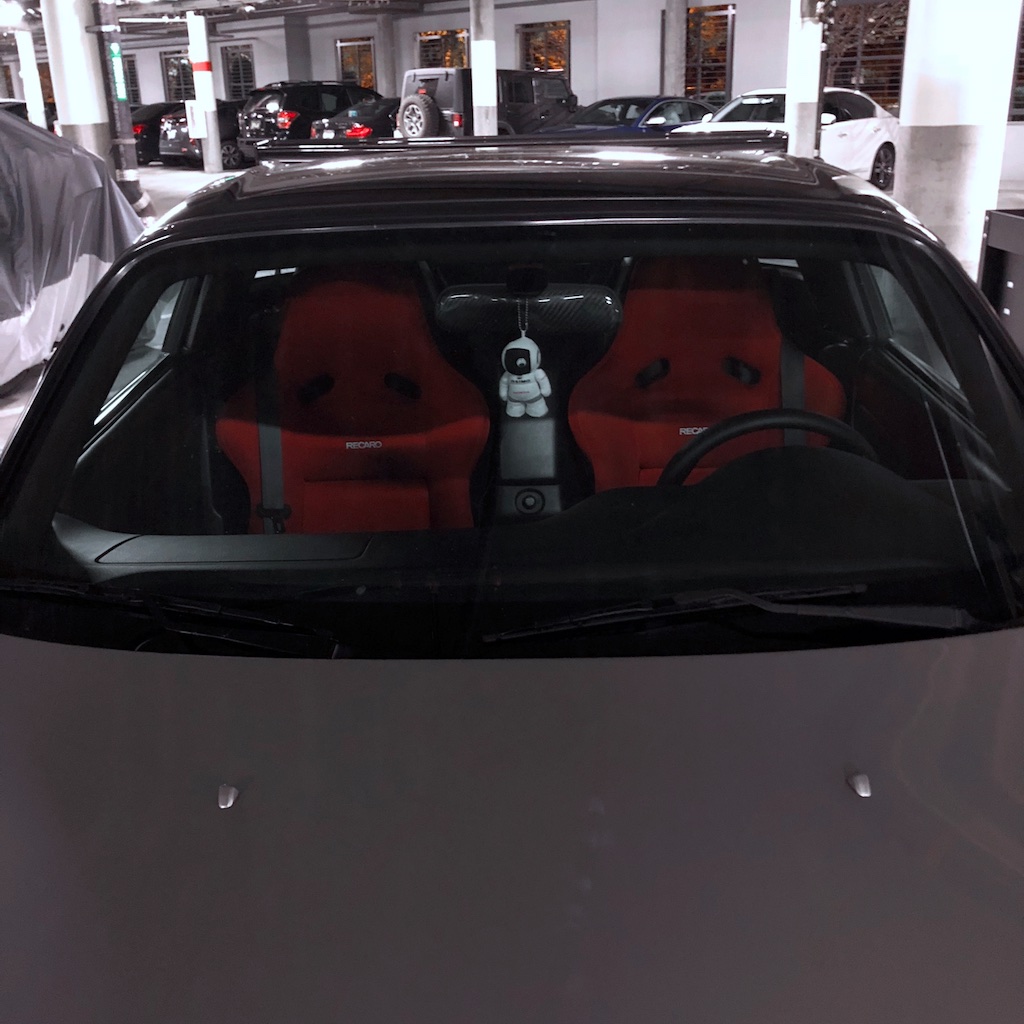
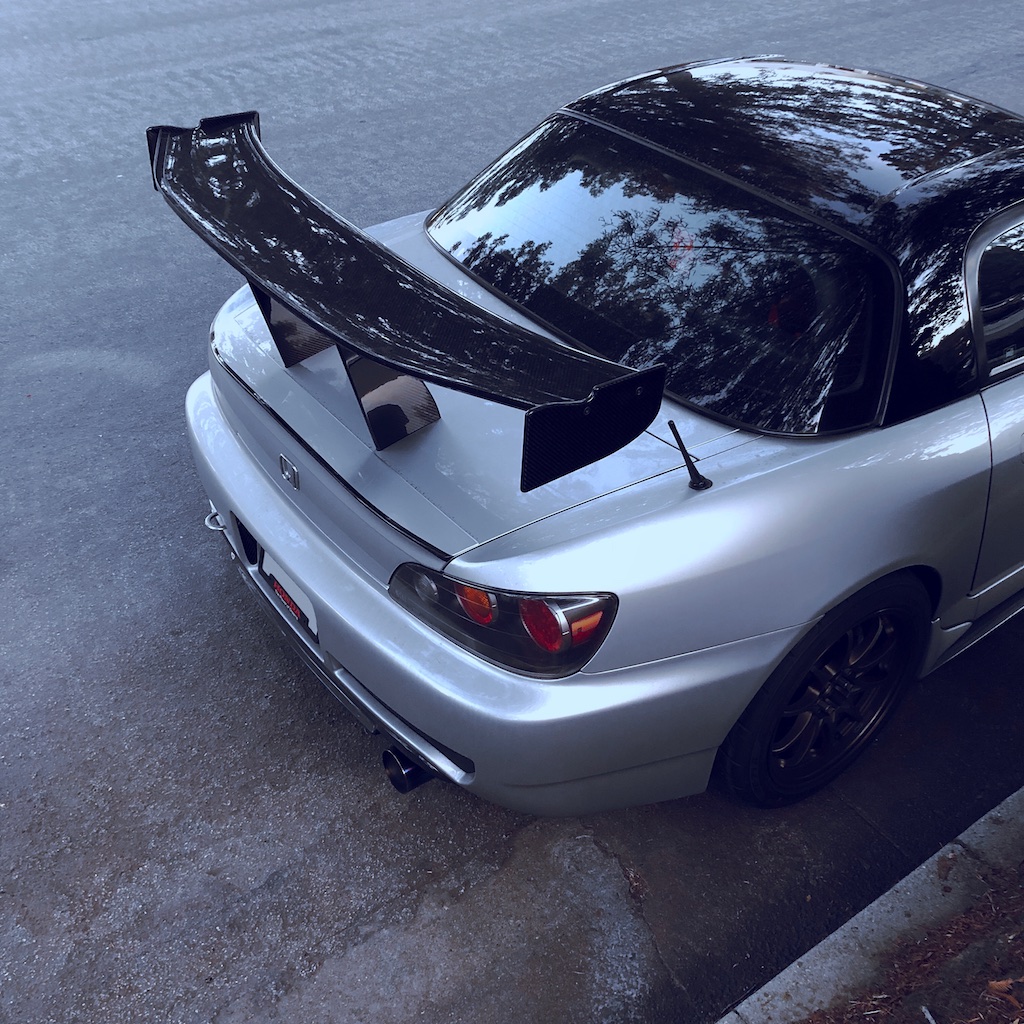
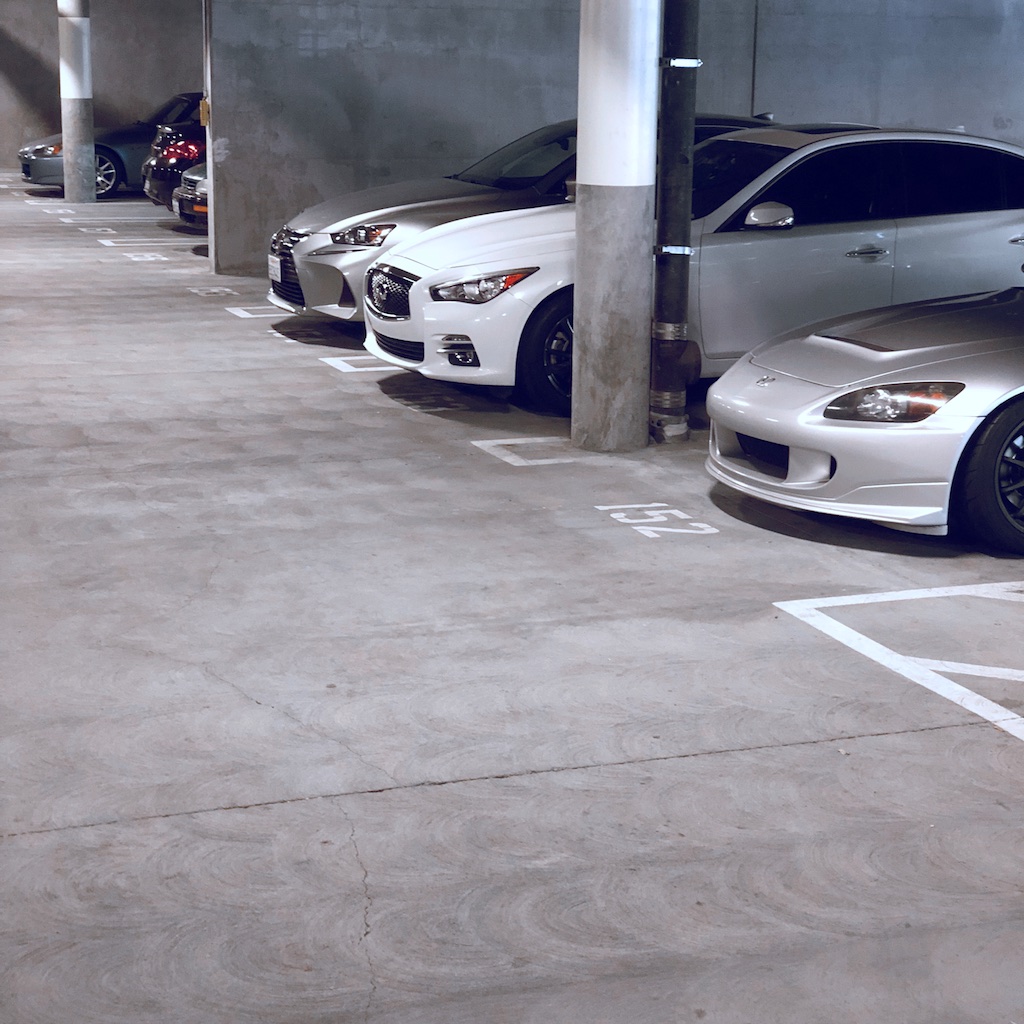
Very easy to get stuck admiring the rear of the car recently..
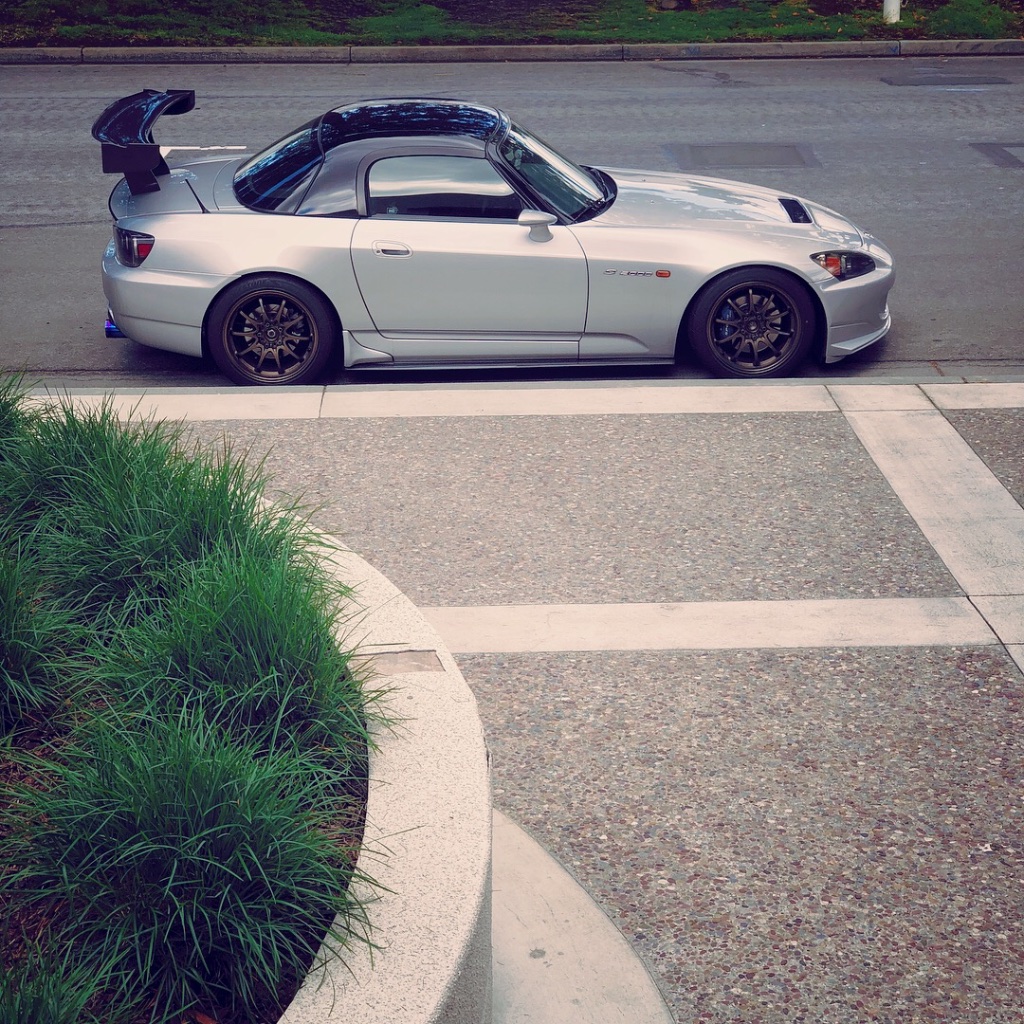

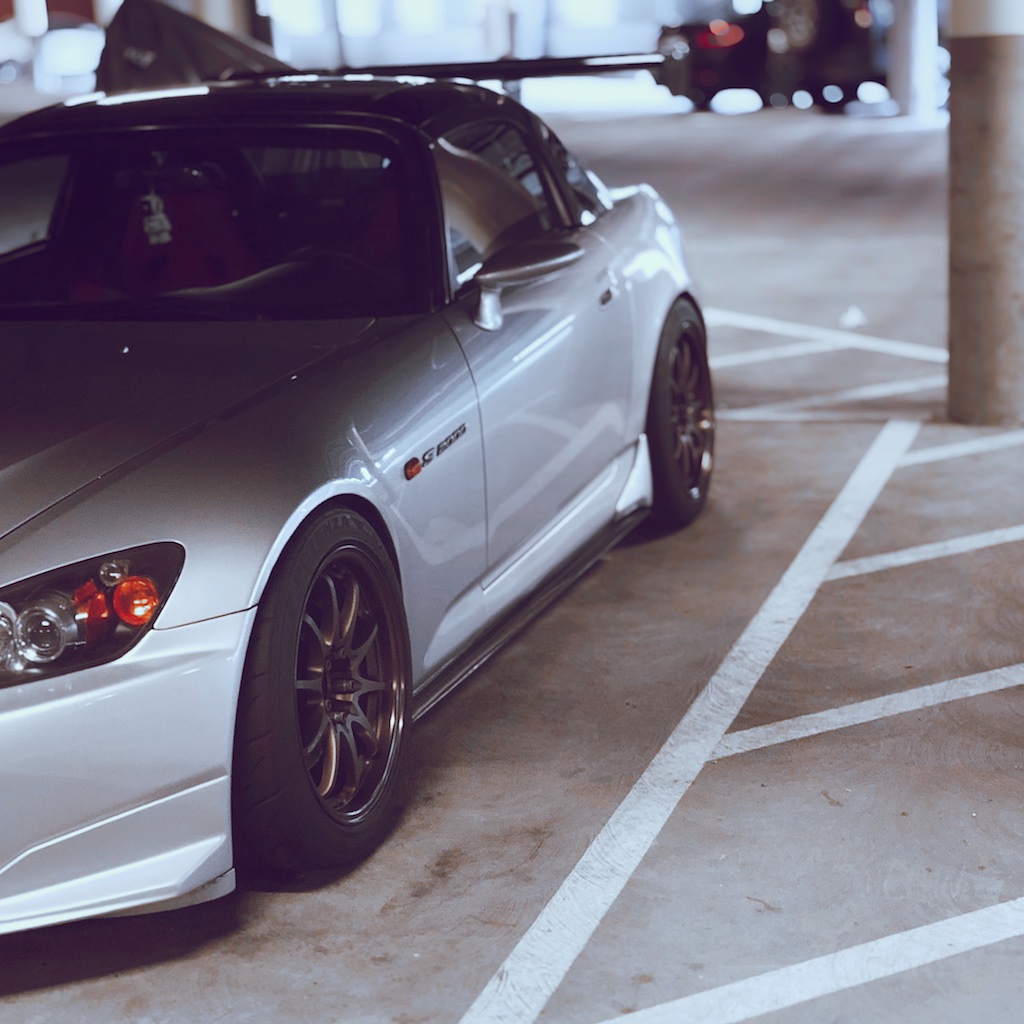
And of course that side profile. :crazyeyes:
The 60mm Amuse Euro 6 is still installed on the car. I should have some time to get the 70mm installed towards the end of this month. The piping on these goes to through a cool cycle of blue to deep purple and slowly back to silver as you run it in more and more. The tip doesn't change color at all because it is anodized not just hit with a torch to heat up the tip.
The car still regularly ventures out into the mountains of course.
And gets driven every day.
And sometimes even washed. I picked up the new foam sprayer from Ammo NYC and his new Frothe formula which works great if you don't have access to a hose for washing. I use this in combination with my normal Optimum No-rinse routine for washing and it is great.
Very easy to get stuck admiring the rear of the car recently..
And of course that side profile. :crazyeyes:
05-05-2018, 11:37 PM
#3113
Thread Starter
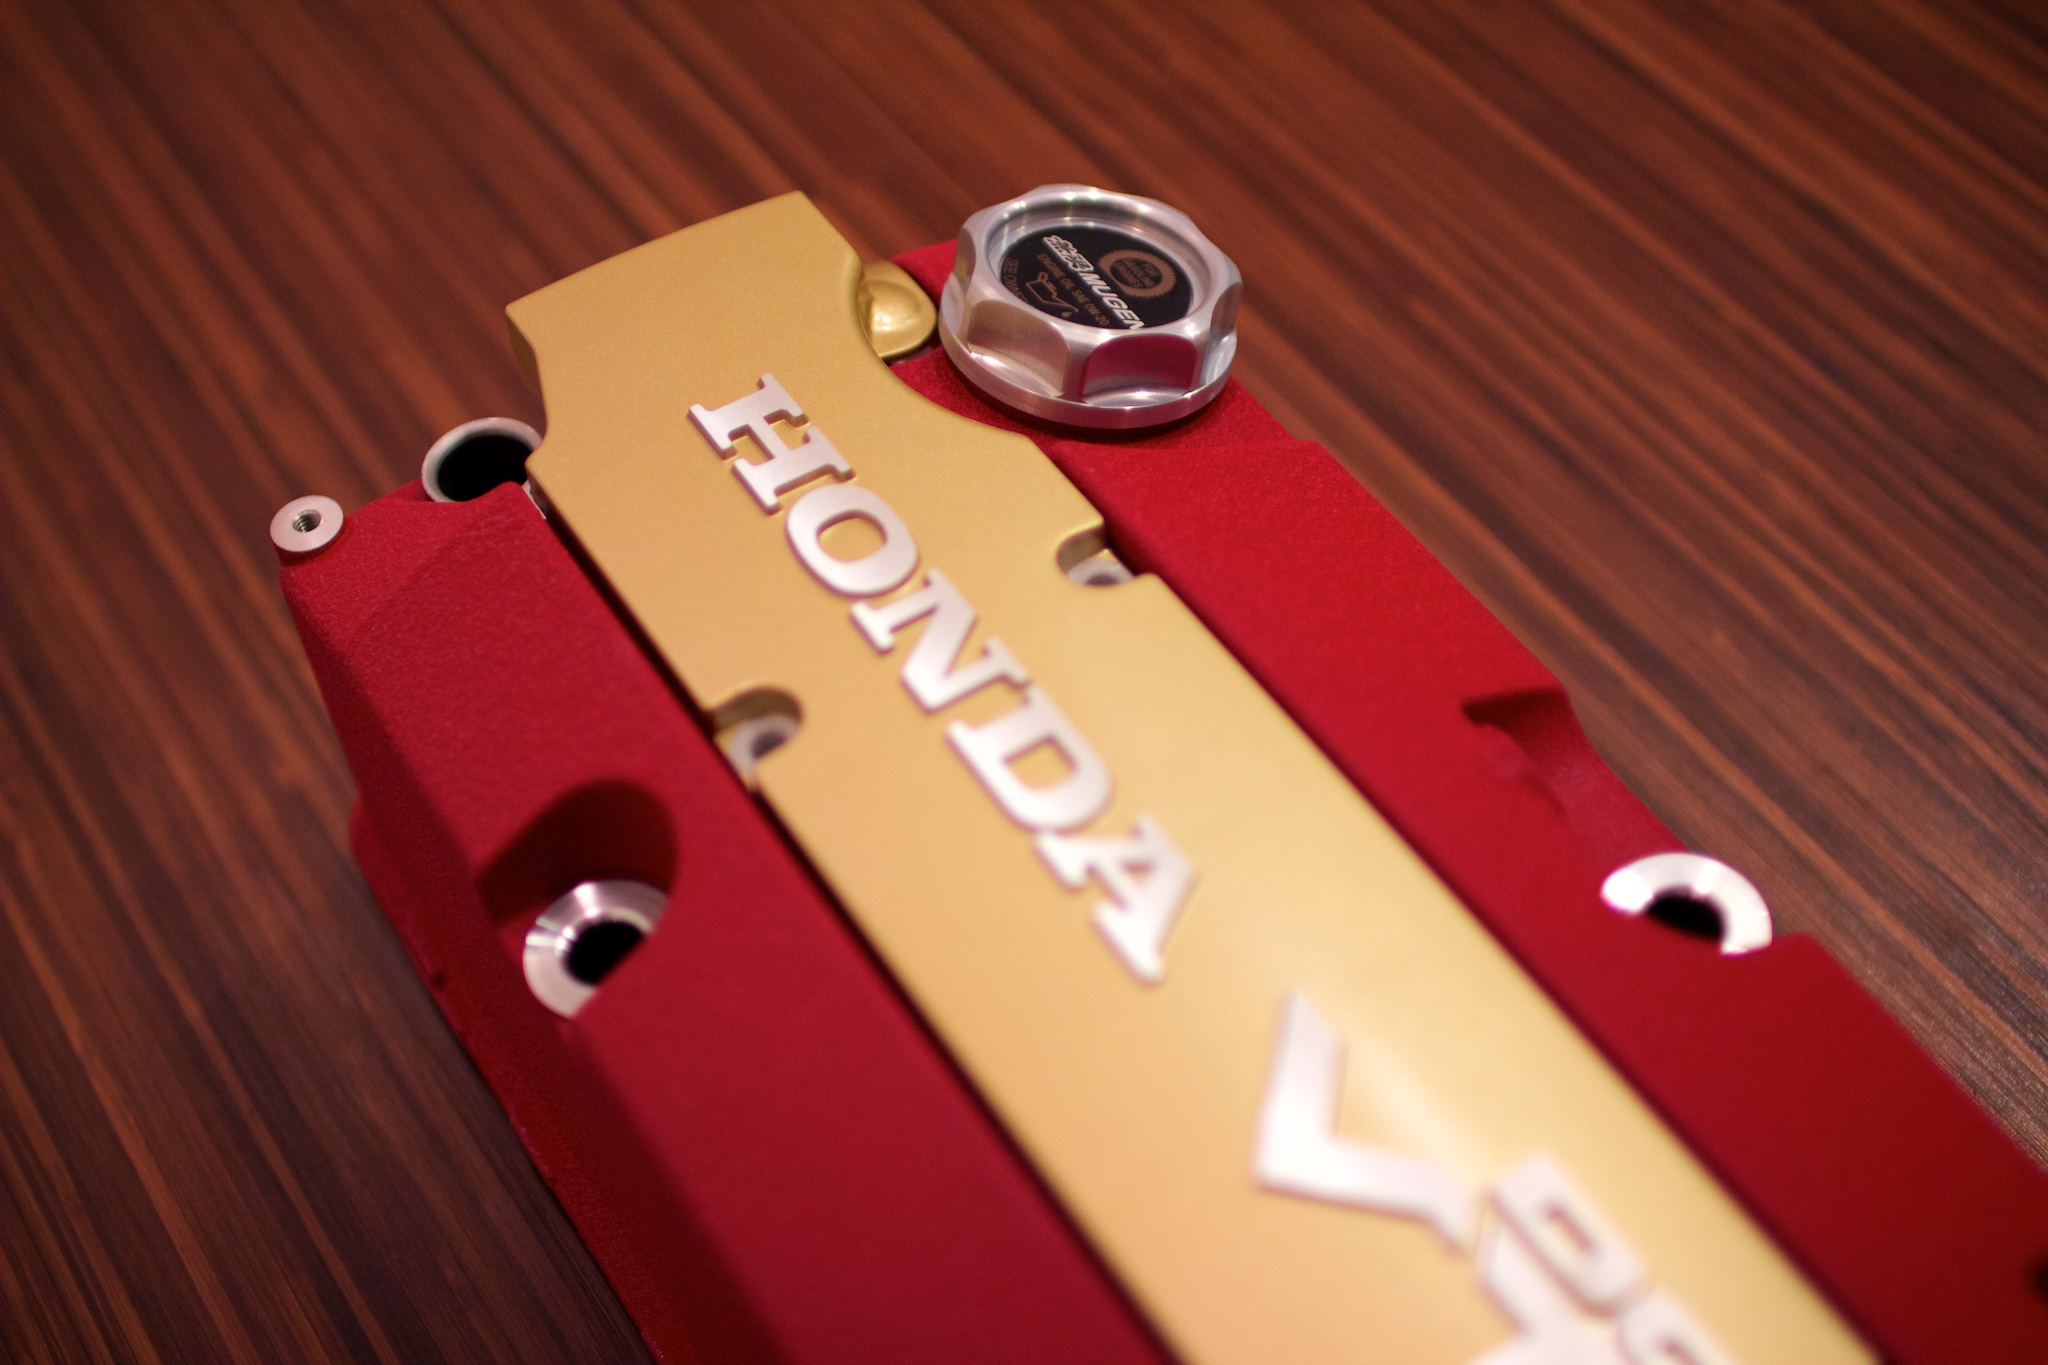
Spare valve covers
I decided to pick up some spare valve covers and coil pack covers as well as a Mugen oil cap (that I have some other plans for).
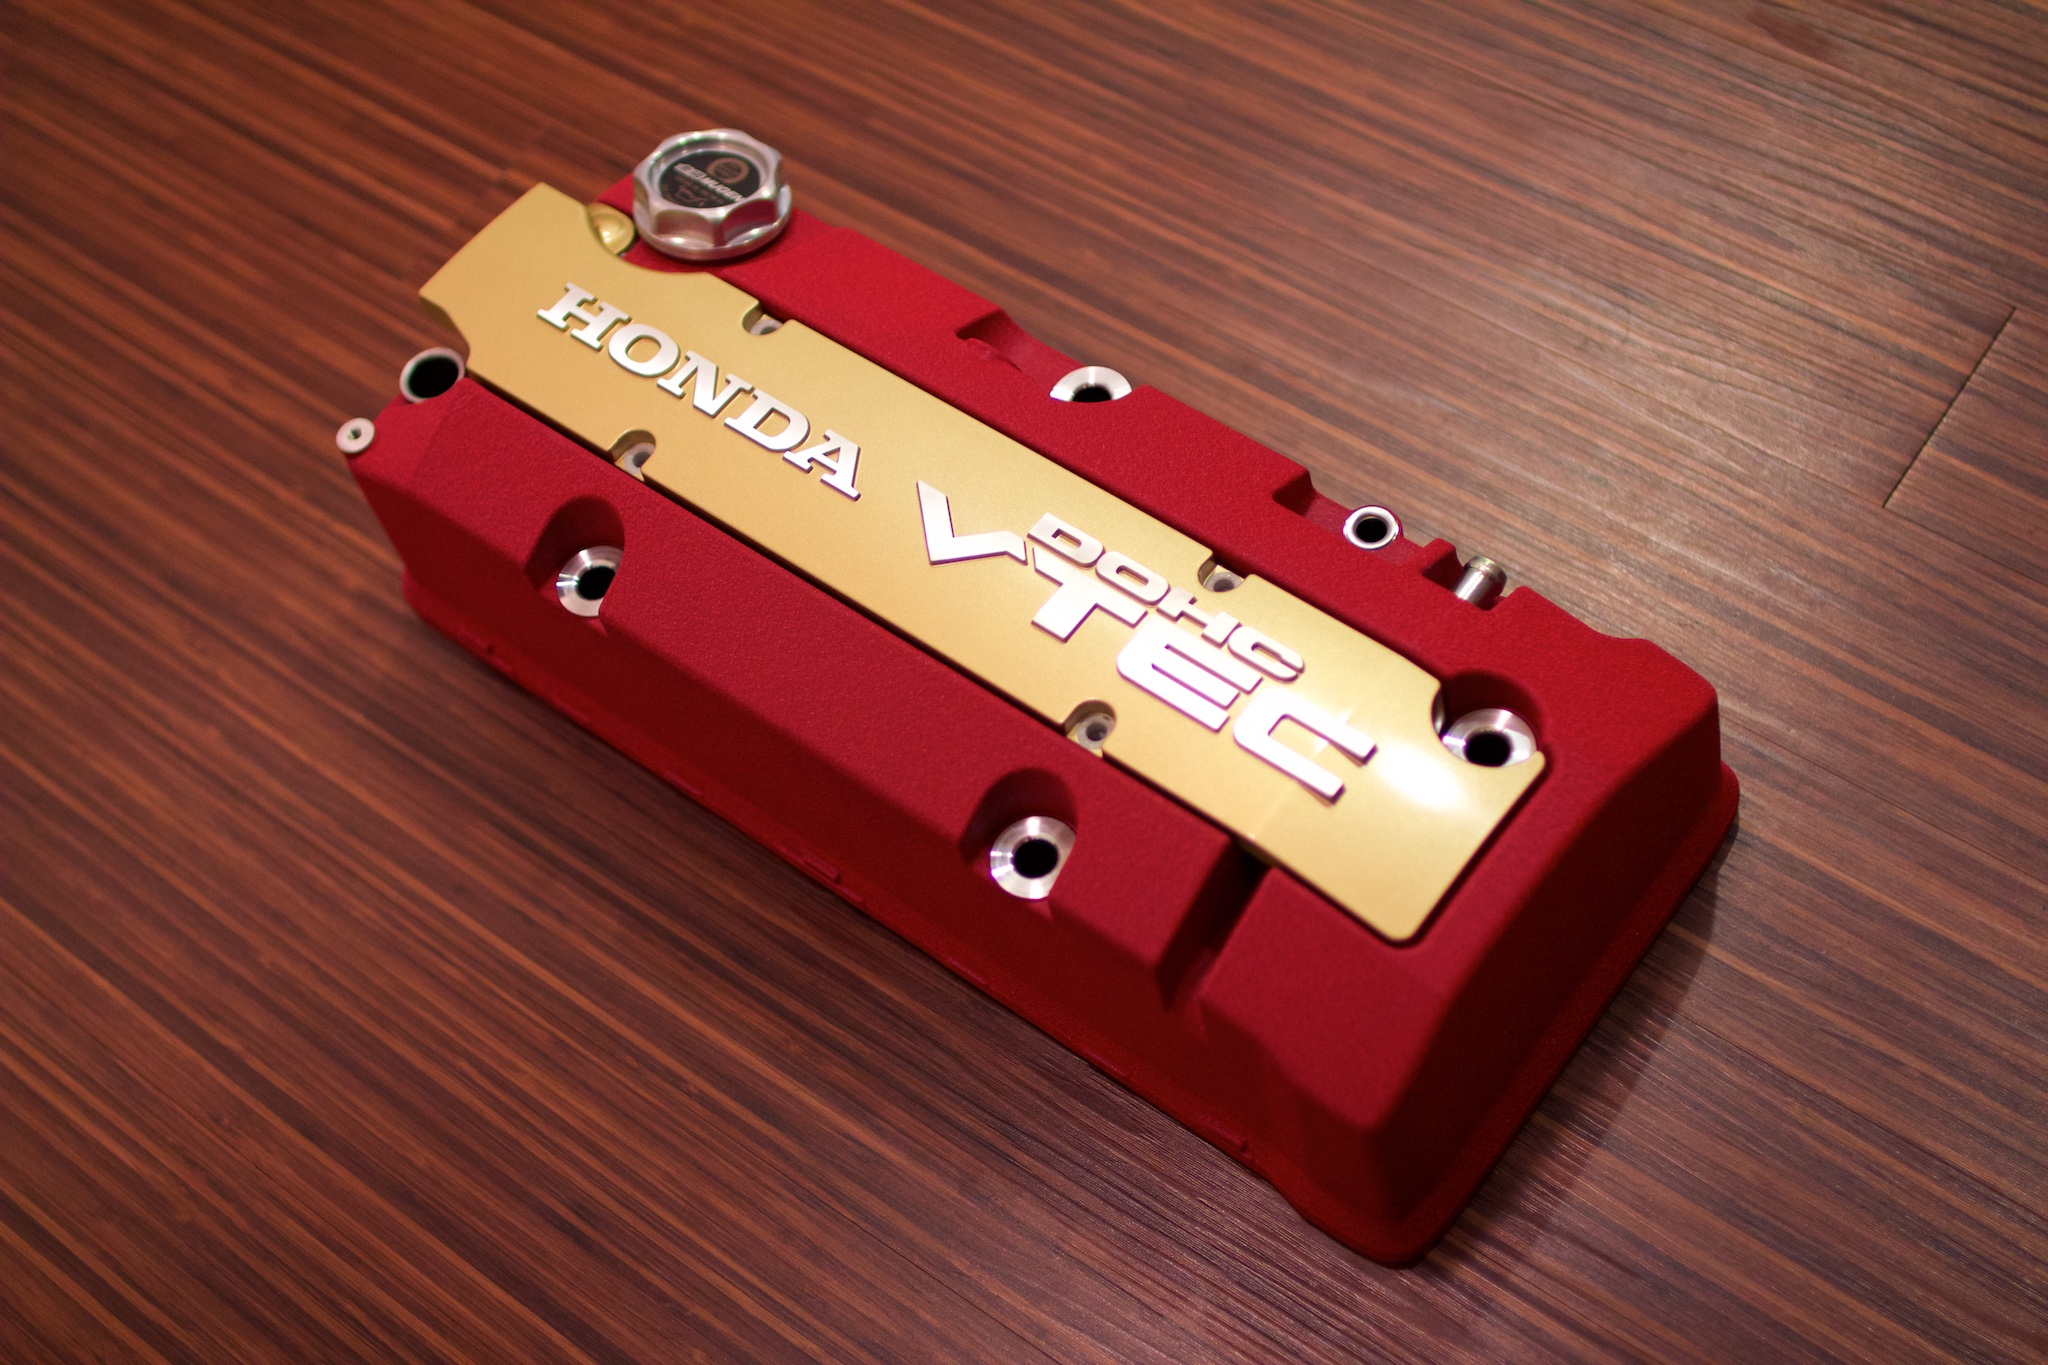
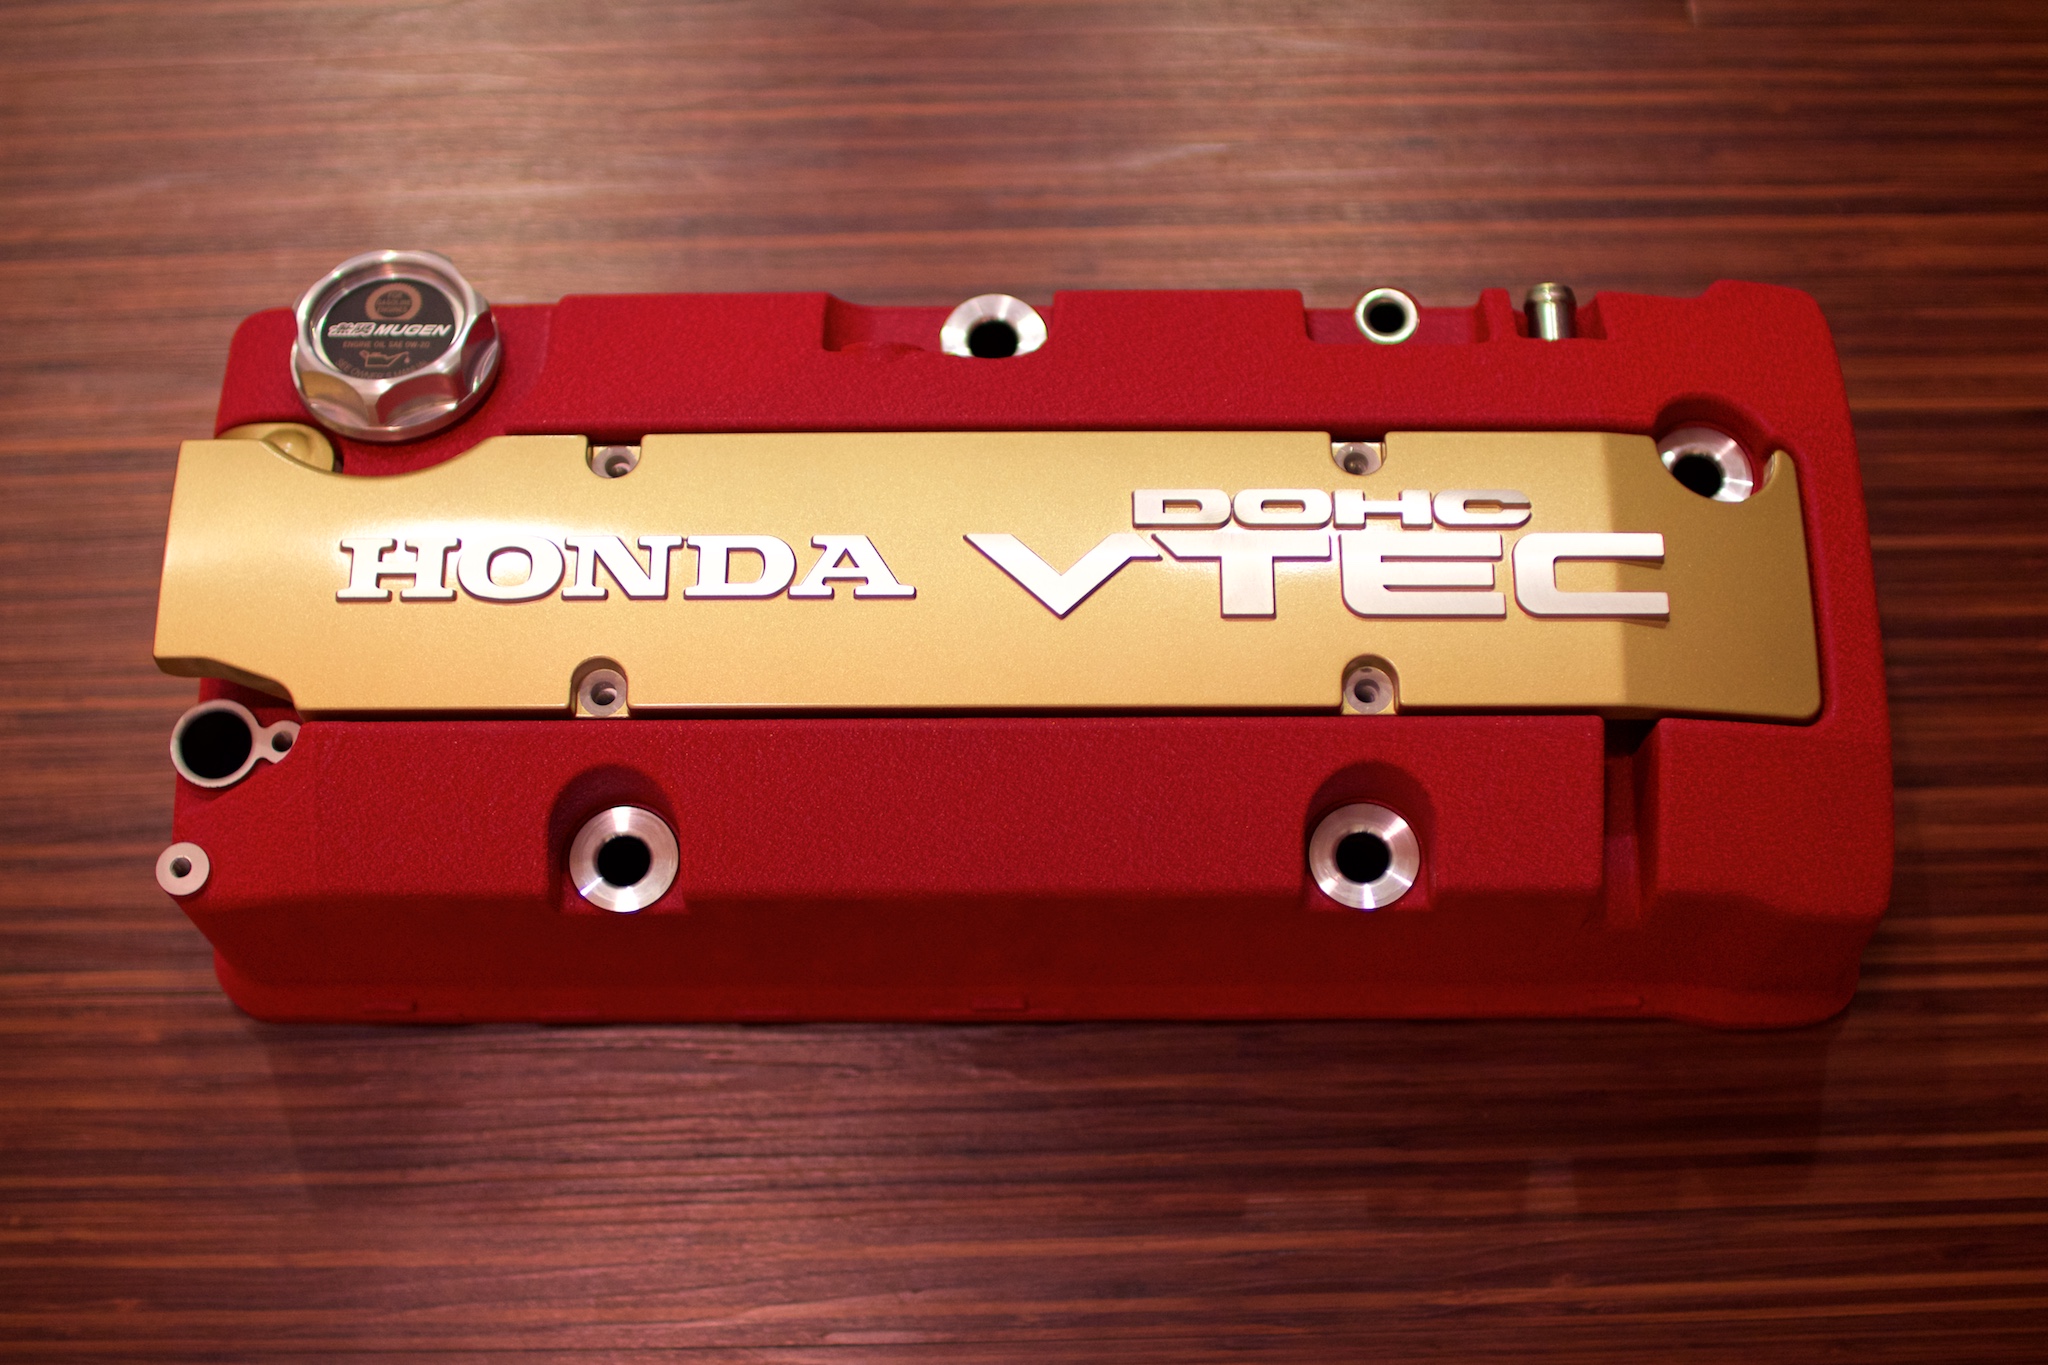
This is really just to have the spares. My current valve cover isn't in terrible condition for 125,000 miles but just want to make sure I have certain spare parts before they start to become more difficult to get.
I decided to pick up some spare valve covers and coil pack covers as well as a Mugen oil cap (that I have some other plans for).
This is really just to have the spares. My current valve cover isn't in terrible condition for 125,000 miles but just want to make sure I have certain spare parts before they start to become more difficult to get.
05-05-2018, 11:37 PM
#3114
Thread Starter
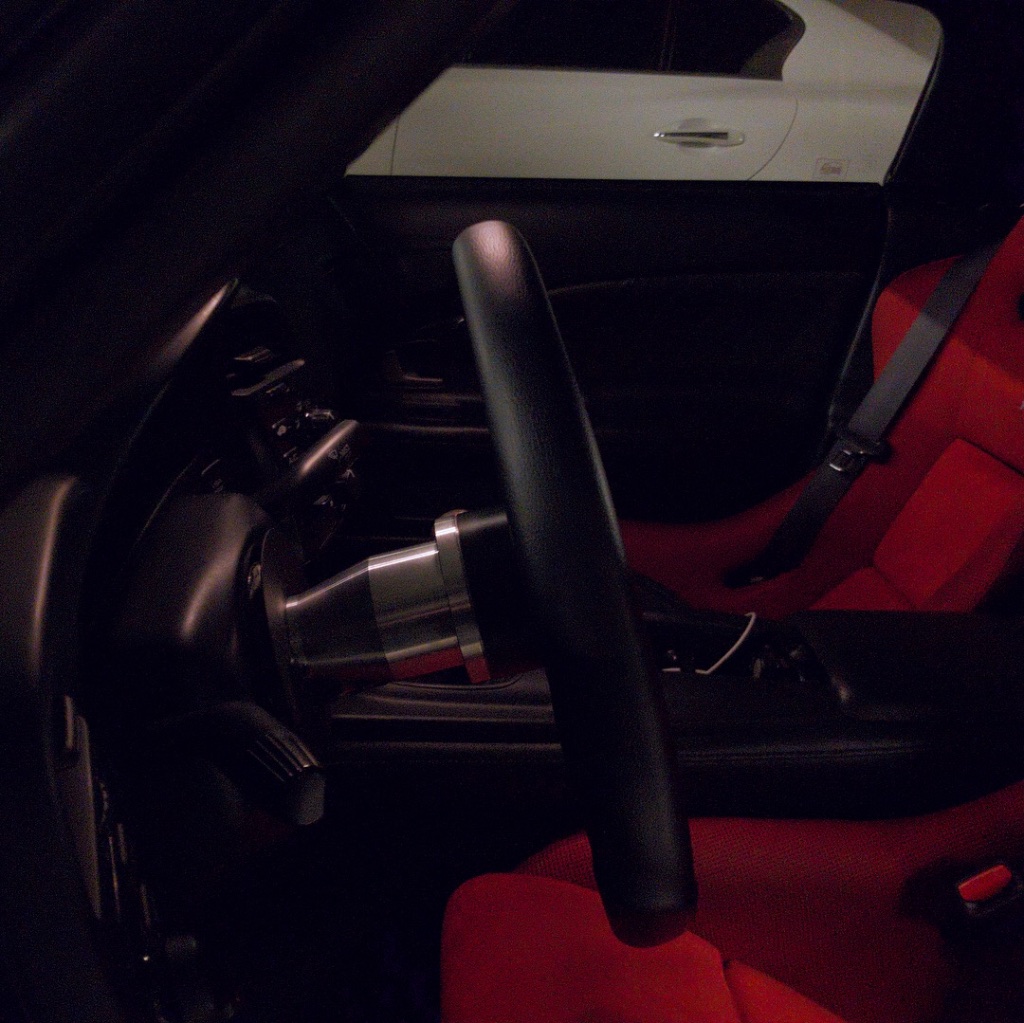
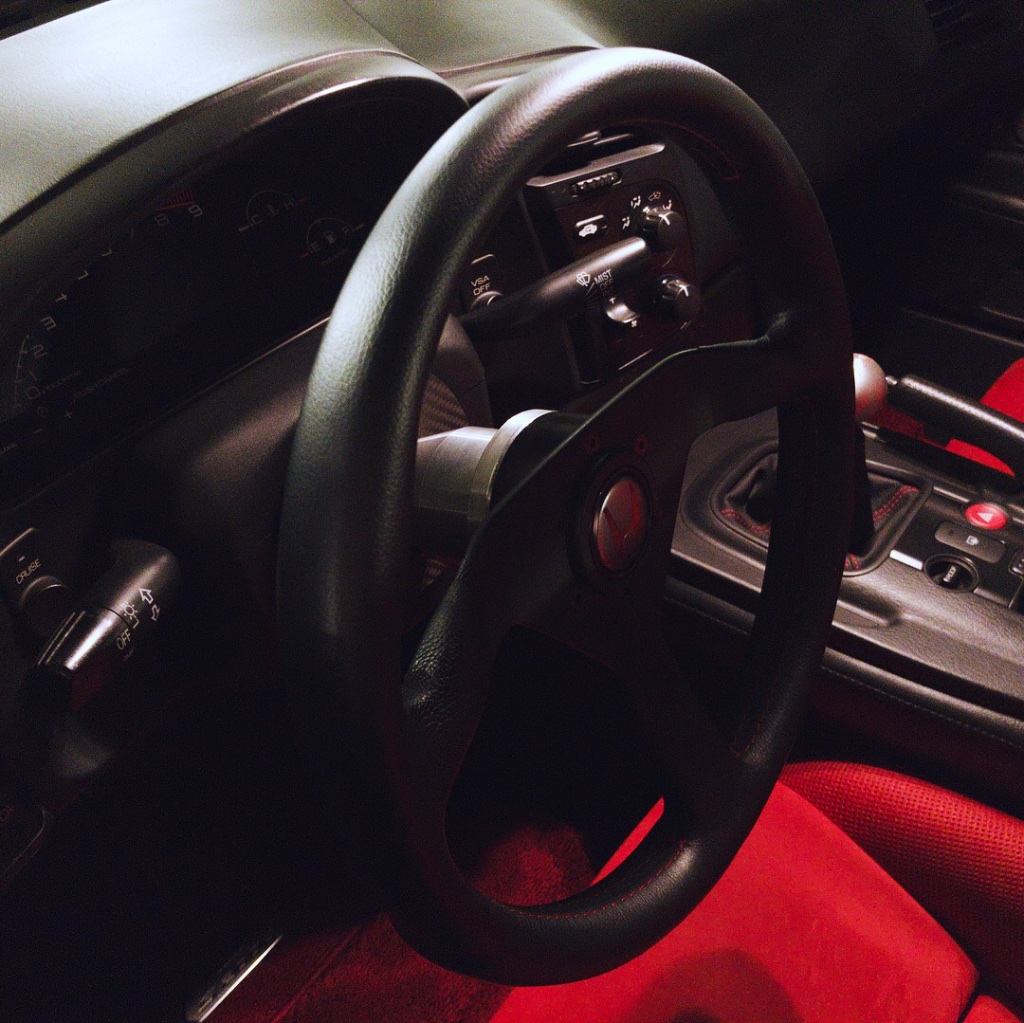
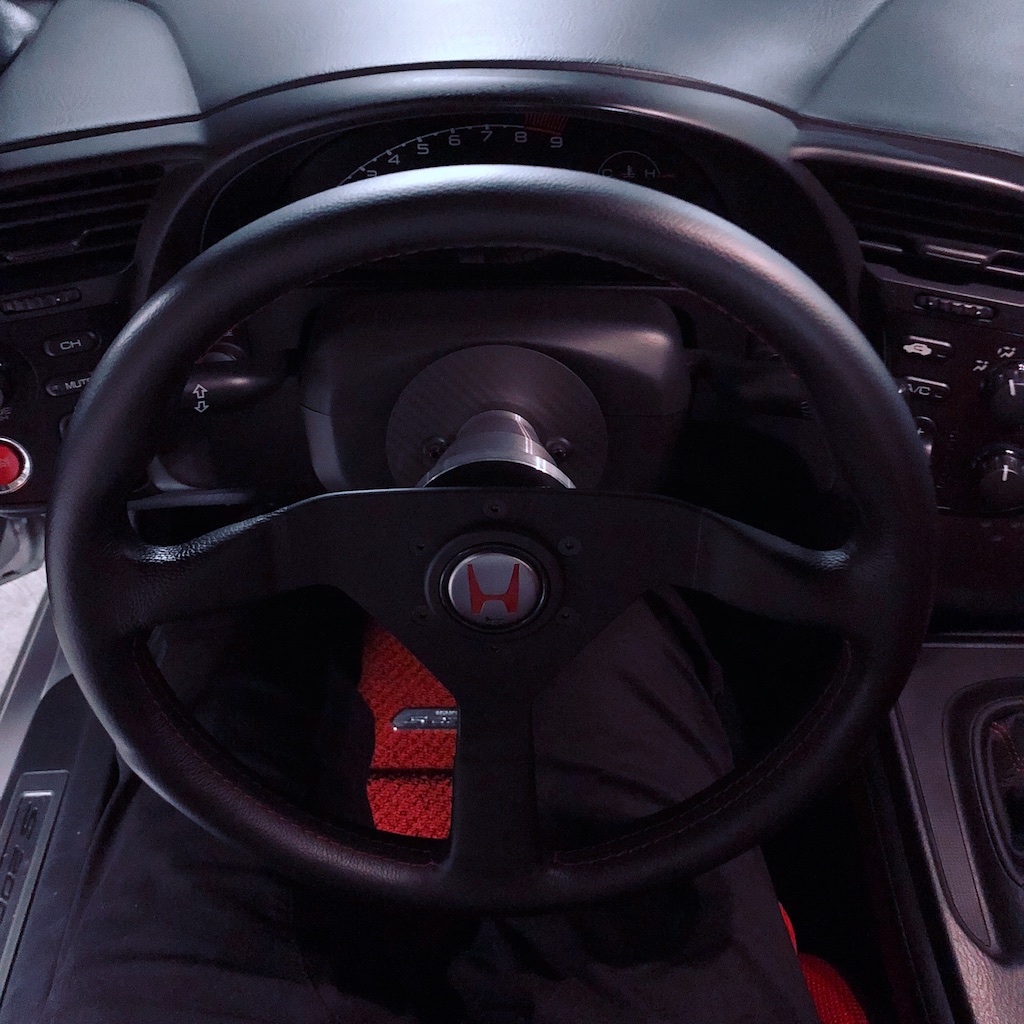
Works Bell 25mm steering wheel spacer
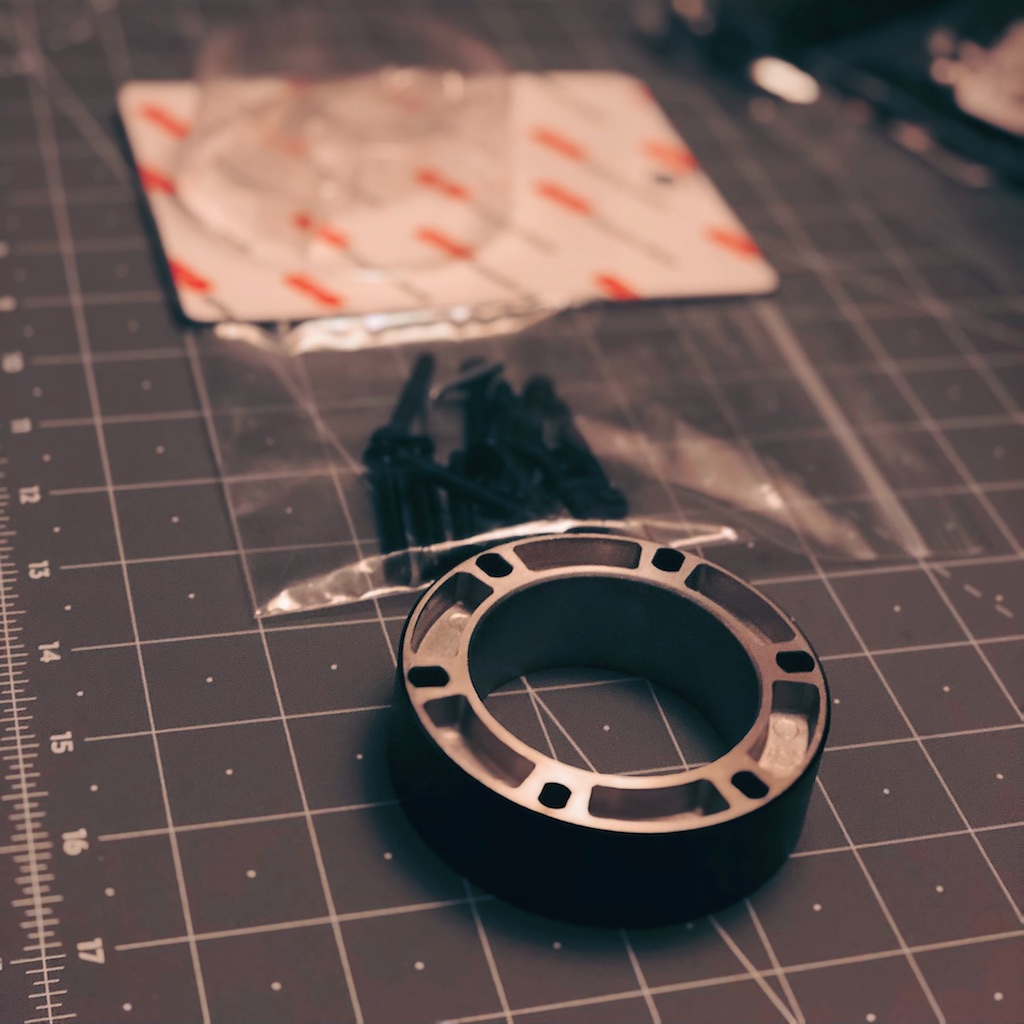
I decided to pick up a Works Bell 25mm steering wheel spacer from Evasive (they had many different sizes in stock) to provide a better driving position. I could easily brake and heel/toe without this, but moving the steering wheel 25mm closer just makes it absolutely perfect for me. This will be completely depending on each driver but for me the S2000 steering wheel always felt like it was too close to the steering column covers. If you are shorter it probably isn't a major issue, but I definitely prefer to have the steering wheel closer to me. This gives me all the knee clearance I could ever dream of. Wish I would have done this a long long time ago. With my next S2000 it will be one of the first things I change for sure. Changed my god damn life.

I decided to pick up a Works Bell 25mm steering wheel spacer from Evasive (they had many different sizes in stock) to provide a better driving position. I could easily brake and heel/toe without this, but moving the steering wheel 25mm closer just makes it absolutely perfect for me. This will be completely depending on each driver but for me the S2000 steering wheel always felt like it was too close to the steering column covers. If you are shorter it probably isn't a major issue, but I definitely prefer to have the steering wheel closer to me. This gives me all the knee clearance I could ever dream of. Wish I would have done this a long long time ago. With my next S2000 it will be one of the first things I change for sure. Changed my god damn life.
05-06-2018, 07:26 PM
#3115

Nice write up! As an FYI for future buyers they (PCI) started including a replacement bolt for the rear inside rear to help with the sliding issue.
These rails and brackets are actually better than the Recaro one's I had - these are stronger and slide much easier. Still not too keen on the rear mounting with the bracket and washer trick to clear the harness hole surround and for some reason the washer was causing threading issues on mine - wasn't enough.
Heel Toe has these for a great price on their site...
05-08-2018, 09:42 PM
#3116


Nice write up! As an FYI for future buyers they (PCI) started including a replacement bolt for the rear inside rear to help with the sliding issue.
These rails and brackets are actually better than the Recaro one's I had - these are stronger and slide much easier. Still not too keen on the rear mounting with the bracket and washer trick to clear the harness hole surround and for some reason the washer was causing threading issues on mine - wasn't enough.
Heel Toe has these for a great price on their site...
These rails and brackets are actually better than the Recaro one's I had - these are stronger and slide much easier. Still not too keen on the rear mounting with the bracket and washer trick to clear the harness hole surround and for some reason the washer was causing threading issues on mine - wasn't enough.
Heel Toe has these for a great price on their site...
05-08-2018, 09:55 PM
#3117


Nice write up! As an FYI for future buyers they (PCI) started including a replacement bolt for the rear inside rear to help with the sliding issue.
These rails and brackets are actually better than the Recaro one's I had - these are stronger and slide much easier. Still not too keen on the rear mounting with the bracket and washer trick to clear the harness hole surround and for some reason the washer was causing threading issues on mine - wasn't enough.
Heel Toe has these for a great price on their site...
These rails and brackets are actually better than the Recaro one's I had - these are stronger and slide much easier. Still not too keen on the rear mounting with the bracket and washer trick to clear the harness hole surround and for some reason the washer was causing threading issues on mine - wasn't enough.
Heel Toe has these for a great price on their site...
05-08-2018, 10:57 PM
#3118
Don't get me wrong, these are great items, just wish the rear mount was shorter in length.
05-08-2018, 11:00 PM
#3119
Hmm interesting as I spoke with PCI during the purchase process and he said the kind I received is the newly designed one ideal for the PP. You can see in Andrew's pictures that the rear seat mount is already on the harness surround.
Don't get me wrong, these are great items, just wish the rear mount was shorter in length.
Don't get me wrong, these are great items, just wish the rear mount was shorter in length.
05-09-2018, 02:06 AM
#3120
Thread Starter
When running a harness or seat belt through these side holes they definitely won't be rubbing against the side mount unless the person in the seat is so tiny and skinny that they are actually putting pressure down against the bottom of the harness holes, in which case they wouldn't be doing their job properly anyway. Not to mention the serious malnutrition issue that the person would have to be suffering..
Would also highly recommend going through Rogue Motorsports on this and support them for getting this revised version made.