
o_O S2000 | Mk I — Stage II
 10-19-2015, 09:07 AM
#2211
Moderator


 10-19-2015, 09:22 AM
#2212

Thread Starter
Let him live, but kill someone that looks like him so nobody thinks I'm getting too kind hearted.
Yep they fit no problem with the lower piece removed.
Let him live.
They fit just fine with the lower portion removed. Which doesn't really do anything that the normal little air diffuser doesn't do already. I removed a long time ago after repeatedly contacting the ground and knocking them loose. The diffusers stick out the same amount as the strakes and if anything they make the strakes much more useful in guiding the air around the tire.
They are installed. I love them. And all you diffuser hating, strake hatin' blasphemers can enjoy all that drag and lift from the airflow around that wall of rear tire face and all of those little vortices under your car f@#king your shit up.
Yep they fit no problem with the lower piece removed.
they'll fit. there have been a few people to do it.
I'm on the boat of "not really a fan". Your car so I won't tell you not to do it though. I liked them for a period, now i just don't care for them. they aren't terrible, but especially with the sidestrakes i think they look busy.
I'm on the boat of "not really a fan". Your car so I won't tell you not to do it though. I liked them for a period, now i just don't care for them. they aren't terrible, but especially with the sidestrakes i think they look busy.
They are installed. I love them. And all you diffuser hating, strake hatin' blasphemers can enjoy all that drag and lift from the airflow around that wall of rear tire face and all of those little vortices under your car f@#king your shit up.
10-19-2015, 09:46 AM
#2213
Thread Starter
Downforce side diffusers installed
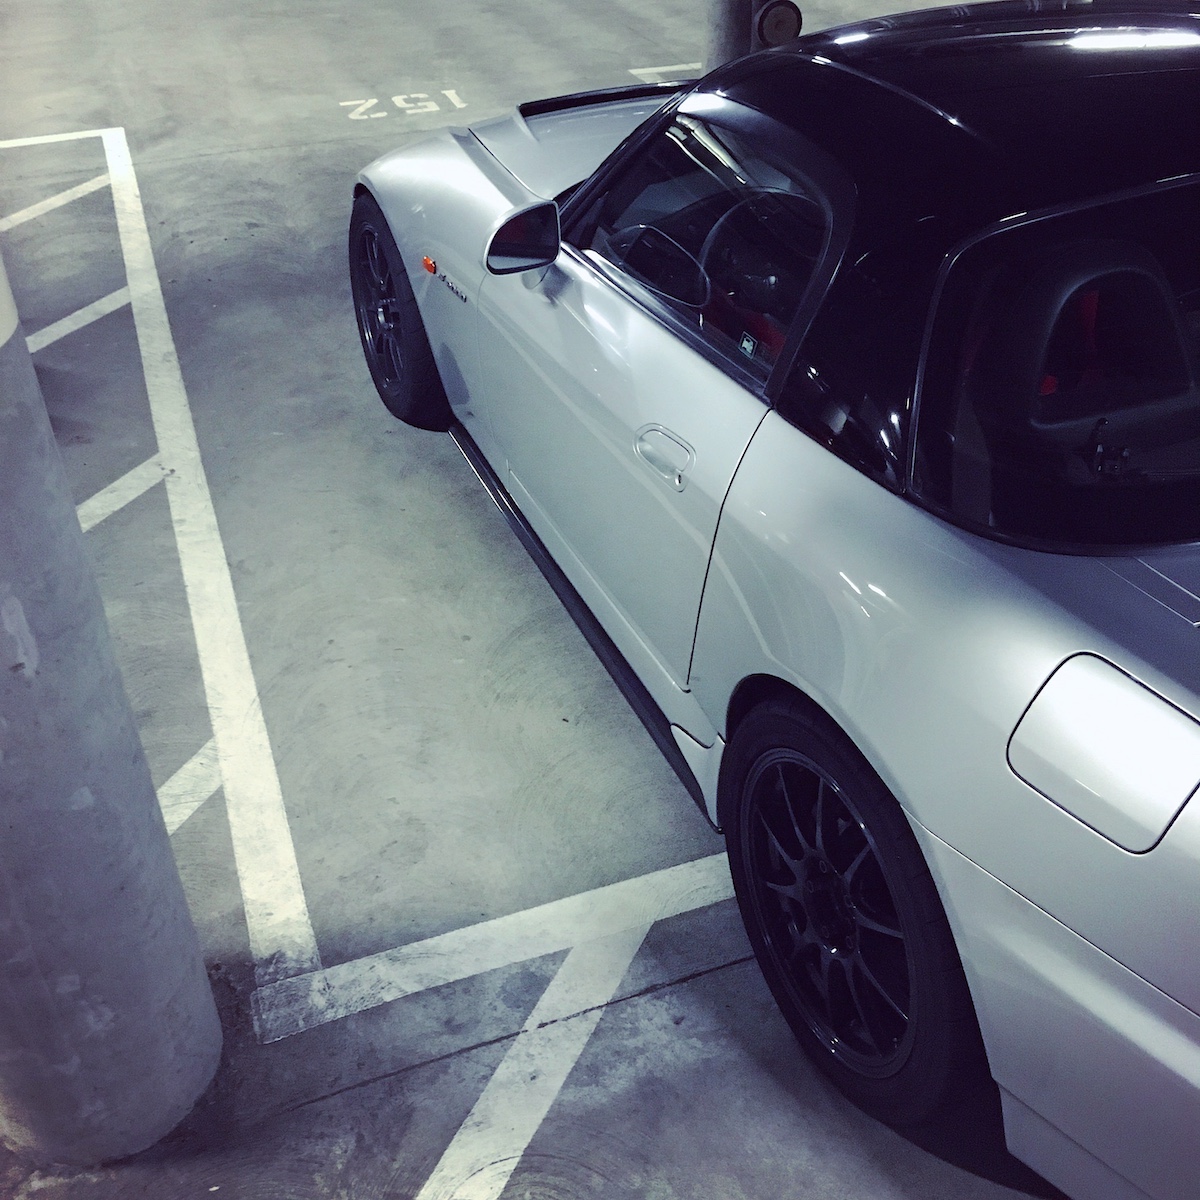
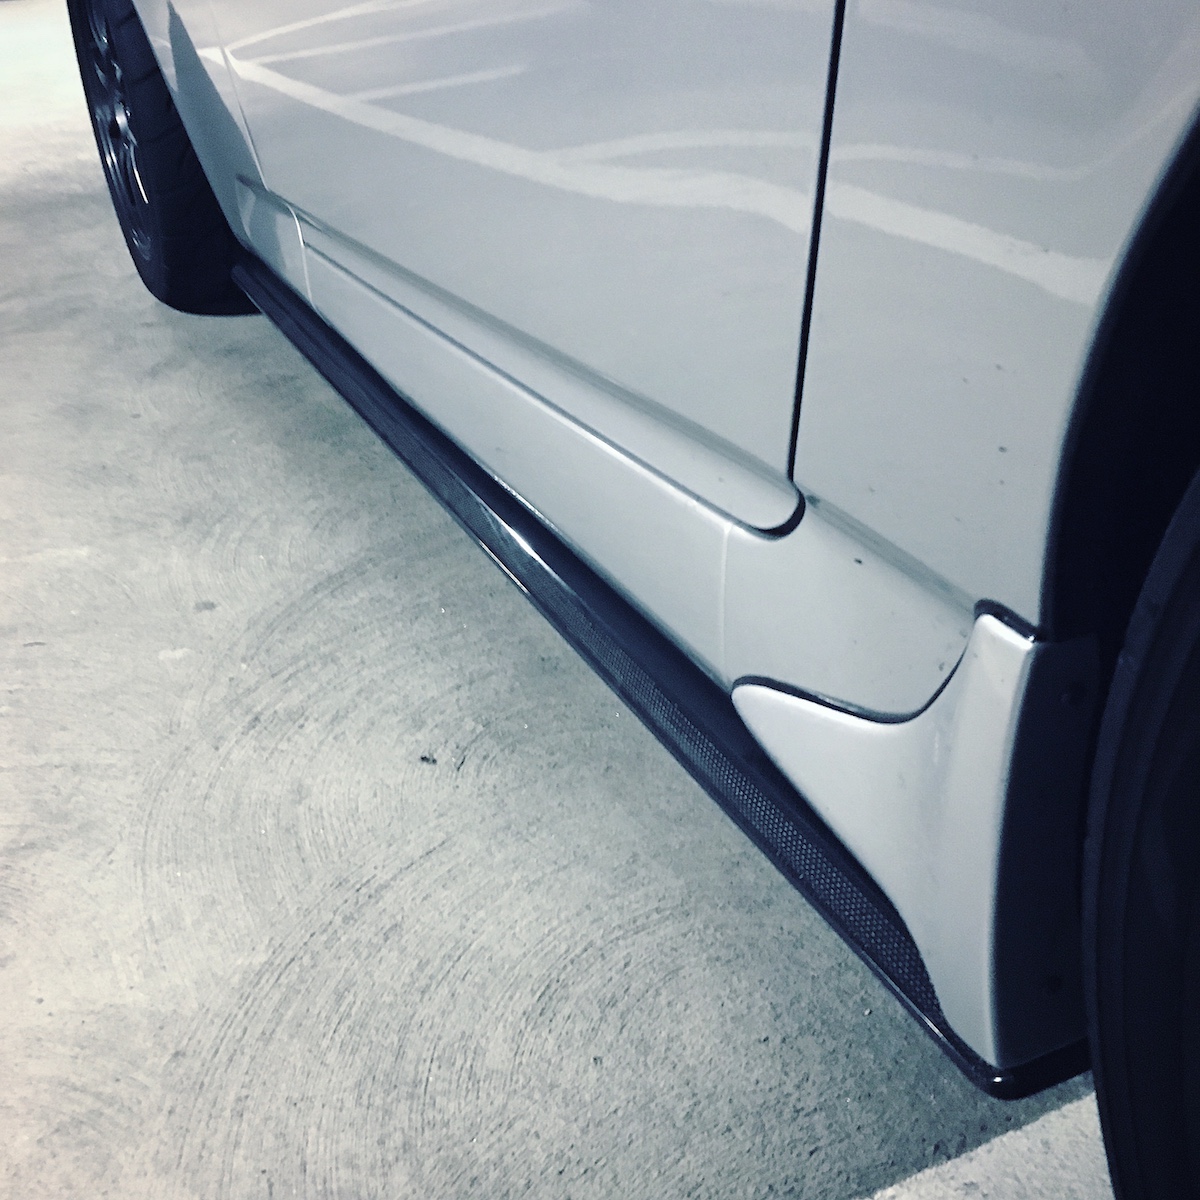
Some quick Instagram photos of the side diffusers. Install was very easy using M5 rivet nuts and security bolts which I found available on Amazon.
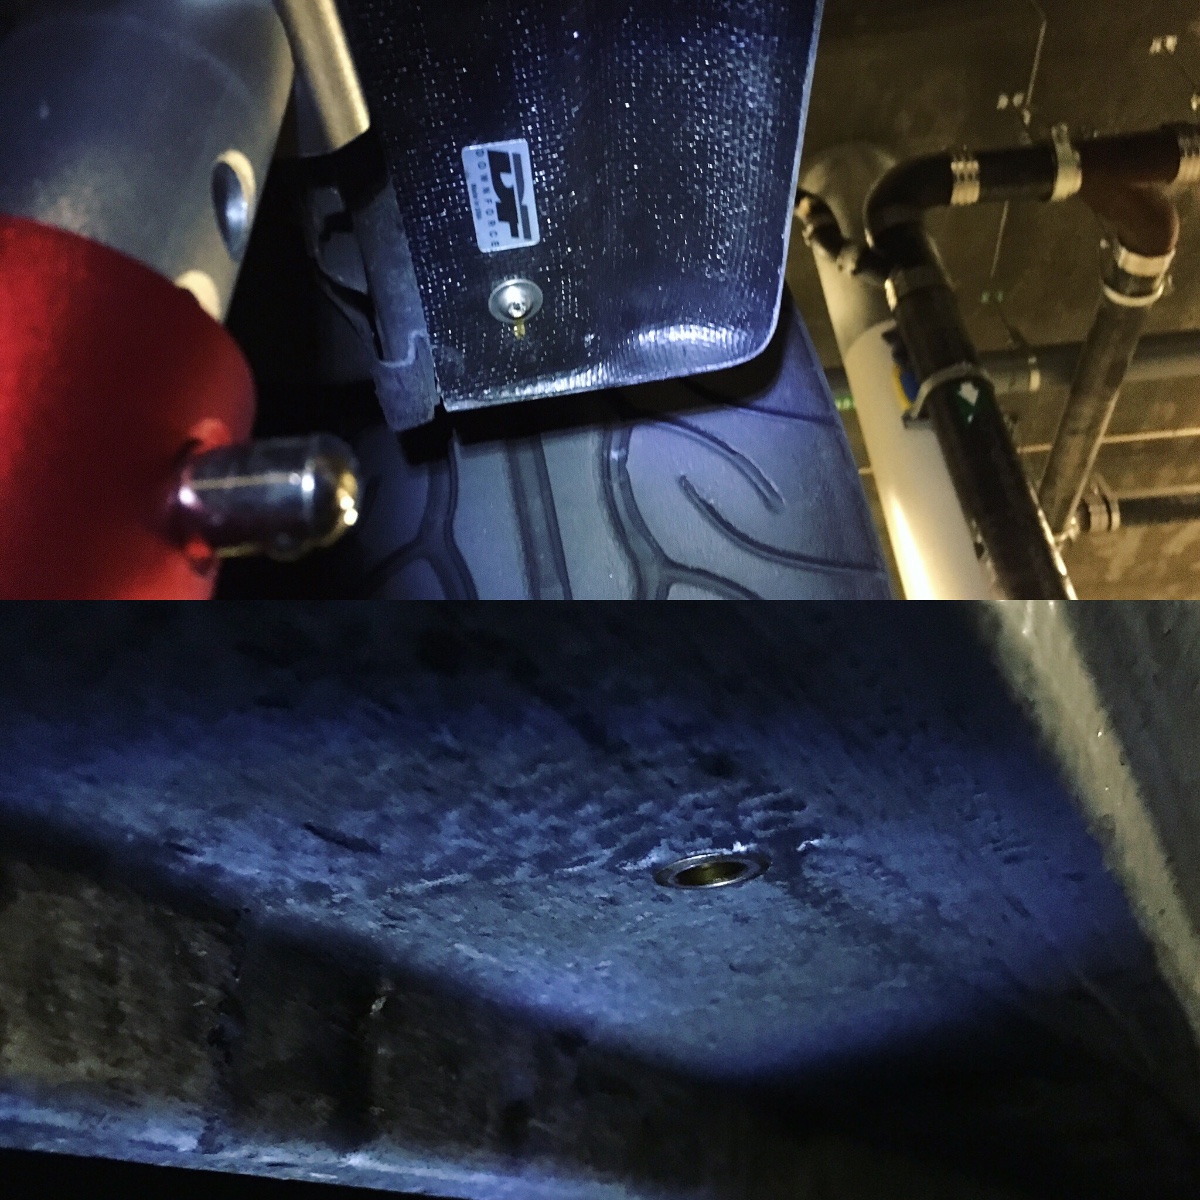
I used this PNT110 tool to install the rivet nuts which I highly recommend over the little wedge tools which I also have. The wedge tool often causes the rivet nut to get torqued in the direction that the tightening bolt is being turned. With this lever tool it took about 3 seconds to install each rivet nut.

To install I put the car up on jack stands. Then balanced the diffuser on the middle of the jack to move and hold it roughly in place then aligned the front and rear and held in place with some gorilla tape while I marked and center punched the holes. I trimmed a tiny amount off of the bottom of the fender liner so the diffuser could sit completely flush up against it. Just one small corner. Moved the diffuser away, drilled pilot holes then drilled the ~7mm holes needed for the rivet nuts to fit. If you are using rivet nuts make sure to find a drill bit that is as close to the width of the outer diameter as possible to keep it as secure as possible. Then I used the rivet nut tool to install 5 per side. They have a very small seating area so they don't really stick out from the underbody at all. Then it was just a matter of putting the side diffuser back in place and installing with some security bolts. If there are any small alignment issues the holes and the diffuser can be slightly elongated. A stepped drill bit is good for this and leaves a clean edge on the carbon. I used a small amount of blue 242 Loctite on the bolts to help keep them secure, and then marked them with a gold paint marker so I can keep an eye on them and see if they are getting loose over time.
Thanks again to S2kiChad for the idea to install this way. The included torx tapping screws would work just fine but I just prefer this method more. It feels like you are installing an OEM part.
I love the way they look. I wanted to do this after seeing many cars on the ASM blog with side strakes and side diffusers, to me it makes the side strake look much more considered and they go particularly well with the Amuse R1 front end. Should also go particularly well with the ASM 04 rear bumper which has a 1x1 carbon lower section. Would be kind of interesting to see how the Amuse front would look with matching 1x1 carbon lower diffuser pieces, but I think I prefer them painted body color since it makes the front end look even lower. I do want to see about getting some spares as that piece could very well be a wear item for me. I am going to pick up some new side strakes also since mine are pretty beaten up. You don't really notice it at all from a distance but I figure I might as well get some replacements while they are still available.
Some quick Instagram photos of the side diffusers. Install was very easy using M5 rivet nuts and security bolts which I found available on Amazon.
I used this PNT110 tool to install the rivet nuts which I highly recommend over the little wedge tools which I also have. The wedge tool often causes the rivet nut to get torqued in the direction that the tightening bolt is being turned. With this lever tool it took about 3 seconds to install each rivet nut.
To install I put the car up on jack stands. Then balanced the diffuser on the middle of the jack to move and hold it roughly in place then aligned the front and rear and held in place with some gorilla tape while I marked and center punched the holes. I trimmed a tiny amount off of the bottom of the fender liner so the diffuser could sit completely flush up against it. Just one small corner. Moved the diffuser away, drilled pilot holes then drilled the ~7mm holes needed for the rivet nuts to fit. If you are using rivet nuts make sure to find a drill bit that is as close to the width of the outer diameter as possible to keep it as secure as possible. Then I used the rivet nut tool to install 5 per side. They have a very small seating area so they don't really stick out from the underbody at all. Then it was just a matter of putting the side diffuser back in place and installing with some security bolts. If there are any small alignment issues the holes and the diffuser can be slightly elongated. A stepped drill bit is good for this and leaves a clean edge on the carbon. I used a small amount of blue 242 Loctite on the bolts to help keep them secure, and then marked them with a gold paint marker so I can keep an eye on them and see if they are getting loose over time.
Thanks again to S2kiChad for the idea to install this way. The included torx tapping screws would work just fine but I just prefer this method more. It feels like you are installing an OEM part.
I love the way they look. I wanted to do this after seeing many cars on the ASM blog with side strakes and side diffusers, to me it makes the side strake look much more considered and they go particularly well with the Amuse R1 front end. Should also go particularly well with the ASM 04 rear bumper which has a 1x1 carbon lower section. Would be kind of interesting to see how the Amuse front would look with matching 1x1 carbon lower diffuser pieces, but I think I prefer them painted body color since it makes the front end look even lower. I do want to see about getting some spares as that piece could very well be a wear item for me. I am going to pick up some new side strakes also since mine are pretty beaten up. You don't really notice it at all from a distance but I figure I might as well get some replacements while they are still available.

 10-19-2015, 01:27 PM
#2215
Thread Starter
10-19-2015, 05:04 PM
#2216
I usually dont like those "running boards" but they look good with the dark wheels and the hardtop.
Do you know if there is any areo benefit to the oem side strakes? Kind of wonder if they are purely aesthetic or if they flow air some fancy way.
Do you know if there is any areo benefit to the oem side strakes? Kind of wonder if they are purely aesthetic or if they flow air some fancy way.
10-19-2015, 05:14 PM
#2217
Thread Starter
Every time I remove the rear wheels and get up in the wheel well it gets me thinking about some air guides in the rear bumper that meet up with the smooth section of the top of the wheel well to guide air directly out the rear bumper on a bumper like the ASM 04 rear. There is a part where the wheel well is pretty smooth and then it just sort of cuts off opens up to a huge expanse into the rear bumper. It would be interesting to see how much rear lift could be dialed out without adding a rear wing. From the wind tunnel stuff Voltex has posted a rear wing affectively cancels out the rear lift, but doesn't necessarily generate net downforce in most situations.

 10-21-2015, 05:07 AM
#2219
Thread Starter
This is way off in left field and is likely going to be very long and boring for some, but during some late night reading of F1 aerodynamics articles and browsing of videos I came across a video that really clearly shows a point I was trying to make to someone (I believe it was SebringAP1) in discussion about why I think the bottom shape of the Amuse R1 front bumper should be preserved if adding a larger splitter. My general point being that the "hump" on the bottom of the R1 bumper can make the splitter more effective for various reasons. The "hump" (which can be seen pretty clearly in these photos:


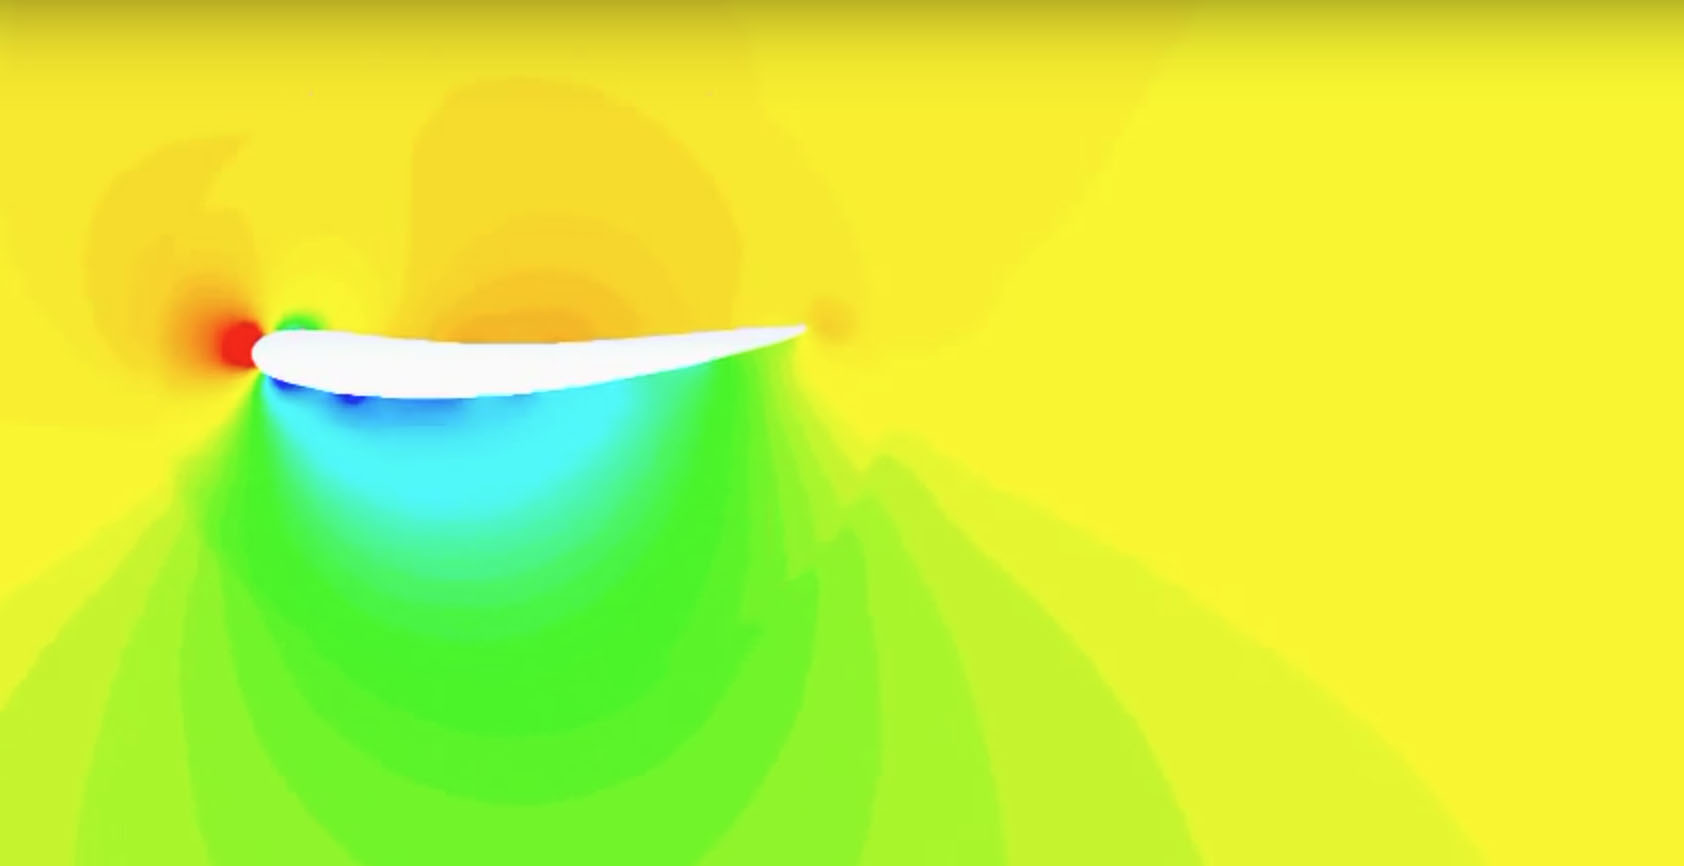
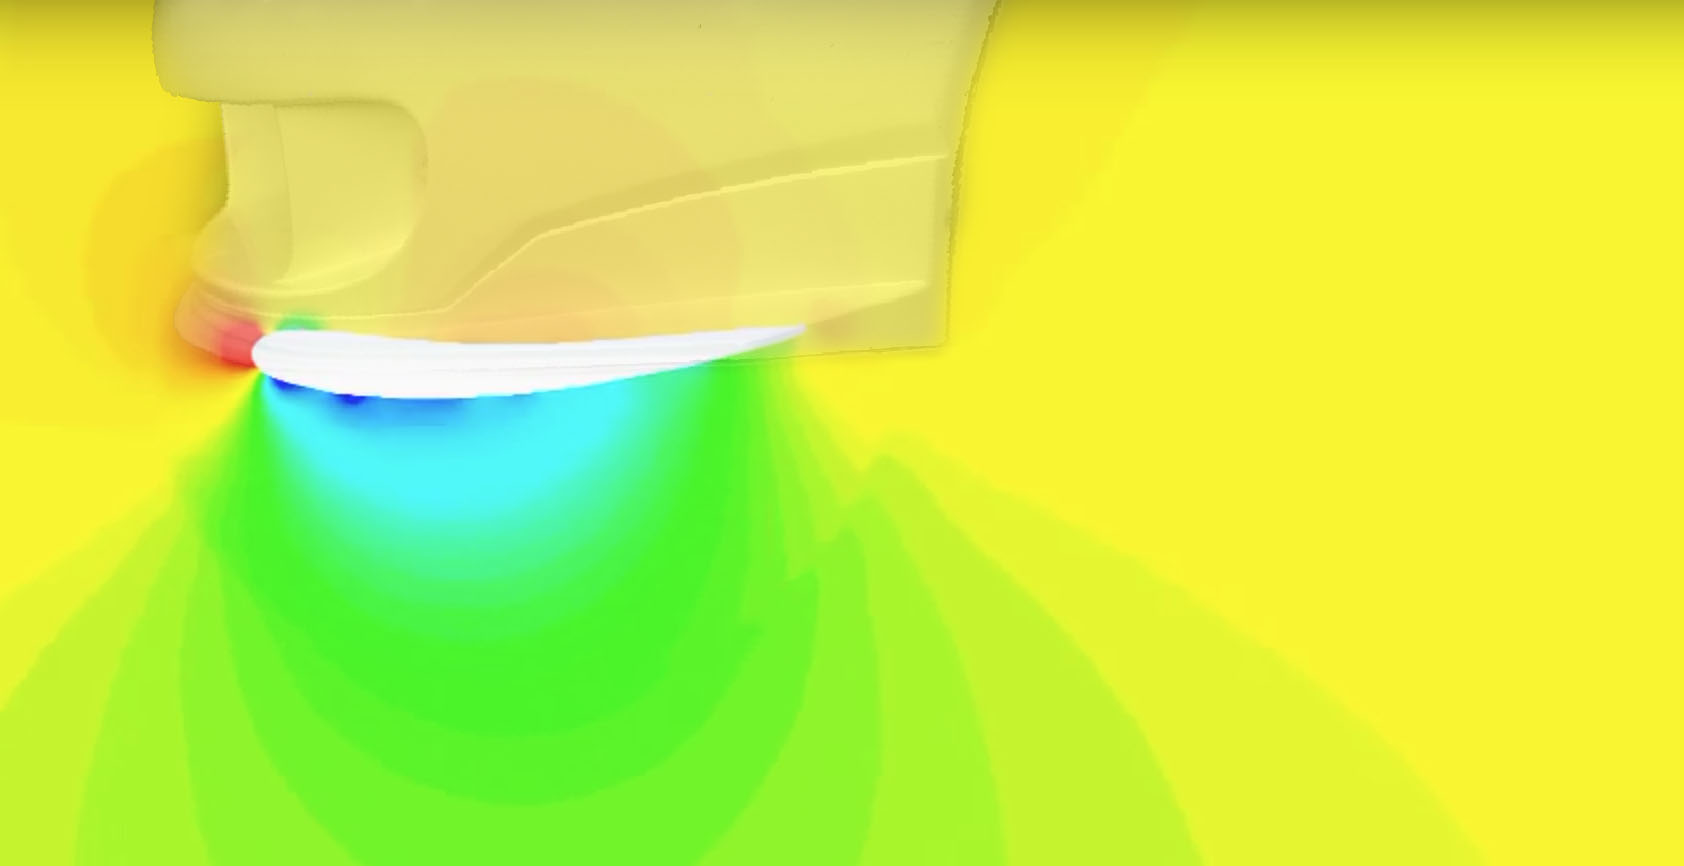
..is shaped like the bottom half of a rear wing airfoil) and create a more effective low pressure area than a normal flat bottomed splitter given the same surface area. This shape moving through the air naturally creates a small low pressure area even at essentially no angle of attack. Here is an image of a simple airfoil pressure plot, showing a small low pressure area (in blue) on underside of the wing even with it at an angle of attack that is effectively zero and little to know high pressure areas on the top of the wing:
Now imagine (with help from a very crude mockup) this shape on the bottom of the R1 bumper, moving through the air at speed:
Even if this bumper was a foot off the ground, it still has the ability to create small low pressure areas without only relying on the distance from the ground and high pressure areas above to reduce lift at the front of the car. I don't think it is accurate to say that most S2000 splitters (or rear wings) are producing net downforce, but they do a good job of reducing the amount of lift which has a similar effect when driving the car of increasing front or rear grip. As it gets closer to the ground this effect is just increased.
This should allow it to reduce lift slightly more due to it's shape, as well as that hump area getting a little closer to the ground which speeds up airflow through the rest of the splitter behind it, further increasing the low pressure area and reducing more lift at the front. And it does this in a way that doesn't also increase drag like a much larger front splitter would. Likely the biggest advantage, this "hump" design can generate a low pressure area without having to be extremely close to the ground as a flat splitter needs to be. It allows the area that is very close to the ground (the bottom of the hump) to be smaller and less prone to getting ripped off going off track or something, while still feeding high velocity air through the rest of the splitter area behind it still creating low pressure.
This is all just theory but pretty simple CFD and experiments with simple airfoil shapes can back this up pretty well I think. It's worth noting that these are relatively minor effects that would be had on the car comparing a flat bottomed splitter to one with a slightly more aerodynamically considered shape. Particularly on street cars that rely much more on mechanical grip than aerodynamics, but it is interesting to me nonetheless.