When you click on links to various merchants on this site and make a purchase, this can result in this site earning a commission. Affiliate programs and affiliations include, but are not limited to, the eBay Partner Network.
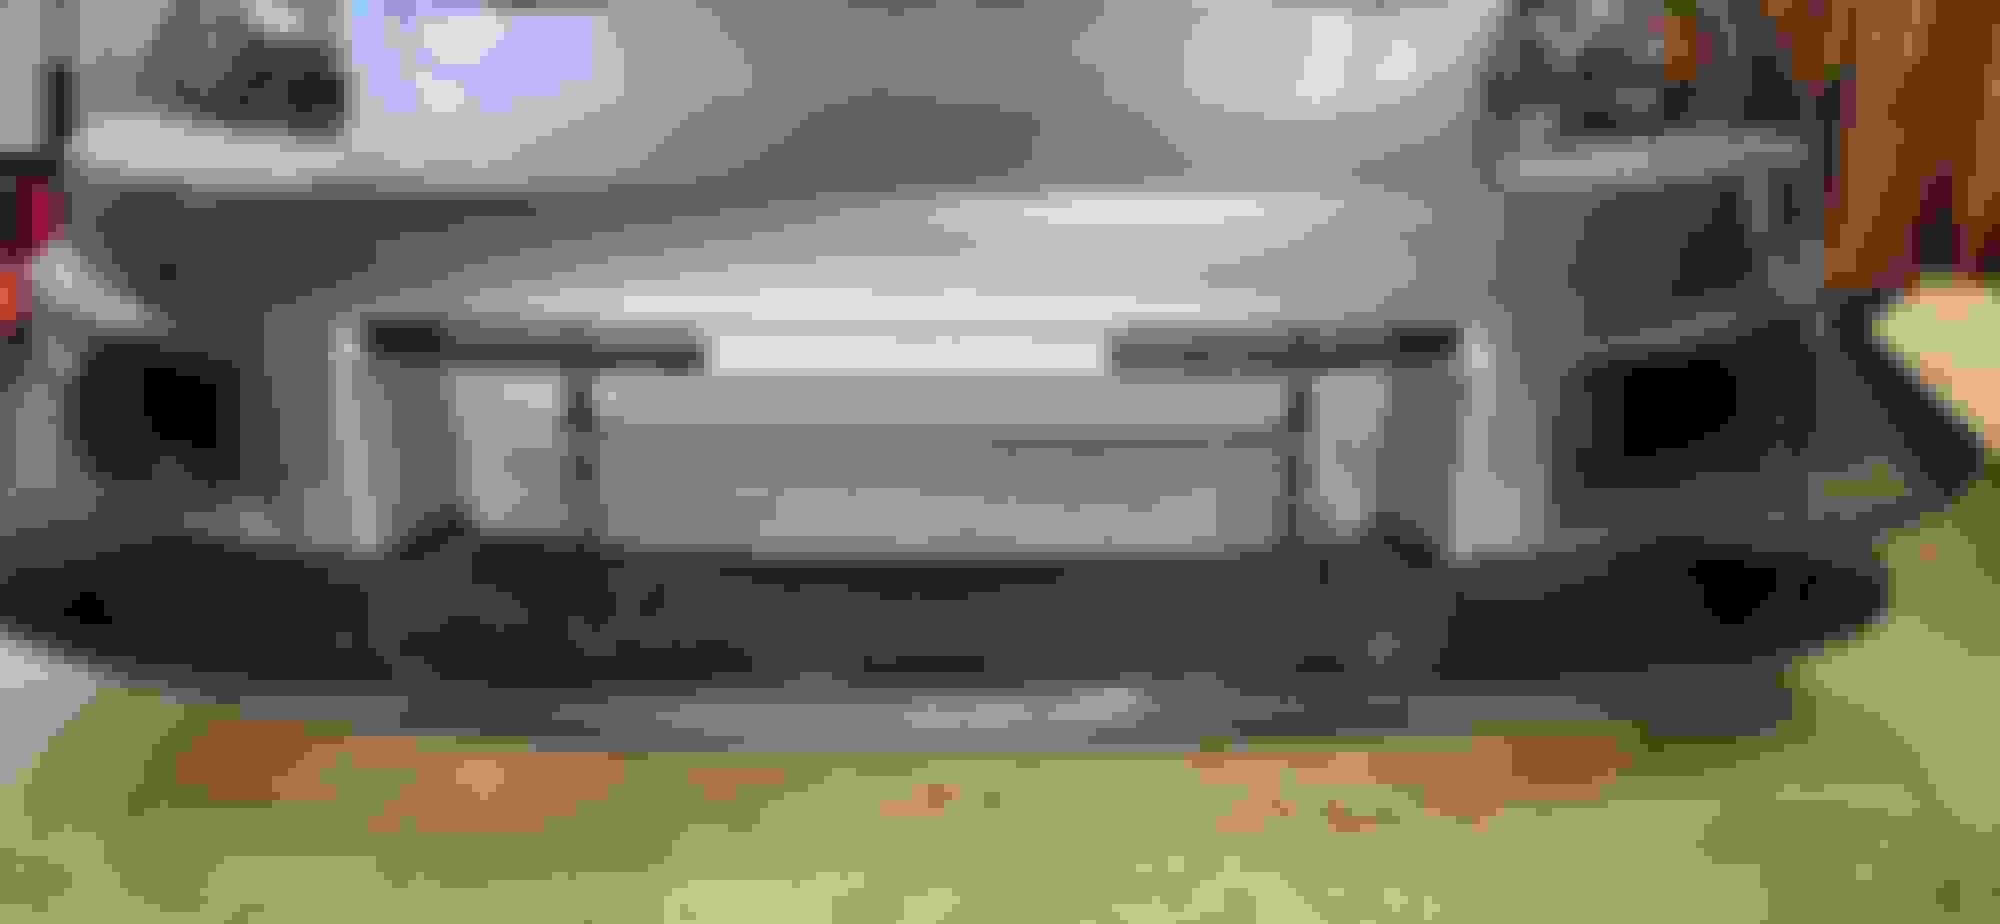
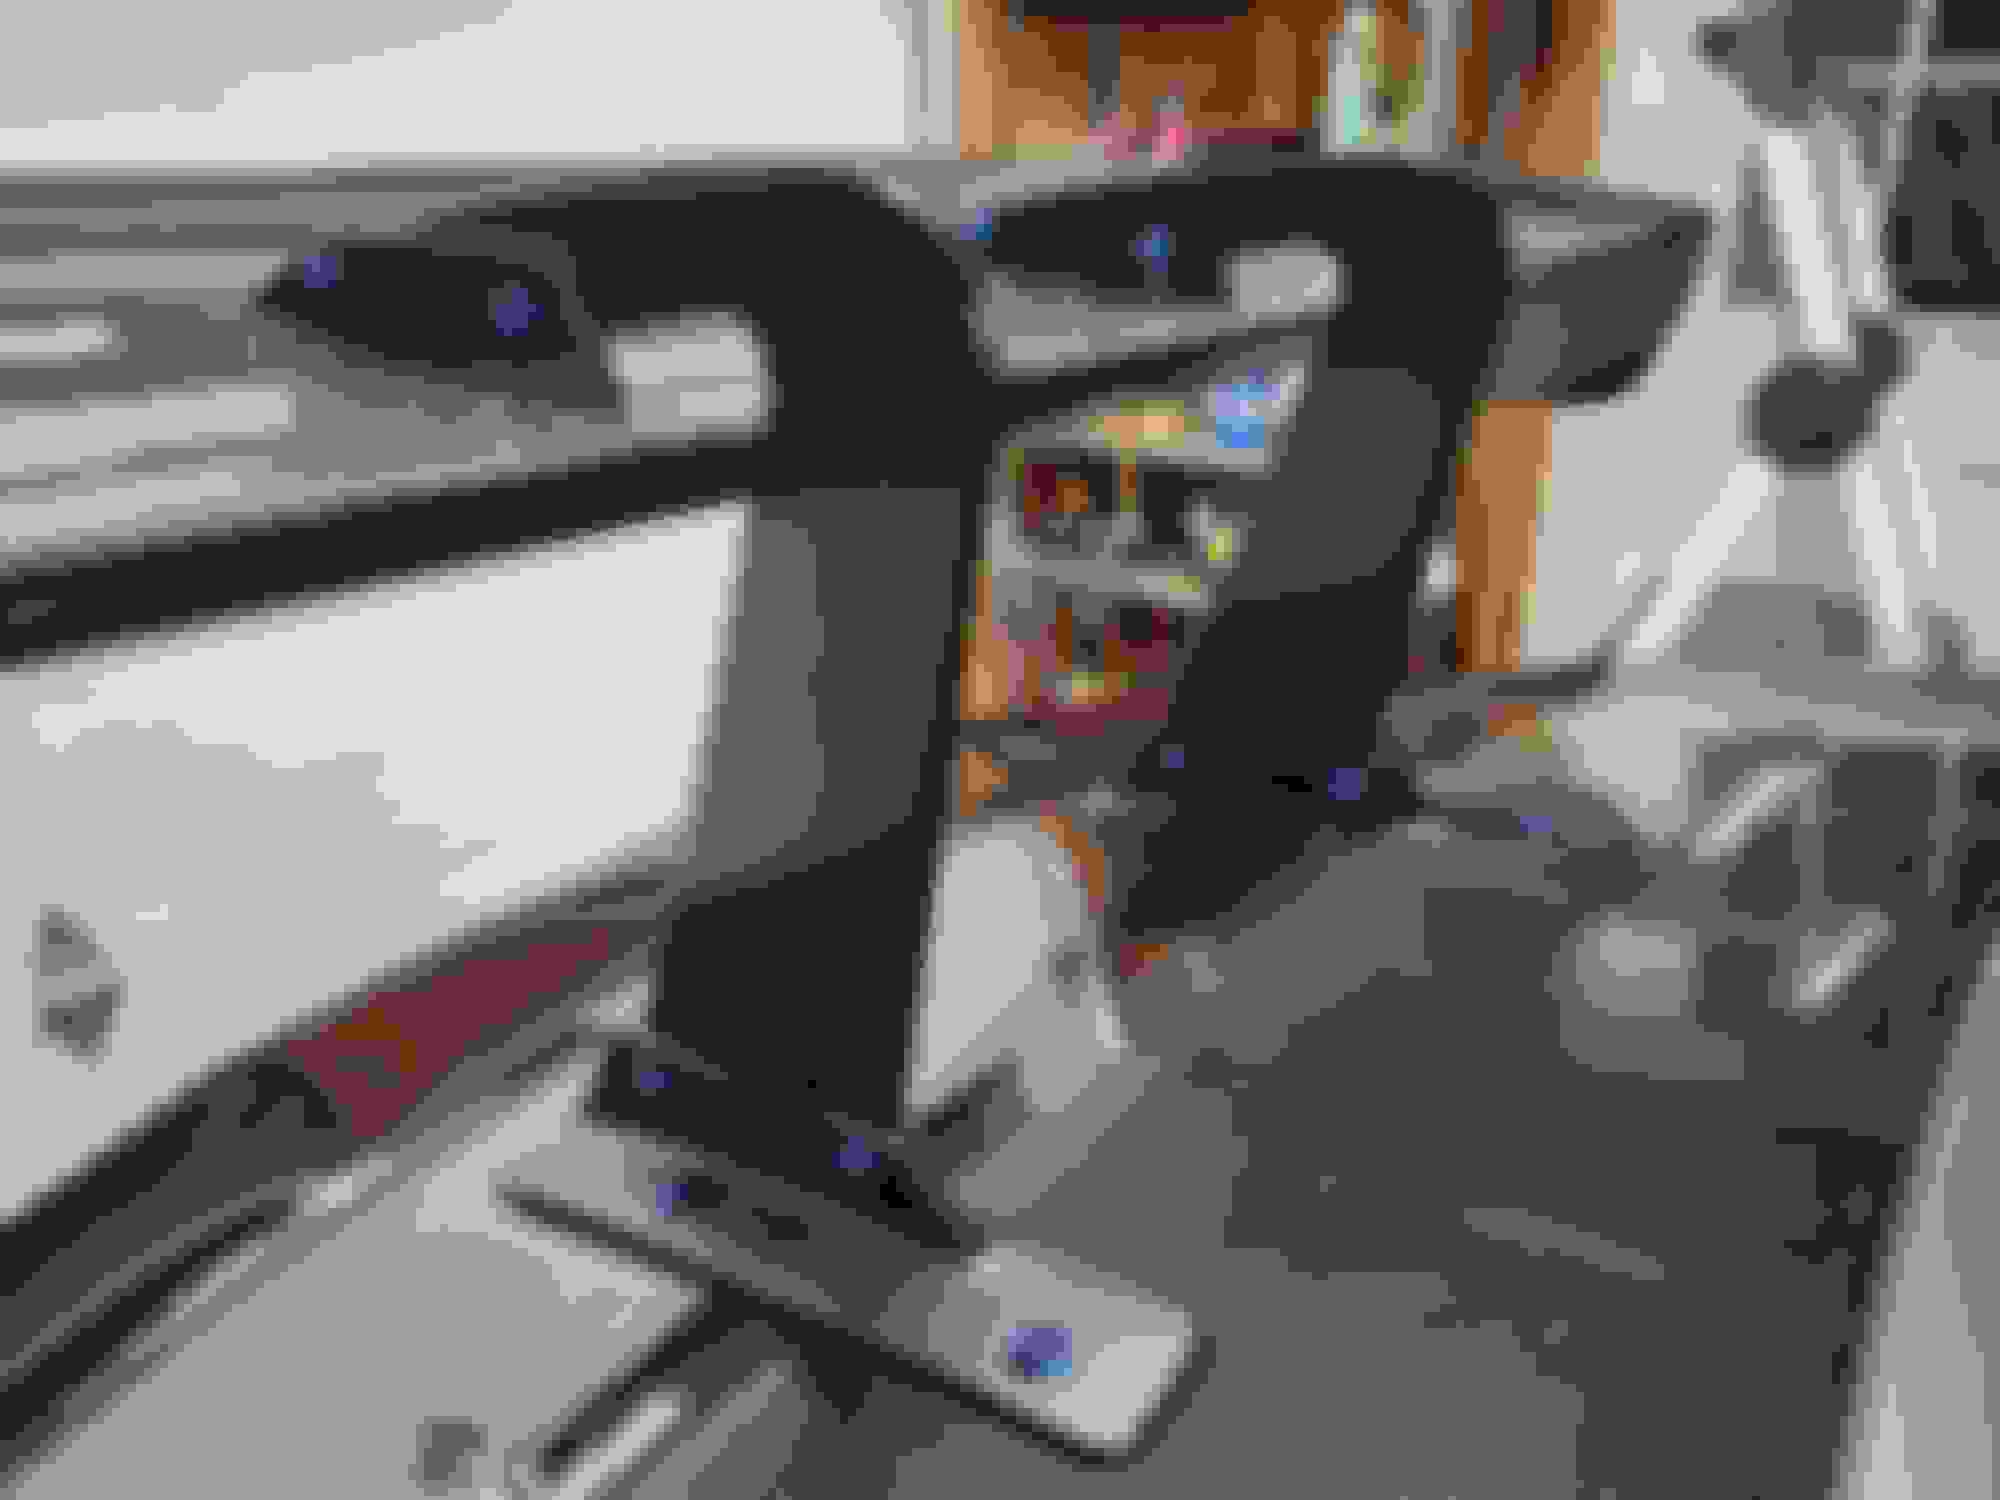
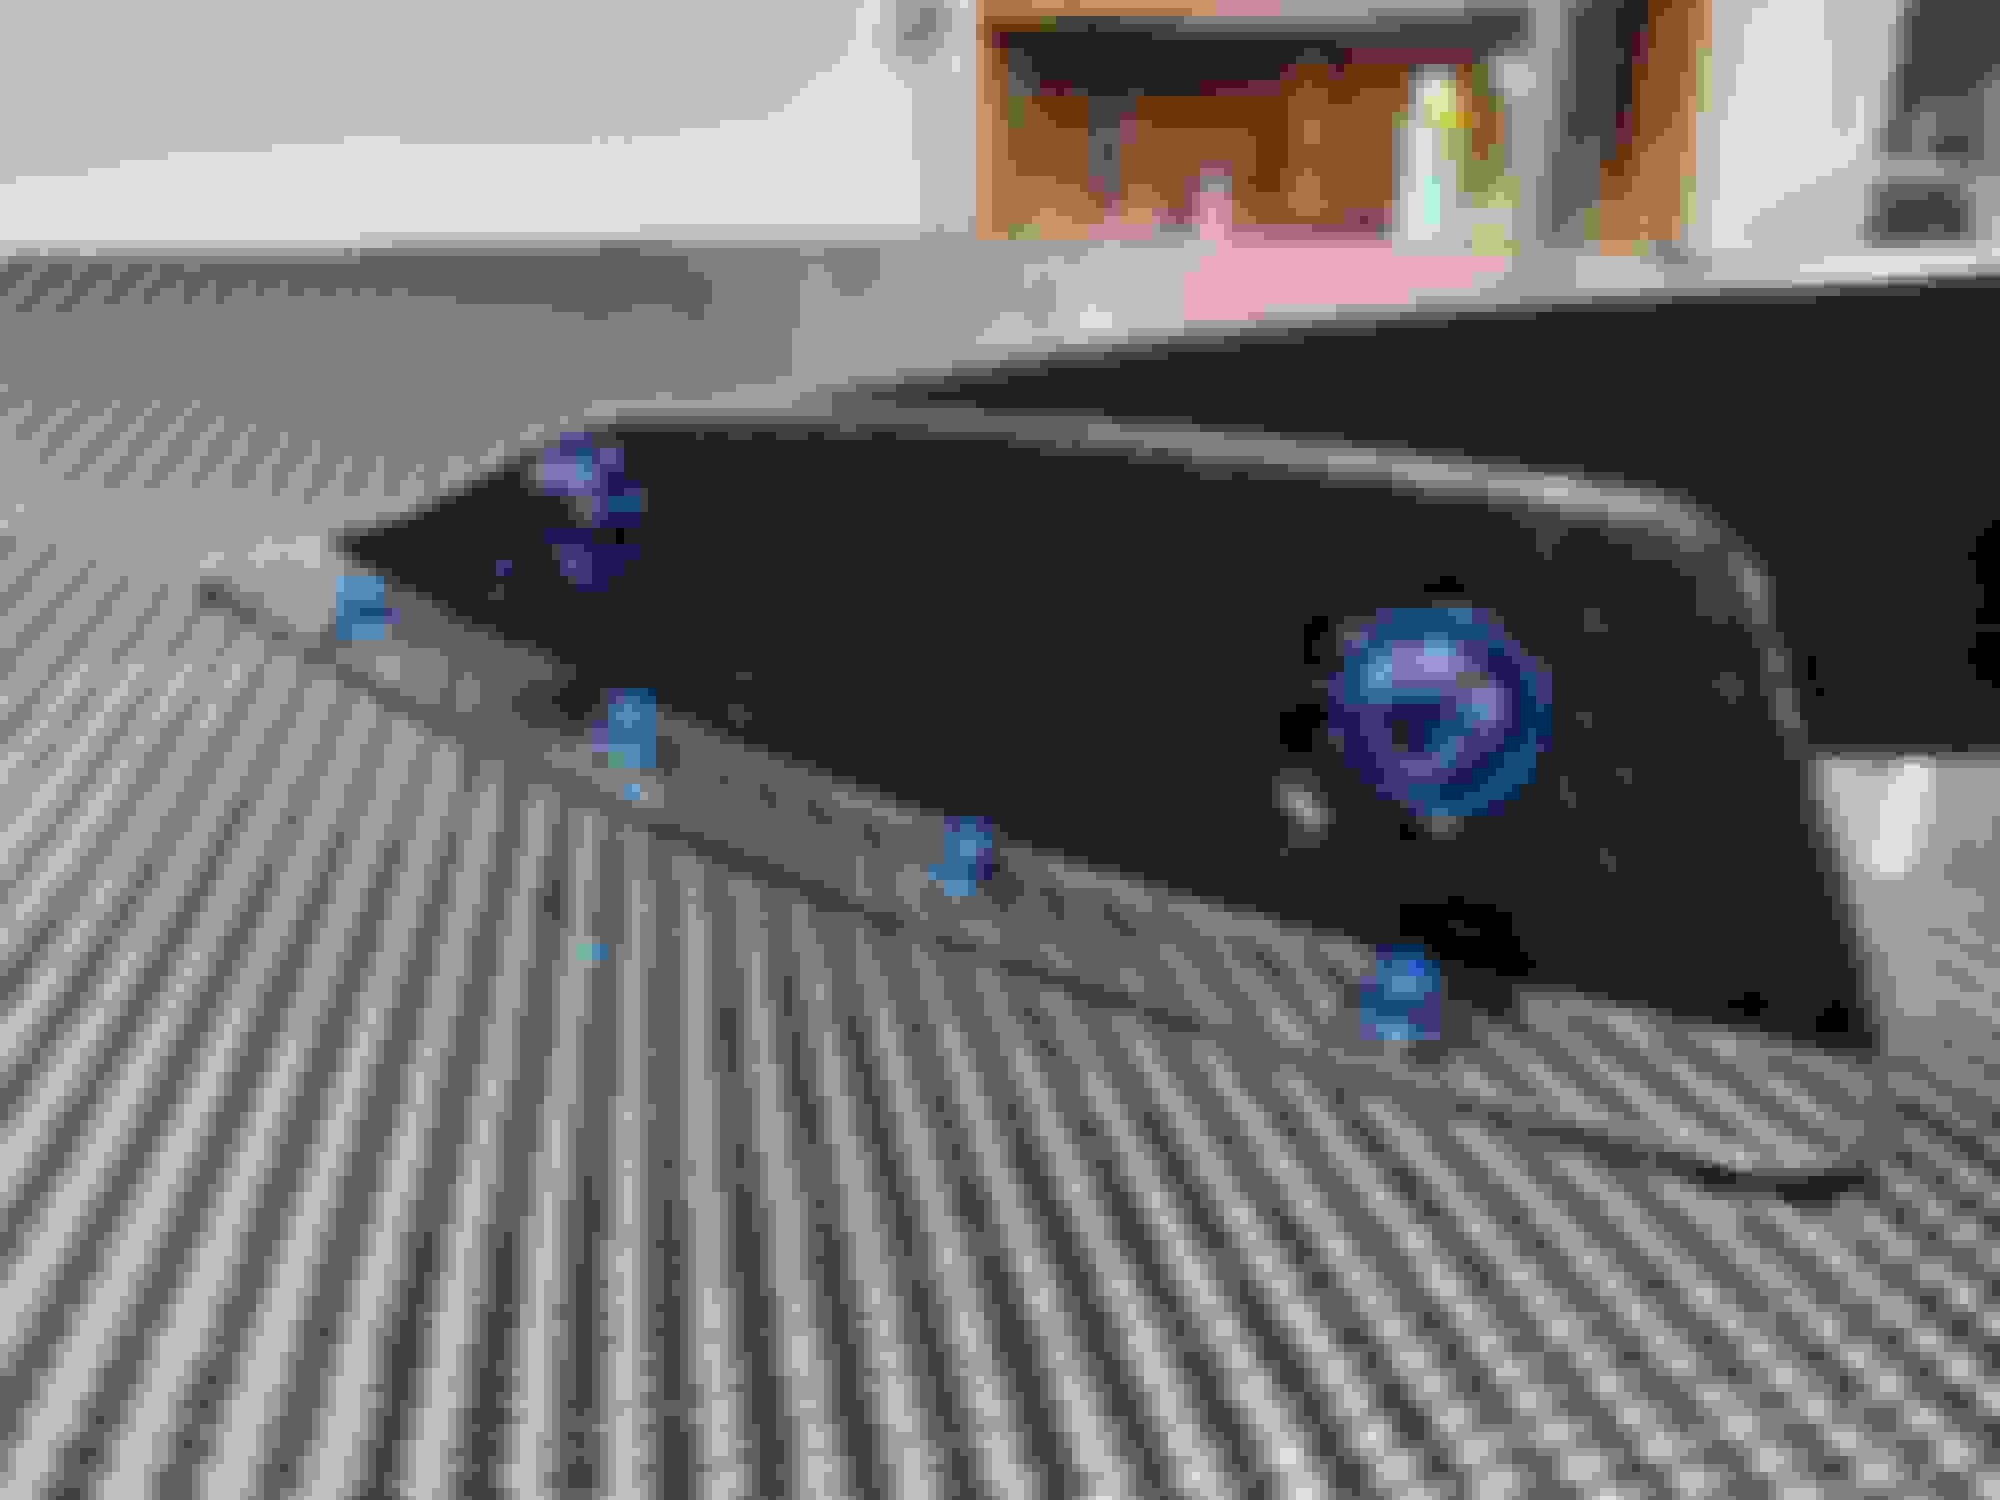
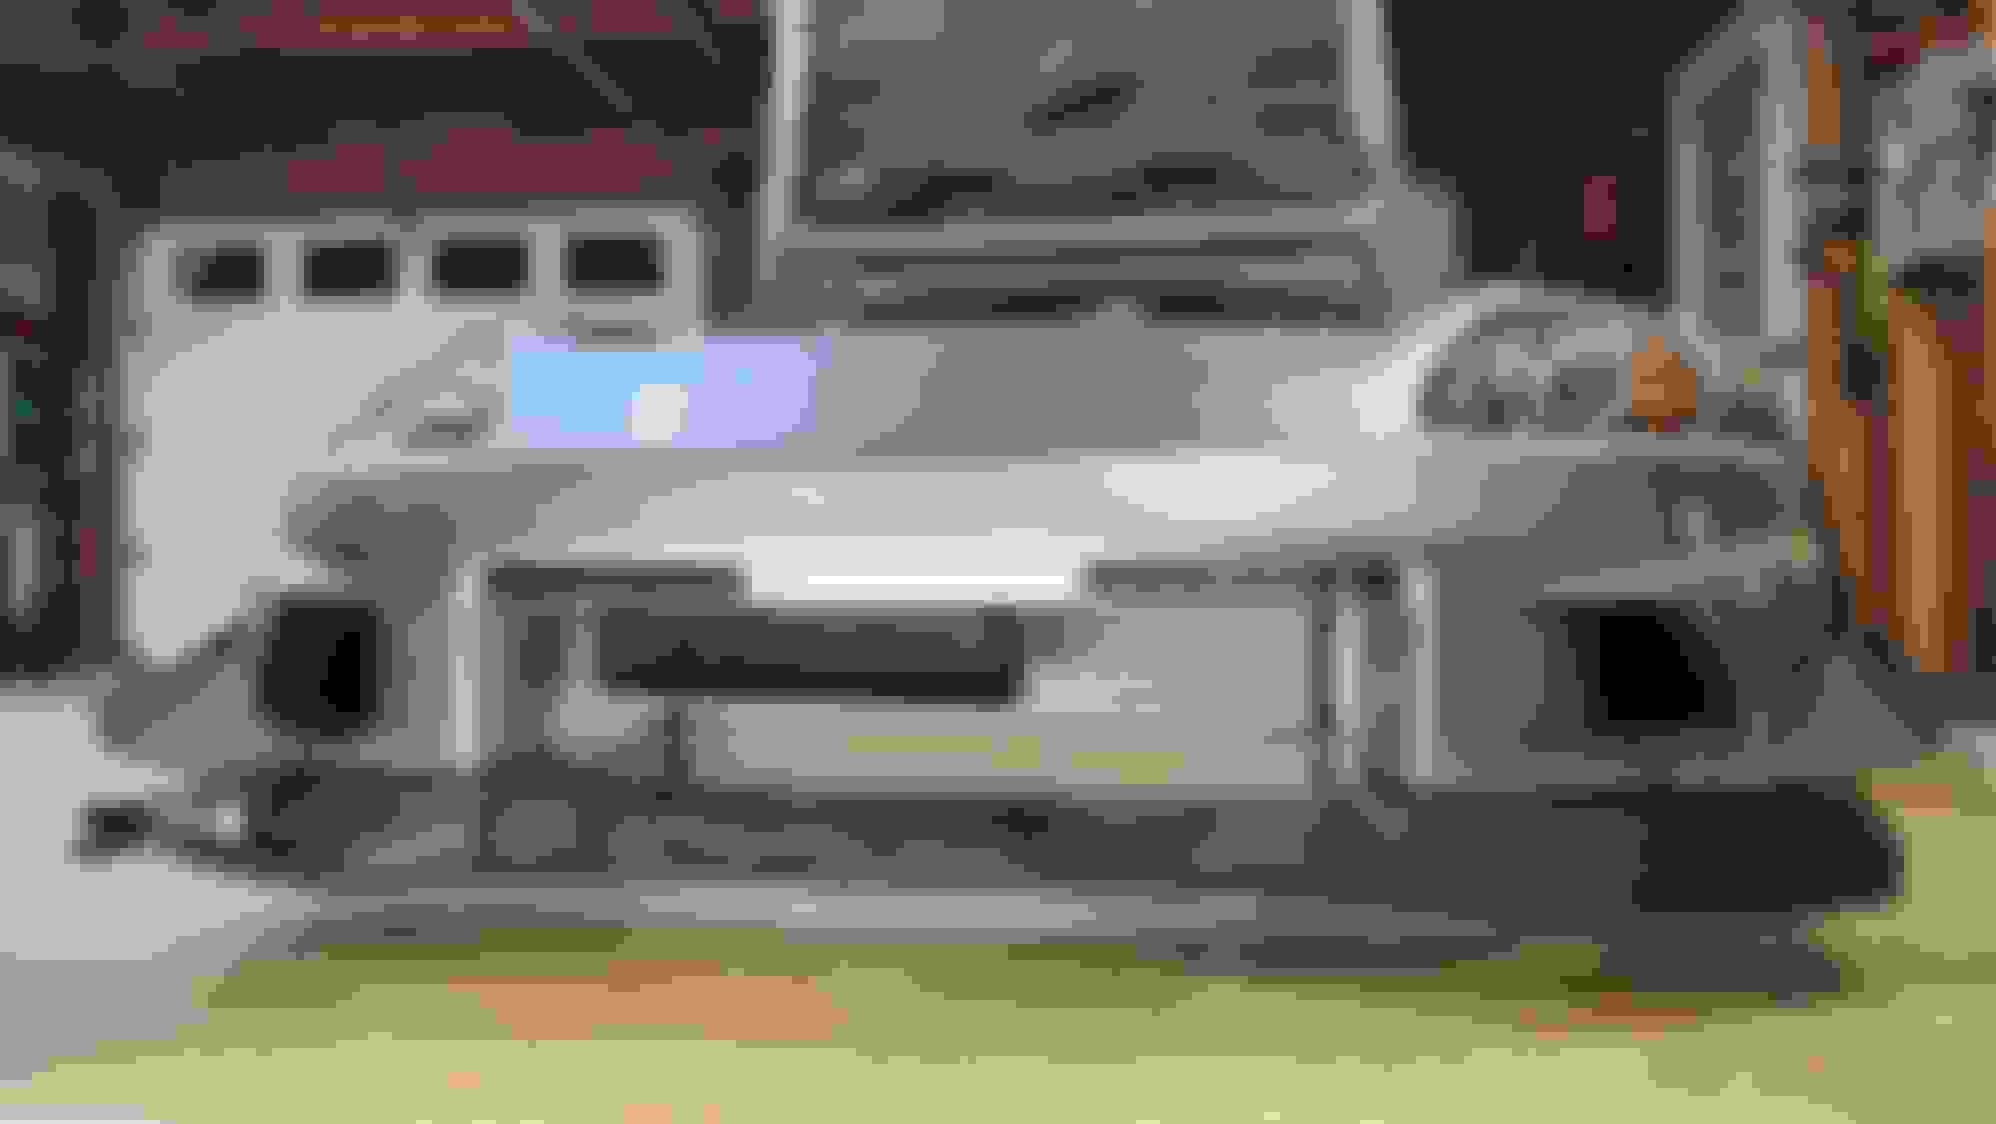
Here is the half-finished "radiator duct" that I have been working on. I started with poster board and got an approximate shape for the side plates. I then modeled it in Fusion 360 and sent it to SendCutSend to have made. The current side plates have an aluminum outer skin with a plastic core (3mm total thickness). I used a 1/8" Thk. aluminum plate with 16 Ga. aluminum angles to connect the side plates. I used aluminum M6 riv nuts in the chassis, angles, and side plates to mount everything. I used blue aluminum dome head screws from Pro-Bolts. I think those look pretty cool. I still have to work on the upper part, and this "duct" isn't perfectly sealed. I mostly made this because I want to get better at making things and because it looks cool IMO.
I also added some pictures of a bumper bracket thing I made because I cut out a lot of the rear panel. I planned to do a cut bumper, but that isn't going to happen this year. The whole rear panel, trunk pan, and trunk floor are ongoing projects. I'm just not at the skill level to complete them yet.
Radiator Duct Idea Radiator Duct Idea
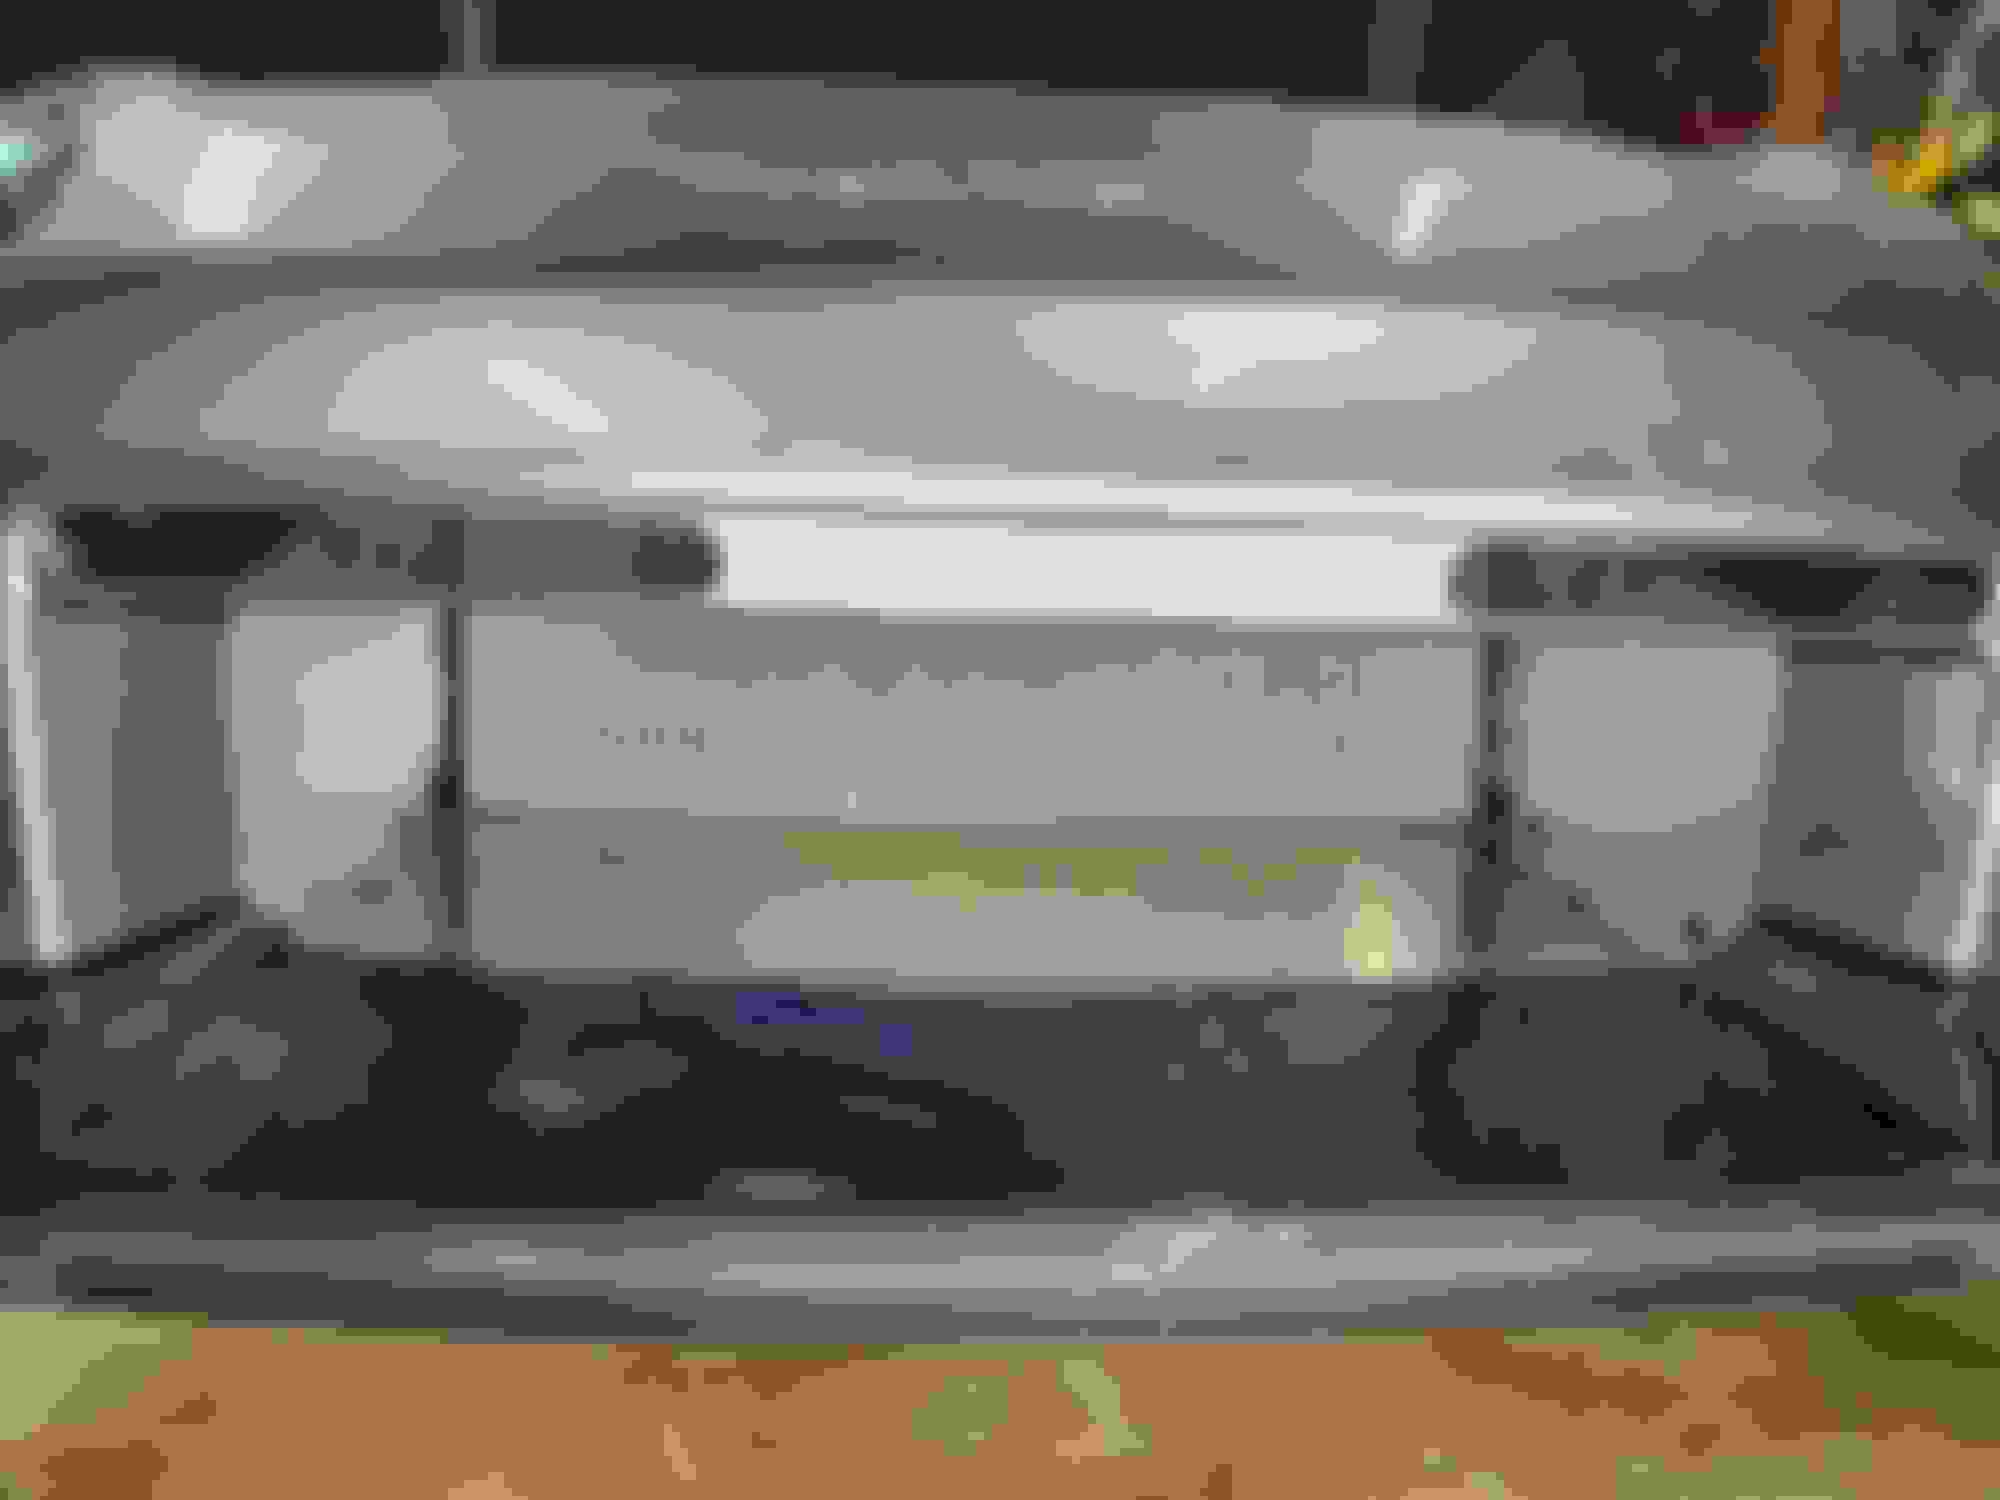
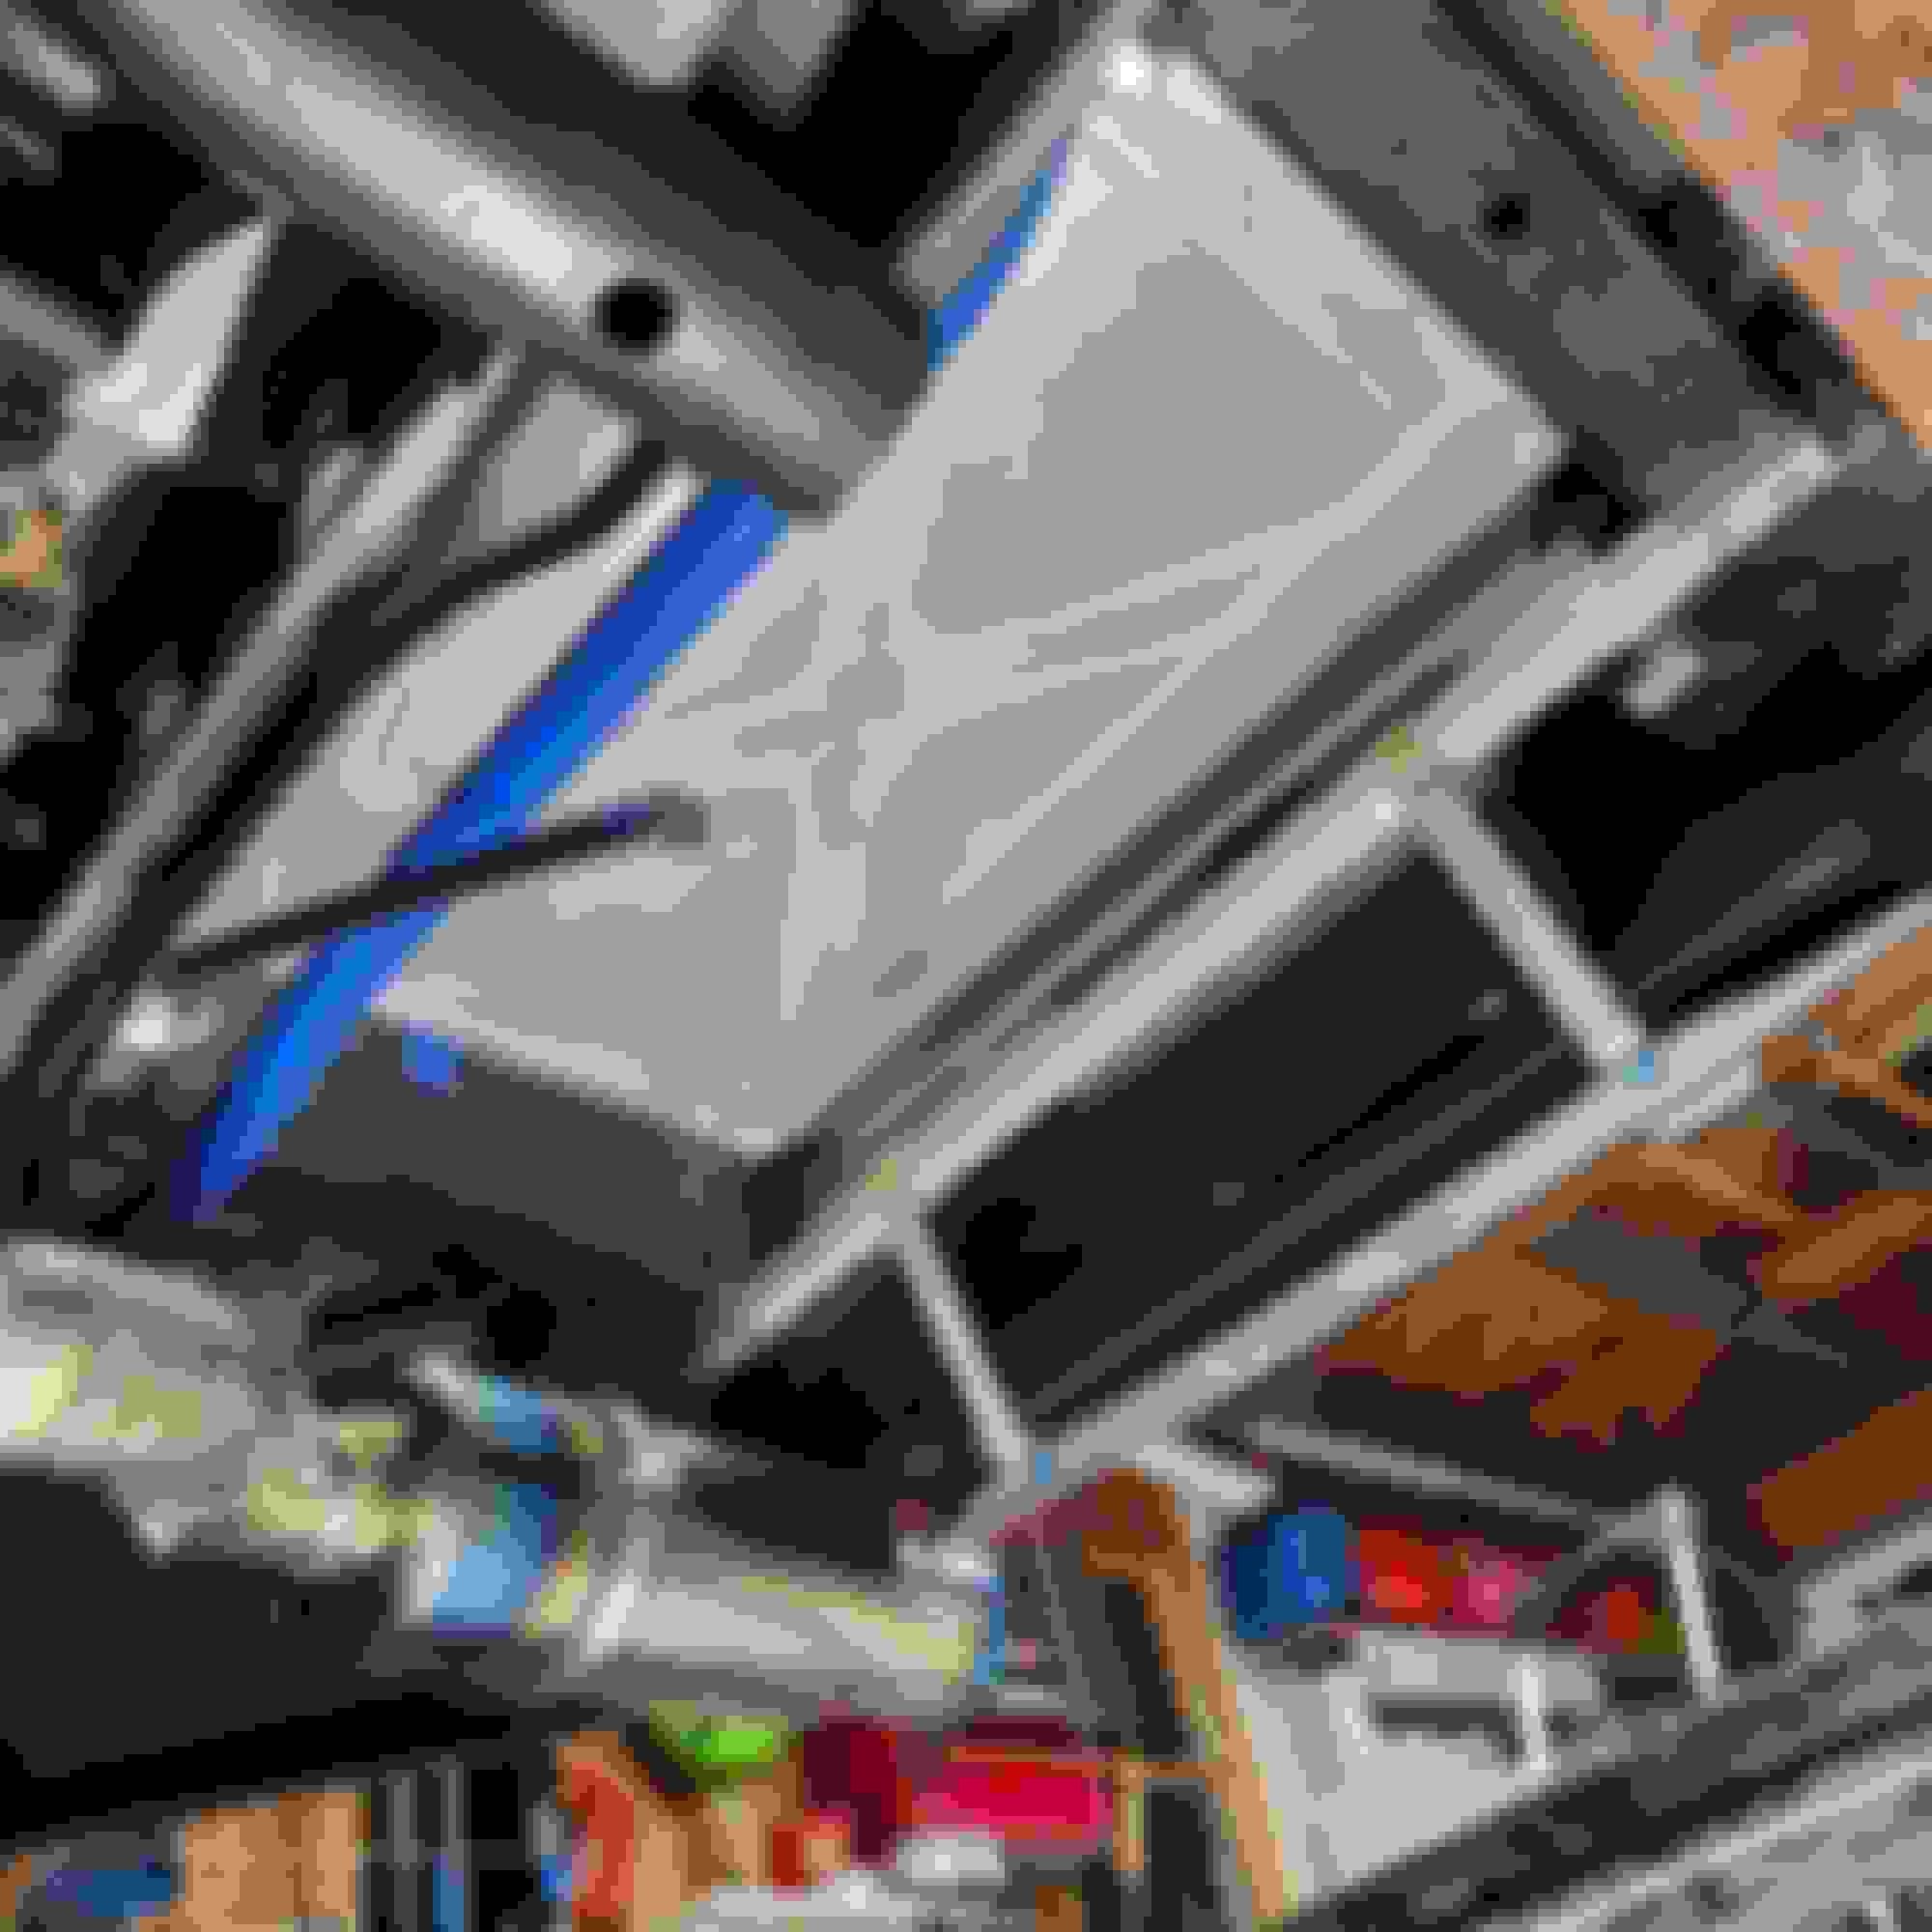
Chassis Rivnuts
CAD Model of Side Plate Side Plate
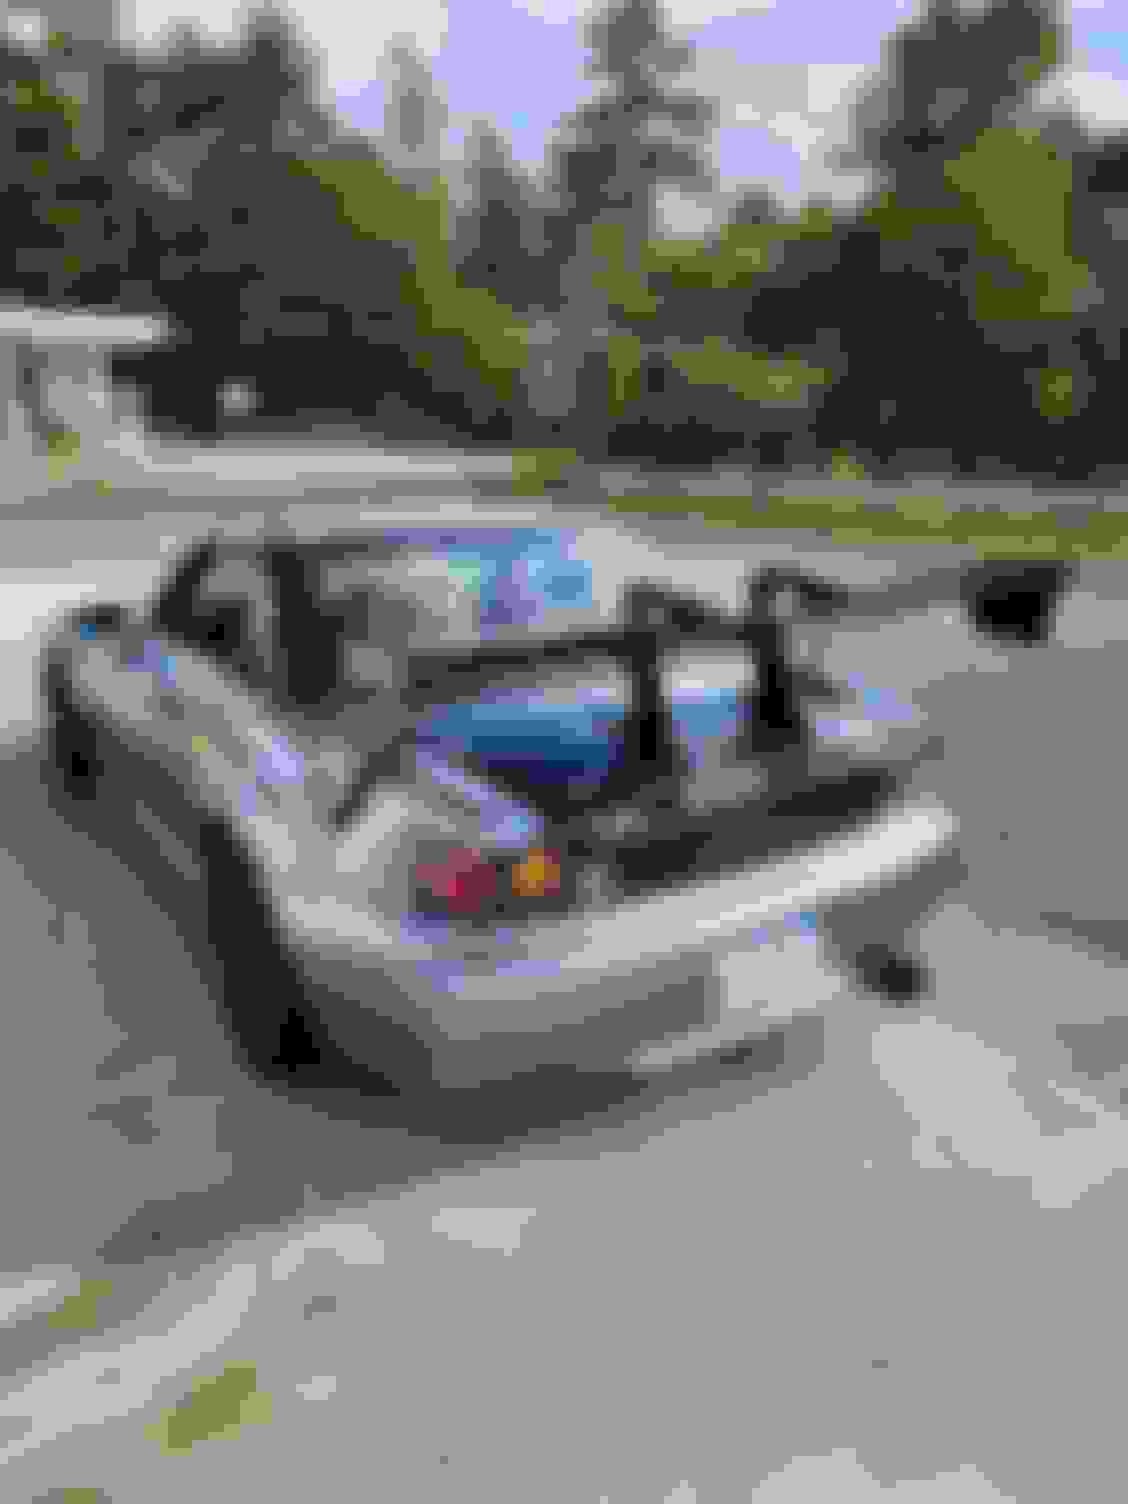
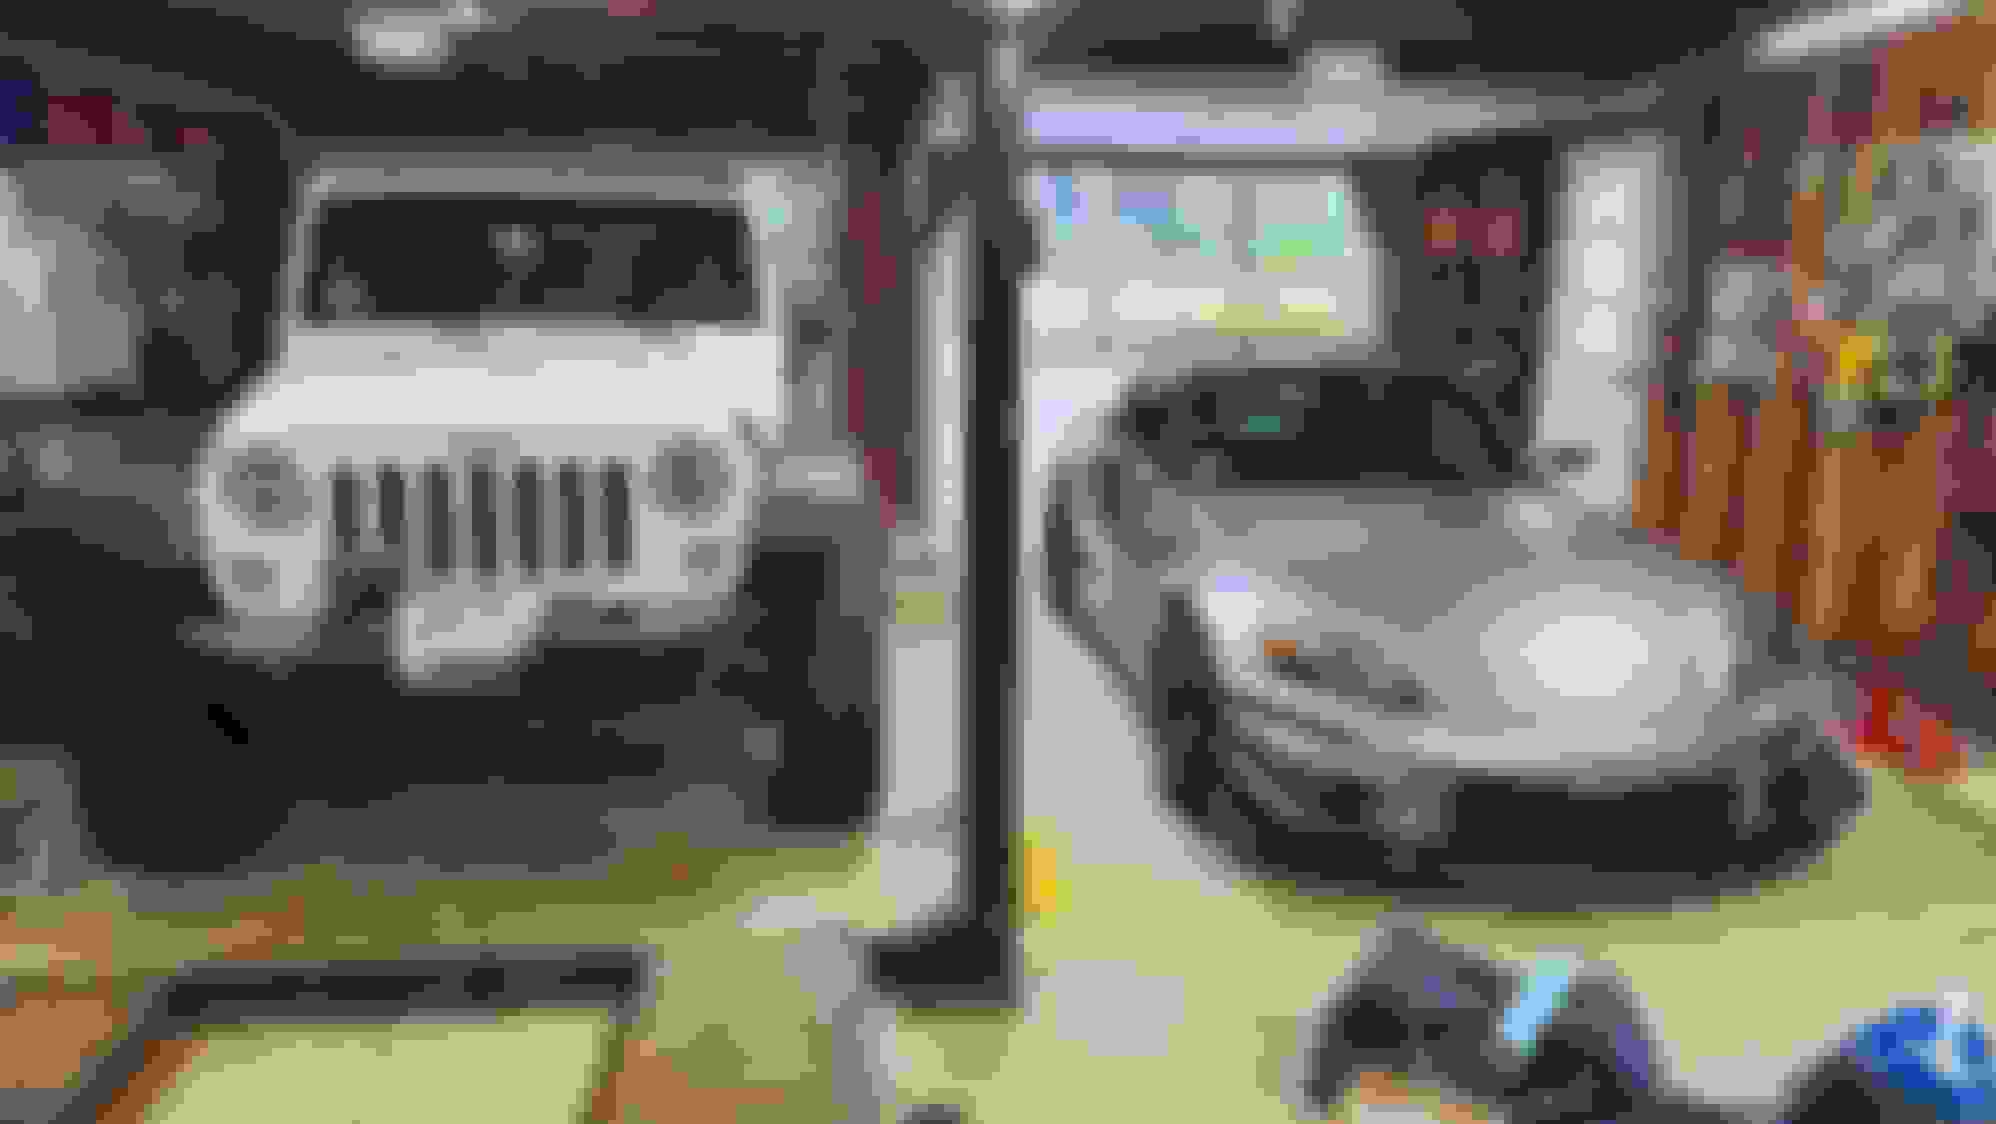
Driving a Few Weeks Ago Current Ride Height (not my Jeep)
I like the idea for ducting. I heard something funny the other day around sealing perfectly "air is lazy, you just have to show it the easy path and it will take it; doesn't have to be perfect".
I think I'll have to take part of your work on my own adventure in sealing.
I did a few more things. I got all titanium bolts, lock nuts, and washers for the Voltex wing. The heads of the bolts that come with the wing strip easily IMO. Also, some of the paint on the wing mounts/stand was sinking under the original washers. I got the wing stand to wing bolts from Pro-Bolts. They are blue M5 titanium hex head bolts. I got M6x35mm bolts with lock nuts and washers from Dress Up Bolts. The washers are thicker and larger diameter than the original ones. The standard Voltex wing bolts are M6x25mm, and the threads barely pass through the lock nuts. Because I went to a thicker washer and wanted more threads to pass through the nut, I wanted to get a 30mm bolt. However, the M6x30mm blue bolts were out of stock from Dress Up Bolts. So, I decided to go with a 35mm bolt. They look way too long, so I may get 30mm bolts once they have them in stock. The trunk and intake box bolts are M6x35mm, so I can still use them. The original steel bolts/washers/nuts weigh the same as the new larger titanium stuff, so at least that’s good.
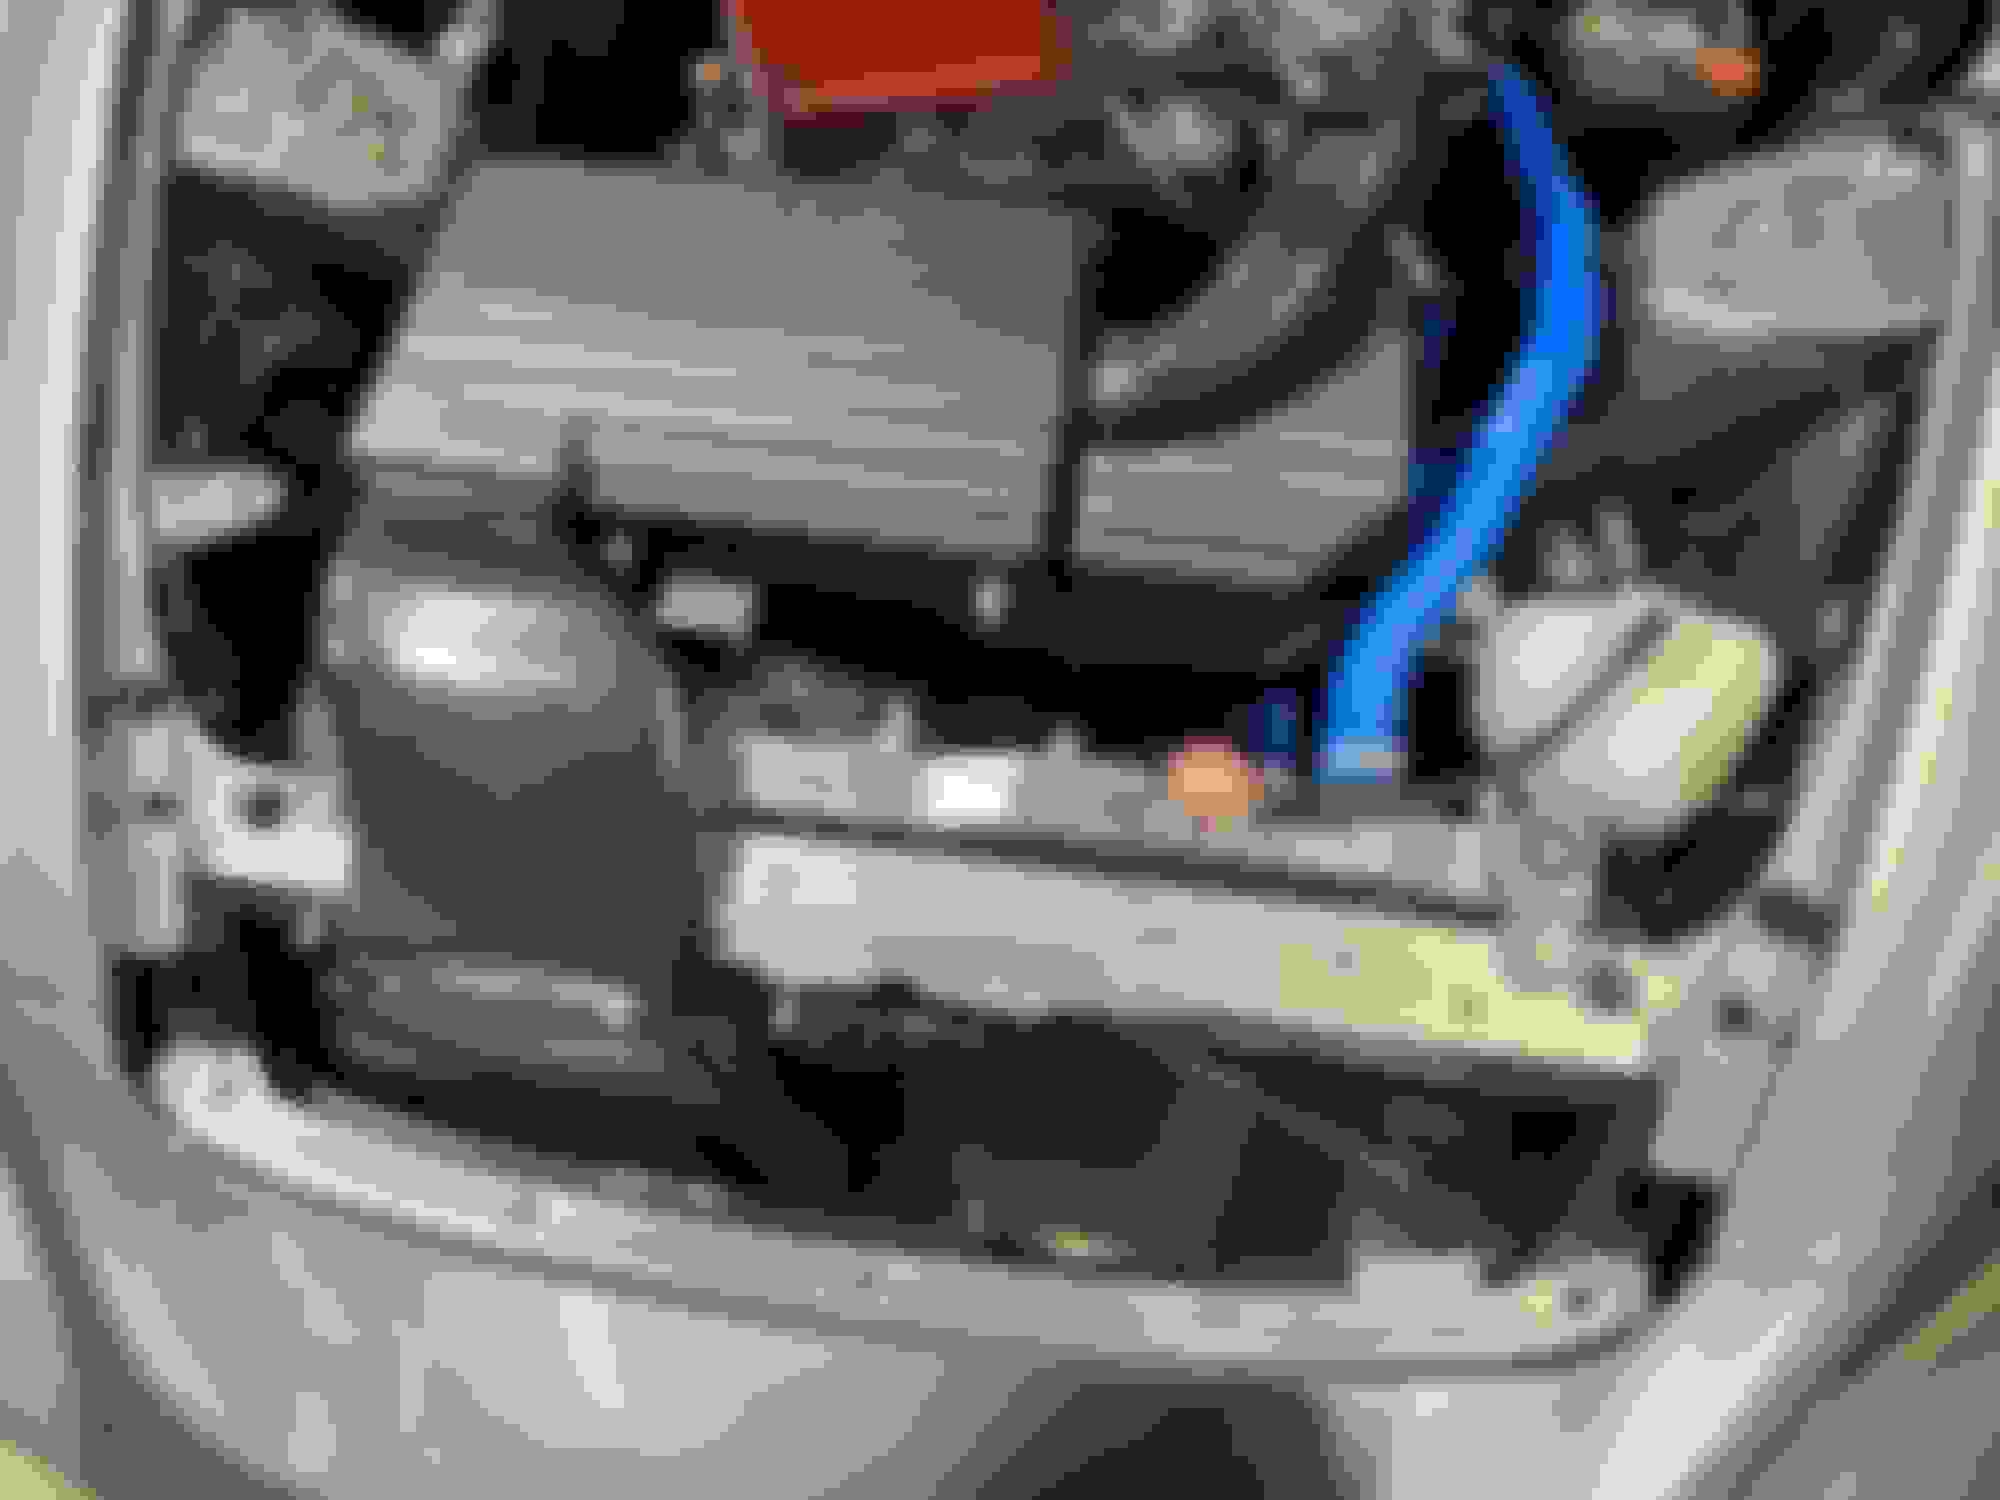
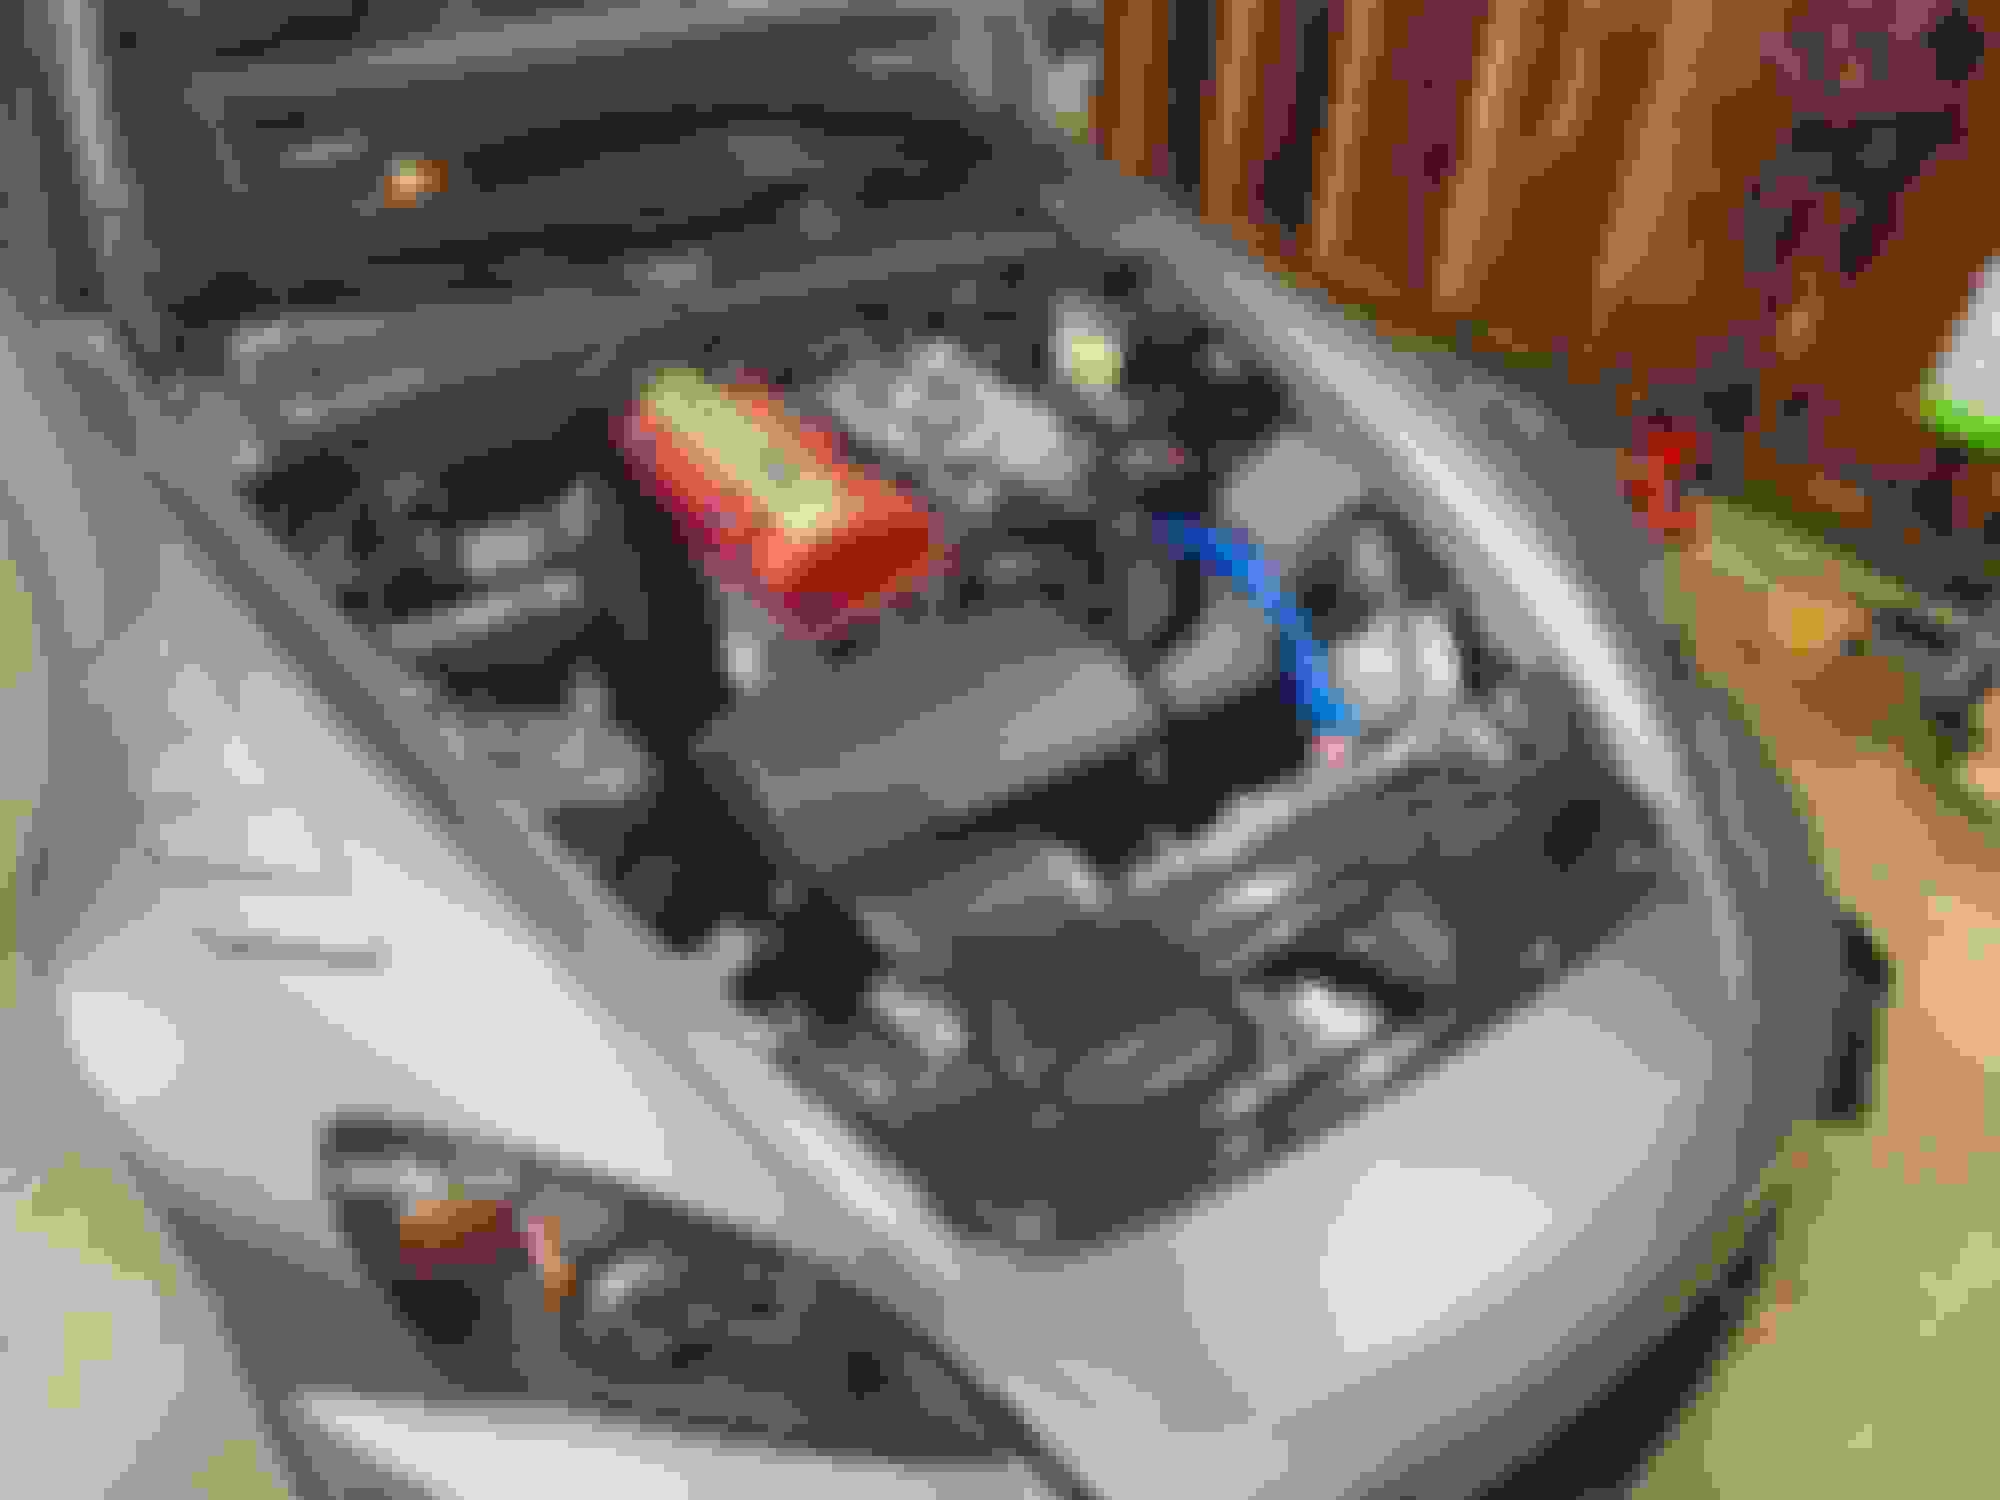
I also added the Password JDM intake snorkel and cooling plate. I had to sand down the cooling plate a ton to prevent it from hitting the radiator. I think this could be because the Koyo radiator is thicker than stock. The snorkel was also a pain. The mounts and hardware it comes with are not very nice, and there were some quality issues. I’m planning to cut the hood, but I just raised it to clear the intake for now. I ordered the Car Garage Amis Mugen intake carbon hood insert. I don’t know if this snorkel makes things better, worse, or the same, but I think it looks pretty cool with the radiator duct. The inlet is massive. I may make the radiator duct stuff black in the future so the snorkel doesn’t stand out as much. In the picture, I have the engine bay light pointed at it, so it stands out like crazy and looks a bit ridiculous. Without direct light on it, it isn’t that noticeable. I need to put some mesh stuff over all this stuff.
I also did the Billman TCT. That thing was so easy to install.
I removed all the window components, including the track with the fin piece at the top.
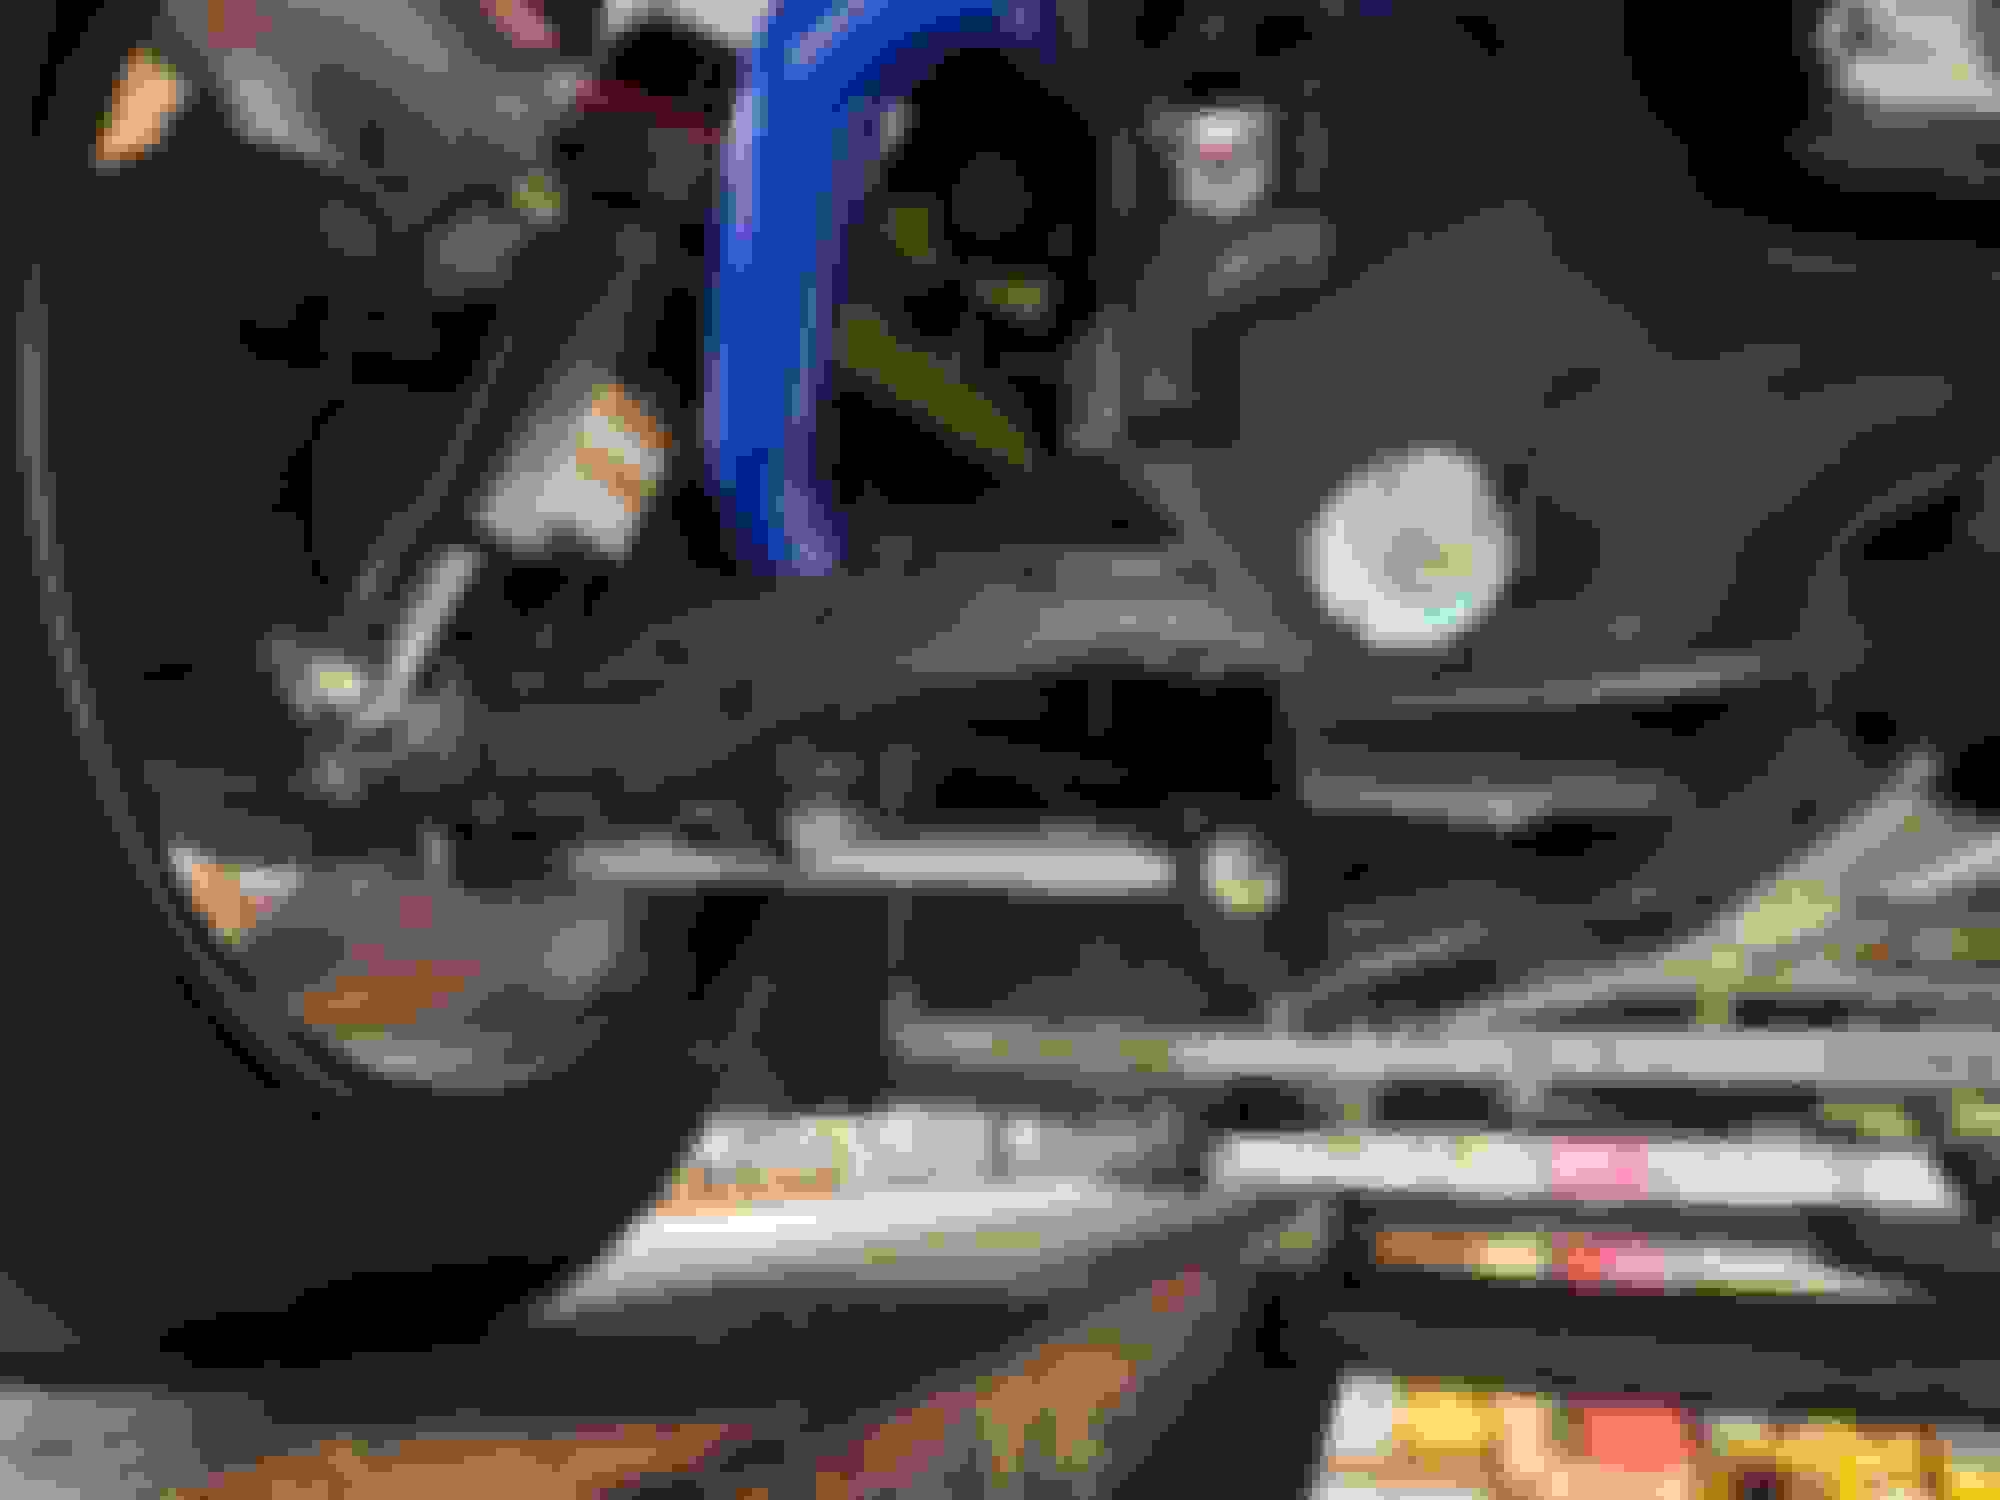
I installed my J’s Racing spherical toe arms and added a spherical dust boot. I like knowing that road debris won’t get sprayed all over the spherical joint. I got the dust boot tool and dust boots from TMR customs. The boots aren’t perfect, but I think they are better than nothing. All the Cusco spherical bushings come with dust boots. I will also add dust boots to my Super Now tie rod ends. Voltex Wing, ASM Trunk, K1 Lab Spoiler With Pro-Bolt and Dress Up Bolts Titanium Hardware Dress Up Bolts Titanium Hardware Pro-Bolts and Dress Up Bolts Titanium Hardware Titanium Dress Up Bolts (so pretty...) Password JDM Snorkel Password JDM Snorkel Password JDM Snorkel Password JDM Snorkel With Voltex Bumper (yes looks a little ridiculous with the direct light) Password JDM Snorkel Without Direct Light
Password JDM Cooling Plate Hitting Koyo Radiator Password JDM Snorkel & Cooling Plate (after sanding) Password JDM Snorkel & Cooling Plate (after sanding) Hood Gap With Snorkel Until I Cut Hood Hood Gap With Snorkel Until I Cut Hood Billman TCT Removed Window Stuff Including Track + Fin TMR Customs Spherical Dust Boot TMR Customs Spherical Dust Boot Tool J's Racing Toe Arms With TMR Customs Spherical Dust Boots J's Racing Rear Toe Arm Rear Suspension Front Suspension
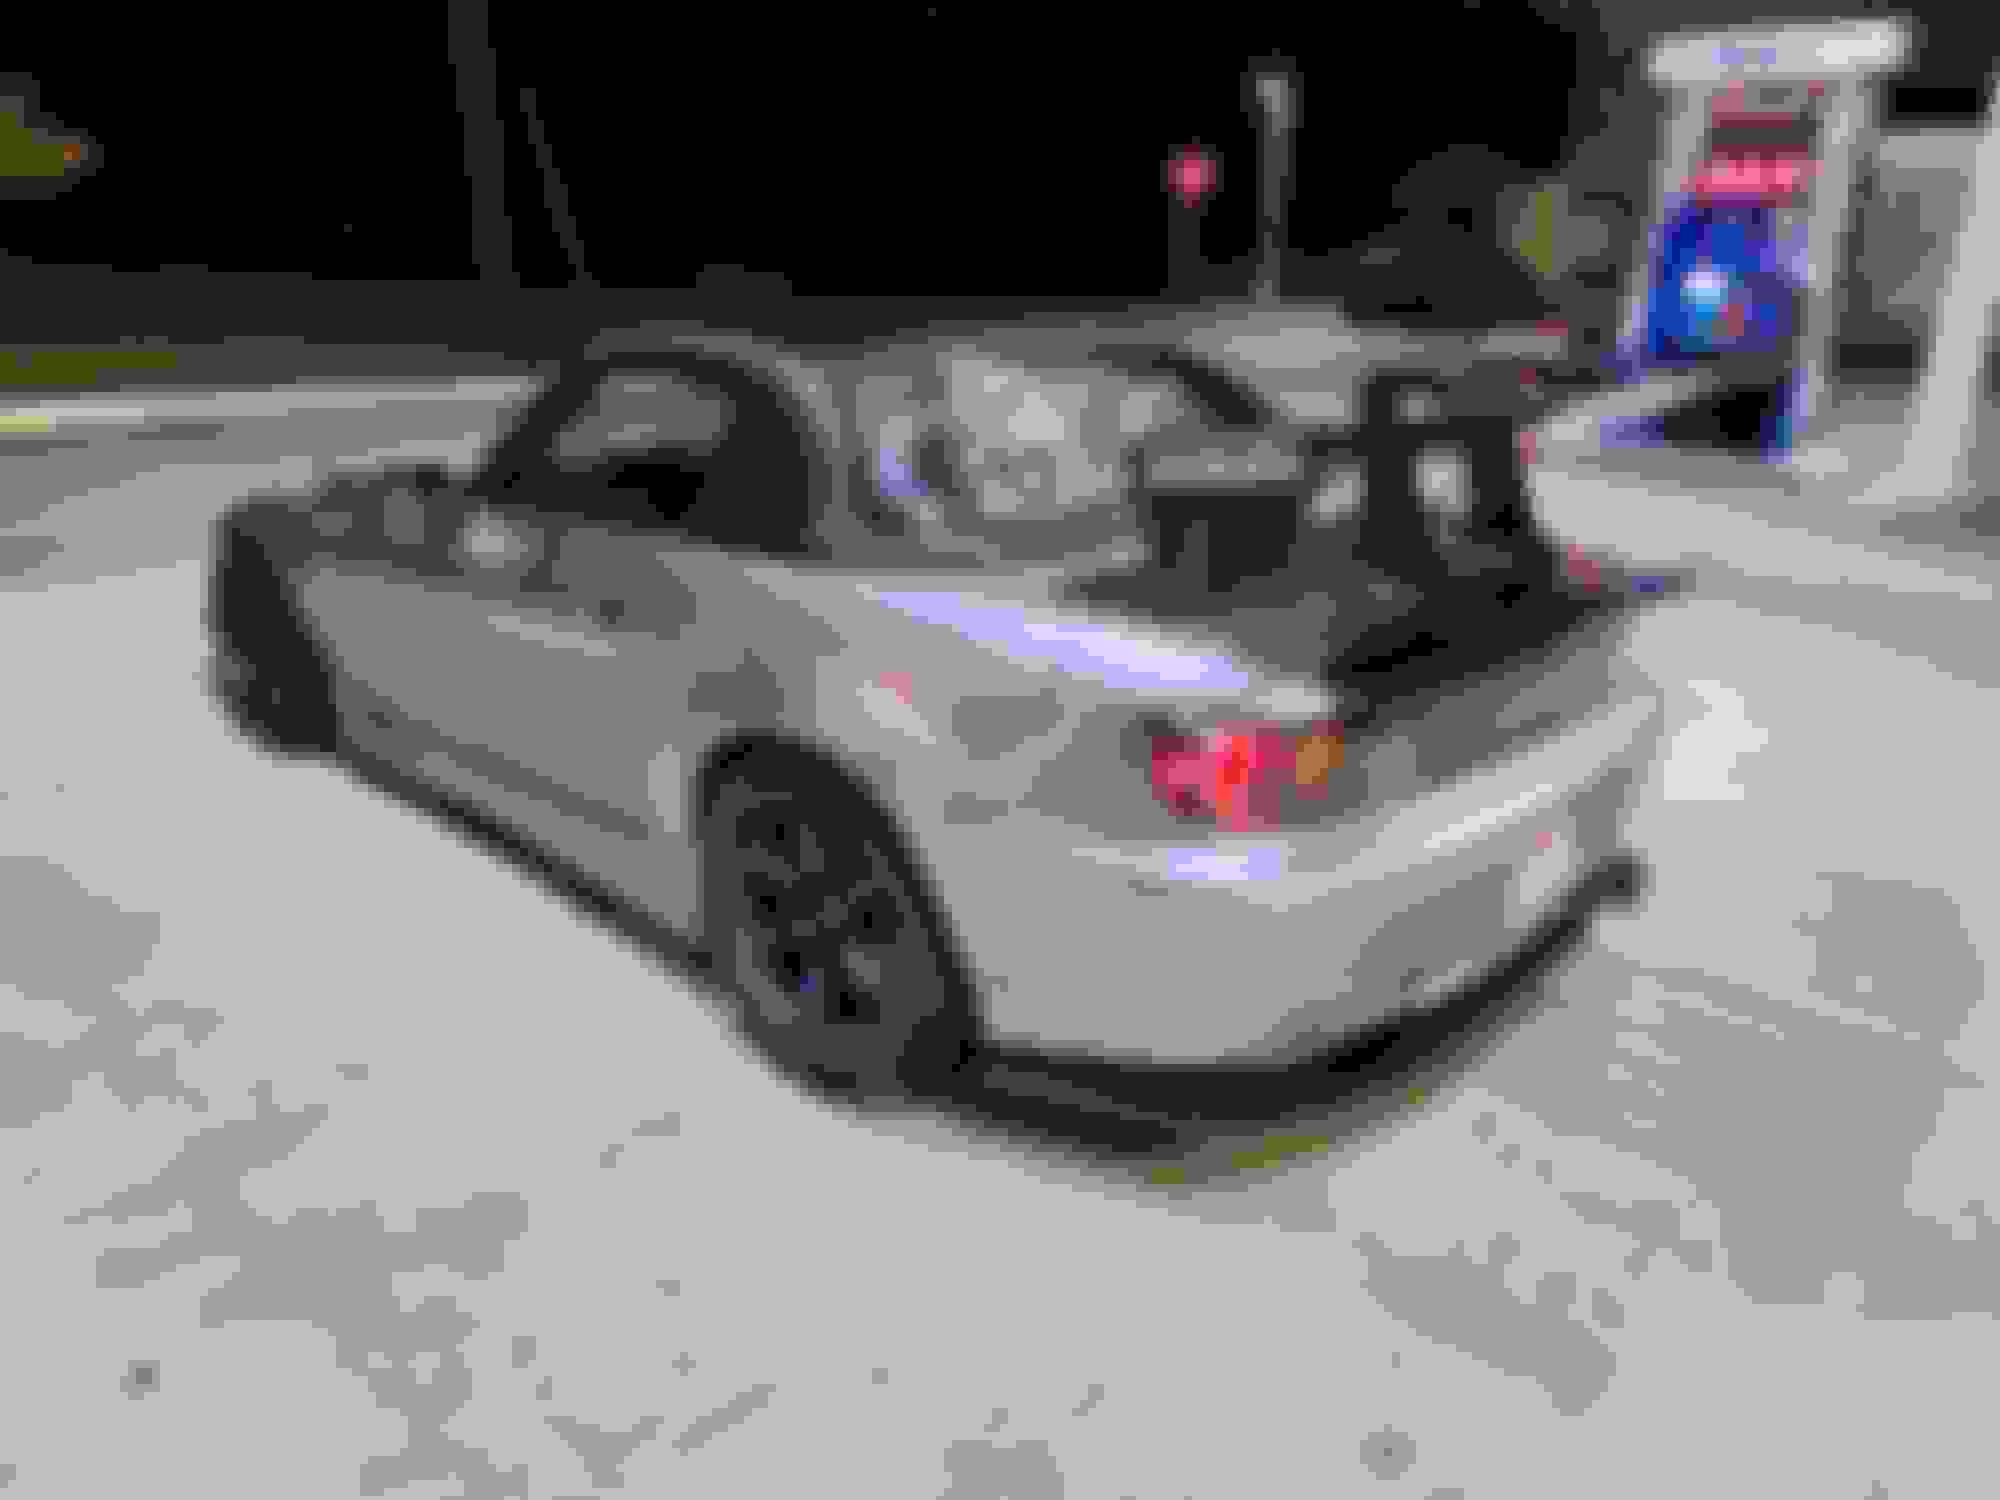
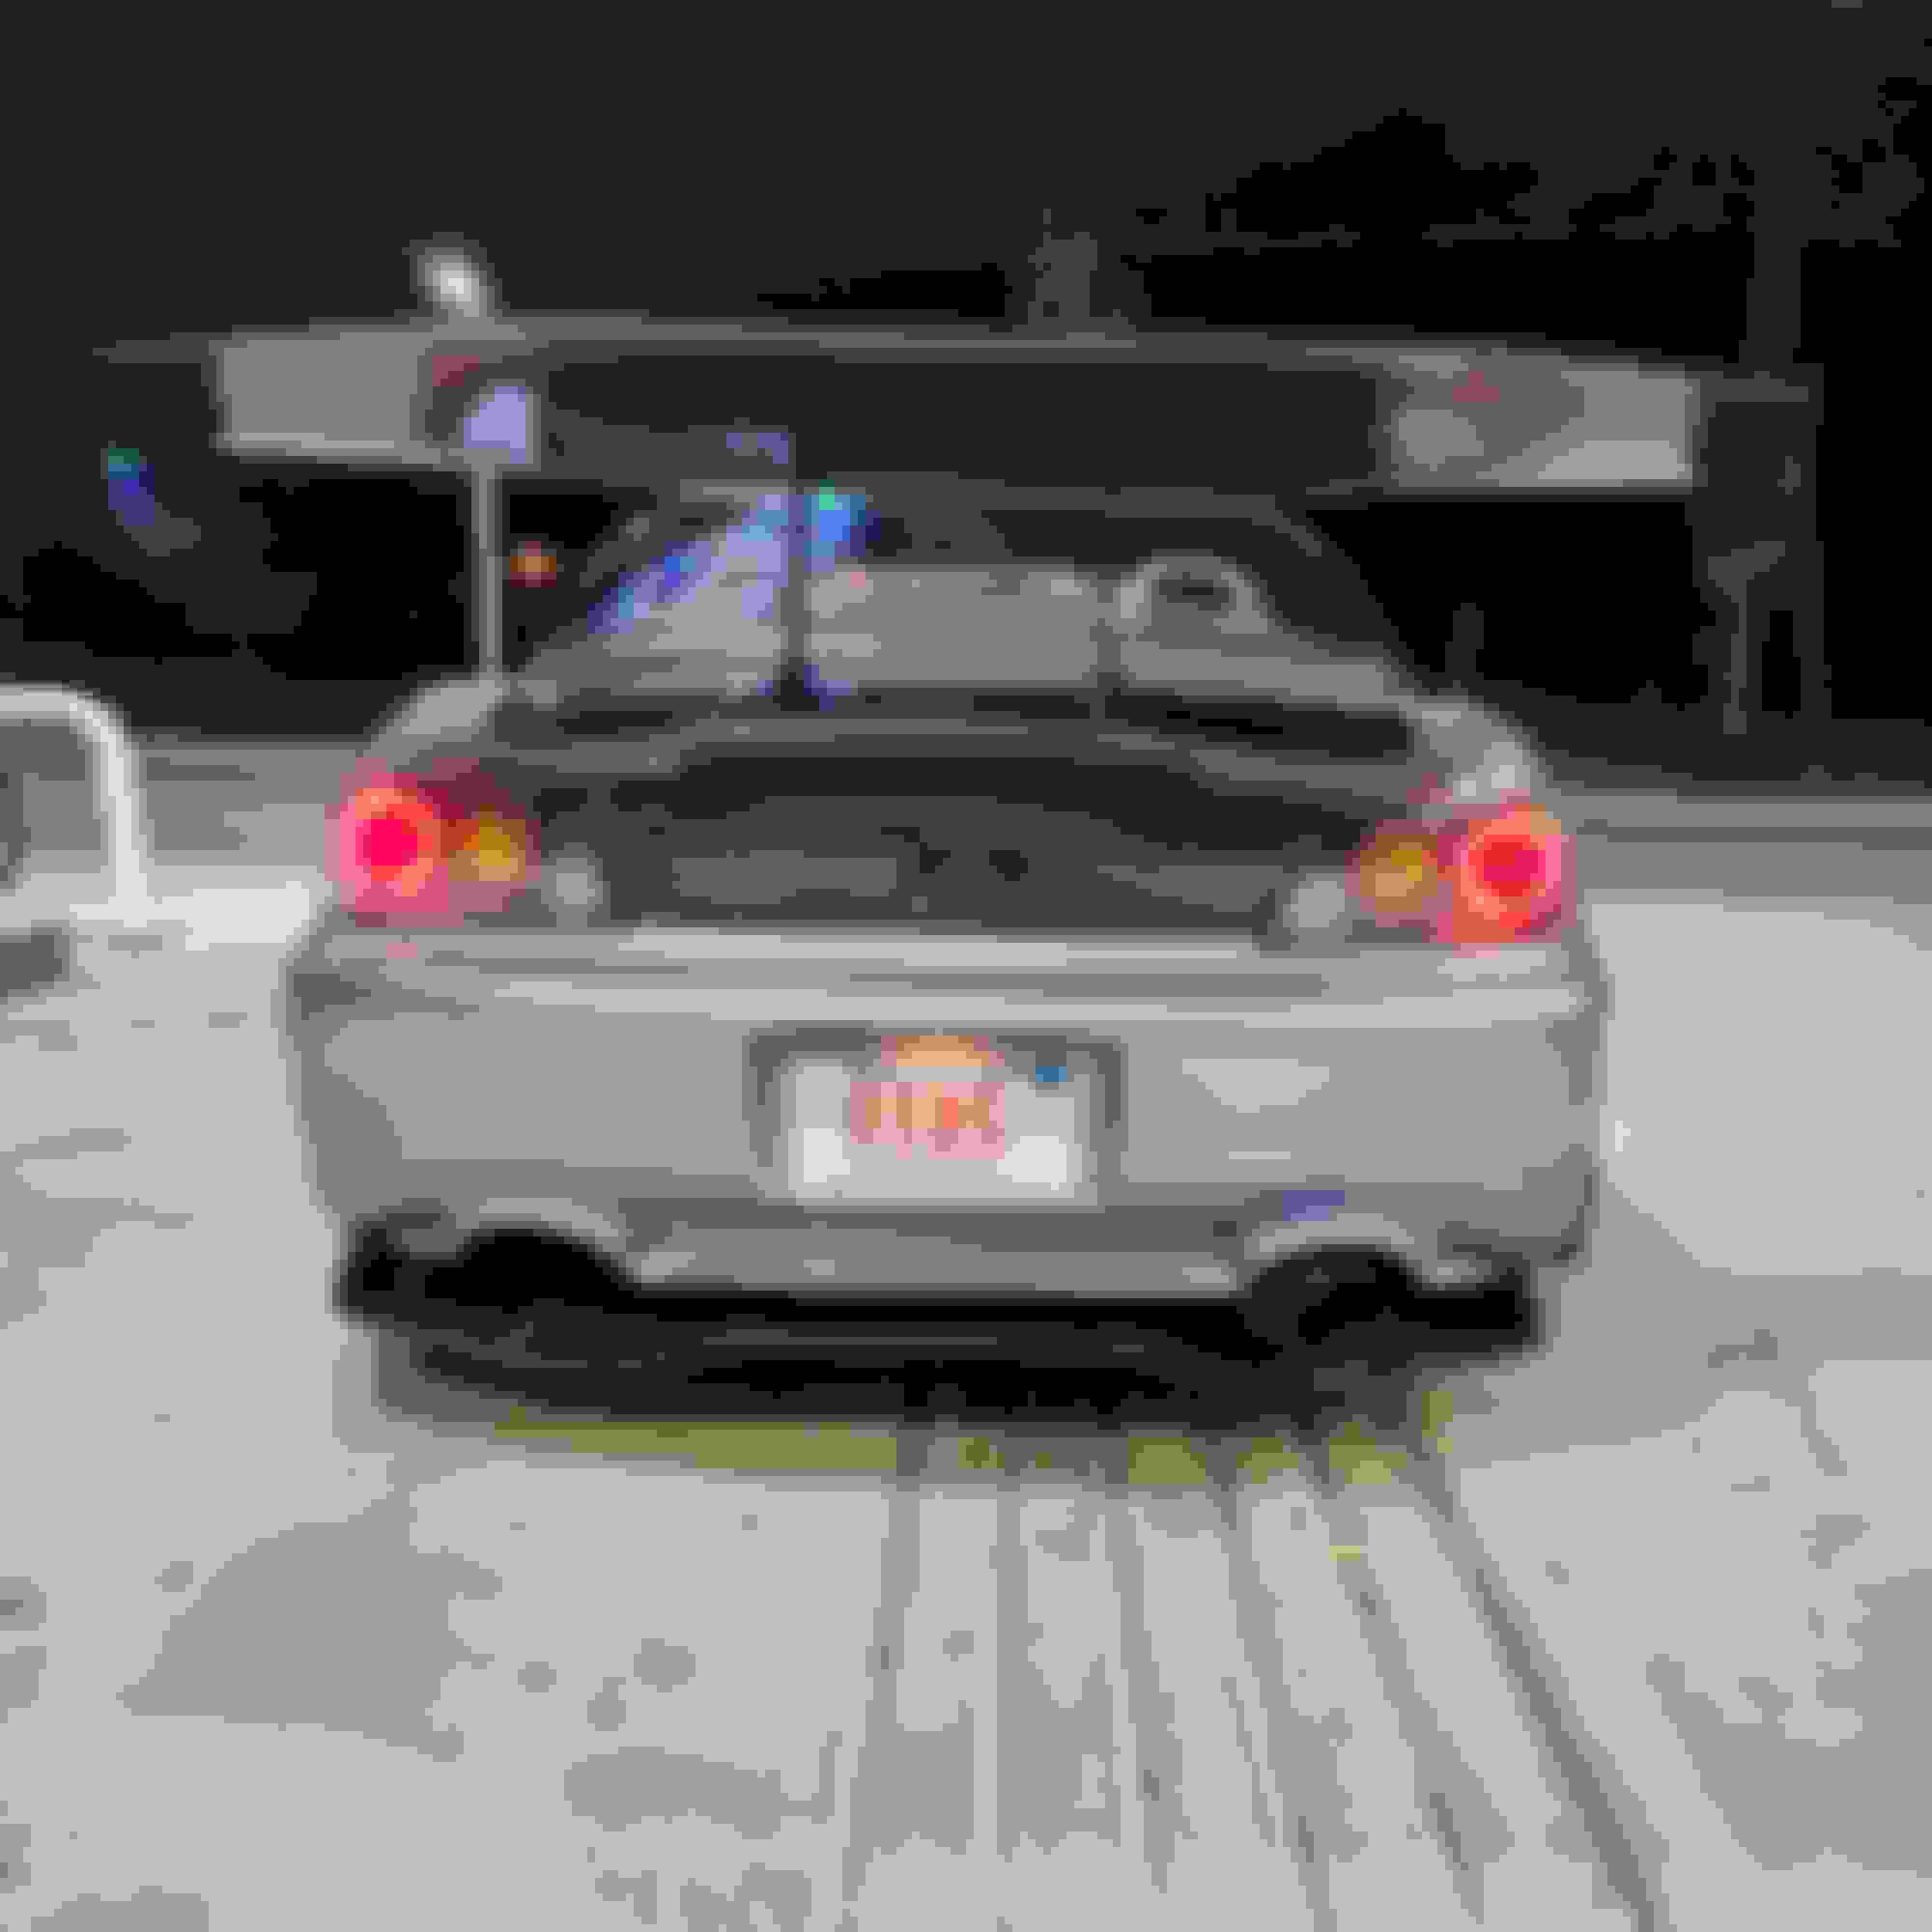
I drove with the Voltex diffuser for the first time last night and took some pictures. This winter, I want to get scales to corner balance the car and some type of string jig to make measurements easier and more repeatable. I'm not going to mess with the alignment anymore since there are only a few weeks of driving left.

 09-15-2024, 05:27 PM