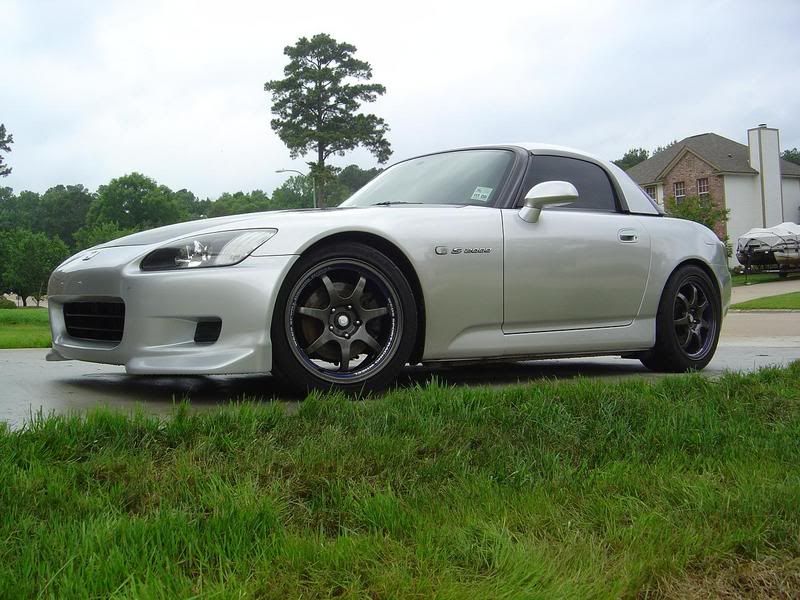
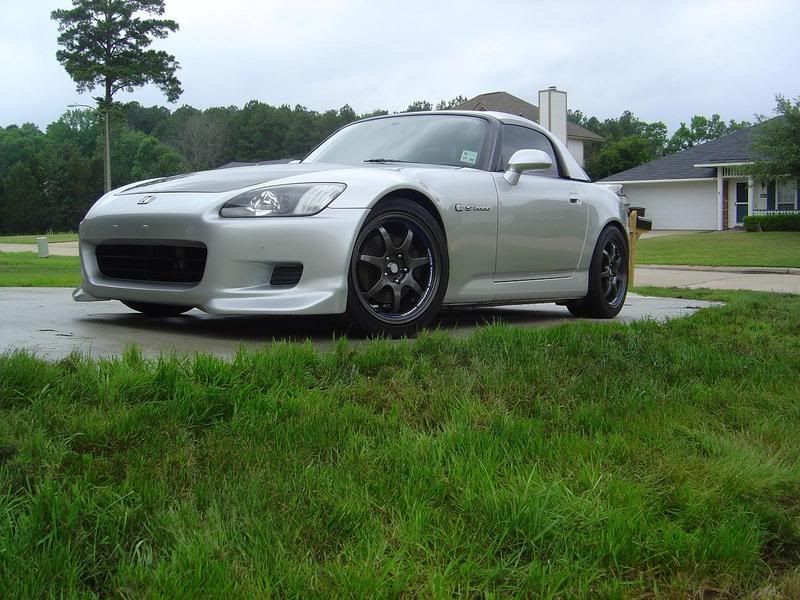
Coilover Install
#1
So i started installing my JIC coilovers so far so smooth. of course i have only done front. started about 3:30 and now it is 4:15. taking my time with putting them on and breaking tons of sweat  i will post pics of the install as i go along later. welp back to the garage
 i will post pics of the install as i go along later. welp back to the garage
#2
Originally Posted by icemans2k02,Apr 23 2007, 01:22 PM
So i started installing my JIC coilovers so far so smooth. of course i have only done front. started about 3:30 and now it is 4:15. taking my time with putting them on and breaking tons of sweat  i will post pics of the install as i go along later. welp back to the garage
 i will post pics of the install as i go along later. welp back to the garage
 You better have them on and have it SLAMMED when I get there
#7
ok so i started taking pictures after the first coilover was installed.
THINGS YOU NEED:
14mm --> deep socket and short
17mm --> deep or short
19mm --> deep or short
12mm --> deep or short
socket extension
also used torque wrench
jack and jack stands(4 if possible)
6 bud lights --> long necks
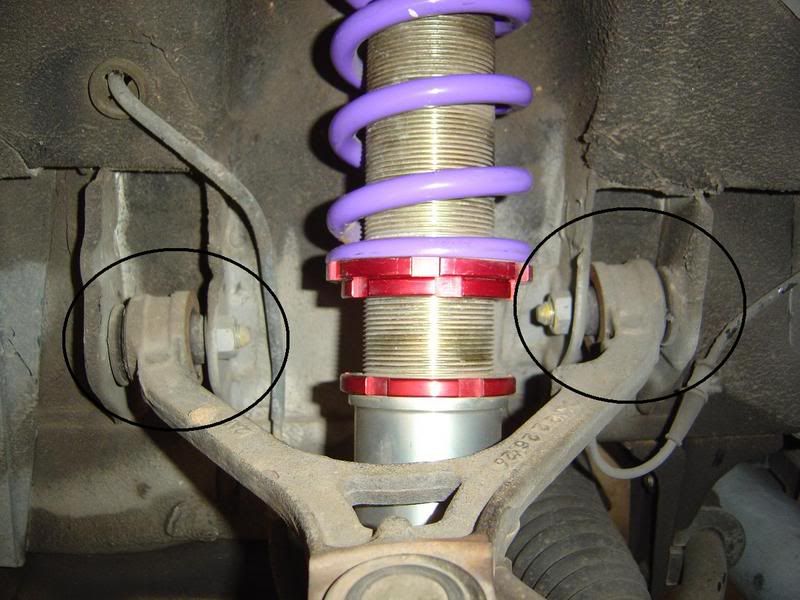
i circled key spots of bolts that you have to remove
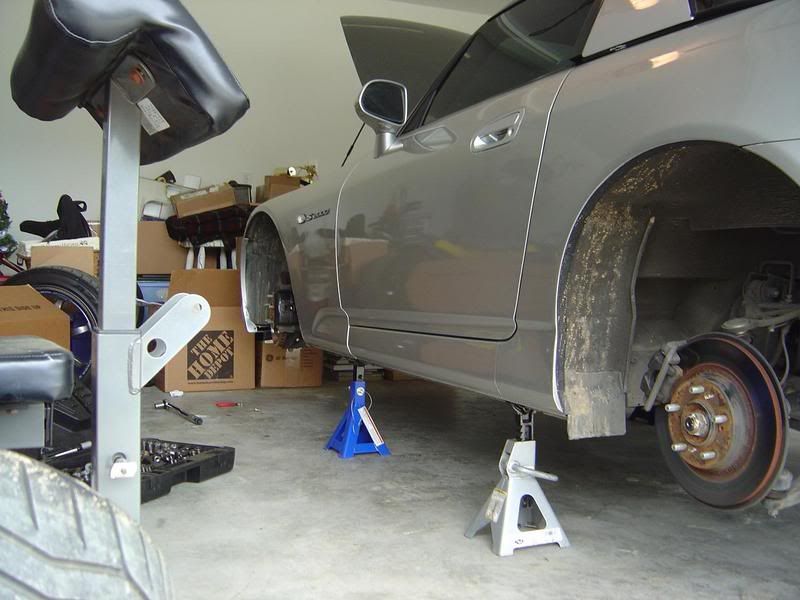
this is a nice setup if you can do it like this. four jack stands all the way round
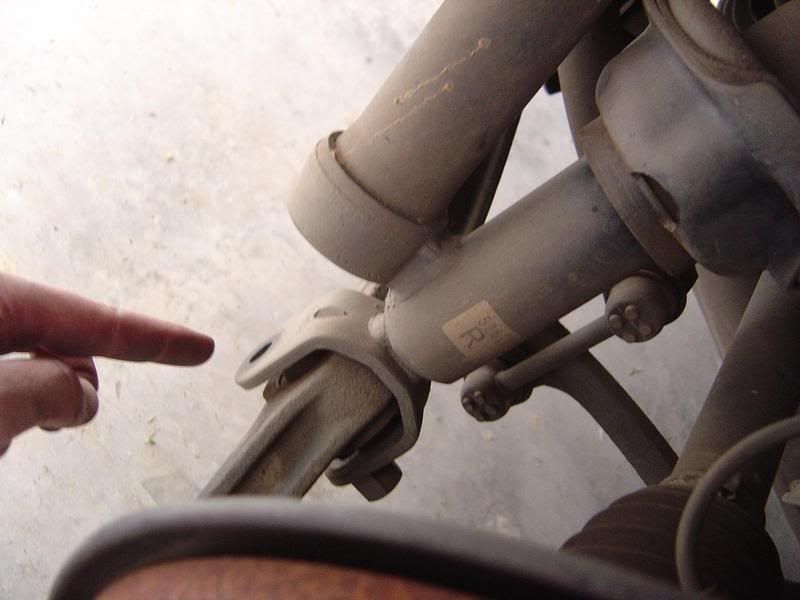
as you can see from the first pic these bolts had to be removed i believe it was 17mm and this lowers the control arm out of the way so you can remove the old shock and spring
This bottom bolt is on all four sides and is the pivot point for the shock. loosen this up and take out first
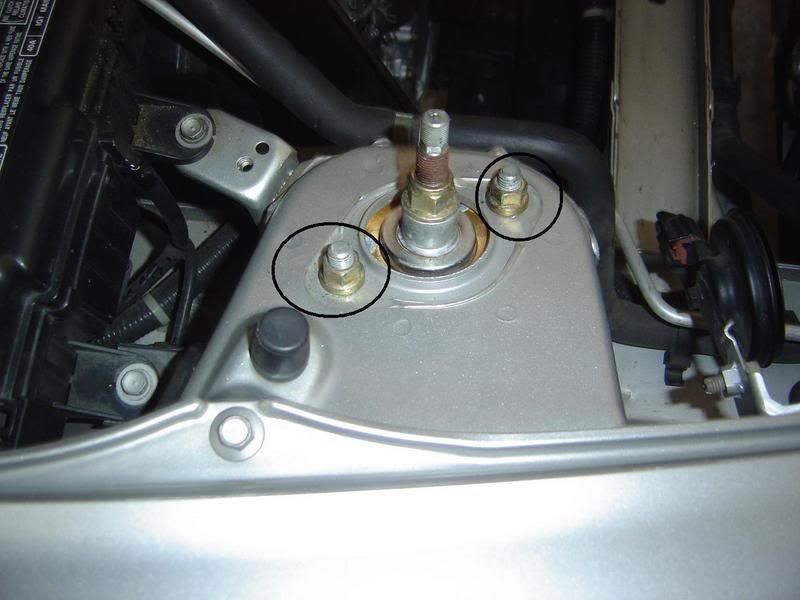
these hold the shock from the top take these off after you remove control arm and bottom bolt to keep the shock/spring from falling to the ground
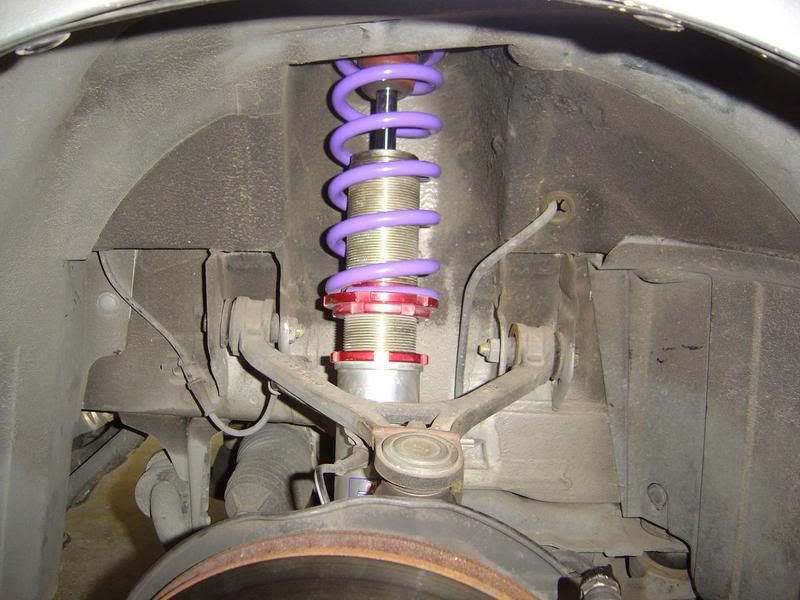
here is the coilover installed
black just isnt my color
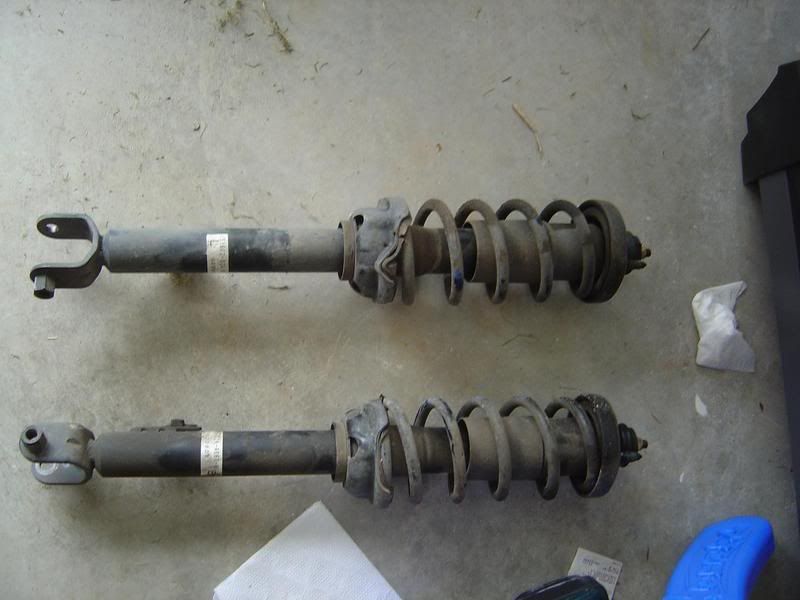
on the back its best to open the trunk and start first things first
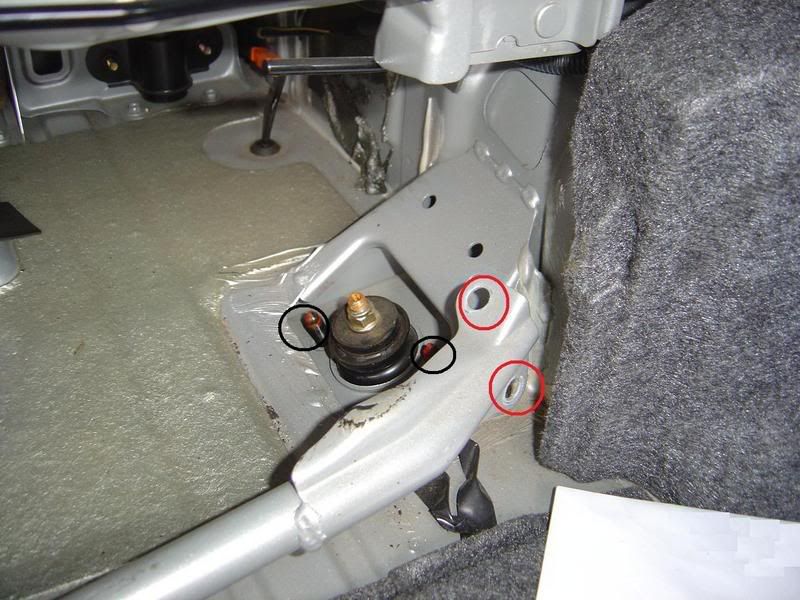
the black circles are your normal bolts holding the springs on. It is very easy to get through if you remove the four bolts holding the upper support bar as indicated by red circles.
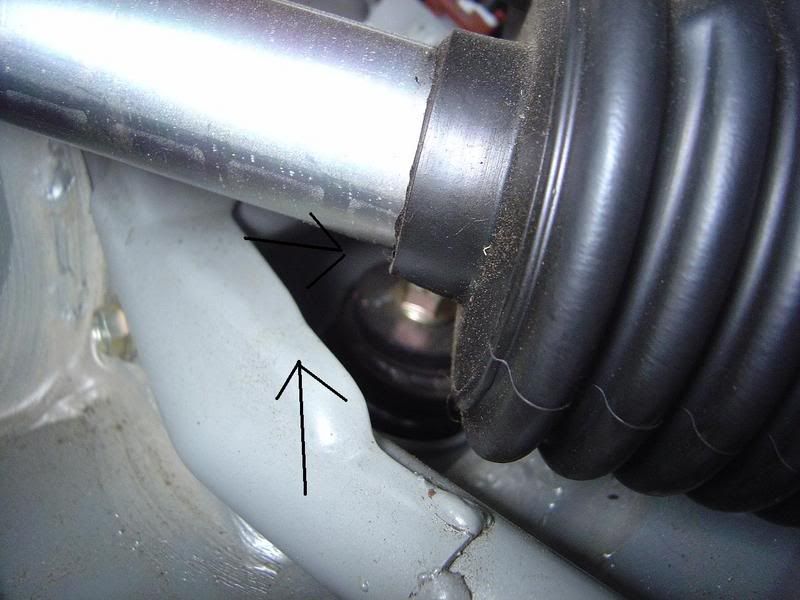
This one of course was a butthole. Use en extension and your 14 mill to get to the onle closest to you then use a short 14mill to get to the one farthest away. again you need to remove the support bar to get easy access
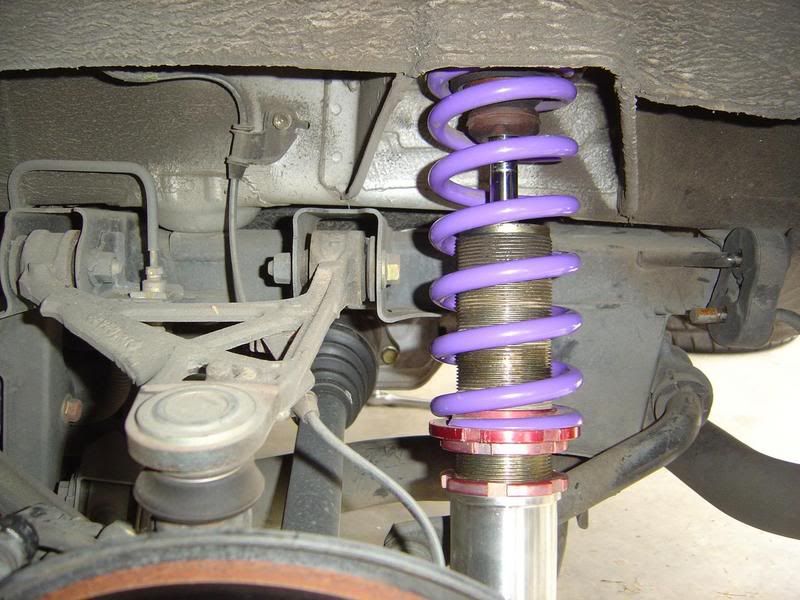
Coilover installed in rear!
Before you tighten all the bolts use a jack and another support object(block of wood) to compress the coilover before you tighten everything down. i also used thread lock on the 4 pivot bolts to help secure everything.
THINGS YOU NEED:
14mm --> deep socket and short
17mm --> deep or short
19mm --> deep or short
12mm --> deep or short
socket extension
also used torque wrench
jack and jack stands(4 if possible)
6 bud lights --> long necks
i circled key spots of bolts that you have to remove
this is a nice setup if you can do it like this. four jack stands all the way round

as you can see from the first pic these bolts had to be removed i believe it was 17mm and this lowers the control arm out of the way so you can remove the old shock and spring

This bottom bolt is on all four sides and is the pivot point for the shock. loosen this up and take out first

these hold the shock from the top take these off after you remove control arm and bottom bolt to keep the shock/spring from falling to the ground

here is the coilover installed

black just isnt my color


on the back its best to open the trunk and start first things first
the black circles are your normal bolts holding the springs on. It is very easy to get through if you remove the four bolts holding the upper support bar as indicated by red circles.

This one of course was a butthole. Use en extension and your 14 mill to get to the onle closest to you then use a short 14mill to get to the one farthest away. again you need to remove the support bar to get easy access

Coilover installed in rear!

Before you tighten all the bolts use a jack and another support object(block of wood) to compress the coilover before you tighten everything down. i also used thread lock on the 4 pivot bolts to help secure everything.
Trending Topics
#9
thats true for those that dont know what mike is talking about he came over to the house. As i was doing the last coilover and could not remove the old one as it was to compressed. He had to stand on the caliper to get the extra gap i needed to remove that bad boy. Thanks mike!


