When you click on links to various merchants on this site and make a purchase, this can result in this site earning a commission. Affiliate programs and affiliations include, but are not limited to, the eBay Partner Network.
not thinking about making this into a post when i did this, so i do not have pics- man am i ready to be flamed!!
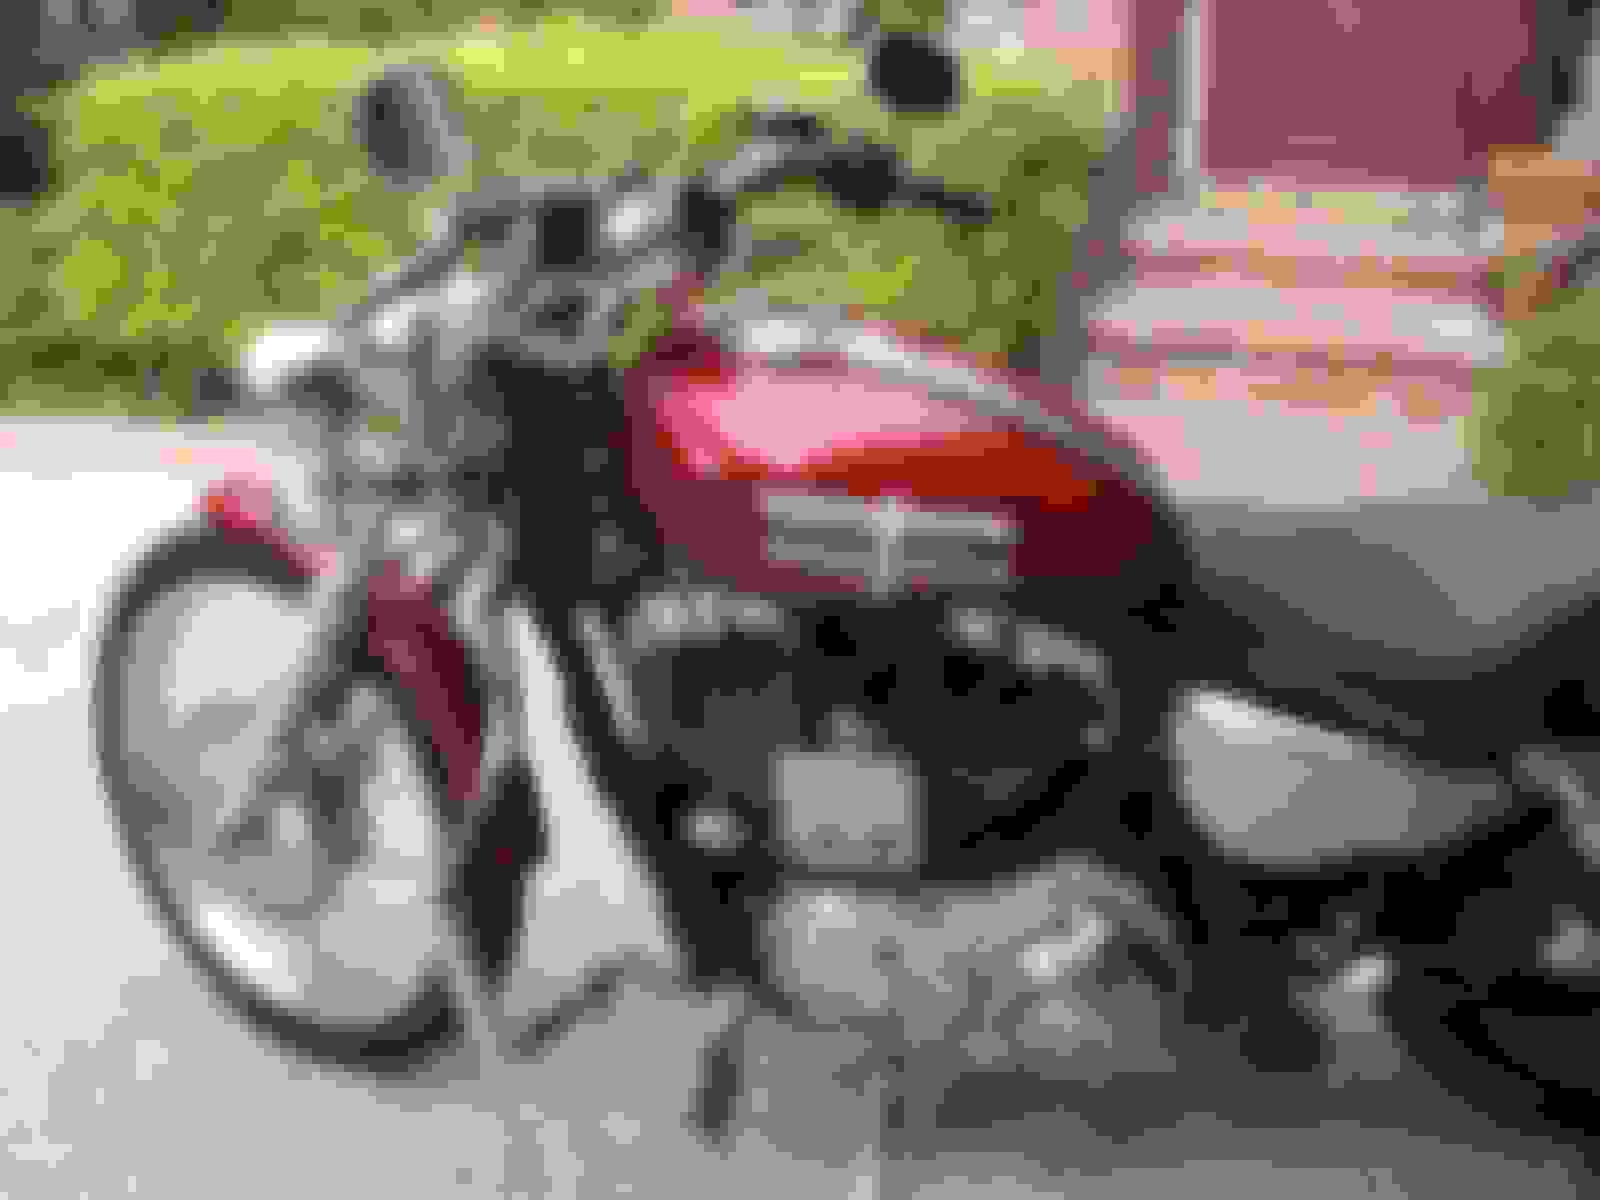
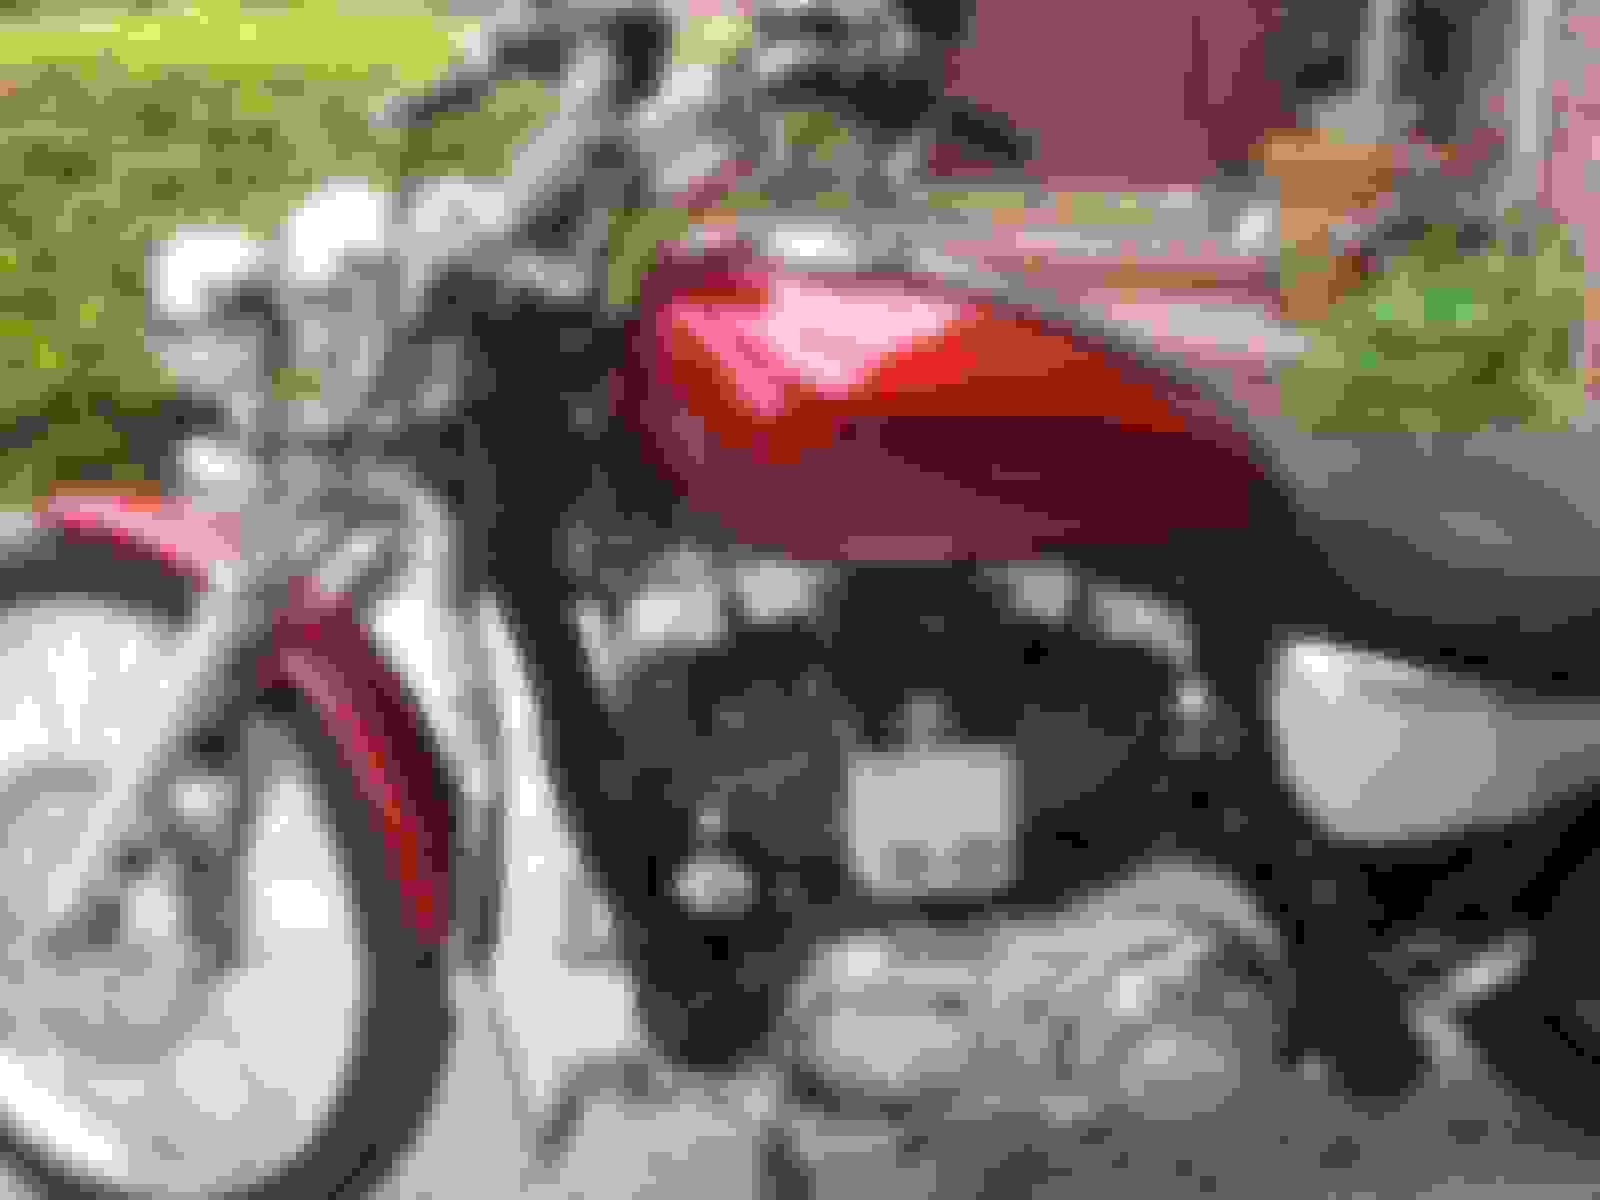
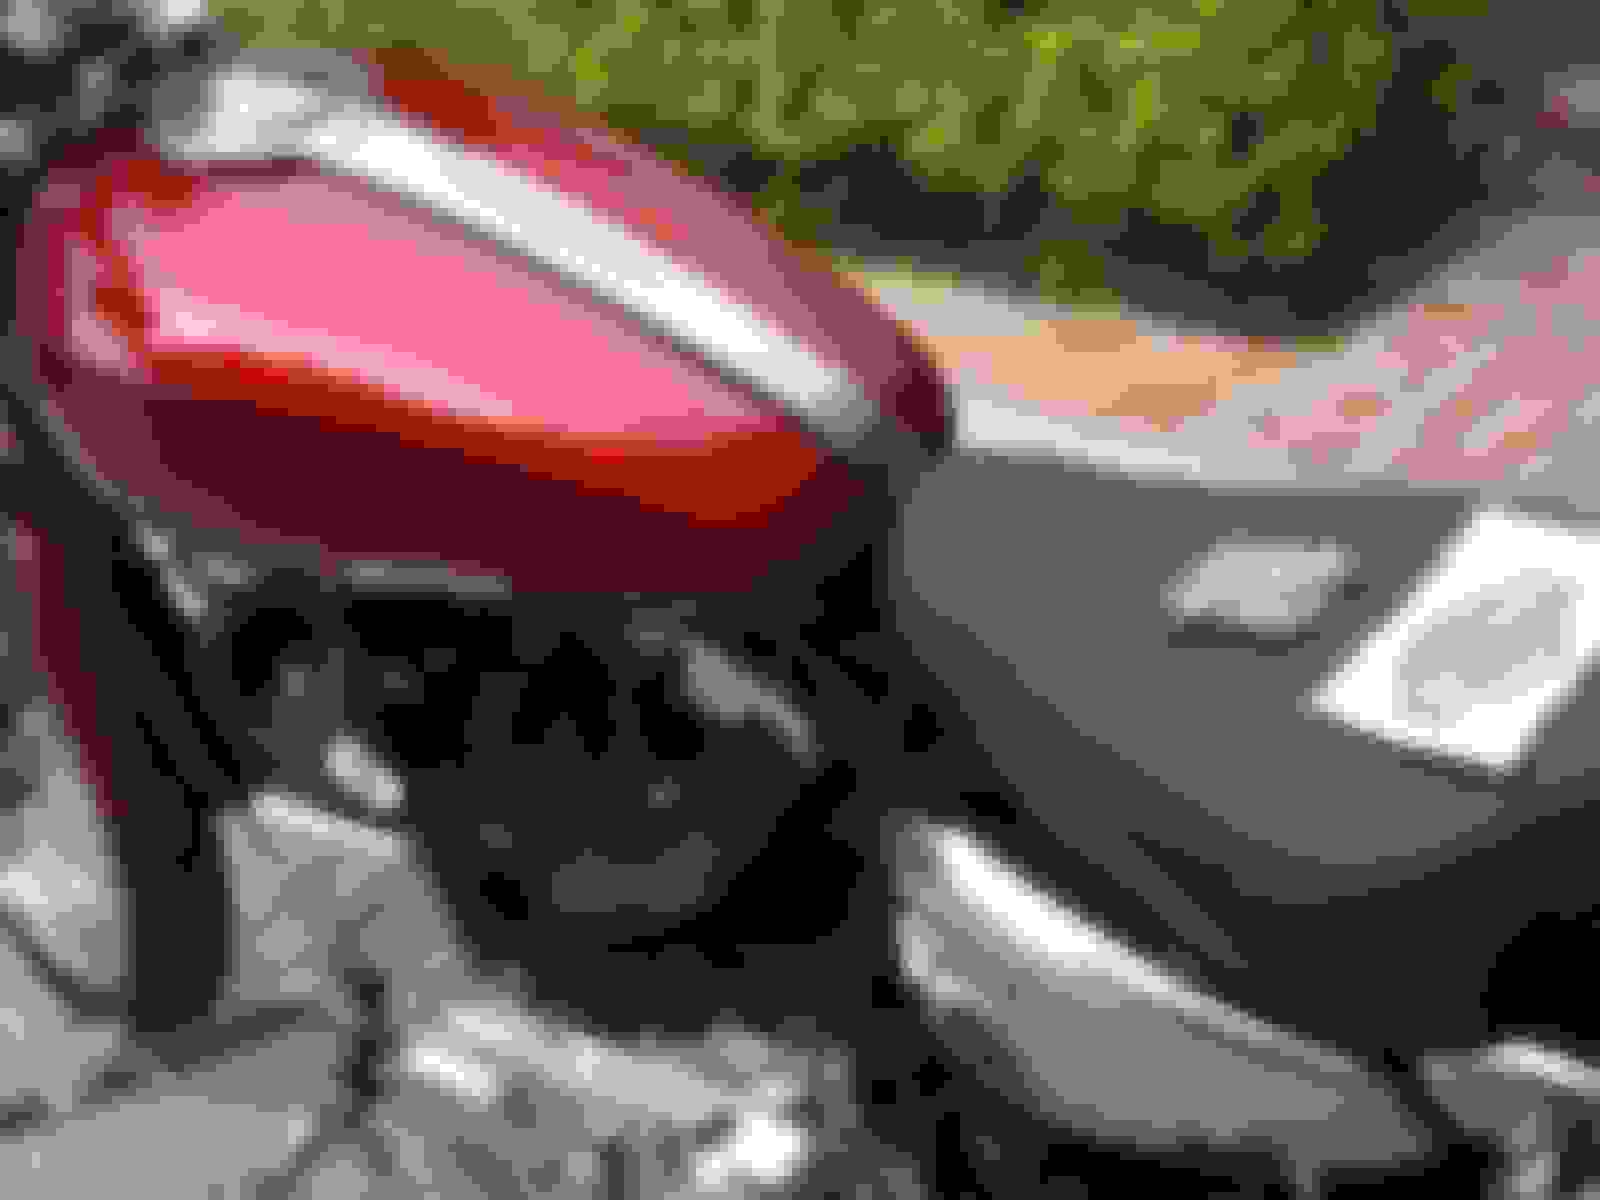
---(but see photos below... i have tempted to redeem myself!!)--
will try to get some pics before the badges are applied- pics of the removal would really not be that interesting... and so for the report:
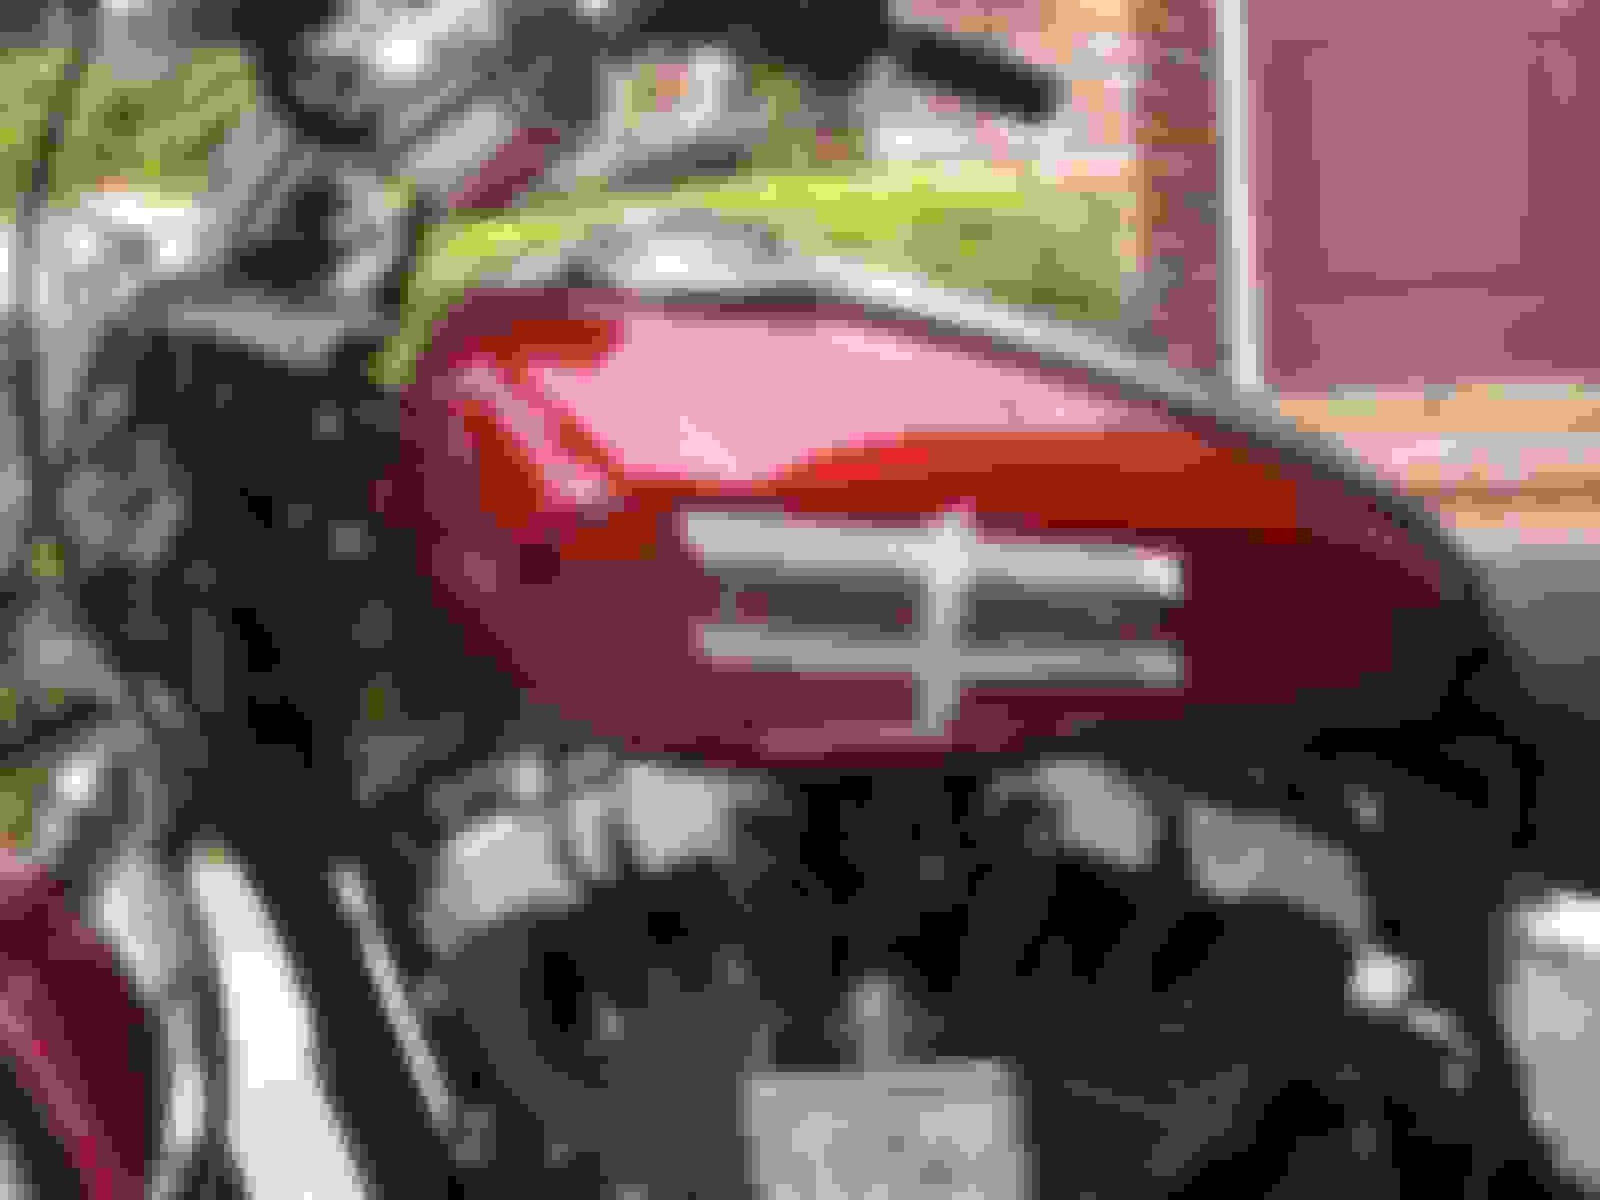
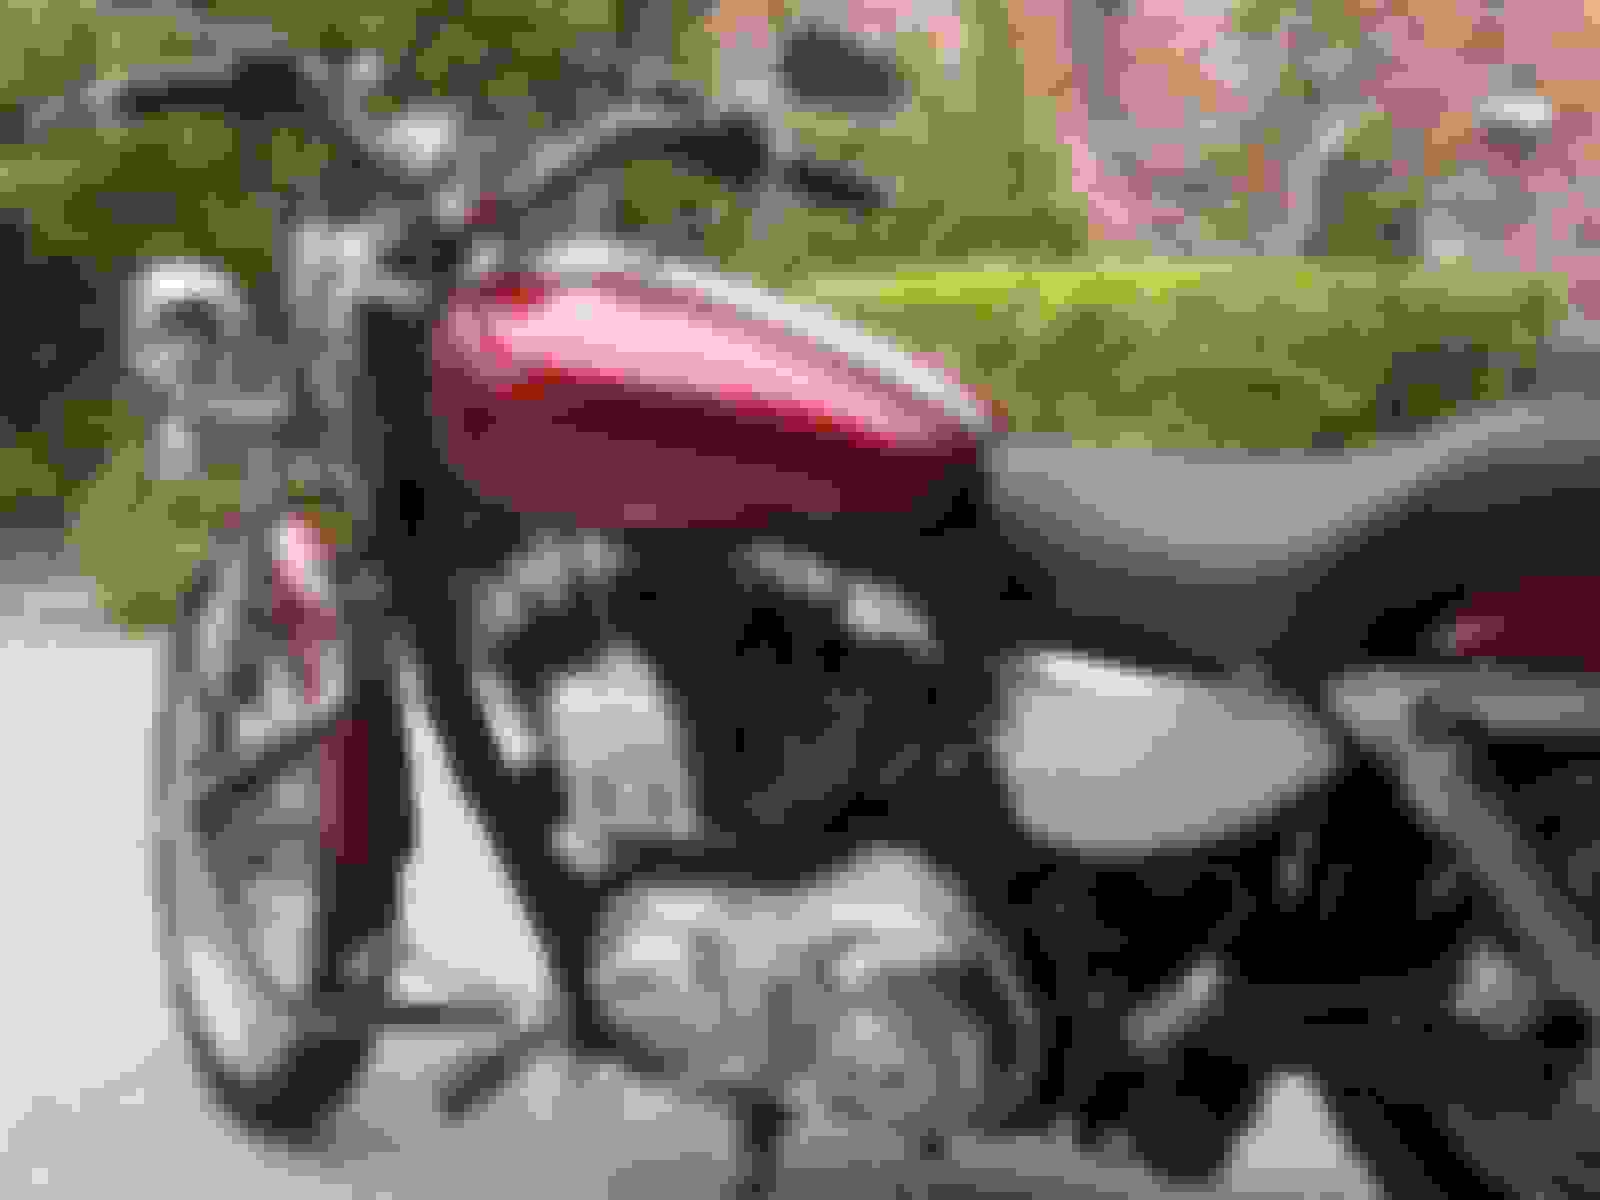
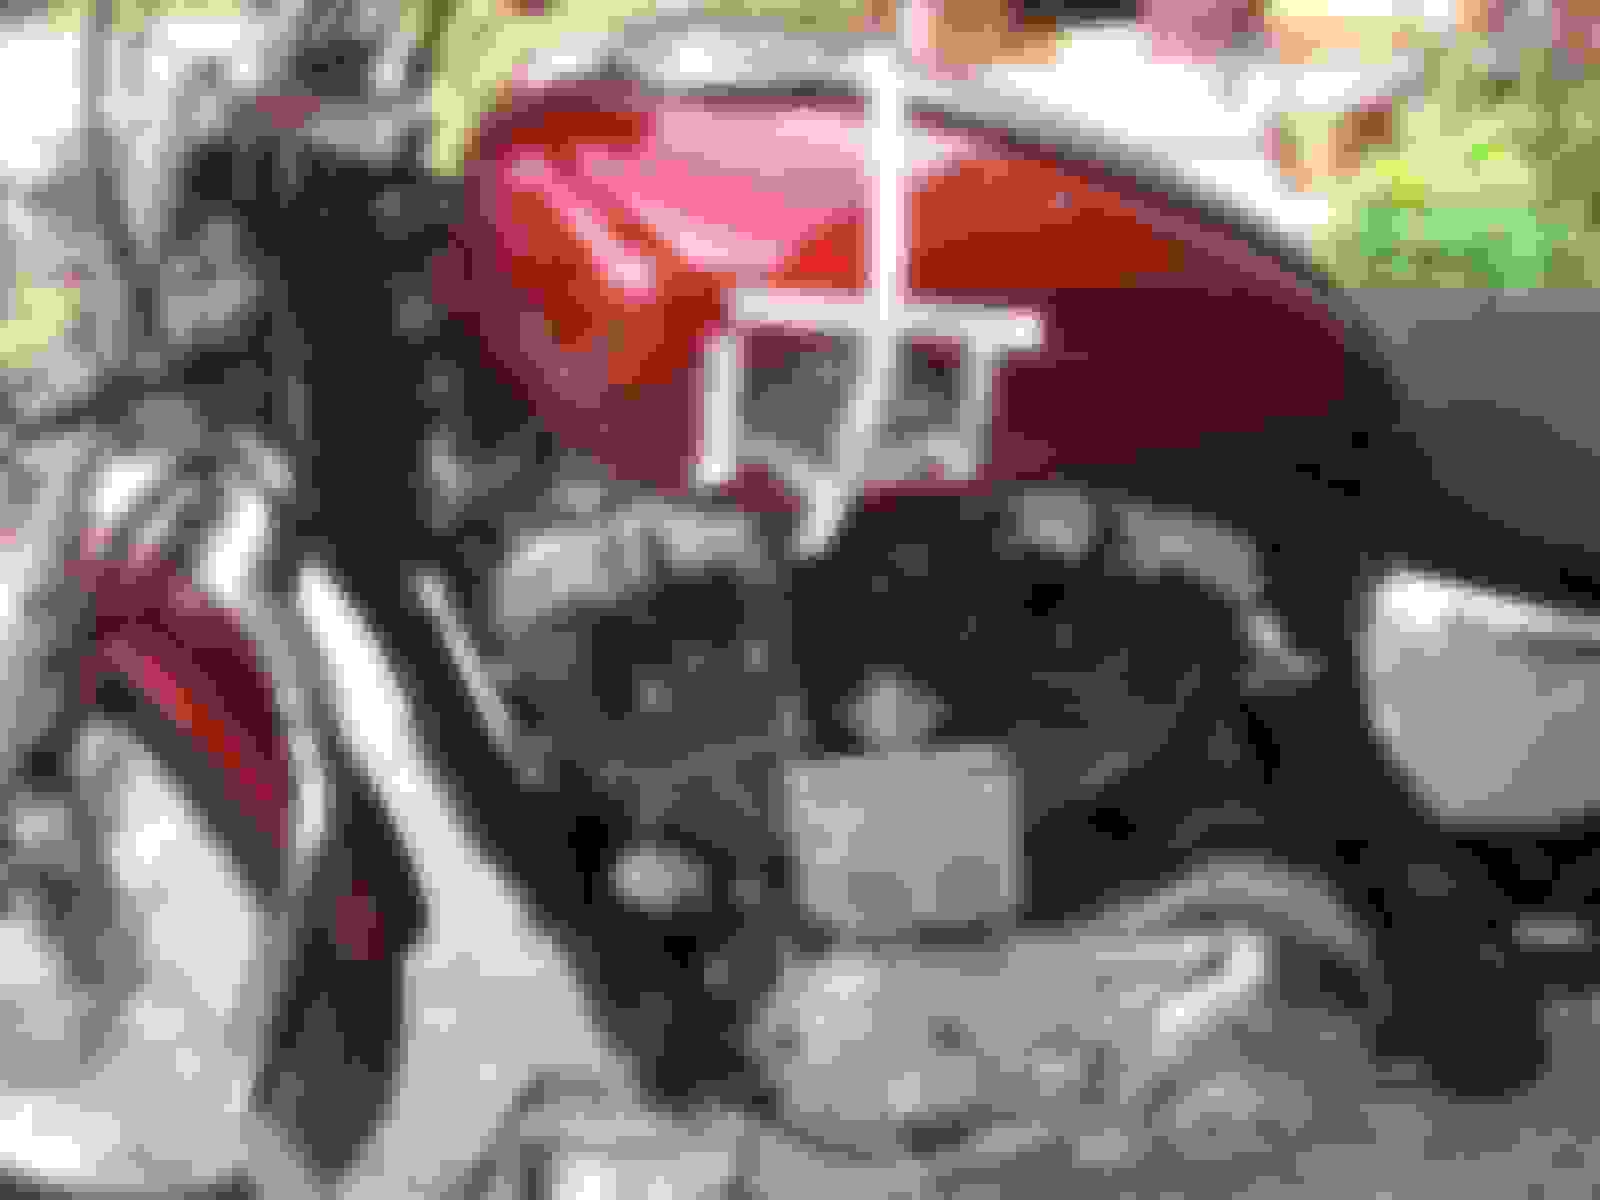
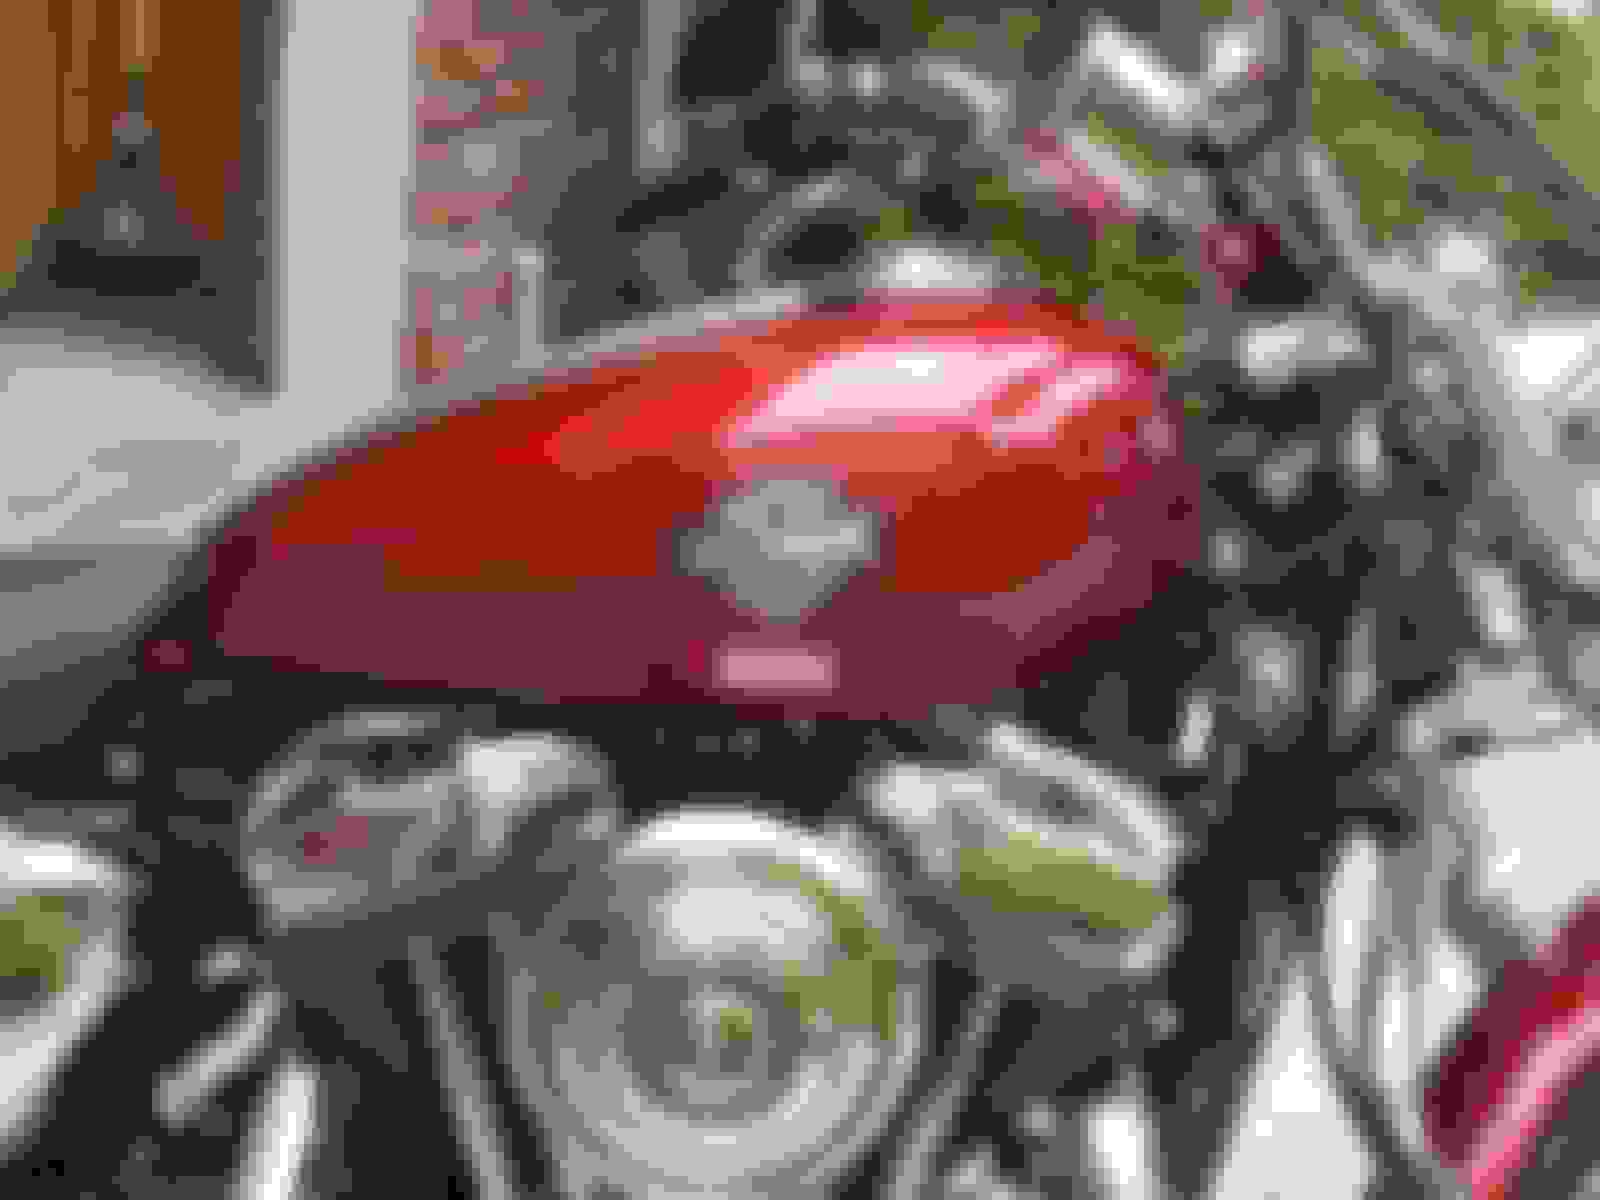
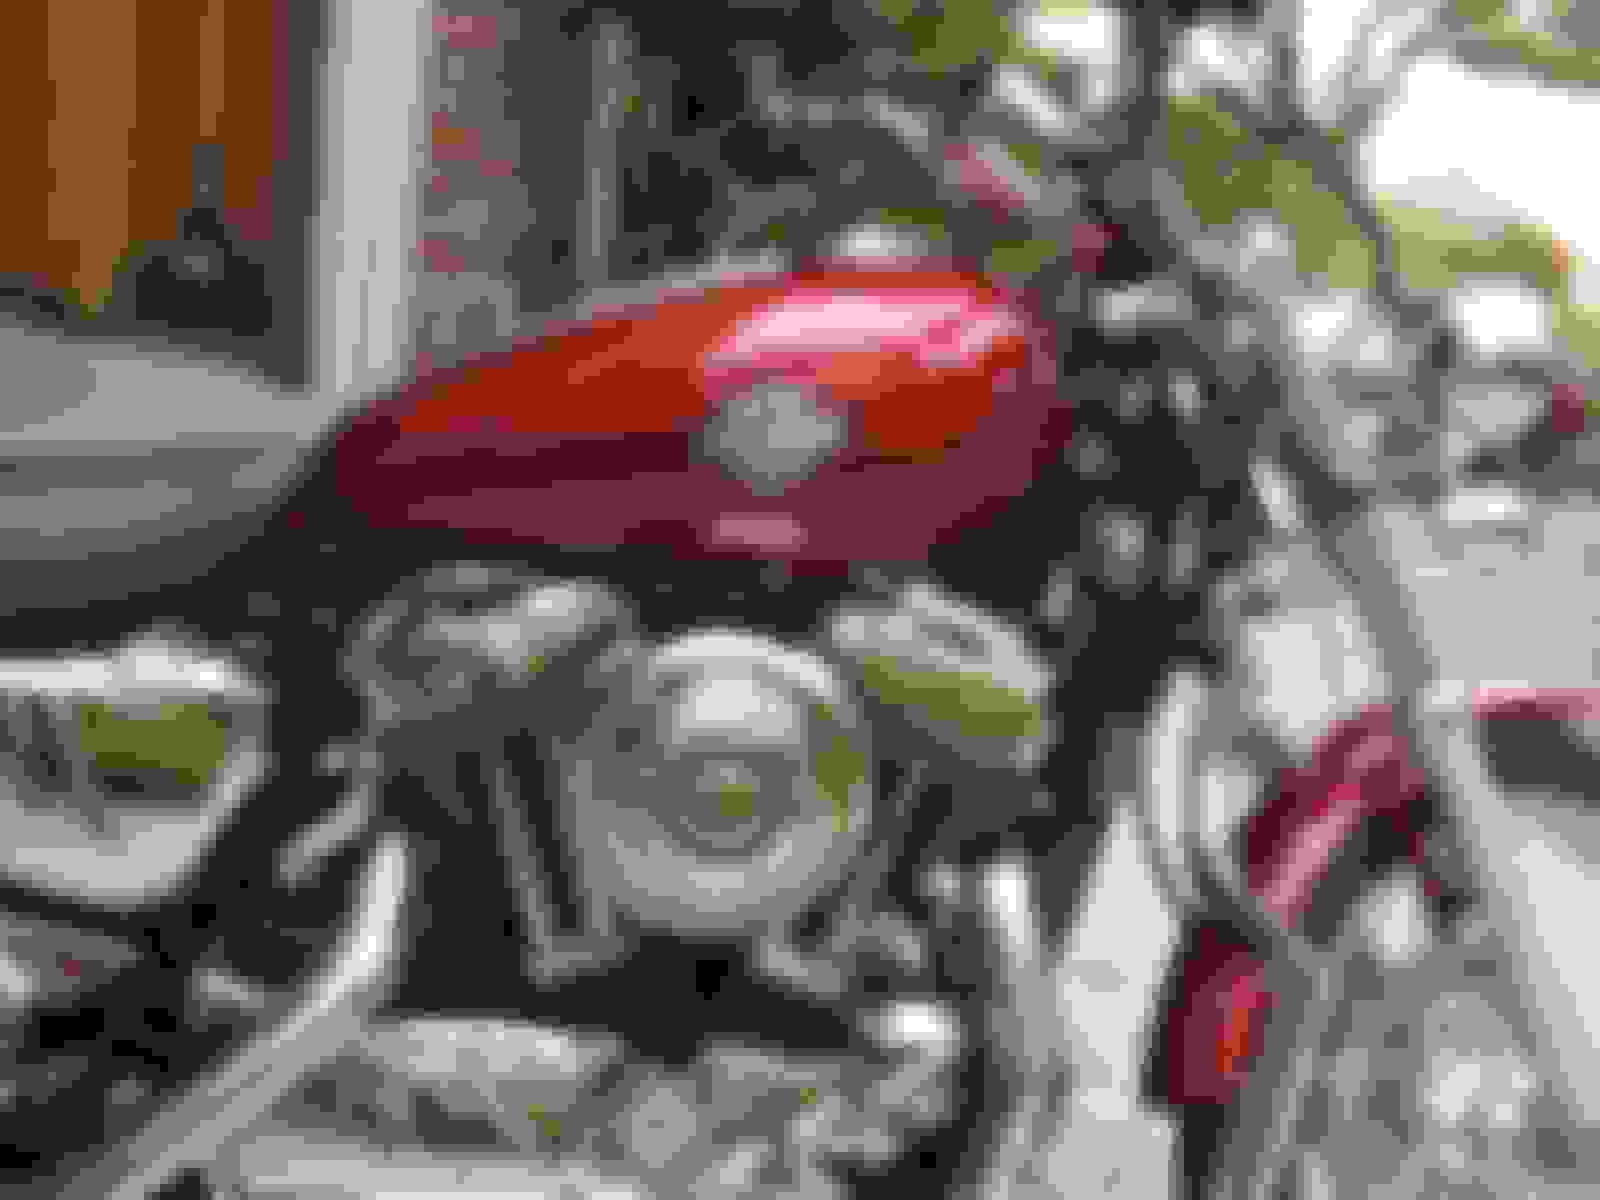
so i decided to take my 2008 a bit more retro and remove the "modern" tank badges... and replace them with the "bar & shield" classic badges...
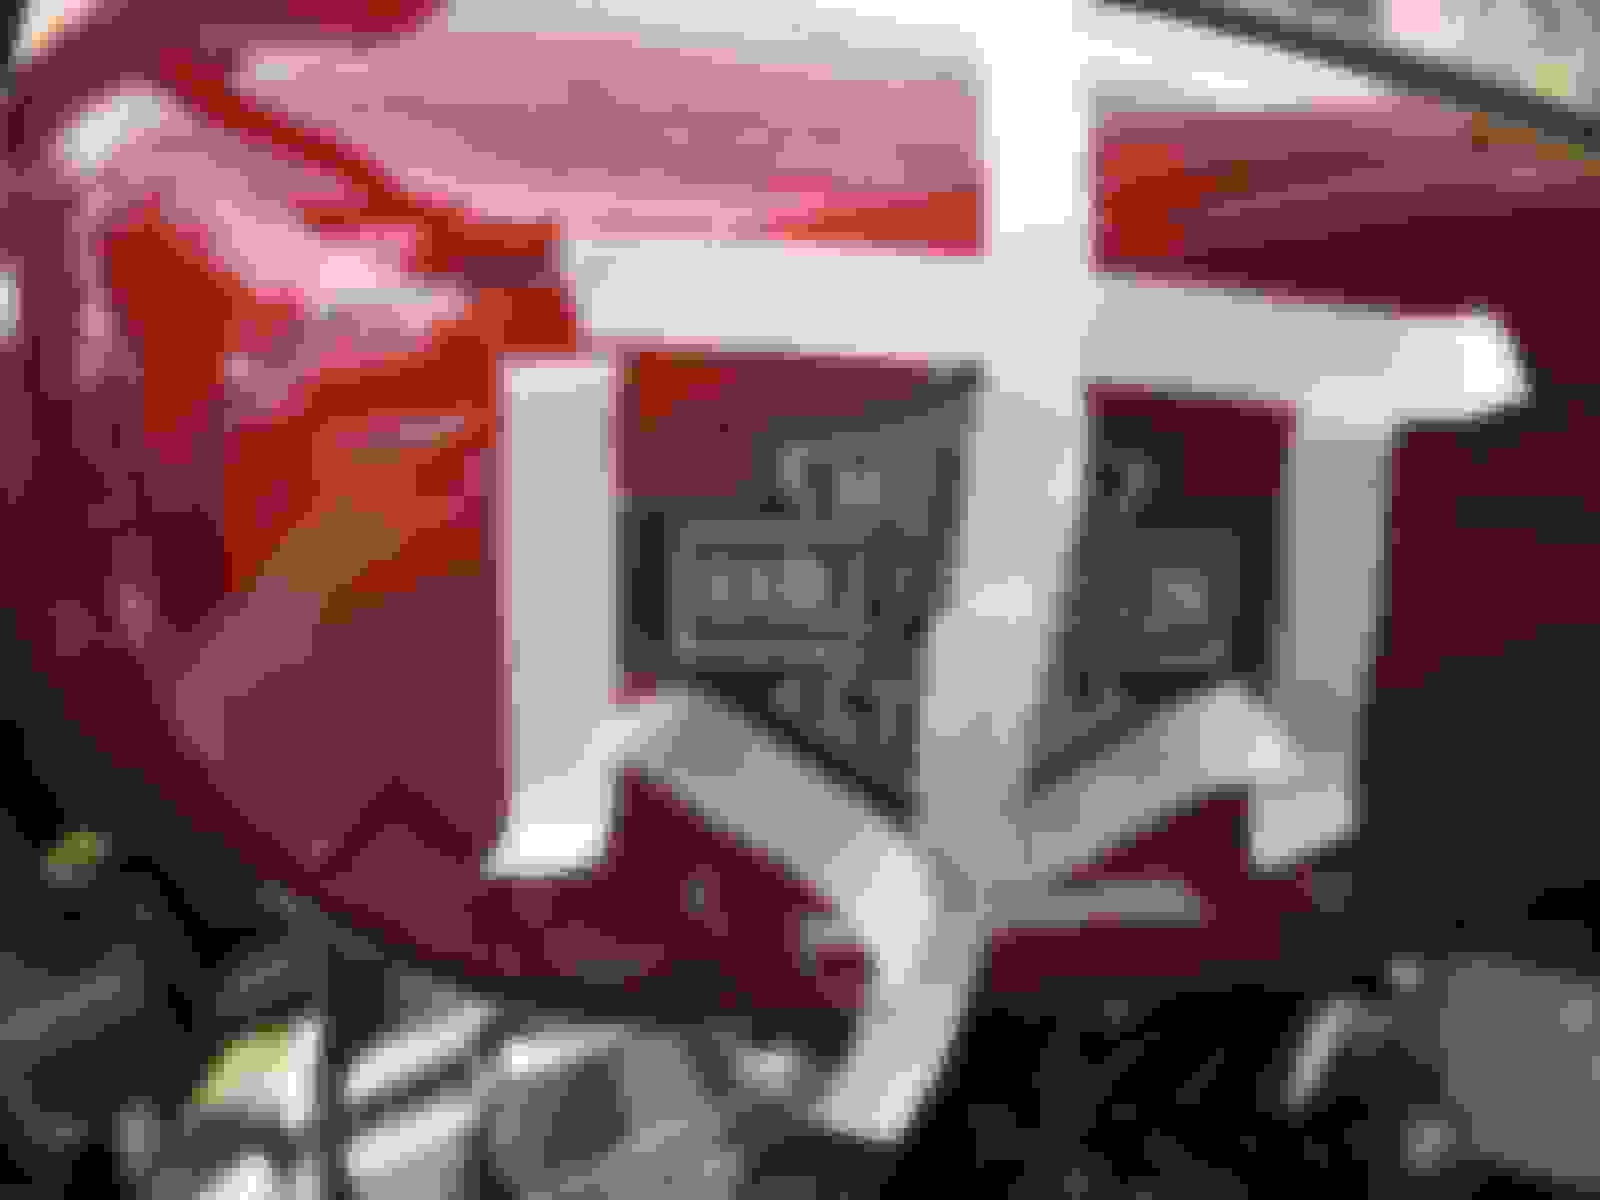
since we havent discussed this recently i thought i would post this cause these were prob the most difficult badges i have removed in awhile (prob cause of the size- very long badges- something like 10" or so).
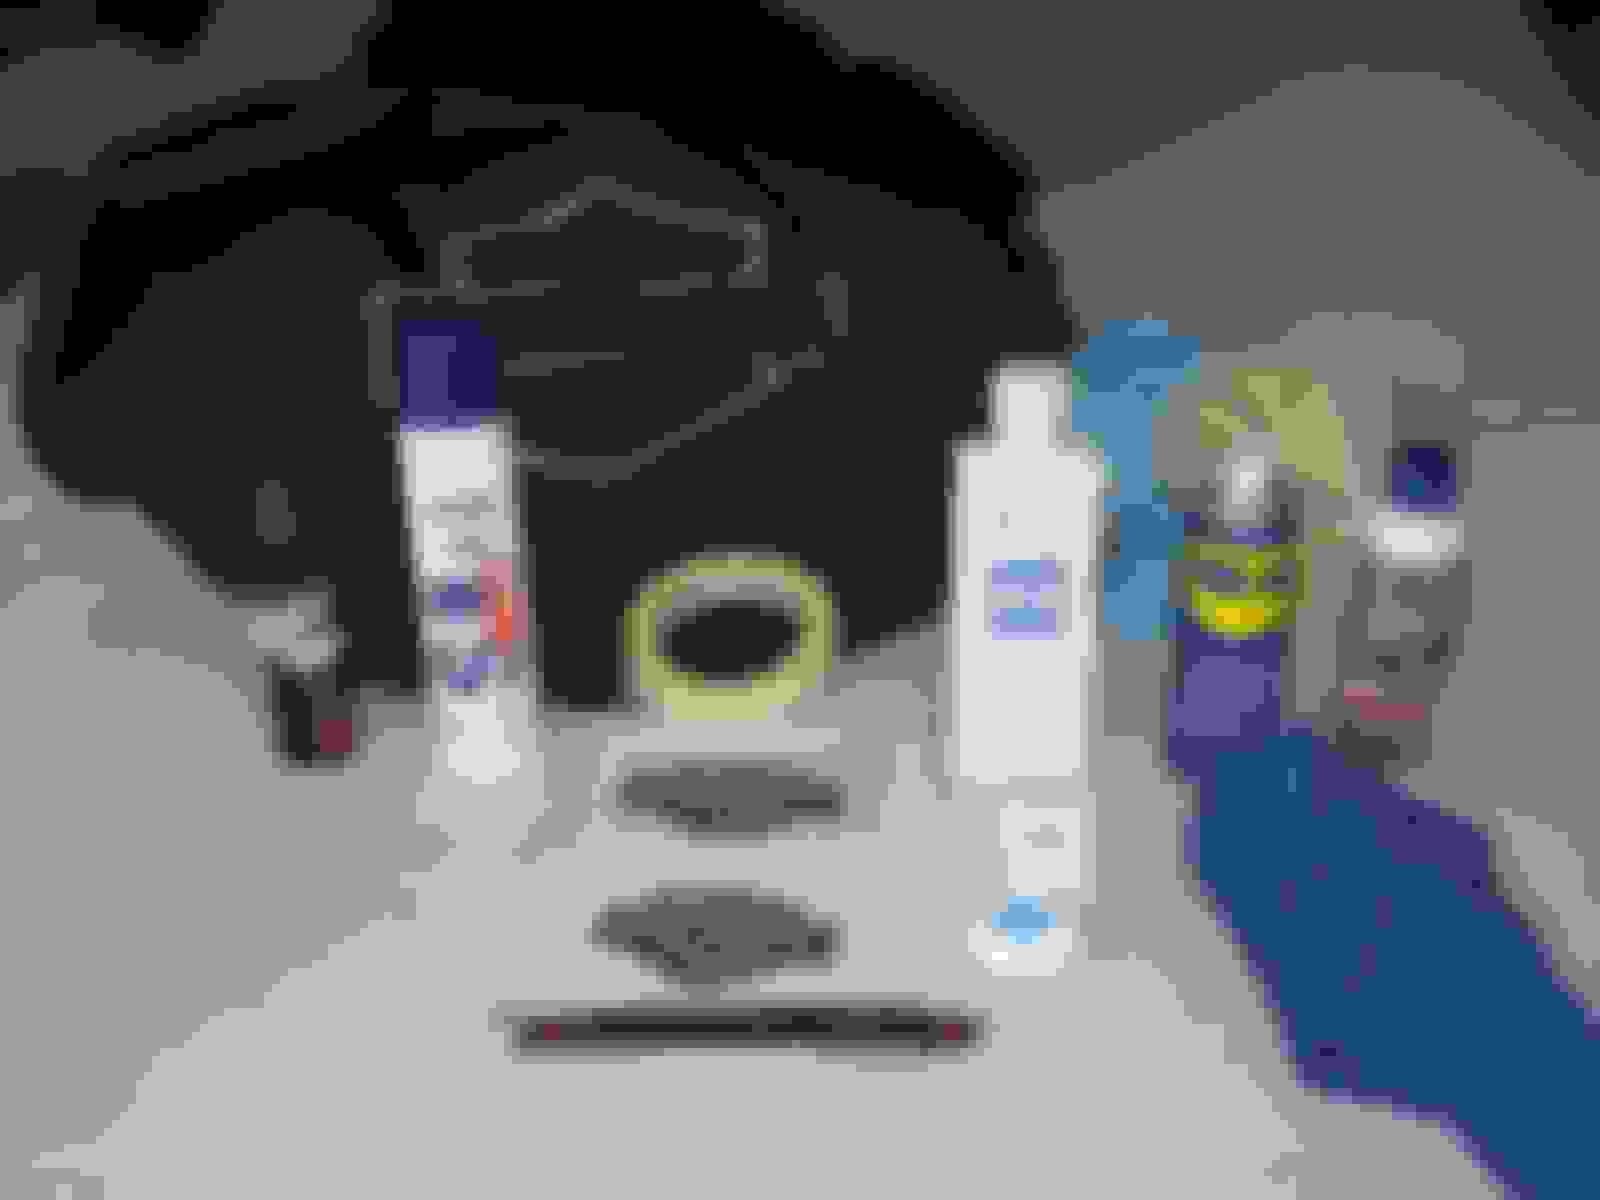
products used: mainly whole lotsa dental floss and wd-40. also used some detail spray, lotsa rags, and some autoglym bug & tar remover, with a bit of finish first paint cleaner.
process:
1. soak badges with wd-40 by spraying a small amount in the top of each badge and waiting for it to soak through... then spray more, and do this a few times until the wd-40 starts to seep outta the bottom of the badge. then let them sit overnight.
trick is to use a very small amount to try to keep it off of the other areas- just trickle it into the adhesive at the top of the badge.
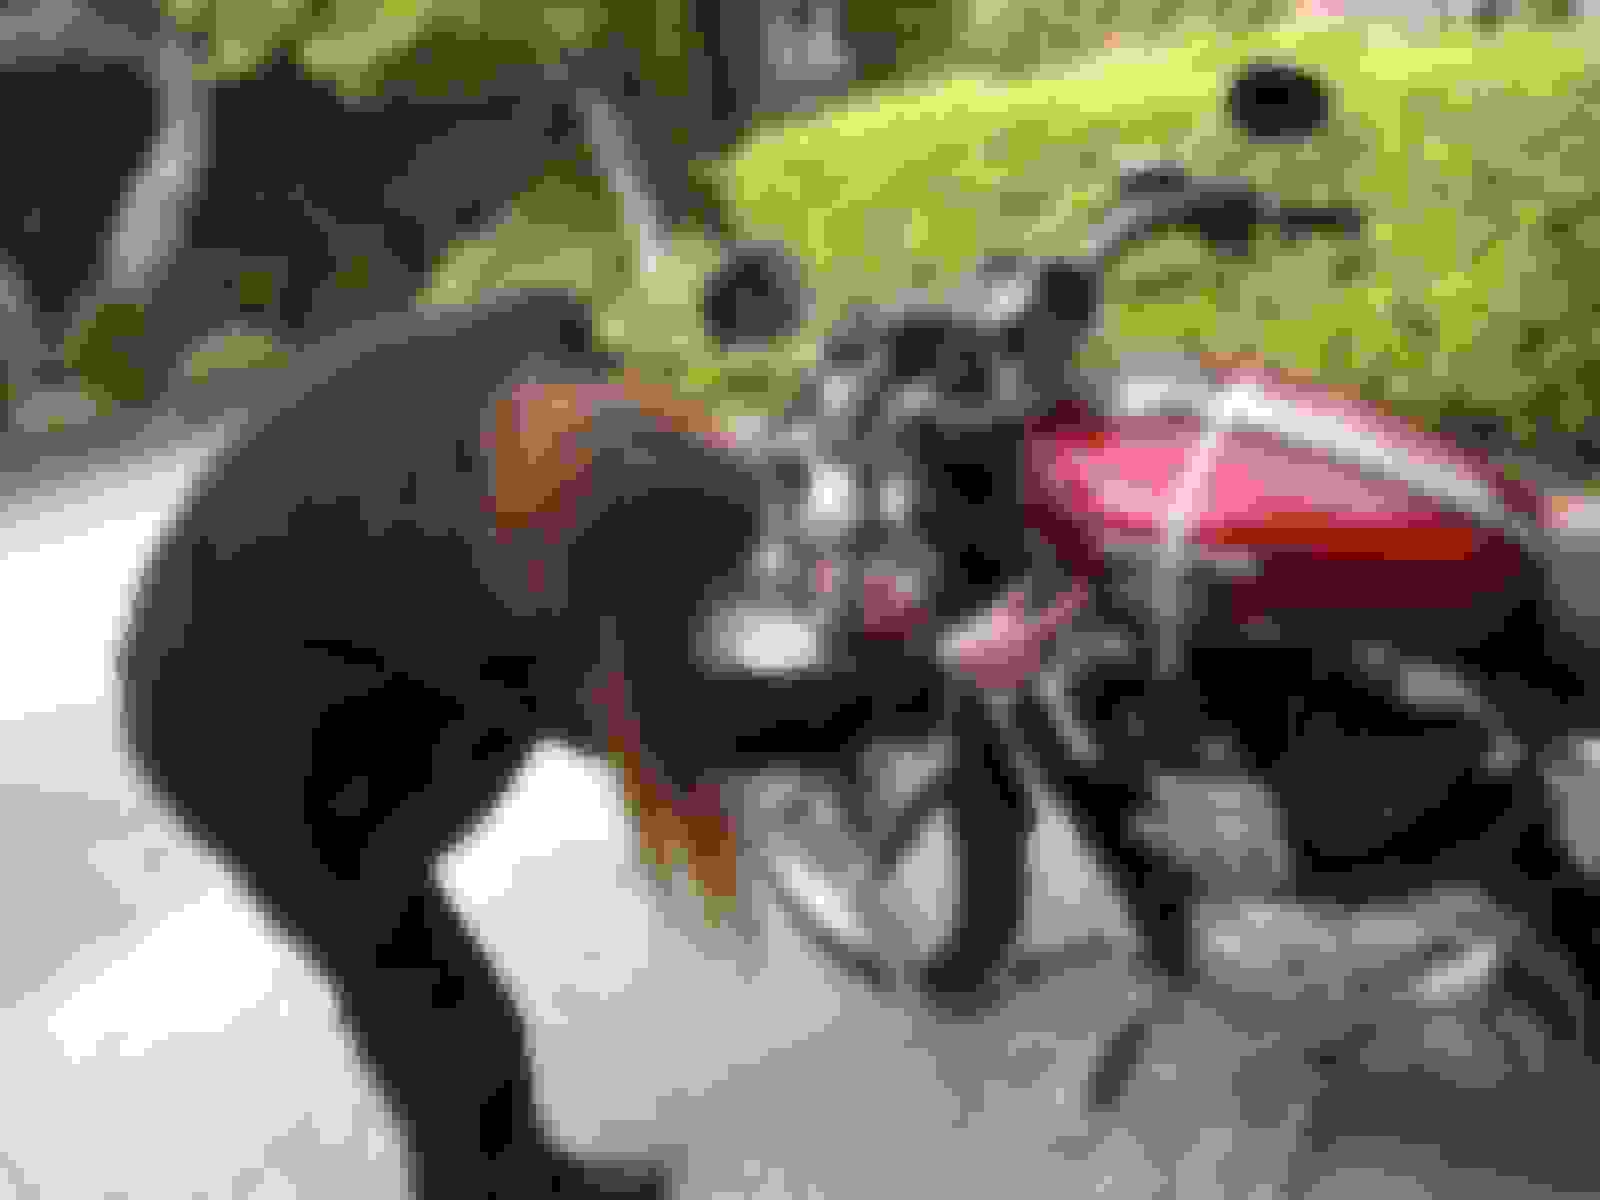
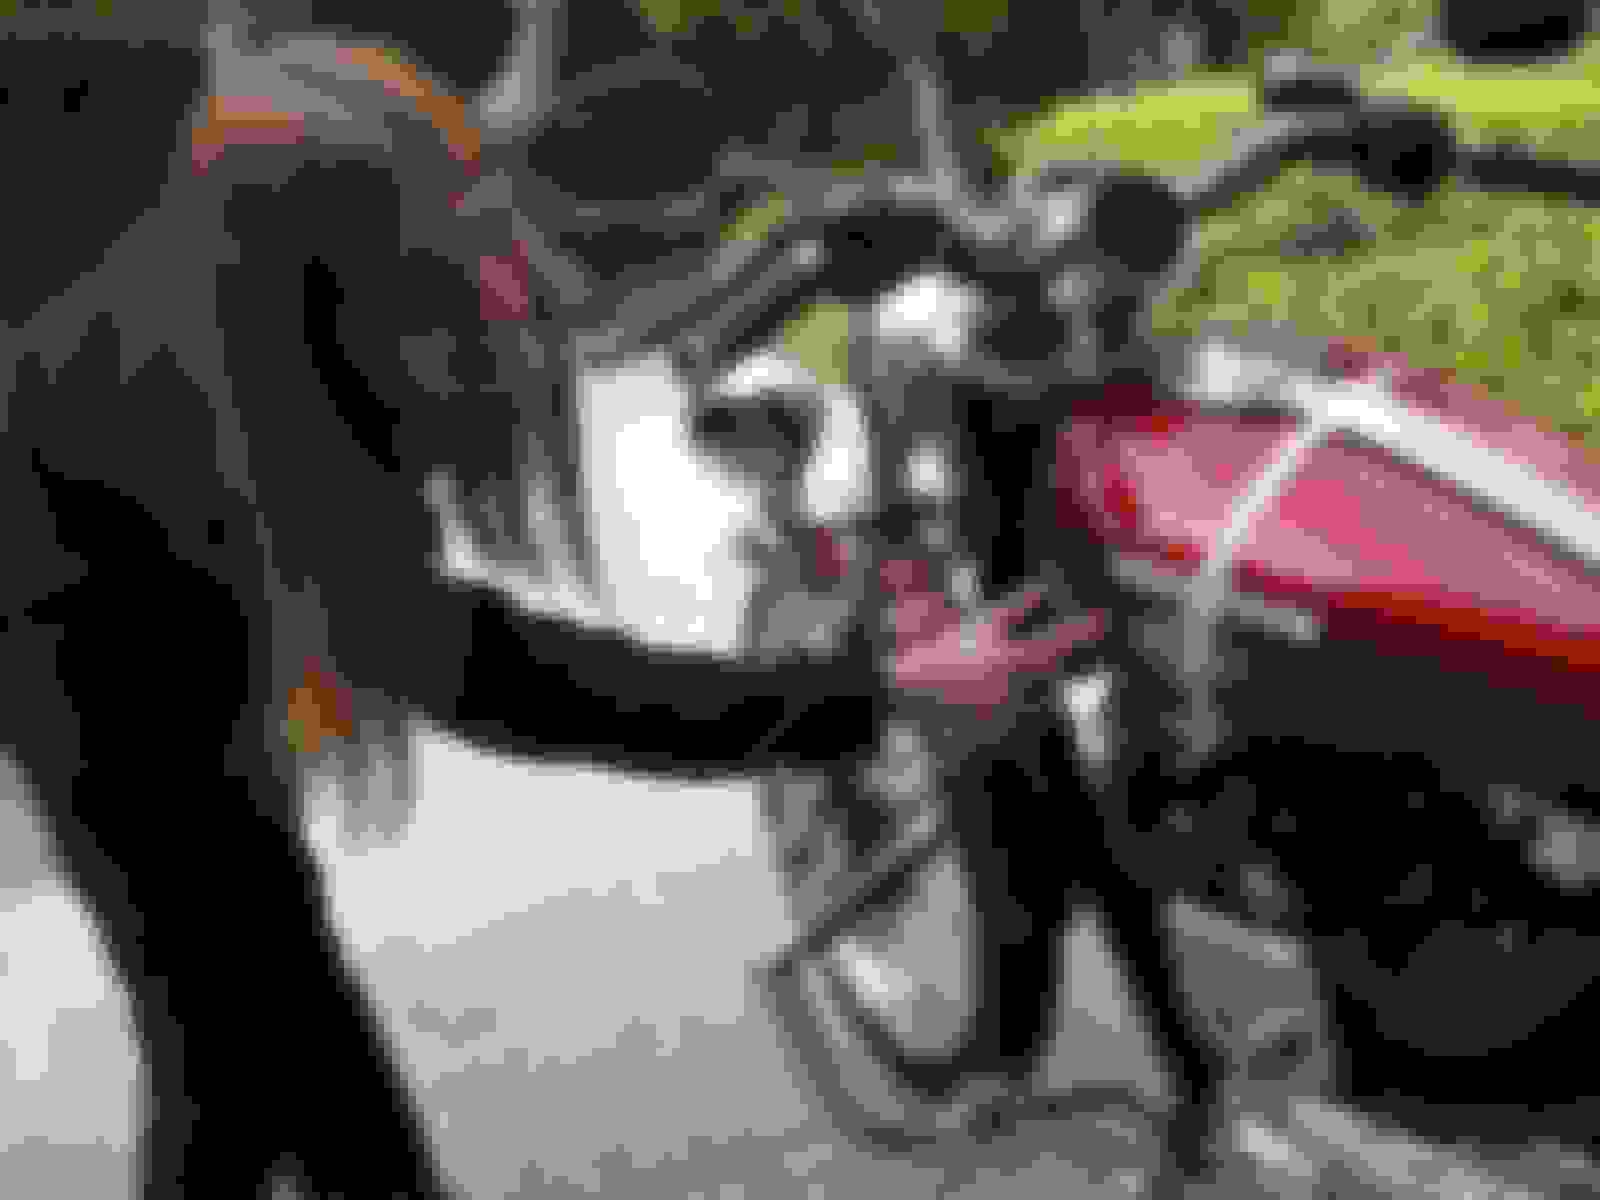
2. add some more wd-40 the next morning... get a really long dental floss, so that it can make 4 "strands". gloves are nice to protect your fingers from the floss. begin sawing at one end. then the other end. its a slow process- i use a creeper to sit on during the process. when the badges are about 1/3 "sawed through", test how strong they are on. one side was still on strong, so had to keep sawing. the other side decided to give in and was loose. once loose, very very slowly start to move the badge up and down to break the adhesive hold on the badge or metal. eventually the badge will come off.
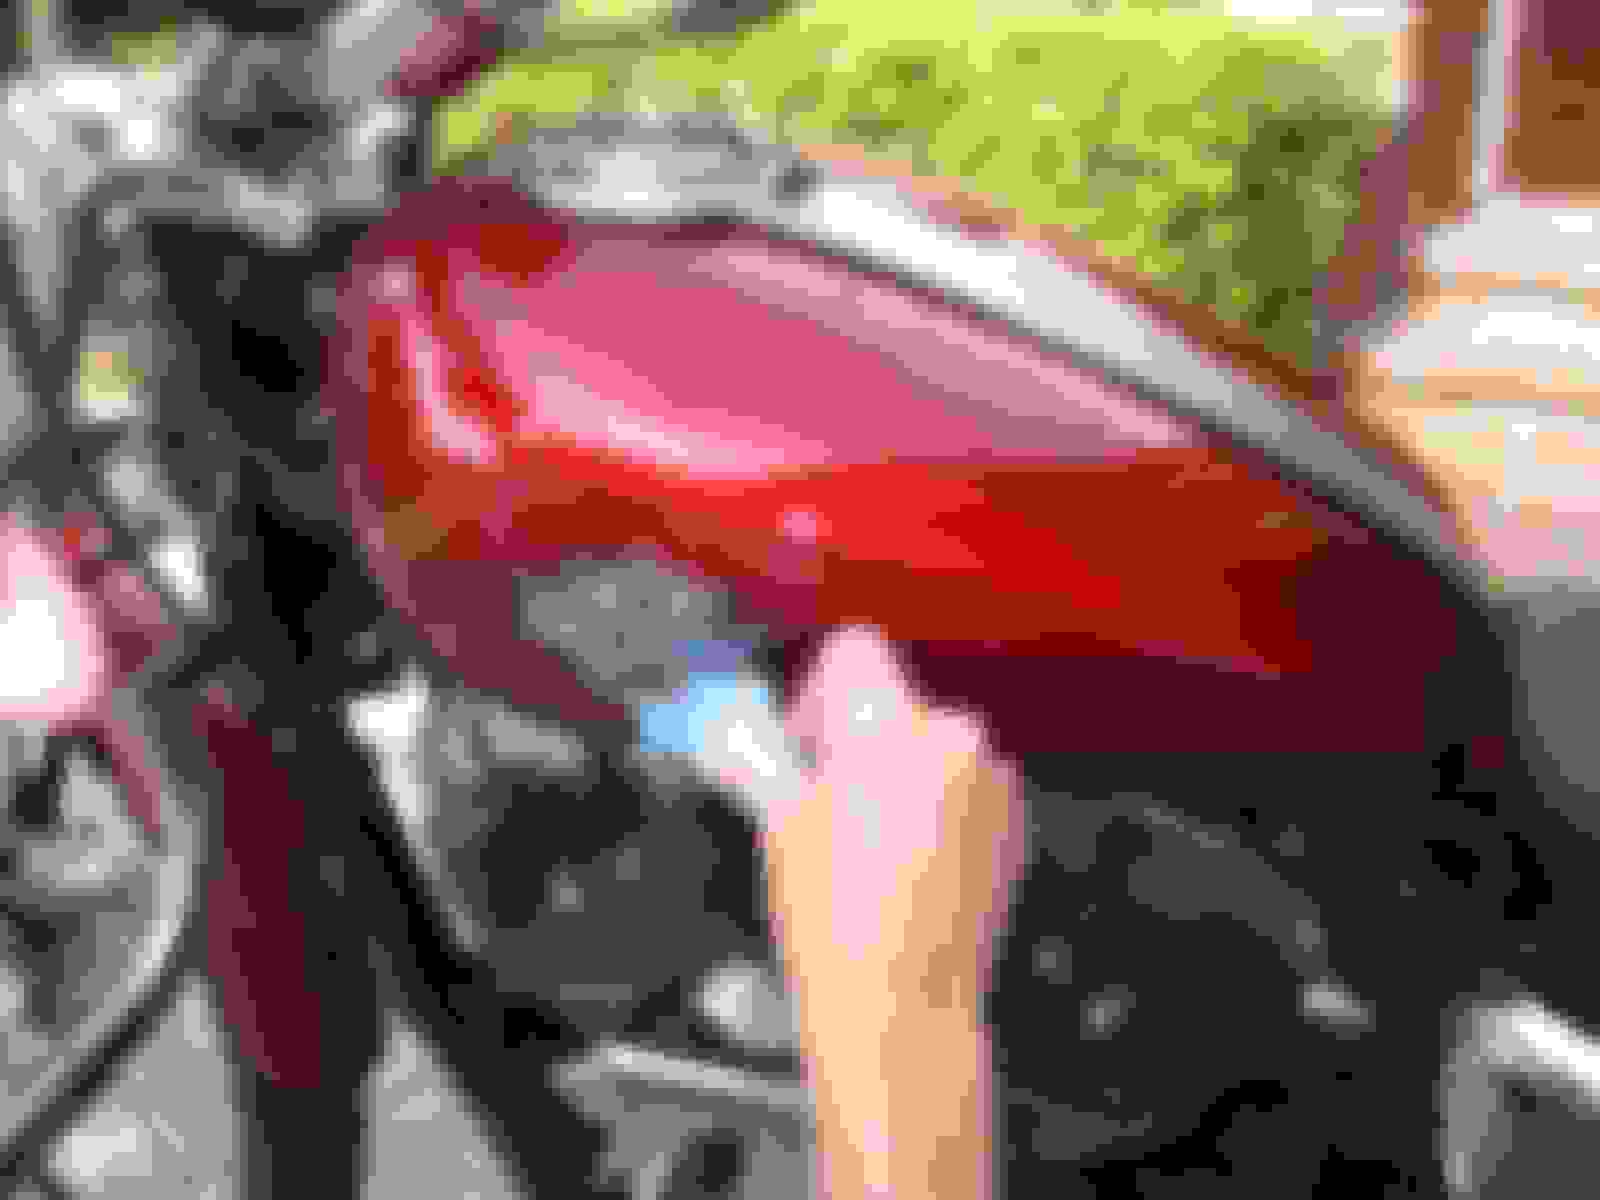
3. the clean up can be just as hard as the removal... in my case, the adhesive split so that i still had a full amount on the vehicle (bike's tank). by being careful, you can get an edge of the adhesive. then, again, very very slowly pull it off of the surface. if you go slowly enough you should be able to get the entire amount off.
4. residue clean up. no matter how careful you are there will still likely be some adhesive left. i used the autoglym for this step. soaked a part of a rag and rubbed over and over and over... finished off with a paint cleaner (i used finish first paint cleaner).
at this point the paint should be perfect and ready for synethetic and/or wax. in my case it will get new badges next and then synthetic for a few coats and finally the wax.
i feel for u wanabe. i still remember taking off my "s2000" ...man... brutal. very good write-up tho! very educational to anyone who hasn't done this so they can do it the easiest way. i look forward to the pics!
Originally Posted by MuttGrunt,May 2 2009, 06:31 AM
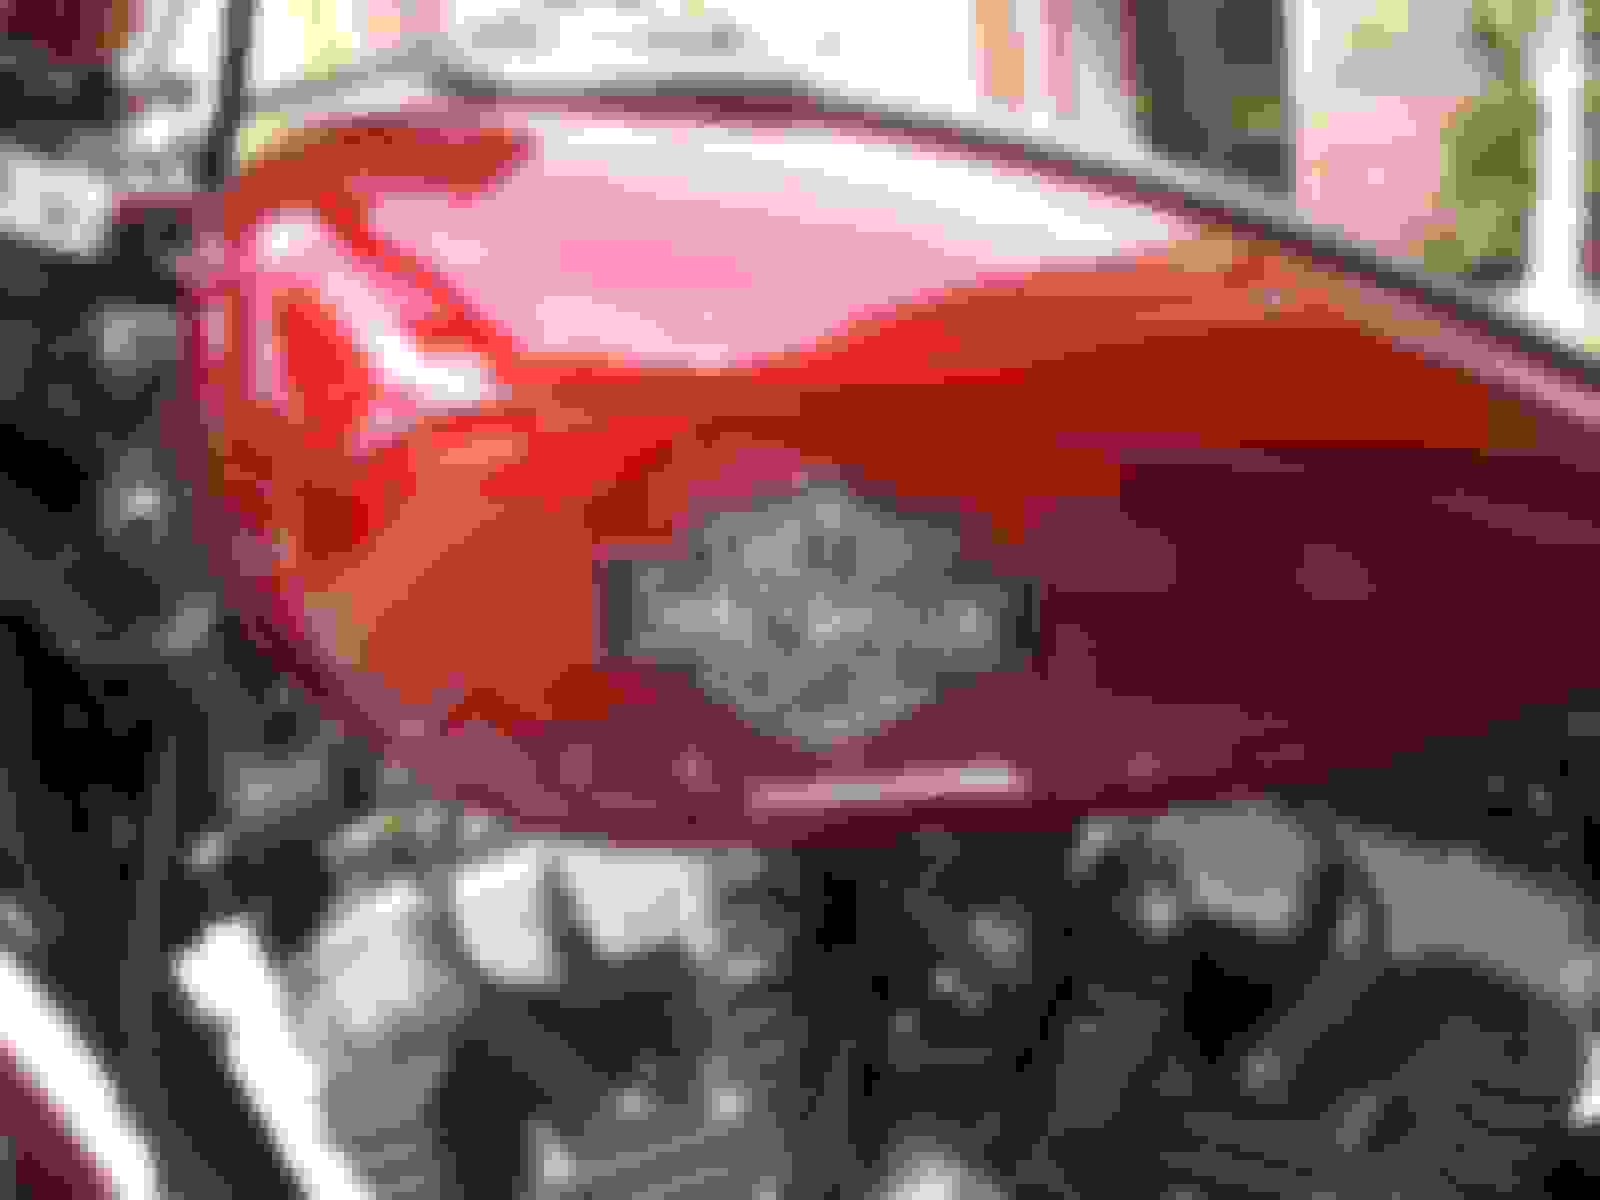
beautiful bike, and i like the new badges much more!
thanks muttgrunt-
agree about the badges. to me harley stands for classic- the removed badges were "too modern" for the bike's style, imo. i like the classic badges on the classic bike!

 05-01-2009, 11:25 AM


 i feel for u wanabe. i still remember taking off my "s2000" ...man... brutal. very good write-up tho! very educational to anyone who hasn't done this so they can do it the easiest way. i look forward to the pics!